
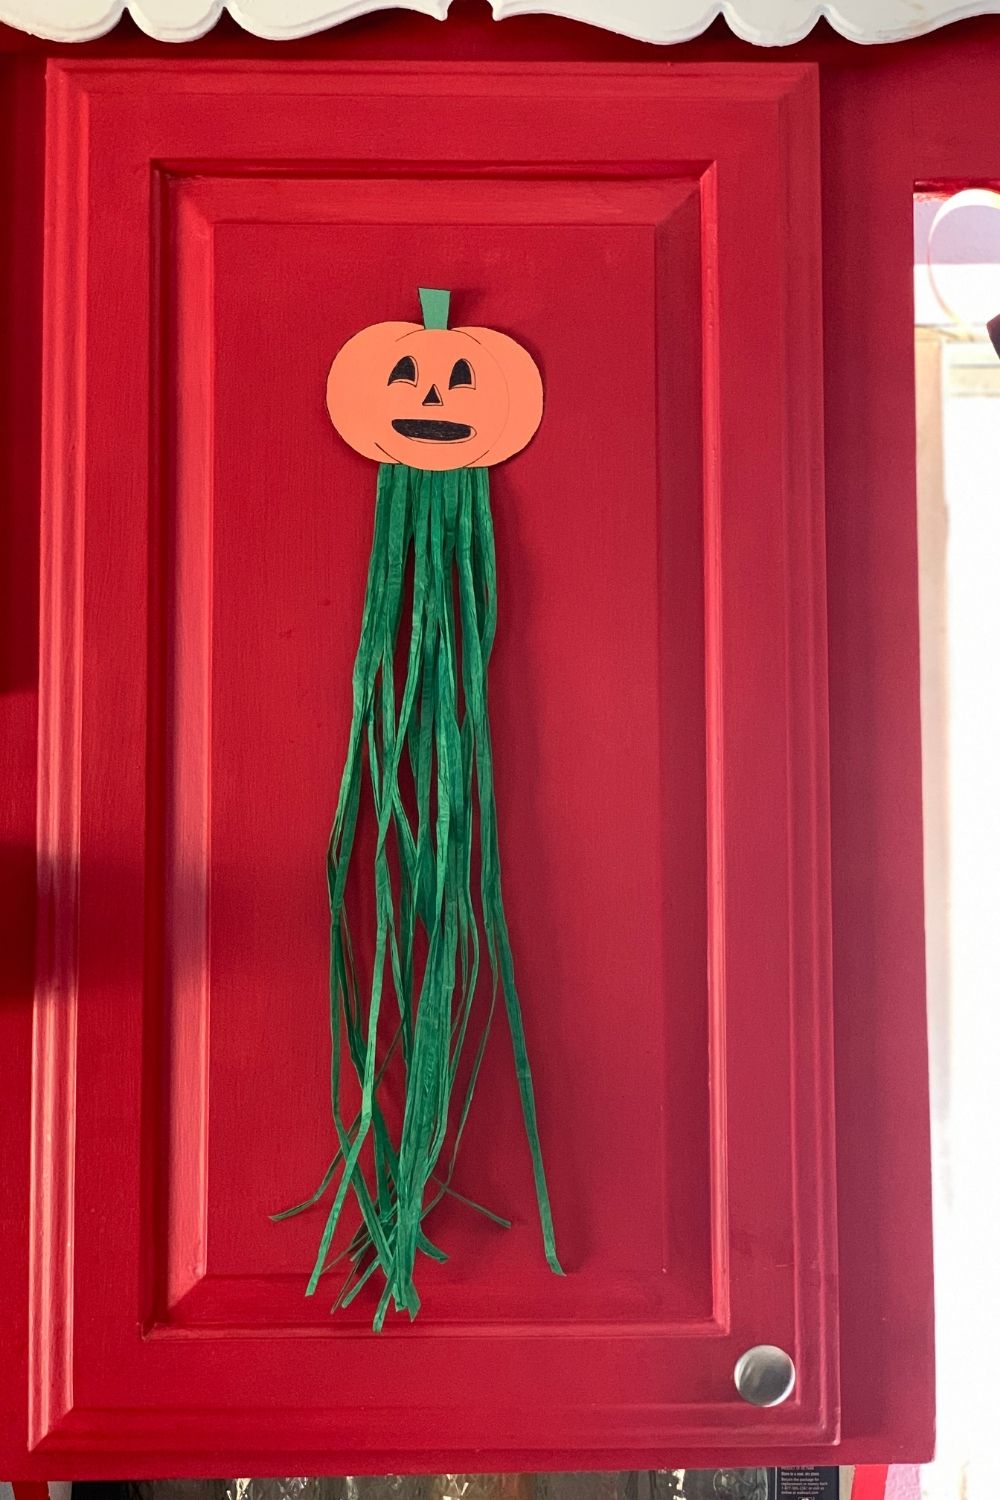
Turn a simple paper pumpkin craft into Halloween decor. This jack-o’lantern is easy to make and full of retro nostalgia!
Disclosure: This blog contains affiliate links. As an Amazon Associate and member of other affiliate programs, Keri Houchin earns a commission from qualifying purchases at no additional cost to you.
Lately I’ve been thinking about what made Halloween in the 80s and 90s so good. Of course, I was a kid so it’s probably mostly that. Nostalgia for childhood tends to have two things, I think. First, things are simpler. Second, they’re fun just for the sake of being fun.
If you are looking for simple Halloween decoration ideas, I made this paper pumpkin craft in less than half an hour. It reminds me of those paper jack-o’lanterns you could buy just about anywhere to hang up on the wall.
This one doesn’t require any special supplies or printable templates. You can make it with mostly construction paper. I used dollar store raffia, but if you could swap it with ribbon or yarn.
I think it would be fun to use this technique for making other classic Halloween characters too, like ghosts and black cats.
How to make a paper pumkin
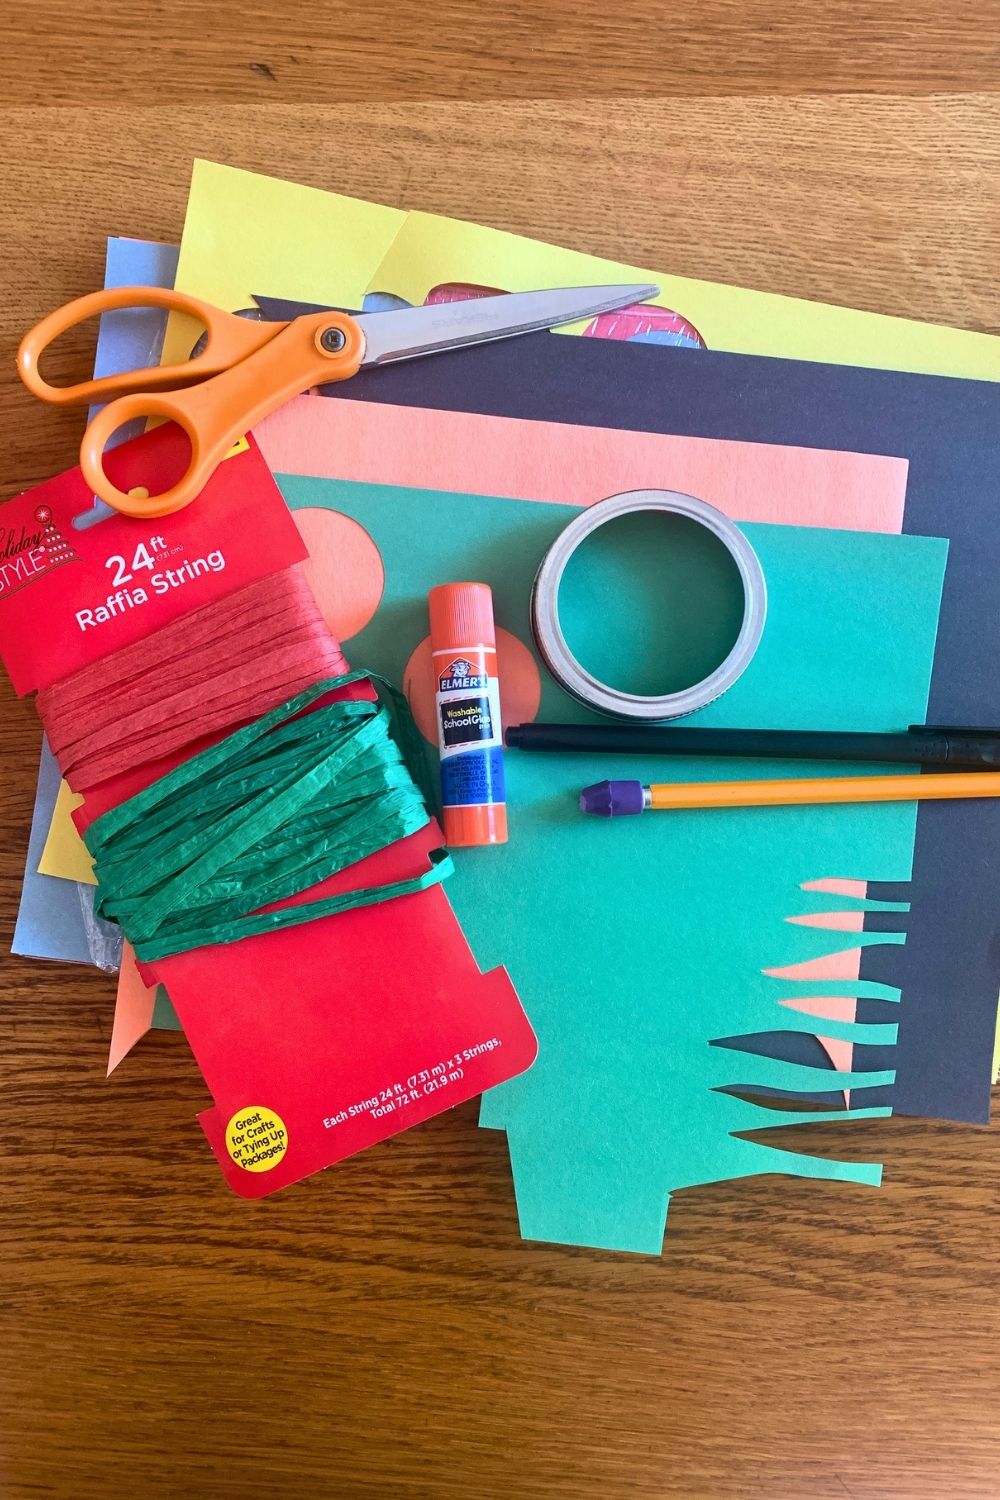
Supplies
- orange construction paper
- green construction paper
- green raffia string
- pencil
- black pen/marker
- glue
- scissors
- 3-inch circle for tracing ~ I used a canning jar ring.
Instructions
1. Cut paper circles and stem.
Each pumpkin is made from 3 circles. Use a pencil and a 3-inch ring to trace onto the orange construction paper. Cut them out.
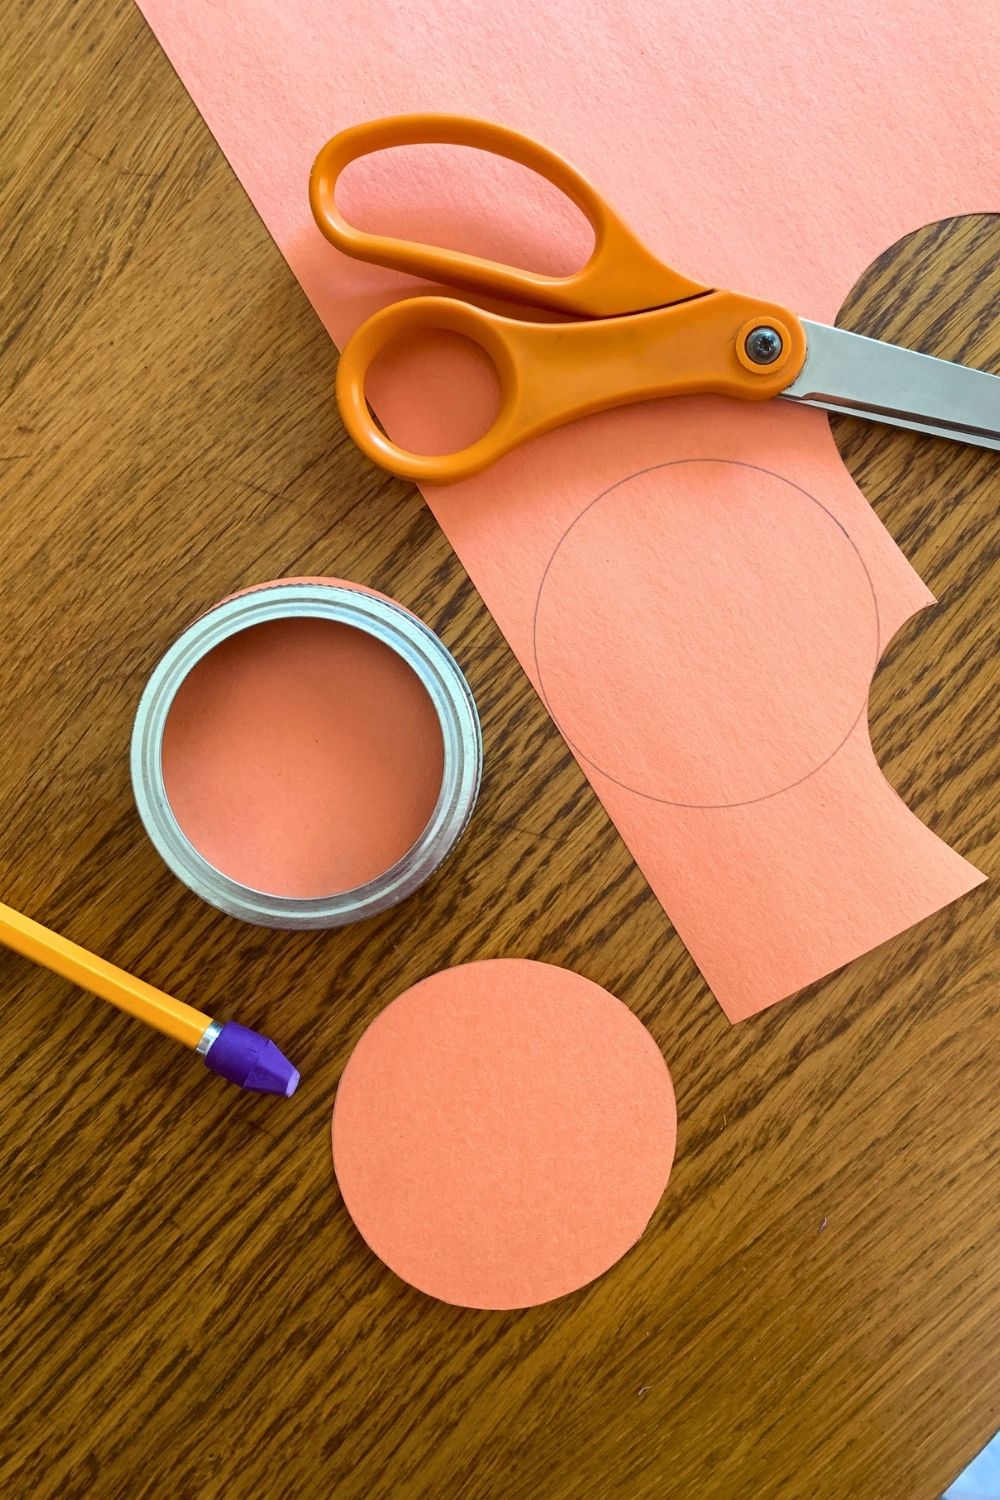
For the pumpkin stem, cut a scrap of green construction paper that’s a triangle or uneven rectnagle.
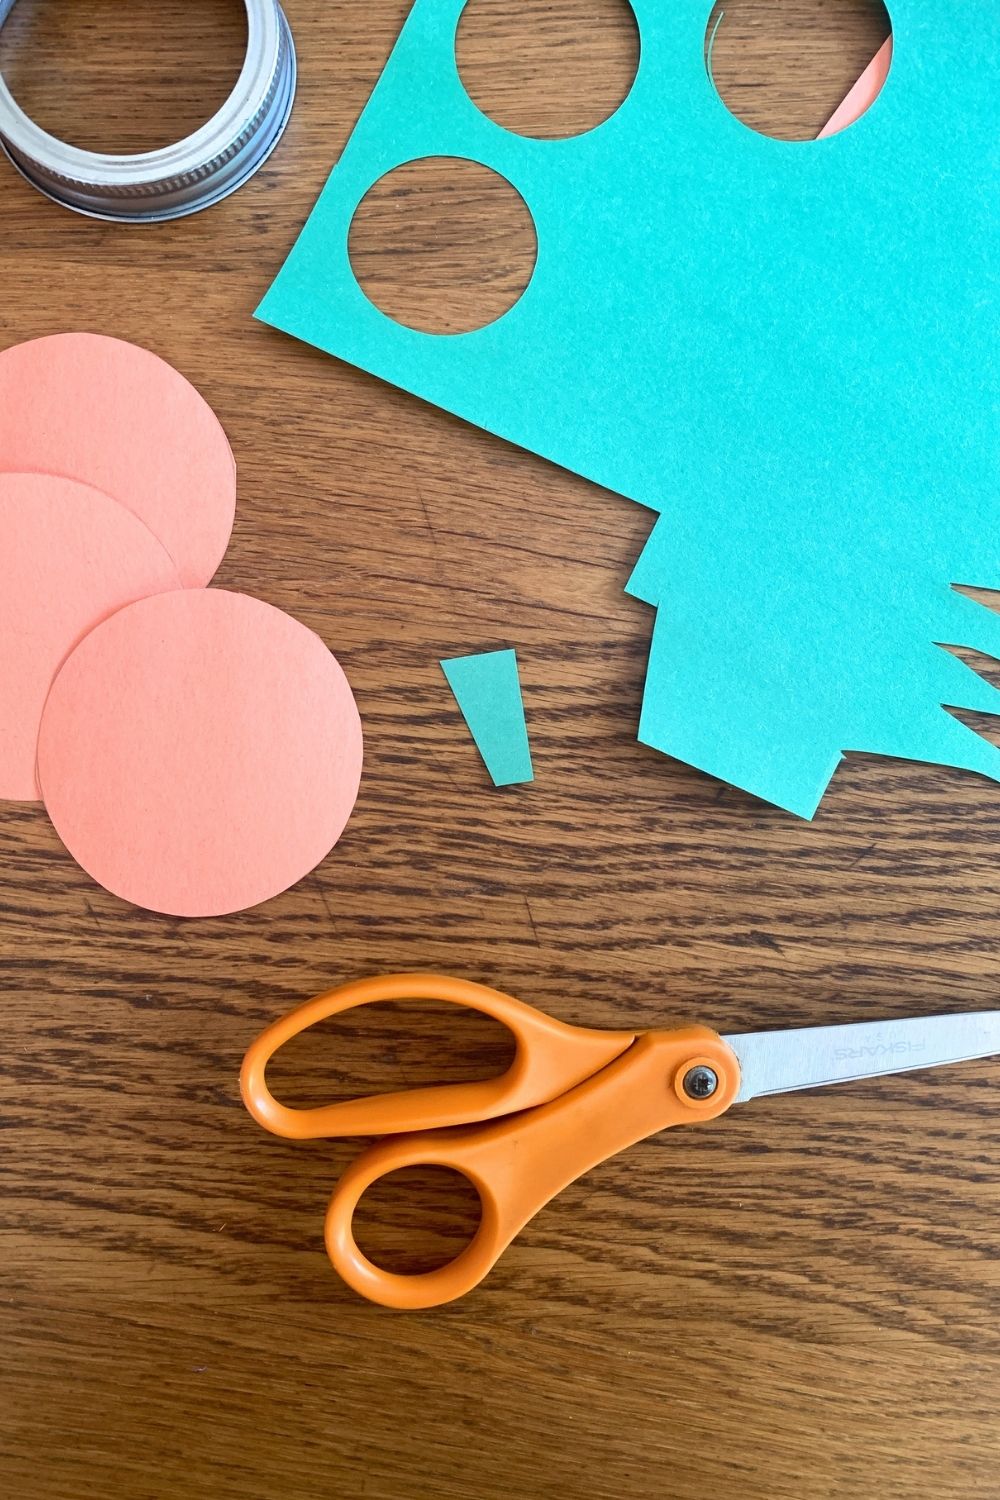
2. Glue the pumpkin shape.
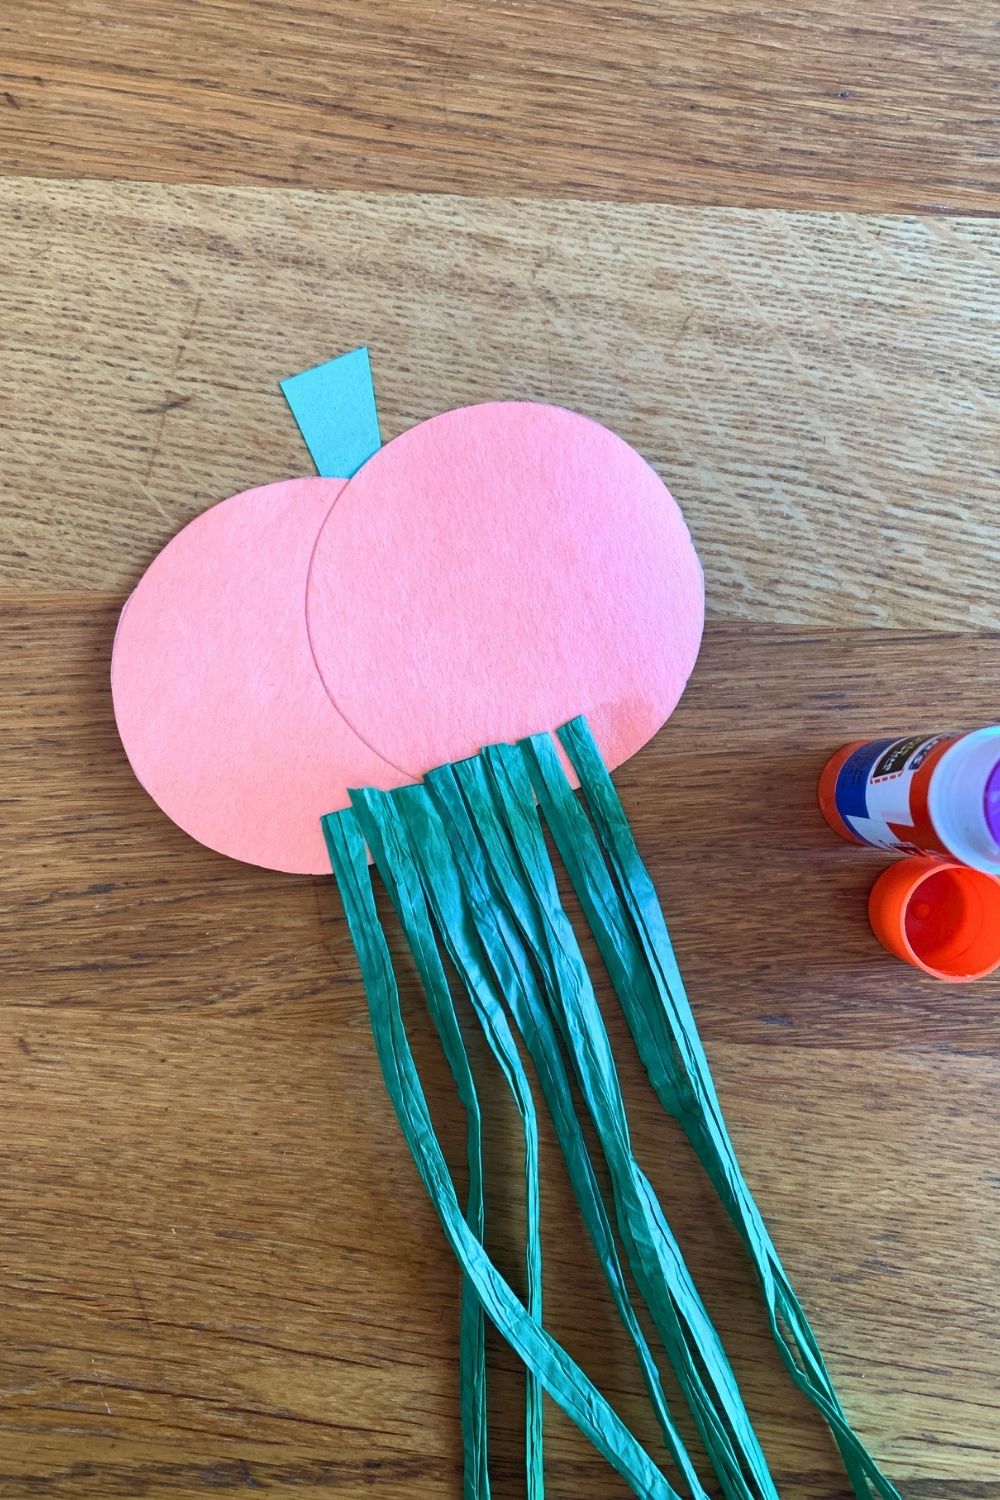
Overlap the 3 orange circles with the center one one top. Glue them together. Stick the green stem between the layers at the top. Let the glue dry. Mine took less than 5 minutes.
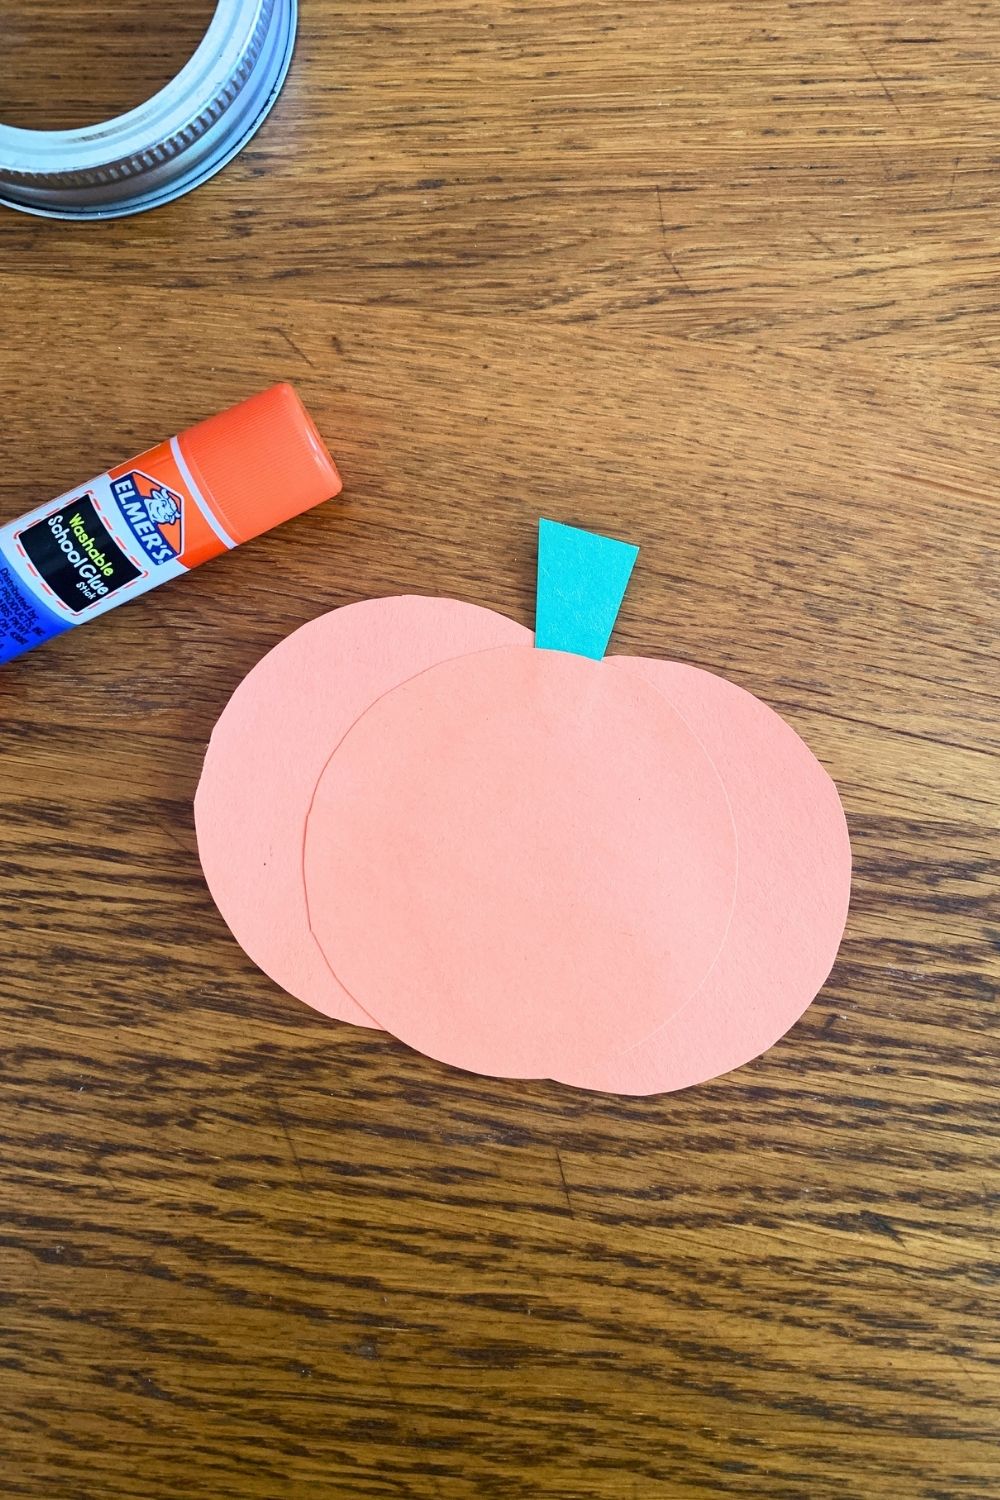
3. Draw the jack-o’lantern face.
Pencil sketch a face for the pumpkin. I have some pumpkin carving templates if you need some inspiration, but you can freehand it.
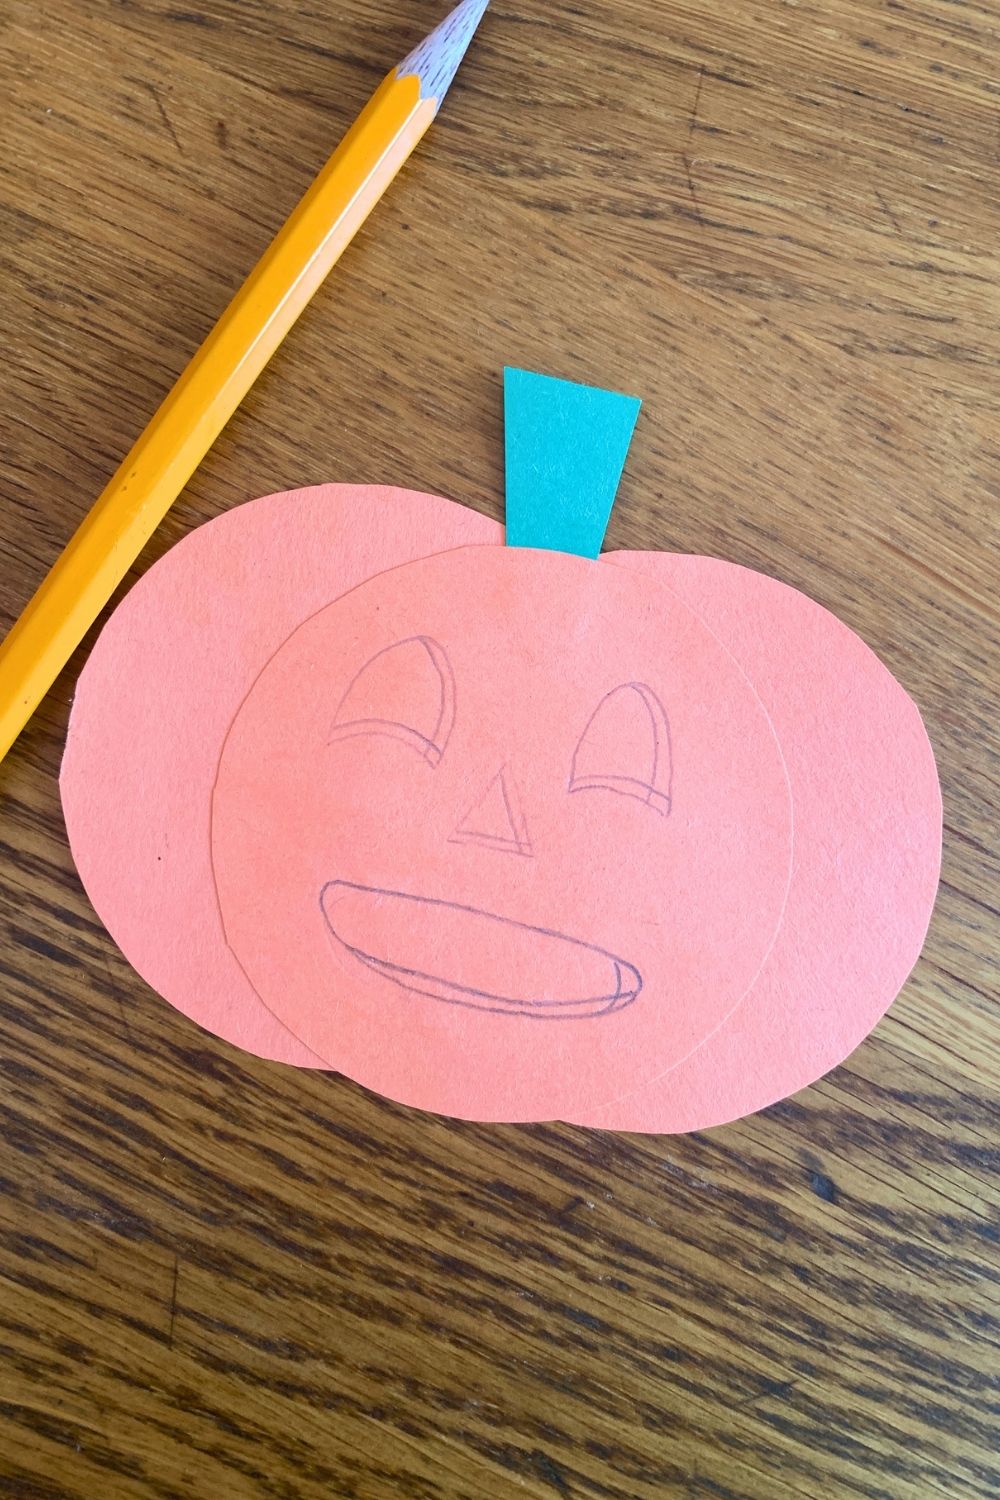
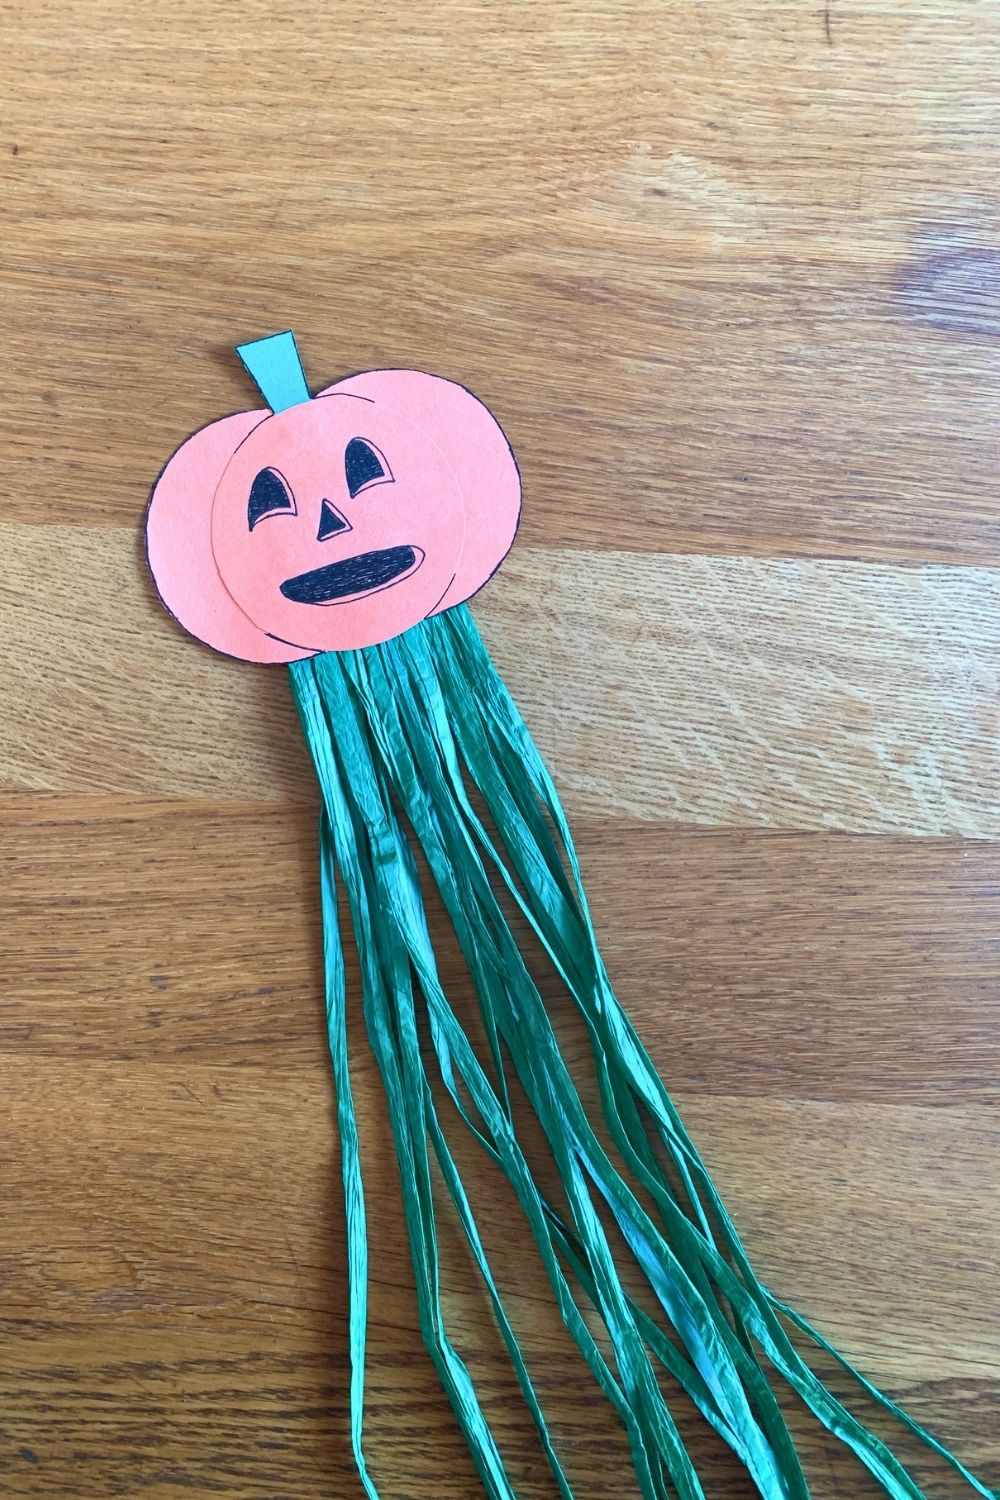
When you’re happy with the face, trace it with the black pen and fill in the shapes. Outline the whole pumpkin, including the stem, and add a few lines along the center circle to give it the illusion of a pumpkin shape.
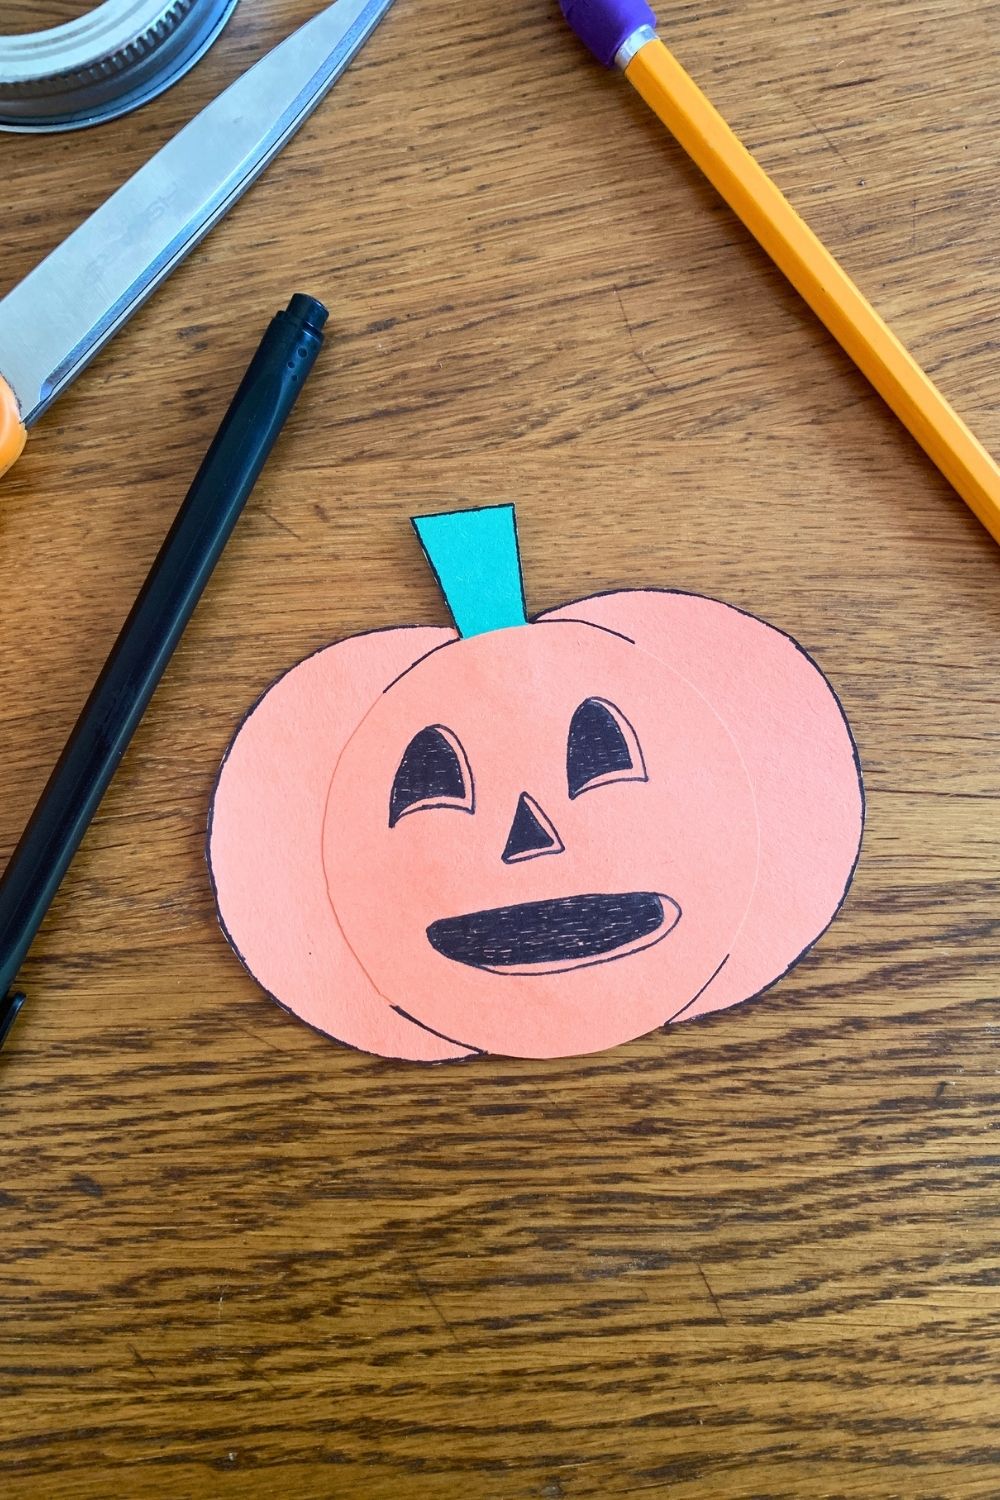
4. Attach the raffia.
Cut the raffia into 18-inch pieces. Since my whole roll was 24 feet long, I ended up with 16 pieces. I just kept folding in half and cutting until I was happy with the size/amount.
Flip the pumpkin over and glue the raffia to the back along the bottom in 2 rows. Let that dry a few minutes.
That’s it! These are pretty simple. You can make one in just a few minutes or spend a ton of time making the spookiest jack-o’lantern faces.
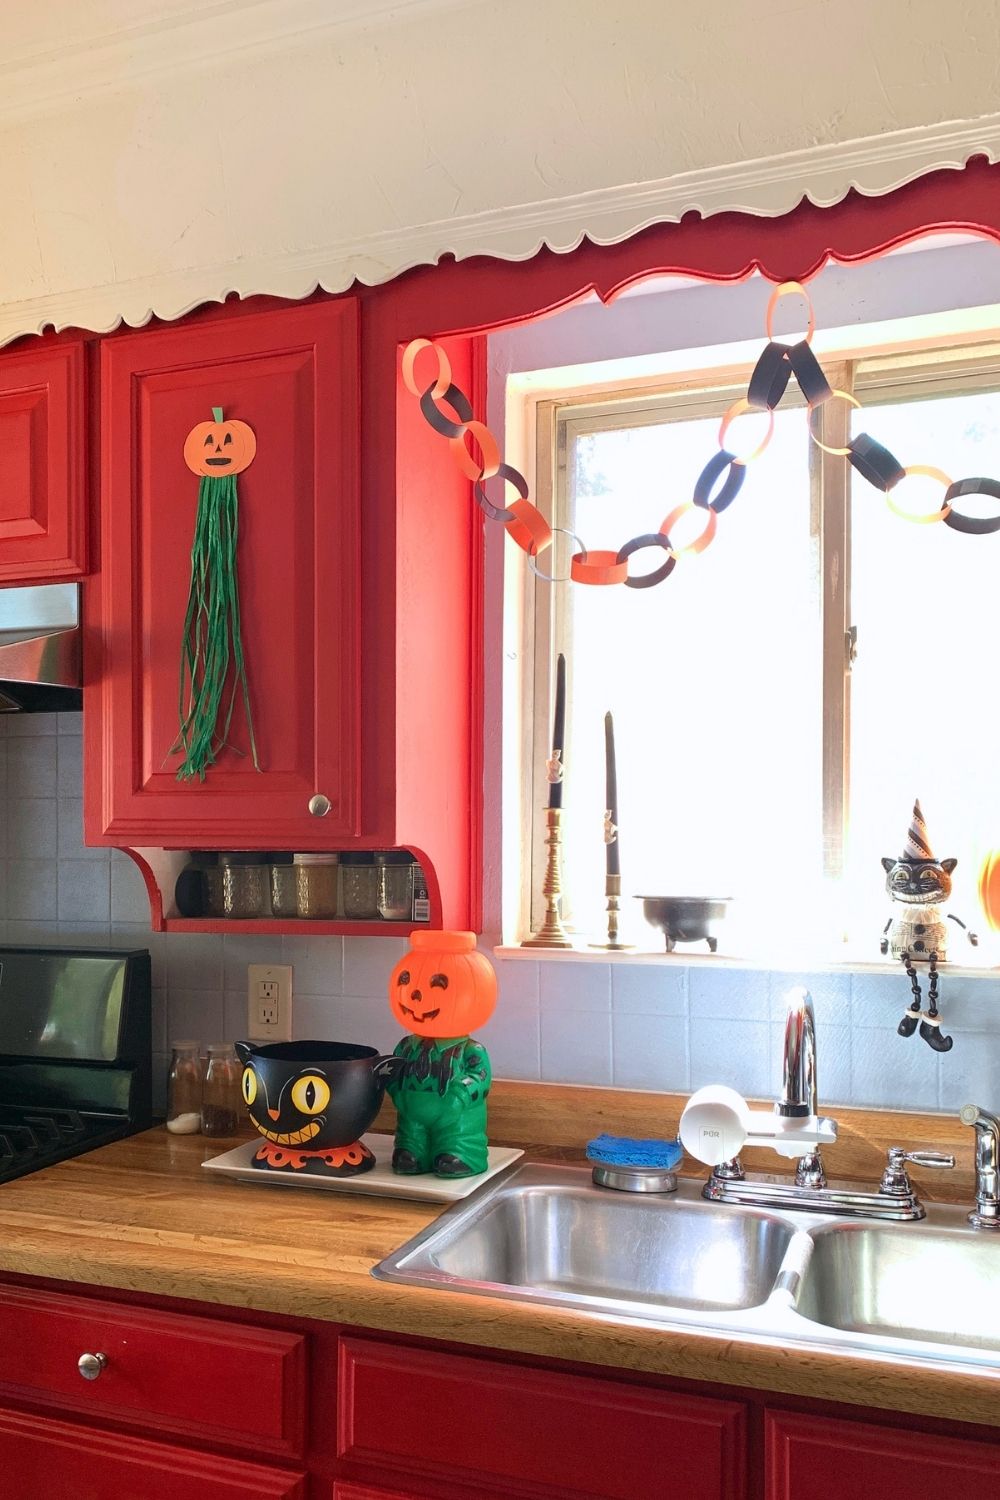
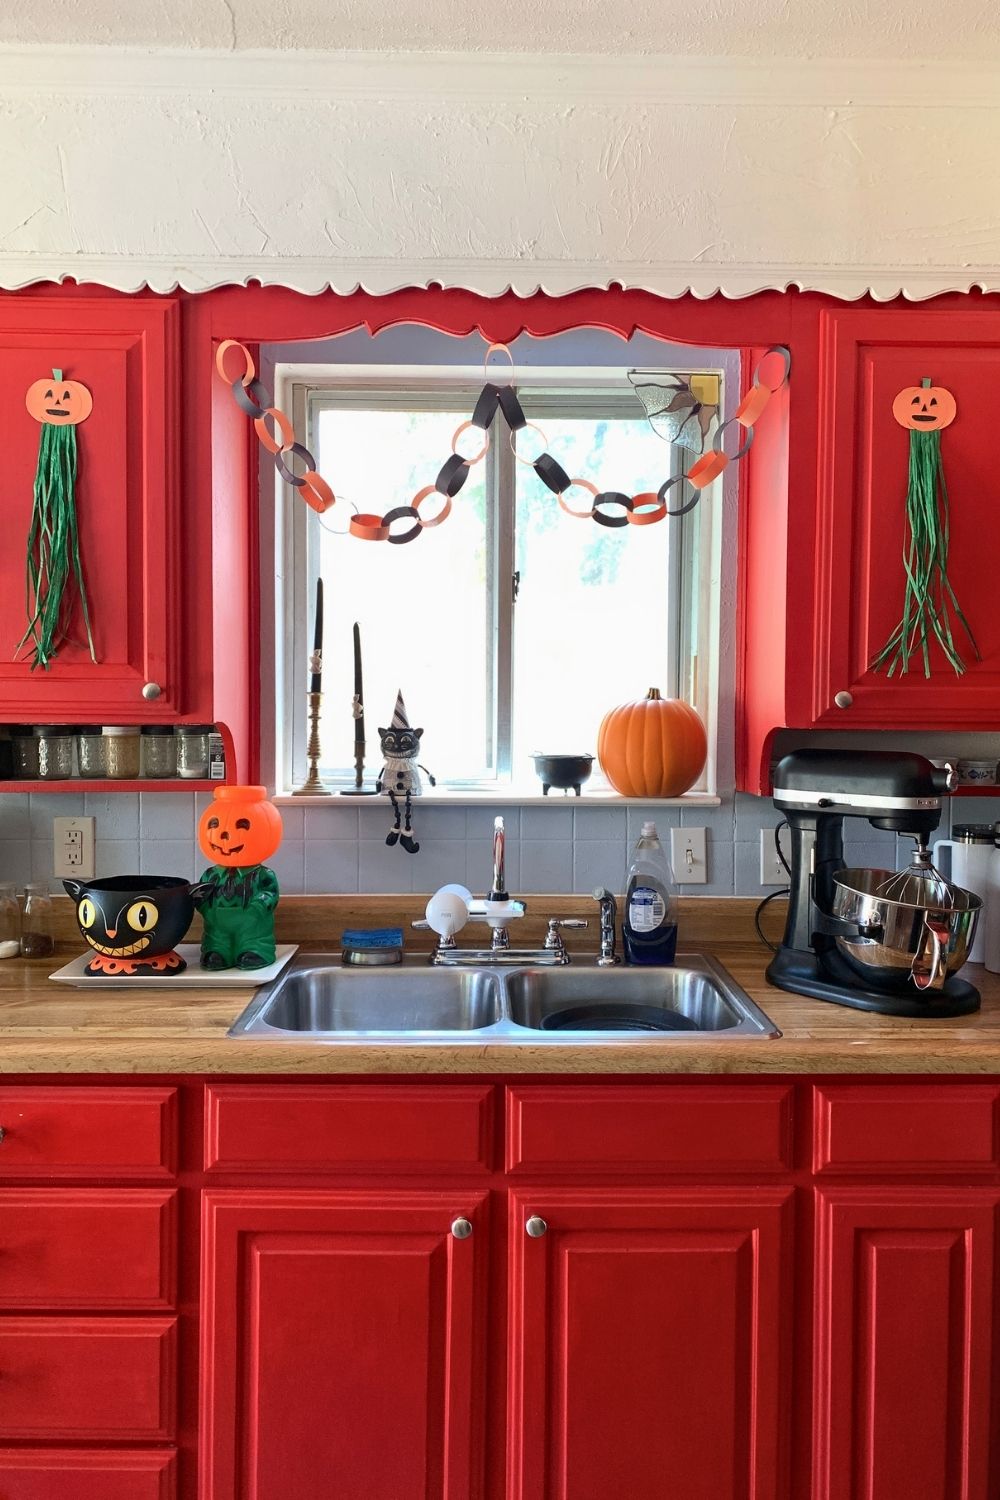
To hang up the paper pumpkin, I just use a pinch of blue tack. I stuck them to the front of my kitchen cabinets, then made some simple black and orange paper chains to add to the retro vibe. (All the other Halloween decor pictures was purchase from a variety of places years ago.)
Looking for more DIY Halloween decorations? I’m working on more ideas. Make this dollar store fall candy jar or download these pink Halloween art printables.
What’s next? Try these other fun and creative ideas on One Mama’s Daily Drama:
Leave a Reply