
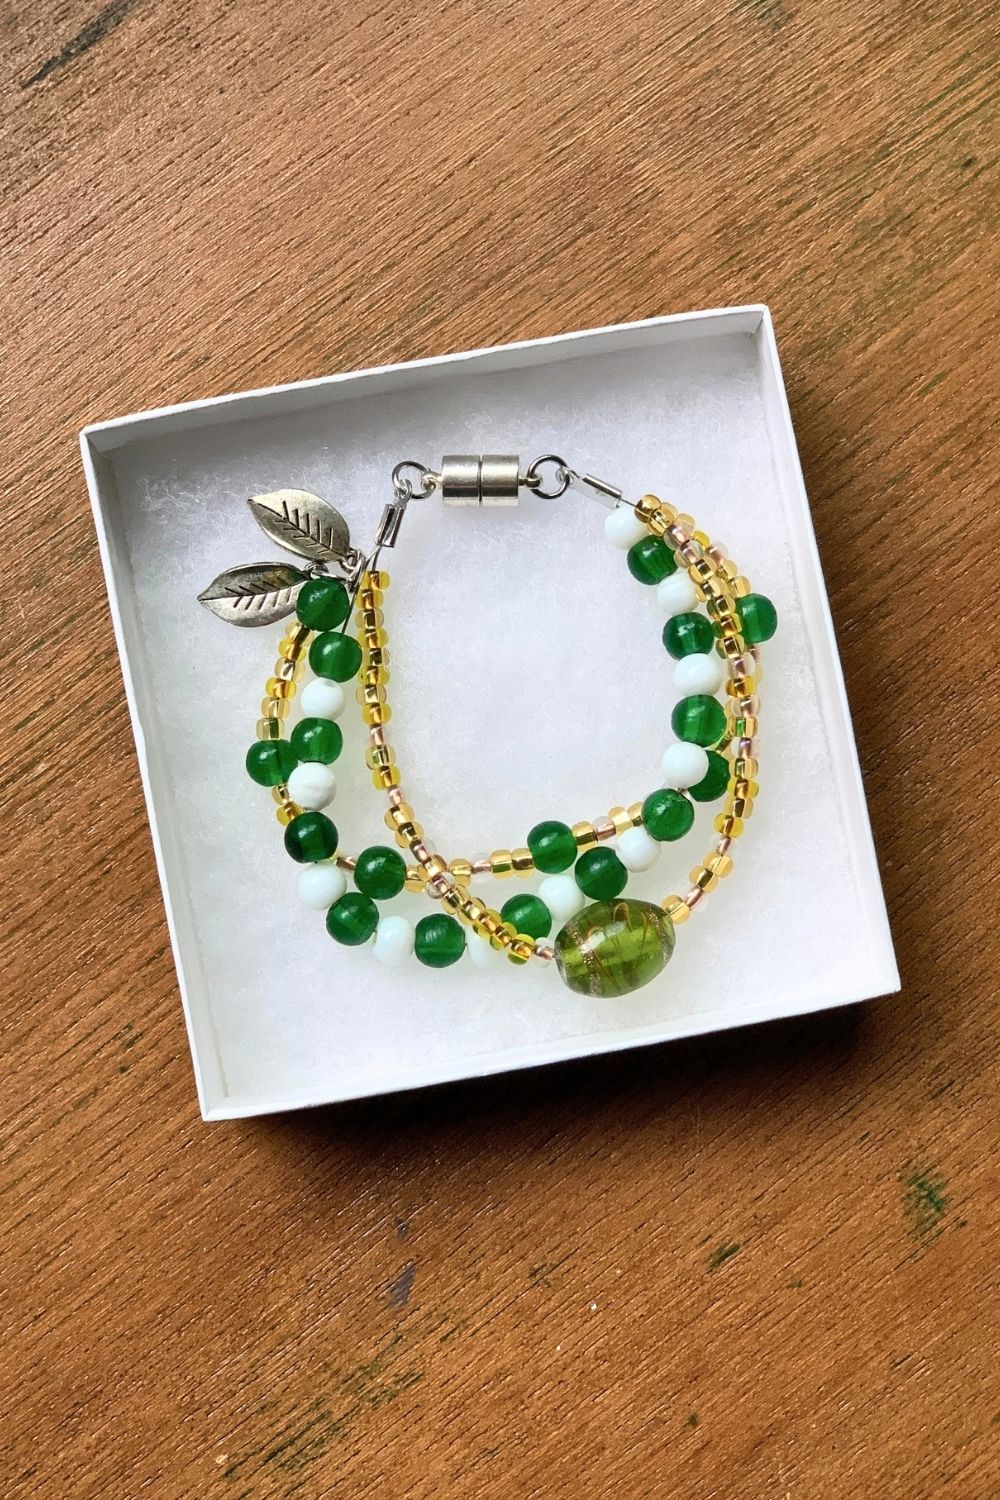
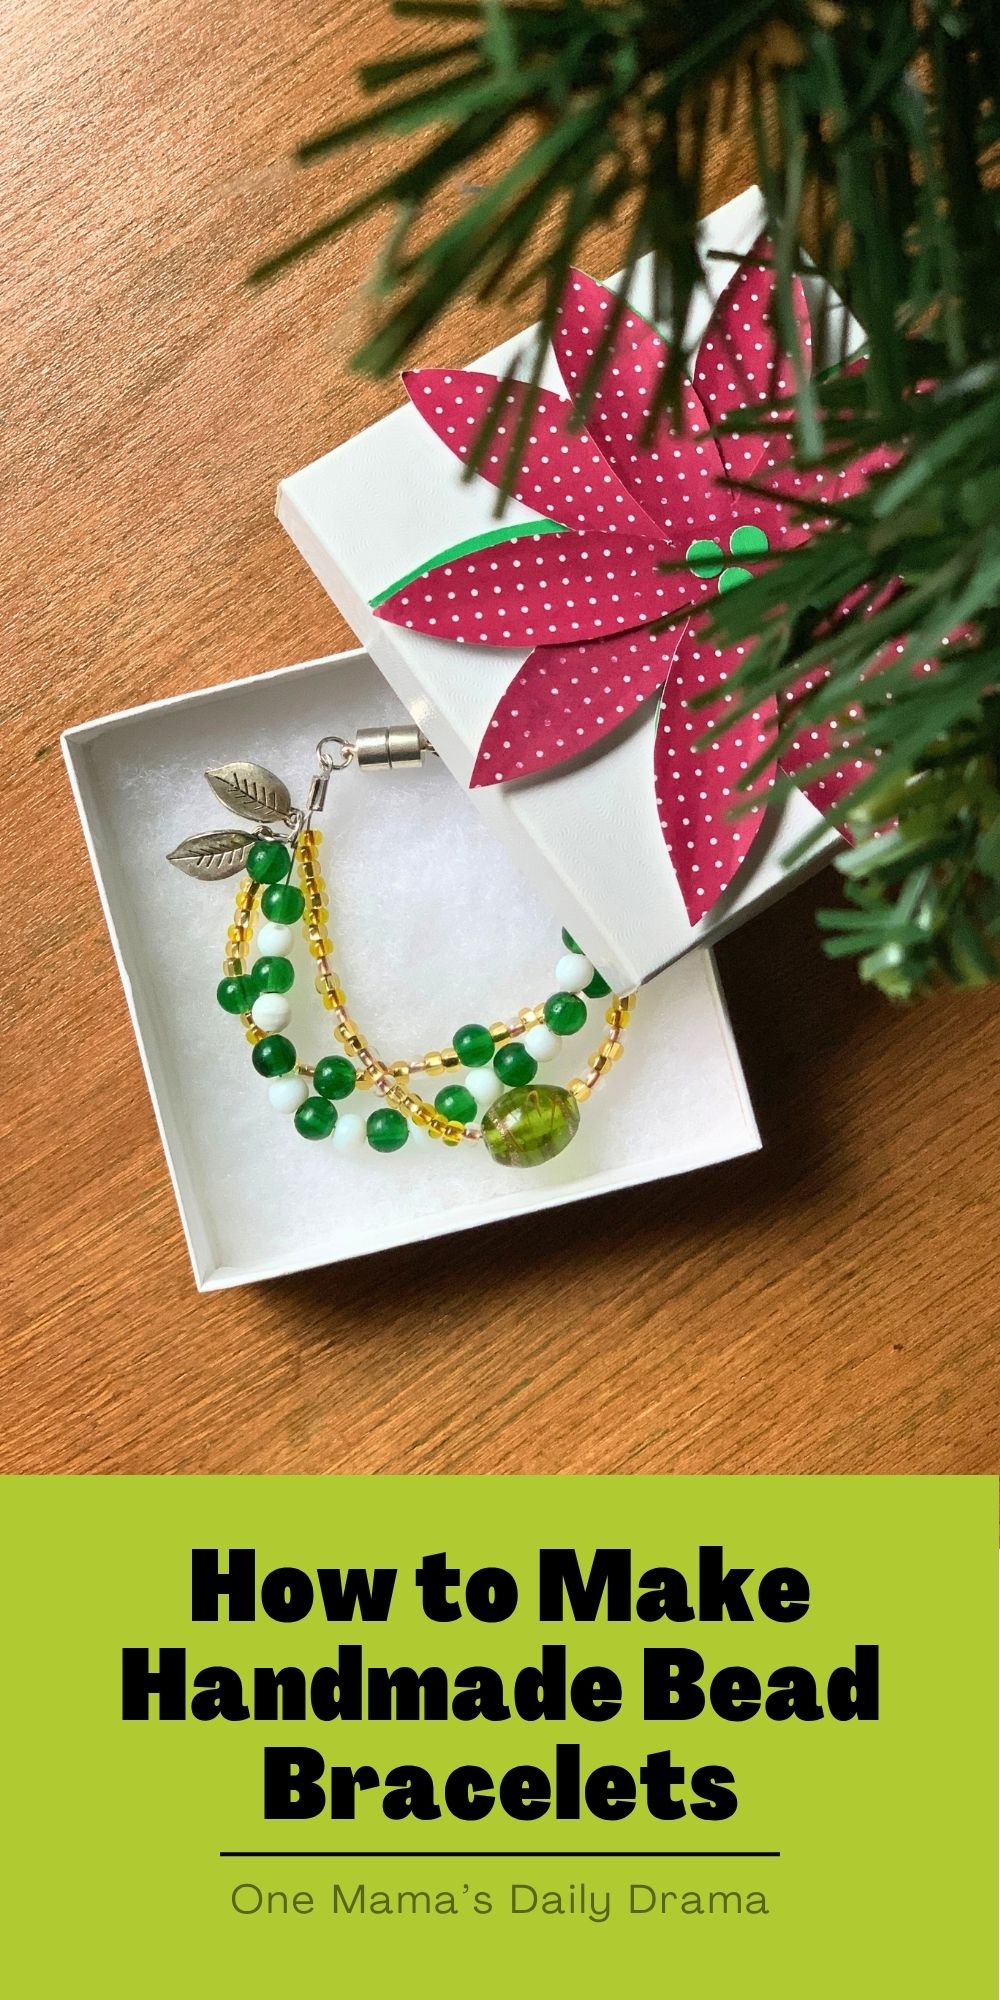
Handmade bead bracelets make lovely gifts for Christmas or anytime. Follow this tutorial to make a 3-strand bracelet with a magnetic closure.
Disclosure: This blog contains affiliate links. As an Amazon Associate and member of other affiliate programs, Keri Houchin earns a commission from qualifying purchases at no additional cost to you.
Jewelry is a classic gift. It’s also one you can make yourself!
My color palette and charms were inspired by The Lord of the Rings and other fantasy and fairy stories. You can easily customize this to match your aesthetic. In fact, I’ve already got a few ideas I want to try!
This bead bracelet is a bit more of a challenge than my elastic Halloween bracelets, but don’t let that deter you! You need the right supplies and a bit of patience, and your bracelets will look great.
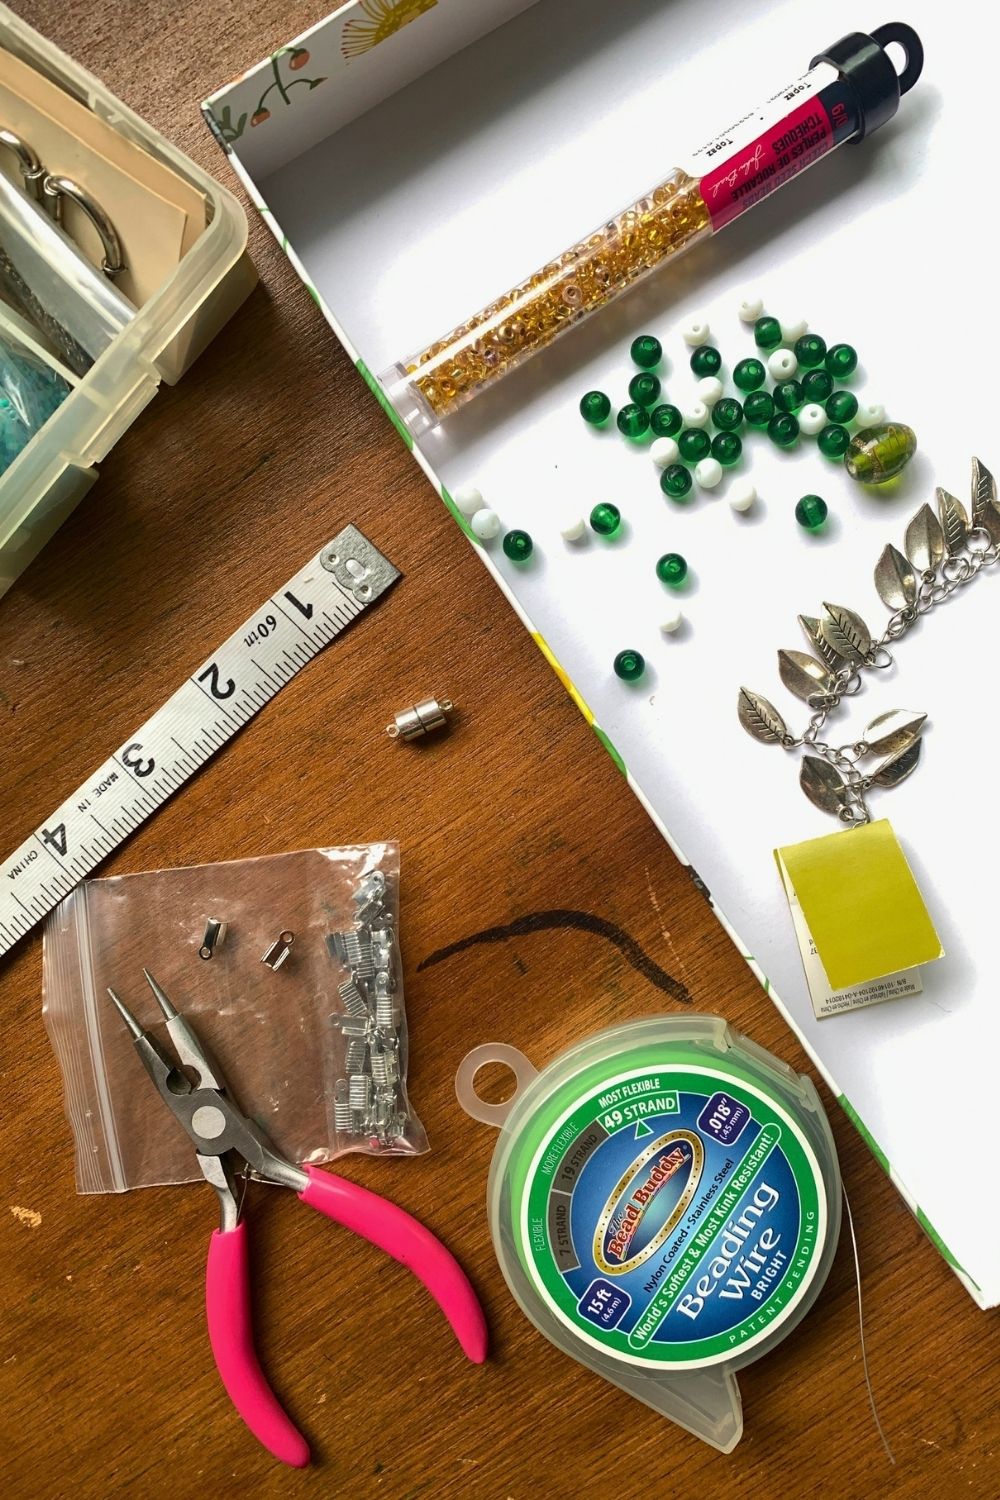
If you’re not familiar with all these terms, here’s what we are working with:
- jewelry pliers/cutter ~ Find a single tool that does both. Mine have a rounded end for pinching and turning, and a sharp edge on the inside.
- beading wire ~ Mine is flexible nylon-coated stainless steel. It’s a bit stiffer than cord, but is tons easier to thread beads onto.
- end crimps ~ This is a tiny metal mouth that folds around the cut ends of the jewelry wire and holds them together, and also has a hole to attach to a jump ring.
- jump ring ~ This is a tiny metal circle that’s handy for connecting two things. In this case, it will connect the opening on the end crimp to the opening on the magnetic closure.
Many of these supplies come in bulk. You may be able to buy just a few at a local craft store, but I’ve linked to Michaels and Amazon so you can see the products up close. If you make jewelry frequently, you might already have all the supplies already.
How to make a bead bracelet
Supplies
- tape measure
- jewelry pliers/cutter
- glass beads in green, white, and gold
- silver leaf charms
- flexible beading wire
- 2 end crimps
- 2 jump rings
- 1 magnetic closure
- glue, optional
- clothespins, optional
Instructions
1. Cut and crimp wires.
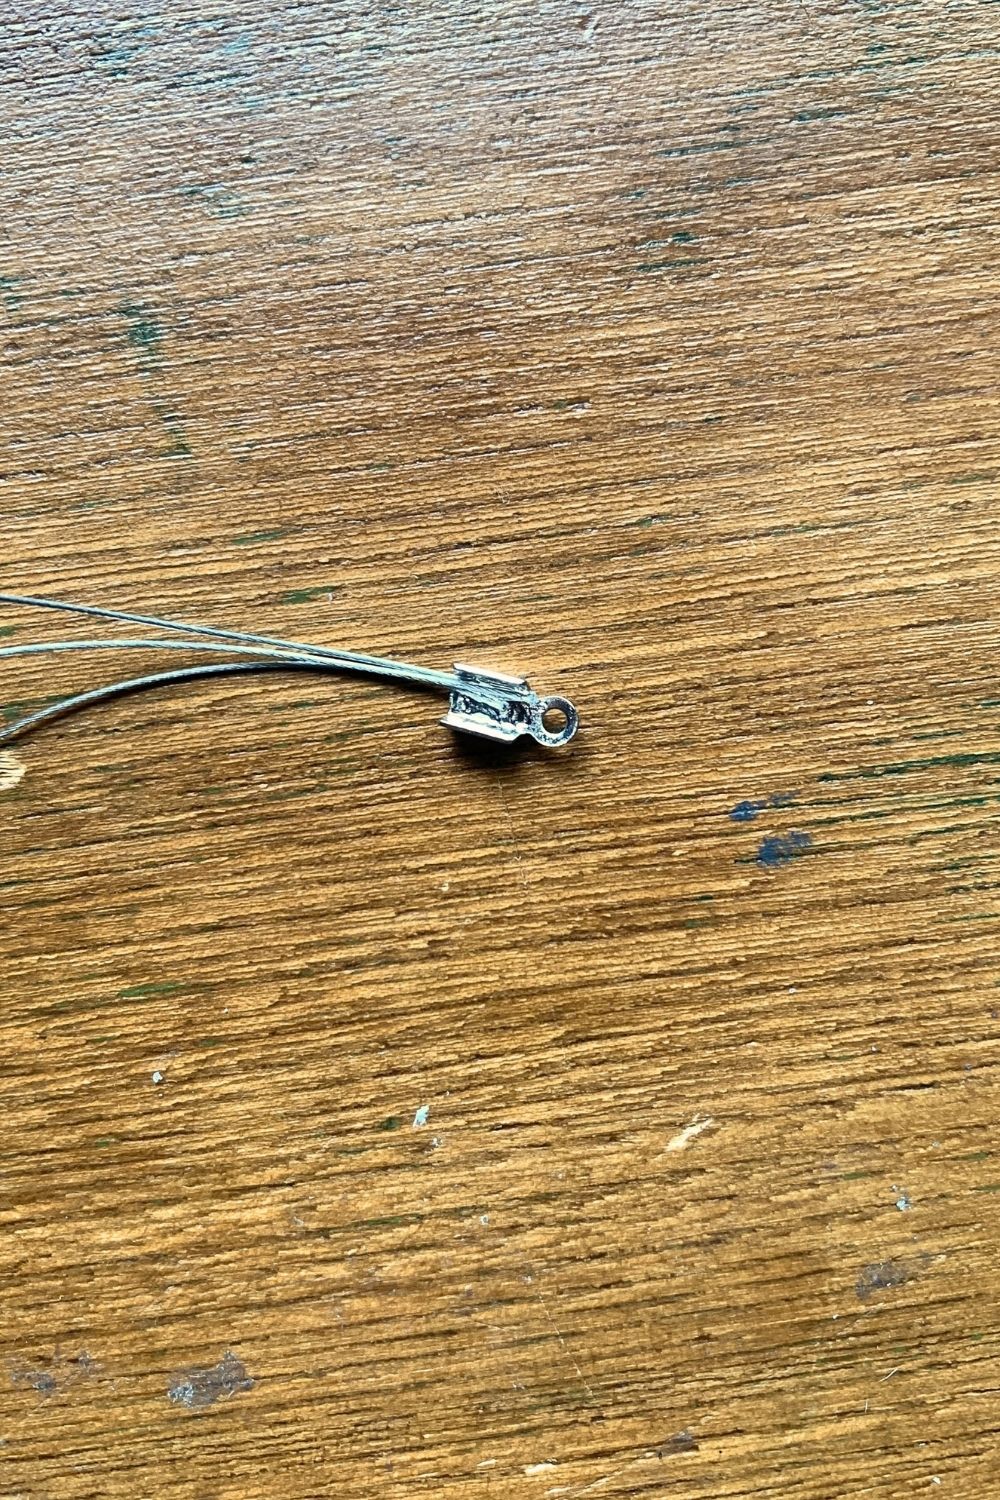
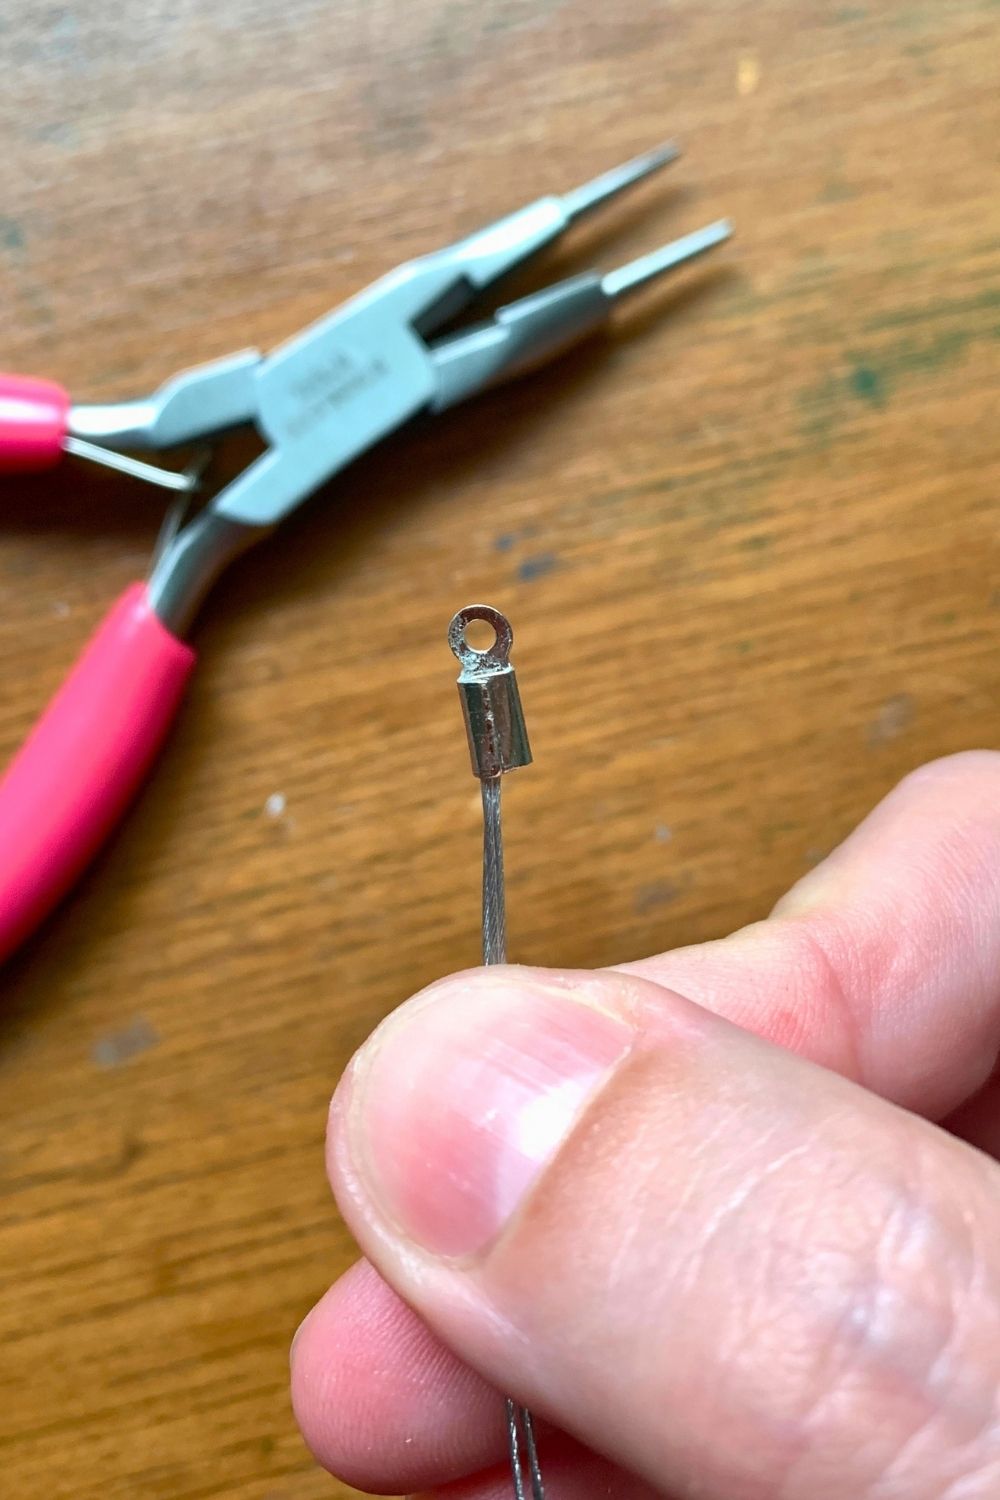
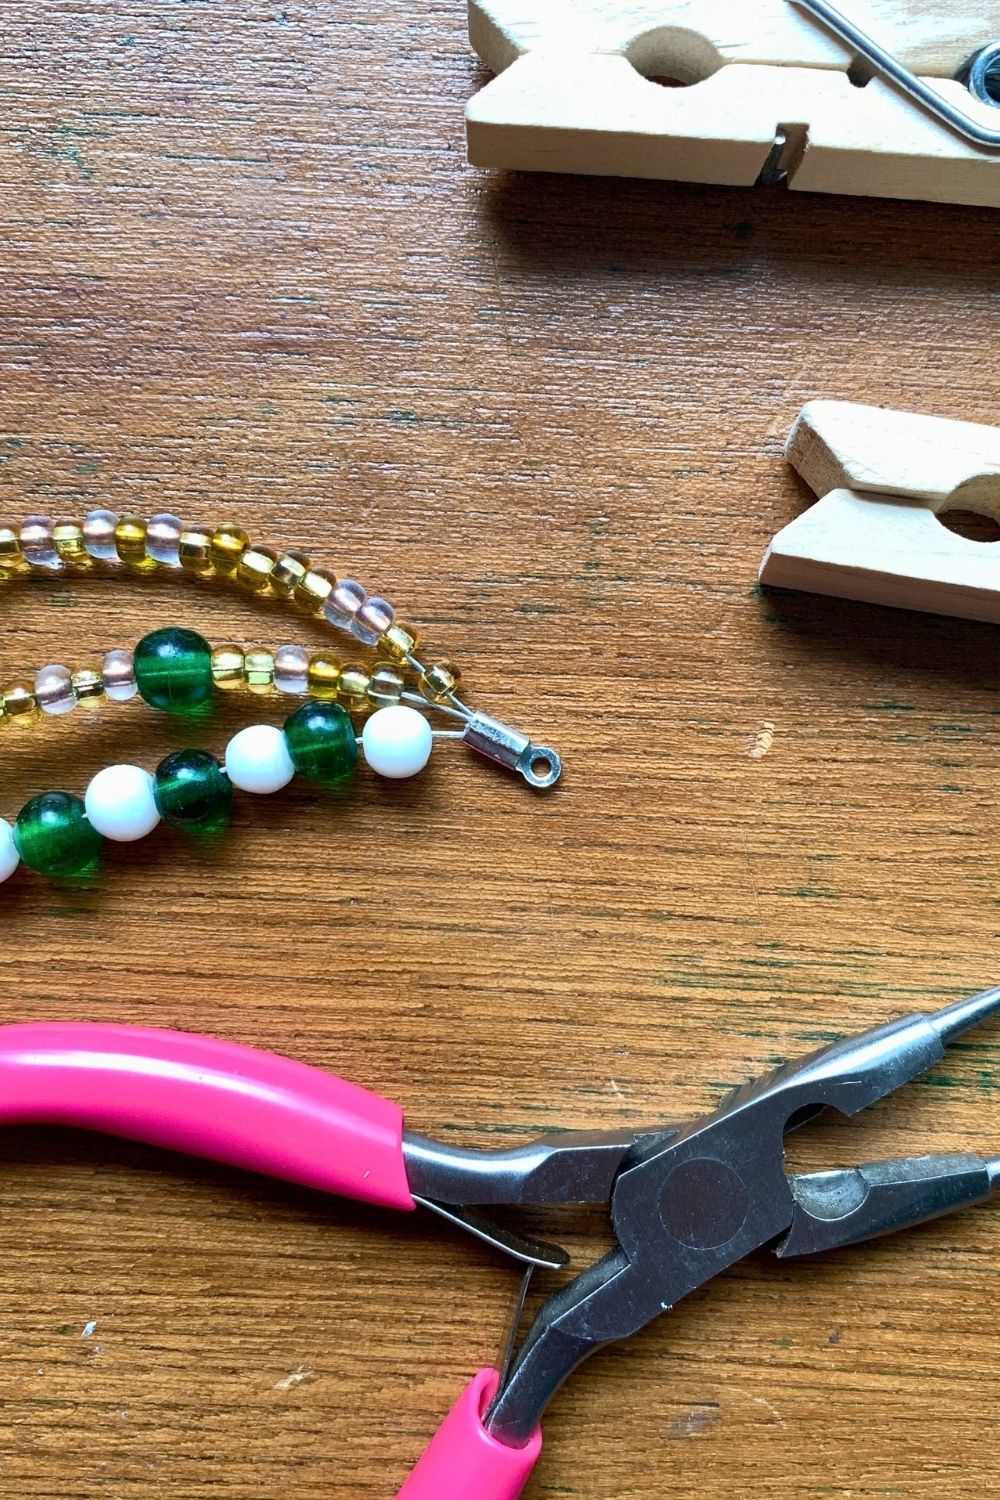
Start by cutting 3 strands of jewelry wire 6 inches long. Line up the ends inside one of the end crimps and press it closed using the jewelry pliers.
If you’ve never used end crimps before, they can be kind of tricky. It might help to put a dab of glue inside to hold the wires in place while you get it closed. Use the pliers to fold one of the sides down as flat as possible, then the other on top of it.
2. Thread the beads.
Thread the beads onto each of the 3 wires. Clothespins are handy for holding the beads on the finished strands while you work on the others.
Here are the patterns I used:
- 22 gold seed beads ~ 1 large green bead ~ 22 gold seed beads
- alternating 11 each medium green and white beads
- 2 leaf charms ~ alternating 1 medium green bead and 6 gold seed beads
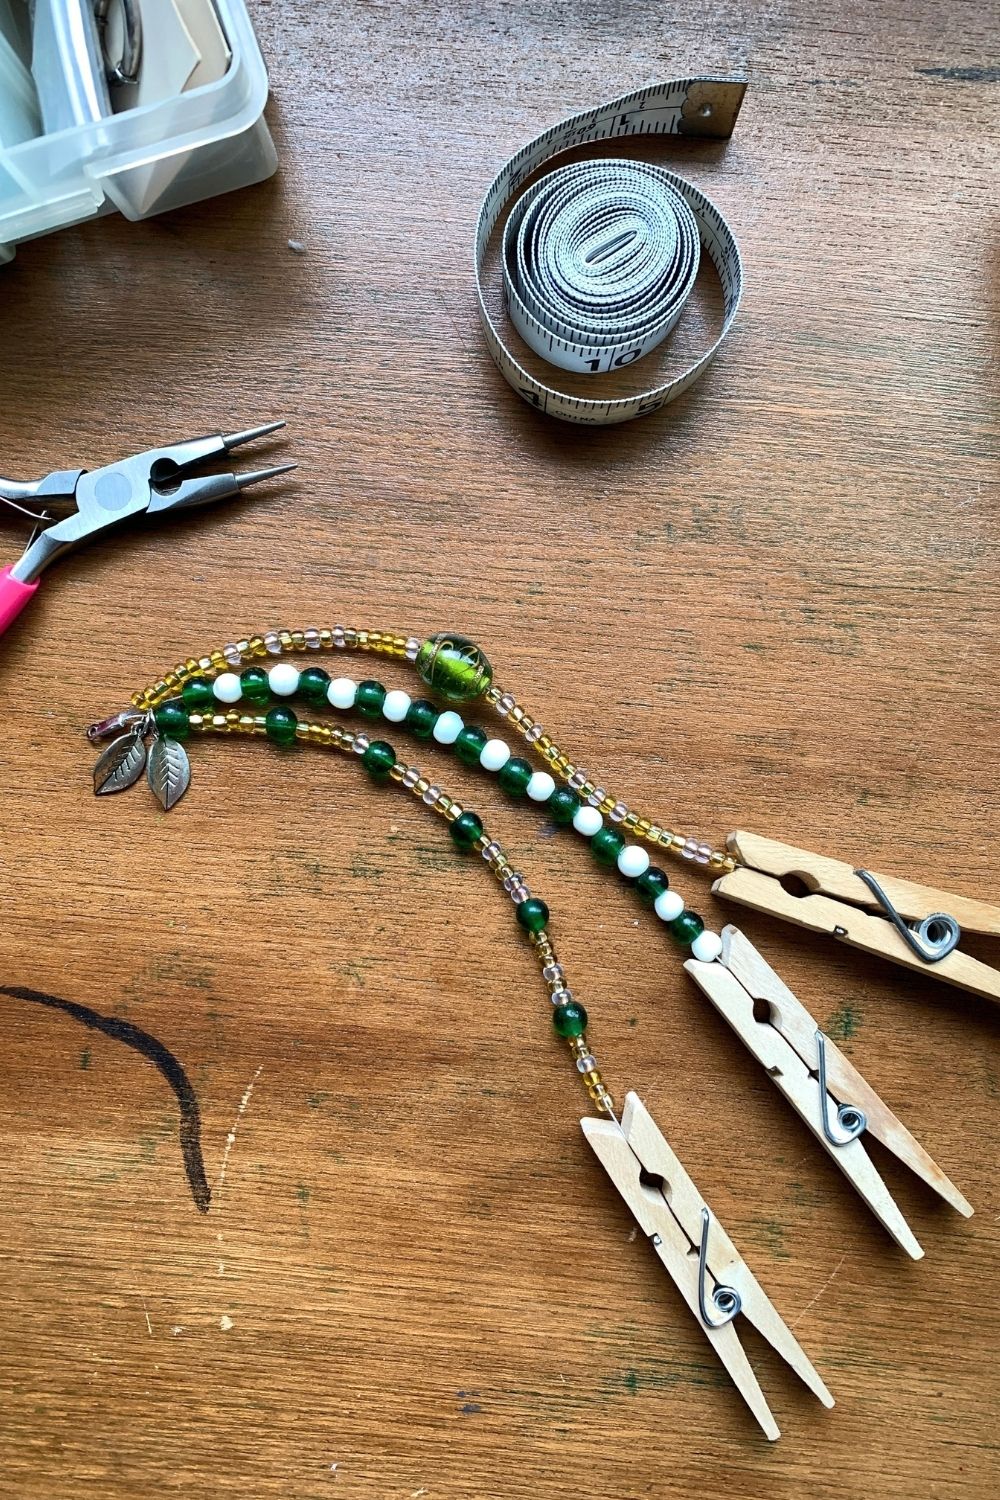
3. Crimp the end.
When you’re happy with the bead patterns, it’s time to close the ends. Grab a second end crimp and repeat the process from the other end. This end is a bit trickier because you have to get it all crimped while keeping the beads from sliding off.
4. Attach the closure.
To finish the bracelet, use the jump rings to attach the magnetic closure to the ends of the bead crimps. Separate the magnets. Open a jump ring and slide one end crimp and magnet onto it, bending it closed. Repeat on the other end.
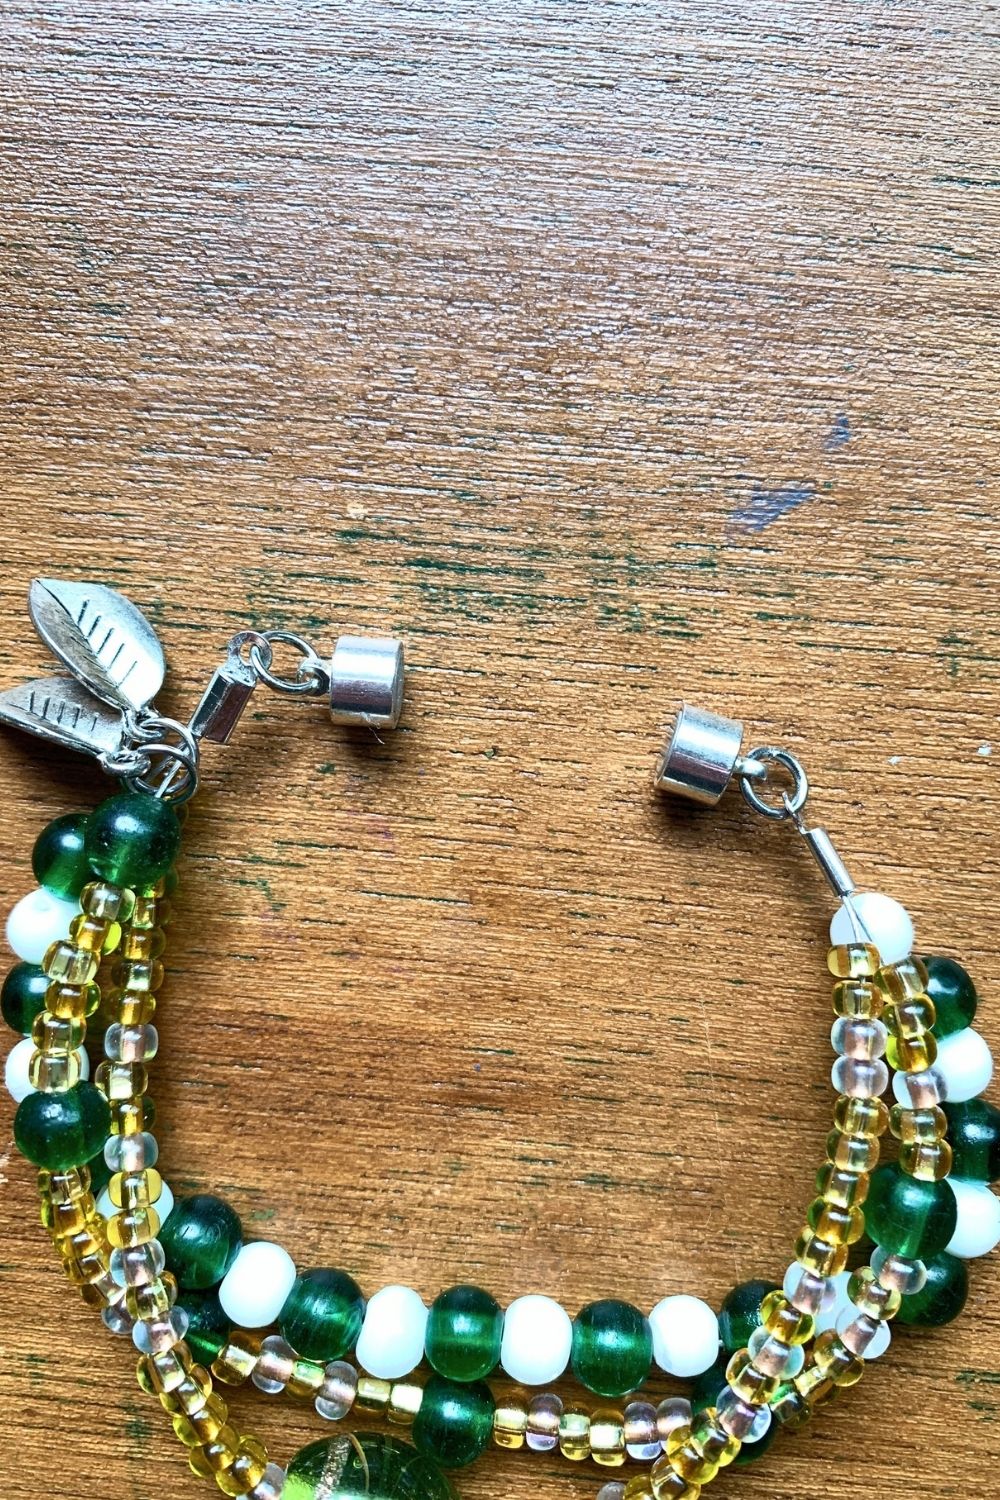
Although it’s a bit more challenging to put together, this magnetic closure makes it so easy to put the bracelet on with one hand! The glass beads looks really pretty and the leaf charms add a bit of whimsy.
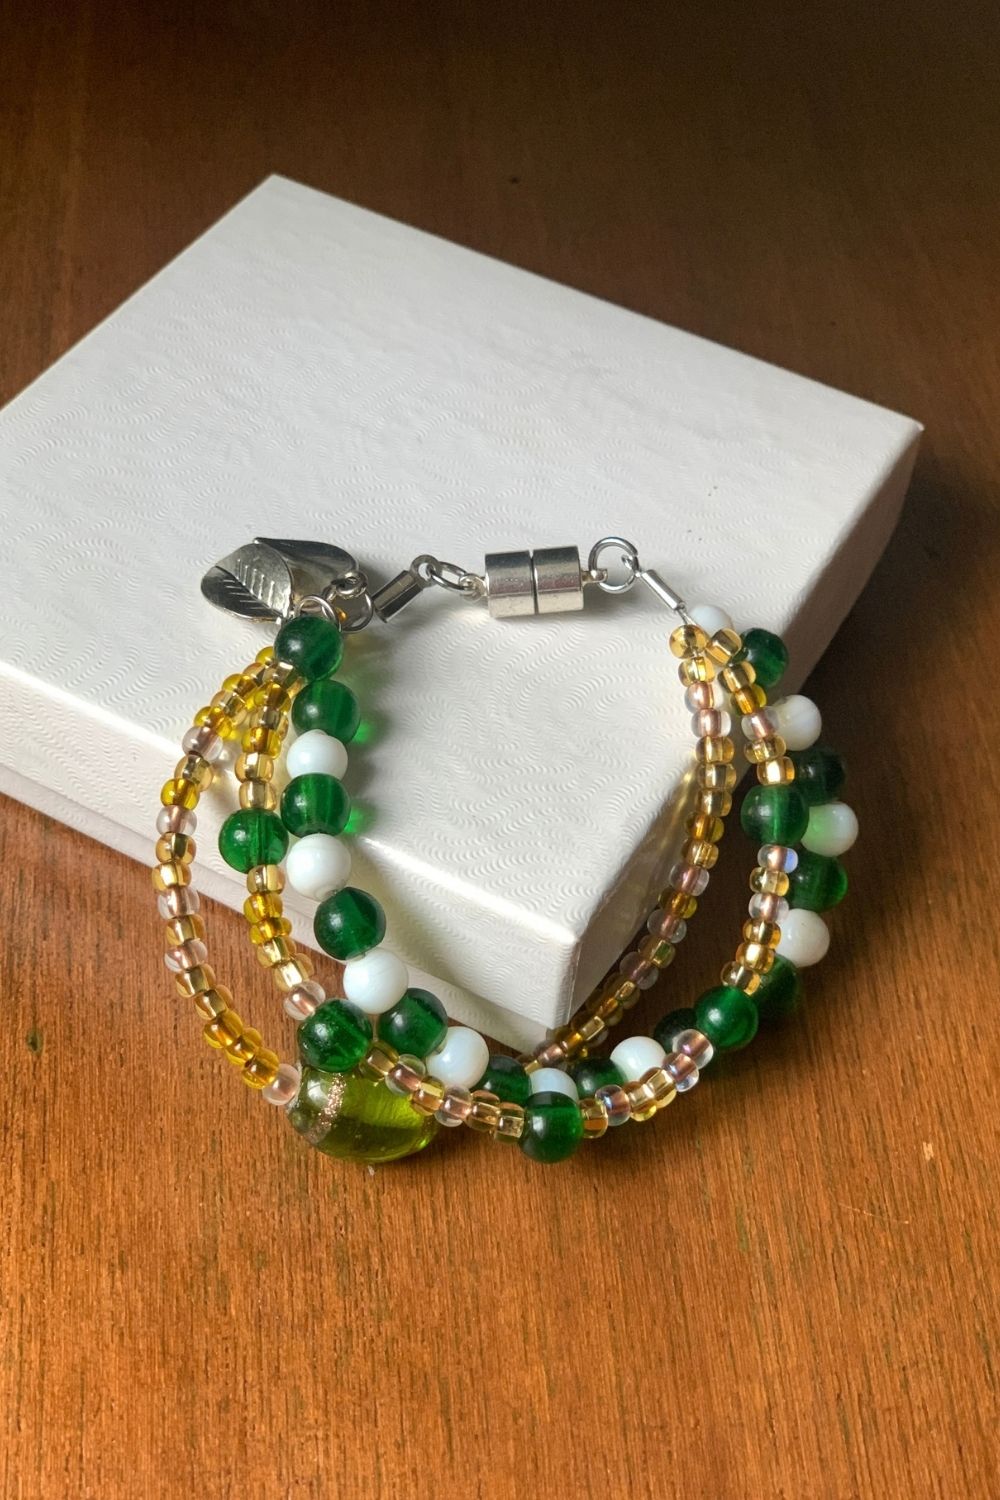
This makes a lovely, thoughtful handmade gift. You can make it in less than an hour, so there’s plenty of time to make one for yourself while you’re at it!
What’s next? Try these other fun and creative ideas on One Mama’s Daily Drama:
Leave a Reply