
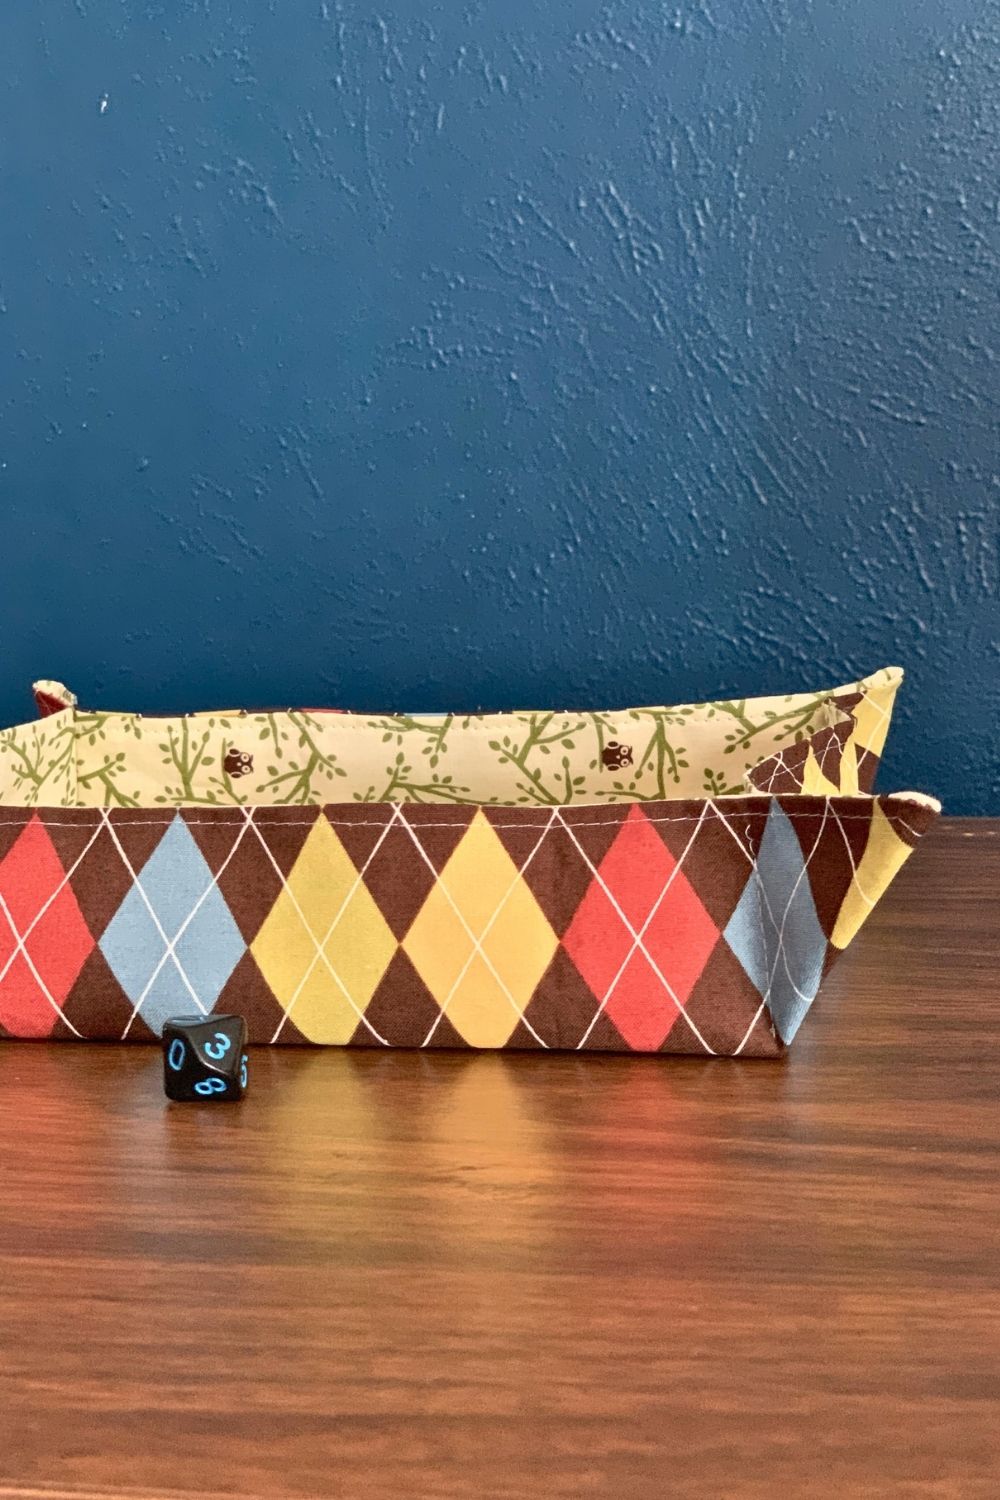
Make a simple fabric tray as a beginner sewing project. This is a cute handmade gift too, that can be customized with any fabric.
Disclosure: This blog contains affiliate links. As an Amazon Associate and member of other affiliate programs, Keri Houchin earns a commission from qualifying purchases at no additional cost to you.
I love handmade gifts, even more so when they’re practical! This fabric tray is handy anywhere you might use a tray. I have one at a catch-all on my nightstand. They’re also handy in place of a small basket for carrying items around the house.
Fabric trays are also perfect for gamers. If you play Dungeons and Dragons or any tabletop game where you need to roll dice, you’ve probably had a roll go off the edge of the table. This is especially true playing any game with kids!
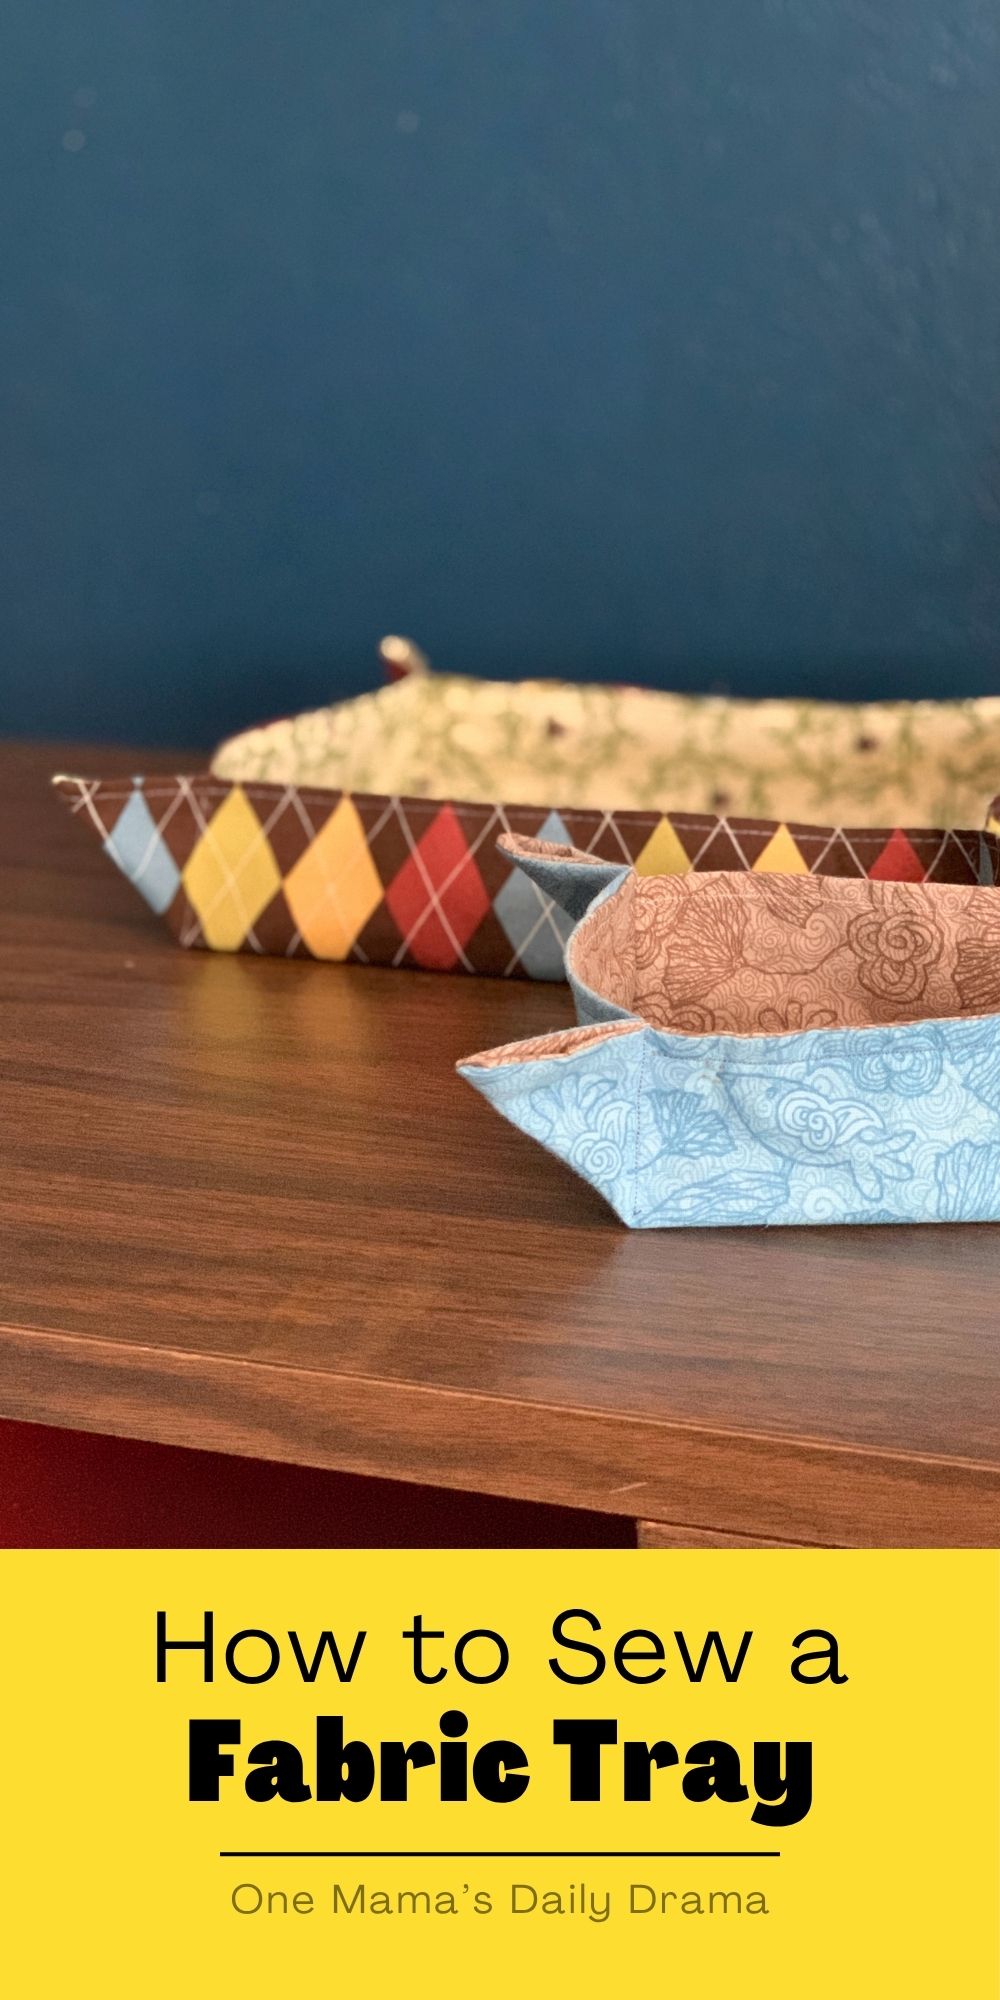
Make a cute fabric tray for rolling your dice. It’s also small and soft, so you can roll it up and take it anywhere. I made this one in 2 different fabric patterns. This is a great project for a couple of fat quarters, fabric scraps, or for using up that fabric you bought just because it was so cute.
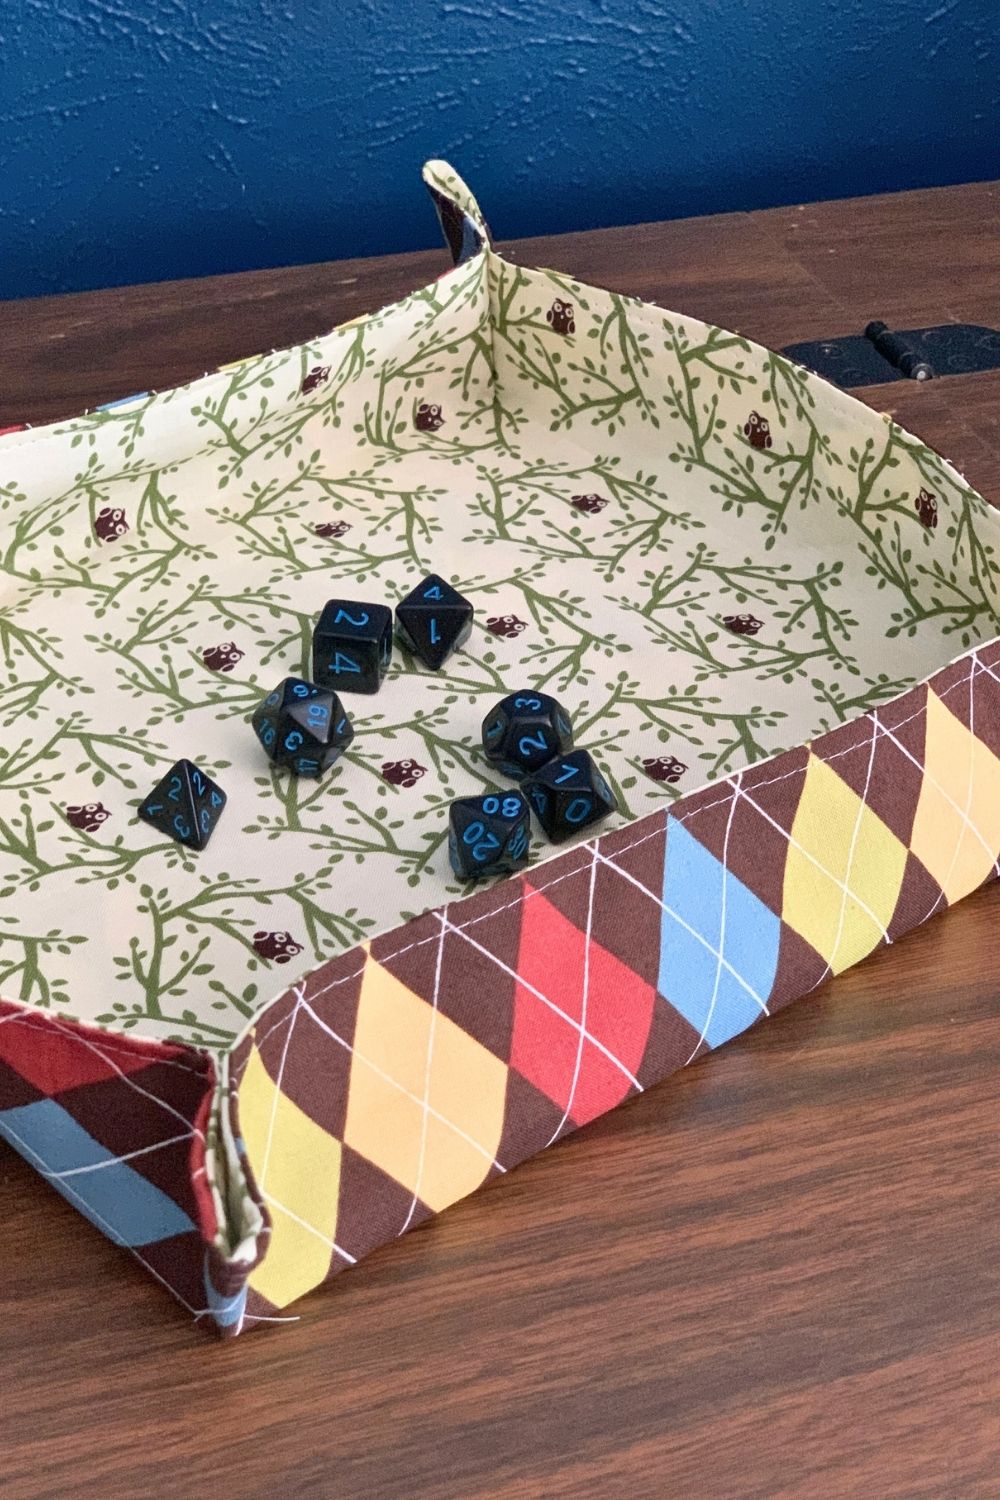
How to make a fabric tray
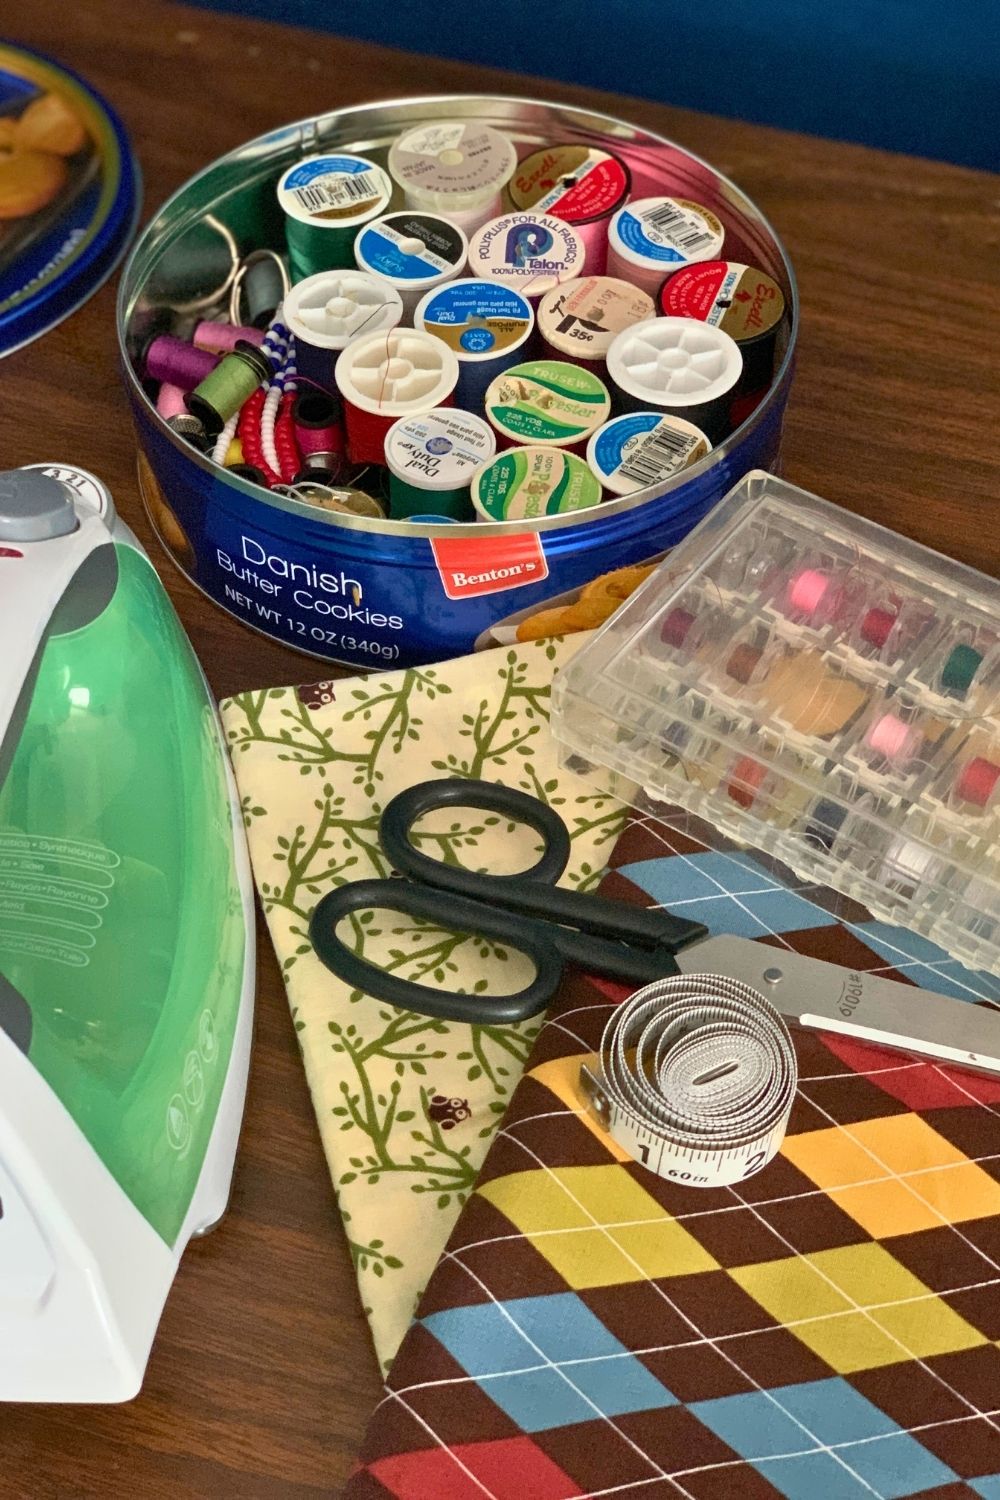
Supplies
- fabric fat quarter or half a yard
- sewing machine or sewing needle
- thread
- scissors
- tape measure
- iron
Instructions
1. Cut fabric.
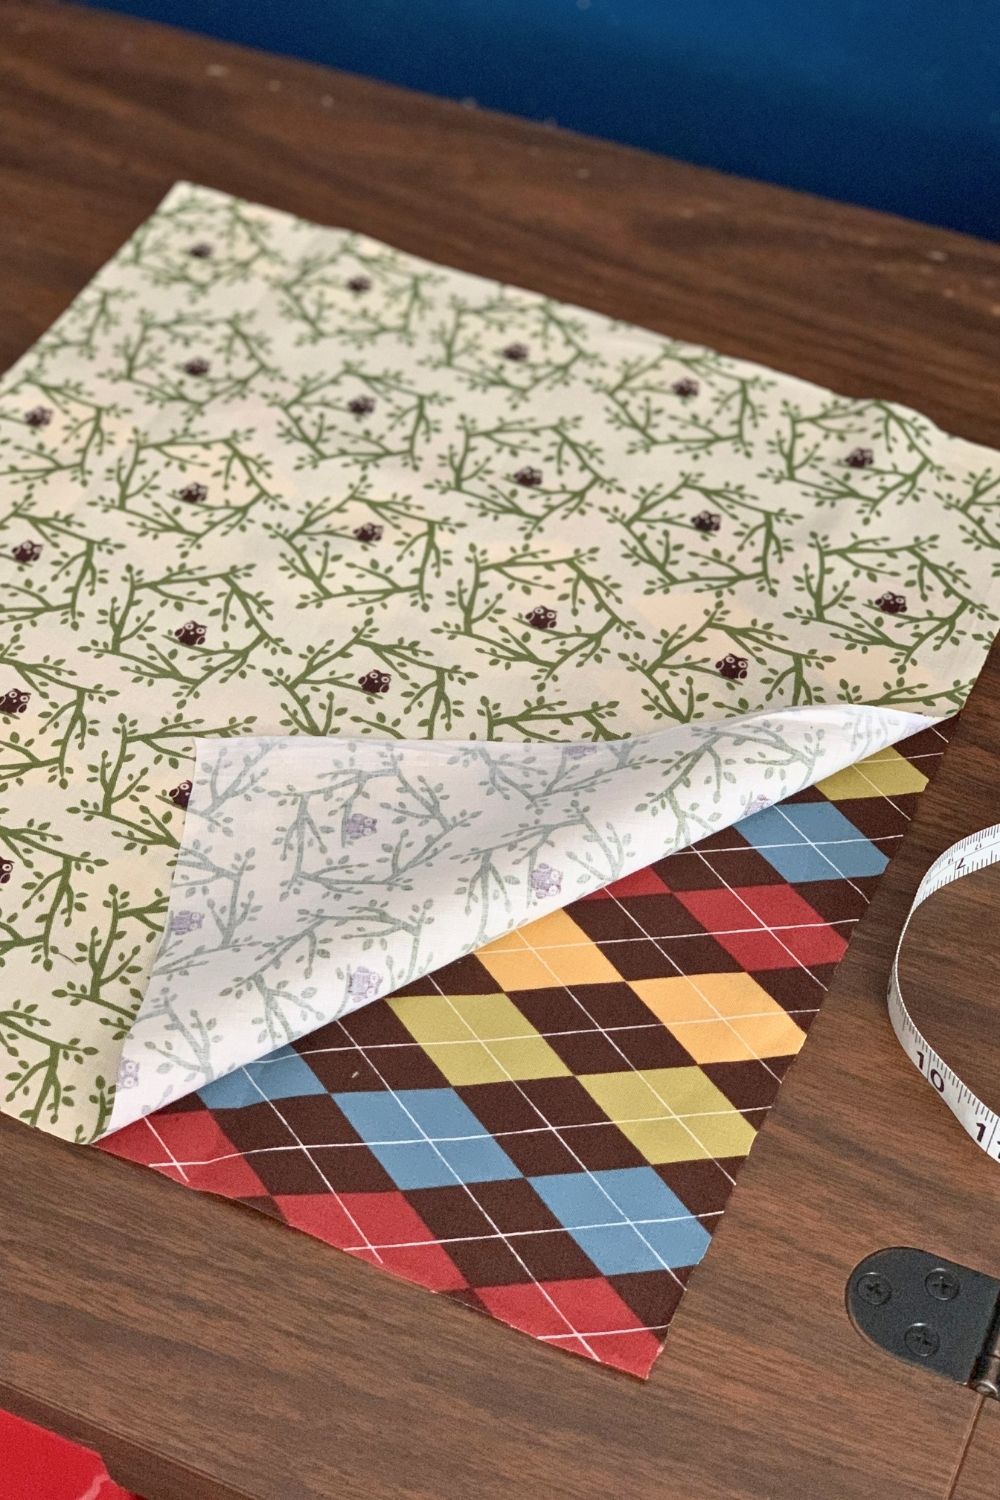
If your fabric is creased or wrinkled, start by ironing it smooth. Then, measure and cut 2 pieces of fabric in identical squares. Mine are 14×14 inches. I wouldn’t go bigger because the sides get floppy, but you can make it smaller if you like.
The best way to get exactly identical squares is to layer the fabric and cut them at the same time with a sharp pair of scissors.
2. Hem the outside.
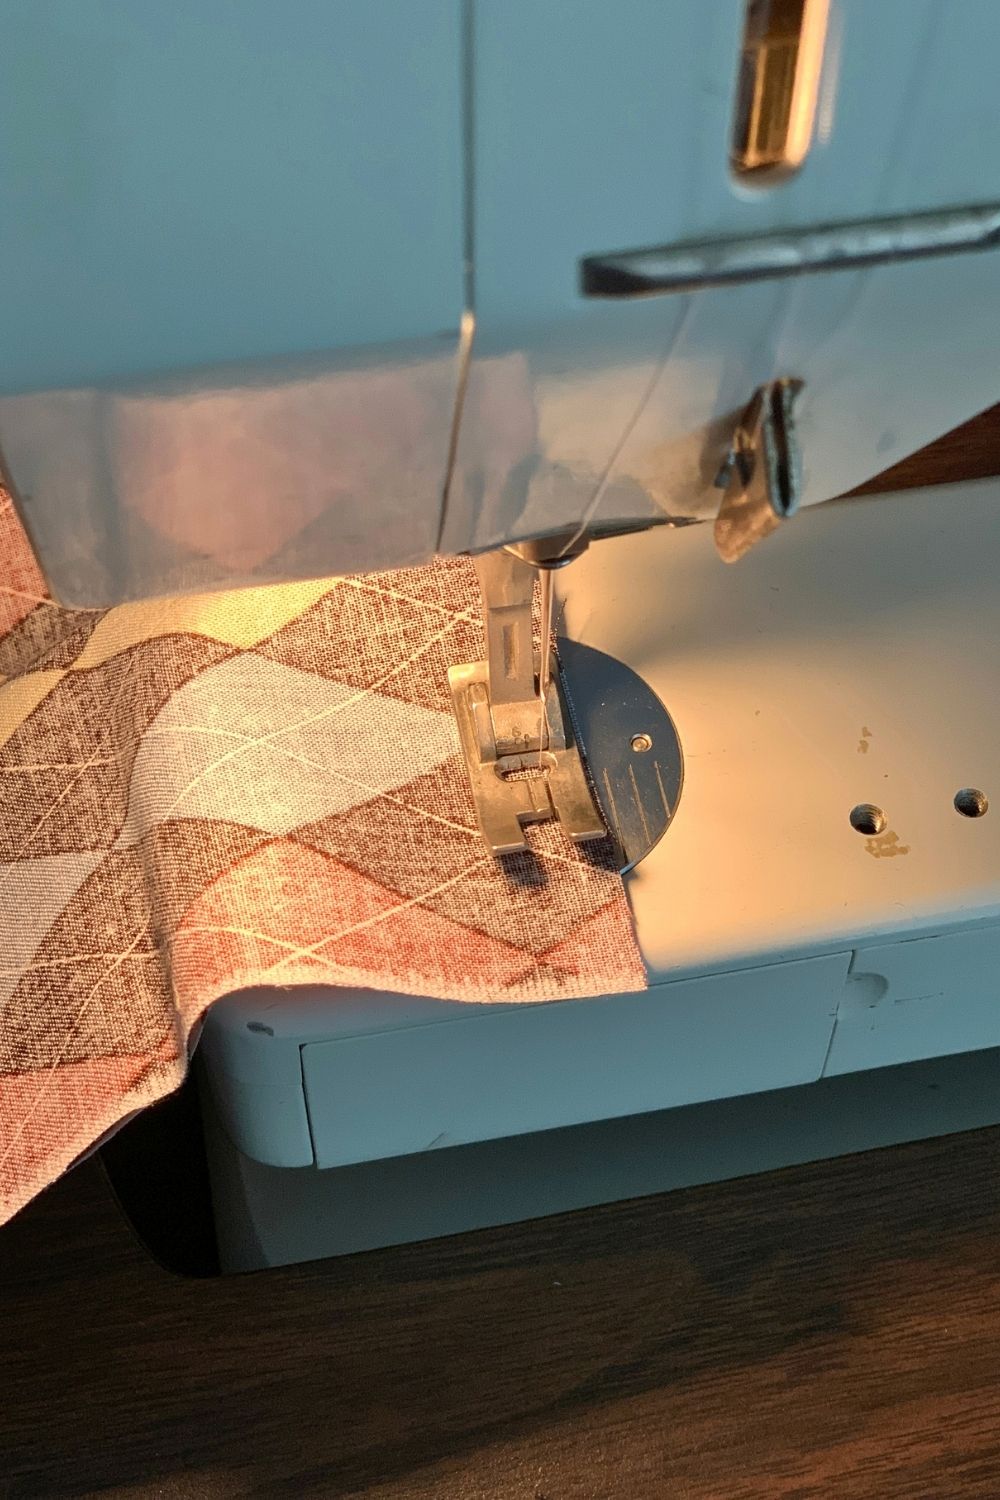
Once you have your fabric squares, line them up with the right sides (with the pattern) facing each other. Sew a quarter-inch running stitch around the entire cut edge, leaving about a 2-inch gap in the center of one side.
3. Turn the fabric out.
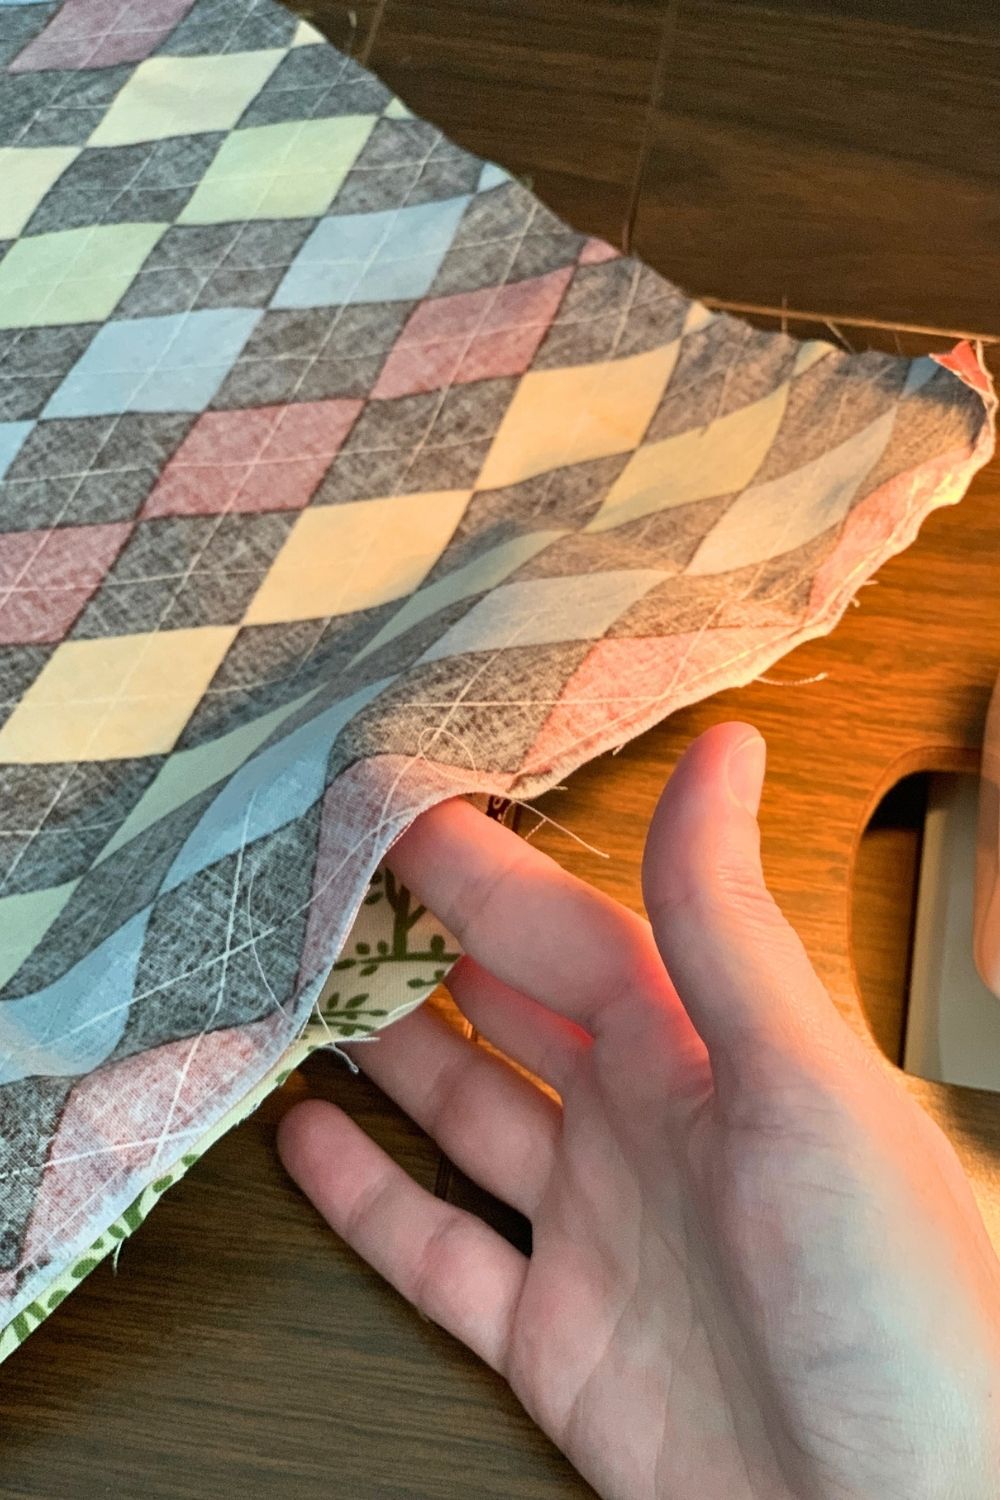
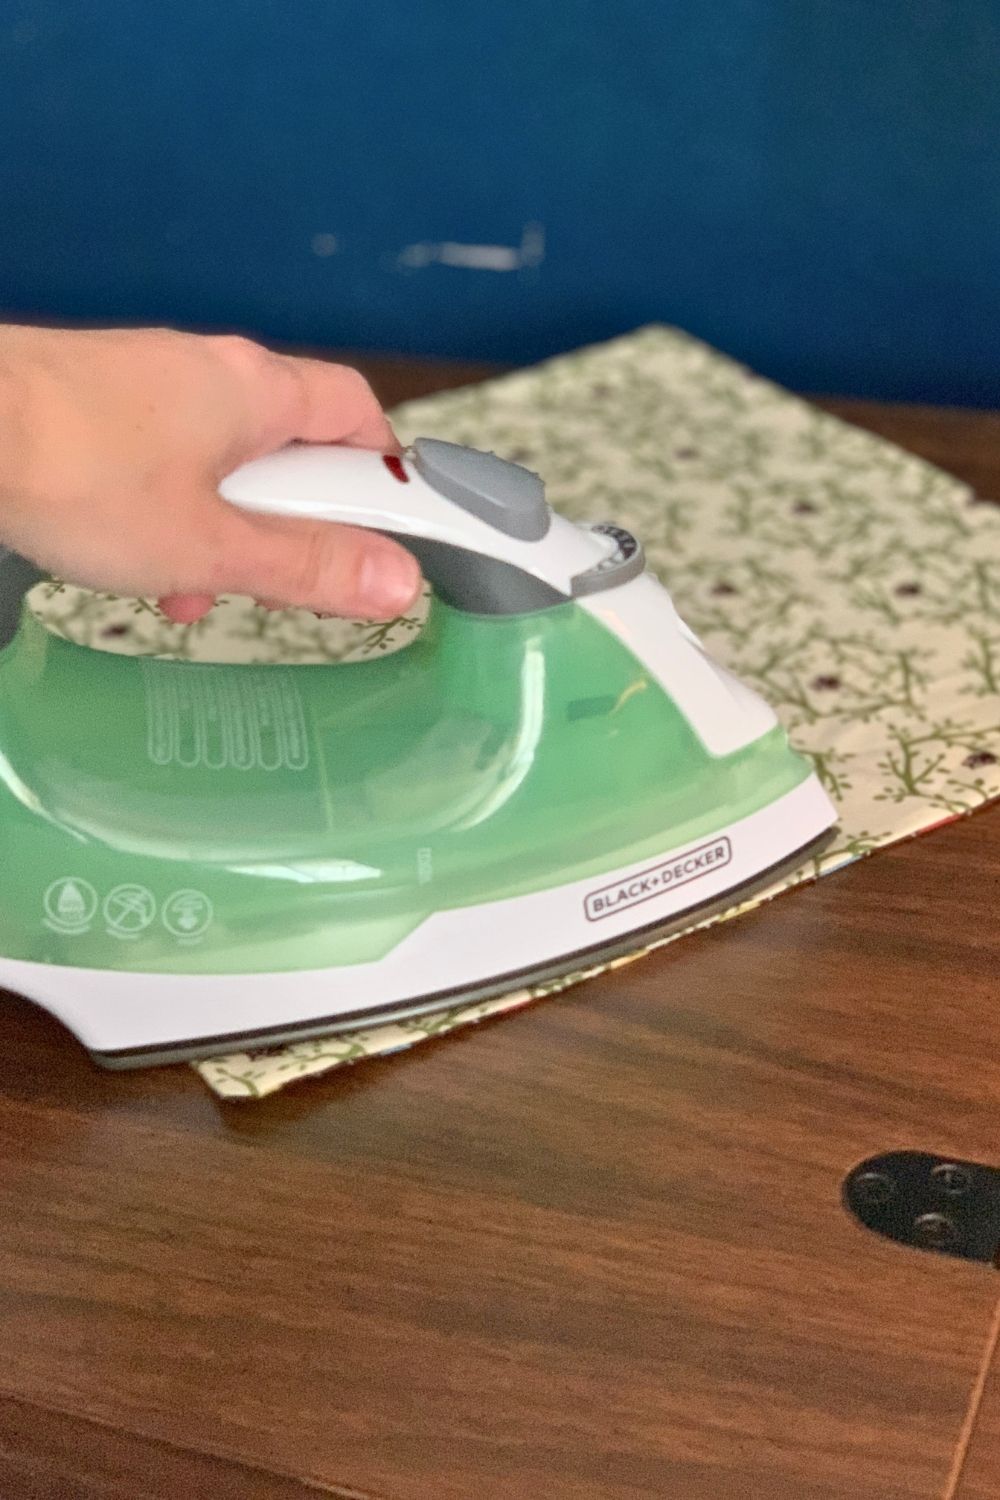
Turn the fabric right-side out by pulling it all through the gap. Smooth the fabric all the way into the corners, then iron it flat. Make sure the edges are nice and flat, including the gap that wasn’t sewn closed.
4. Finish the edges.
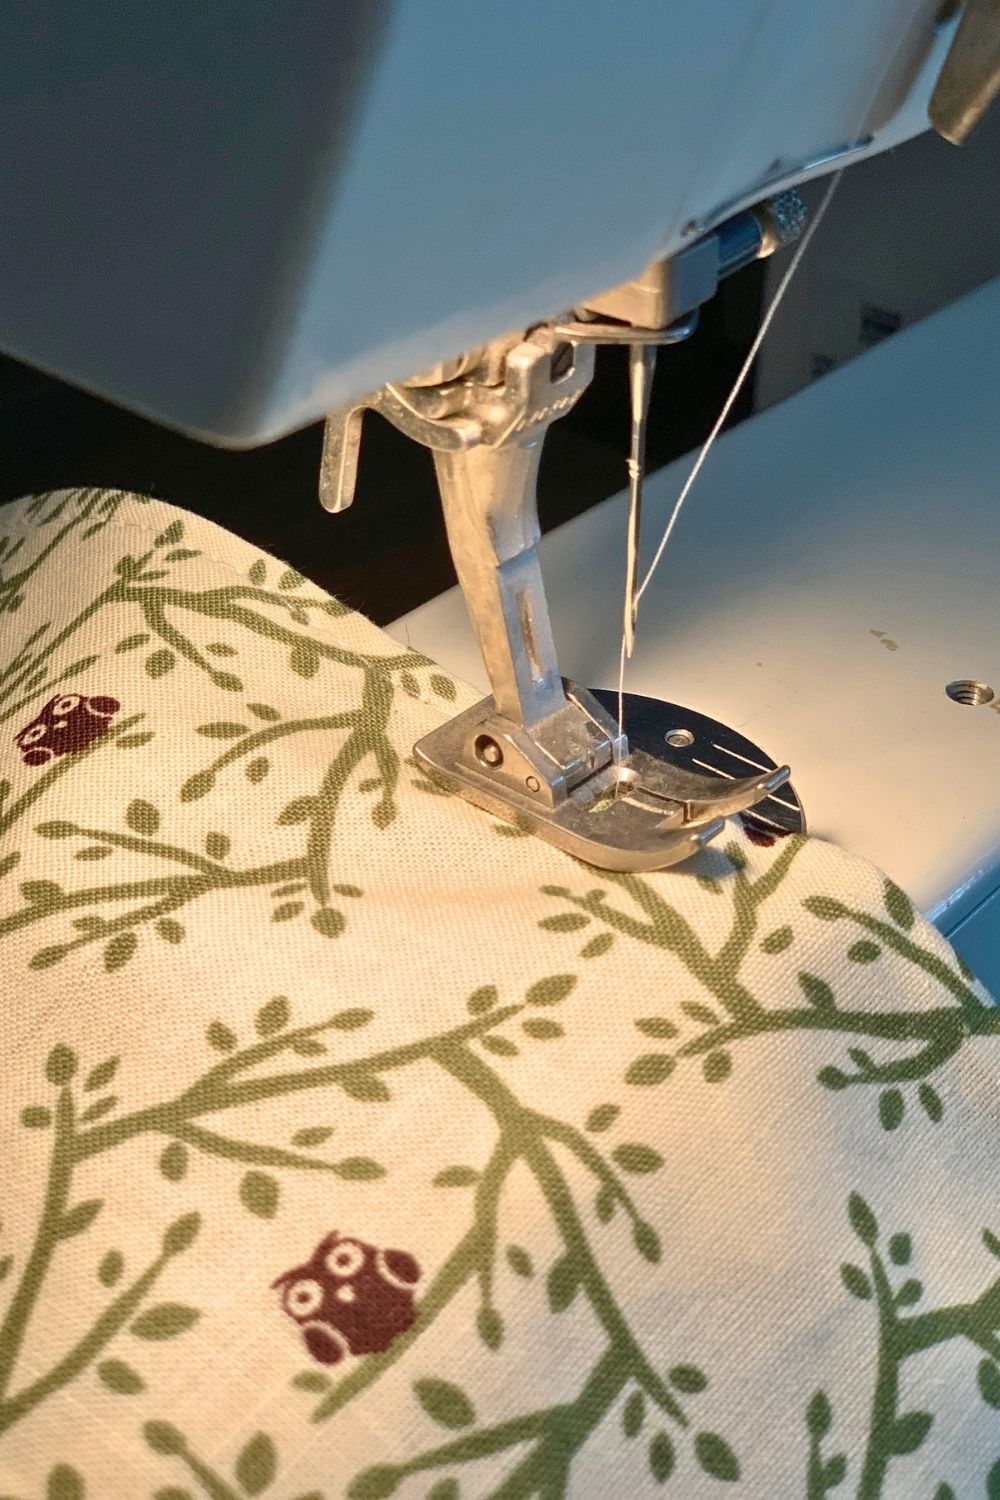
Sew another quarter-inch running stitch around the outside edge. This time, go all the way around and be extra careful along the gap so that it’s stitched flat and closed.
At this point you have a very pretty double-sided square with tidy hemmed edges.
5. Stitch the corners.
Start with one corner and pinch it so that the flat edges line up. Mark 2 inches from the corner, then sew that edge down at a right angle.
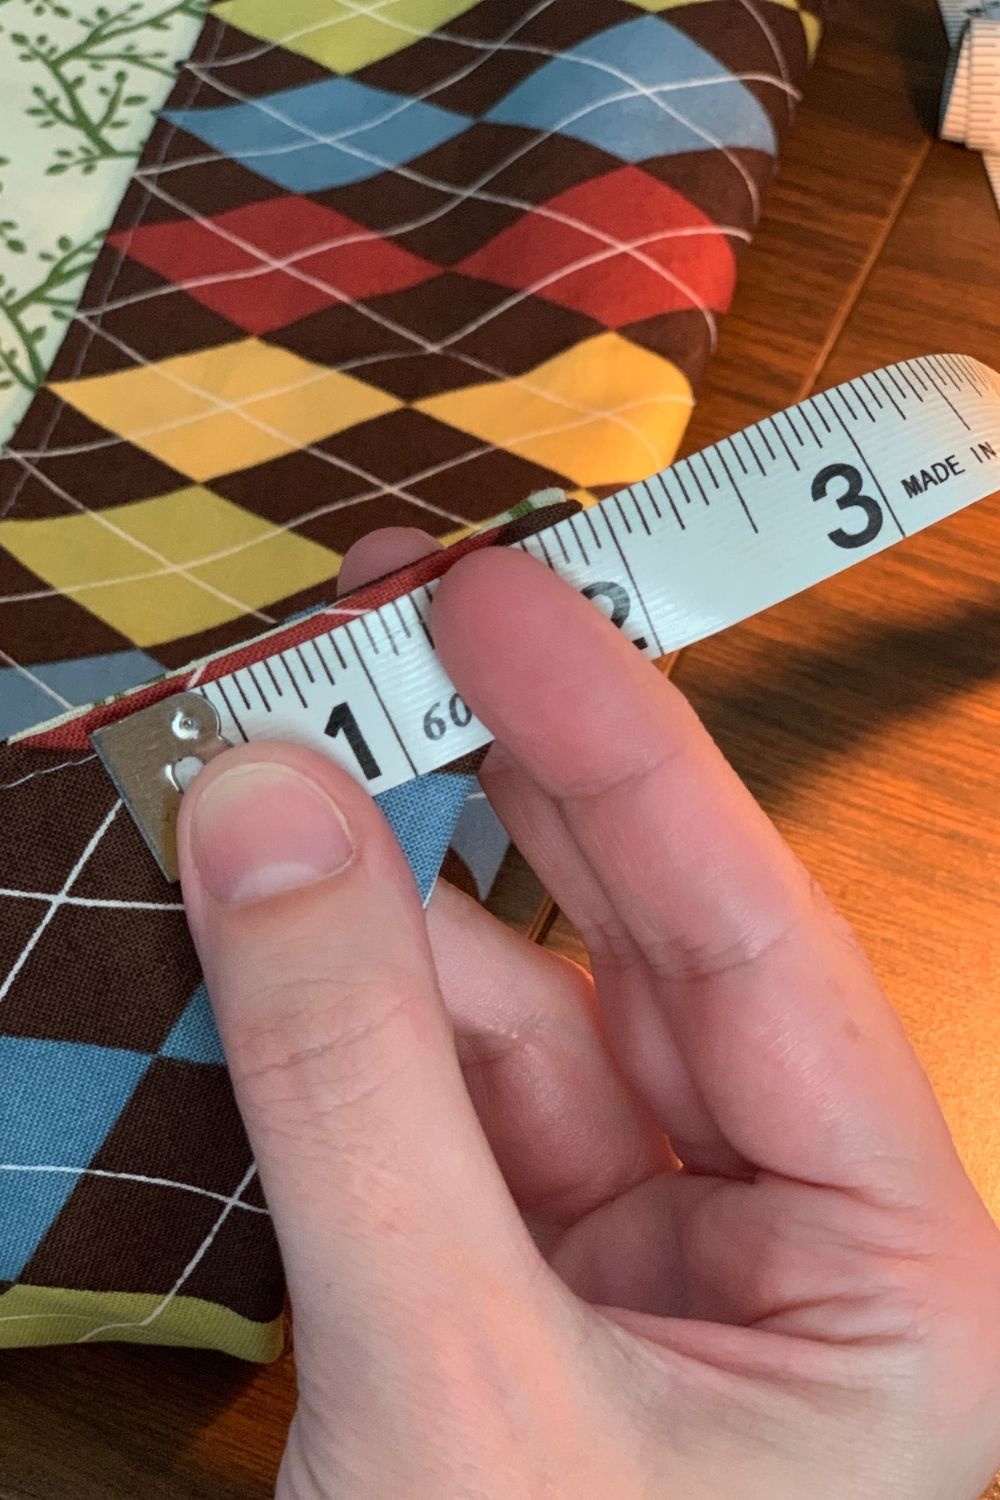
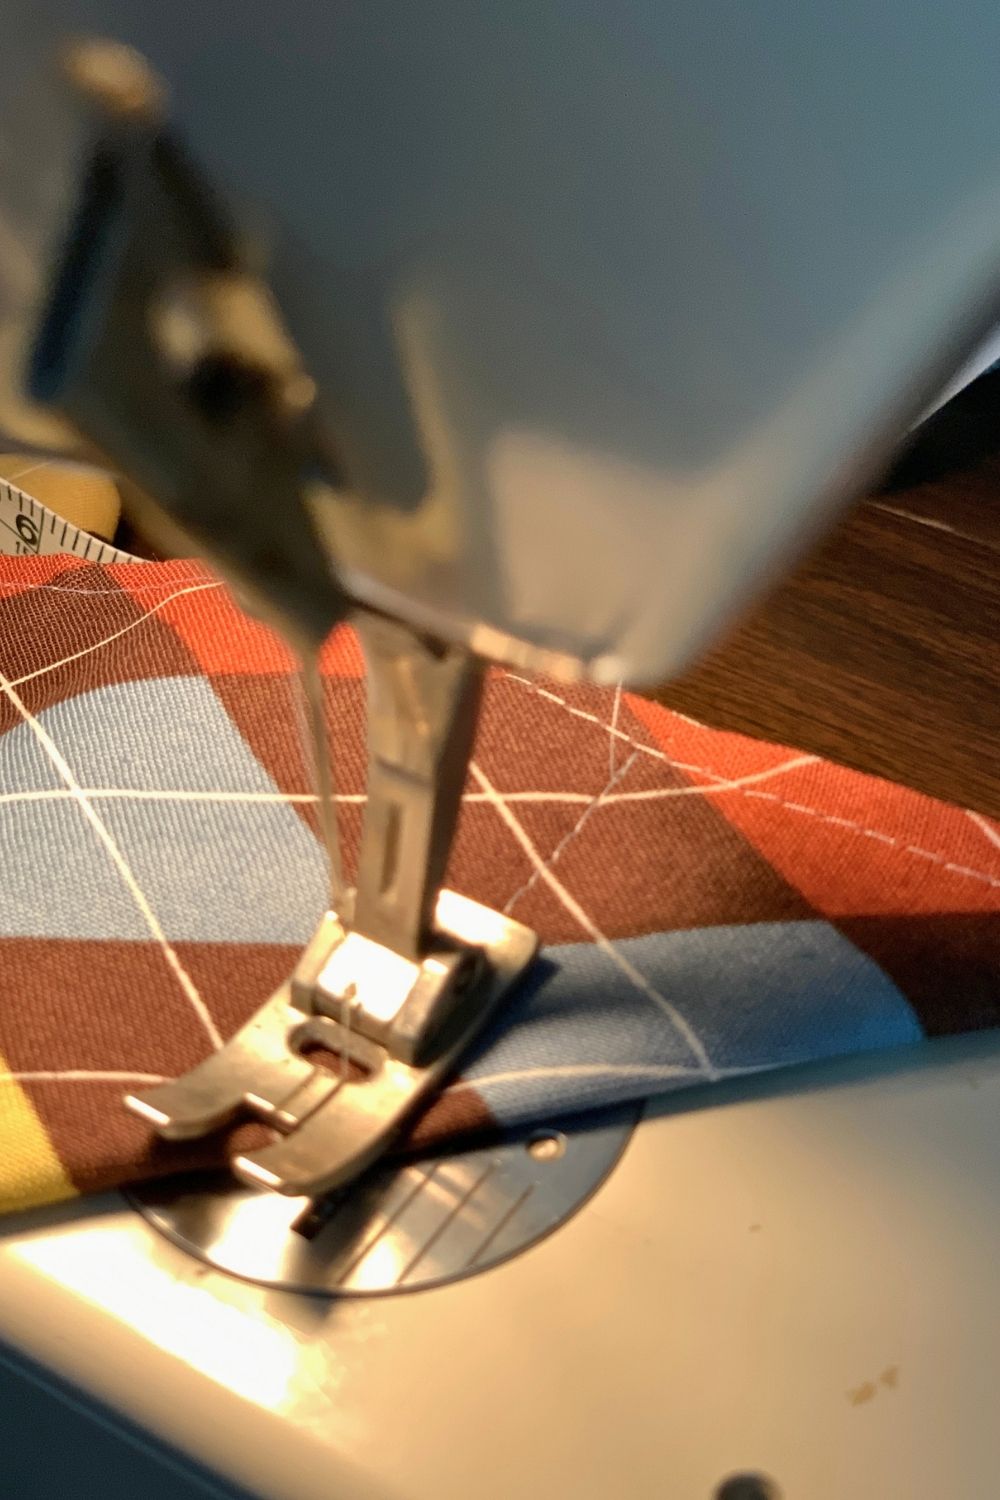
Repeat at the other 3 corners, sewing each one at a right angle. You should end up with 4 little triangles so that when you set the fabric tray on a table, the corners stand up.
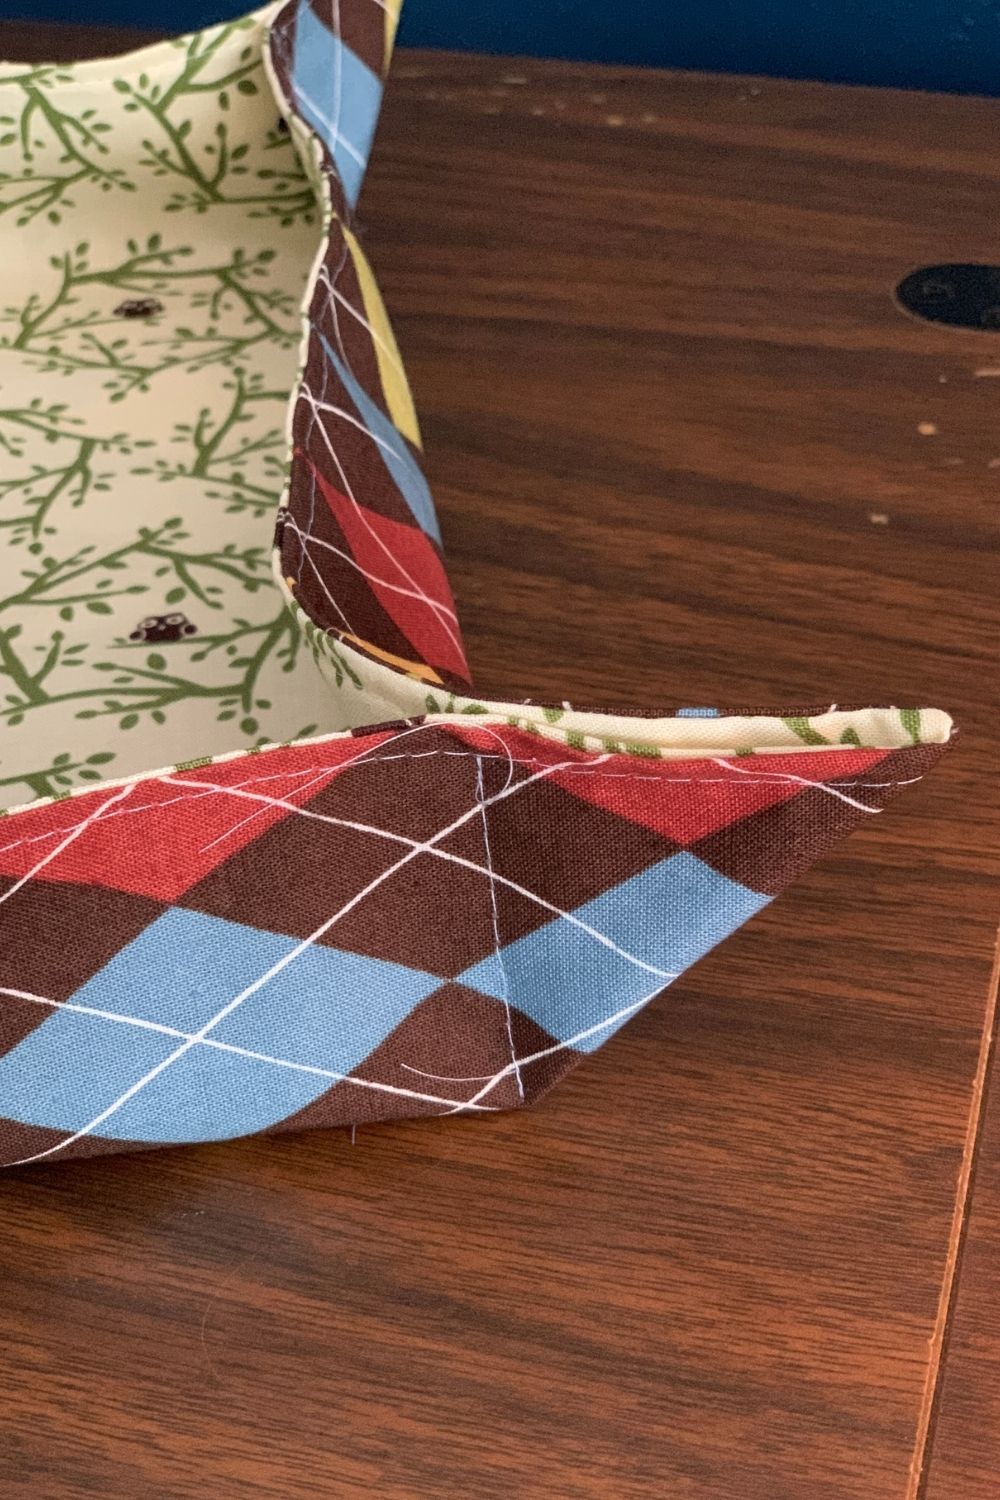
To give your tray a bit more shape, you can lightly iron the edges or even add some starch. Note that with enough starch, your tray won’t fold anymore.
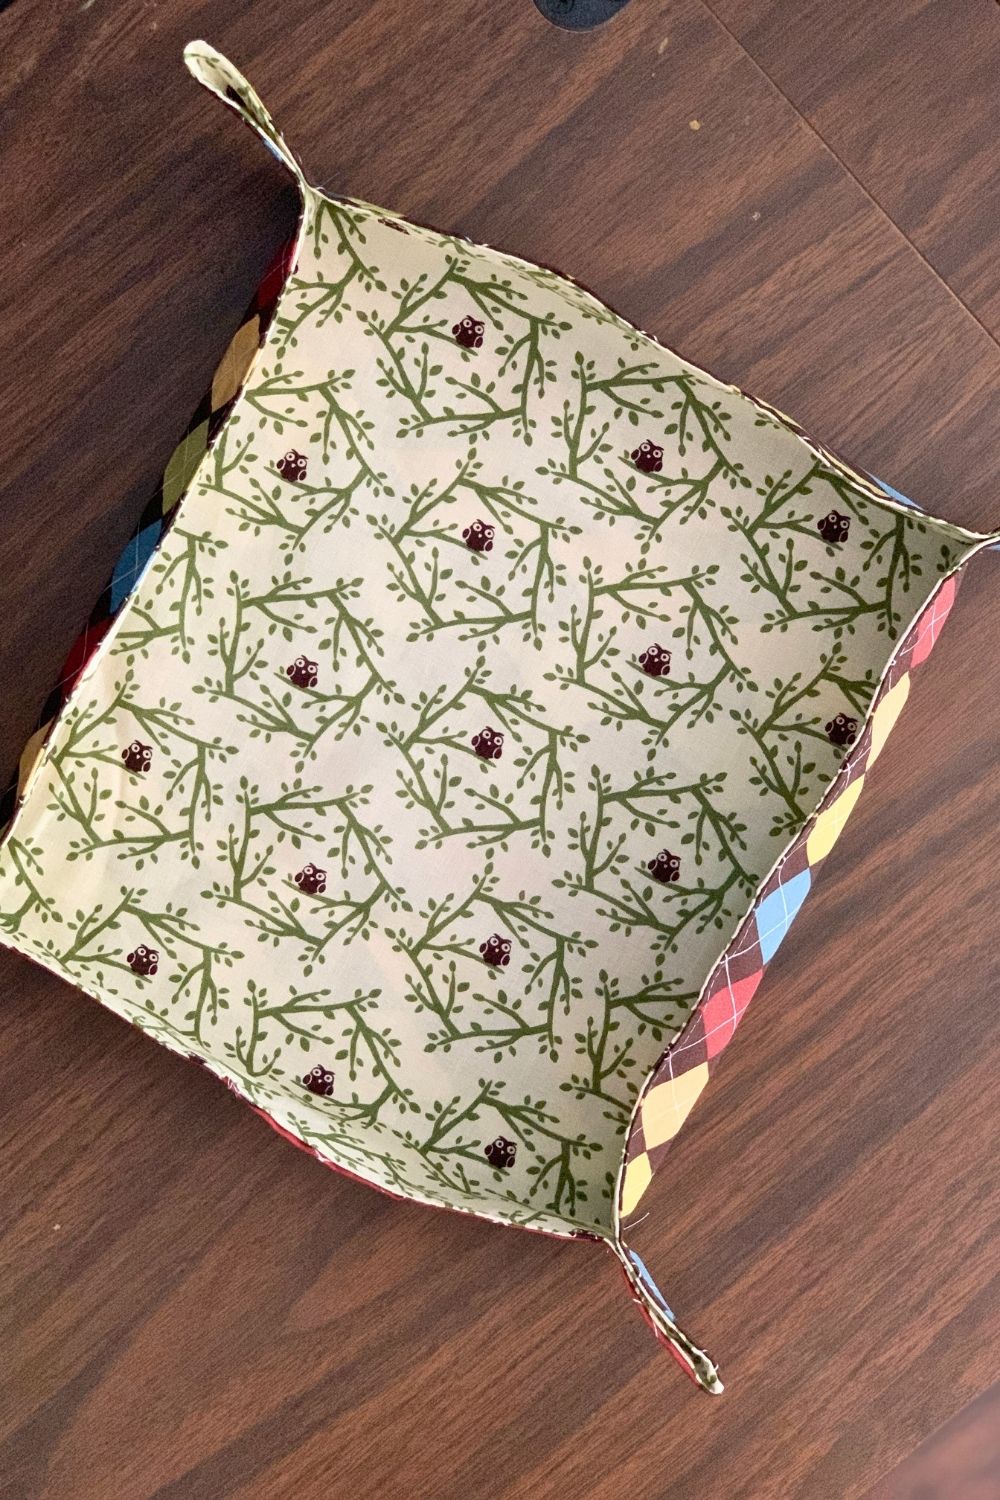
You can make these little fabric trays using leftover fabric from other projects. Make a matching set of nesting trays by cutting each one a few inches smaller. I’ve even seen people skip stitching the corners and using snaps or velcro instead.
This is such a great beginner project if you’re just learning to sew. once you’ve got the basic sewing skills, you can make one in about half an hour.
Need more sewing projects? Use up your leftover fabric and make a cute rainbow ribbon pillow.
What’s next? Try these other fun and creative ideas on One Mama’s Daily Drama:
Leave a Reply