
This rainbow ribbon pillow cover is an easy way to change out your home decor for the spring season.

Disclosure: This blog contains affiliate links. As an Amazon Associate and member of other affiliate programs, Keri Houchin earns a commission from qualifying purchases at no additional cost to you.
April showers bring Mayflowers if you ask my 8-year-old. They also bring rainbows! If you’re looking for a way to freshen up your decor for spring, new pillow covers are an easy DIY project that you can do cheap. You might even already have most of the supplies. Follow my tutorial to make a rainbow ribbon pillow.
I’ve made a few different styles of pillows. The envelope back has been a favorite for a while. It’s easy and doesn’t require me to learn how to use the zipper foot on my sewing machine.
This one is for people like me who enjoy sewing, but don’t want anything technical. I’m calling it a ribbon closure.
How to make a rainbow ribbon pillow
Supplies
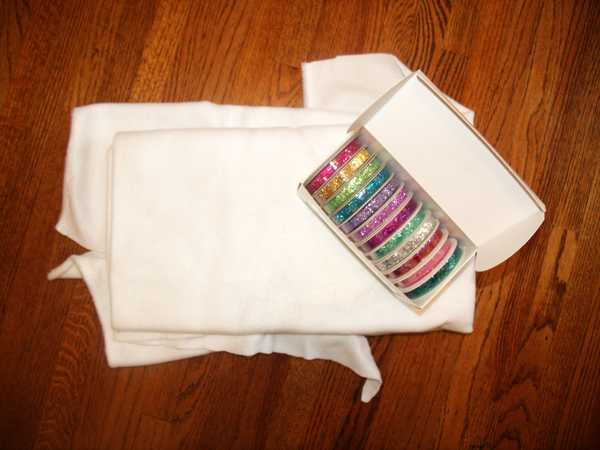
I used all scraps and things I had in my craft stash. I also covered a pillow I already have. In case you need to shop, here’s what to get.
- 1 basic pillow insert, mine is 18″x18″
- 3/4 yard white fleece fabric
- 5 feet each of ribbon in 5+ colors
- matching sewing thread
- sewing needle for hand-stitching or sewing machine
Instructions
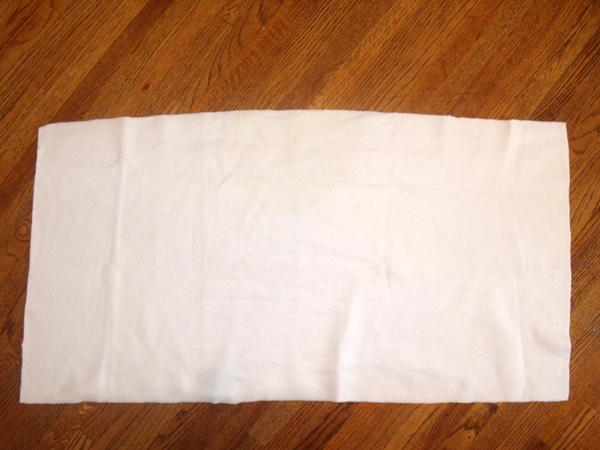
Step 1: Cut the fleece fabric.
Start by measuring your pillow to determine how much fabric you need. Add one inch to the short side and double that number for the long side, then cut it out.
My pillow was 18×18-inches, so the fabric piece was 19×38-inches.
Step 2: Cut the ribbons.
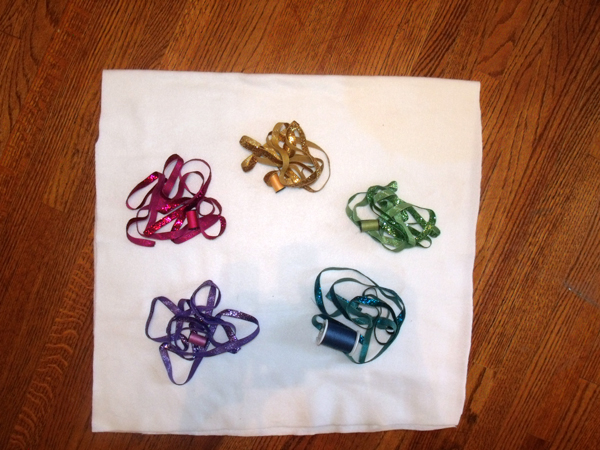
Next, measure the ribbon. I folded my fleece in half and just held up the ribbon, leaving a 10-inch tail on either end. Each piece of ribbon turned out to be 58-inches long (19+19+10+10).
I used five different colors, but you can use more or less. Instead of the traditional primary color rainbow, I thought a pastel would be pretty.
I also chose matching threads because I had colors that were pretty close. I actually bought this pack of tiny spools when I first started sewing and never used them.
Step 3: Attach the ribbons to the fleece.
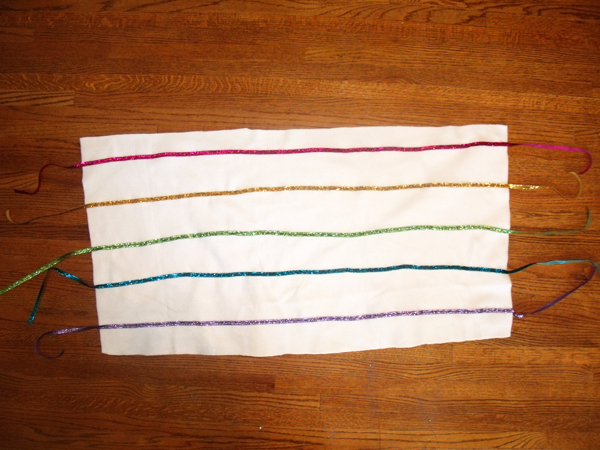
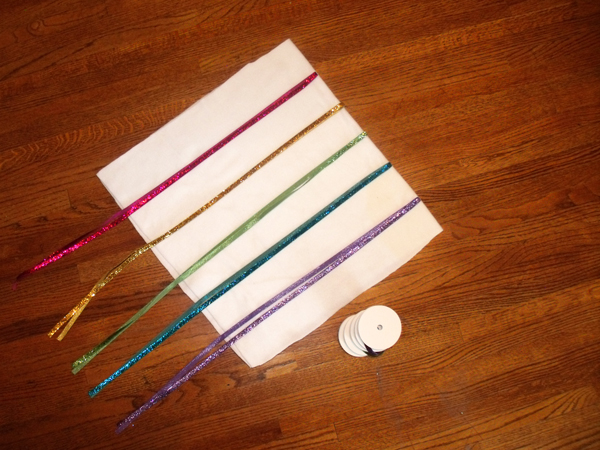
The next step is to sew all the rainbow ribbons onto the white fleece. I started in the middle with the green, then moved out from there. I tried to space the ribbons evenly but didn’t measure anything.
To attach the ribbons, center them on the fabric longways with tails hanging off either evenly. Run down the length of the ribbon with a basic straight stitch in the middle.
Step 4: Hem the pillow cover.
Once you’ve sewn all the ribbon in place, it’s time to close the pillow on two sides.
Fold the fleece in half with the ribbons on the inside and all the tails hanging out of one end. Using white thread and the same straight stitch, sew along the 2 sides parallel to the ribbons.
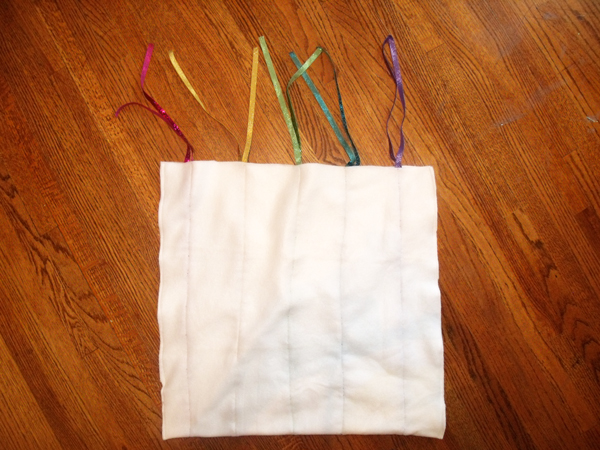
Trim the zillions of tiny threads, then turn the pillow cover right-side-out. Slip the rainbow ribbon pillow cover onto a pillow insert or any throw pillow.
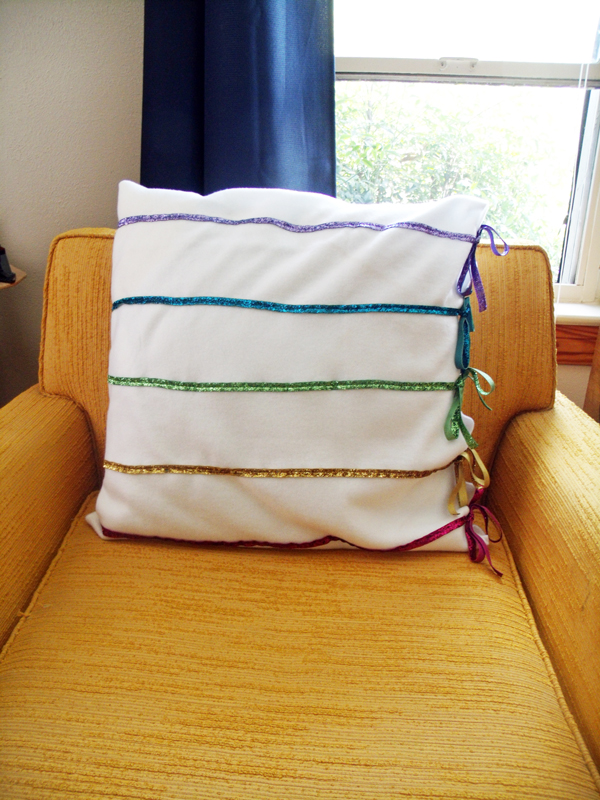
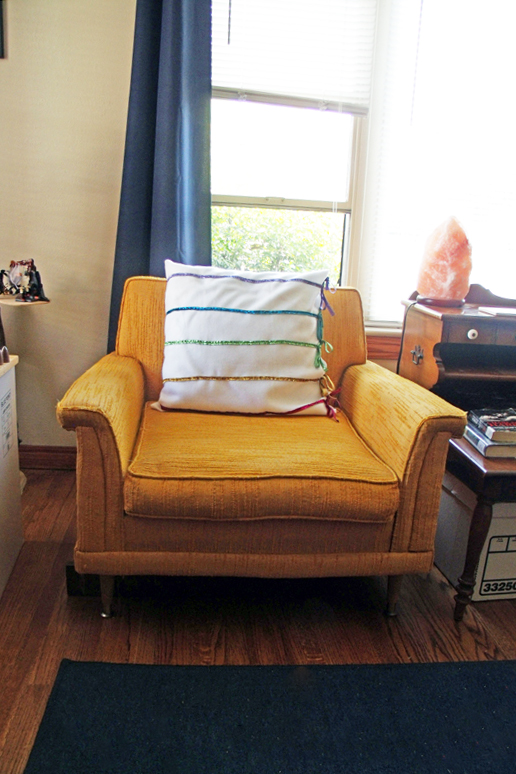
I love how it looks on my vintage armchair? I love vintage and rainbows were all the rage in the 60s, right?
Simple, seasonal, and you can use whatever ribbons you happen to have in your stash. This was fun and easy to make. It took me maybe an hour to do the whole thing. And I can change it out when the season changes again.
What’s next? Try these other fun and creative ideas on One Mama’s Daily Drama:
Stopping by from Tips & Tricks. Nice pillow. I am still learning to sew and have been making pillows so I always enjoy learning new ideas.
Thanks for visiting!
I love your pillow. So simple but yet so pretty. Thanks for sharing this with the Tips & Tricks link party! Pinned!