
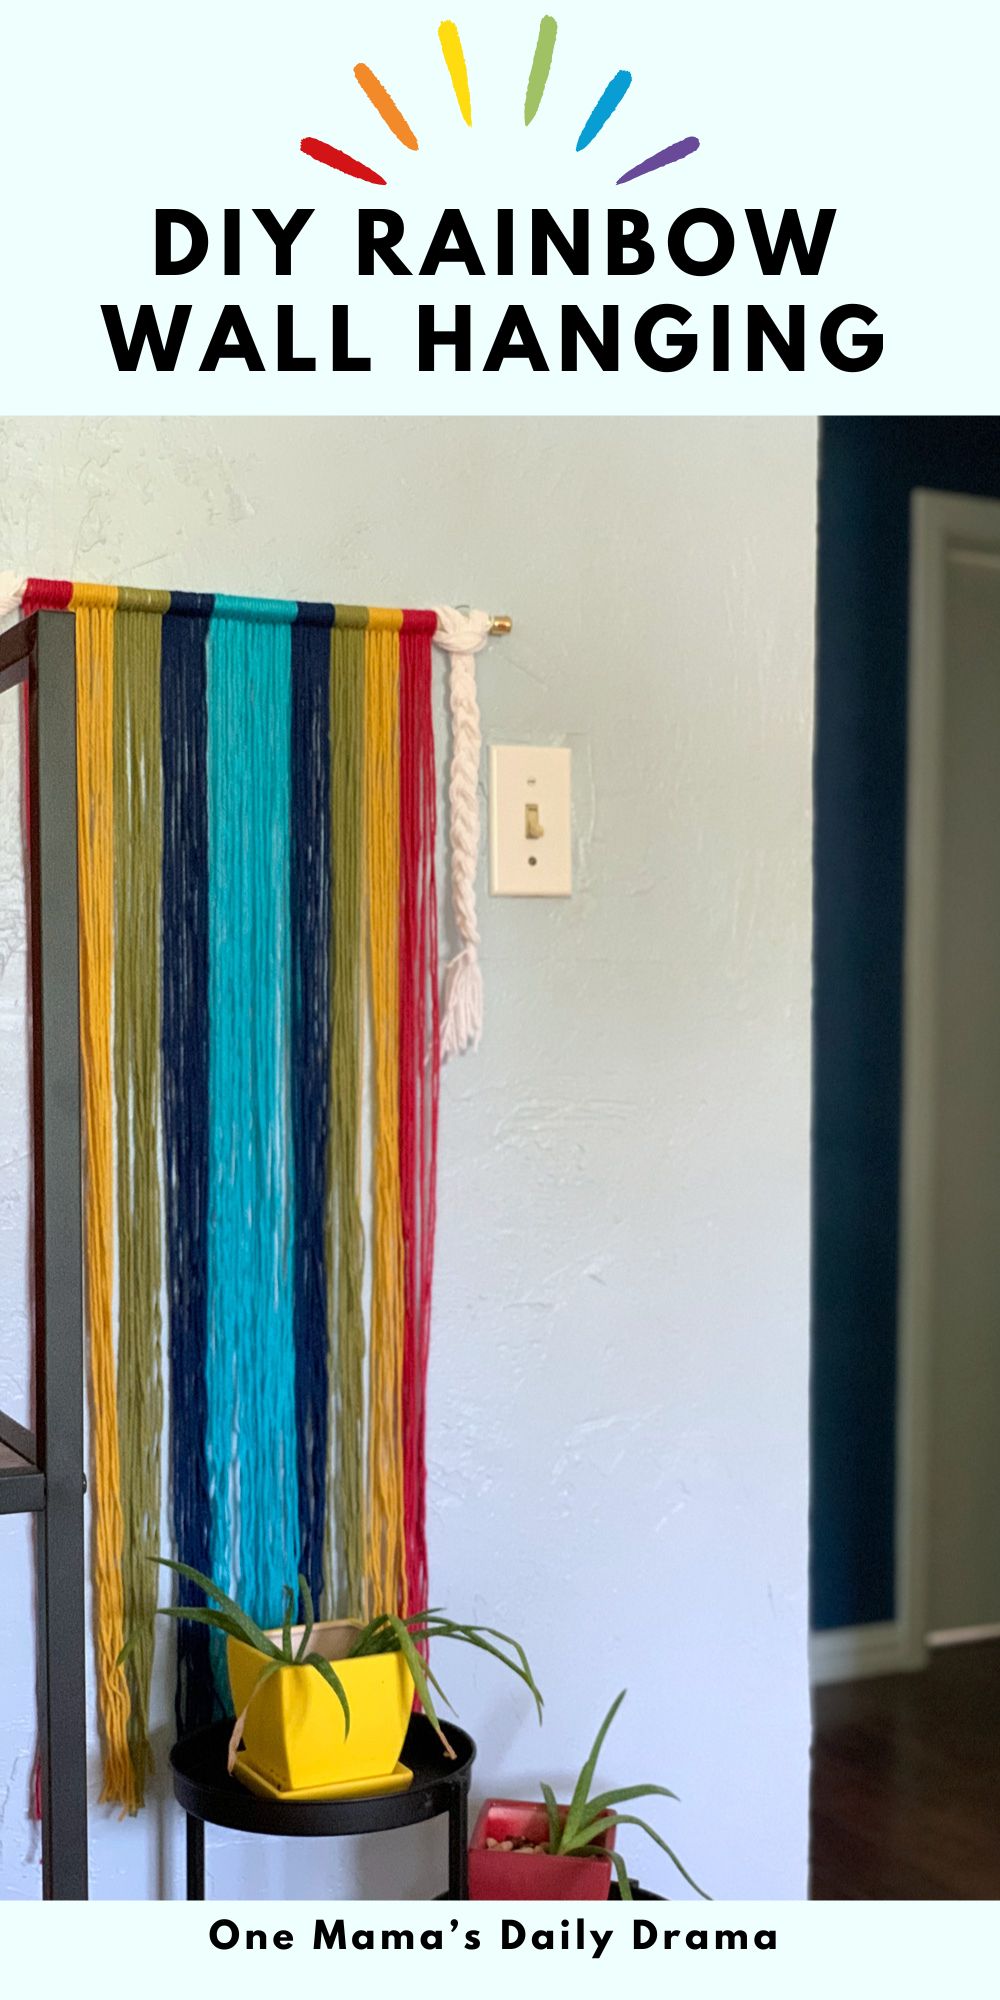
Make an easy DIY rainbow wall hanging using only lark’s head knots and braids for a colorful yarn art craft project.

Disclosure: This blog contains affiliate links. As an Amazon Associate and member of other affiliate programs, Keri Houchin earns a commission from qualifying purchases at no additional cost to you.
Note, this post was originally published in 2020 and updated in 2024 with a better technique.
I’m digging all the 1970s decor that seems to be trendy now. I’ve always loved the 1960s styles and have slowly added more 70s elements to my house.
Macrame wall hangings are currently popular, but learning all those knots can get confusing. So I decided to come up with my own easier version that uses a basic macrame knot and some classic 3-piece braids.
Macrame tips
Dowel
The first time I made this, I used a 3-foot-long wood dowel and it was just too big. You need quite a lot of yarn to create a thick-looking design, so a very long dowel needs a ton. For my new version, I used a curtain rod that measures 16 inches.
Yarn
Cotton yarn is the best, but you can use others. This is a great way to use up leftovers in your craft stash. Be careful when measuring that you don’t stretch the yarn or it will end up uneven.
Colors
I went with a modified rainbow color scheme that matches my home decor. You can use any combination of colors. You could do ombre with several shades of the same color, primary colors, pastels, or the main colors in your home!
Size
I mentioned above that my rod is 16 inches long. The finished wall hanging is about 36 inches long. You can make yours any size. If your rod is wider, you’ll need more yarn. You can also make it shorter by cutting the yarn into smaller strands. This doesn’t shorten much, so cut the yarn twice as long as you’d like the finished rainbow wall hanging to be.
How to make a rainbow wall hanging
Supplies
- scissors
- wooden dowel or metal curtain rod/bar
- cotton yarn in red, yellow, lime green, navy blue, teal, and white
- soft tape measure

Instructions
1. Measure and cut a lot of yarn.
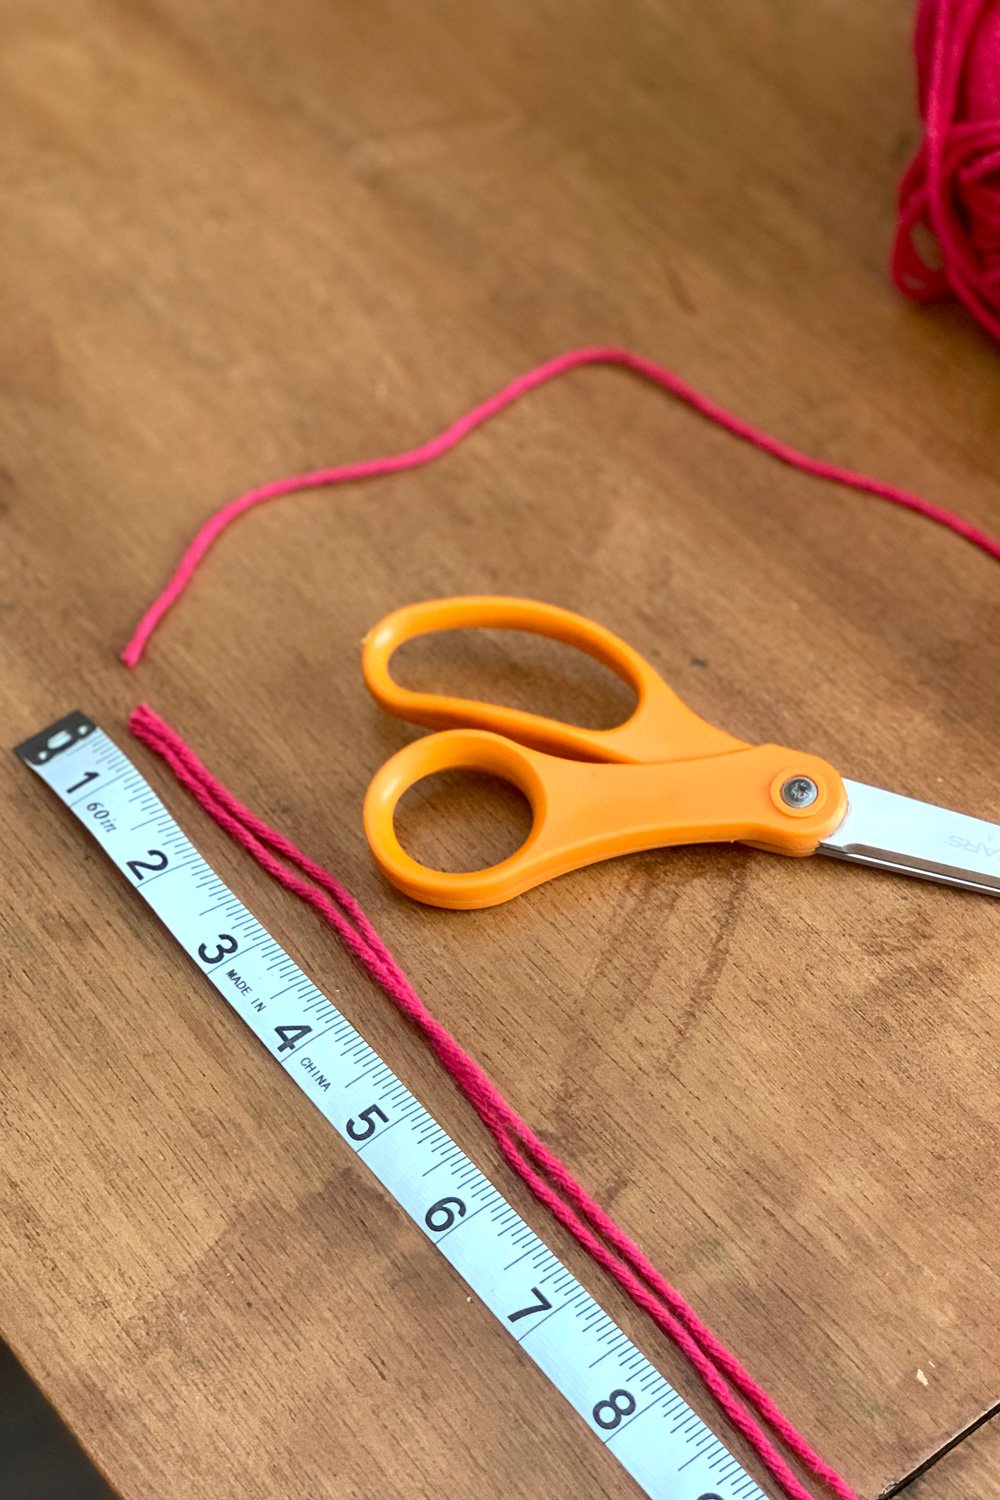
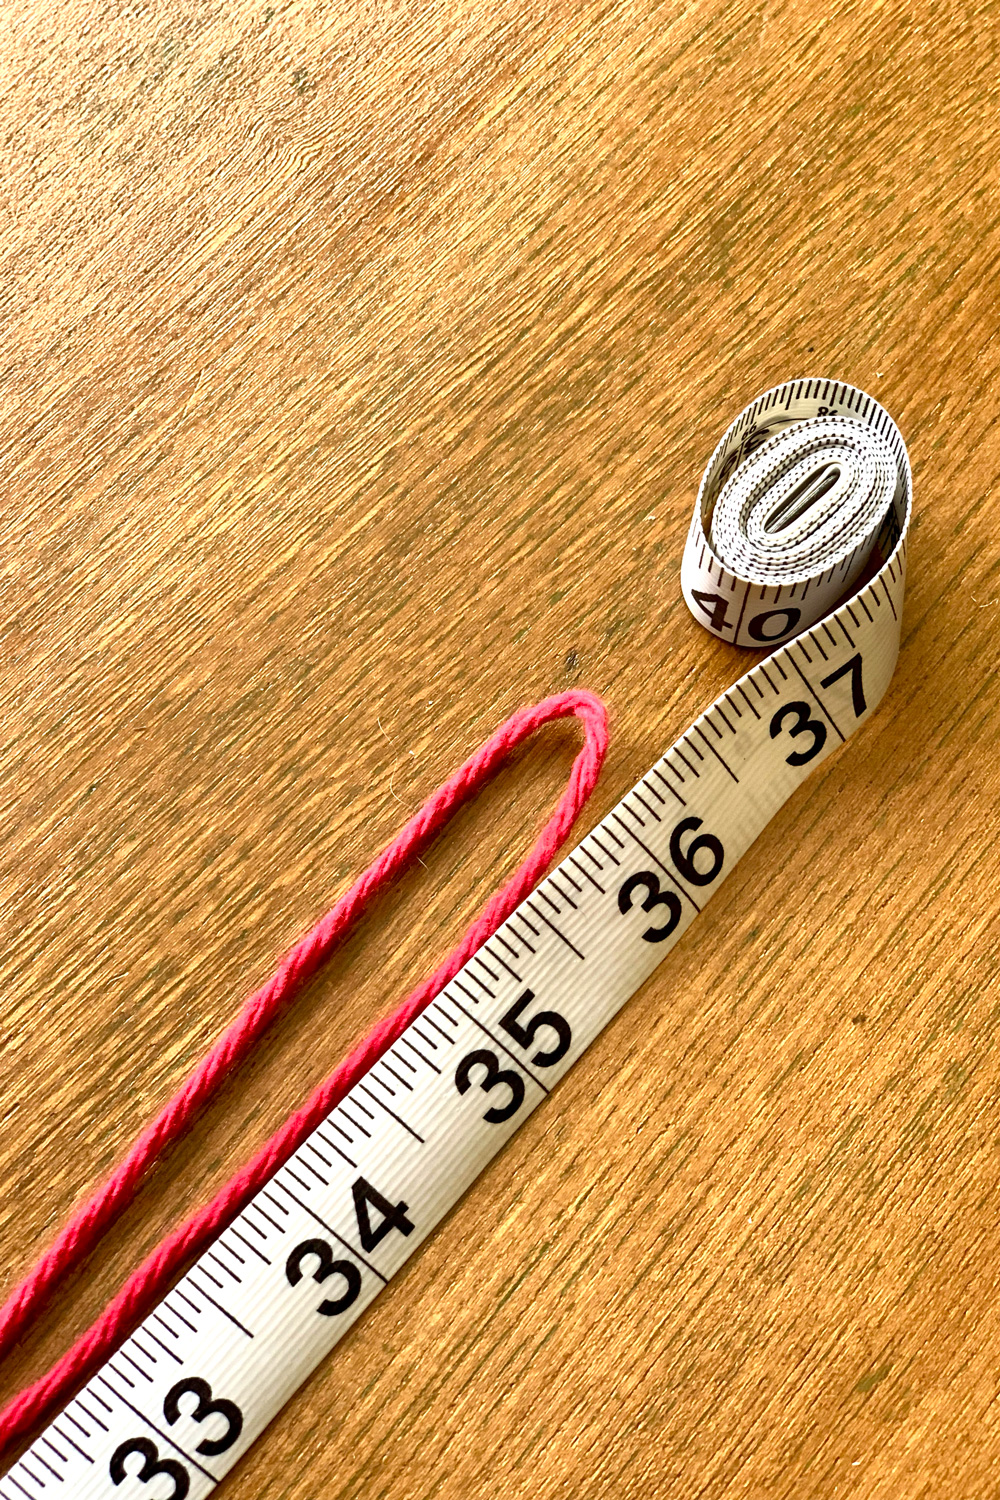
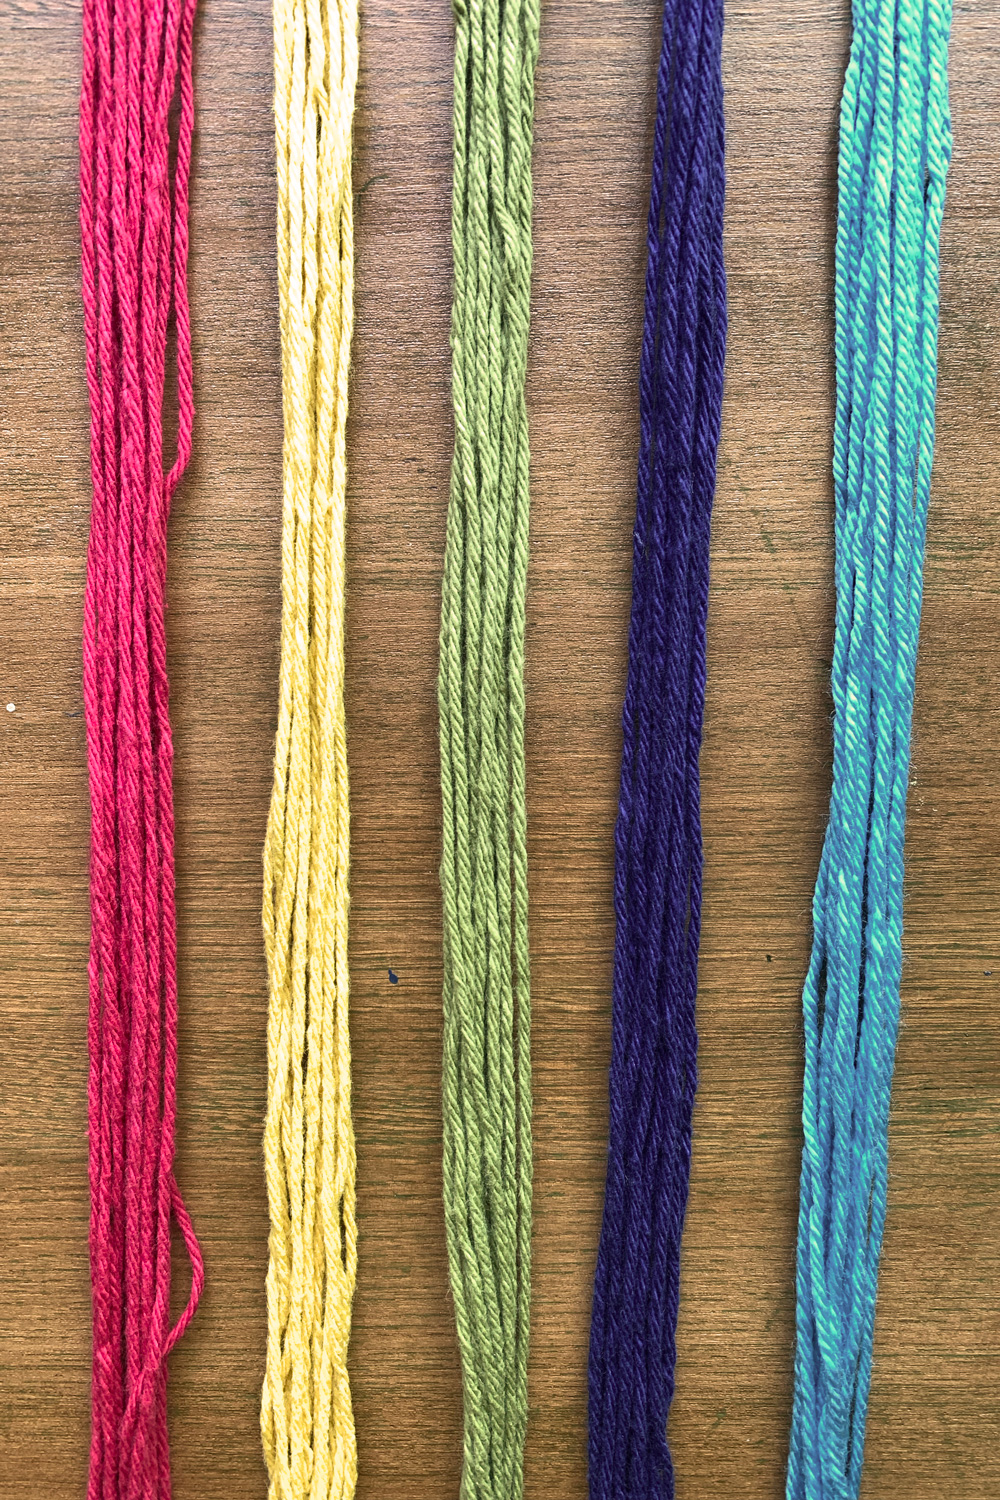
The most time-consuming part of this craft is the first step. Cut lengths of yarn that are 72 inches long. I cut 12 each of 5 different colors, for a total of 60 strands of yarn.
2. Make a lark’s head knot.
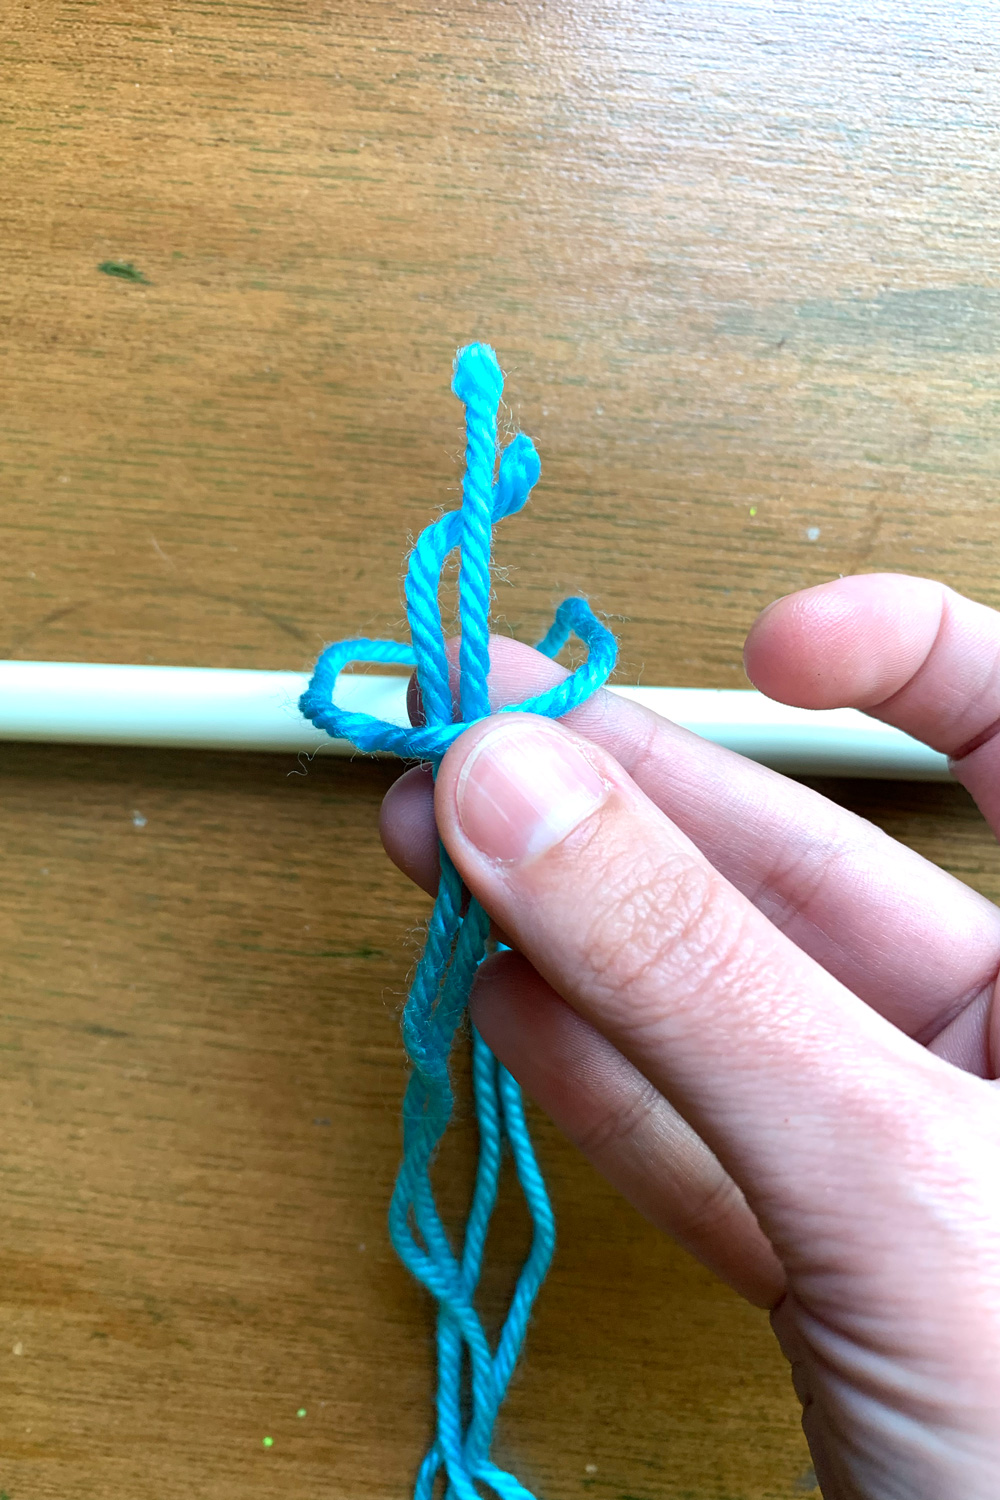
This is one of the simplest macrame knots, used for attaching yarn to a rod. Start with the center color of your rainbow; teal for this one. Fold the yarn in half with the looped end at the top behind the rod. Bring the cut ends up, in front of the rod and through the loop. Pull the cut ends down to tighten the knot.

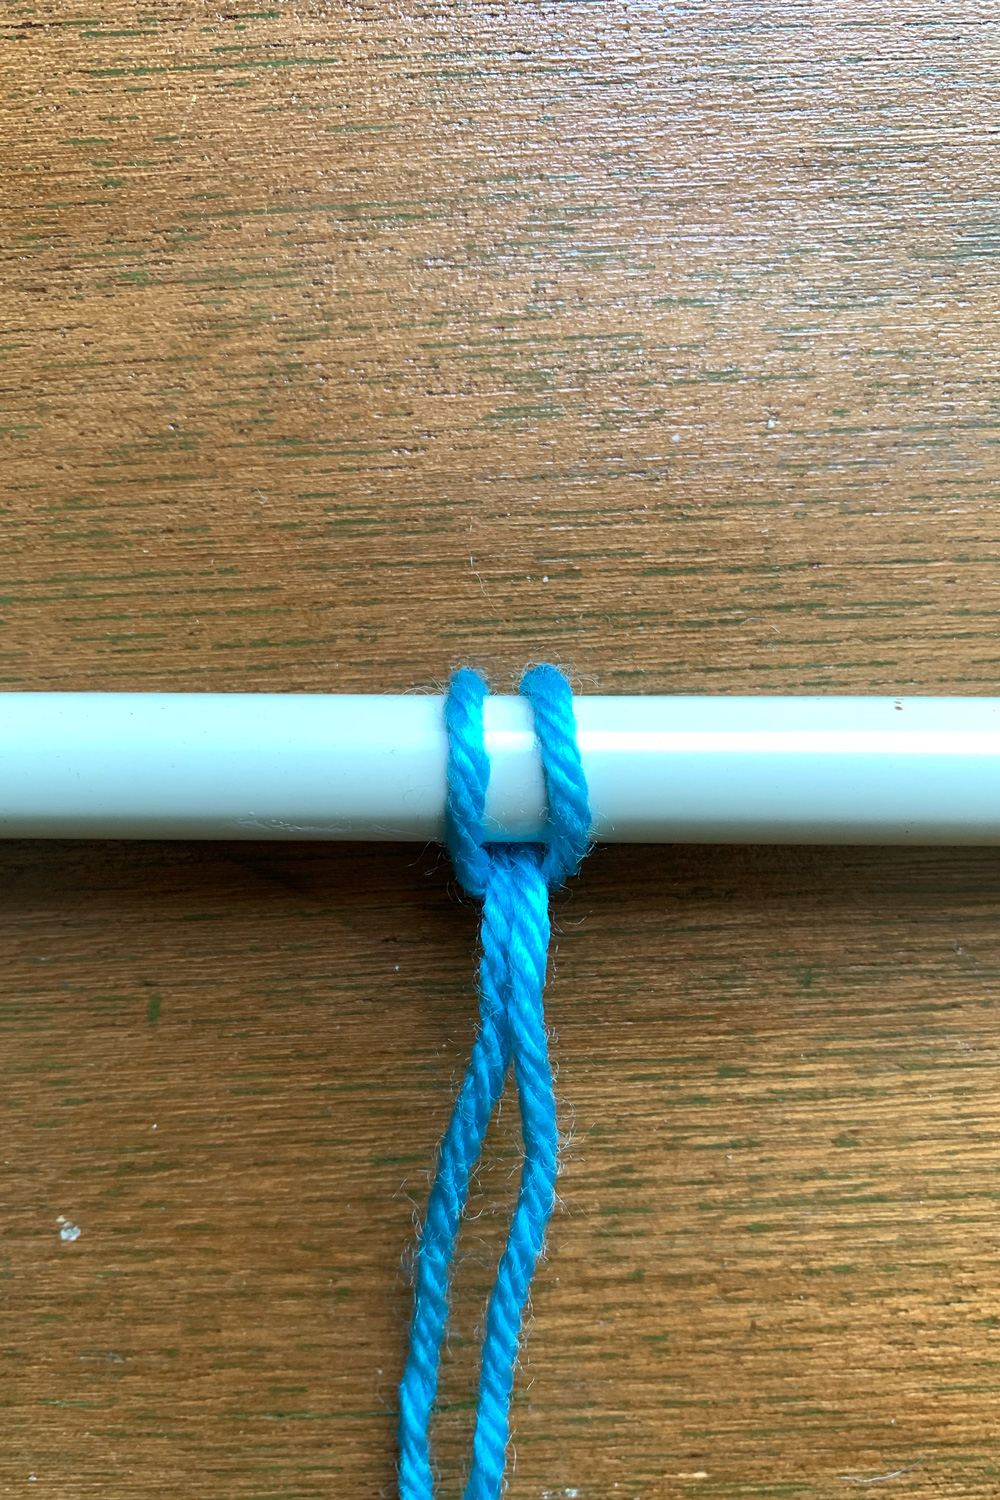
3. Add yarn colors to the rainbow.
Repeat step 2, making lark’s head knots to add all 12 of the teal strands. Divide the next color, navy blue, in half and use the same technique to add half to each side of the teal. Keep repeating with half on each side until you’ve reached the outside of the rainbow.


4. Make a braided cloud.
To make the white braided clouds, you’ll need 12 strands of white yarn. I cut mine 36 inches long, so they’re half the length of the rainbow stripes. Bundle them together and use a lark’s head knot to attach the white yarn to the end of the rod.

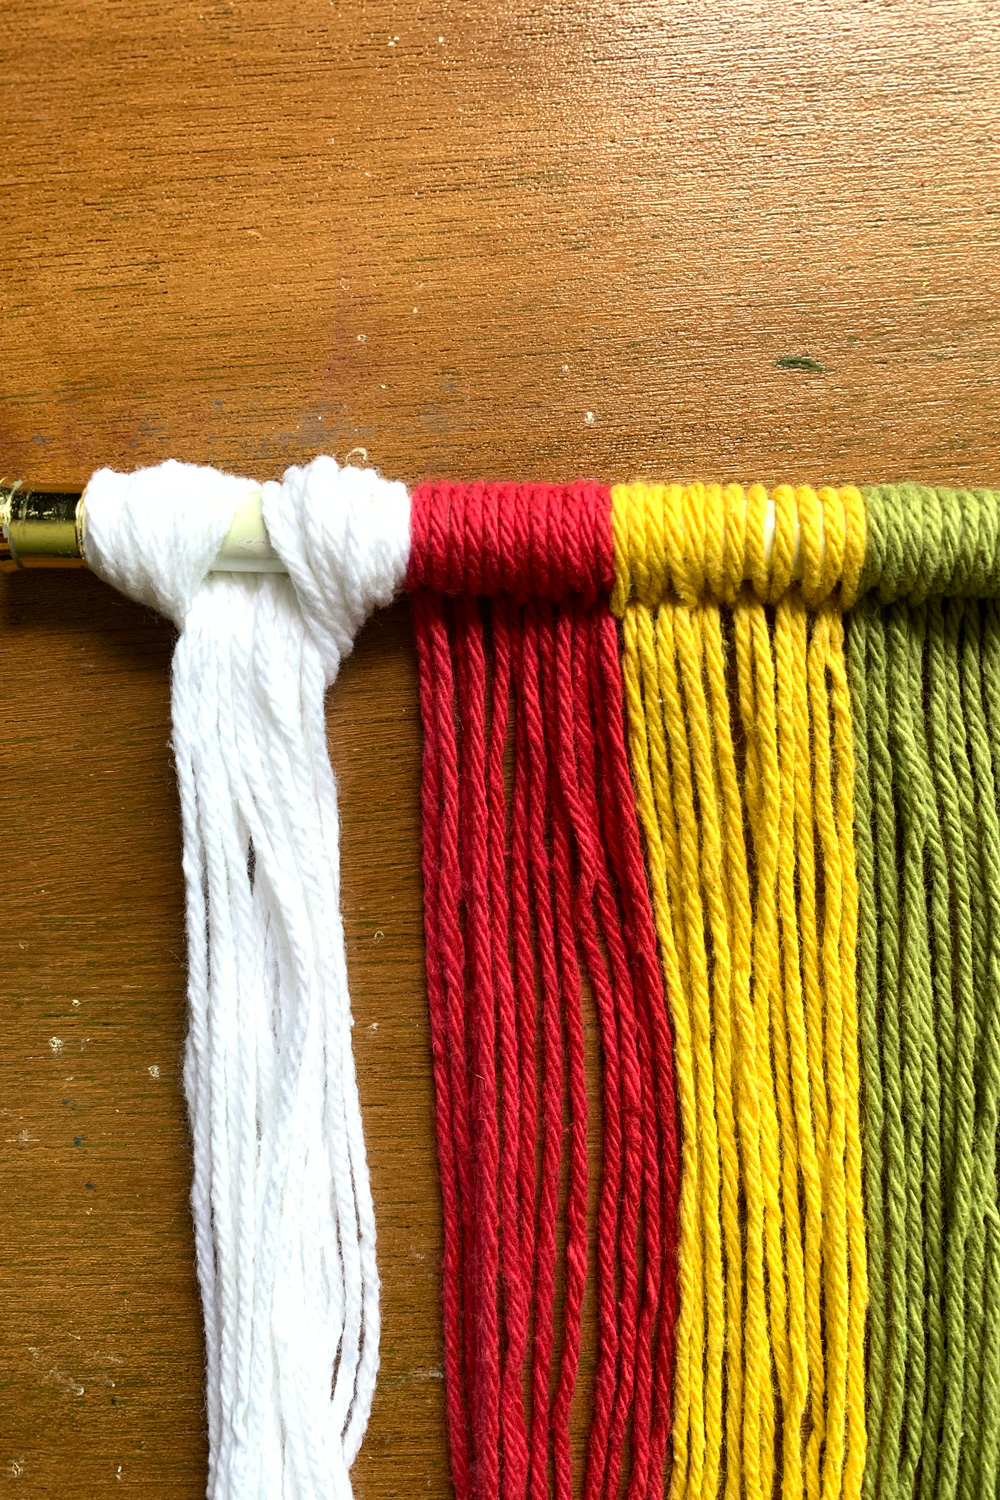
5. Braid the white yarn.
Separate the strands of the white yarn into 3 equal sections. Braid down the length. When you get about 2 inches from the end, take 2 single strands of yarn and wrap them around the braid to hold it. Tie a few knots in the back to secure.
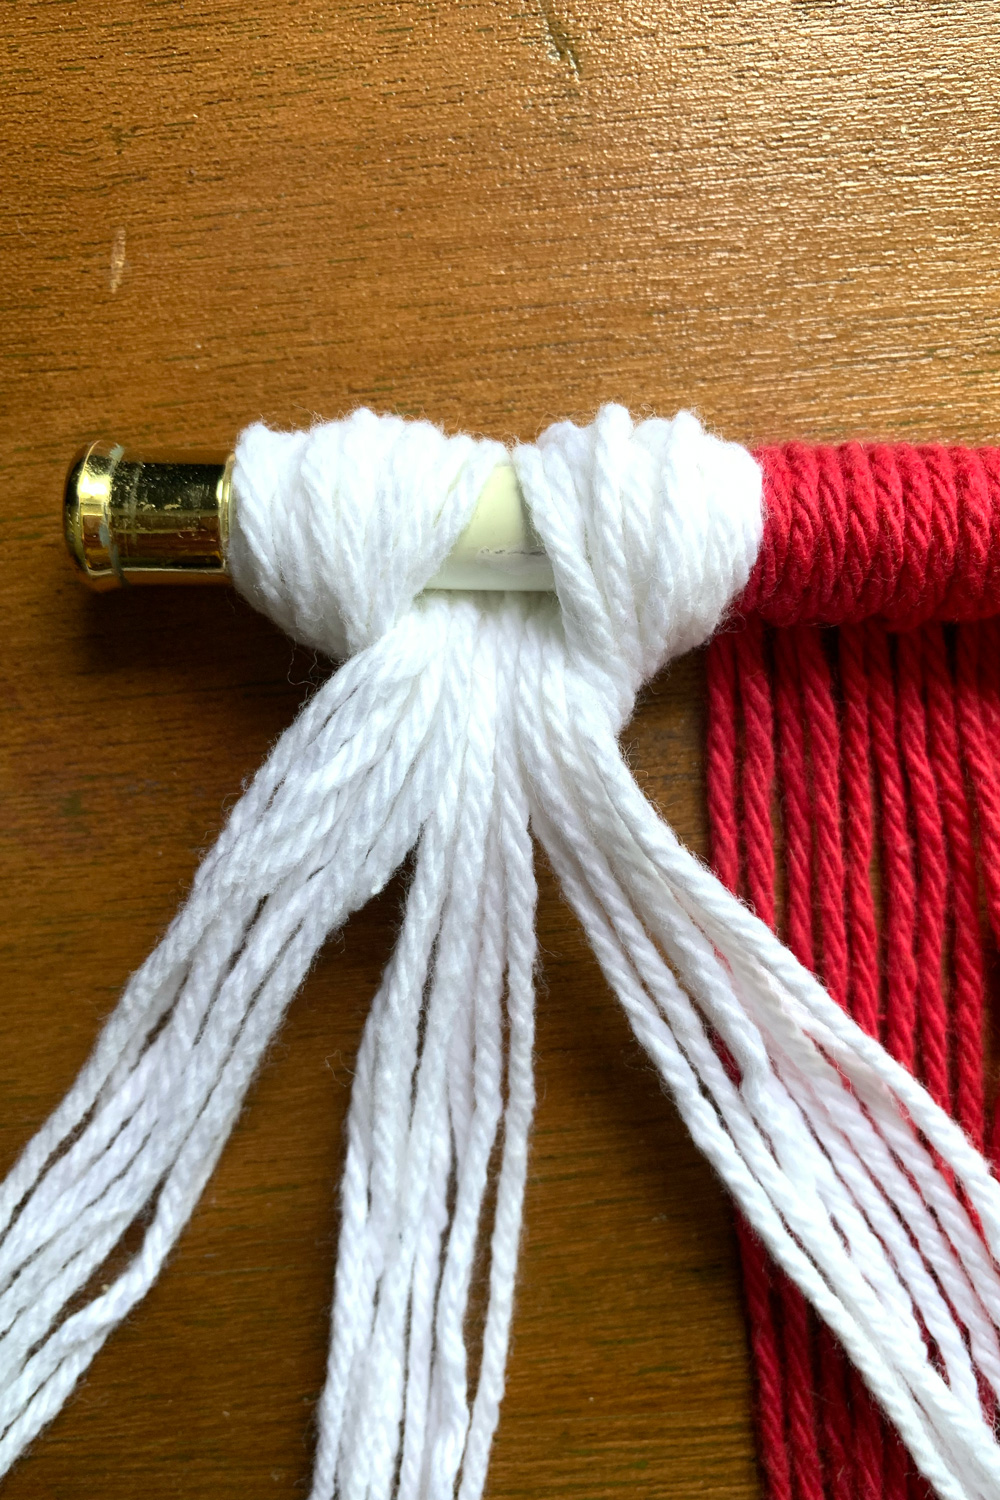

Repeat to make a second white braid on the other end of the rainbow. Adjust the yarn and straighten out the strands as needed.
Displaying the wall hanging
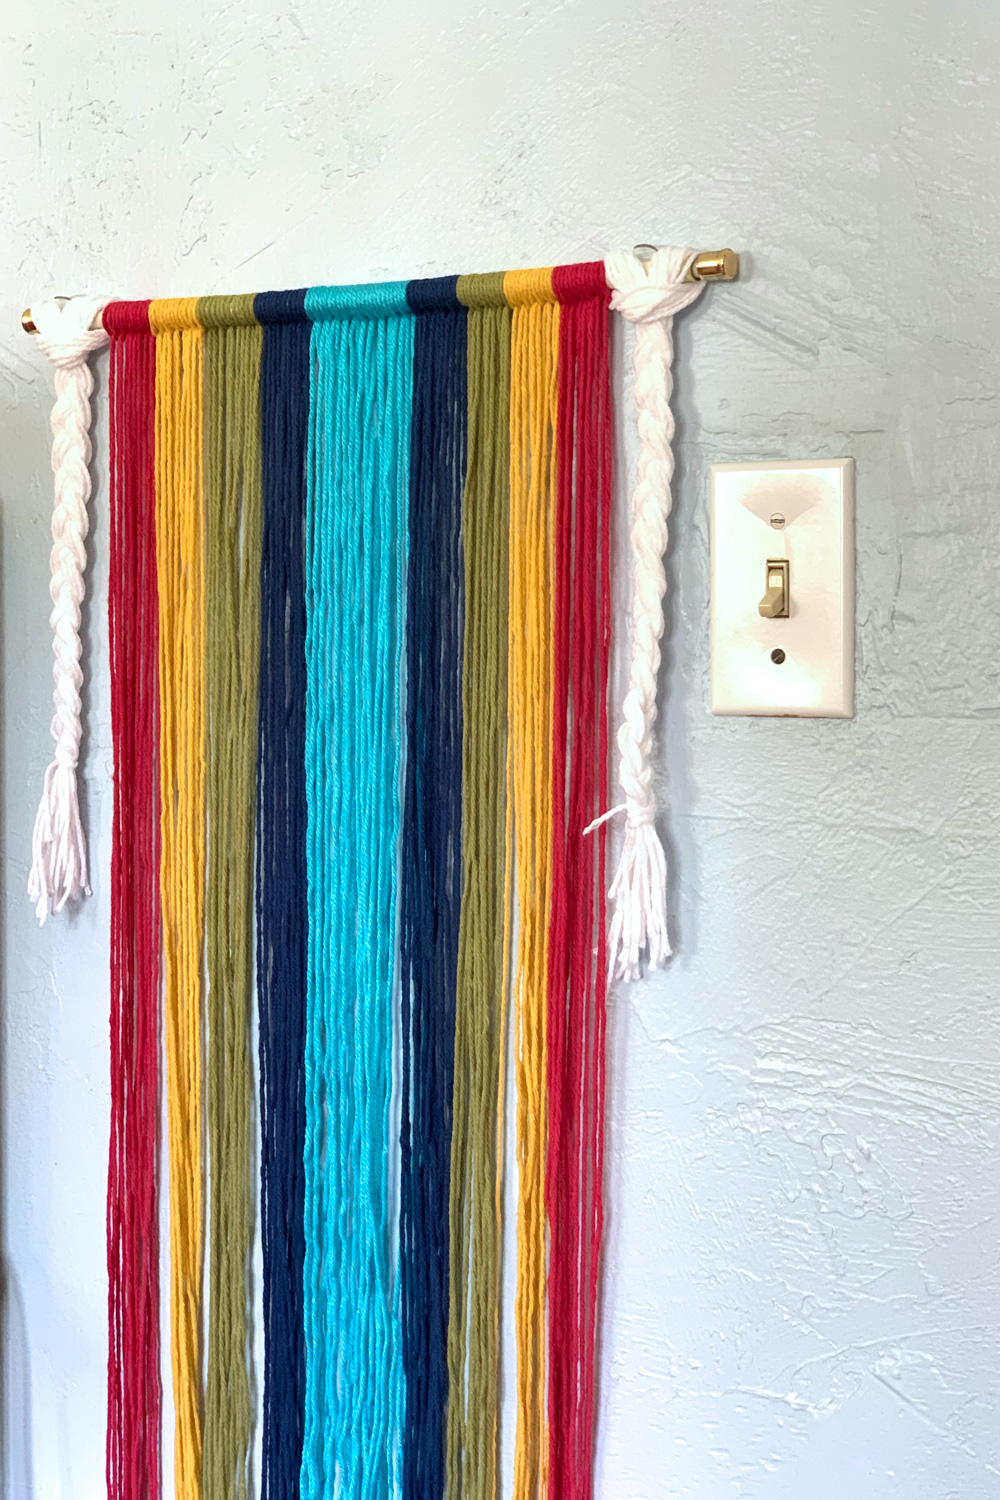
I hung my first rainbow wall hanging in a window that didn’t have a curtain. For this smaller rainbow, I use two clear Command hooks that fit over the rod to attach it to the wall.
It looks really cute next to my aloe vera plants in their painted pots!
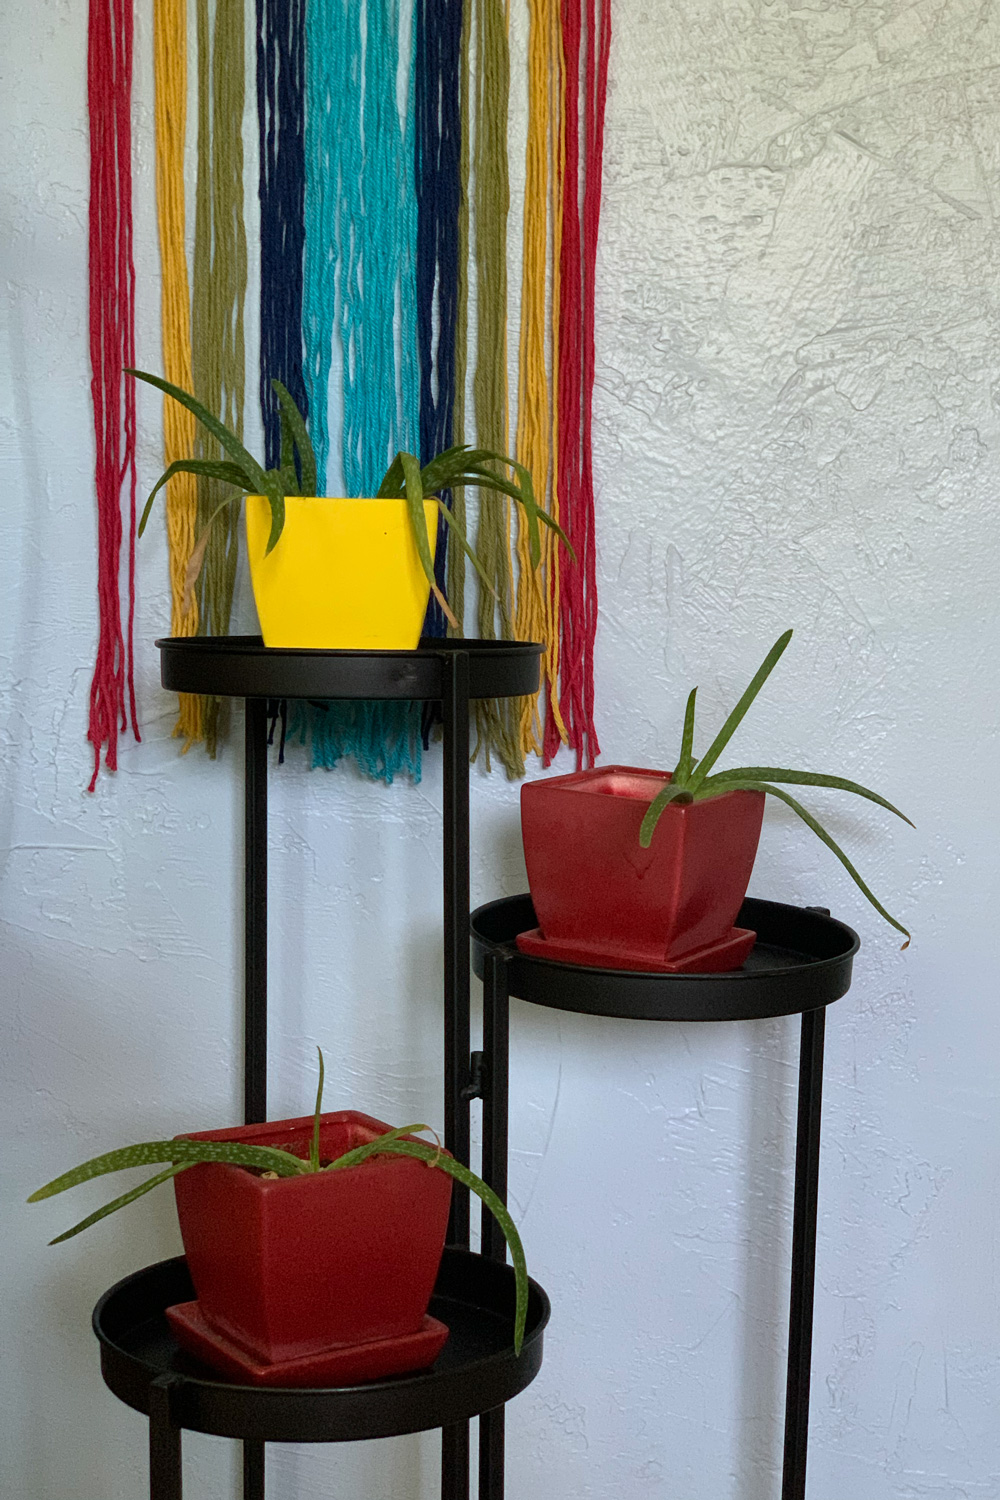
There are tons of ways you could change this rainbow wall hanging to fit your home decor! Add ribbons, scraps of trim, or pom poms. Braid some of the colored yarn too. Or if you’re ready to try some more complex macrame knots, try the ones I used on this macrame moon wreath.
What’s next? Try these other fun and creative ideas on One Mama’s Daily Drama:
Leave a Reply