
This organized entryway makeover creates plenty of space with wall hooks for coats and accessories while minimizing clutter by the front door.

Disclosure: This blog contains affiliate links. As an Amazon Associate and member of other affiliate programs, Keri Houchin earns a commission from qualifying purchases at no additional cost to you.
We updated our entryway again!
This space has gone through a lot of different looks over the past five years. Our schedules, routines, and habits have changed as the kids have gotten older. So naturally, I’ve needed to change the space to accommodate.
Here’s what our entryway looked like when we moved in.
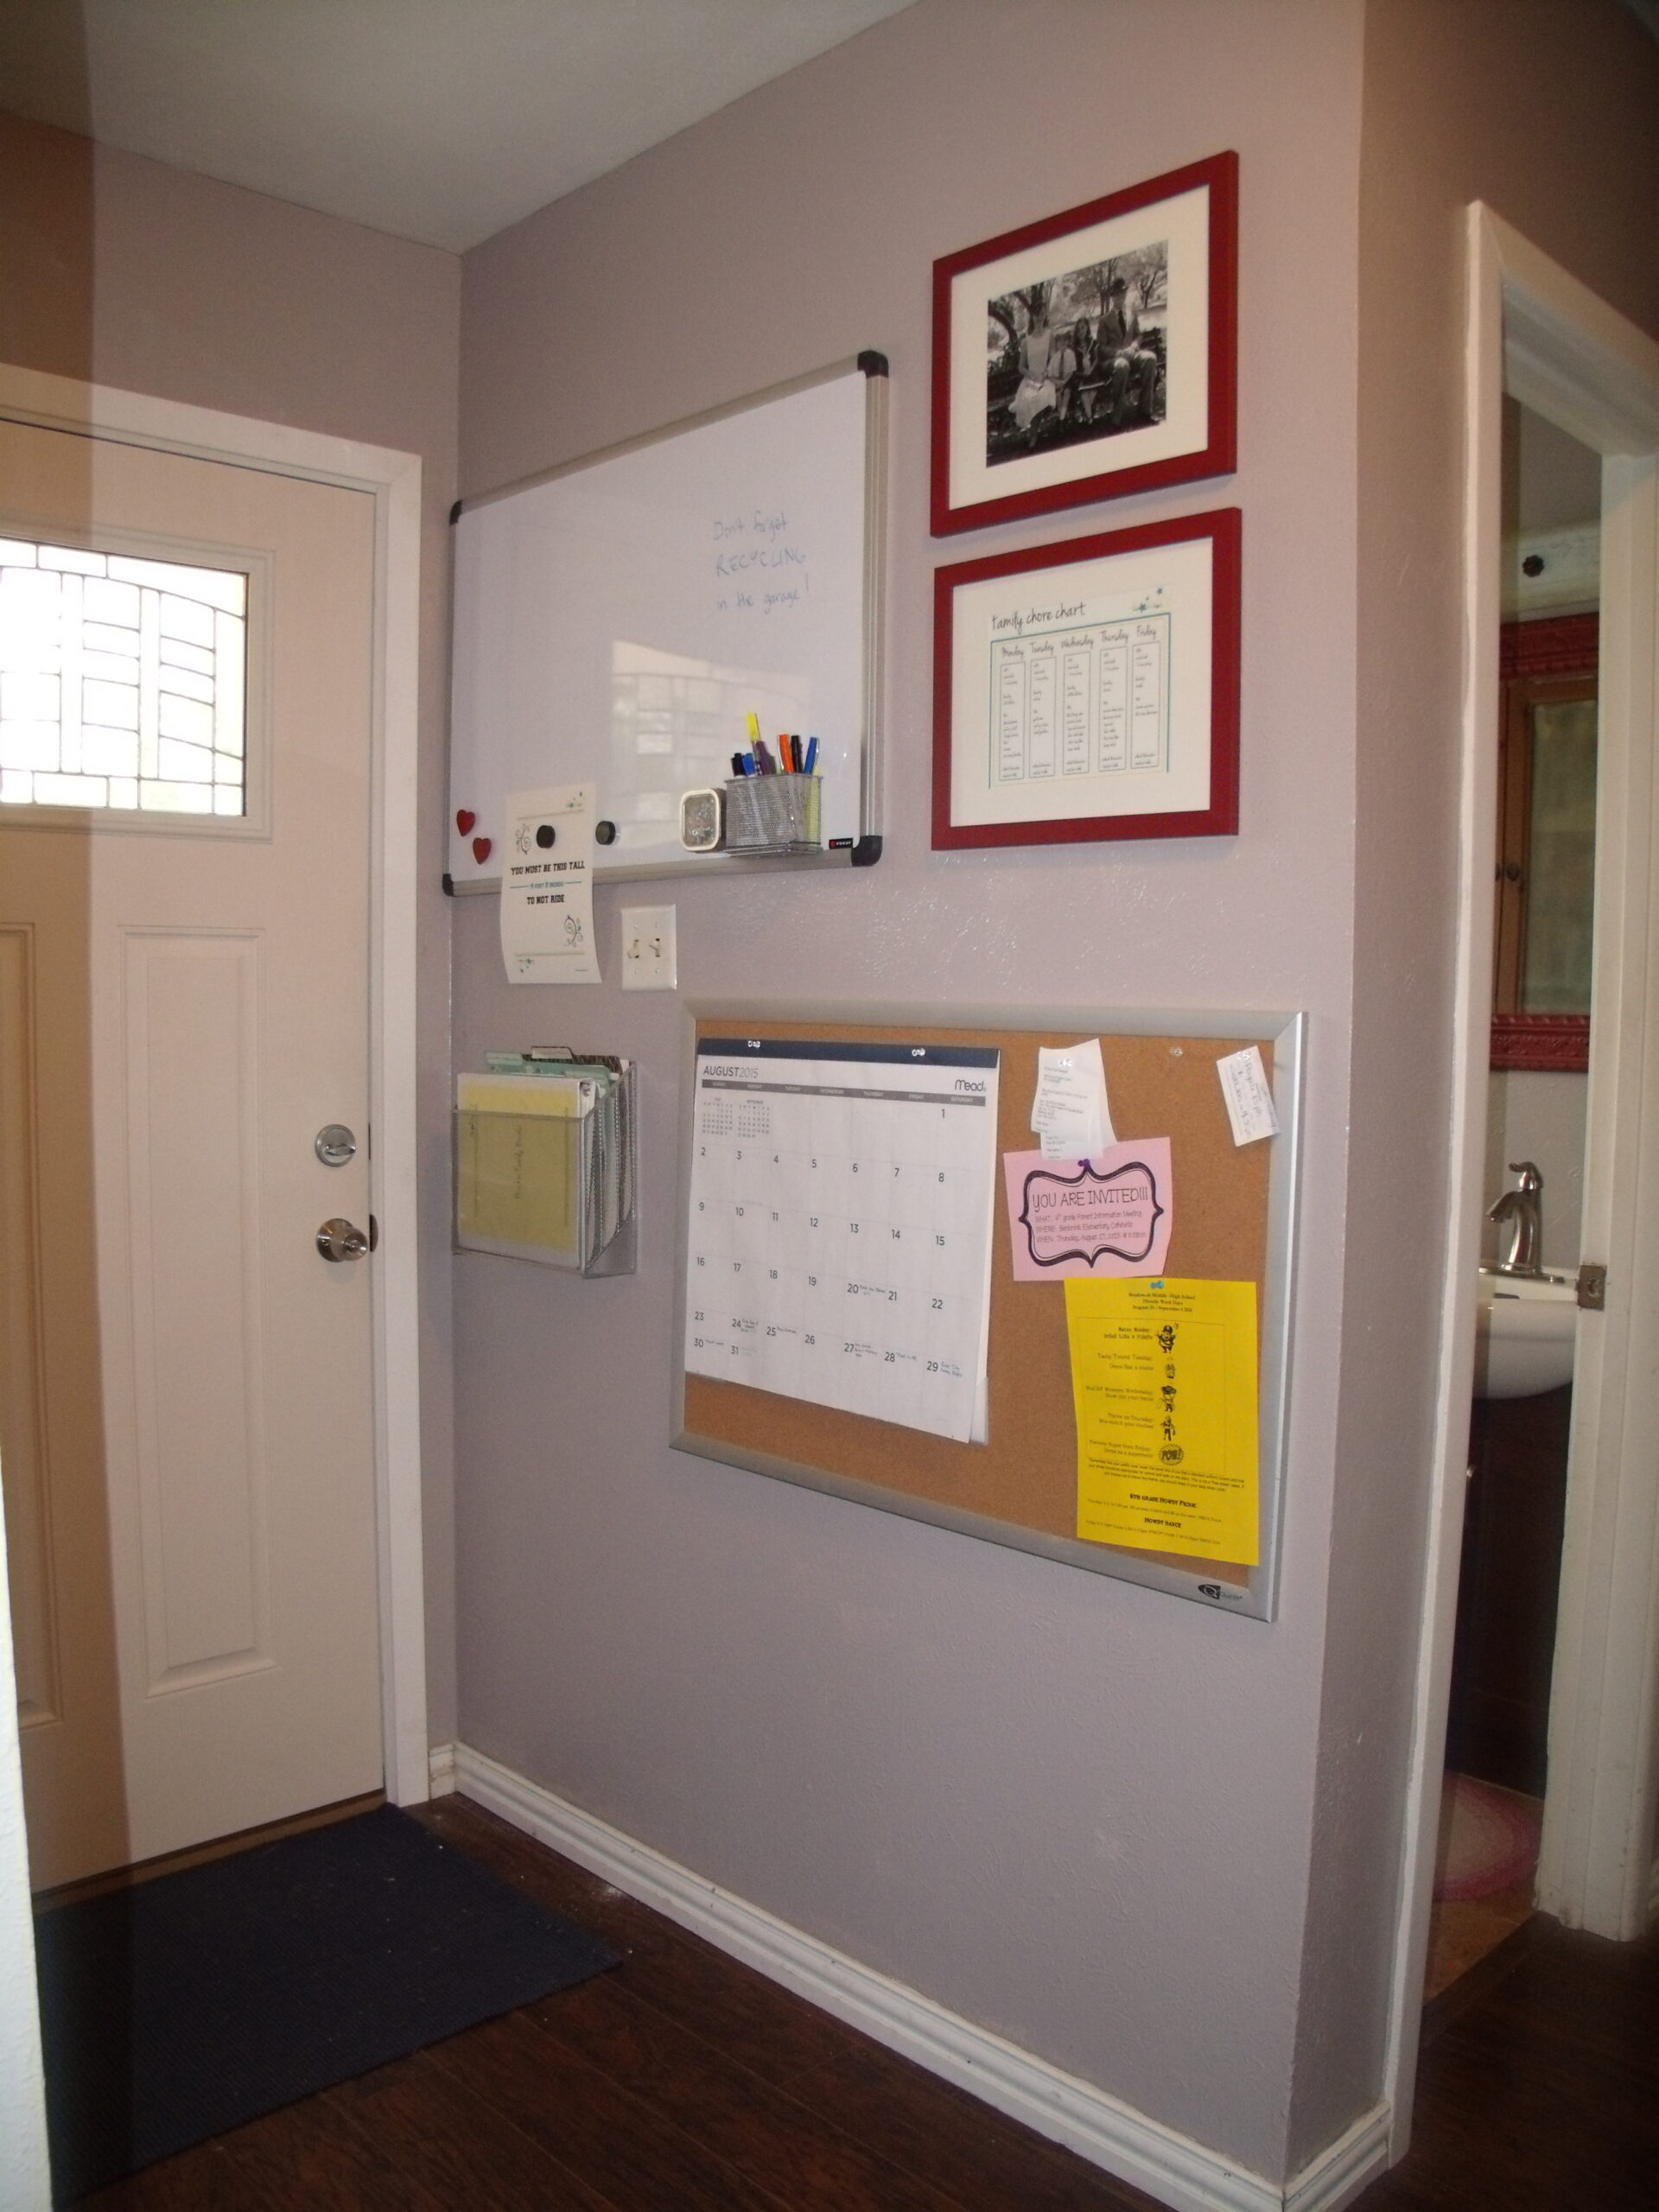
I quickly realized that having all those papers by the door wasn’t practical. Every time we opened the door on a windy day, the calendar flapped in the breeze!
So I rearranged the layout and moved everything to the other wall.
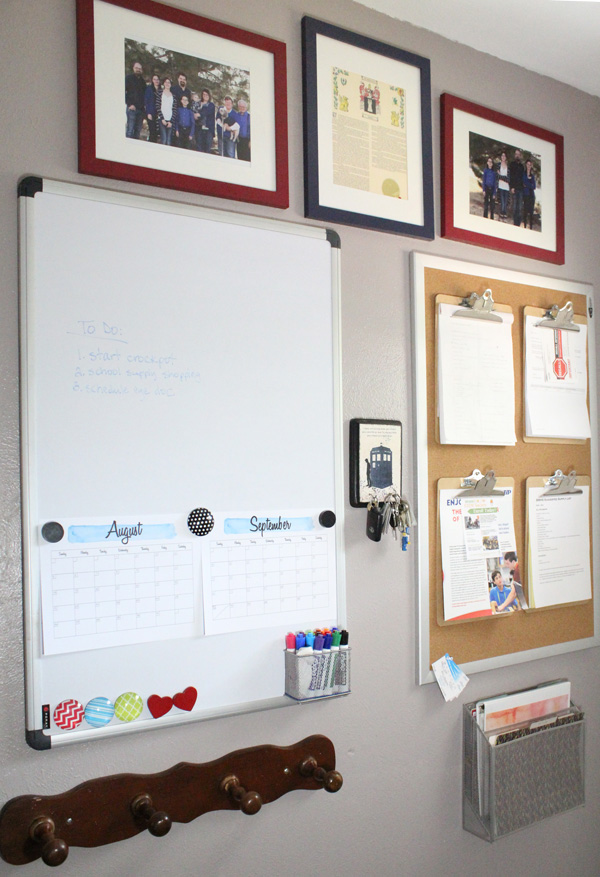
This organized entryway worked much better. I loved using the clipboards for all the school papers that came home every day. And we were all so busy that the paper calendars were perfect for keeping up with who needed to be where and when.
But again, we changed a bit.
Entryway coat wall
I decided our entryway needed to be really simple. I’ve been reducing how much paper I keep and have an inbox on my desk that’s sorted through weekly.
I decided the entryway is small, so it only really needs space for shoes, coats, and keys. This organized entryway makeover is all about creating a visually calm space.
Step 1: Emptying the entryway.
We started by removing everything from the entryway. Most of the paper clutter was just that – clutter. The important things are in the file cabinet. My household binder, which previously hung in that wire basket, moved to my desk where it makes more sense.
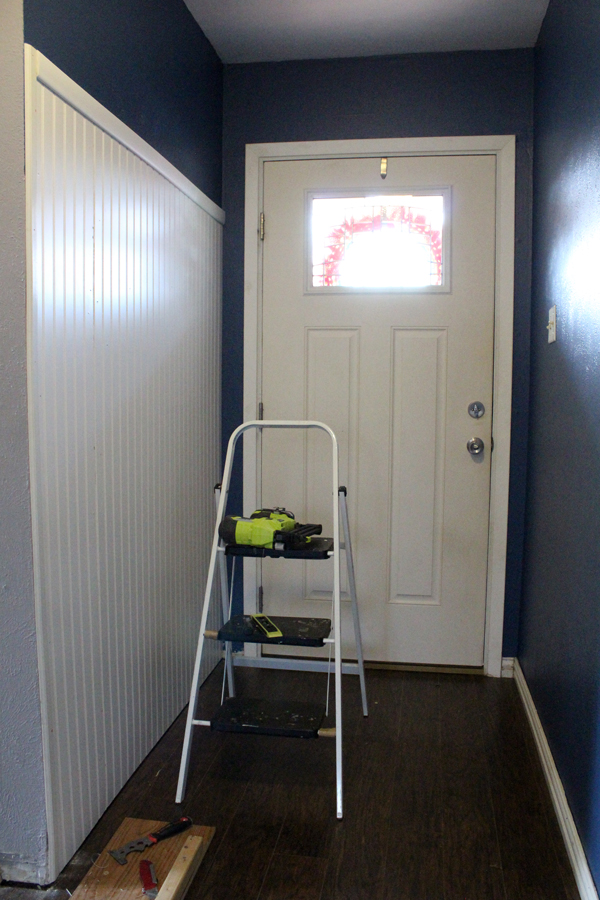
After removing all the stuff, we painted one side of the area the same dark blue that’s featured as an accent color throughout the house. It’s Glidden Diamond in midship blue.

Step 2: Hanging the paneling.
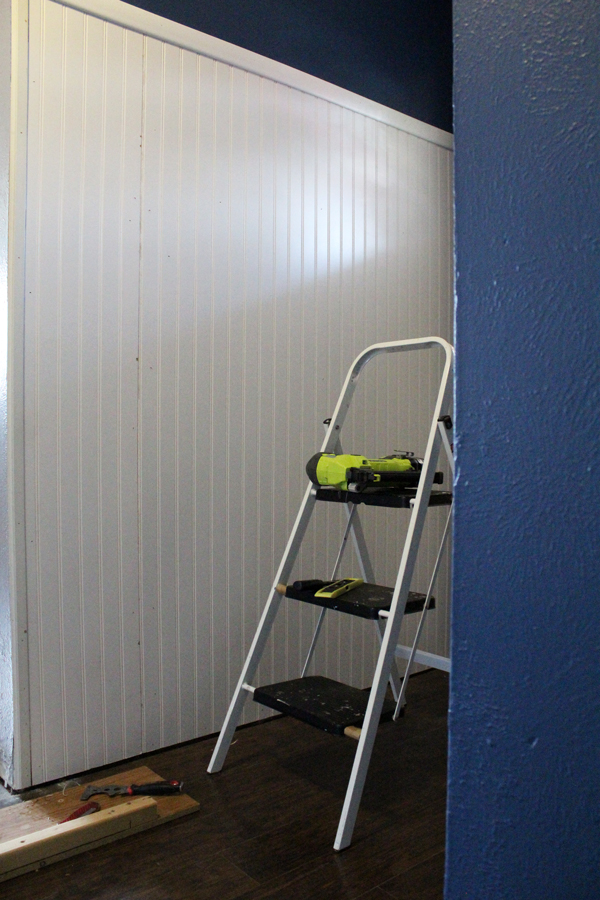
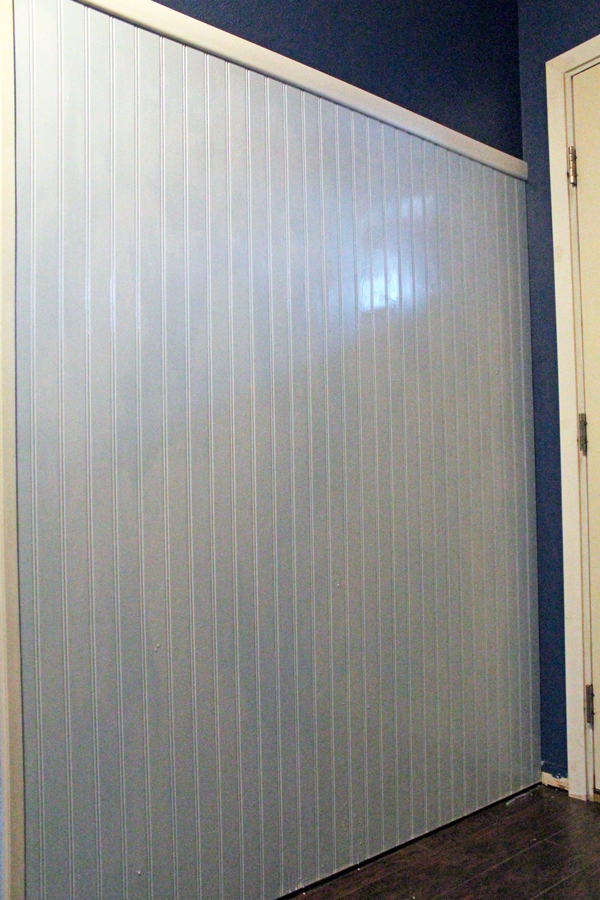
Next, we hung beadboard paneling (which matches the bathroom) on one wall.
The wall is 8 feet long, so it required a second piece. We had leftover from the bathroom remodel, so that was easy. We cut it to be 6 feet high and trimmed the edges.
Honestly, this Ryobi nail gun has been one of our best DIY purchases. If you are doing anything that requires 1001 nails (like paneling or baseboards) you need it.
Step 3: Painting the paneling.
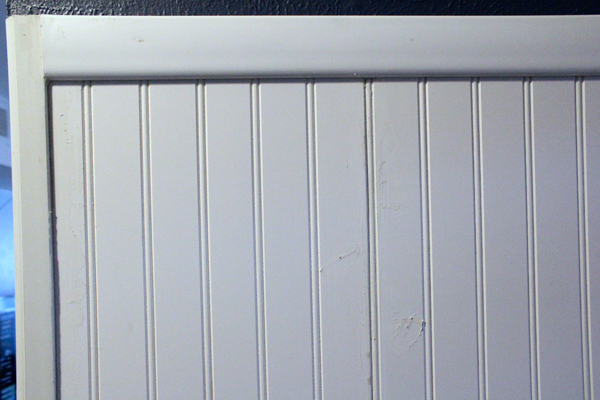
We caulked the gaps and mudded over the nails. Then we painted the paneling light blue. It’s Glidden Diamond in bastille blue.
Step 4: Repairing the baseboards.
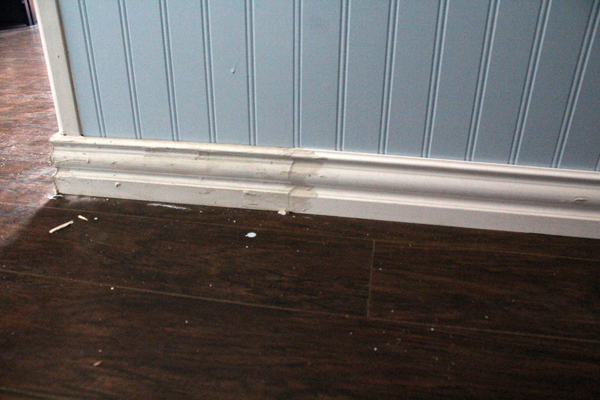
One of the things that we have slowly been repairing or replacing as we update each room is the baseboards. They were in rough shape when we moved in and a few were missing.
We trimmed the baseboard at the break and cut a piece to fill the gap. The edges are mitered so they line up at a 45-degree angle. Once they were nailed in place and painted, you can barely find the seam.
Step 5: Hanging the coat hooks.
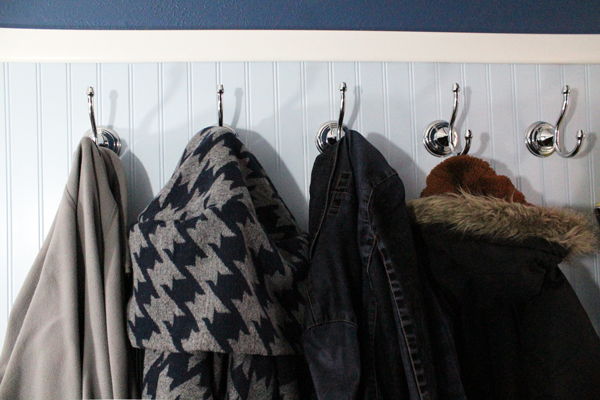
There are four of us and when we have friends over, it can be a crowd. I wanted the coat area to be really useful, but not chaotic if there were two dozen coats hanging.
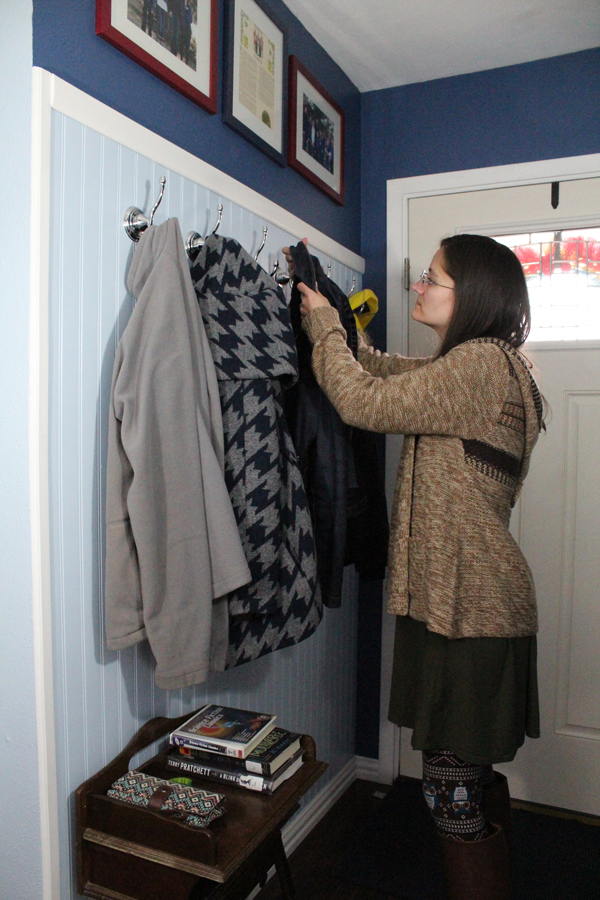
I decided to go with 6 hooks in shiny chrome, spaced 8 inches apart. We bought these as Lowes.
Step 6: Entryway artwork.
After everything was completely done, I hung our family photos back where they previously were.
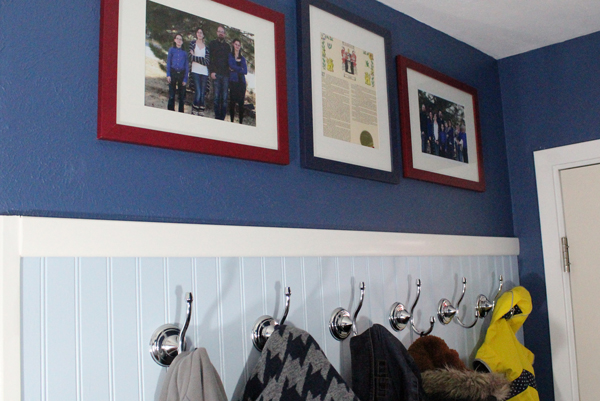
Organize entryway coat wall
I love how much bigger the entryway looks now. Of course, it’s the first thing you see when you come into our home after the front porch.
There is plenty of space for coats, bags, and other things to hang. There’s also space for shoes to line up neatly against the wall without being a tripping hazard.
I moved my antique telephone table here. It makes a good place to set down keys, library books that need to be returned, or other small things. It’s small enough that it won’t become a cluttered landing zone, though.
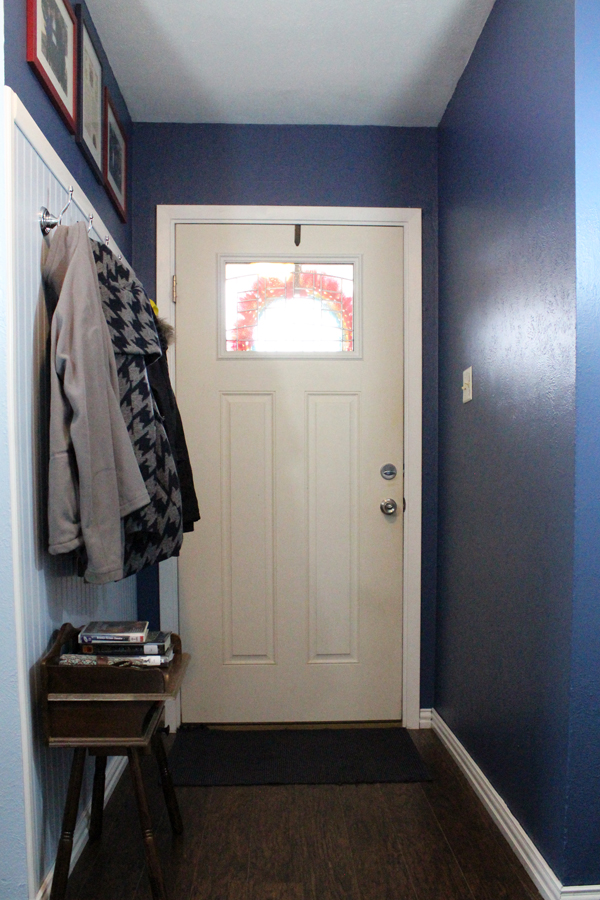
I’m happy with how this organized entryway makeover turned out. It really feels “done” and matches the other parts of the house that we’ve finished.
Remember that you can change up the way a space looks and how you use it as often as you need to. Each of these entryway makeovers cost me less than $100 to do. And a lot of the changes were just moving things from one part of the house to another. Shopping your own home is always free.

What’s next? Try these other fun and creative ideas on One Mama’s Daily Drama:
Leave a Reply