
We finally finished our semi-DIY bathroom remodel. It took us about three months, start to finish, but it was worth it! The end result is a bathroom that is not only clean and functional but also beautiful and relaxing.
Disclosure: This blog contains affiliate links. As an Amazon Associate and member of other affiliate programs, Keri Houchin earns a commission from qualifying purchases at no additional cost to you.
If you’ve been following along on my bathroom remodel, you might notice that the first two posts were in July! Yes, it actually did take three months to complete this project.
We only really had time to work on it on weekends and even then, scheduling was around other weekend activities (mowing the yard, school supply shopping, etc.) and rain (We had to drag the table saw outside to cut the paneling).
But the whole crazy thing was worth it because this finished bathroom is gorgeous.
If you missed the earlier posts or just need a refresher before the big reveal, read part 1: replacing the bathtub and part 2: replacing the tub surround.
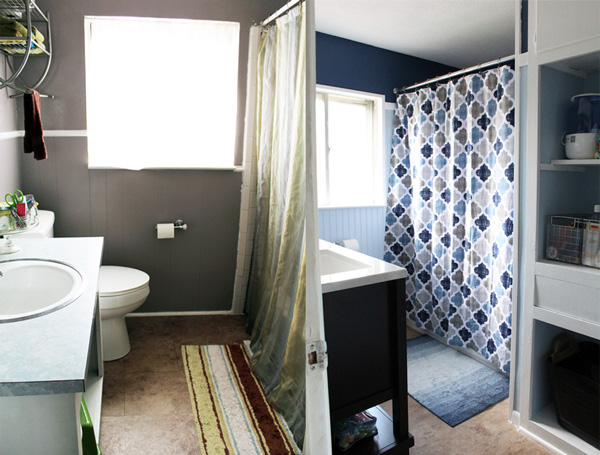
Here’s a quick before and after shot, before we get into the details. Honestly, every time I walked in for the first week after we were done, I kept saying, “Isn’t this great?!?” to whoever was nearby.
Finishing the bathroom remodel
Repainting the bathroom
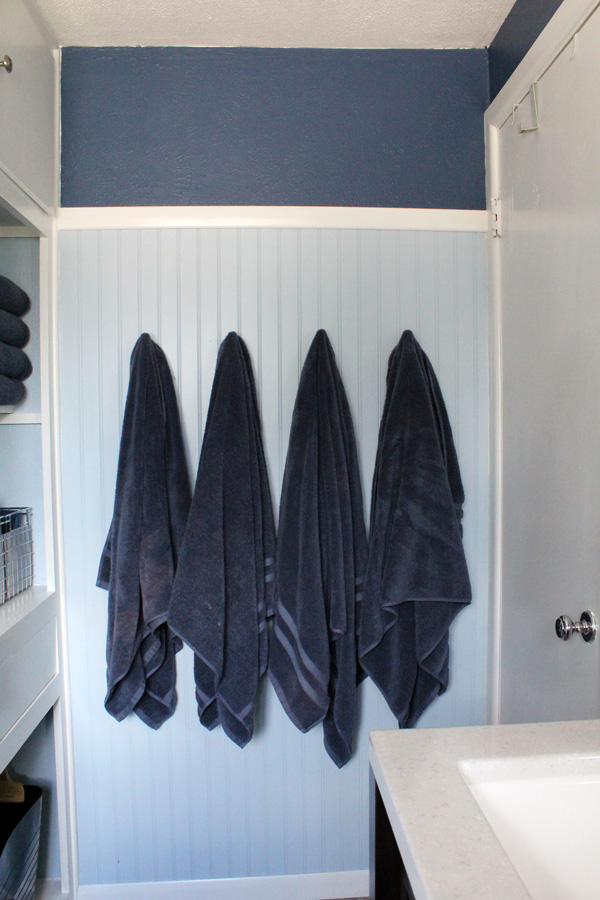
Our house was built in 1961, so the walls have a fair amount of damage and a really uneven amount of texture throughout the whole house. We decided to replace the half wall of beadboard with 6-foot beadboard and paint the top 18 inches of the wall.
My husband cut and installed the paneling using paneling tacks. We replace the quarter-round that went around the floor with regular baseboards. Then we found a molding that matched the baseboards and put that along the top of the paneling. After caulking a lot of seams and tiny gaps, because this room is really not square, we painted.
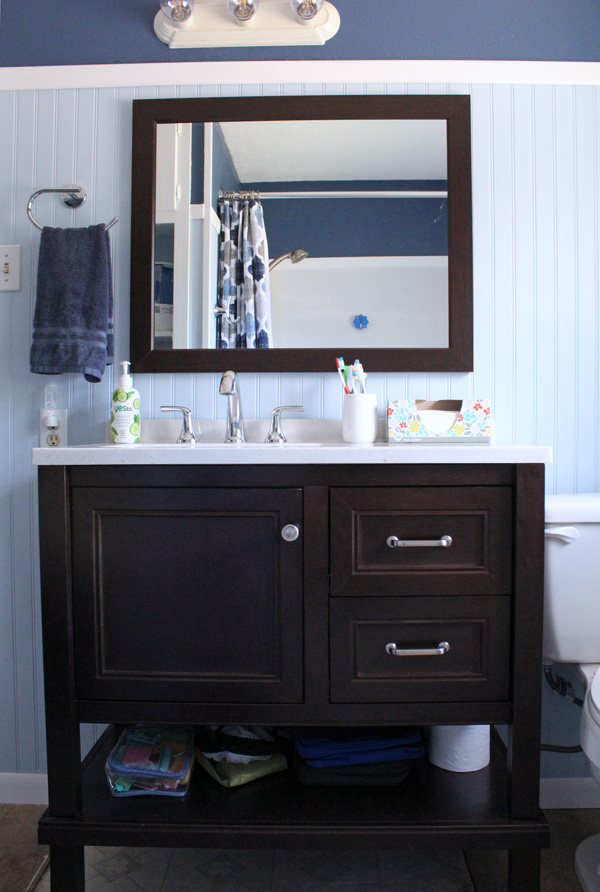
The paneling is Glidden Diamond in bastille blue. The wall is Glidden Diamond in midship blue. All the trim is white.
Bathroom sink and vanity
On one of our many trips to Home Depot during the project, I found the all-in-one vanities on sale. I wasn’t originally planning to replace the vanity and sink, but I whacked my hip on the old one about once a week because it was pretty large for the room. We ended up with this one, which matches the vanity in our half bath. And we picked up the faucet from a clearance endcap. (I always trim my budget when I can!)
Installation was pretty straightforward, even though we’d never replaced a sink before. Basically, my husband disconnected the plumbing and we removed the old vanity. After the new one was in place, he reconnected the plumbing and caulked along the sink/vanity edge.
Because this new sink is offset and our old one was centered, we used a universal drain kit to accommodate the angle. The vanity came with a matching framed mirror, so we hung that over the sink.

Bathroom accessories
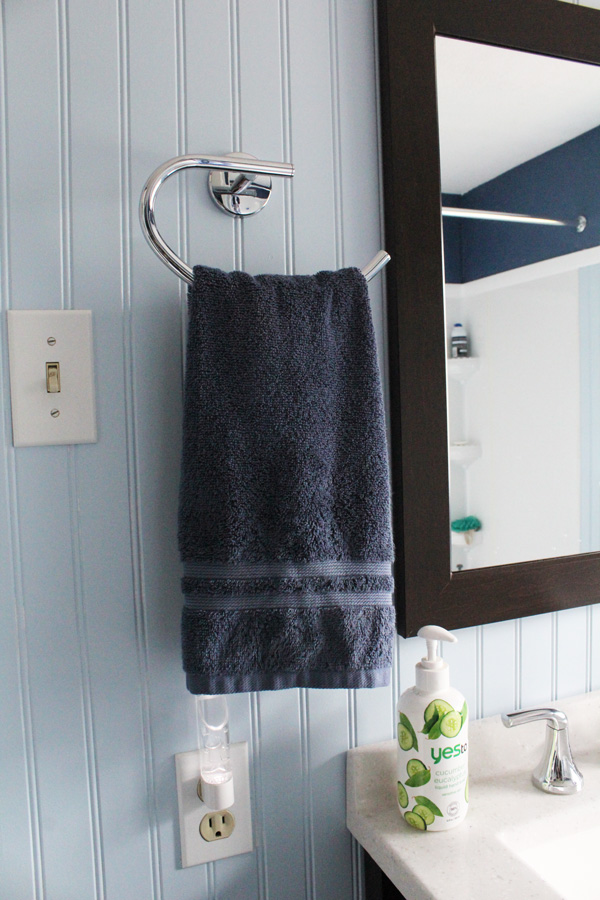
Okay, now to the fun part – decorating! Here’s what you can see in the photos:
- navy blue bath towels and ombre bath rug from Kohls
- towel hooks, hand towel ring, and toilet paper holder from Home Depot
- fixed shower curtain rod from Home Depot
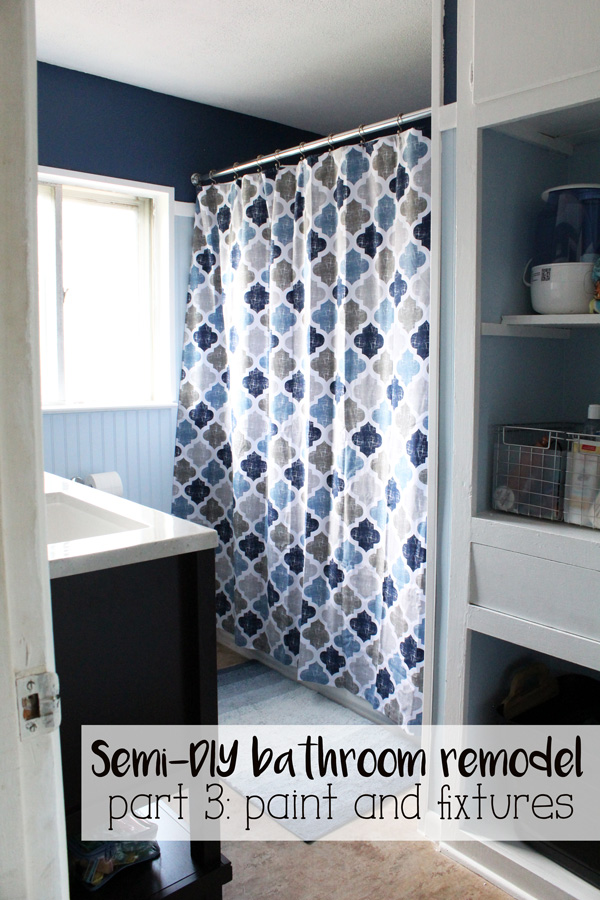
- blue and gray shower curtain from Amazon.com
Final touches
There are still a few things that need fixing when we have the budget for it. There is a gap in the floor where the old vanity went all the way to the ground and this one stands on skinny feet. We’ll eventually replace the whole floor.
I’m also not 100 percent happy with the lights, mostly because they’re not centered, and I’m debating whether to install a light/fan over the shower.
And while the paper window shade looks great, it doesn’t stay up when the room is too humid. I haven’t found an alternative curtain that I like.
All projects for another day!
This post is part of our bathroom remodel series. Read the others:
Part 1: The Tub | Part 2: The Surround | Part 3: Painting & Fixtures
It looks AMAZING! Great job!!!
Thanks! It was a lot of hard work, but it definitely paid off.
I love what you have done, having seen the original in person, you have done an amazing transformation. Now just need someone to come do my bathroom.
That’s honestly why we went the semi-DiY route. We just couldn’t do it all ourselves, so we hired out the hardest parts. It’s also why it took us a while to get it done. We had to do it in smaller stages.