
We finally updated our primary bathroom – the only one in the house with a tub and shower! Our semi-DIY bathroom remodel started with professional service from a local plumber and ended with some husband and wife teamwork. See the funky before photos, the gorgeous after photos, and find out how we did it.

Disclosure: This blog contains affiliate links. As an Amazon Associate and member of other affiliate programs, Keri Houchin earns a commission from qualifying purchases at no additional cost to you.
 This bathroom remodeling project is sponsored by Benjamin Franklin Plumbing® but all opinions and ugly “before” photos are my own.
When we moved into our home, there were a few projects we decided to do right away. Some weren’t so critical and got pushed off until “later.”
One of those was updating our master bathroom. We put down a new floor and painted the walls, but all the “big stuff” had to wait because it was mostly cosmetic. After showering in a funky bathtub for three years {no bath because the drain leaked}, we finally got around to it this summer.
Summer is really the best time for a remodeling project, especially one in the bathroom.
First, everything is a bit more laid-back and chill. There’s not as much going on and the days are a bit longer. Second, the kids are not here! I picked the week that my oldest is at overnight camp and my youngest is at day camp. The bathroom is used less, and I don’t have to worry about entertaining them while the project is going on.
BTW, if you can’t send your kids away during a bathroom remodel, the swimming pool totally counts as “clean enough!”
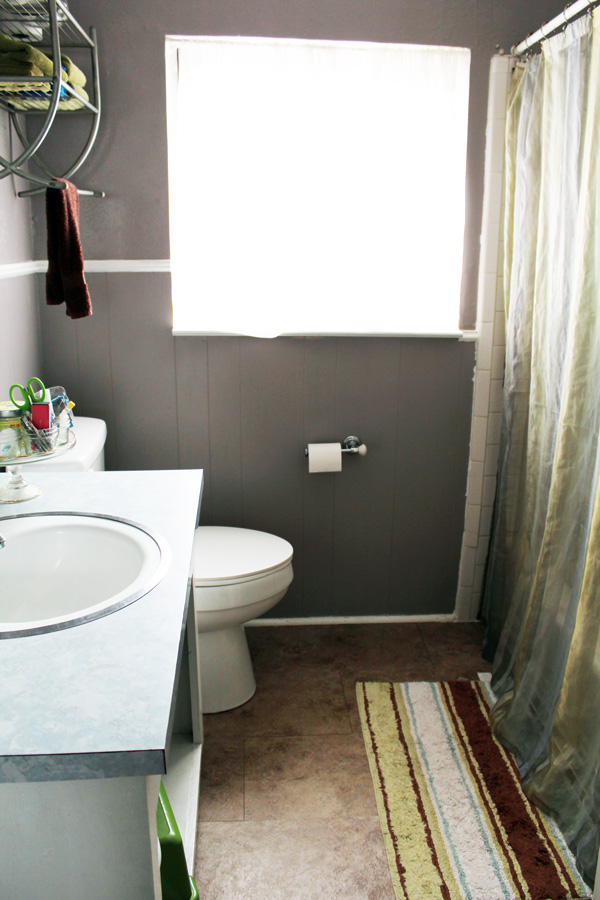
Bathroom “before”
Our house was built in 1961 and has a full bathroom upstairs and a half-bath downstairs. The upstairs bath has all its original features, right down to the cast iron tub and square surround tile. As far as bathrooms go, it’s pretty neutral. The tile is white, which was not true in our previous home. (Also built in the 60s, it had PINK tile on every surface – walls, counter, tub, floor…)
Slowly, our bathtub started to look its age. The grout was cracking, the base was rusting, and the surround tile just would not come clean. I believe the previous owners used something too harsh to clean it because the tile and tub feel like the finish has been removed. I was starting to worry that water might leak into the walls.
After a good bit of research, we decided that a semi-DIY project was the best way to give it an update.
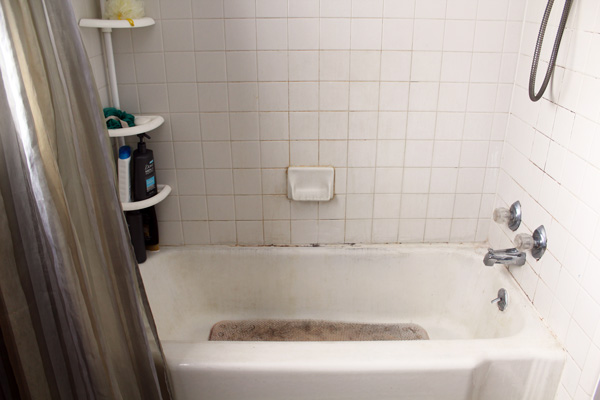
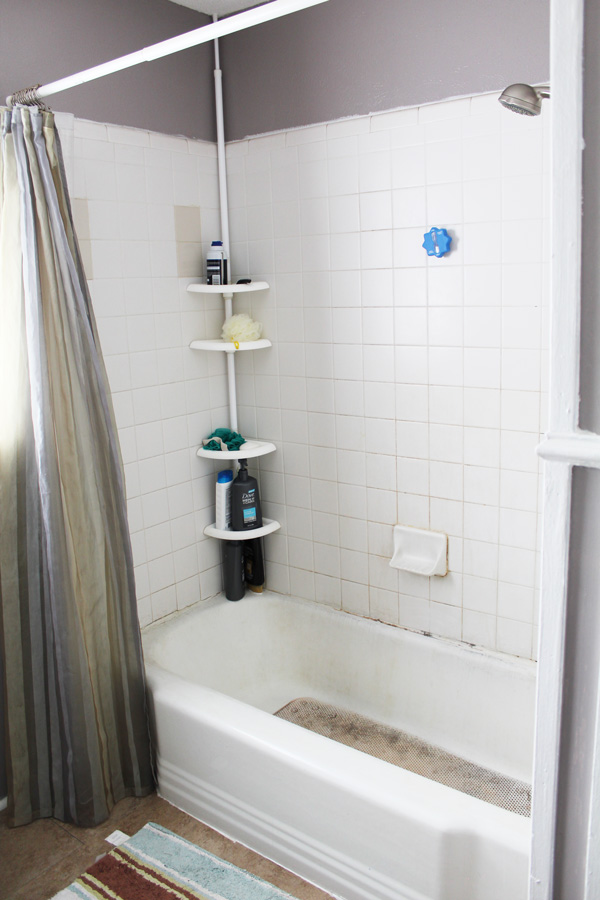
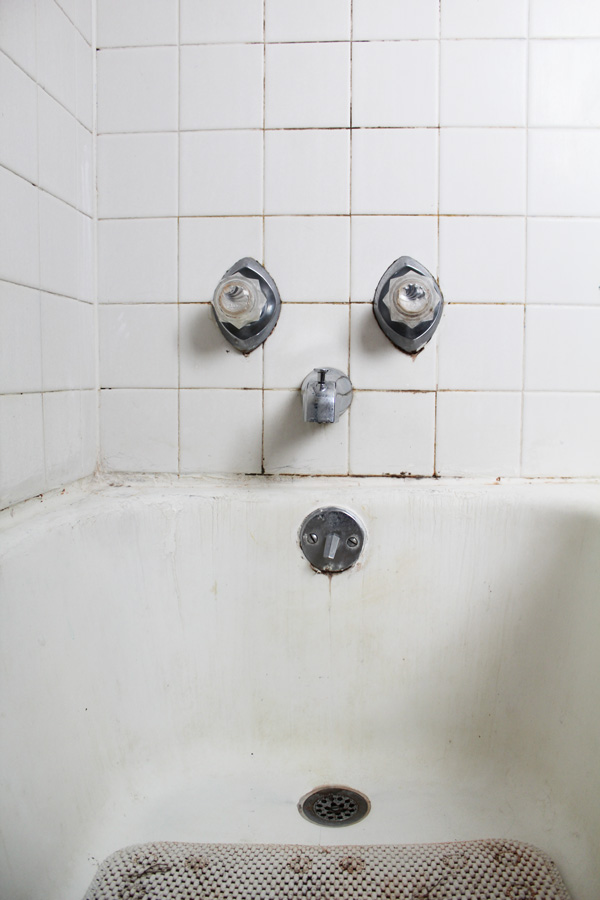
Bathroom remodel: replacing the tub
I’m good at research and my husband is really handy, but a cast iron bathtub weighs approximately 300 pounds. The simple idea of removing the 5-foot by 30-inch cast iron bathtub from the bathroom, carrying it down our narrow staircase and around a few corners, and getting it to the curb sounded like a challenge that was outside my DiY skills.
That doesn’t even count carrying a new tub back UP!
So, I contacted my local Benjamin Franklin Plumbing to replace the tub and then my husband and I would replace the surround ourselves.

The day that the Benjamin Franklin tech was scheduled to come out, they sent me an email with his name, photo, and a brief bio. It was nice to know who to expect before he knocked on my door!
My tech, Alie, went over my options and a week later came back with his assistant to do the dirty work. To get the old tub out, they first had to chisel it out of the wall and break it into pieces. Listening to them hammer and saw, I’m so glad we opted not to do that part ourselves!
Once the tub was out, they cleaned up the space and replaced the necessary plumbing in the floor (the p-trap and overflow drain). The last step was to bring in the new steel tub and attach the drains.
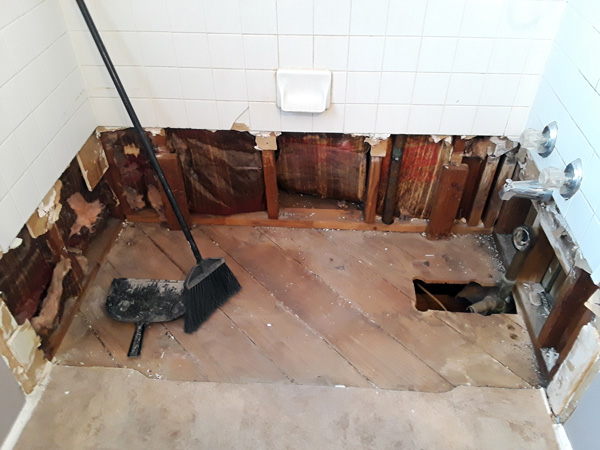
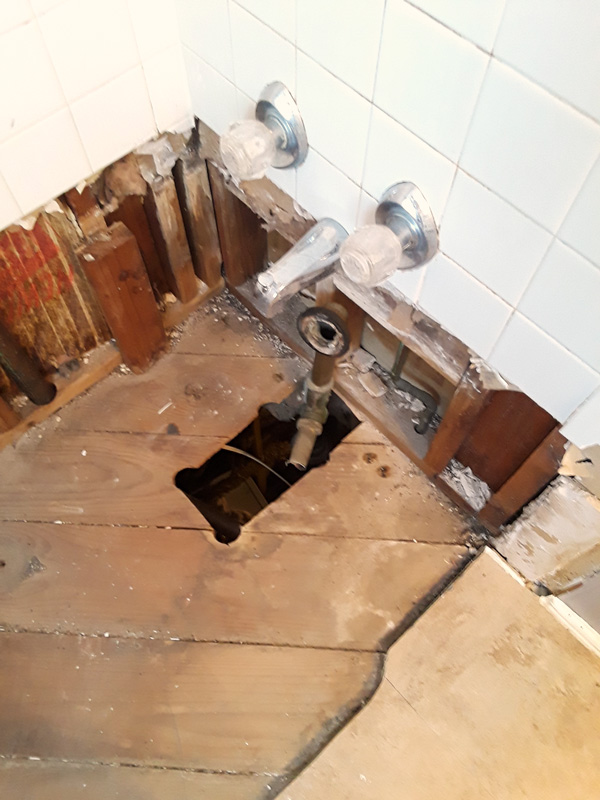
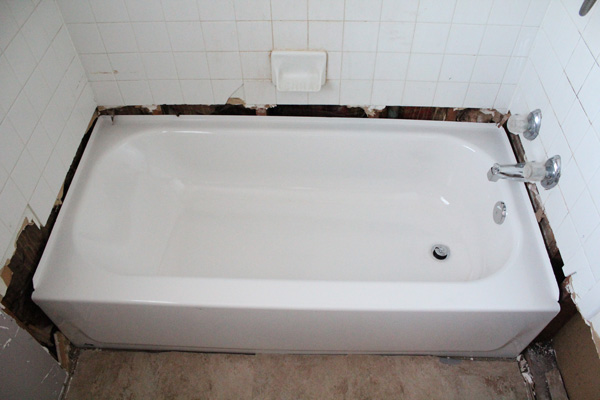
Bathroom “after”
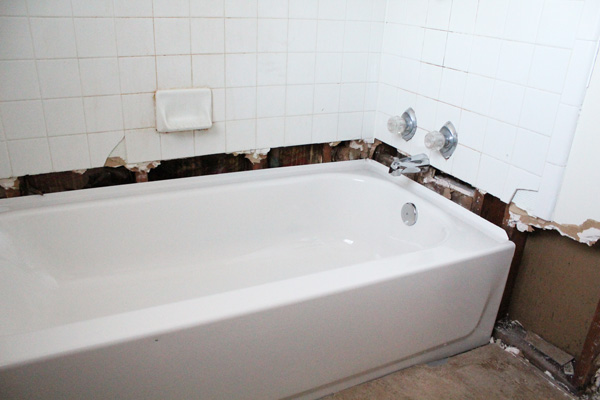
You know how when you look at a hot mess for a while, how it doesn’t seem to be that bad? Yeah, my white bathroom tile and tub were really stained! This new tub is true white, so you can definitely see the difference in these photos.
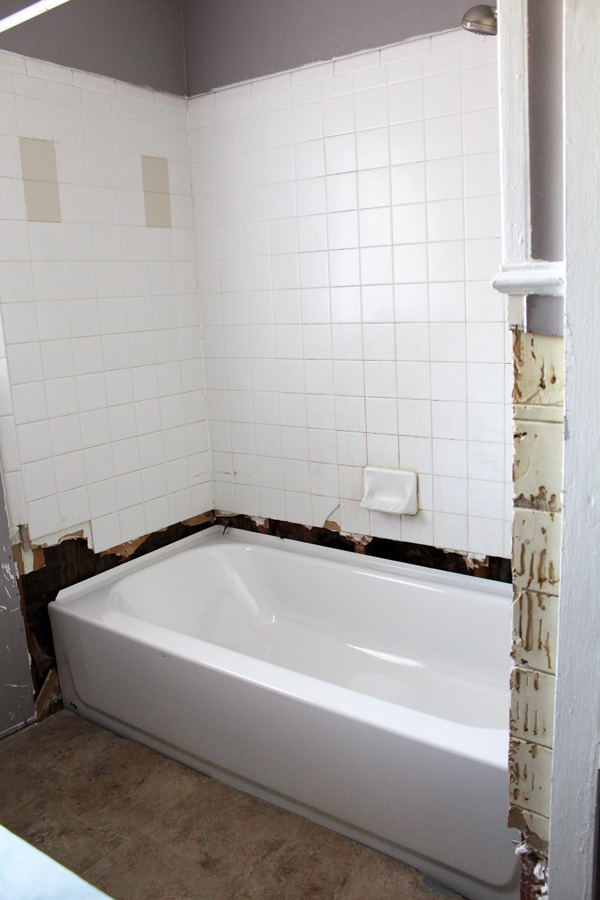
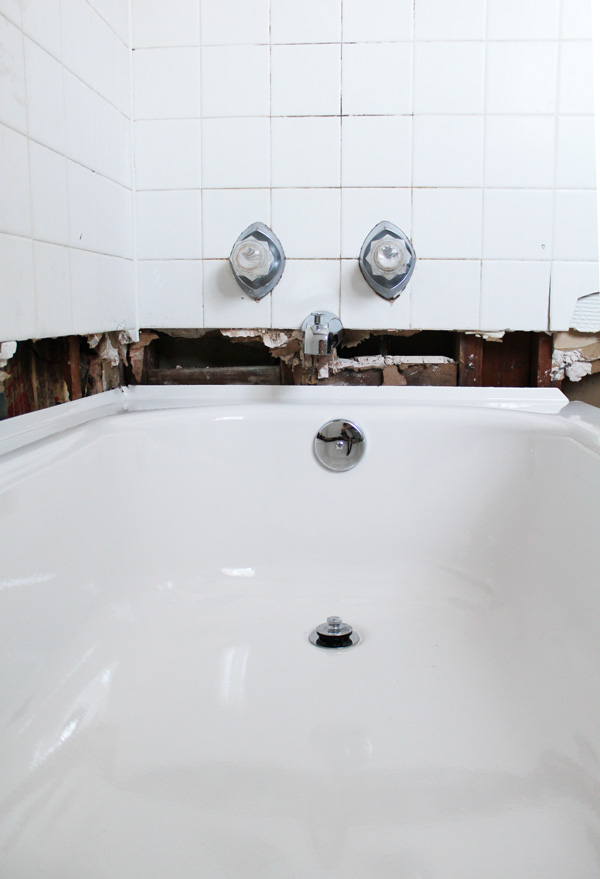
Bathroom remodel: replacing the surround
Now that the heavy lifting is done, the next step is for me and my husband to replace the tub surround. The floor and tub were both damaged during the install, but Benjamin Franklin sent contractors to make those repairs.
We’ll be replacing the tile and finishing the walls around the tub ourselves.
About Benjamin Franklin Plumbing
Benjamin Franklin is part of the Direct Energy family, but each location is independently owned. They have an on-time guarantee, so you know they’ll show up within the time window. All of the technicians are licensed plumbers, have background checks, and are professionals. They do a wide range of plumbing projects, including repairs and replacements for kitchen and bathroom plumbing. For our bathroom, we even had the option to finance through them.
This post is part of our bathroom remodel series. Read the others:
Part 1: The Tub | Part 2: The Surround | Part 3: Painting & Fixtures
We need to tackle the same project, maybe this will give us inspiration to go forward.
Good luck! Doing it half professional and half DiY is what finally helped me tackle the project.