
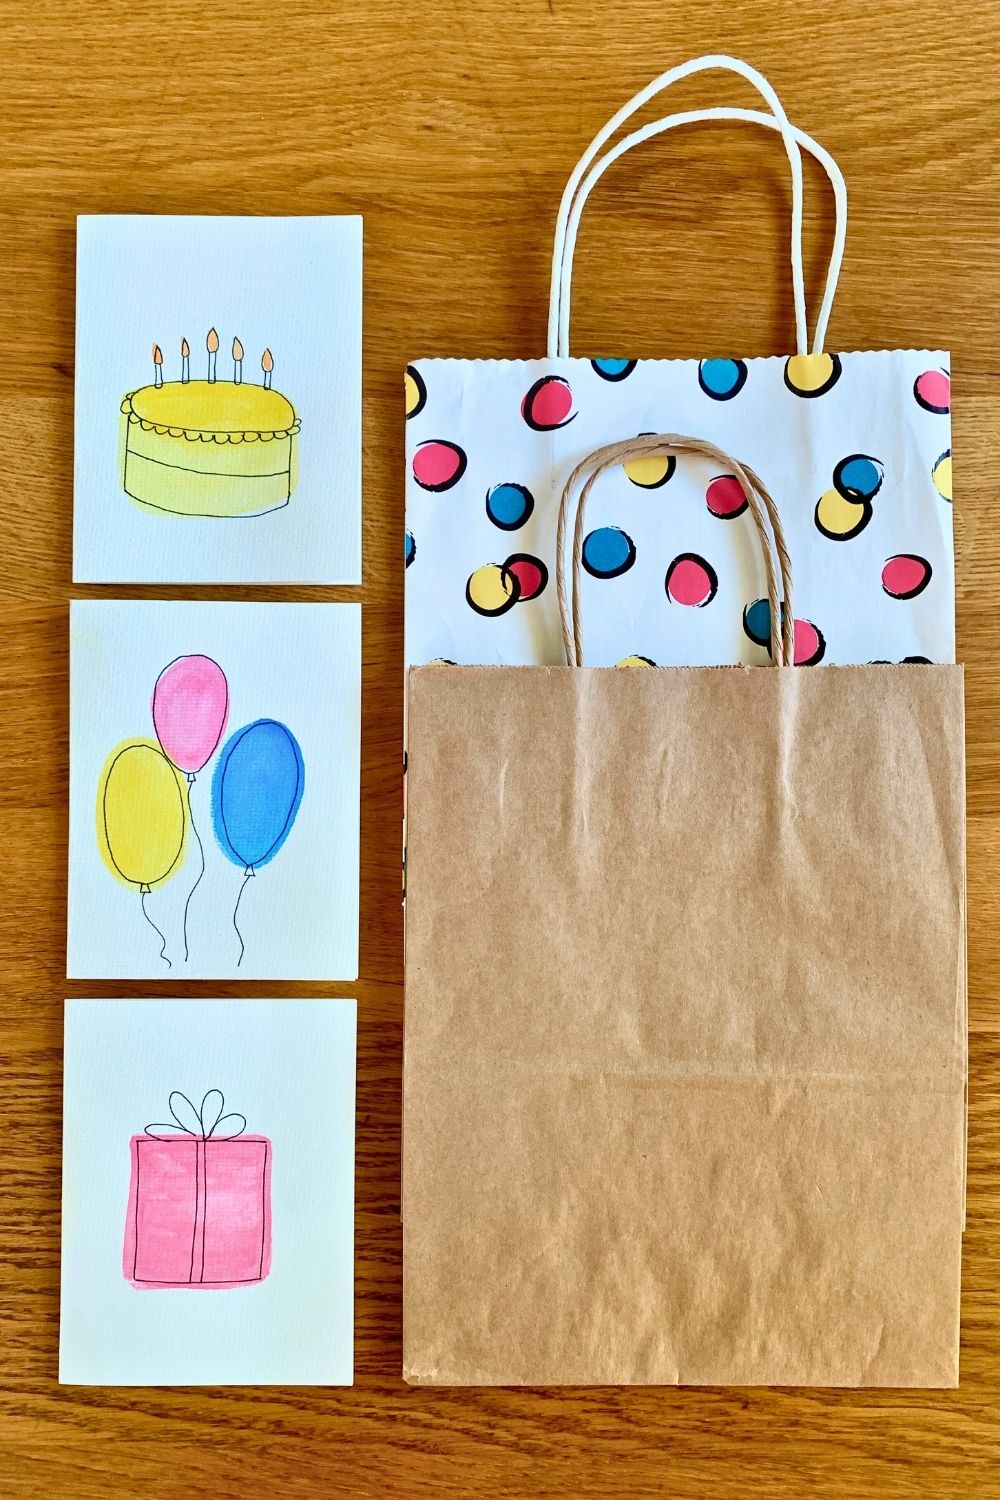
Make your own DIY birthday cards with watercolors and pens using simple shapes that are easy to personalize.
Disclosure: This blog contains affiliate links. As an Amazon Associate and member of other affiliate programs, Keri Houchin earns a commission from qualifying purchases at no additional cost to you.
If you like to make handmade gifts, add a DIY birthday card to the mix! These cards are simple and cute.
I love designs that are a blend of doodles and watercolor shapes that don’t quite line up. There’s something really fun about coloring outside the lines. If you tend to be a perfectionist, set that aside to make these messy card designs.
How to make a birthday card
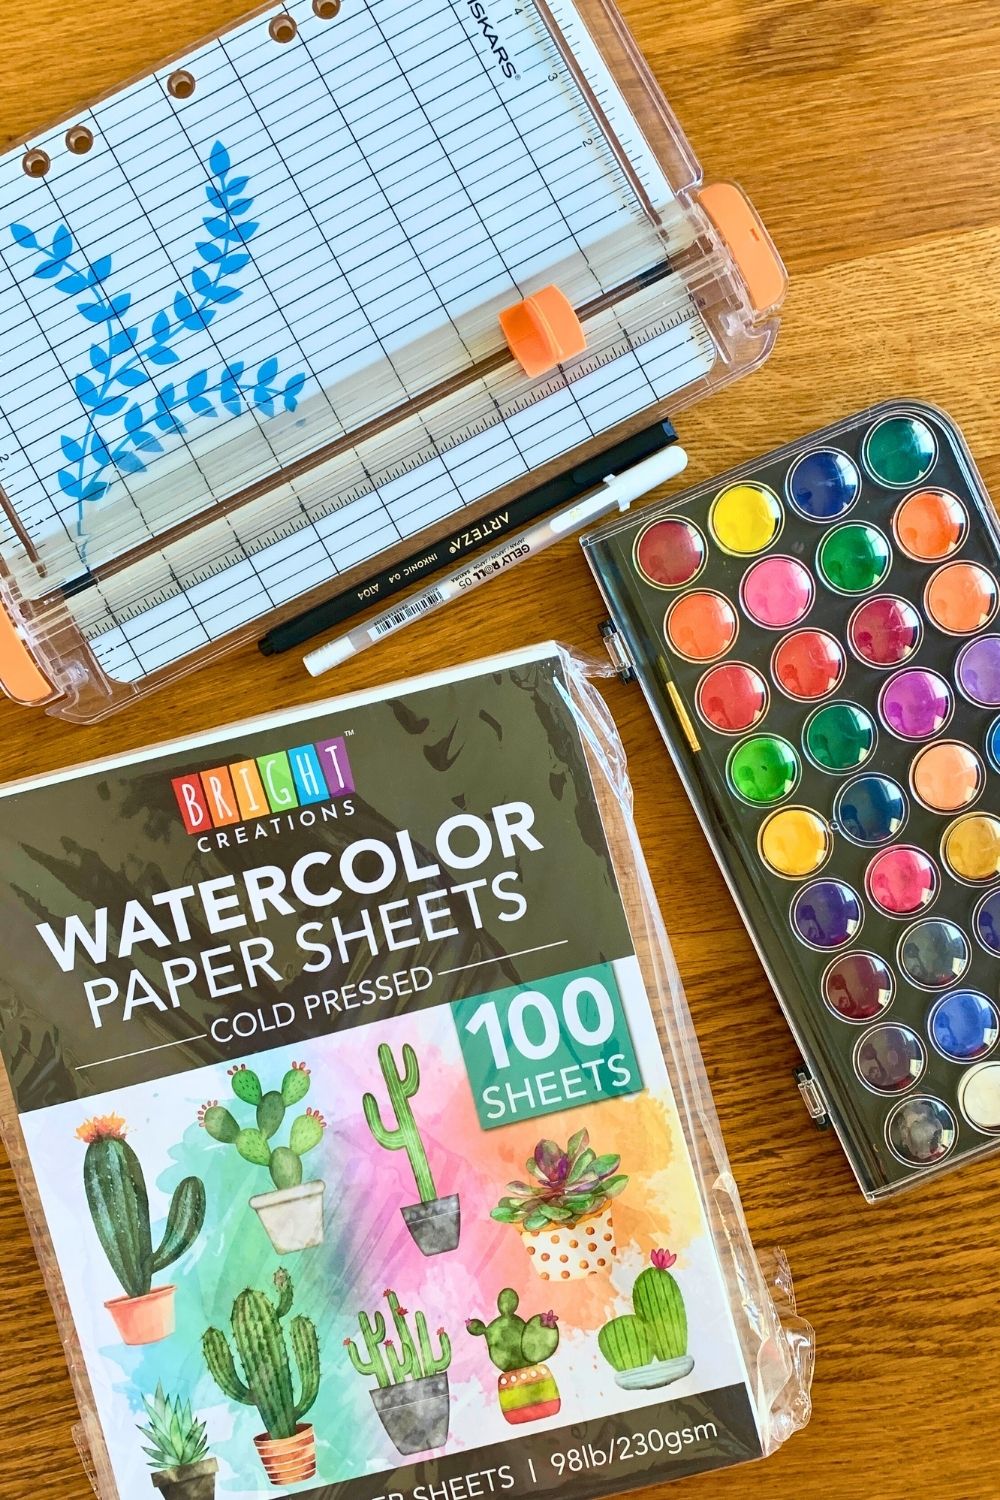
Supplies
- watercolor paper
- paper trimmer
- watercolor paint set
- a cup of water, for painting
- black and/or white pen
Instructions
1. Cut the paper.
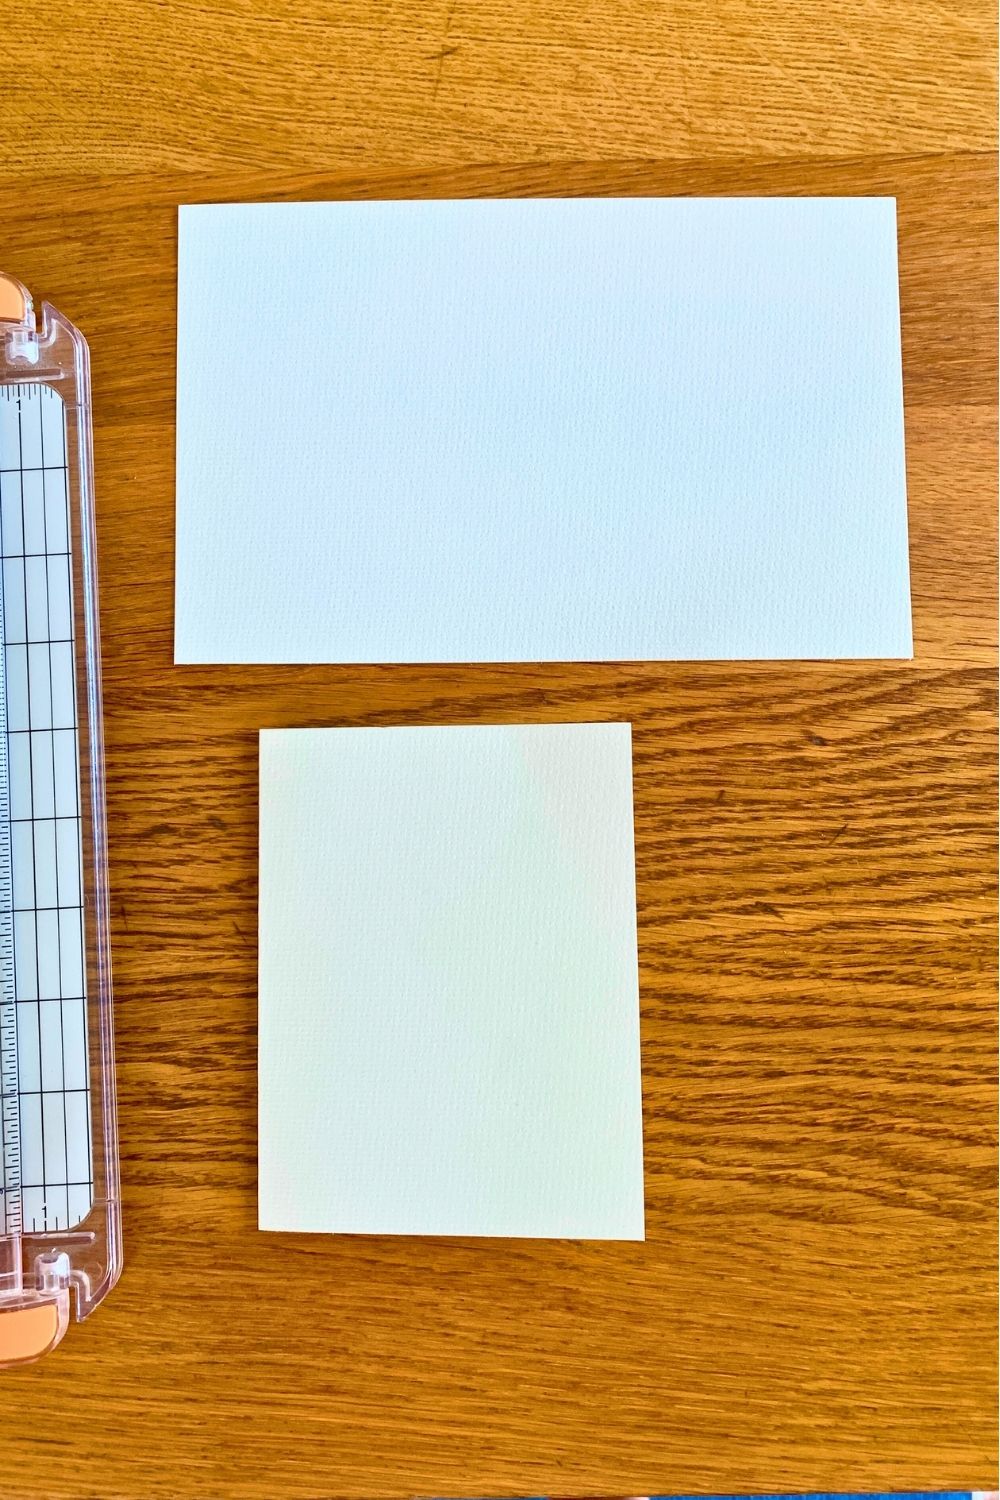
My paper is 8.5×11 inches, but you can use any size. Start by using the paper trimmer to cut the paper down to the size you want the card to be. I cut mine in half, so each piece of paper is 8.5×5.5 inches. Then fold the paper in half, making a 4.25×8.5 inch card.
2. Paint basic shapes.
For each design, I started by painting basic shapes. You don’t need to be super artistic or know a lot about watercolor painting to make these.
Dip the brush in water and add enough to the color you want to use that it is wet. Swirl your brush around the color, then start painting on the paper. You can add more water as needed to fill in the shapes, but if it gets really wet, the paper will warp a little.
(To flatten a bubbly card later, just stick it under something heavy after it’s dry.)
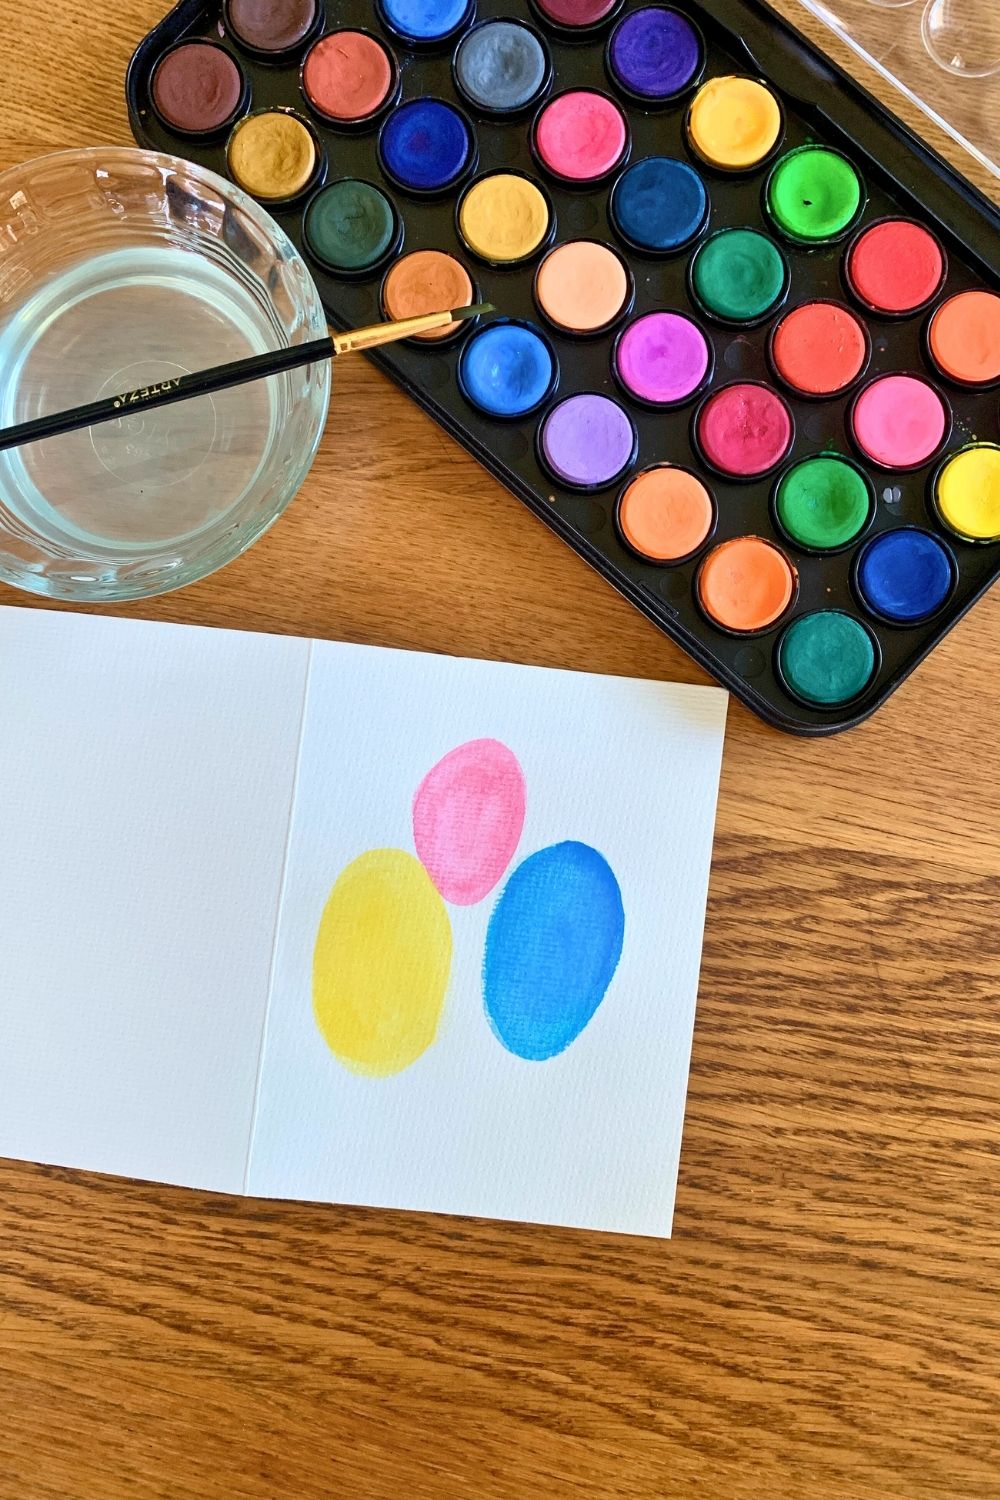
For the balloons, I painted 3 ovals, each in a different color. I was apparently subconsciously influenced by My Little Pony, because these balloons look a bit like Pinkie Pie’s cutie mark. You can use any color, of course.
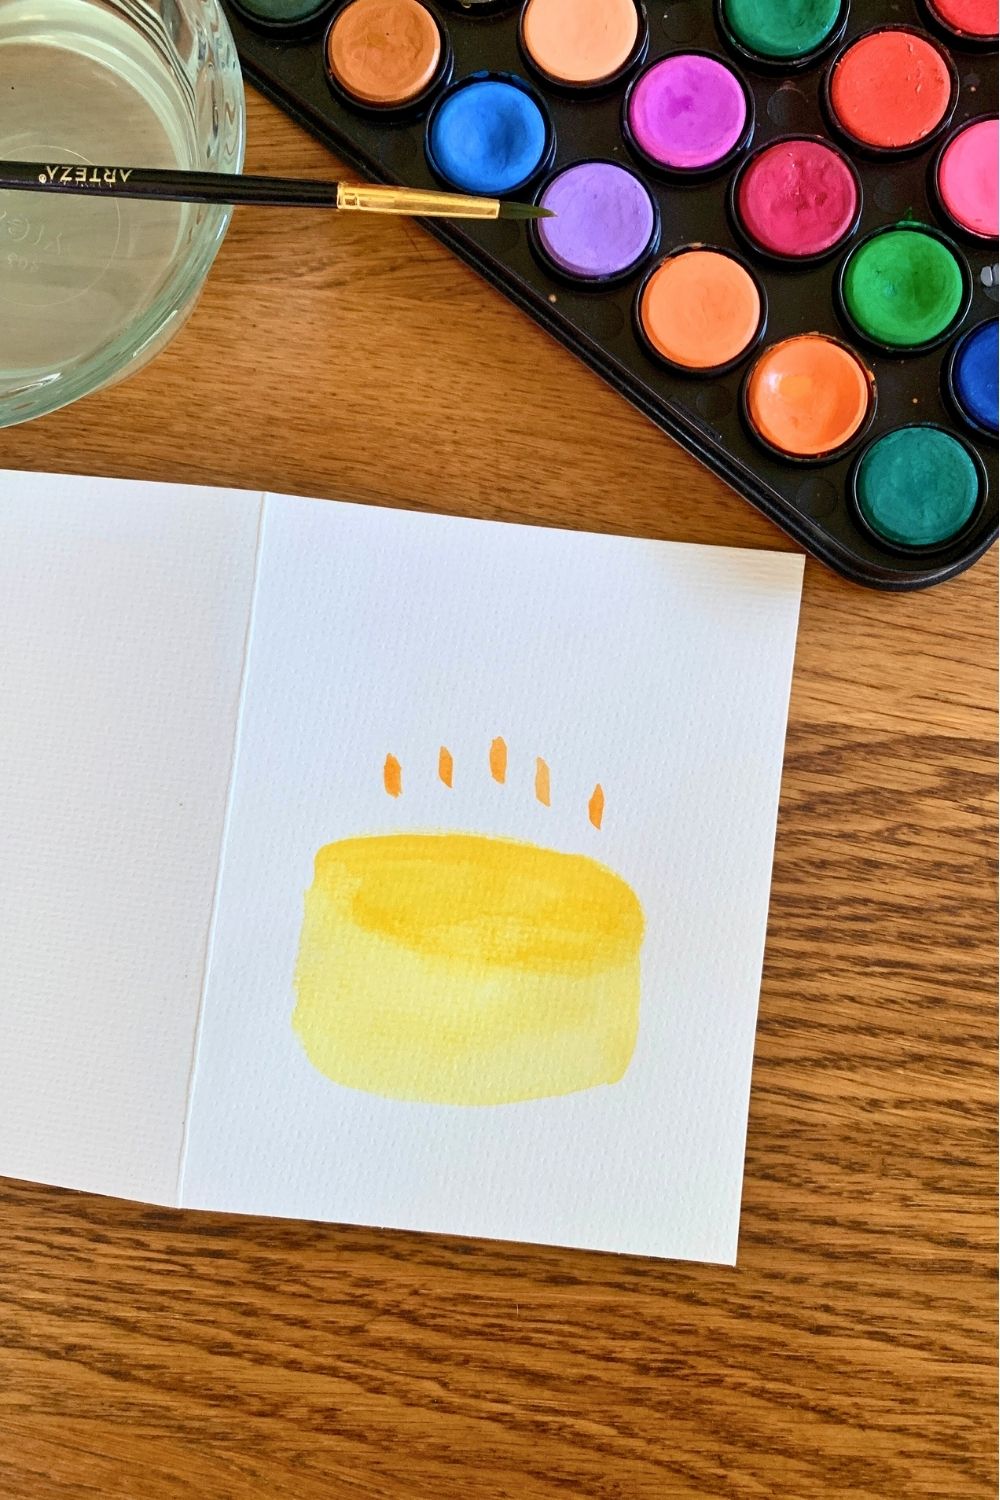
To make the cake, paint an oval, then extend the shape down to create a cylinder. I added a few tiny swipes of orange for candles.
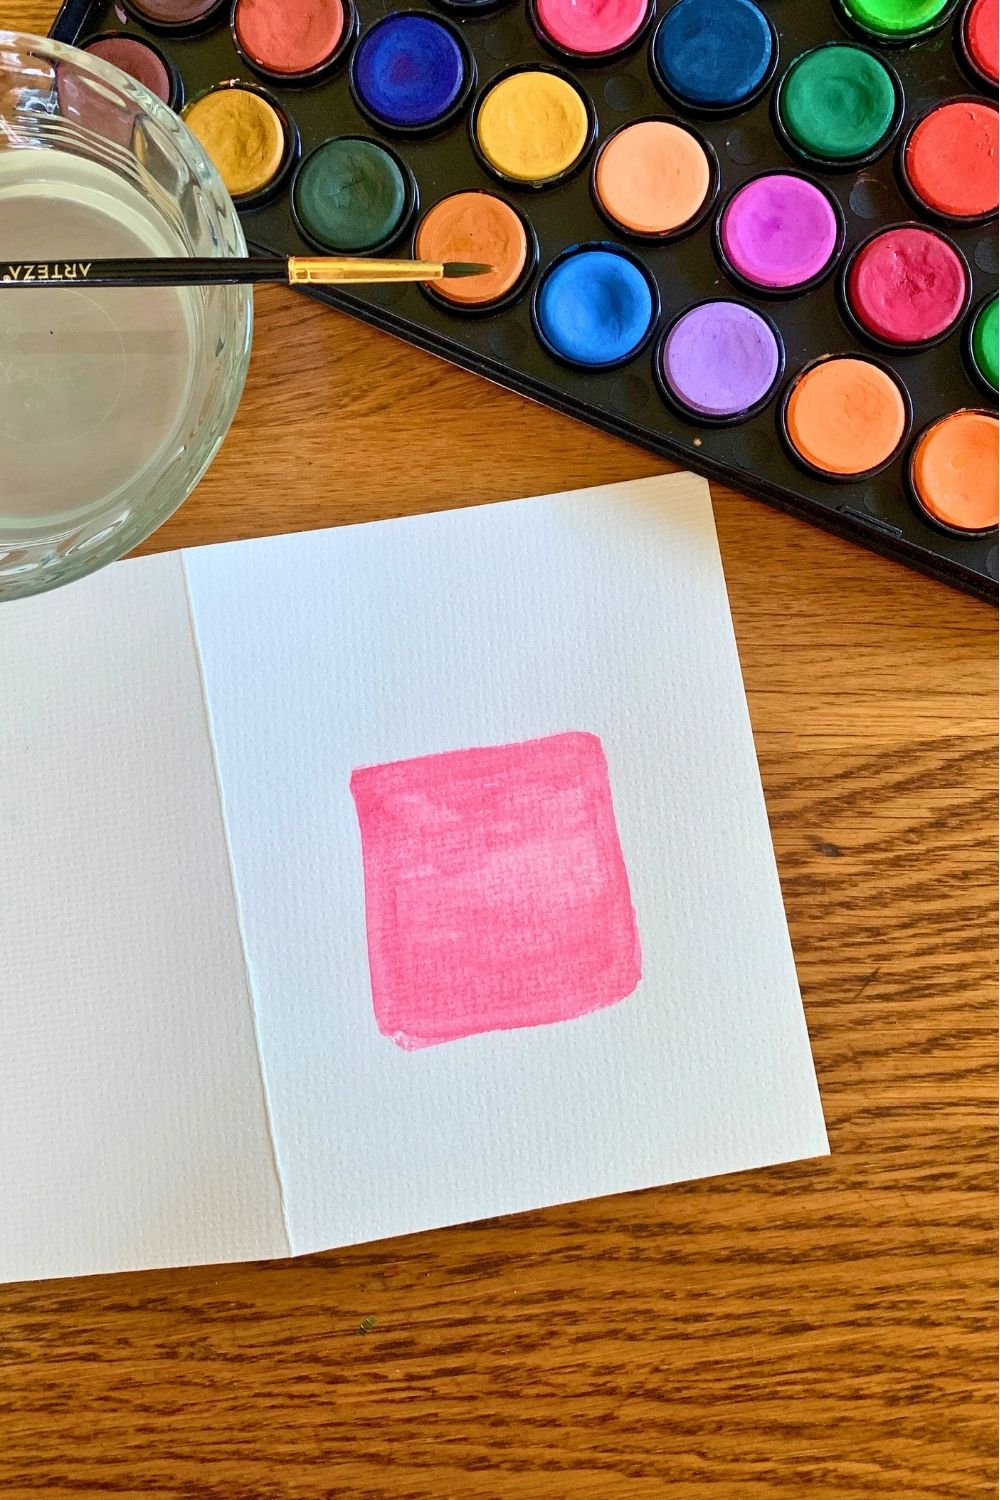
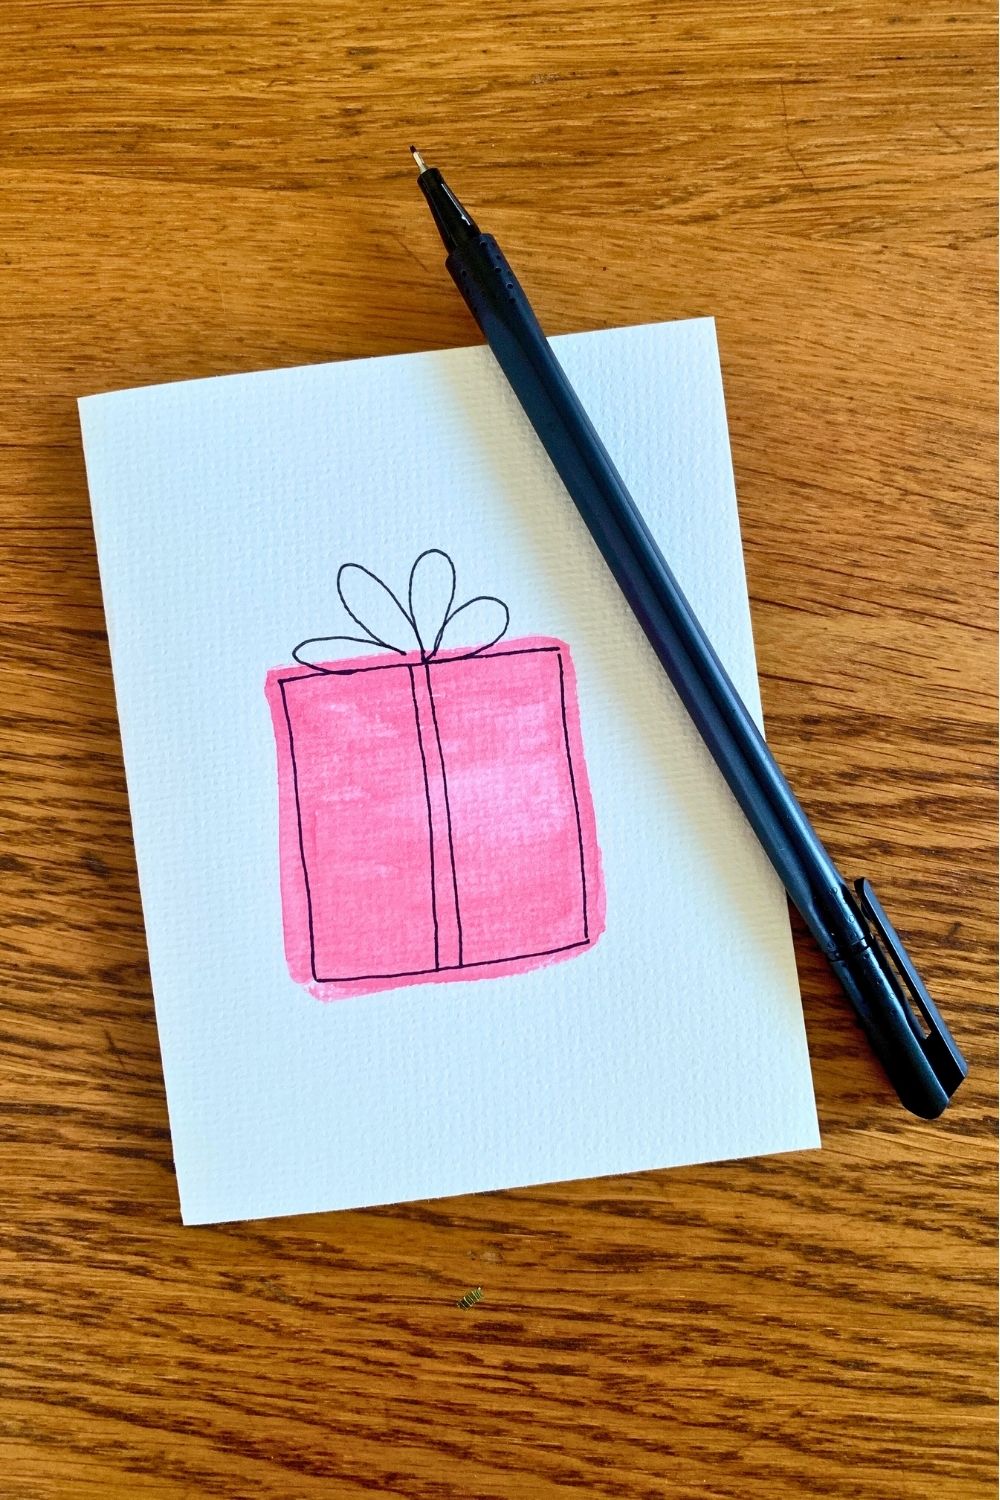
Lastly, the gift is just a pink square.
Set the watercolored paper aside to dry completely, which should take just a few minutes.
3. Add ink lines.
Use a waterproof ink pen to add lines and details to the painted shapes. I used a black pen since my colors were light, but a white pen will have a similar effect against dark paint colors.
Again, just draw simple shapes. They don’t need to line up with where you painted exactly.
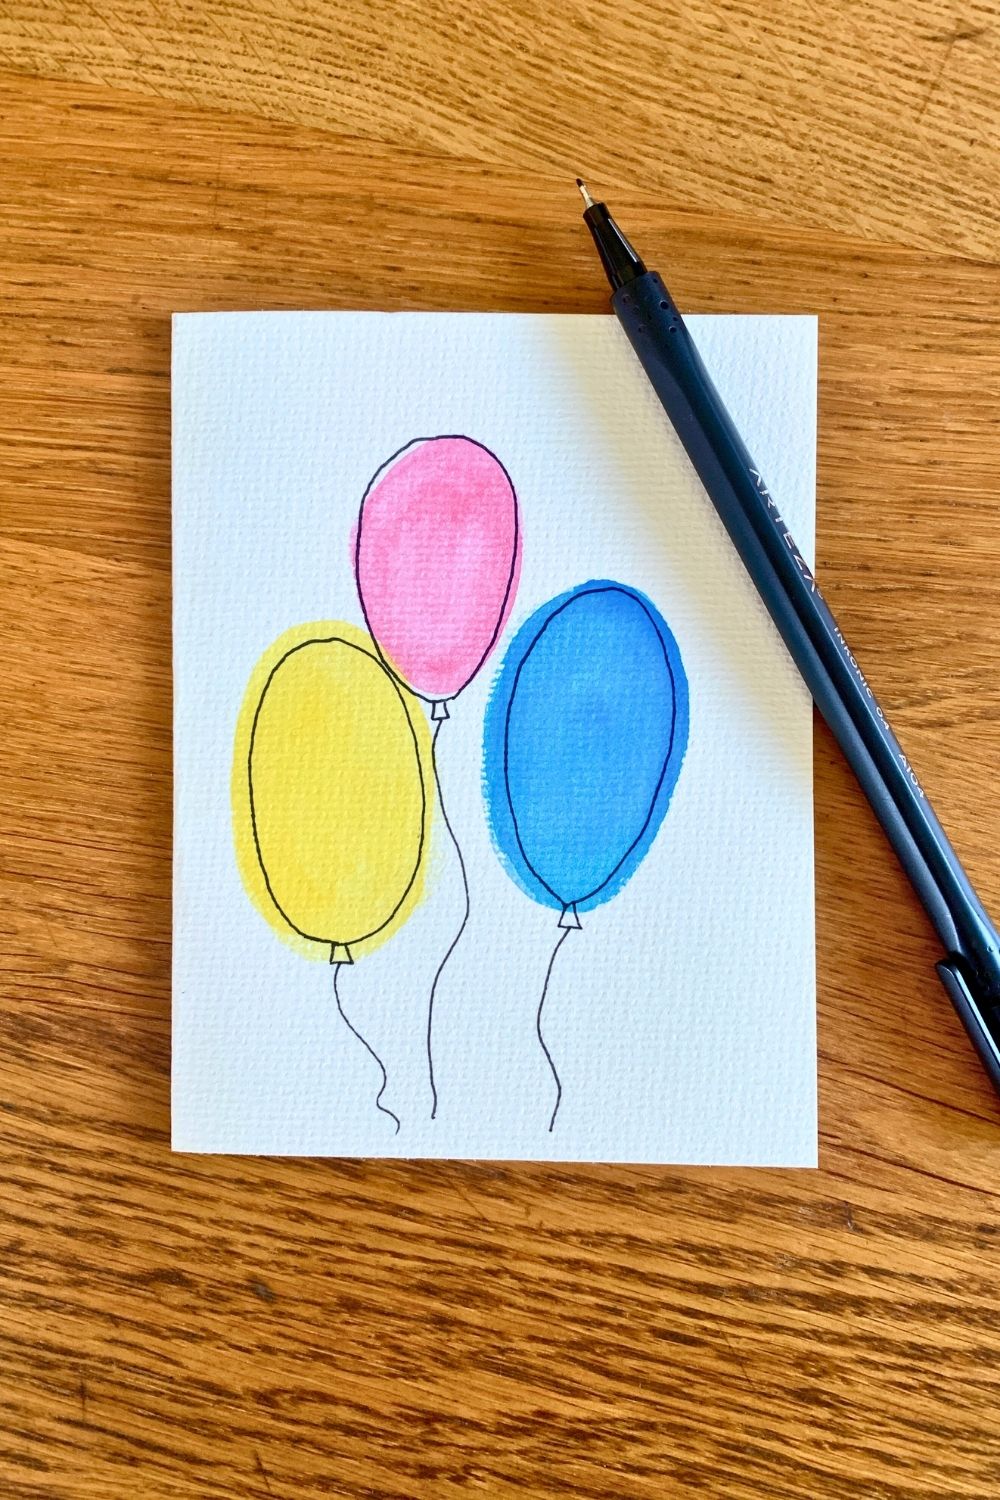
The balloons are simple ovals. Add a little rectangle for the tie and a squiggly line for the string.
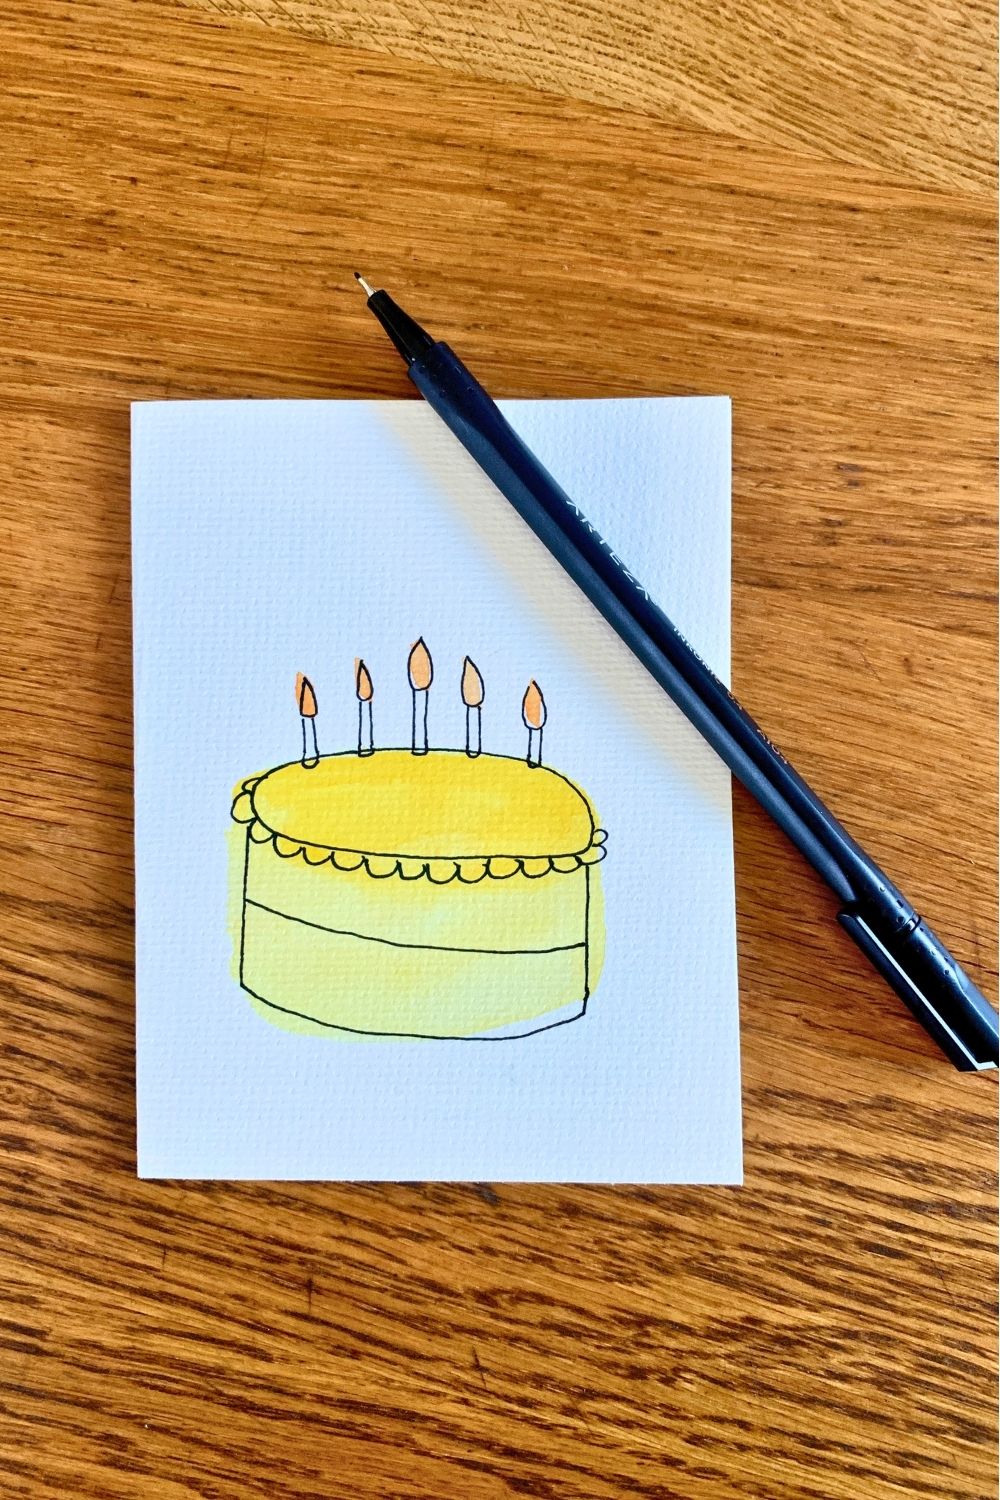
Make the cake as simple or decorated as you like. This is whimsical, so my lines are not straight.
The gift is just a square, a few lines, and a loopy shape on top for the bow.
4. Write inside.
Don’t forget to write a message inside your cards. It can be a simple “happy birthday” or “congratulations” or a longer message. And sign your name, of course.
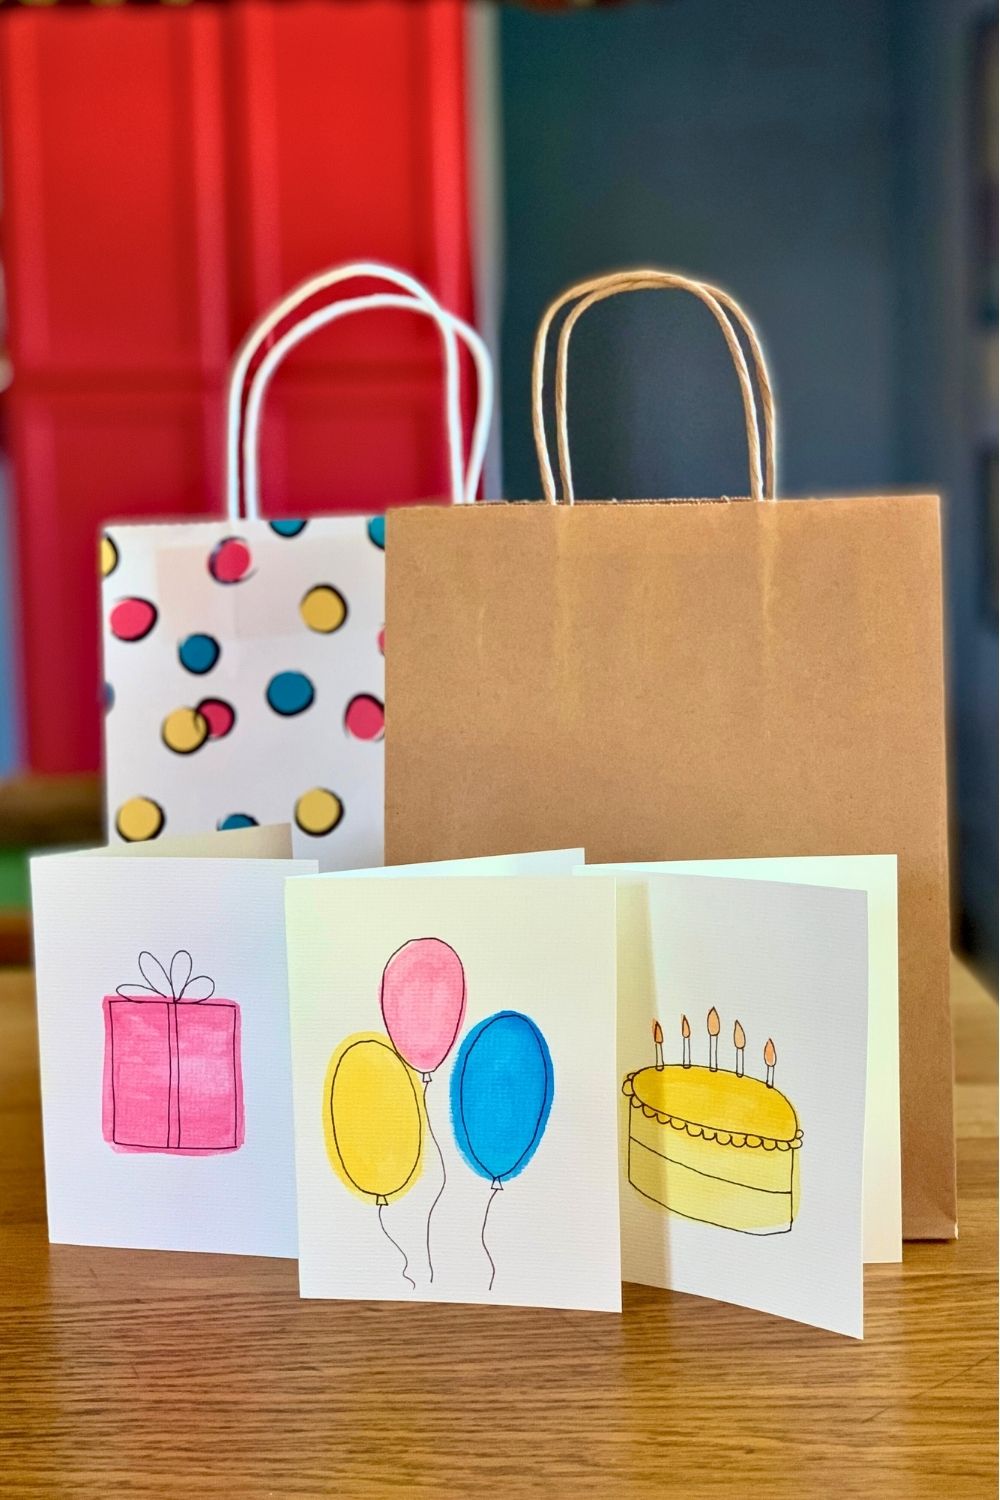
I love the combo of watercolor paint and simple pen lines. These DIY birthday cards are easy to make in any color. Match them to your gift wrap or use the recipient’s favorite colors.
Slide the card inside a gift bag or grab an envelope. I have a tutorial for how to make an envelope with a printable template. These cards will fit, but are snug. For extra creativity, print the envelope template onto watercolor paper and paint it too.
What’s next? Try these other fun and creative ideas on One Mama’s Daily Drama:
Leave a Reply