
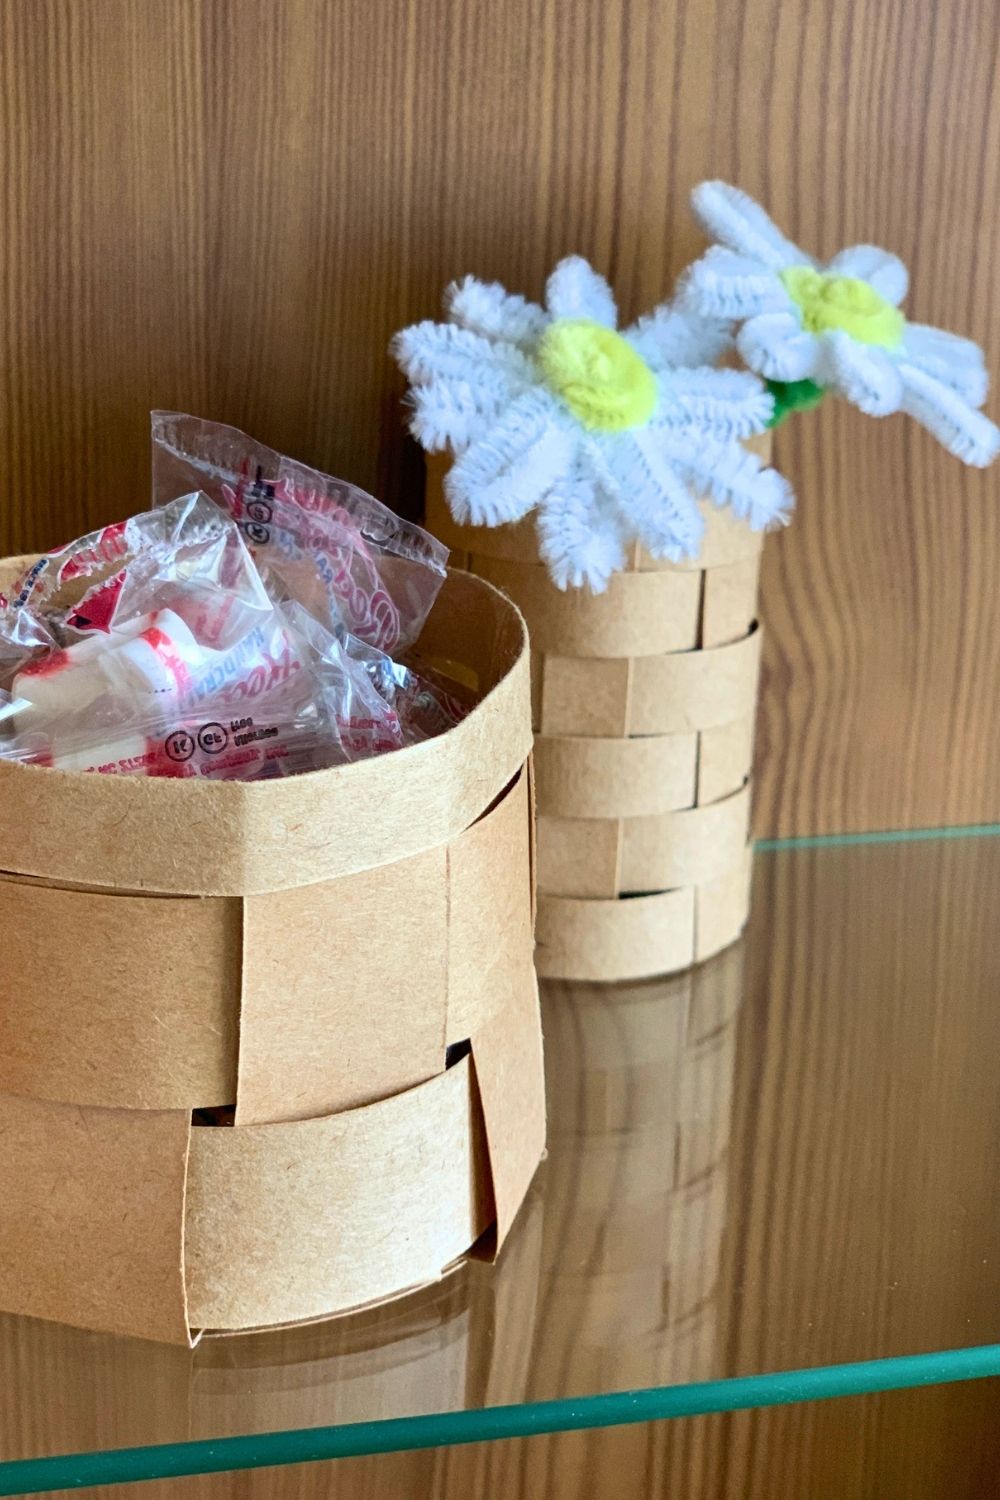
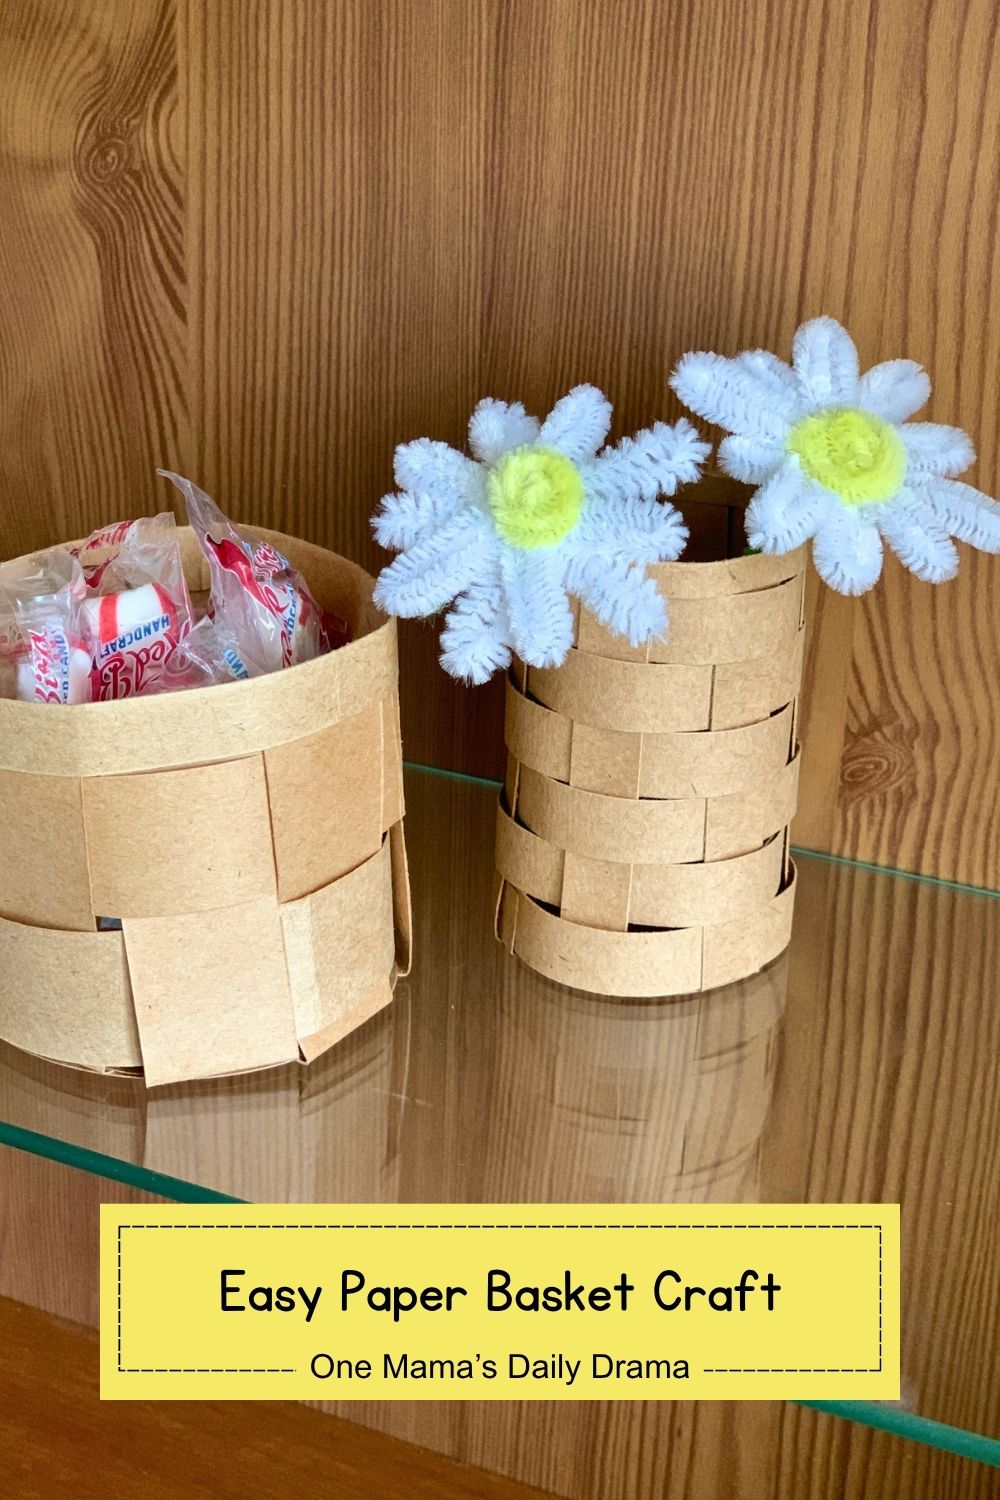
Make a paper basket using craft paper! These are cute for Easter, gift baskets, budget decorating, or wherever you might need a small basket.
Disclosure: This blog contains affiliate links. As an Amazon Associate and member of other affiliate programs, Keri Houchin earns a commission from qualifying purchases at no additional cost to you.
Turn a few sheets of craft paper into a basket with scissors and glue. You can make these with scrapbook paper or leftover pieces from another project. Try making a basket using junk mail for a creative upcycled project.
How to make a paper basket
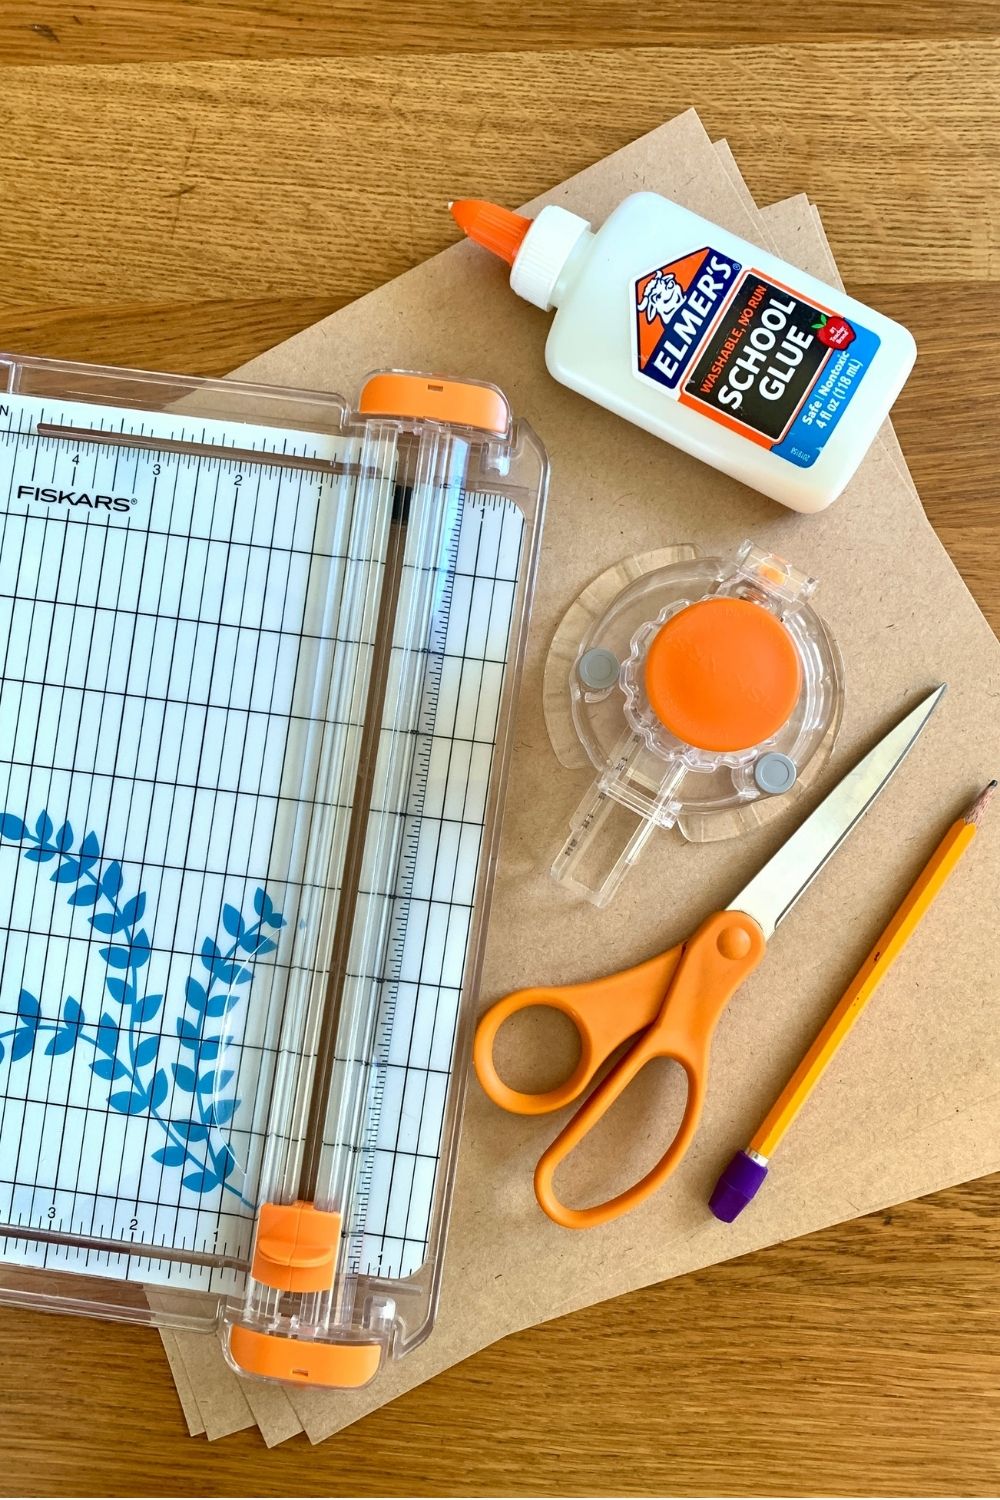
Supplies
- craft paper
- scissors
- paper trimmer (optional)
- circle cutter (optional)
- craft glue
Instructions
1. Make the basket base.
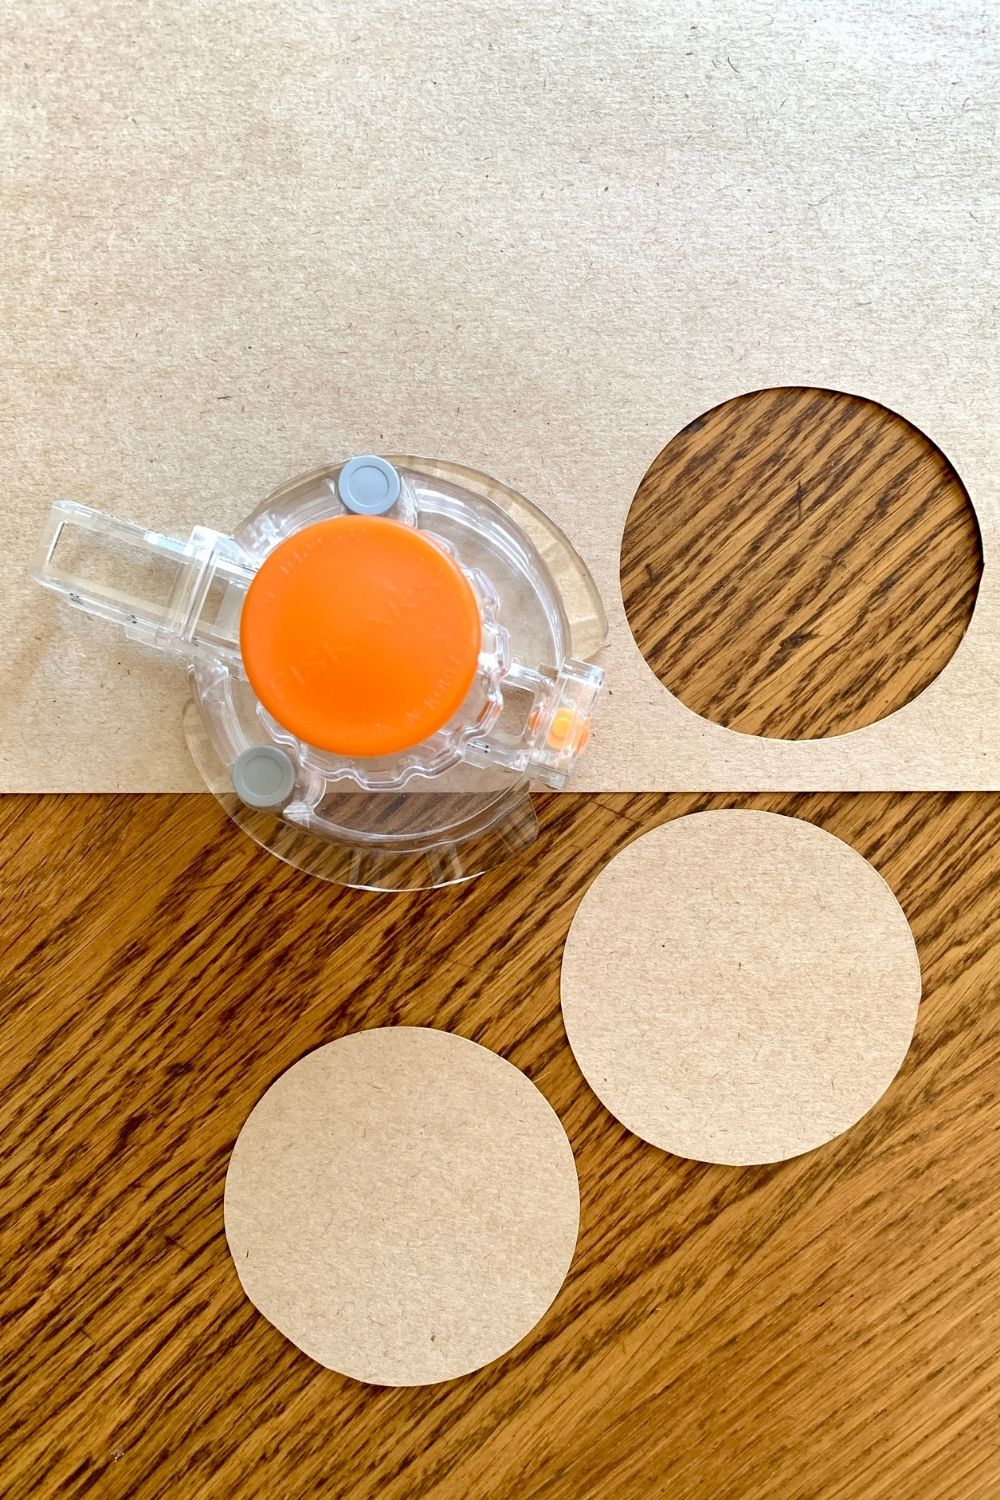
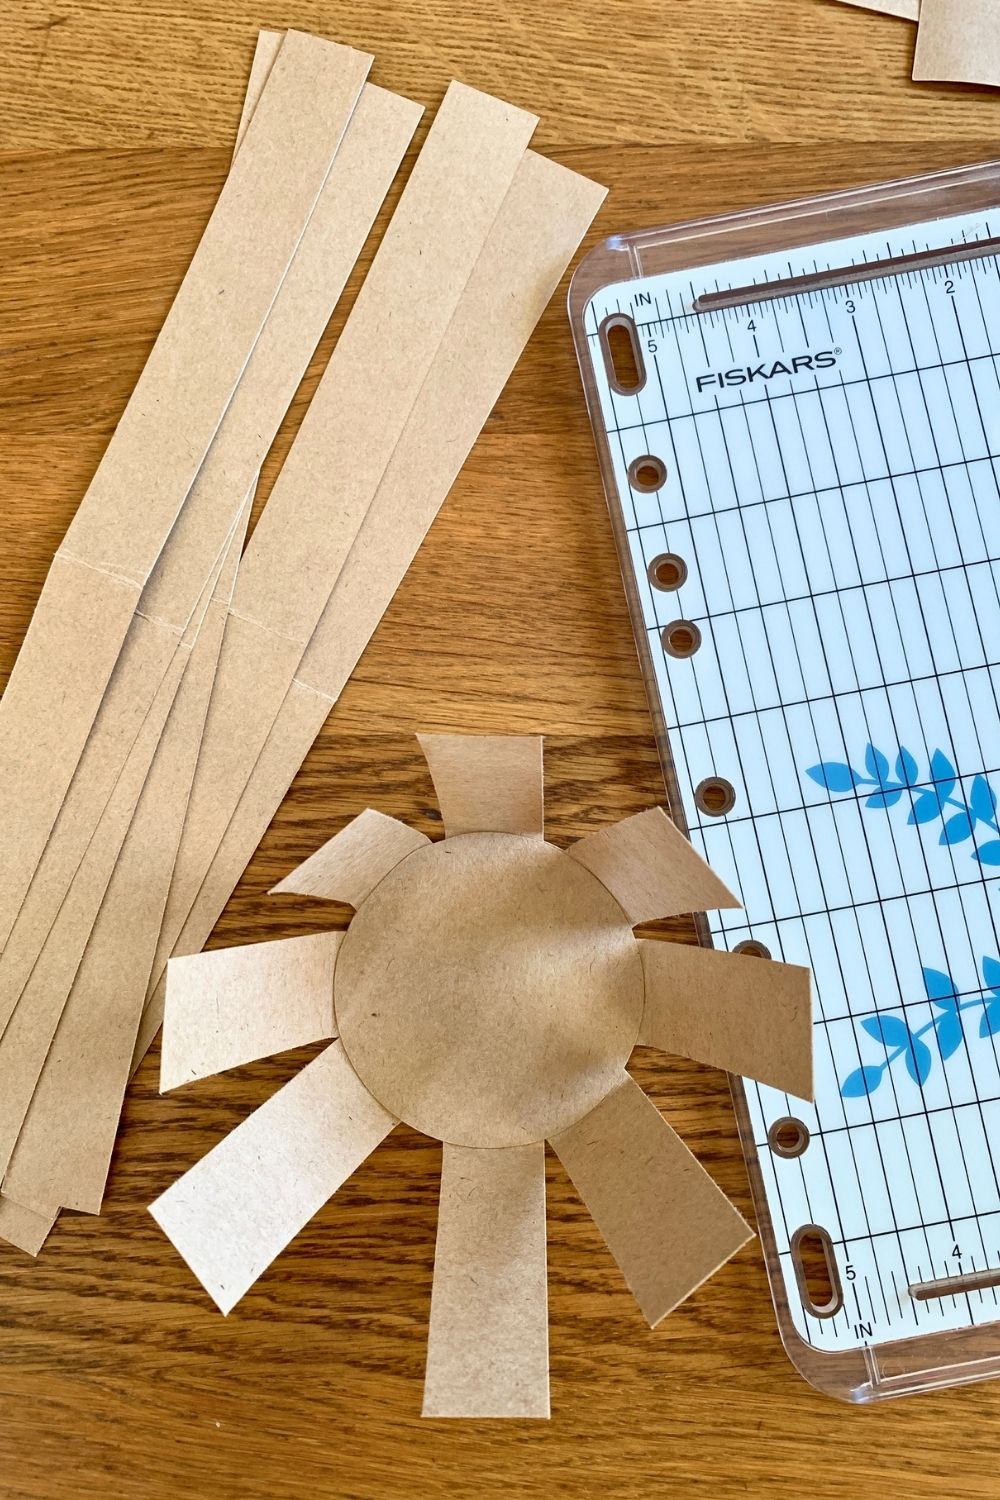
Start by cutting a pair of 3-inch paper circles and 4 strips of paper that measure 1-by-6 inches.
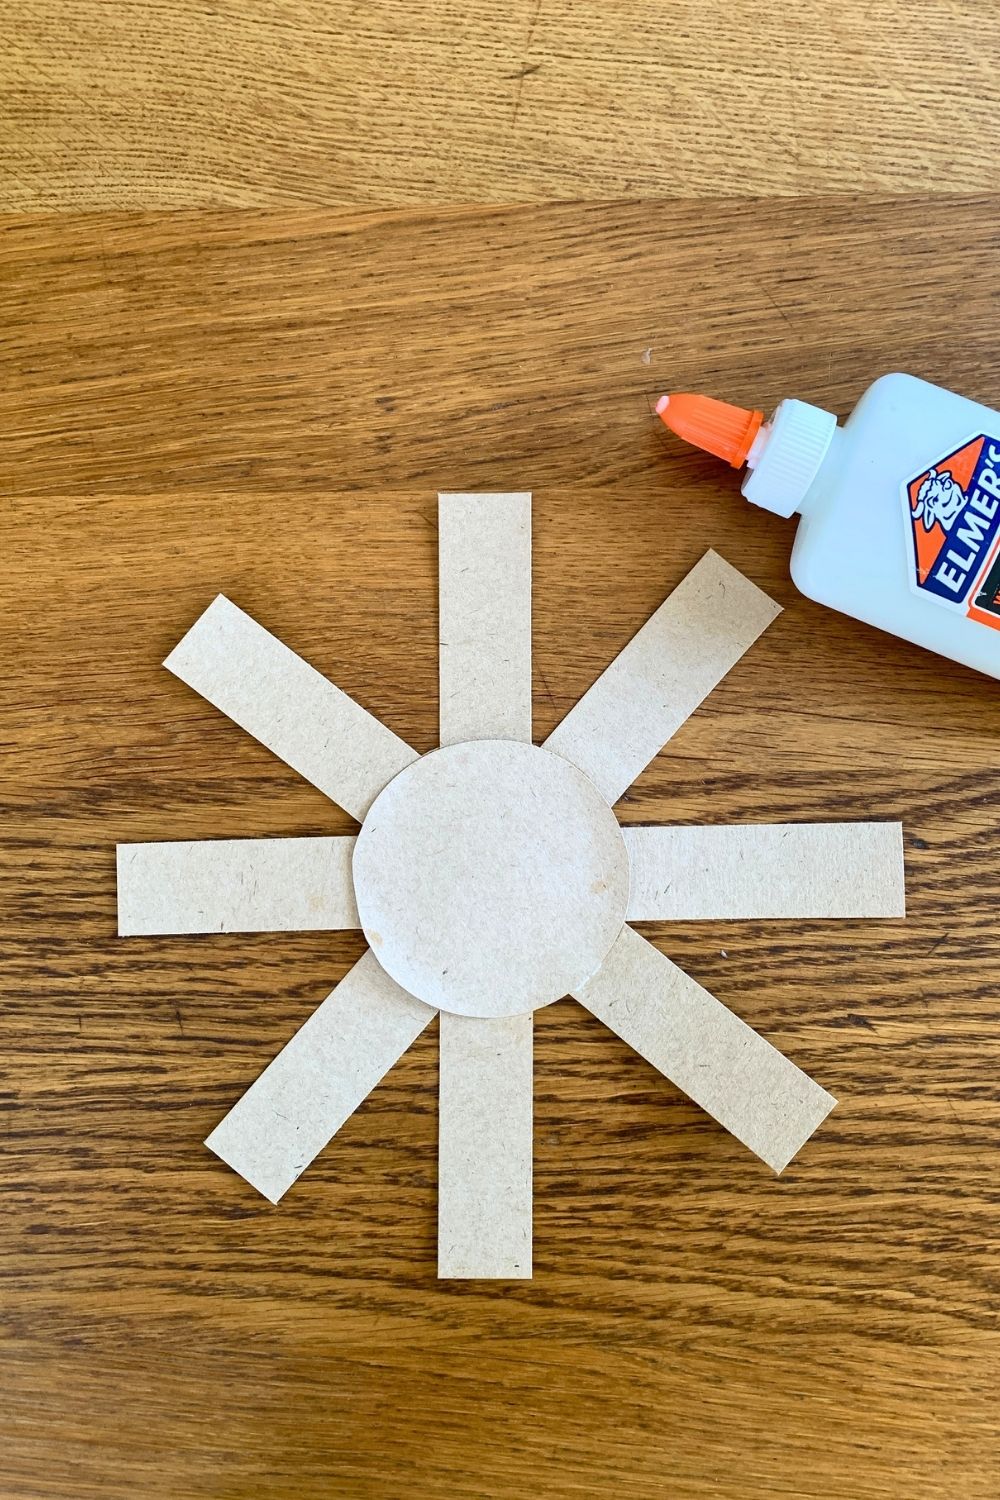
Find the center of one circle and attach the strips of paper. The easiest way to do this is to glue the first 2 down in an X, then add the next 2 in between.
Glue the second circle on top. Let it dry about 5 minutes. You may want to put something heavy on top so that the edges don’t curl.

2. Begin weaving the sides.
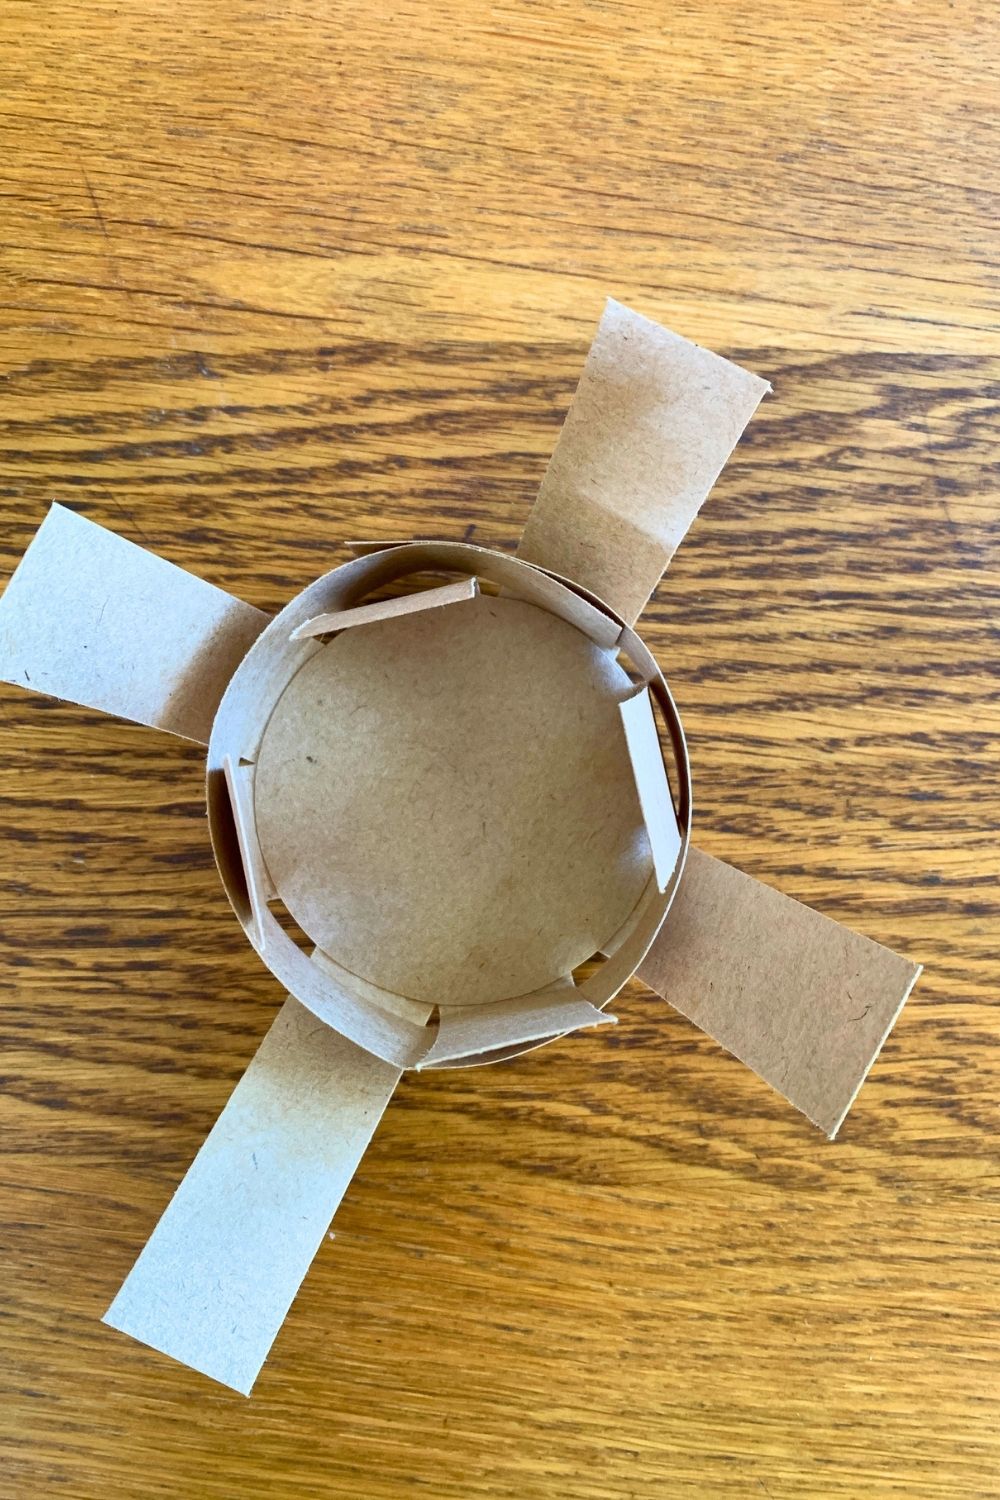
Fold and crease the spokes, then leave them pointing upward. Cut 3 strips of paper that measure 1×12 inches.
Tip: It may be handy to run each strip of paper along the edge of your table to give it a curl.
Take one strip of paper and weave it between the vertical spokes. Half will be inside and half will be outside this layer. Adjust the strip so that it’s flush with the bottom. Where the paper strips meets again, add a dab of glue to hold it in place. Let the glue dry a minute.
3. Weave a second row.
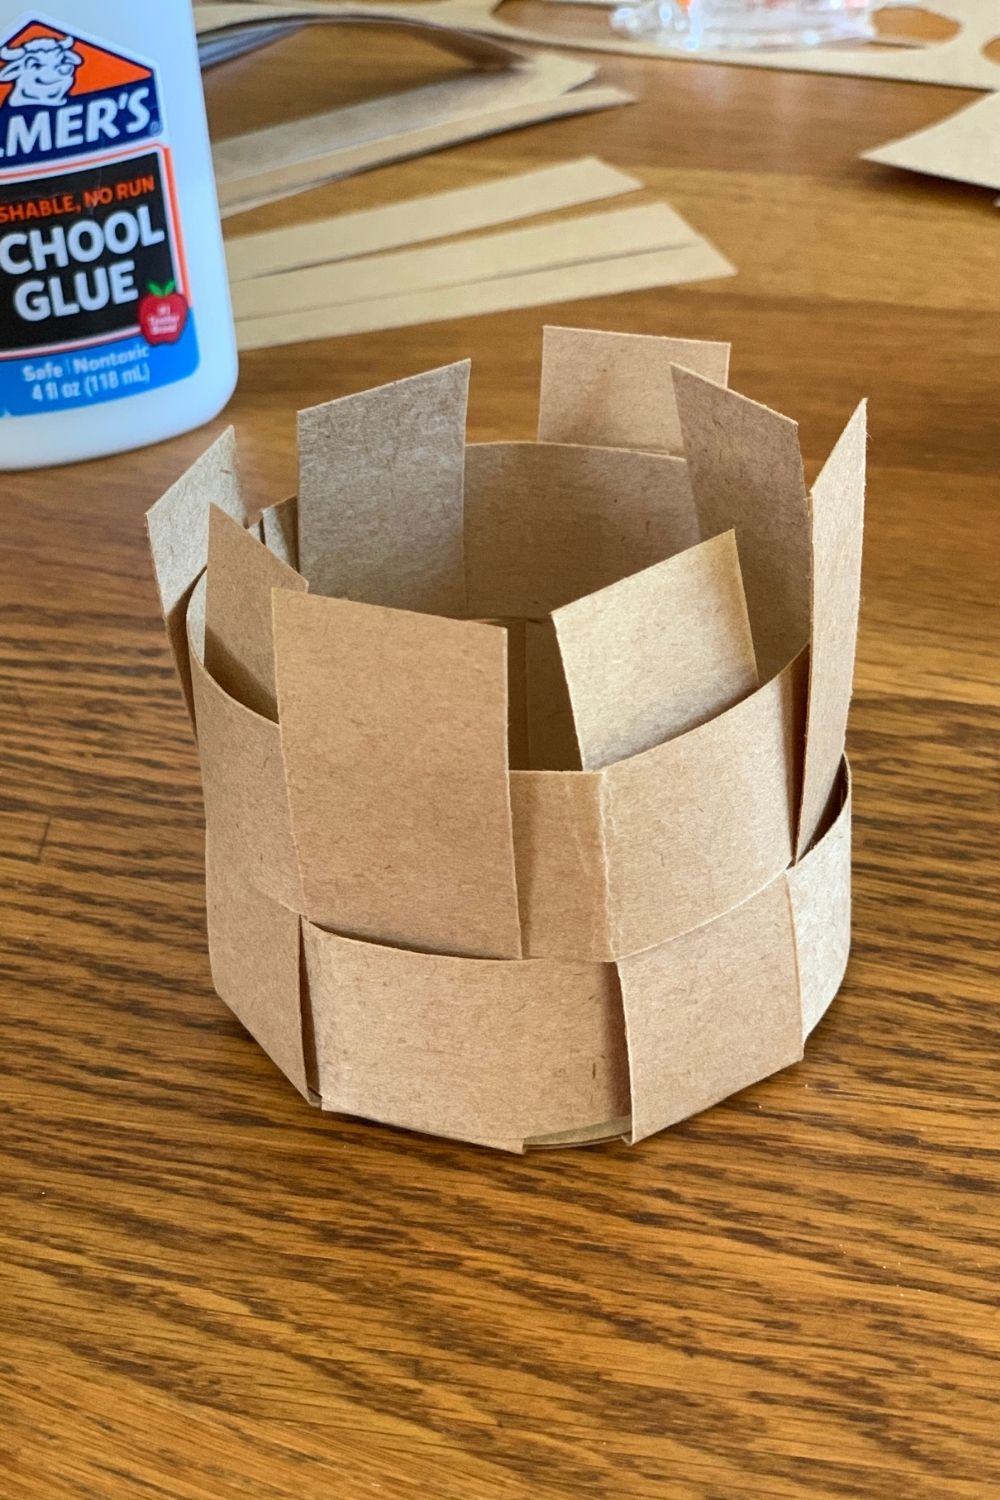
Weave a second strip around the spokes, alternating which ones are inside and outside. Glue the overlapping ends together and let them dry a minute.
4. Add the top trim.
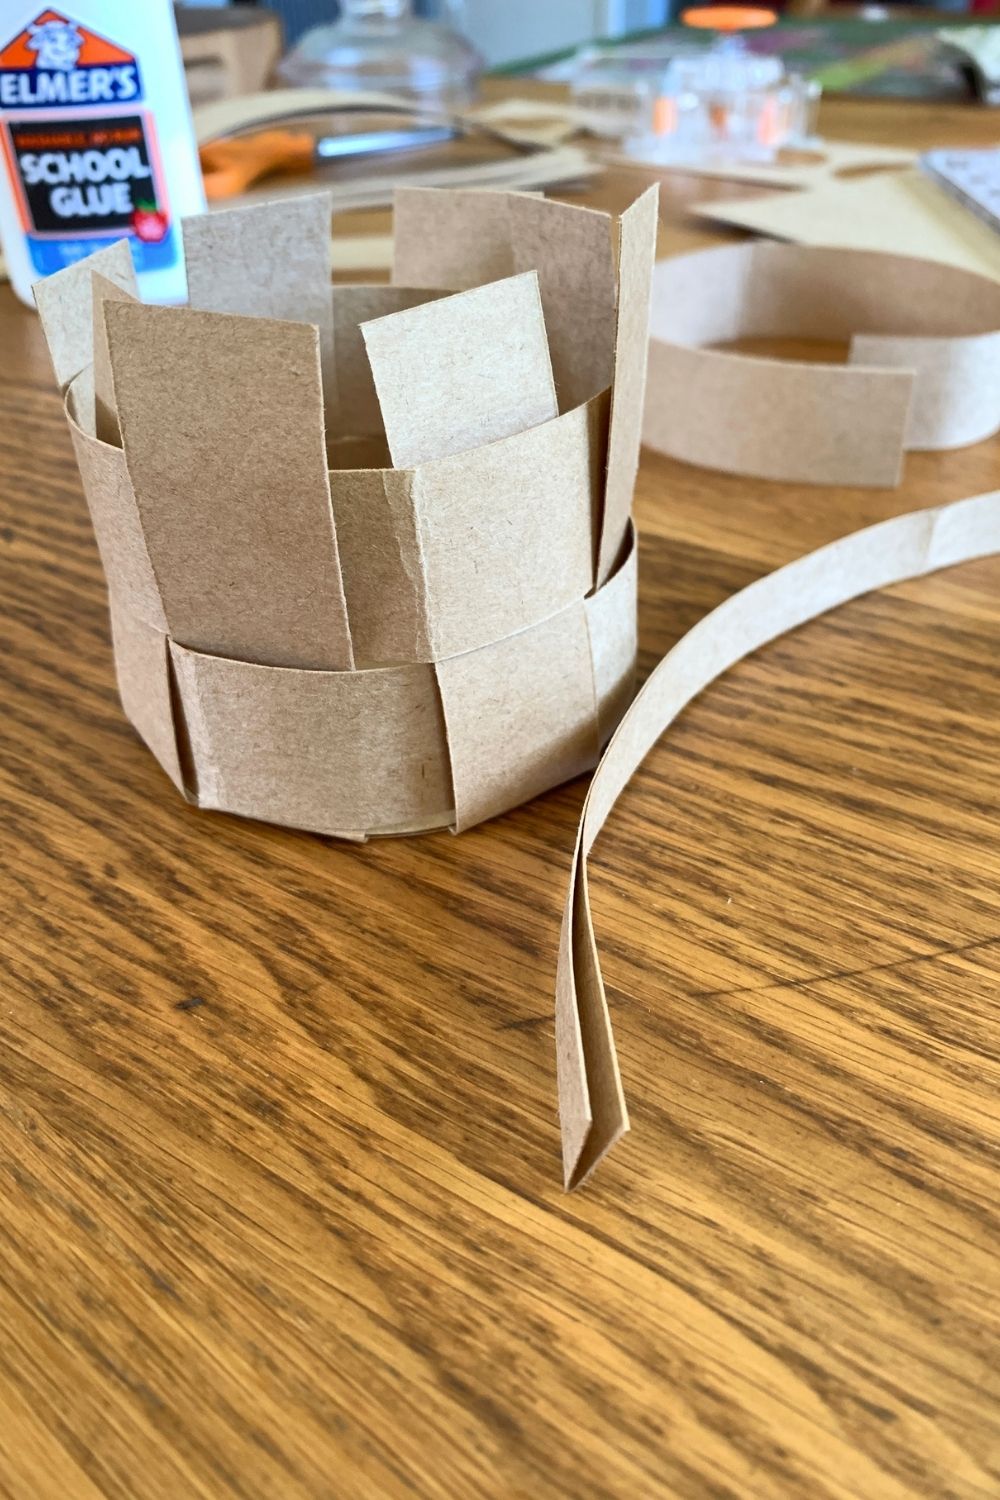
Give the top edge of the basket a folded border. Take the last piece of 1×12 and fold it in half lengthwise. Run a bead a glue down the inside. Place it on top of the basket with all of the edges inside the fold. Let the glue dry about 5 minutes.
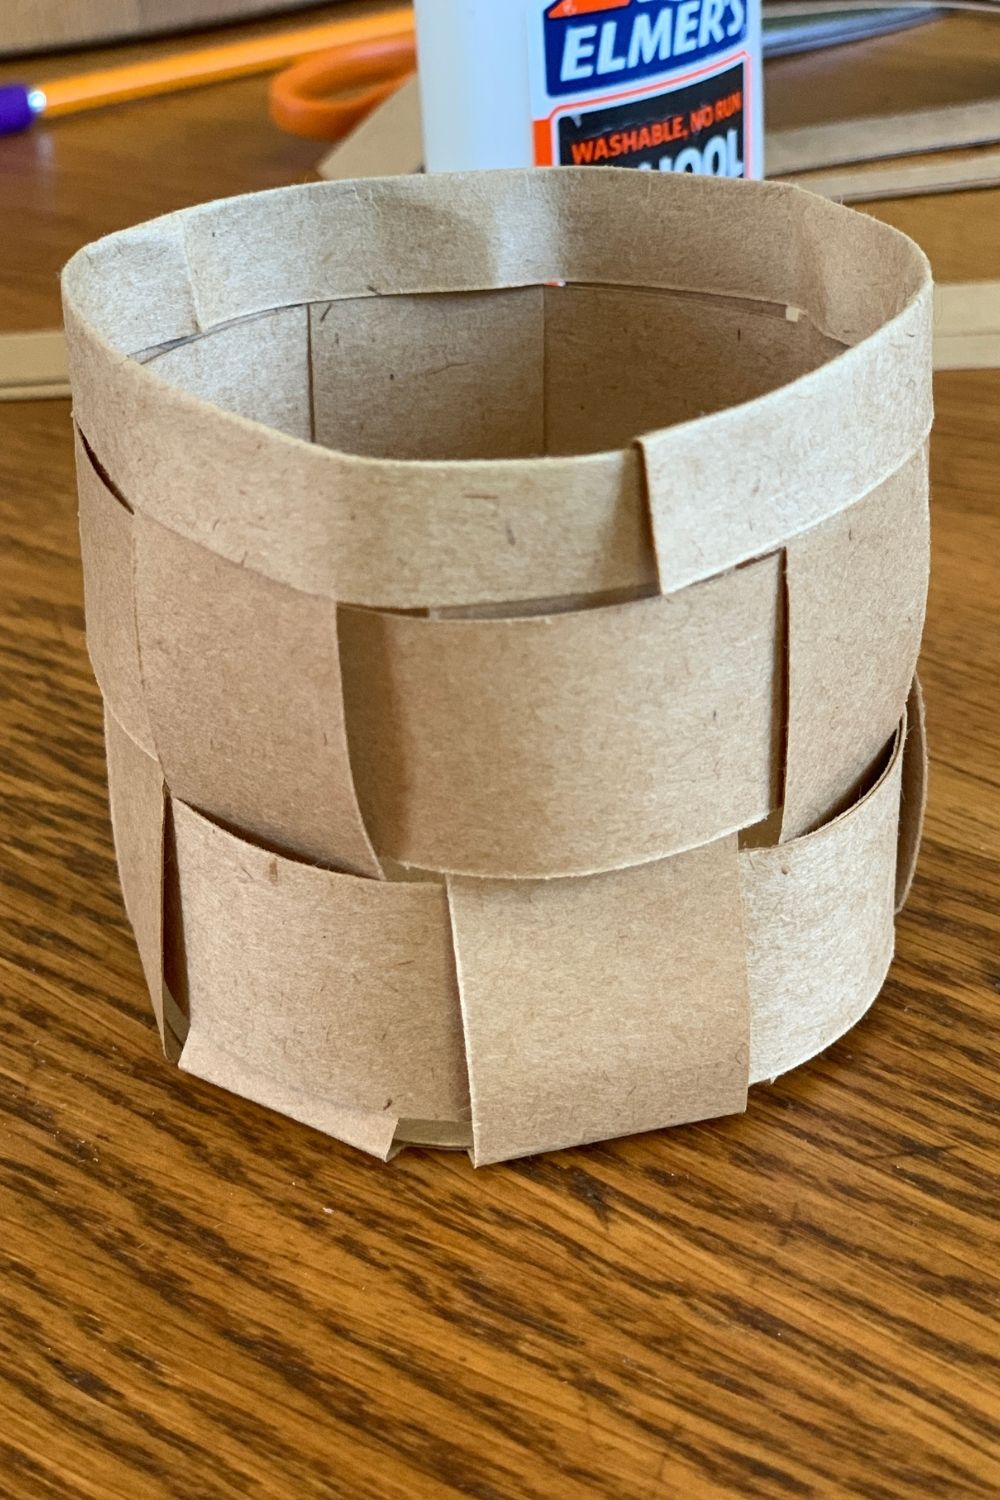
When the glue is dry, the basket is ready to be filled! Use it as a rustic storage container for small items. Or fill it with treats for gifting.
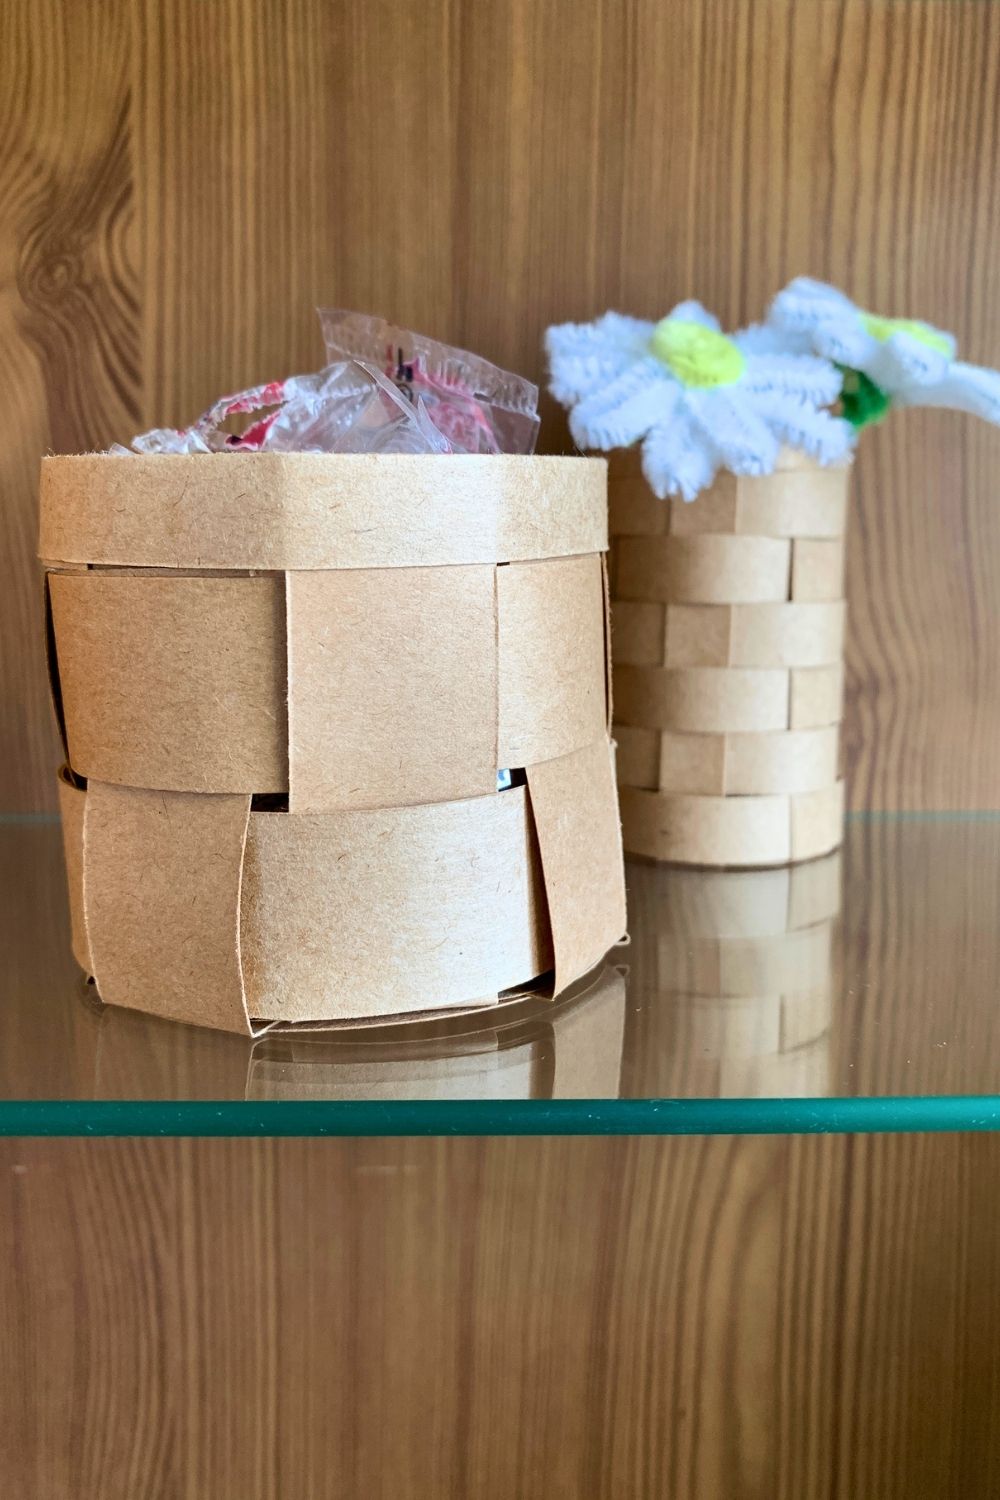
You can change the size of your basket by adjusting the diameter of the circles and the length of the strips in the base.
You could even turn this into a math activity for tweens! Have them choose a circle size and strips for the spokes, then calculate how tall the finished paper basket will be.
What’s next? Try these other fun and creative ideas on One Mama’s Daily Drama:
Leave a Reply