
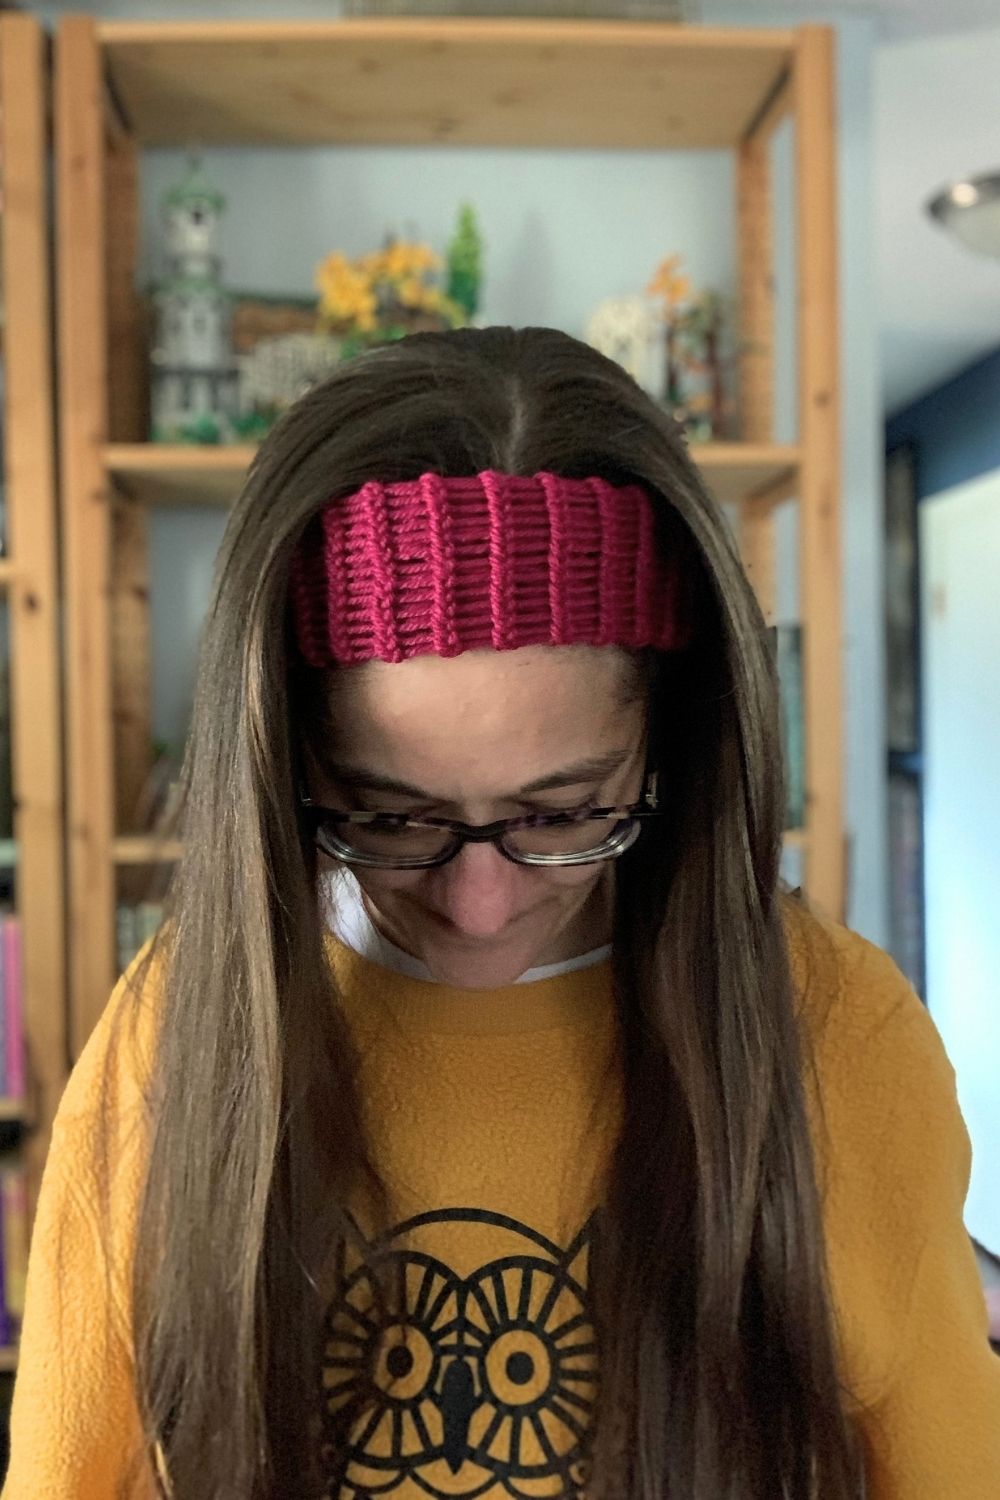
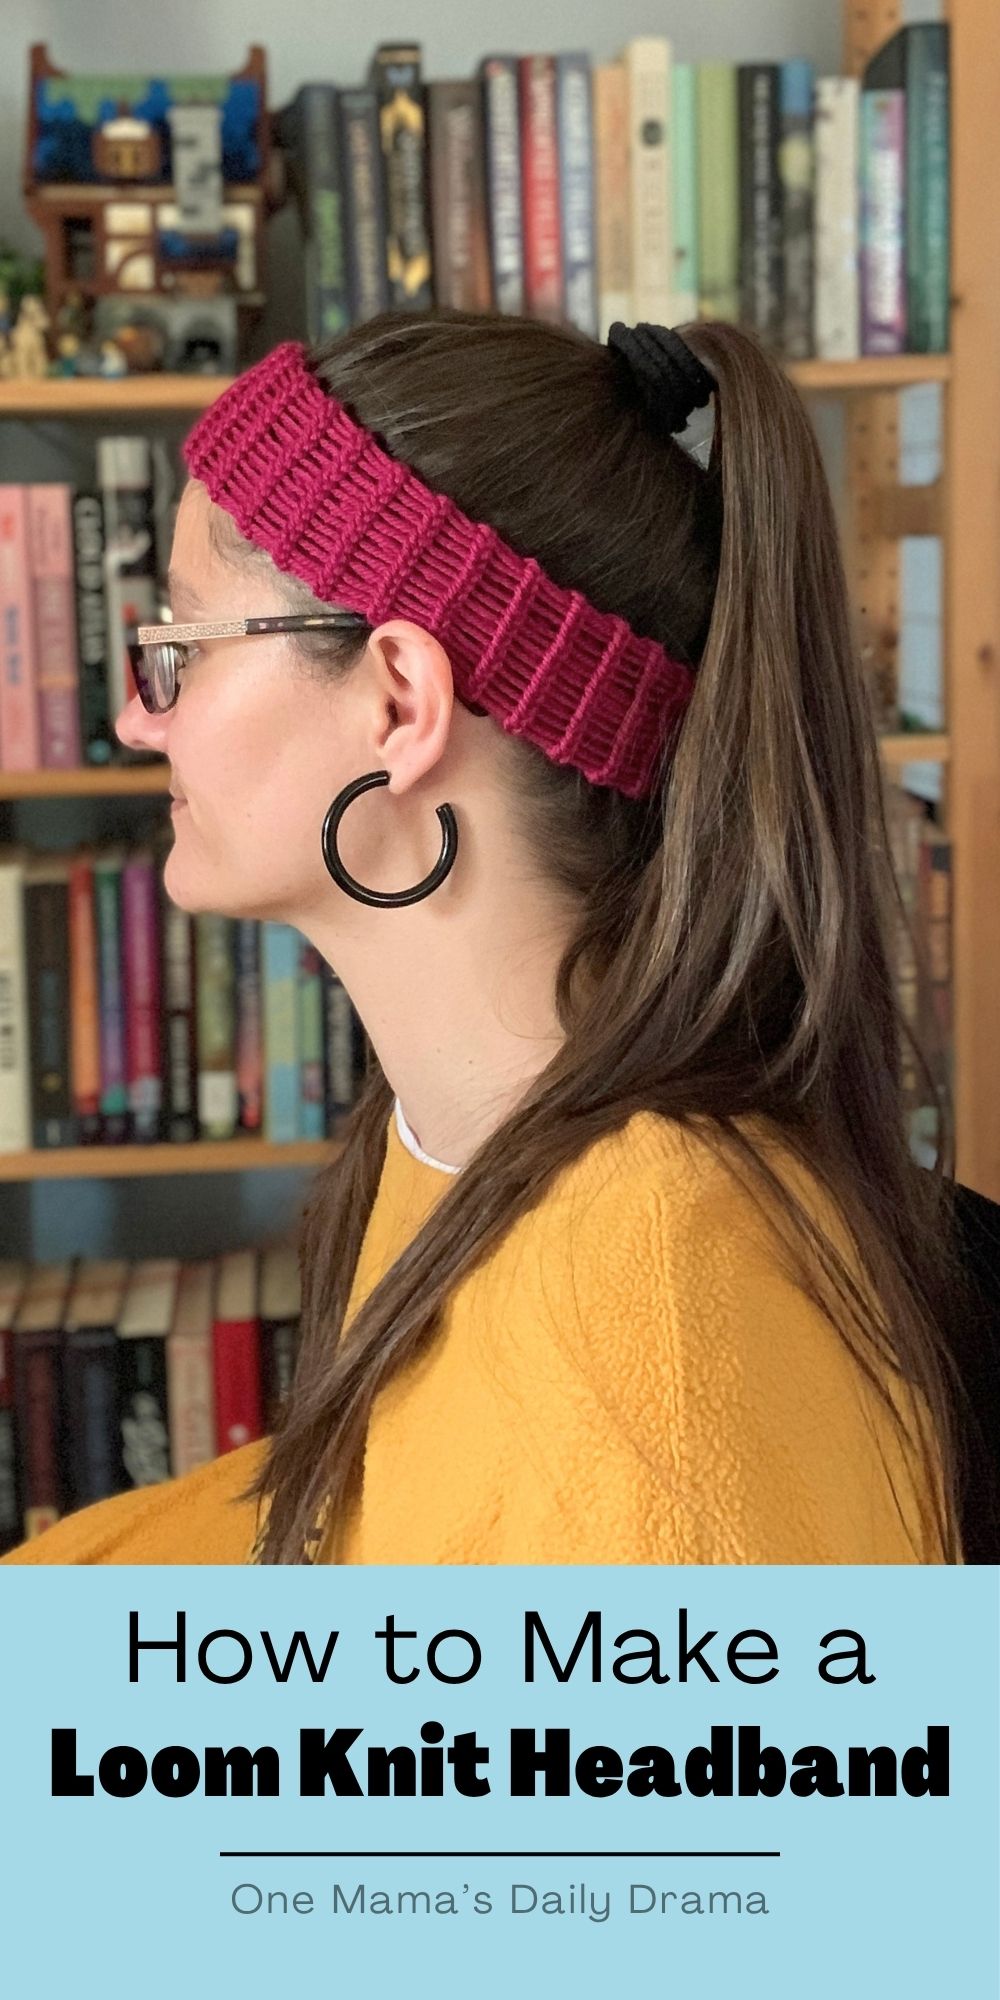
Make a loom knit headband in about an hour or two! It’s a fun and easy beginner project that makes a great handmade gift too.
Disclosure: This blog contains affiliate links. As an Amazon Associate and member of other affiliate programs, Keri Houchin earns a commission from qualifying purchases at no additional cost to you.
I have a set of knitting looms that I use to make winter hats and knit scarves. If you’ve made either of those, you know they take several hours. Today I’m sharing a craft that uses the same materials, but is much quicker!
This loom knit headband is also great for using up leftover yarn from other projects. I don’t know quite how much I used for this, but I started with maybe half a skein of yarn and there is still plenty left.
You can make this with any stretchy yarn. I don’t still have the package, but I believe this is Loops & Threads. Make your headband as an ear warmer for winter by using your favorite thick, plush yarn.

How to make a loom knit headband
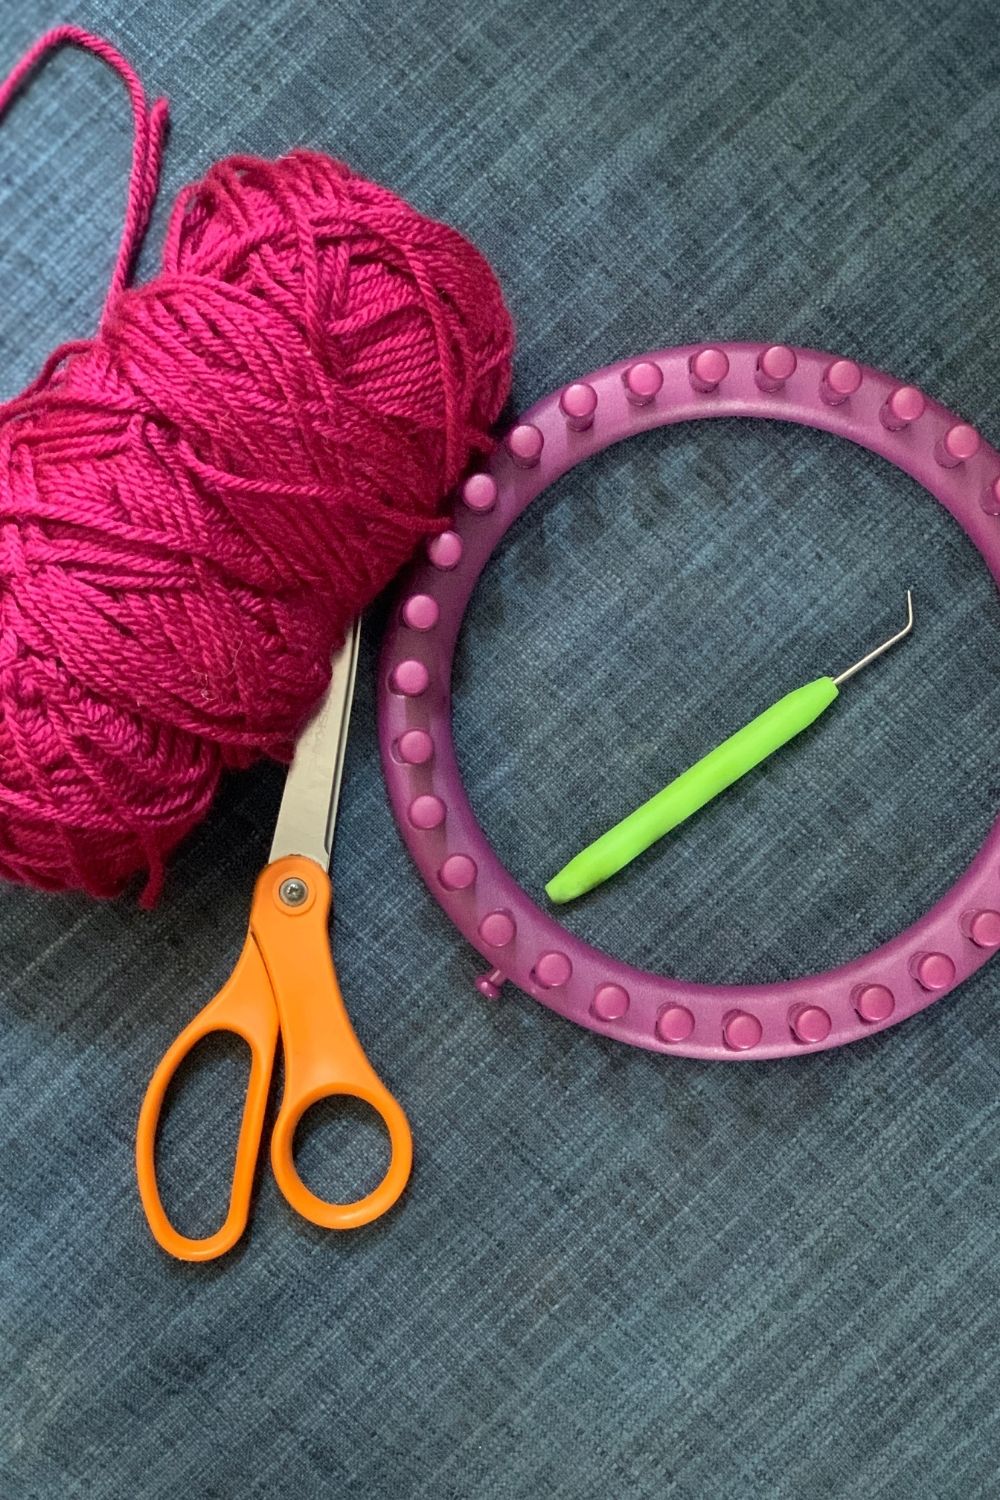
Supplies
- round knitting loom, 31 pegs or about 7.5-inch diameter
- knitting loom hook
- crochet hook, optional but handy
- scissors
- yarn
Instructions
1. Starting the e-wrap.
The first thing to do is make a slipknot in the end of the yarn and hook it on the anchor peg at the side of the loom.
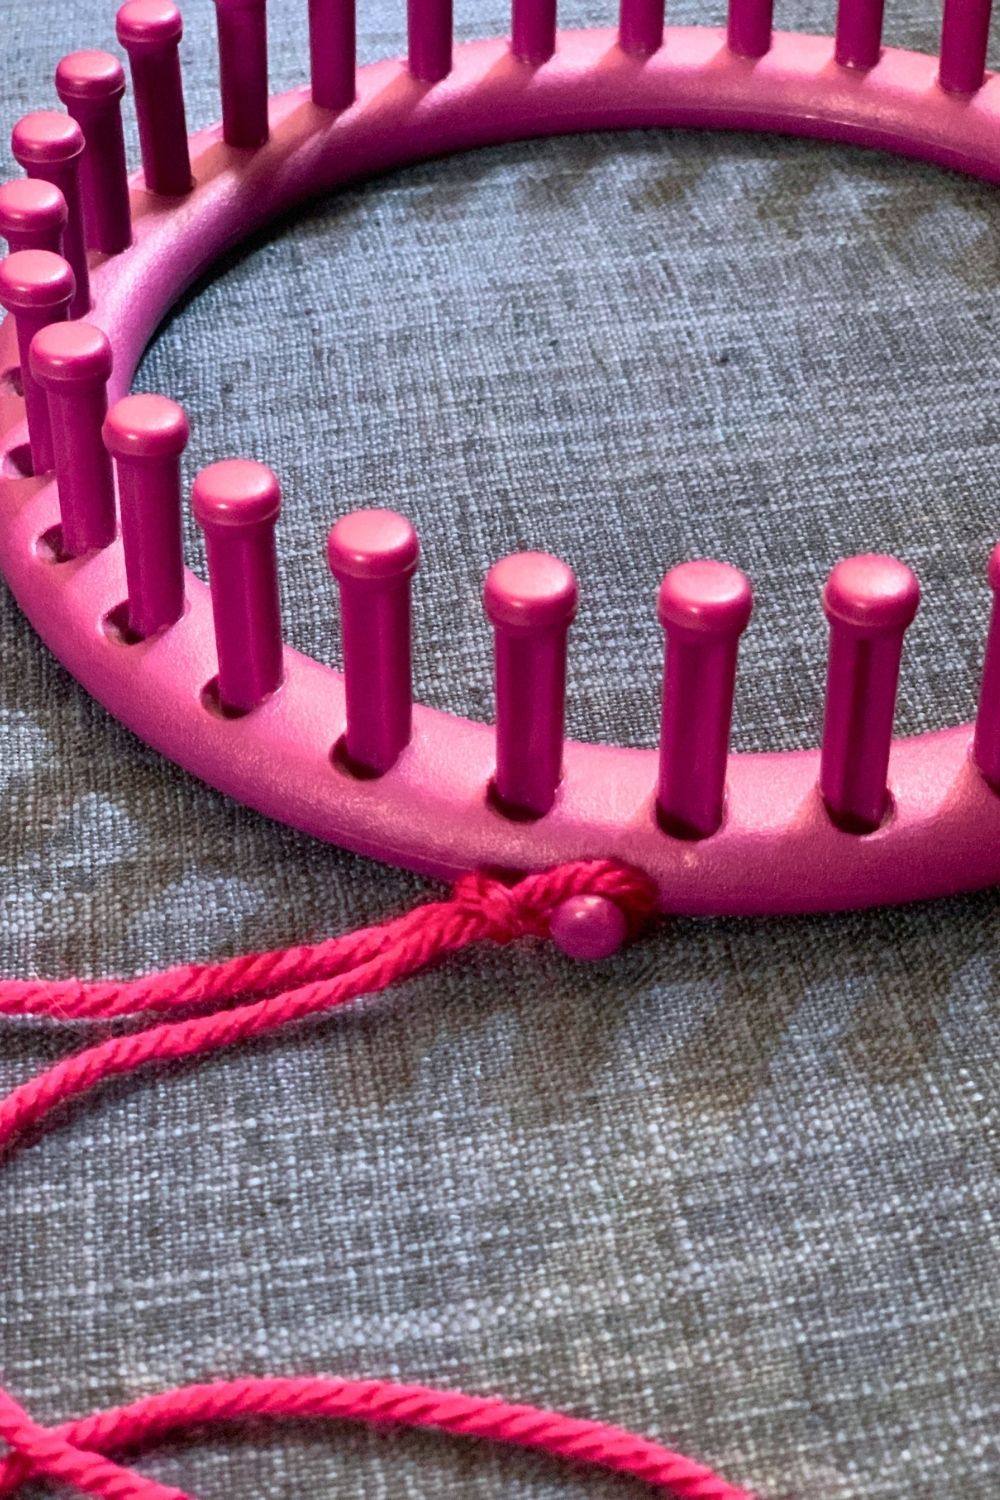
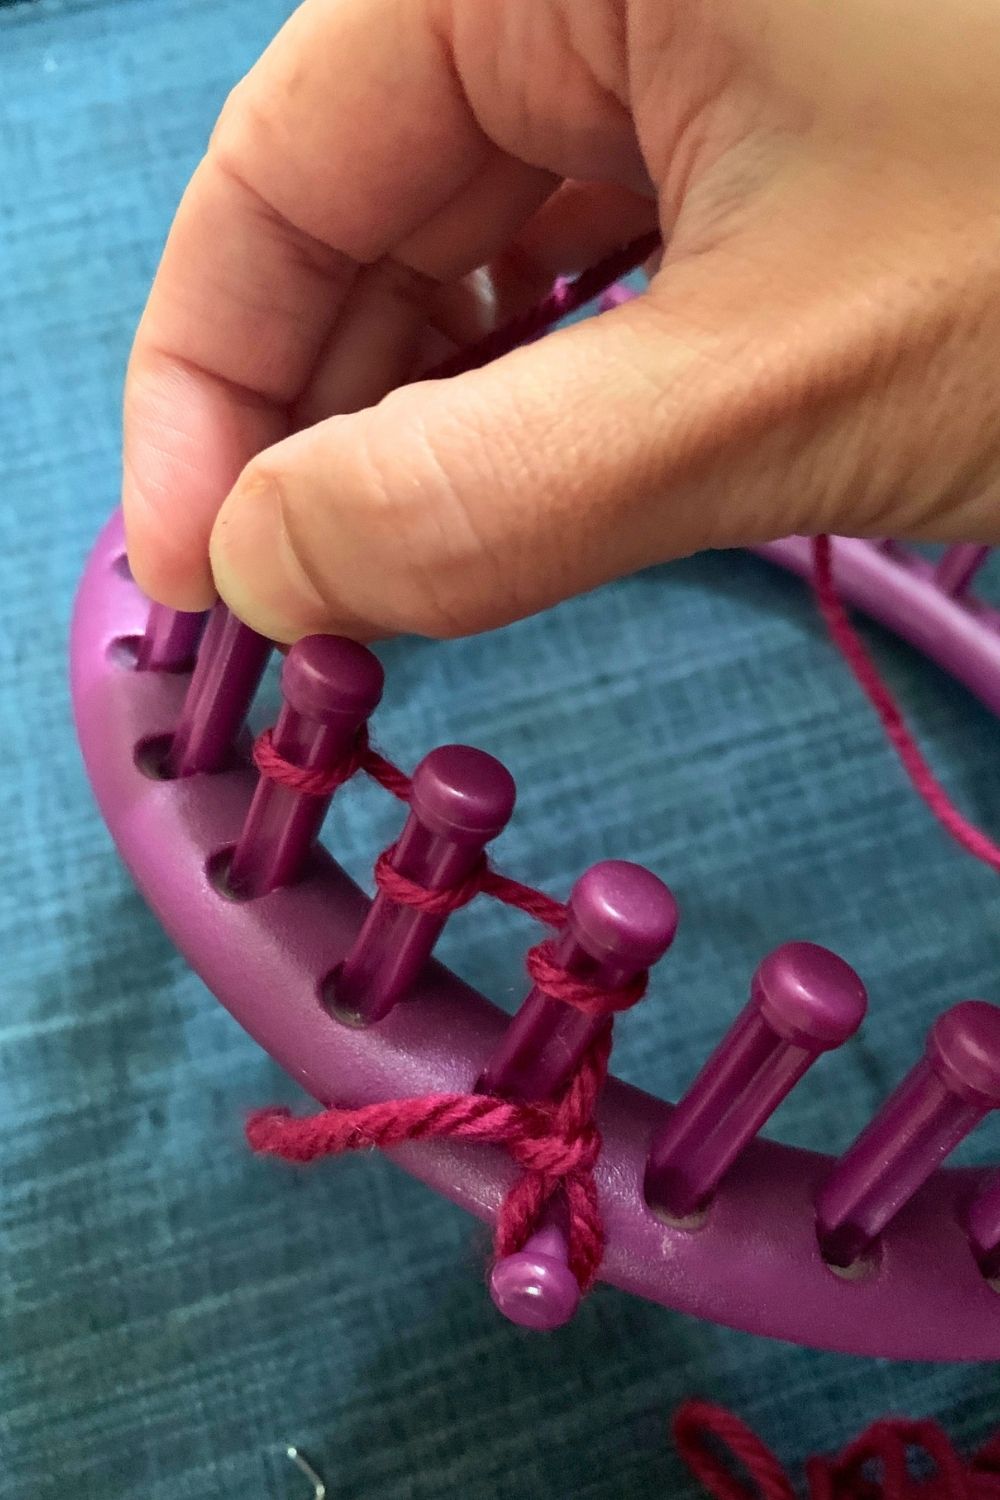
Begin wrapping the yarn once around each peg going clockwise around the loom. It should be snug, but not so tight you won’t be able to remove it. The pattern makes a lowercase cursive “e” shape, which is why this technique is called the e-wrap.
2. Completing the first row.
When you’ve wrapped the yarn all the way around the loom once, nudge those loops down and add a second row using the same pattern.
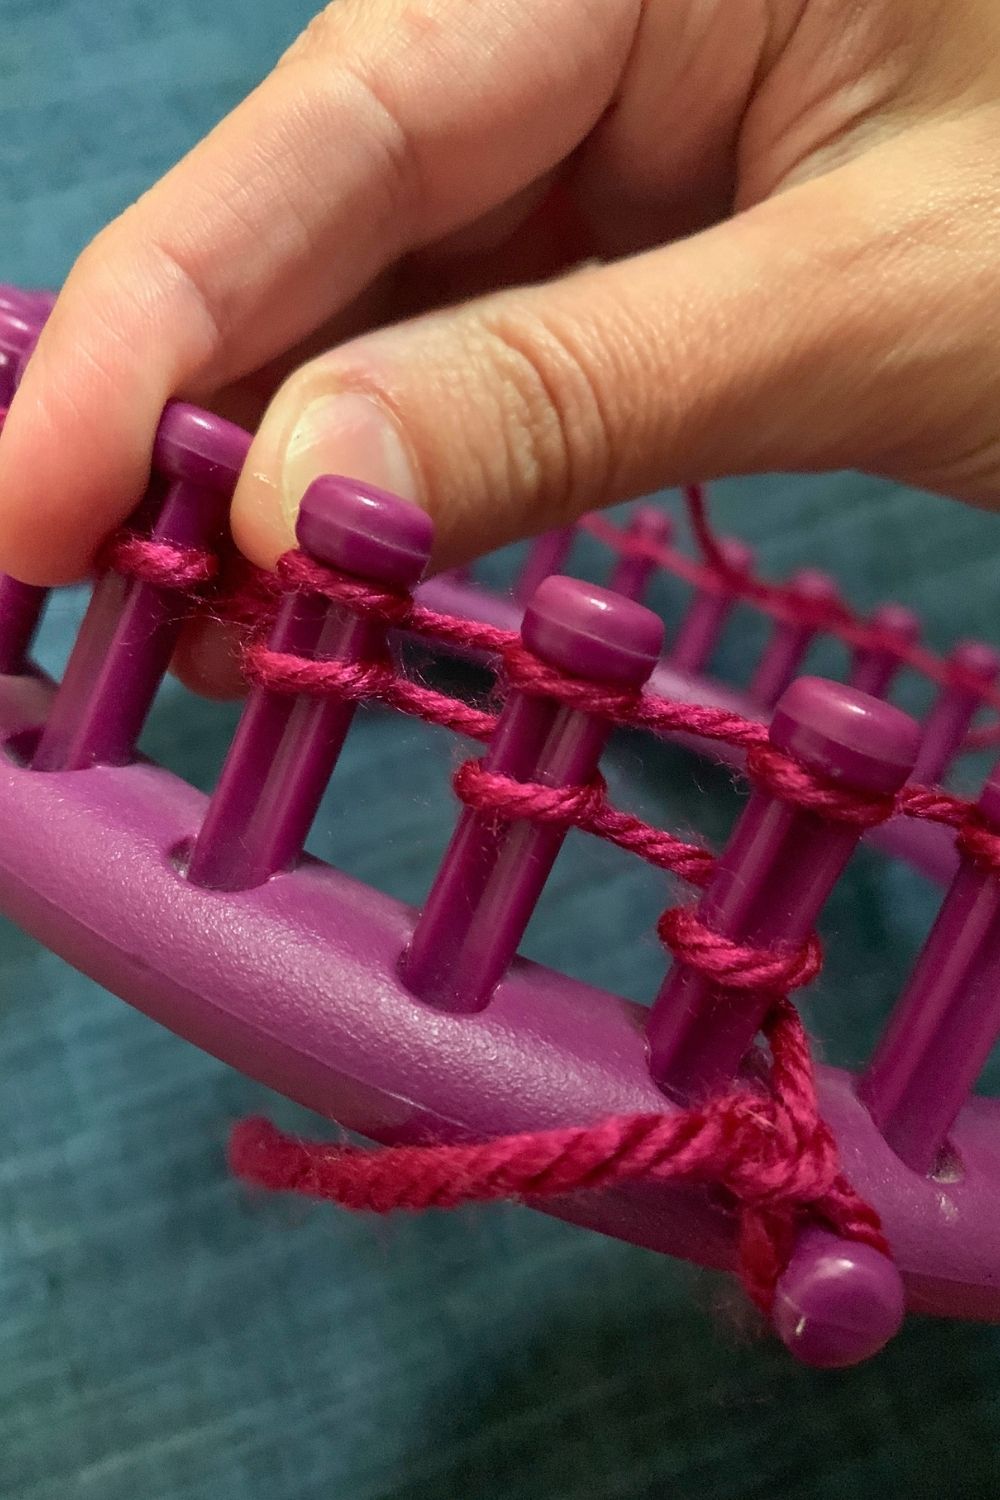
Once you’ve got 2 rows of yarn loops, it’s time to knit them together. Hold the working end of the yarn so it stays tense. Grab the knitting hook loom hook and life each bottom loop up over the top loop and peg.
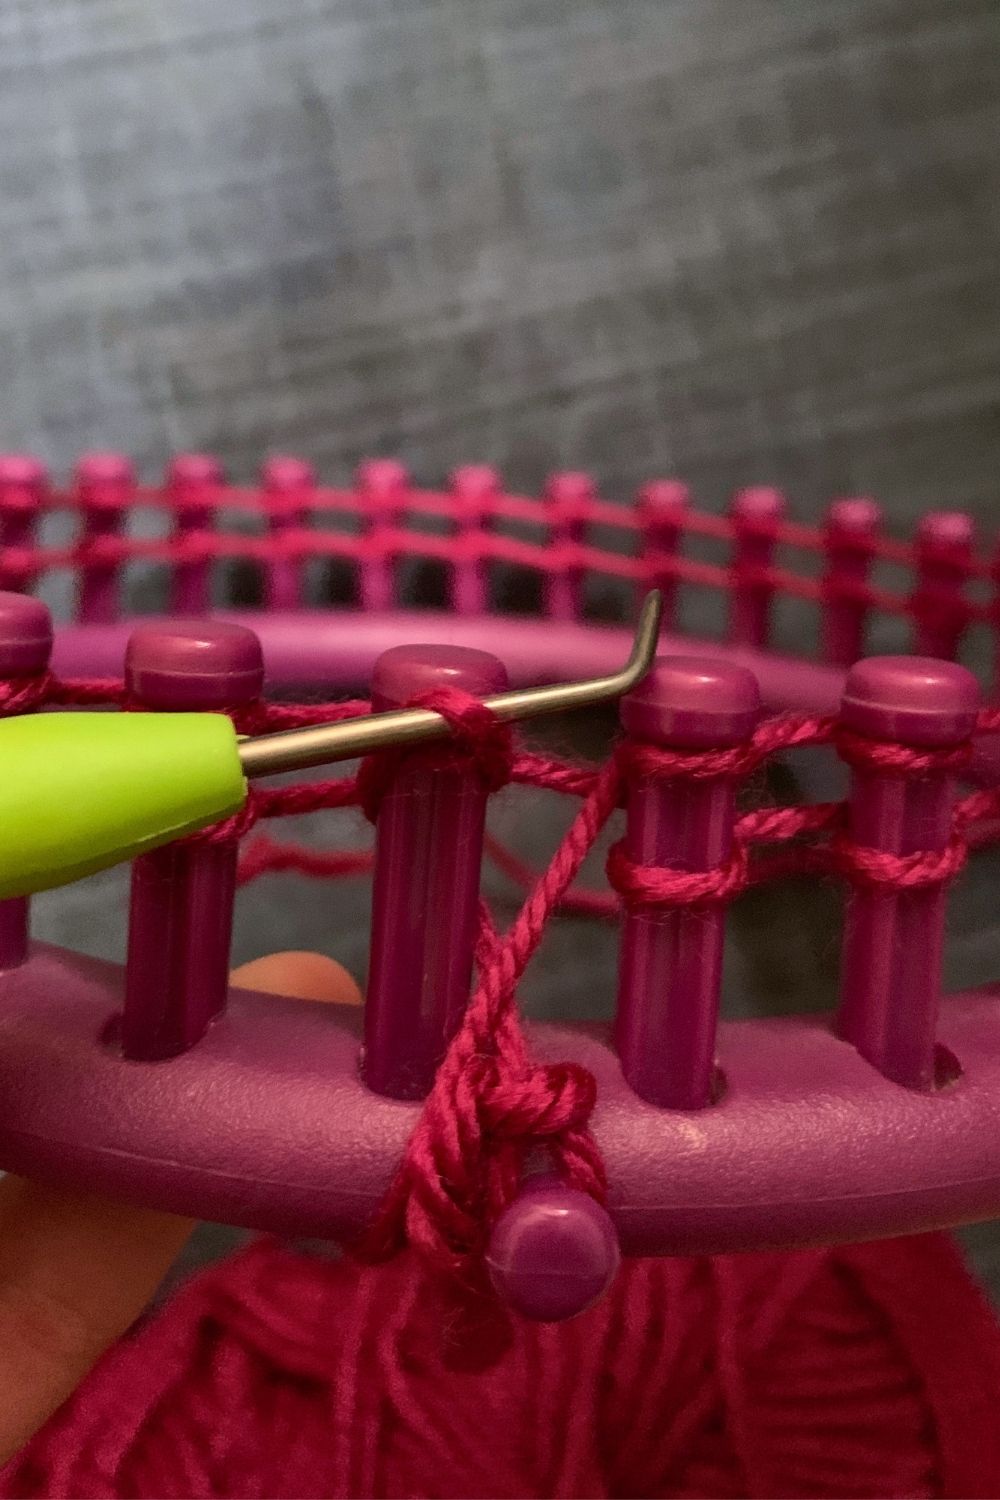
Repeat this for every peg. They will get easier to lift and looser as you go around.
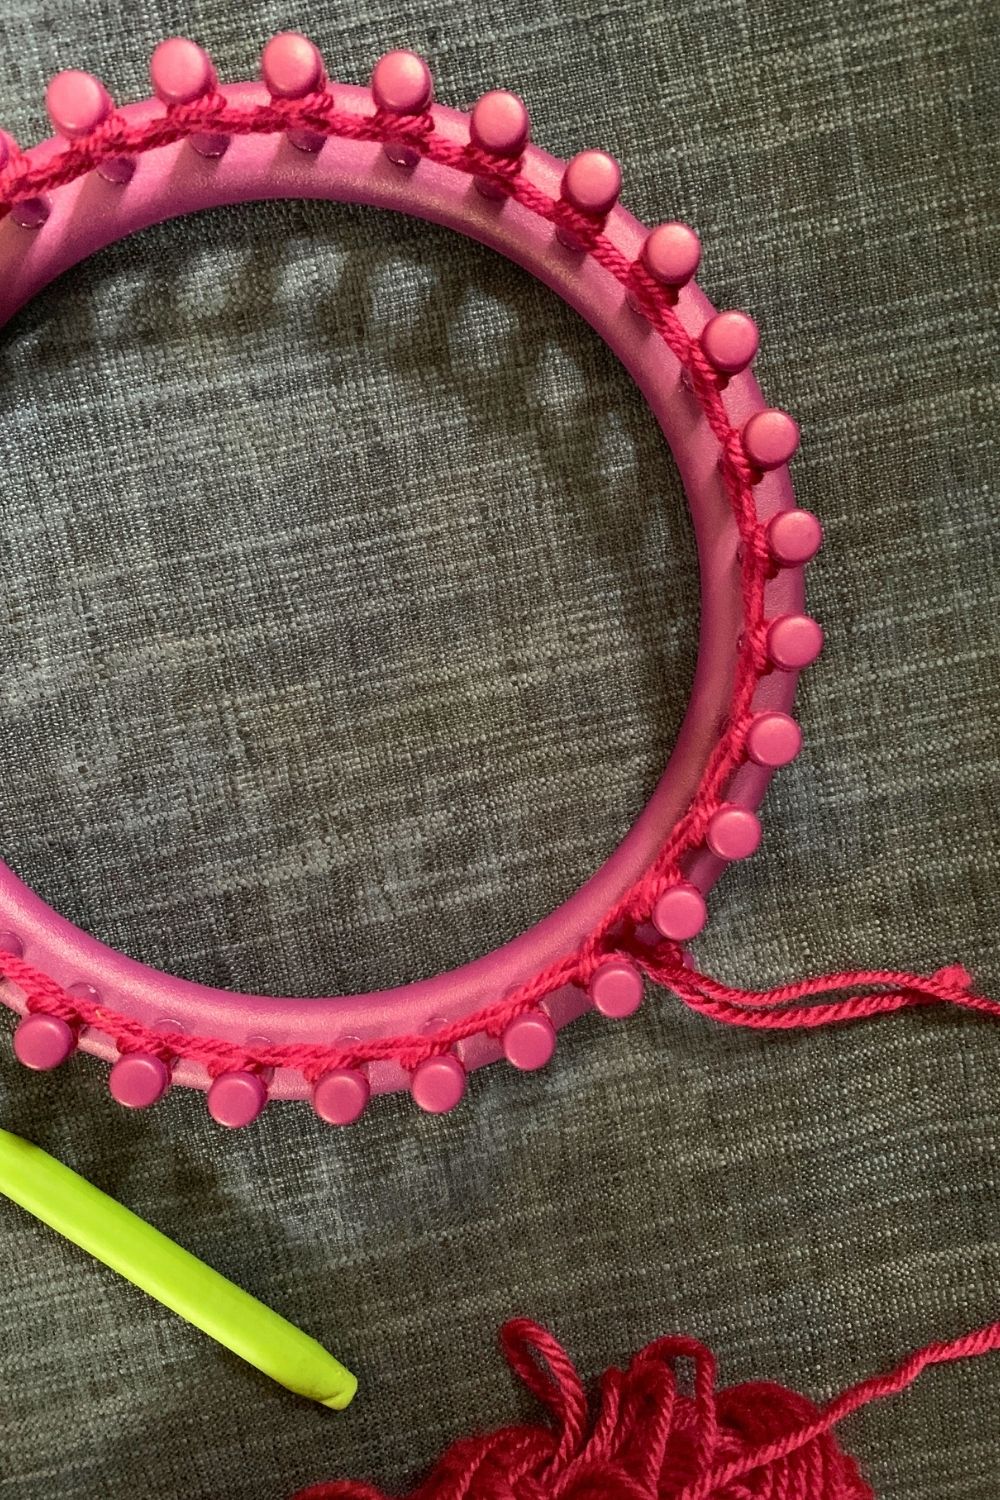
3. Continue knitting.
For the next row, e-wrap the yarn around all the pegs around the loom. Lift the bottom loop up over the top loop and peg.
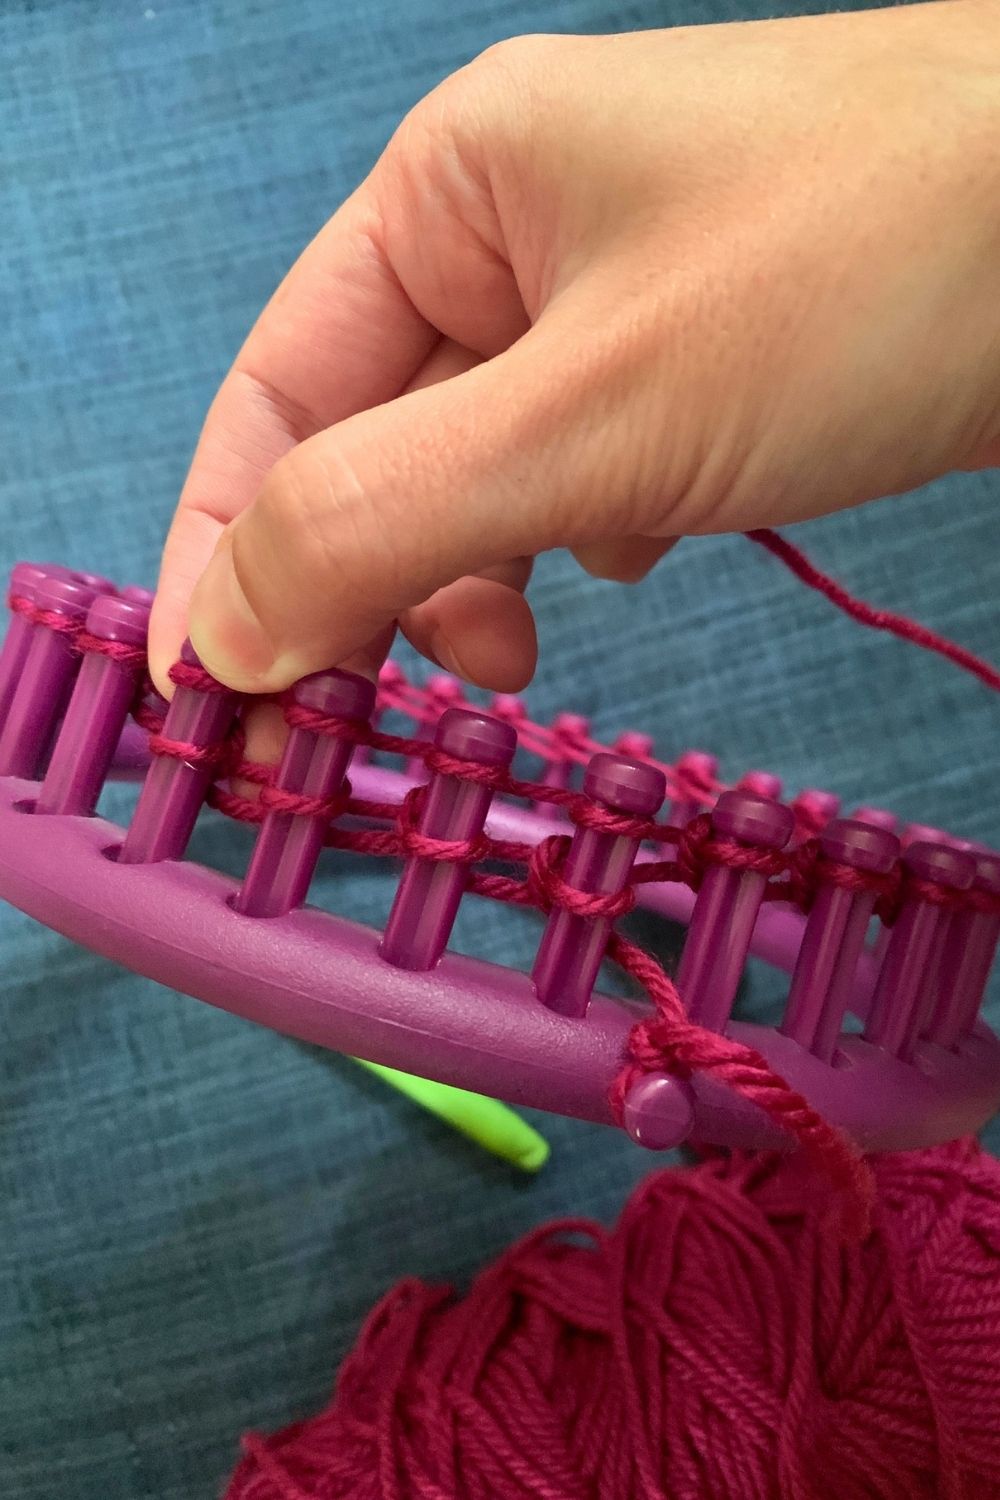
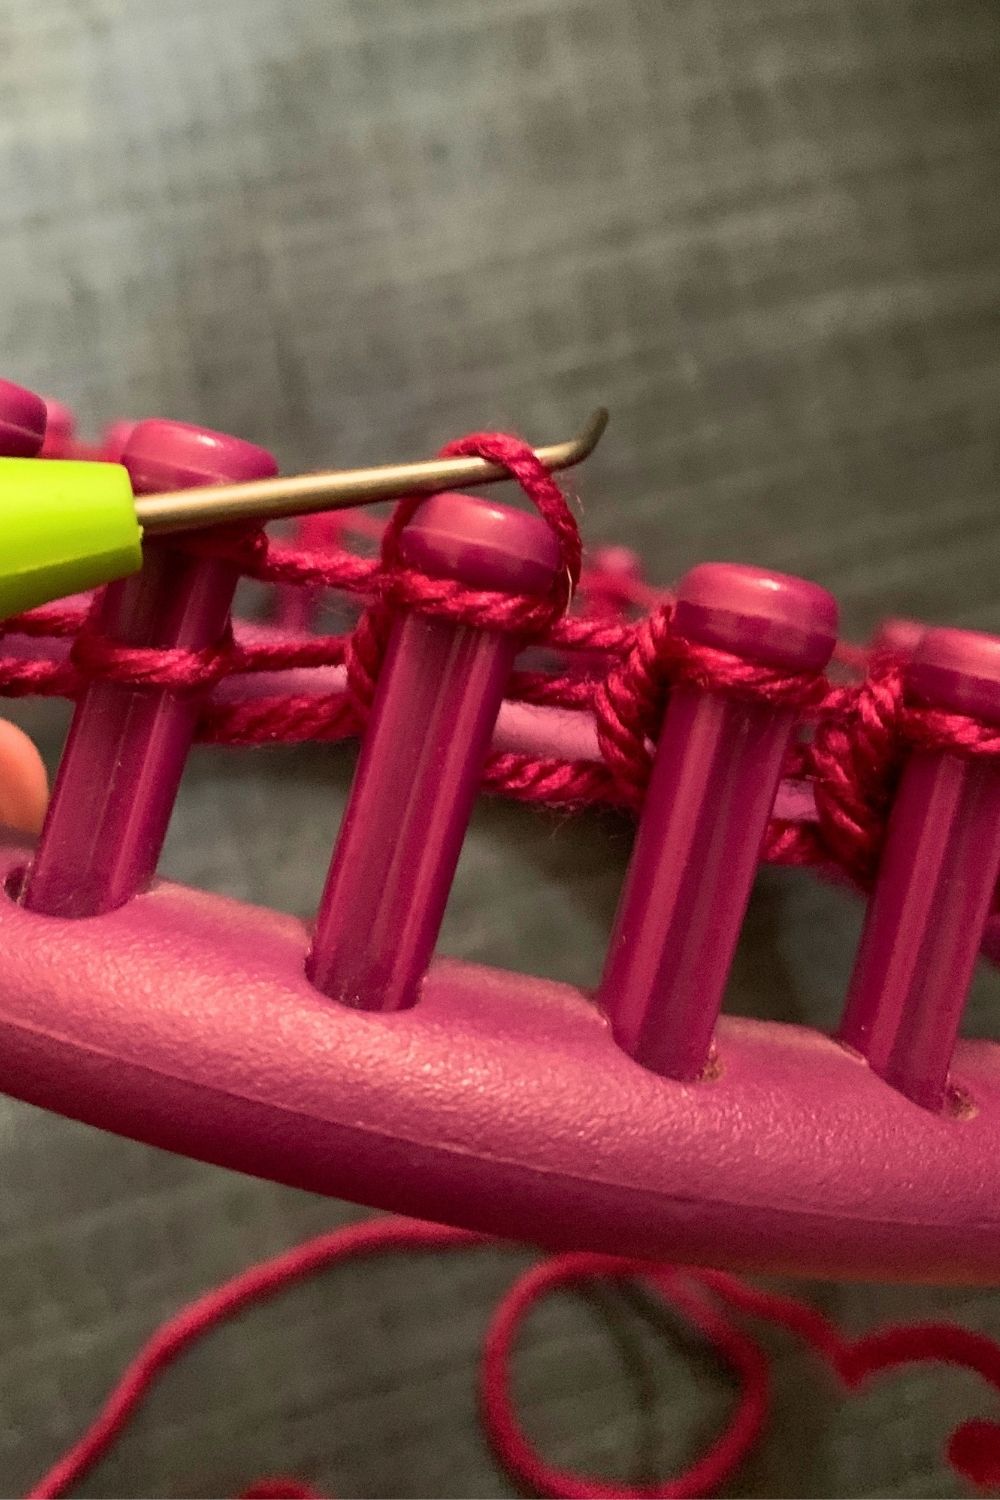
Repeat this step, wrapping a row and pulling up the loops, 22 more times. There will be a total of 25 rows at the end. When you have about an inch of headband, you can untie the anchor knot.
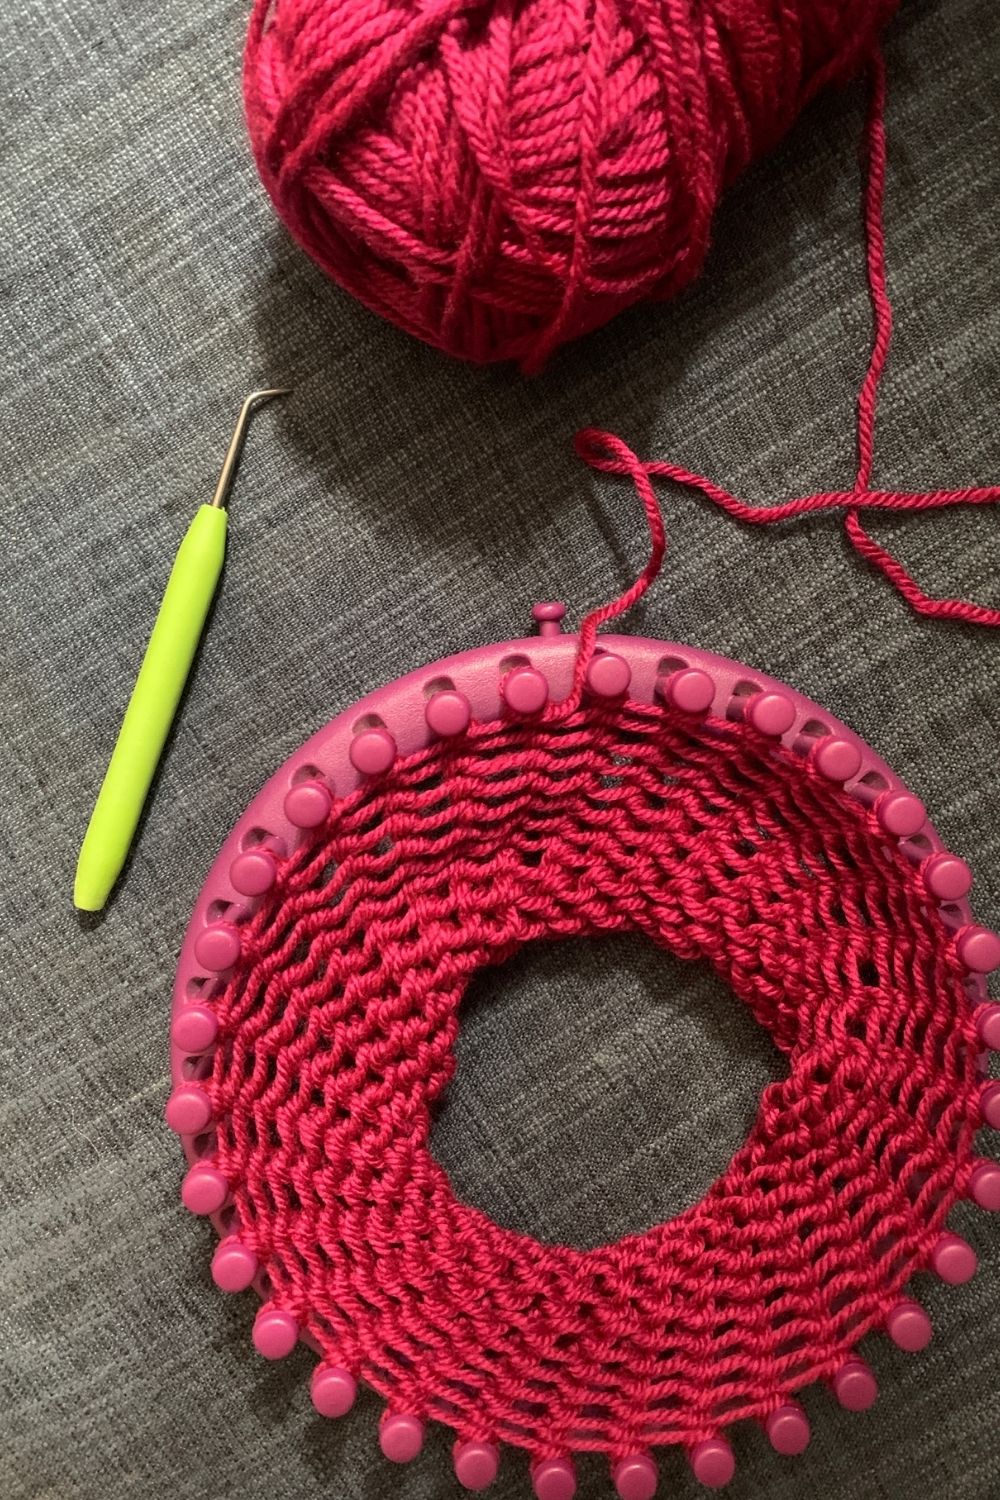
Note: 25 rows of knitting will make a headband that’s about 2 inches wide. You can make your headband larger or smaller by changing the number of rows; the only difference is the amount of yarn you use.
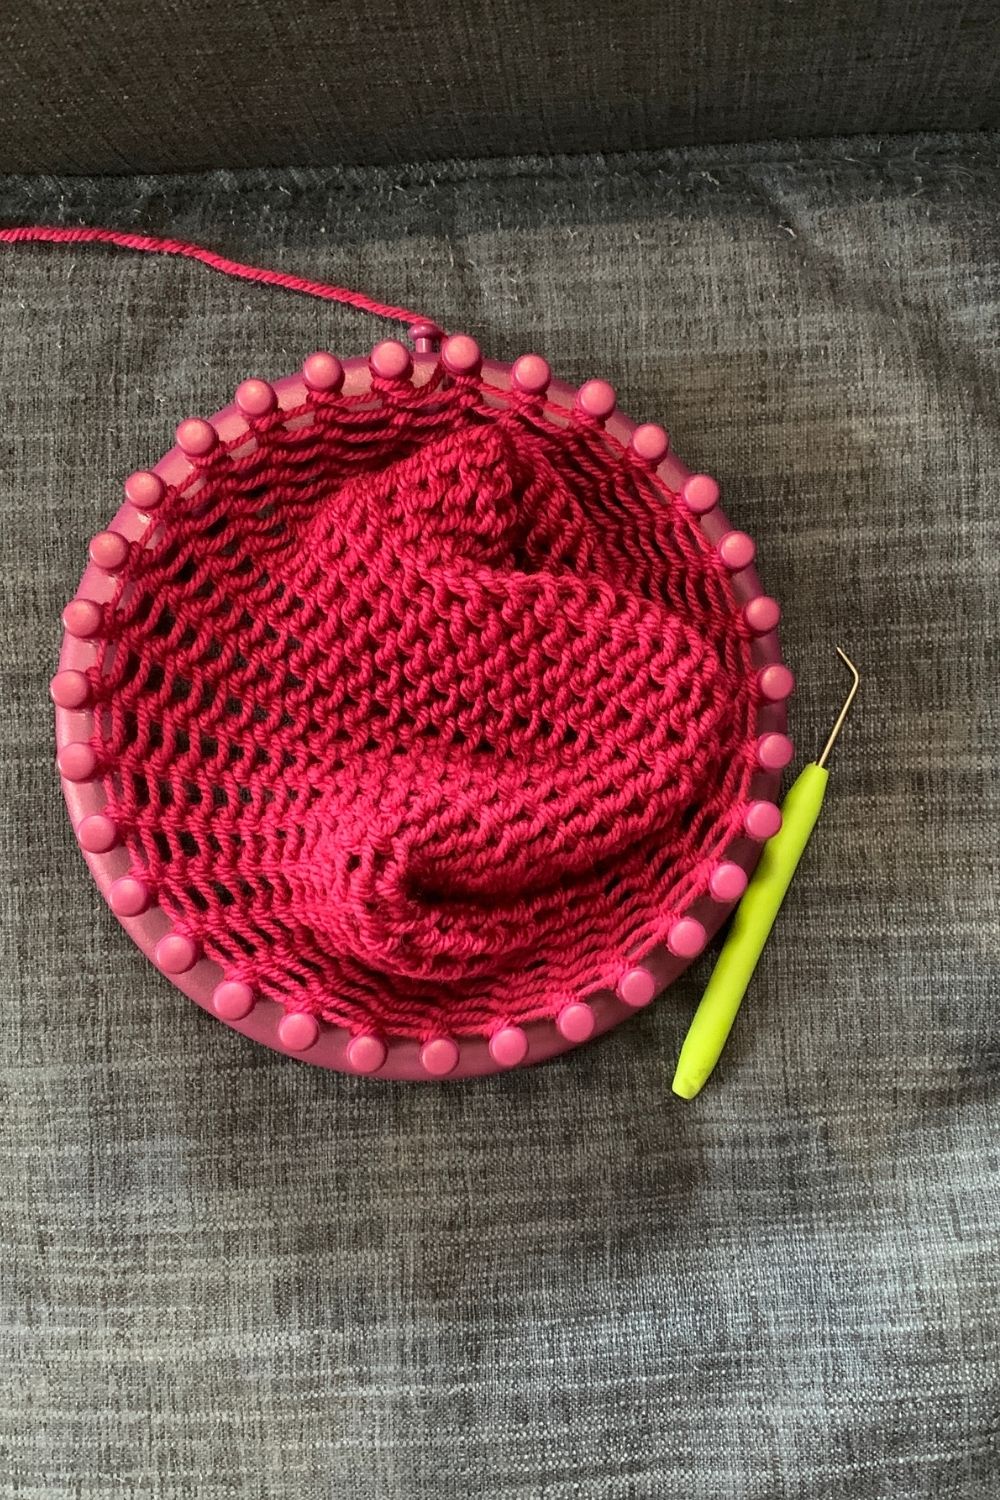
4. Fold the headband.
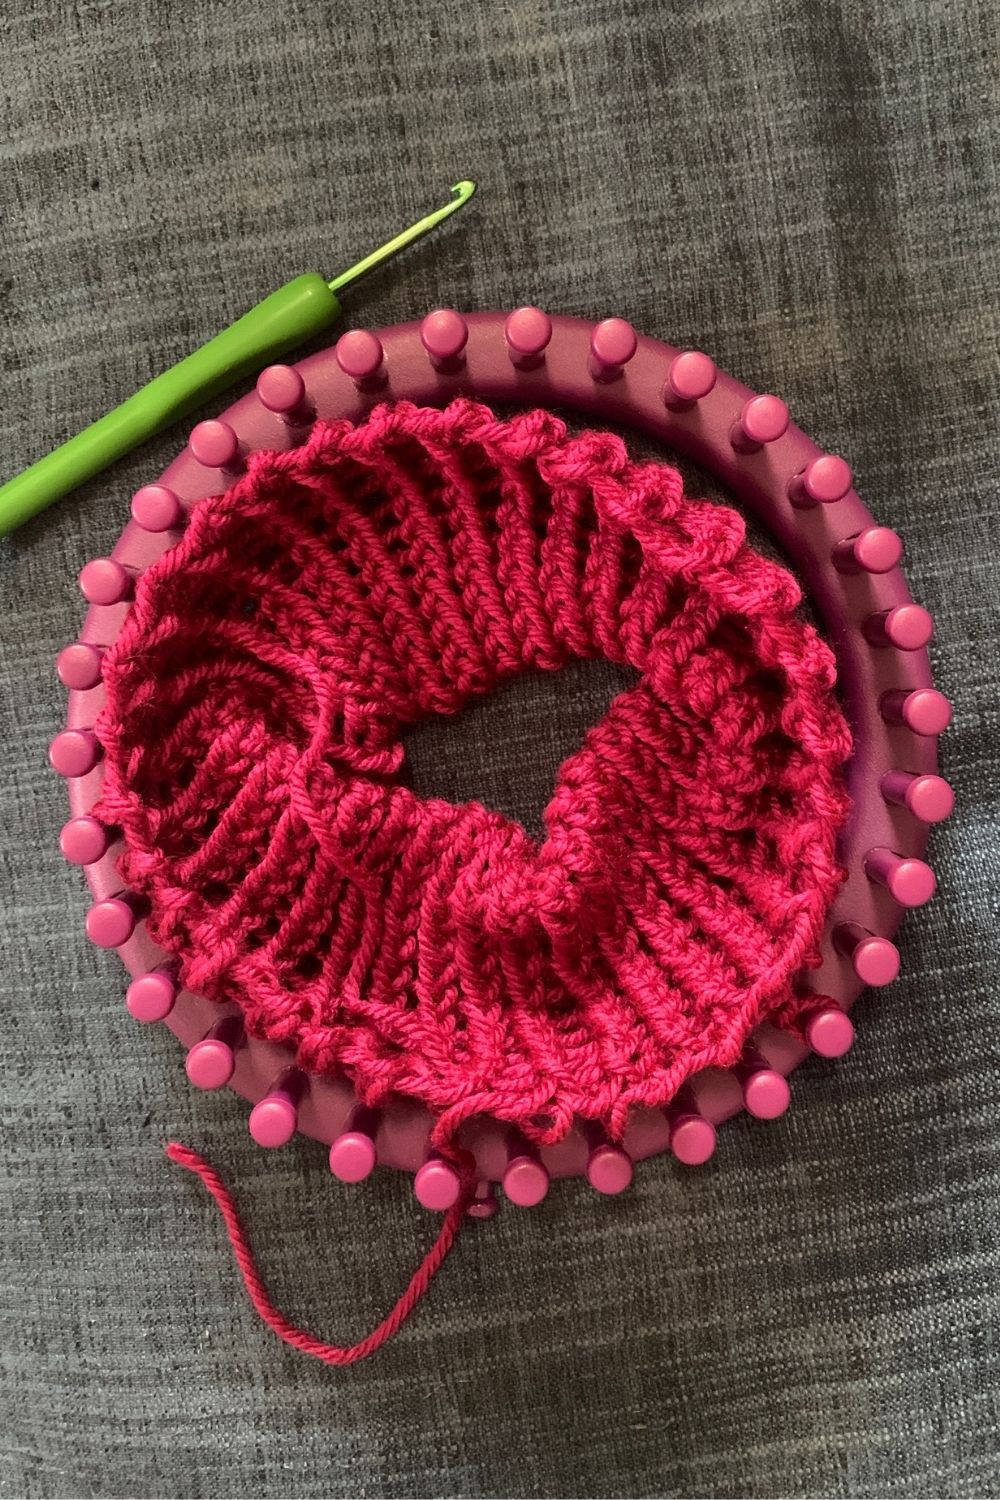
When you’ve completed the knitting rows, it’s time to fold the headband into shape. With the last row of loops on the pegs, pick up the beginning row and loop those onto the pegs.
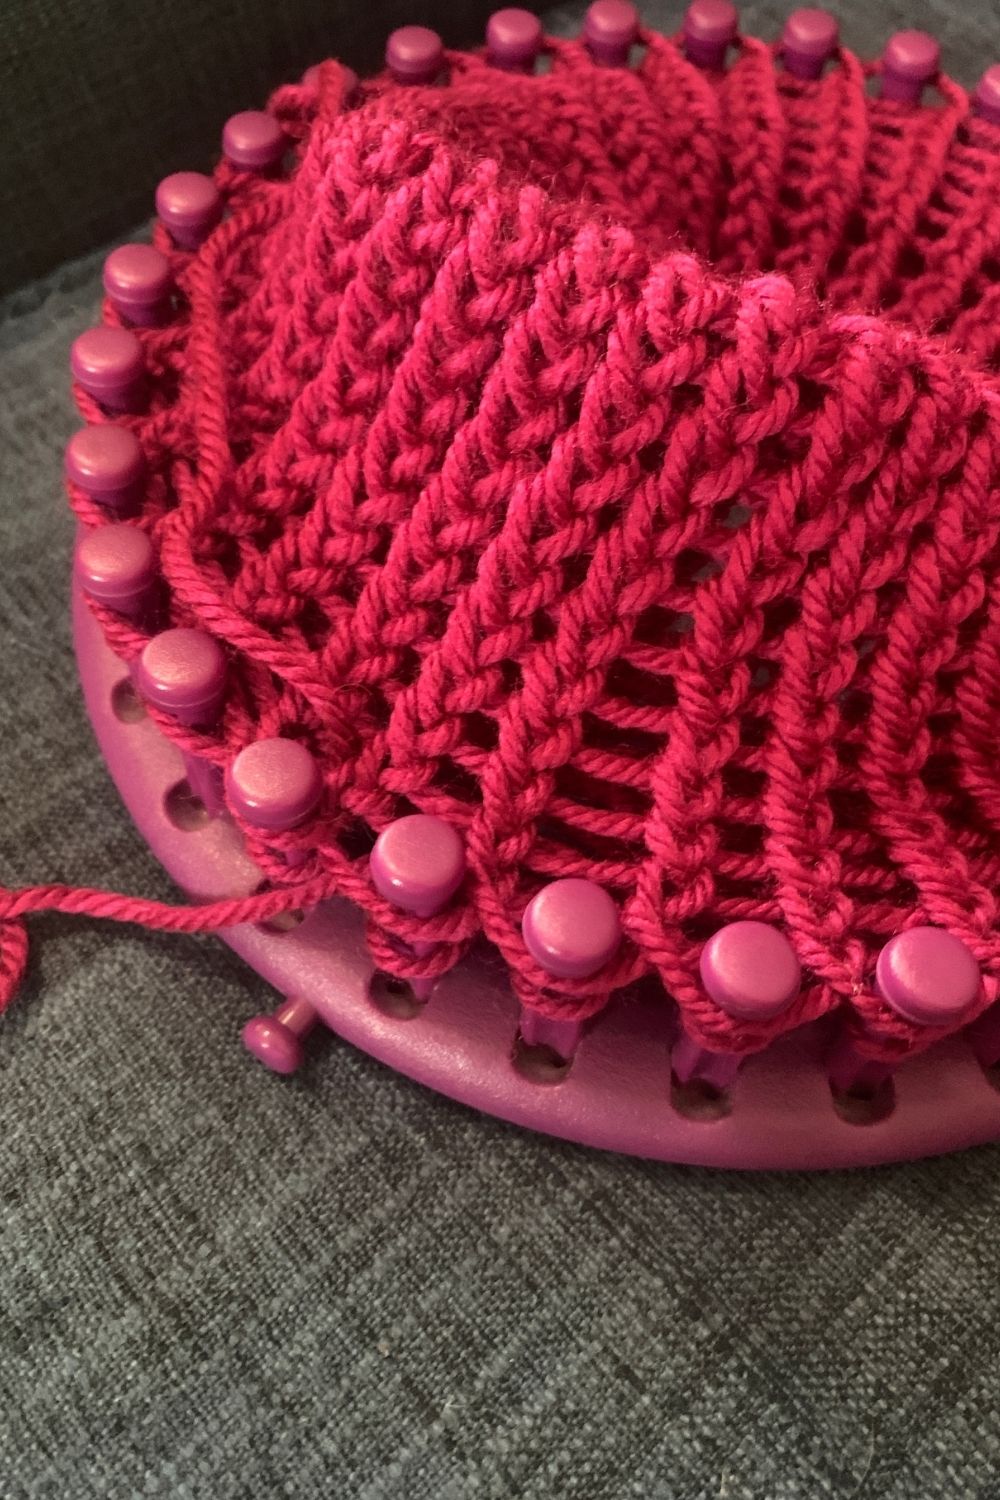
The last part is to remove the loops from the pegs. Leave a long enough tail of yarn that it can go around the loom with a few inches extra and cut it.
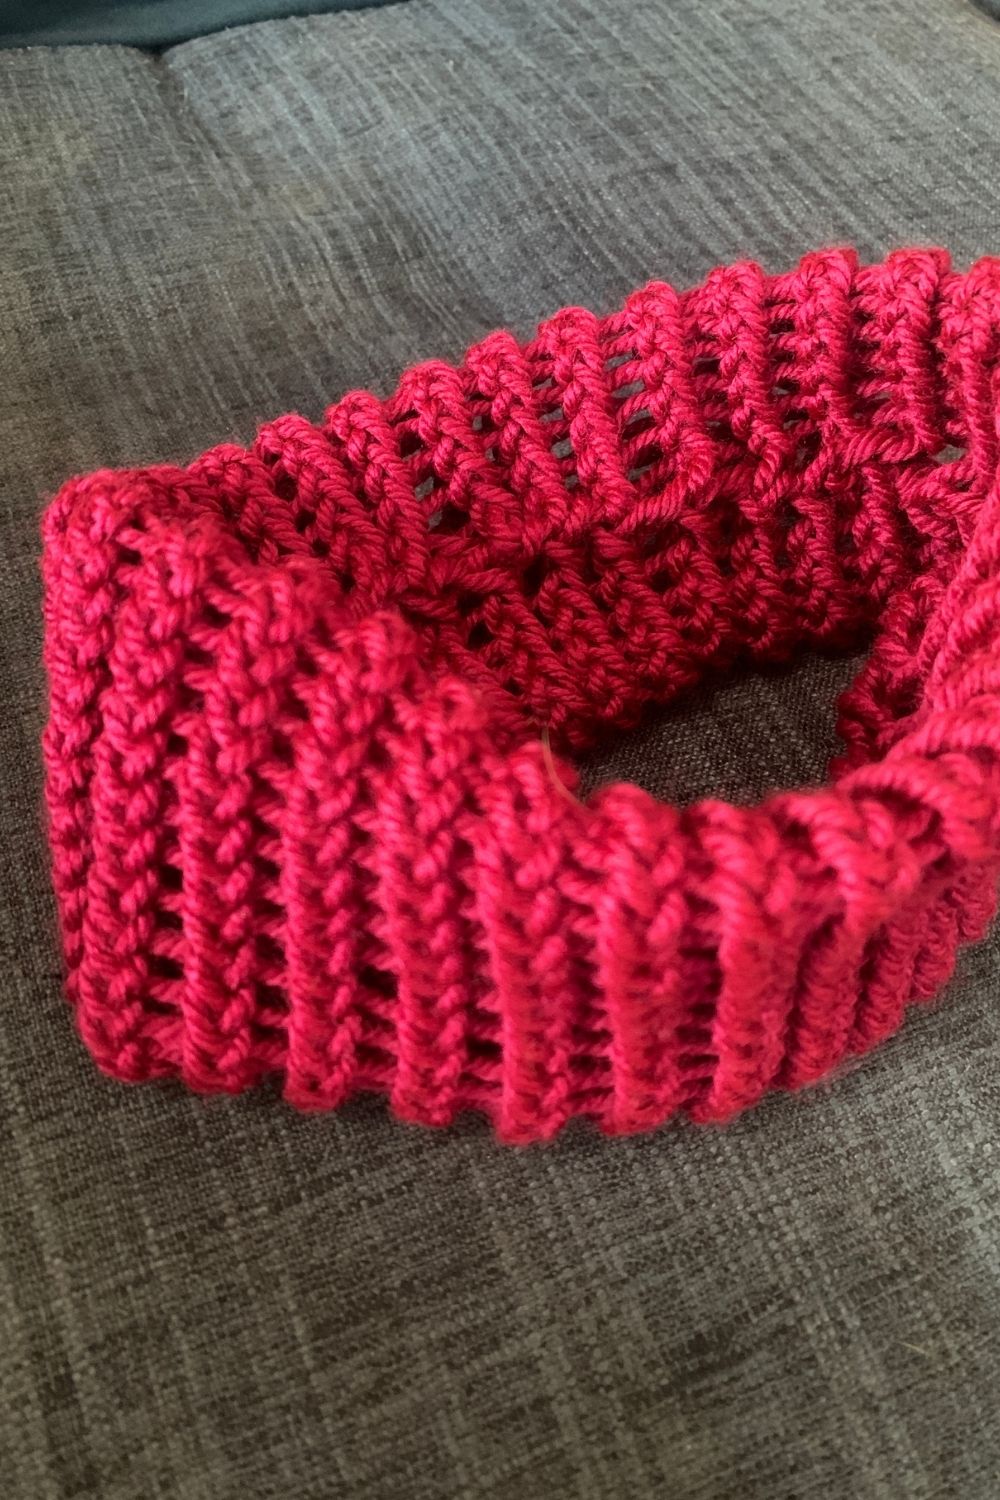
Take the crochet hook and put it through the first pair of loops, removing them from the peg. Hook the tail and pull it through the loops. Repeat all the way around, removing the loops onto the tail of yarn.
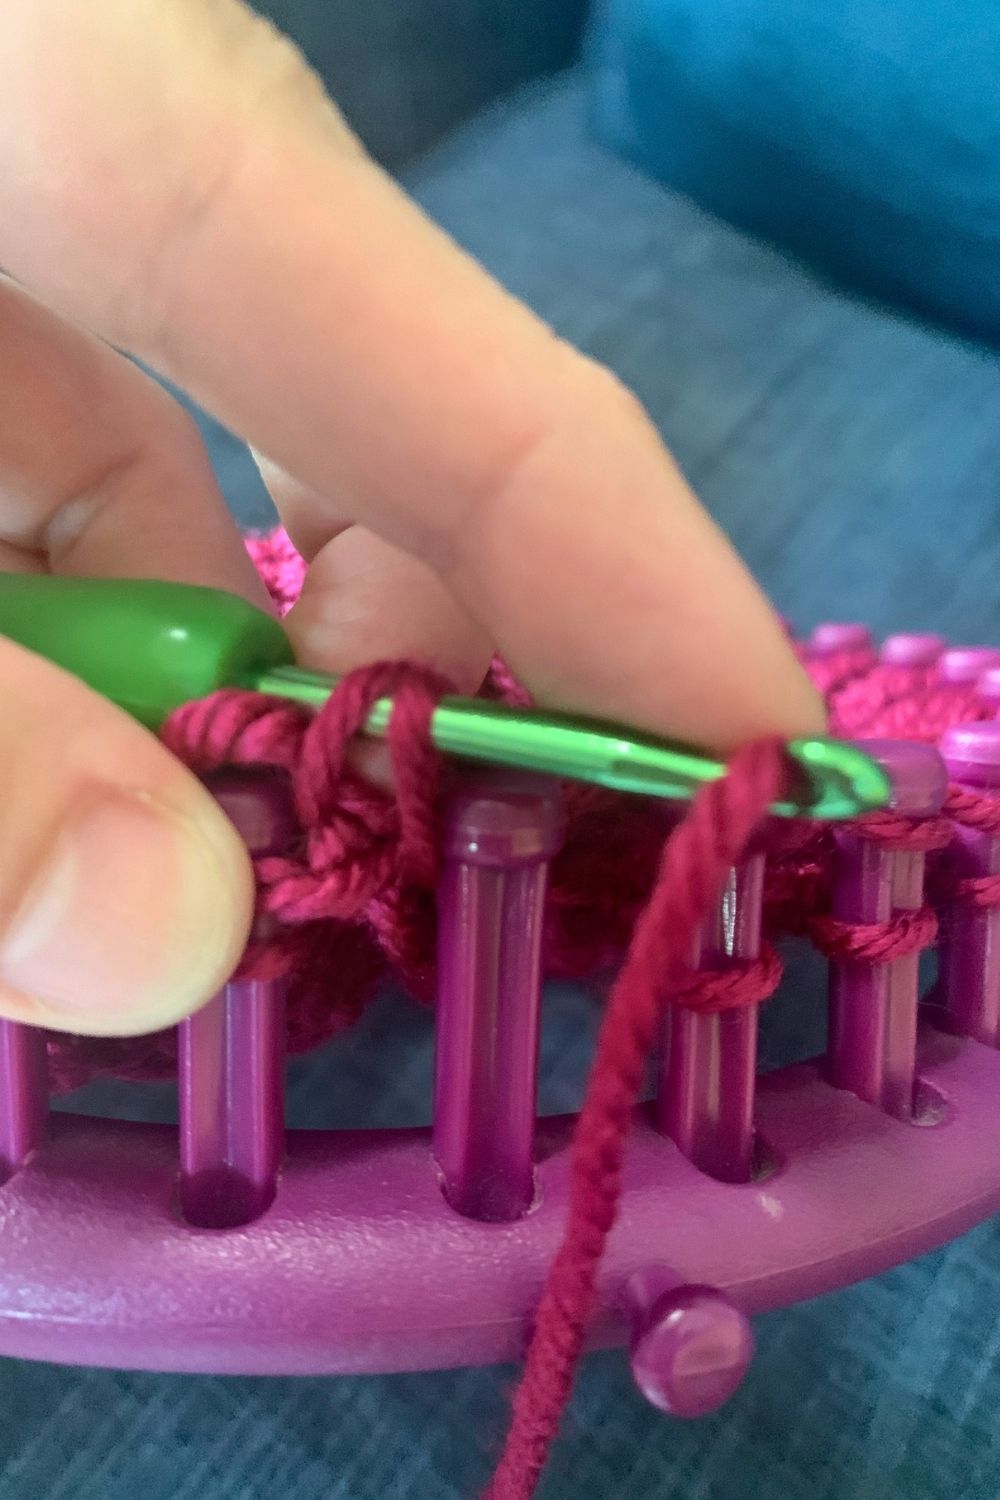
Be careful you don’t miss any loops! (See the photo below; its on the bottom right.) If you do, carefully slide the crochet hook through all the loops between the end and the dropped loop. Pull the yarn tail out and re-hook it through all the loops.
5. Shape and finish the headband.
The last step is to take the headband out of the loom and lay it flat. Smooth it out so that the headband is an even rectangle. Line up the beginning and end tails.
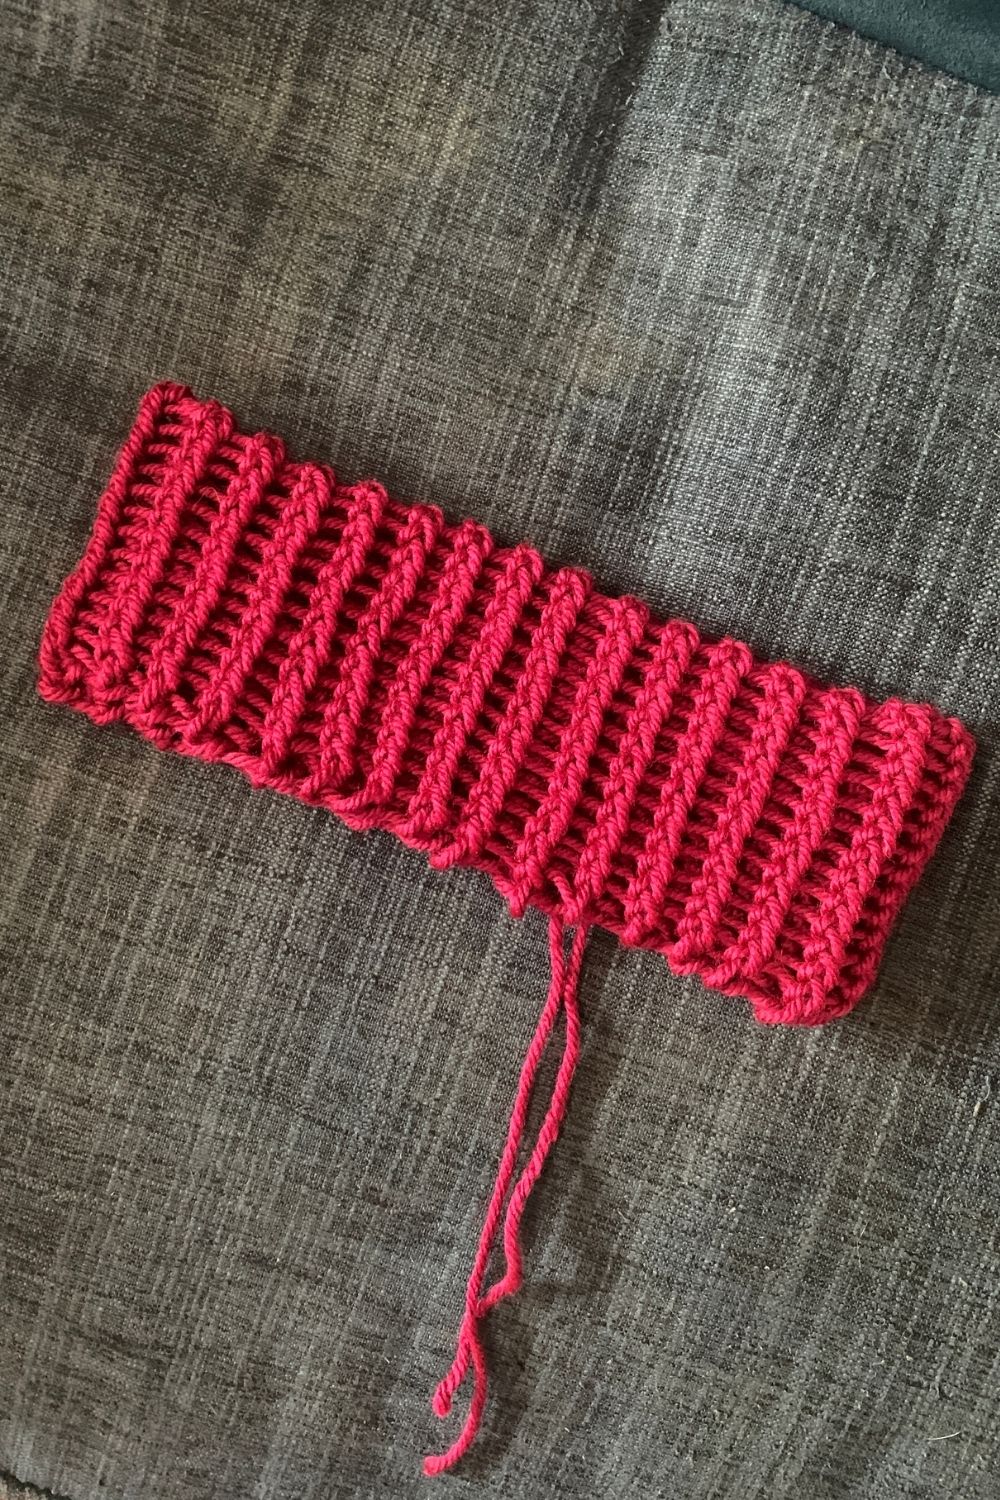
Use the crochet hook to weave the yarn tails into the edge seam of the headband.
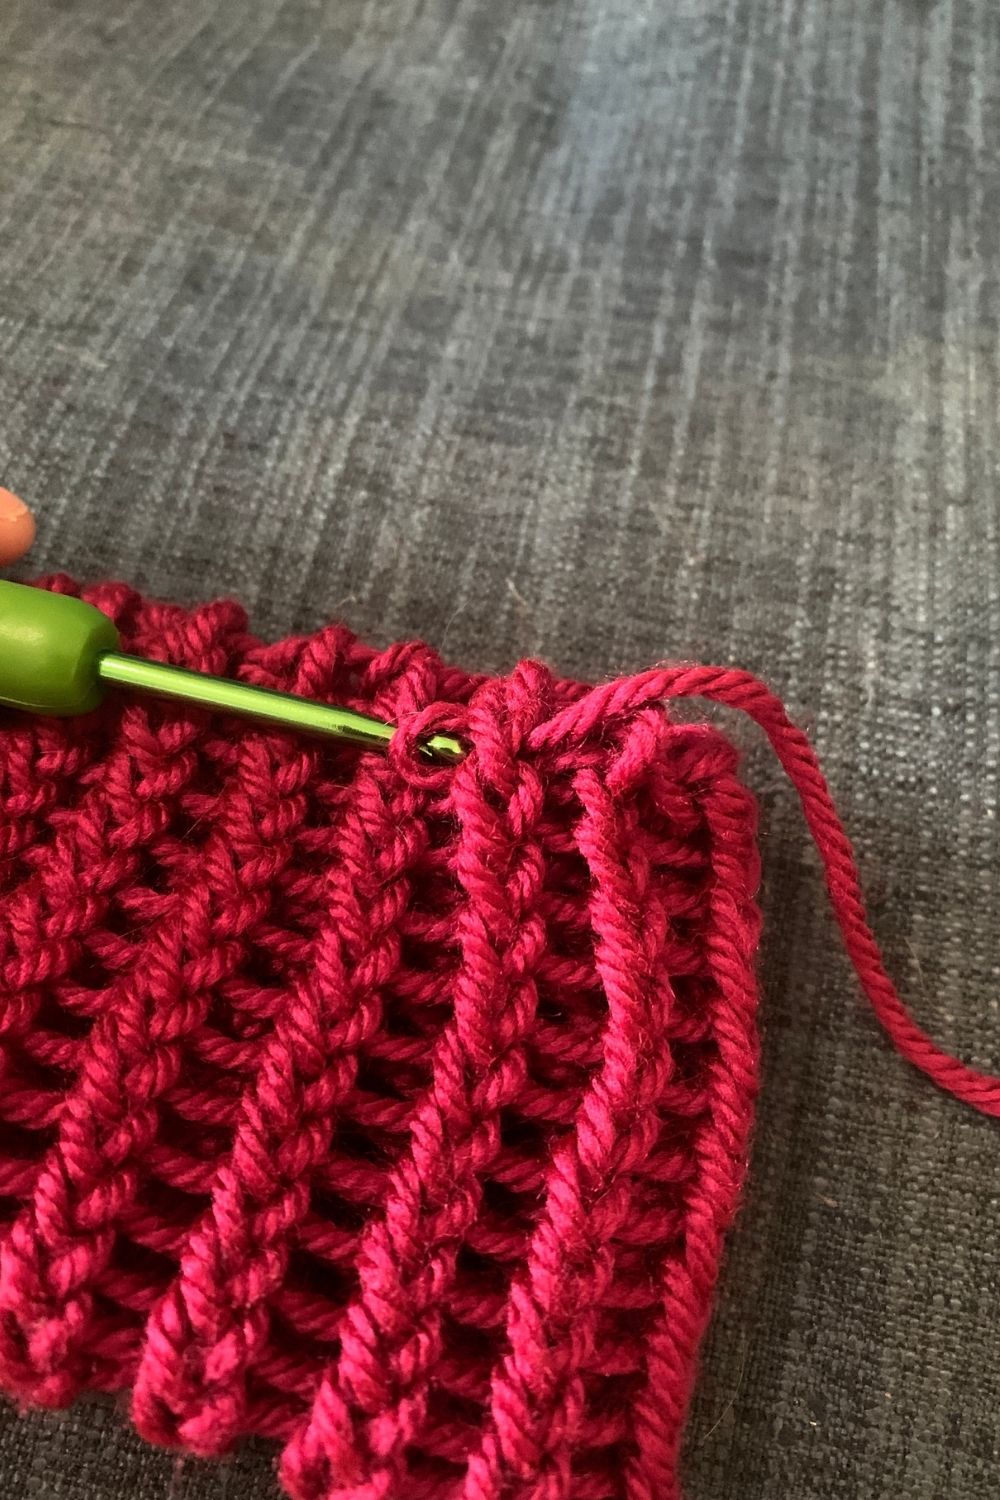
Finally, roll the headband so that the seam is on the inside.
That’s it! Your headband is ready to wear. Perfect for keeping your hair out of your face or just adding a cozy accessory.
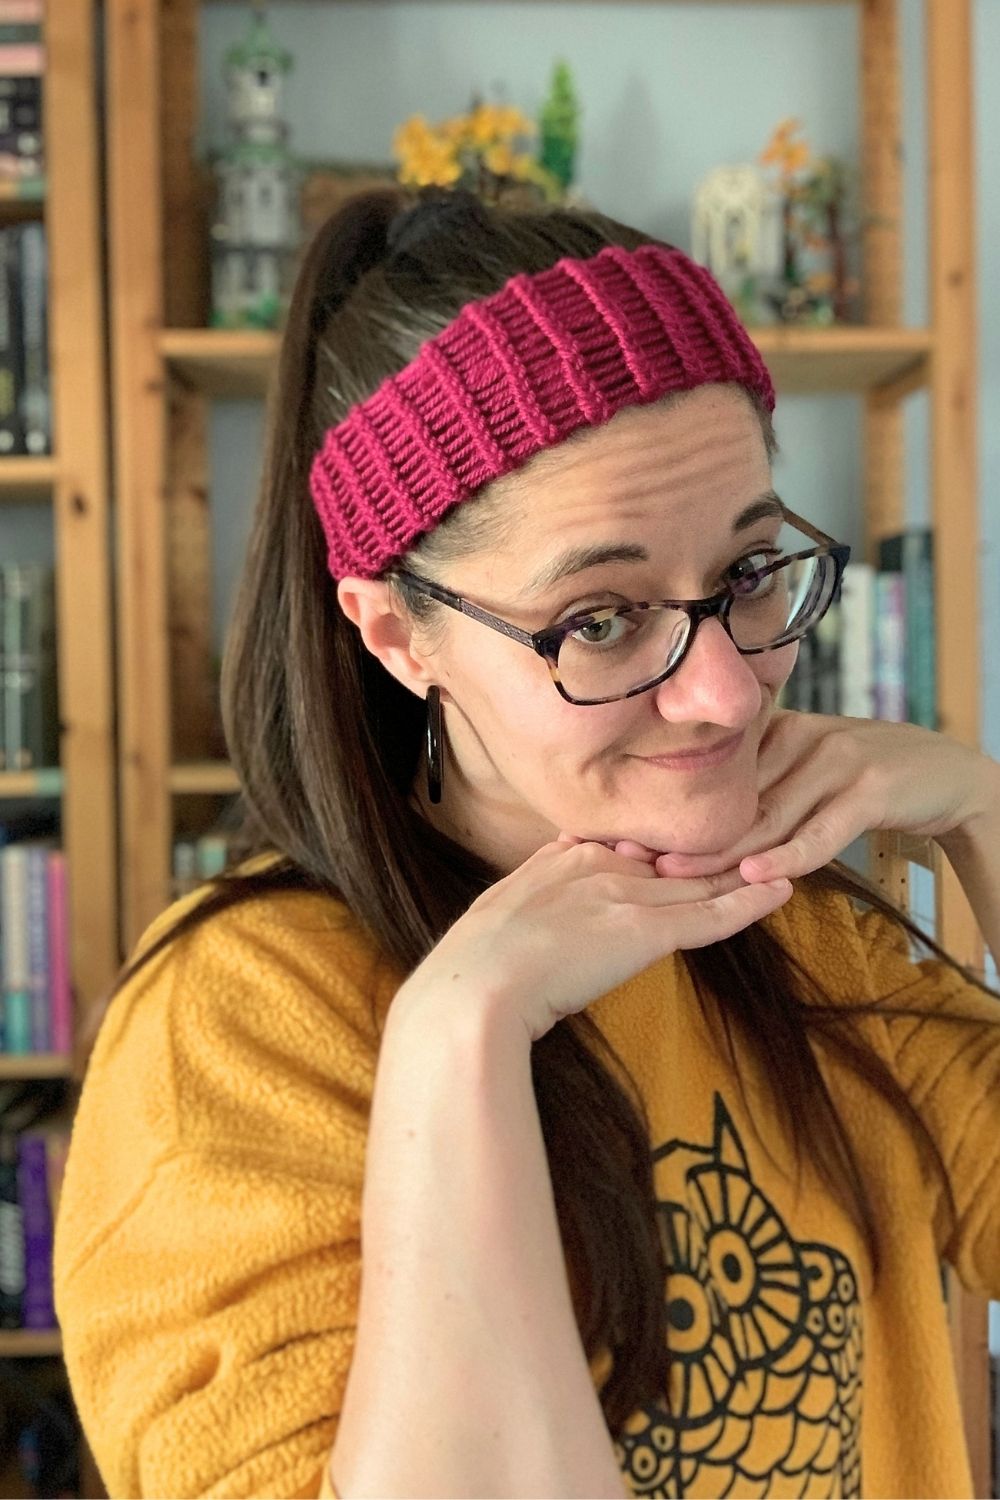
Making a loom knit headband is a pretty easy beginner project. It doesn’t take too long to make, maybe an hour or two.
If you’re looking for another project for your knitting loom, try making a ponytail/bun hat. It’s similarly cozy for winter, but has a hole at the top so you can keep your hair in a messy bun.
Be sure to save this blog post so you can come back to it later. Once you’ve made one headband, you’ll probably want to make a few. They make a good handmade gift for any time of year.
What’s next? Try these other fun and creative ideas on One Mama’s Daily Drama:
Leave a Reply