
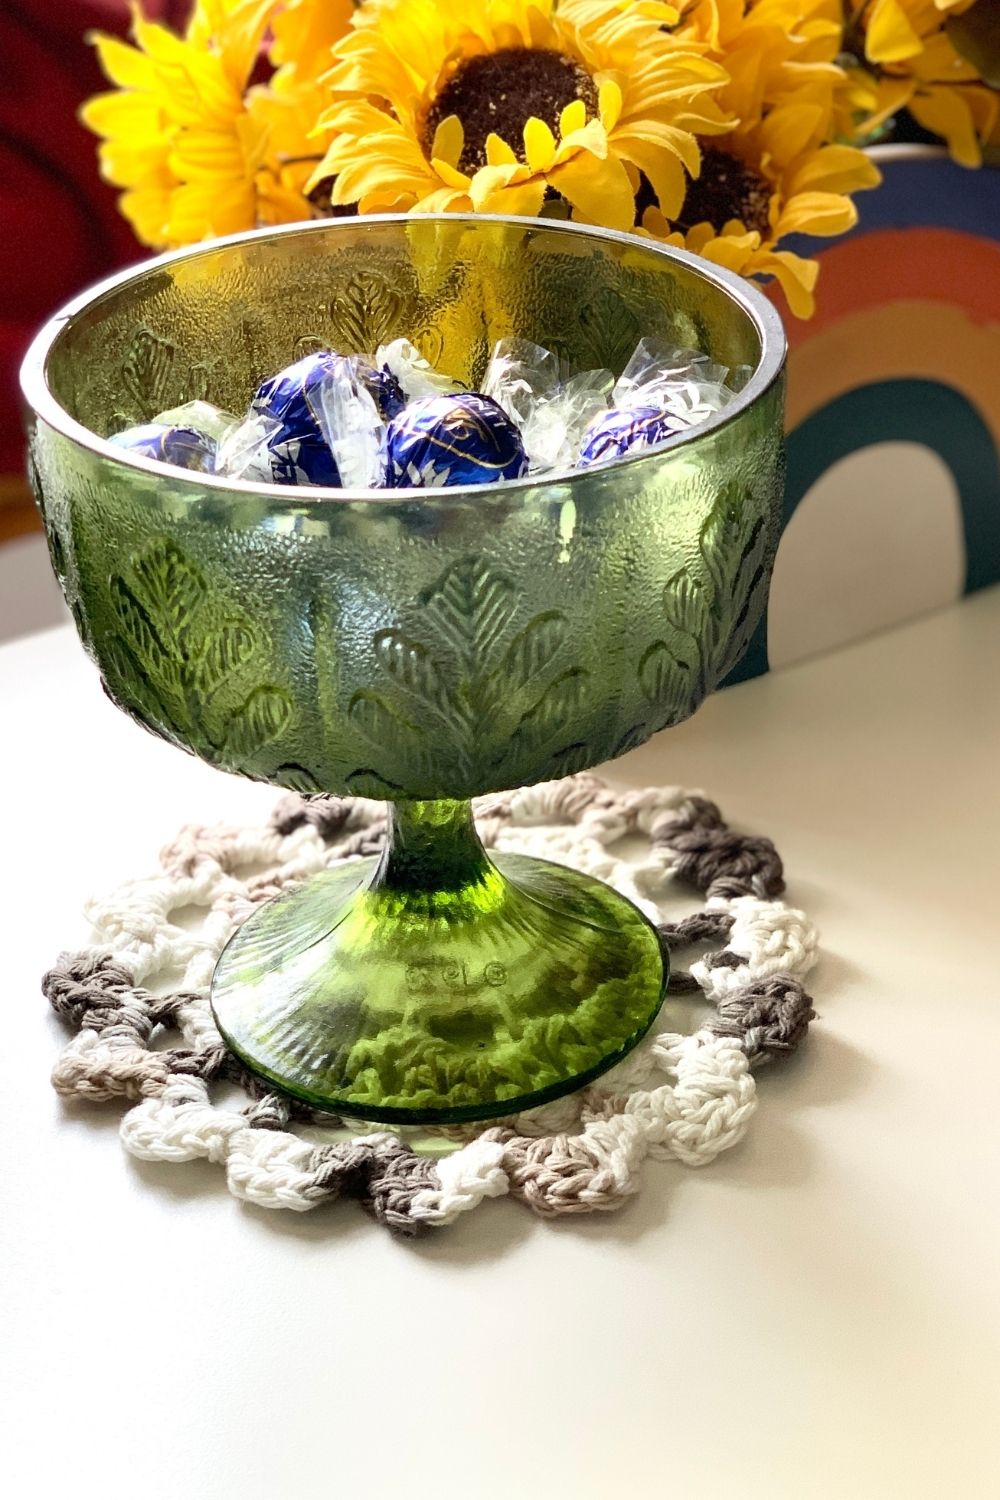
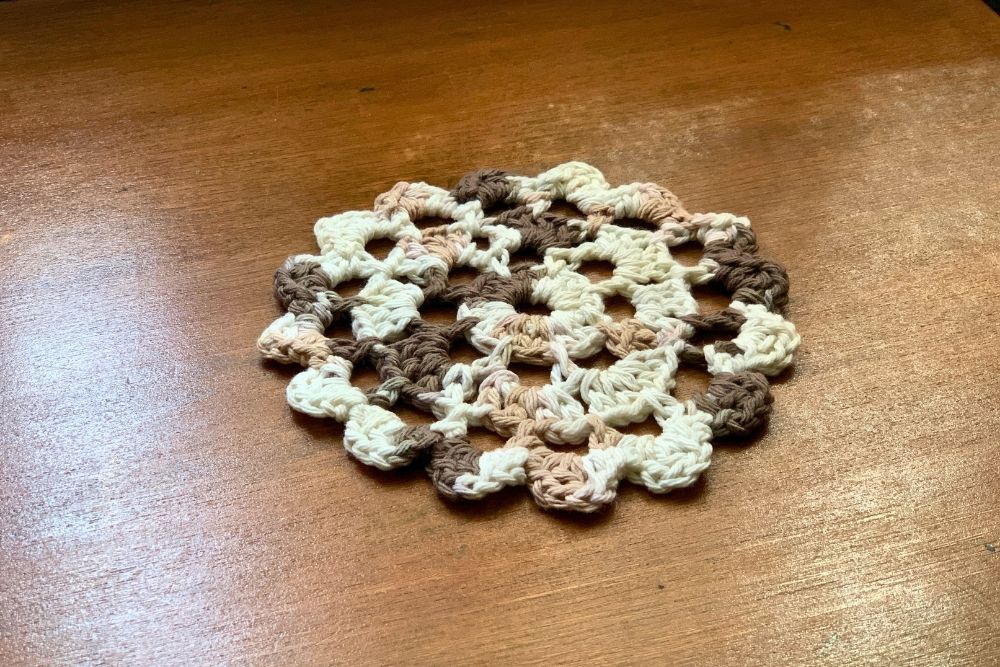
Learn how to make a crochet doily with this easy pattern. It takes about an hour to make this pretty cottagecore home decor.
Disclosure: This blog contains affiliate links. As an Amazon Associate and member of other affiliate programs, Keri Houchin earns a commission from qualifying purchases at no additional cost to you.
This free crochet doily pattern is easy enough for beginners. It uses 3 basic stitches and takes about an hour or so to make.
You can use any yarn color. Doilies don’t have to be white! I do recommend using 100% cotton yarn. It doesn’t stretch much while you’re crafting. And if you’re using these around the house, cotton is durable and can be cleaned (hand washing is best).
A quick note that I am left-handed. All of my crochet patterns can be made right-handed, but when you look at the photos they will seem backward.
Beginner crochet tips
I use US terms and there are a couple of different stitches for this doily pattern. If you’re unsure or just need a refresher, here are the basics:
- chain – Yarn over the hook and pull through the loop.
- single crochet – Insert hook through a stitch; yarn over and pull through one loop, yarn over and pull through the last 2 loops.
- double crochet – Yarn over the hook and insert through a stitch; yarn over the hook and pull through one loop, yarn over the hook and pull through 2 loops, yarn over the hook and pull through the last 2 loops.
- triple/treble crochet – Yarn over the hook 2 times and insert through a stitch; yarn over the hook and pull through one loop, yarn over the hook and pull through 2 loops, yarn over the hook and pull through 2 loops again, yarn over the hook and pull through the last 2 loops.
How to make a crochet doily
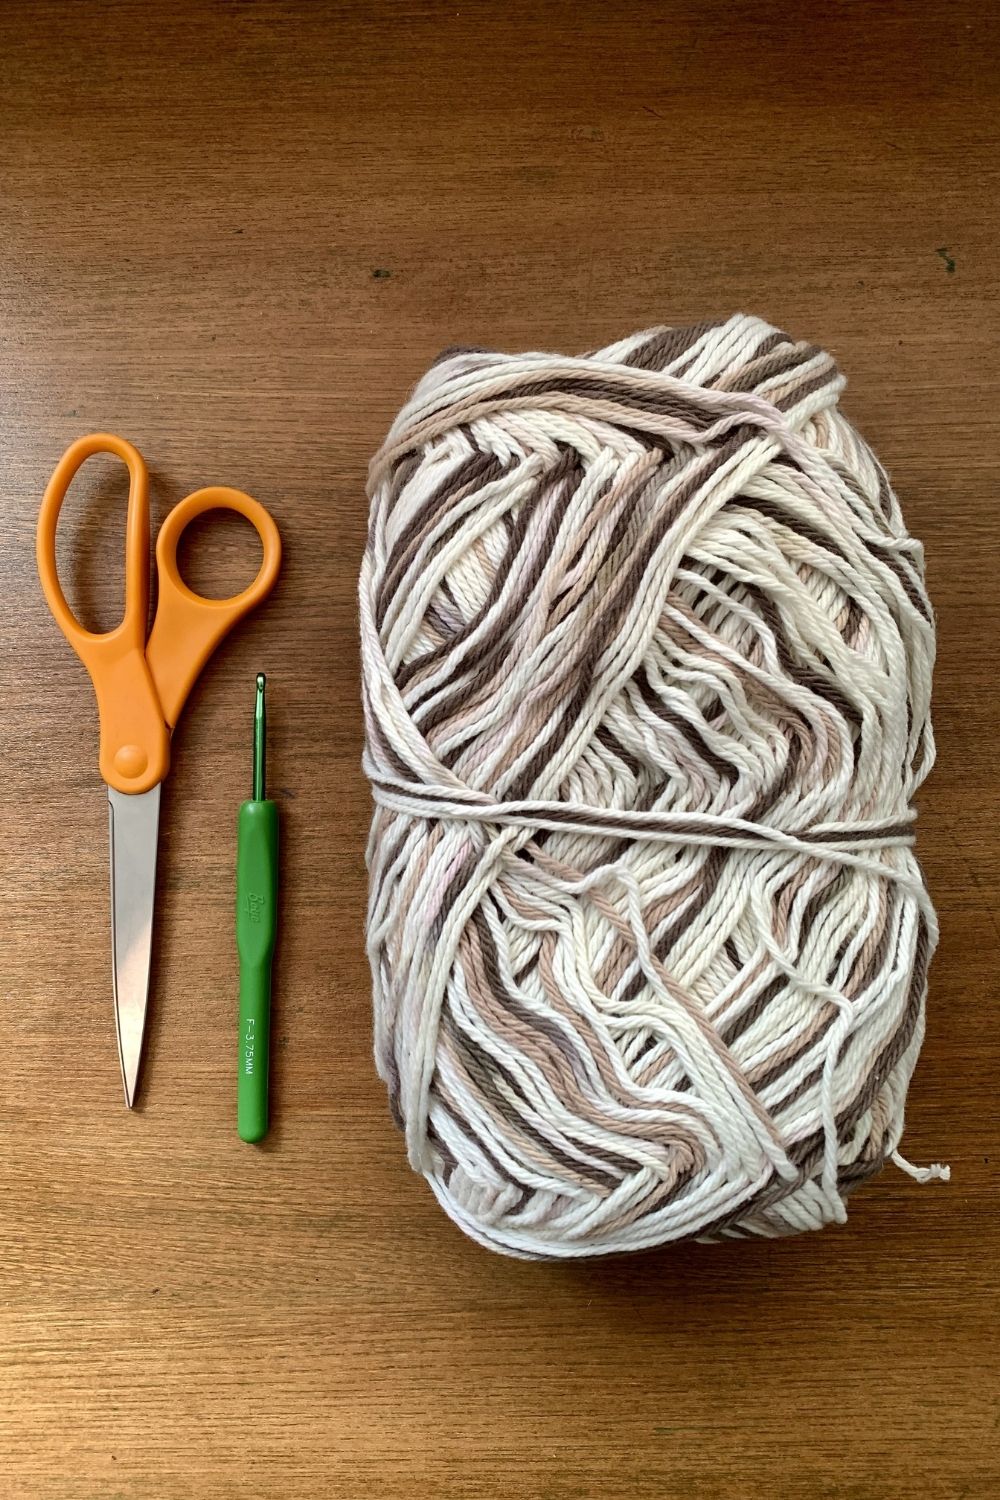
Supplies
- cotton yarn – I bought mine at JoAnn a long time ago. You don’t need a ton, so you can use a partial skein you already have.
- crochet hook – I used size F
- scissors
Instructions
1. Starting ring.
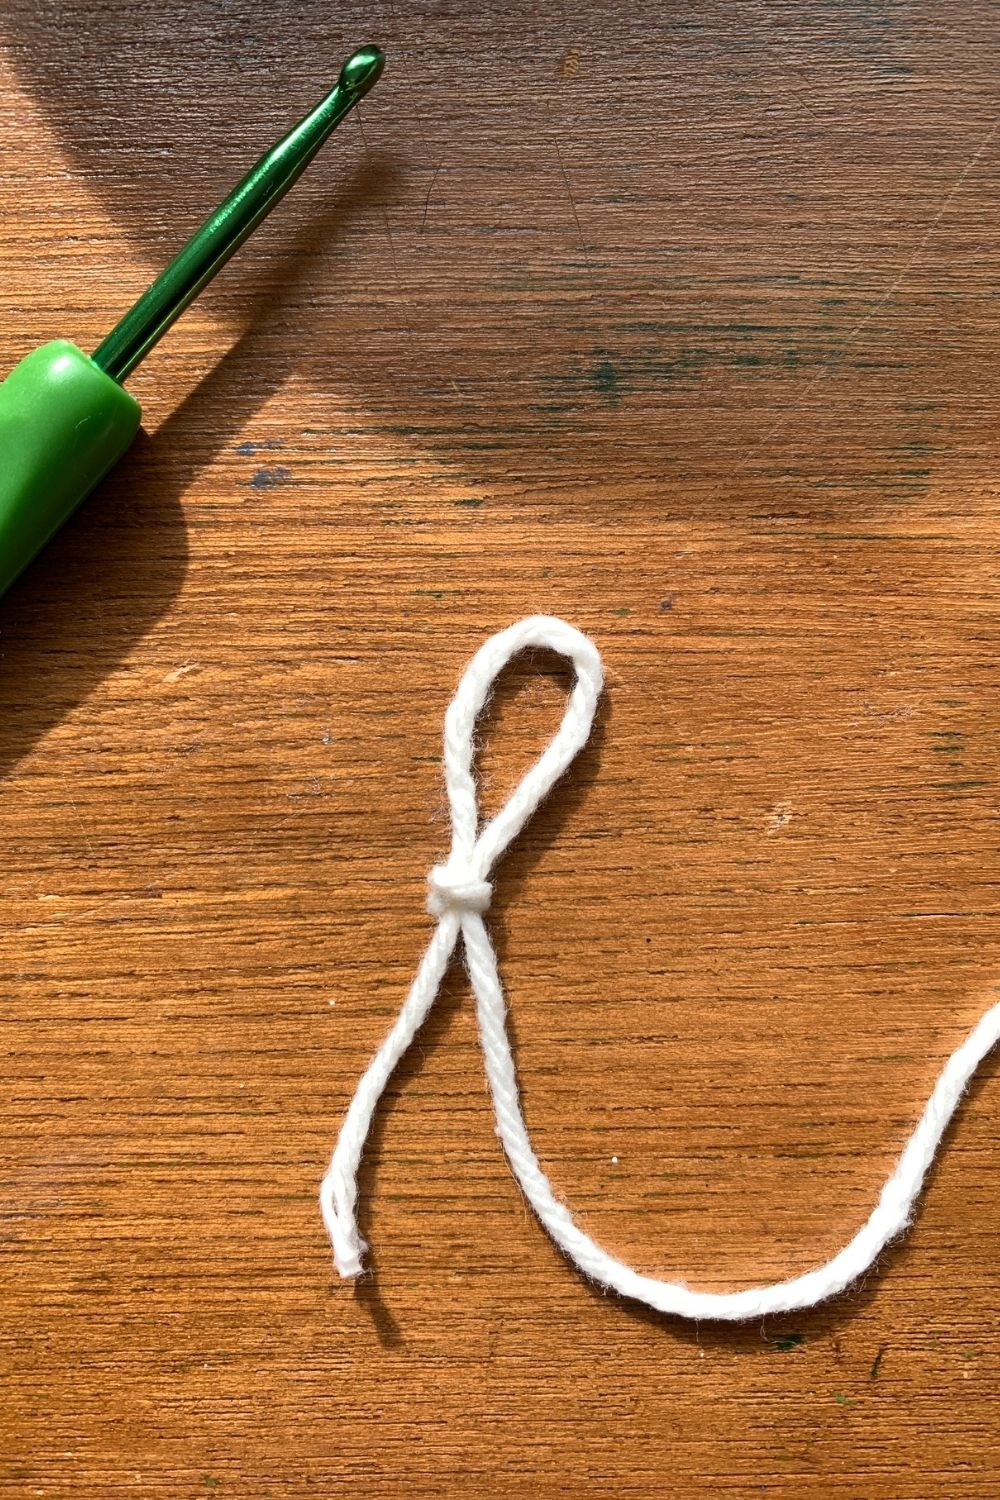
Make a loop and chain 10 stitches. Insert the hook through the first stitch, yarn over, and pull through to close the ring. You’ll have a short tail that you can ignore for now. If you prefer, you can tuck it into the next round to hide it as you crochet.

2. First round.
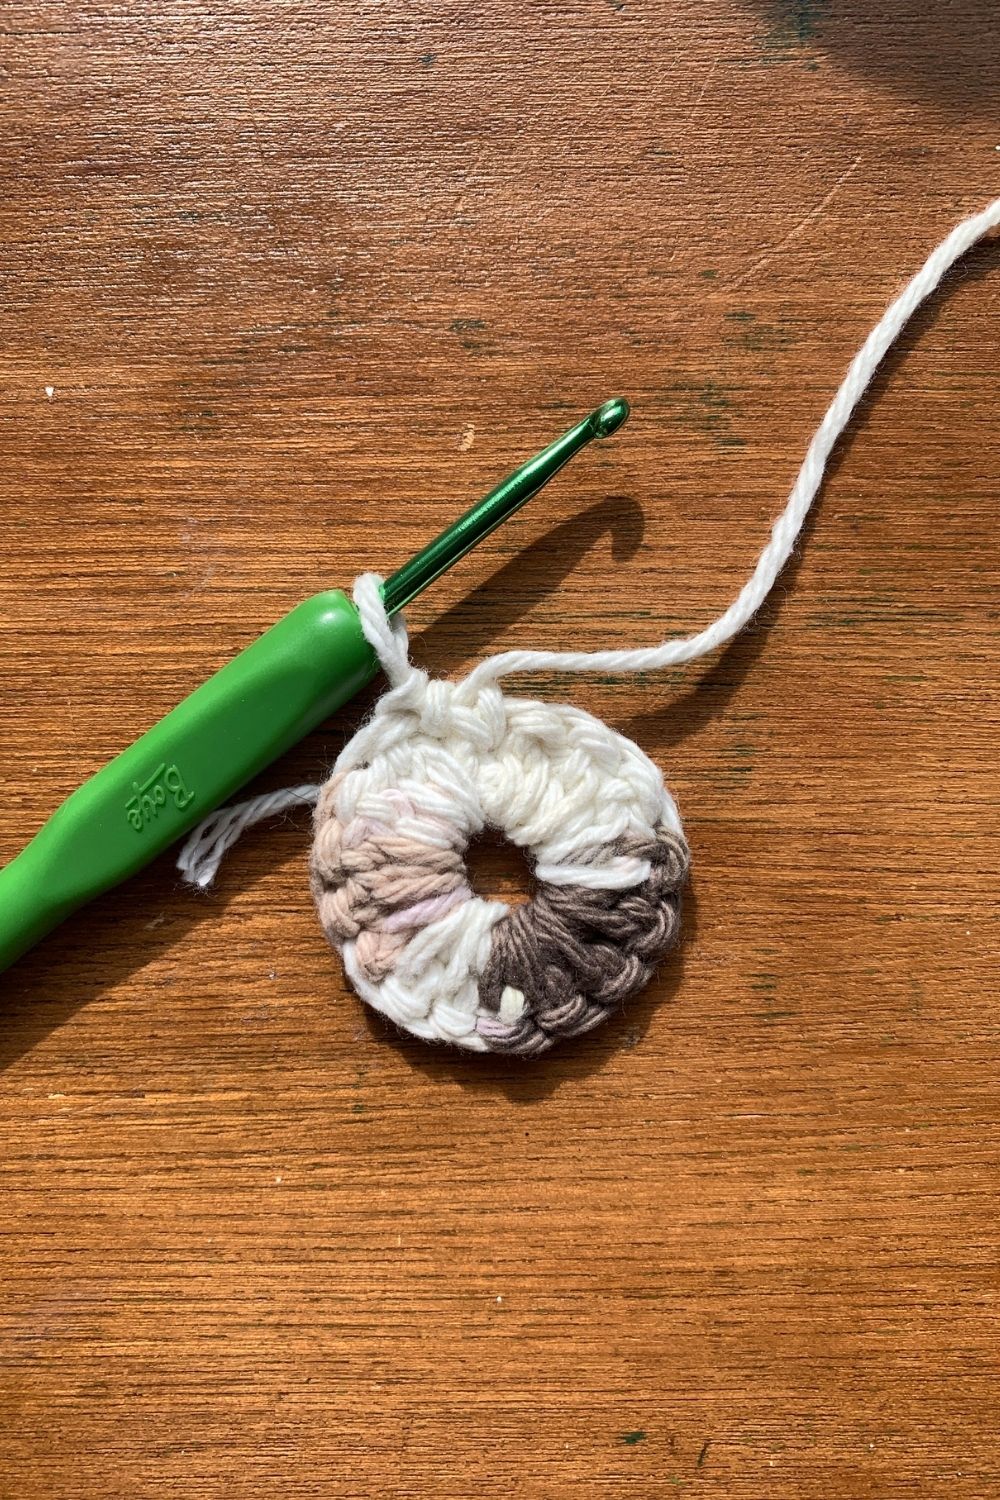
For the first round of stitches, double crochet into the ring 15 times. At the end, stick the hook through the first stitch, yarn over and pull through. This will create a smooth, closed circle.
3. Second round.
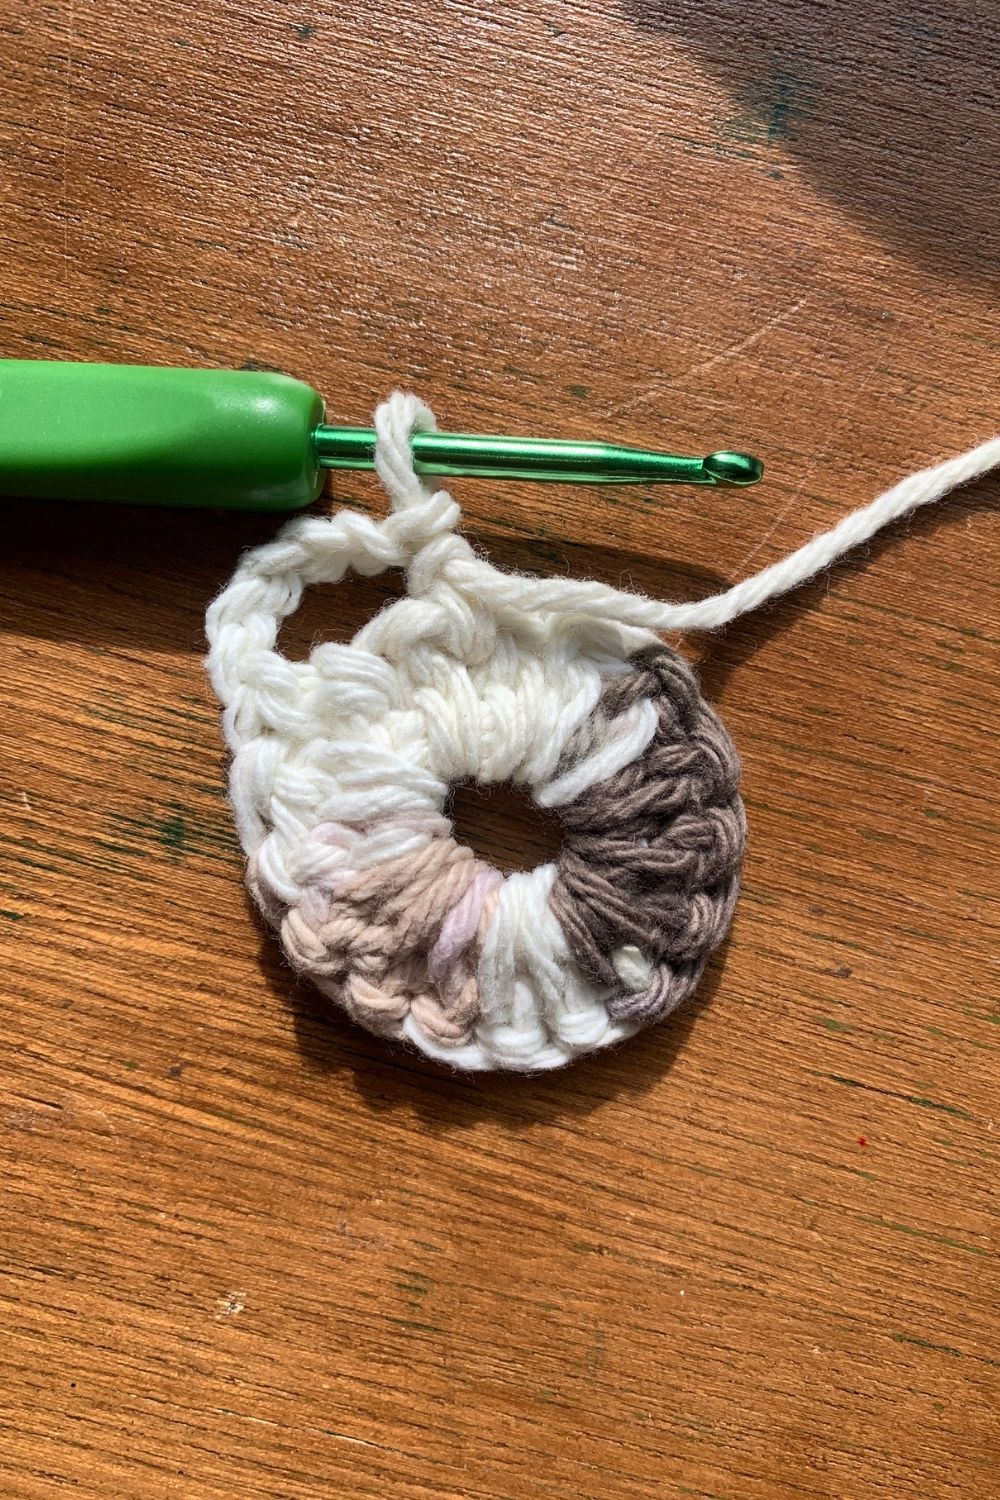
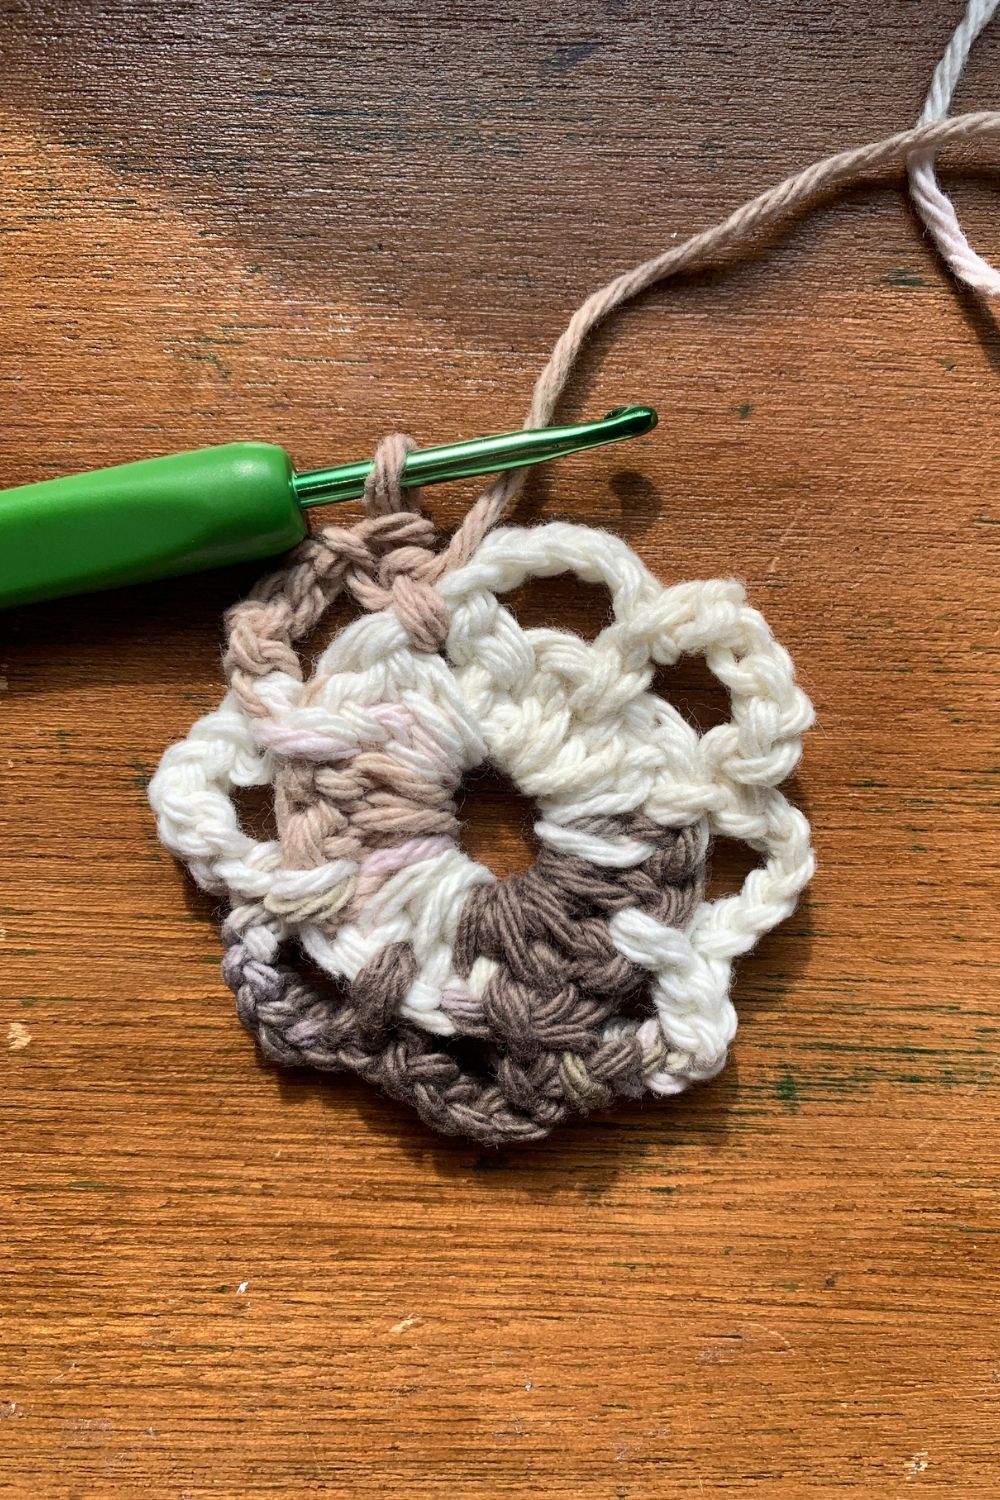
Chain 5. Skip a stitch and single crochet into the second space between the previous row’s stitches. Repeat this, chain 5 and single crochet into every other space around the circle. You should end up with 8 big loops on this round.
4. Third round.
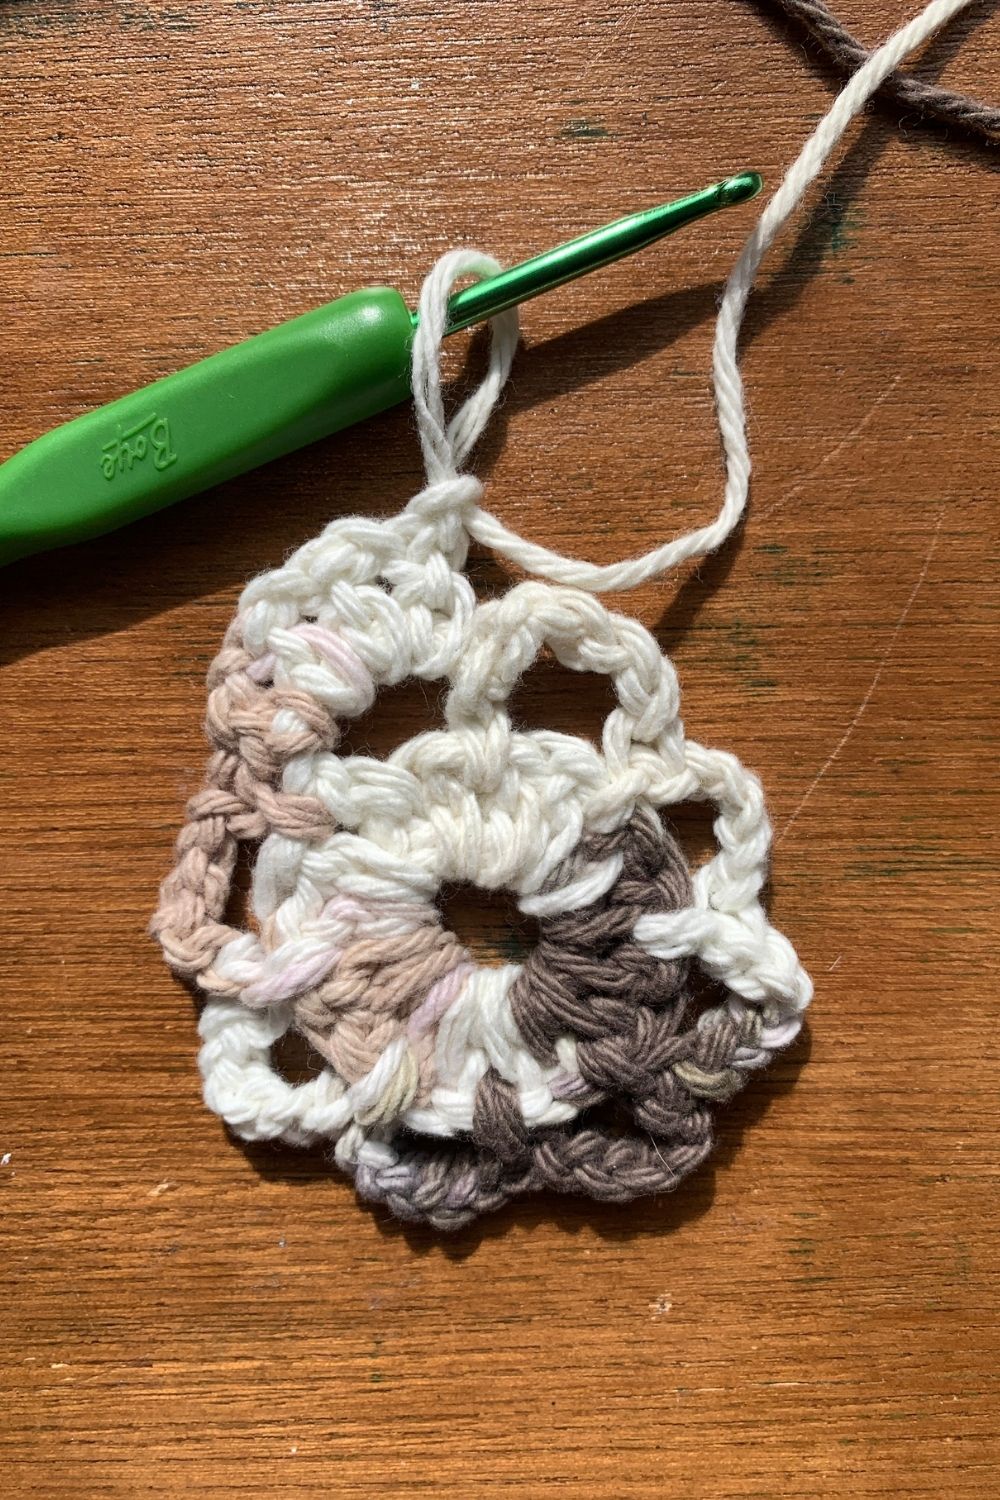
Chain 3. Double crochet into the first loop 3 times. (The chain counts as a dc stitch here.) Then double crochet 4 times into every gap. At the end, stick the hook through the first stitch, yarn over and pull through to complete the round.
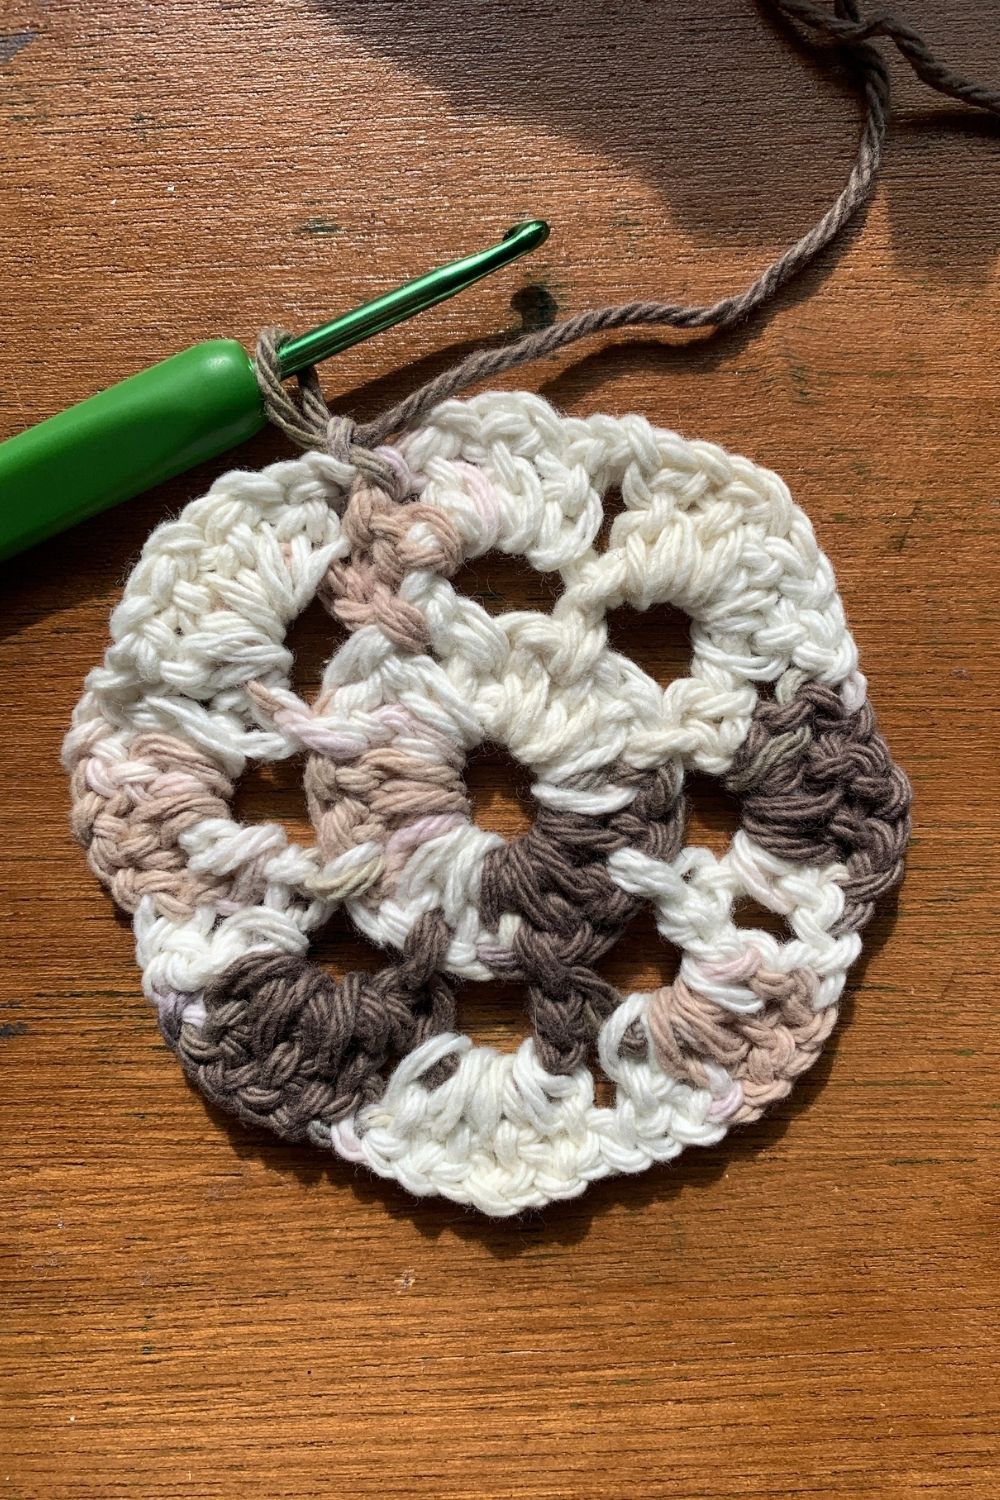
5. Fourth round.
Chain 5. Skip a stitch and single crochet into the second space between the previous row’s stitches. Repeat this, chain 5 and single crochet into every other space around the circle. You should end up with 16 big loops on this round.
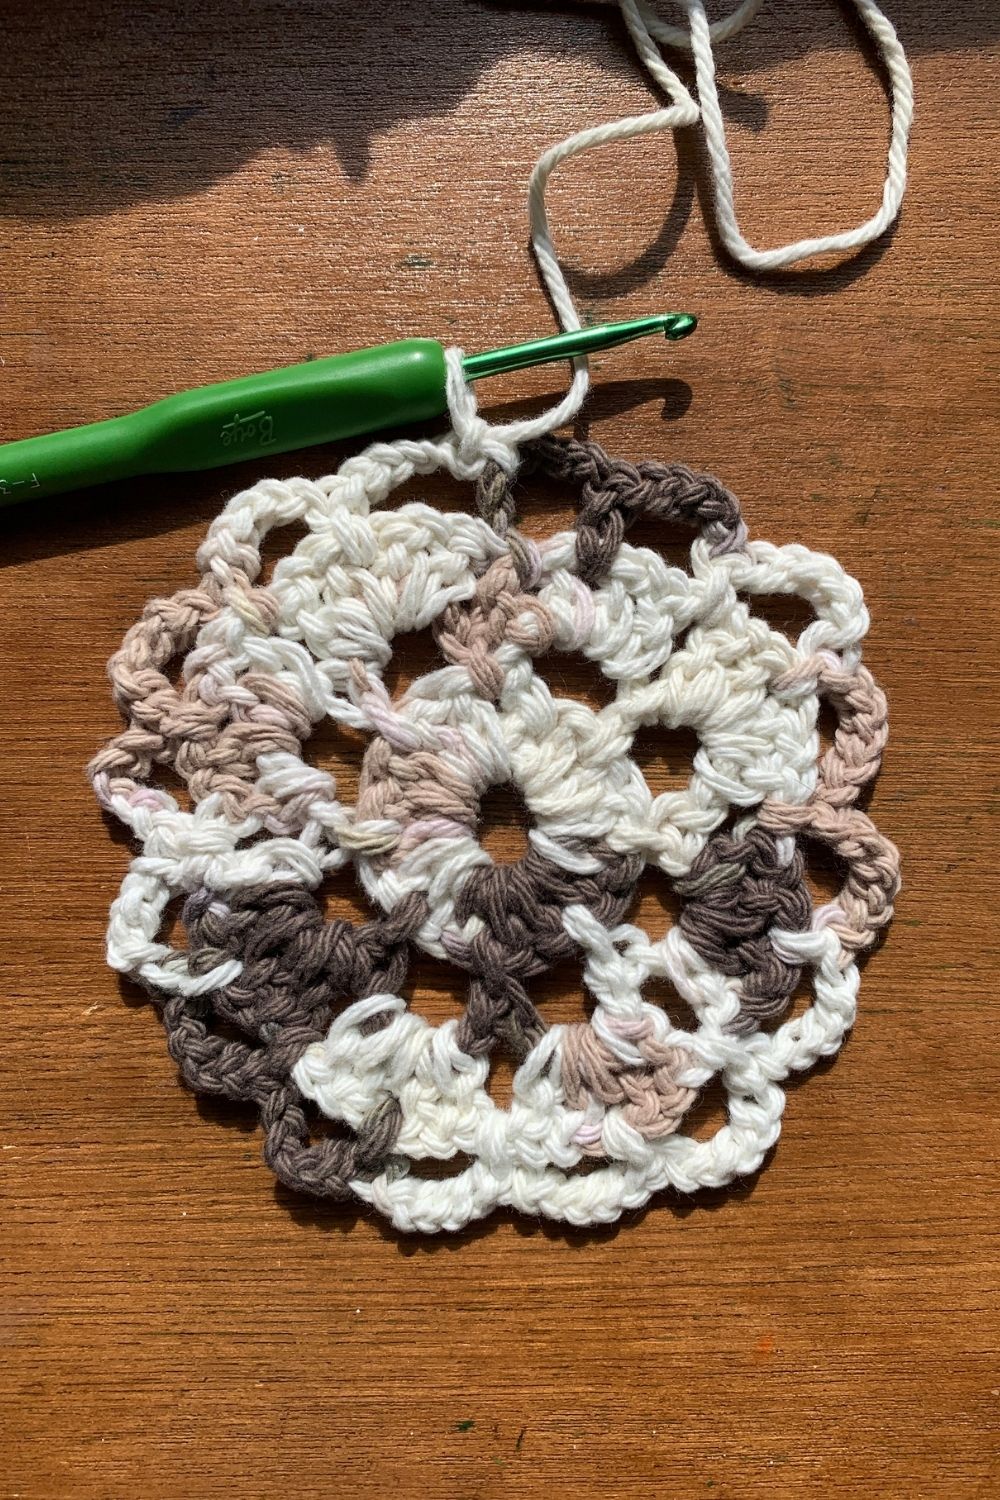
6. Last round.
In each of the big loops, follow this pattern: single crochet, double crochet, triple crochet, double crochet, single crochet. You’ll repeat this pattern (1.2.3.2.1) into each of the 16 loops around the circle to create a shell pattern.
At the end, stick the hook through the first stitch, yarn over and pull through to complete the round. Leave a short tail and cut the yarn. Weave both of the tails (at the beginning and the end) into the doily to hide them.

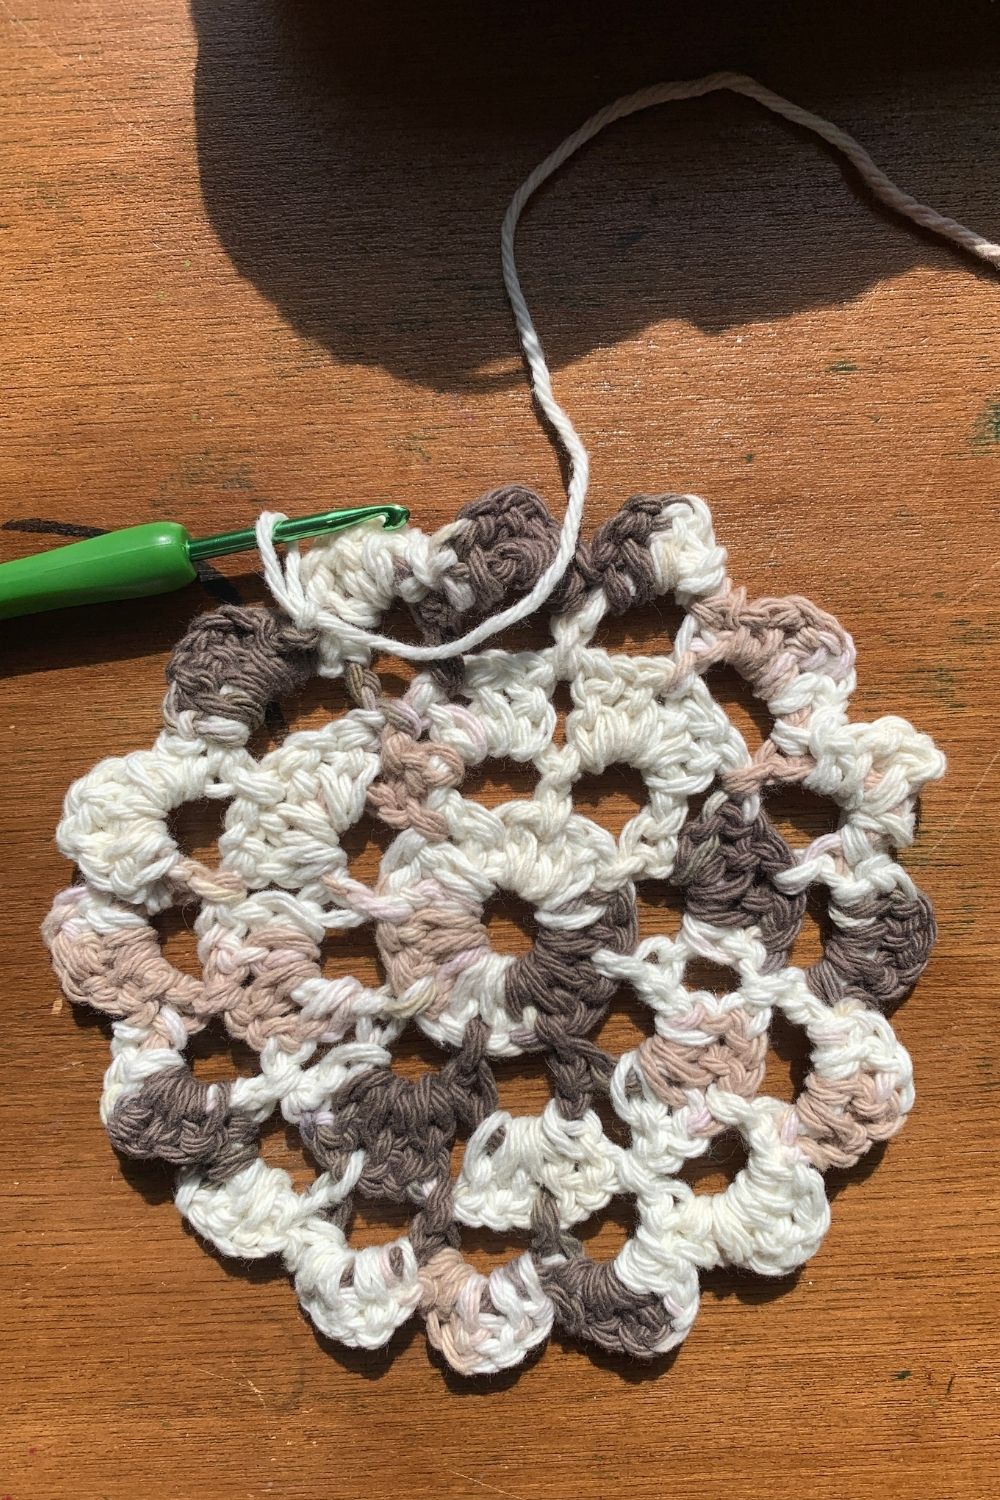
7. Finishing the doily.
At this point your doily is complete, but it might look a little lumpy or uneven. This last step is optional and I used to skip it all the time, but it really makes the finished crochet look much nicer.
Mist the doily lightly with water. It should feel damp, but nowhere near drippy. Spread it out on an ironing board. Use your hands to shape the doily, stretching and smoothing gently. Iron it on low heat by pressing the iron straight down for just a few seconds.
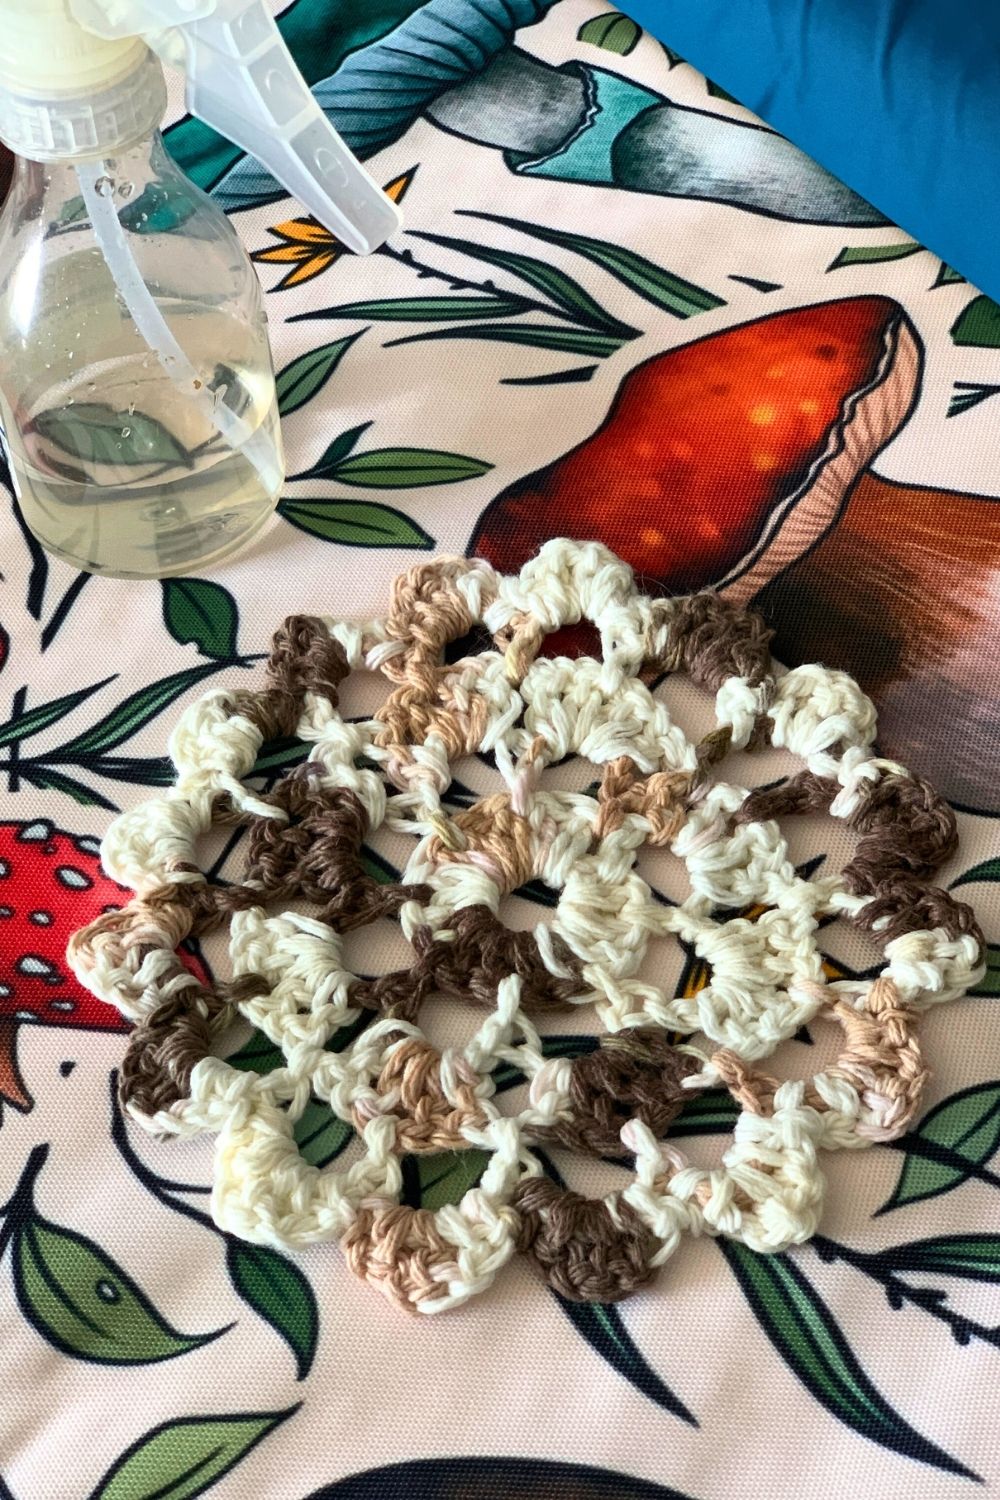
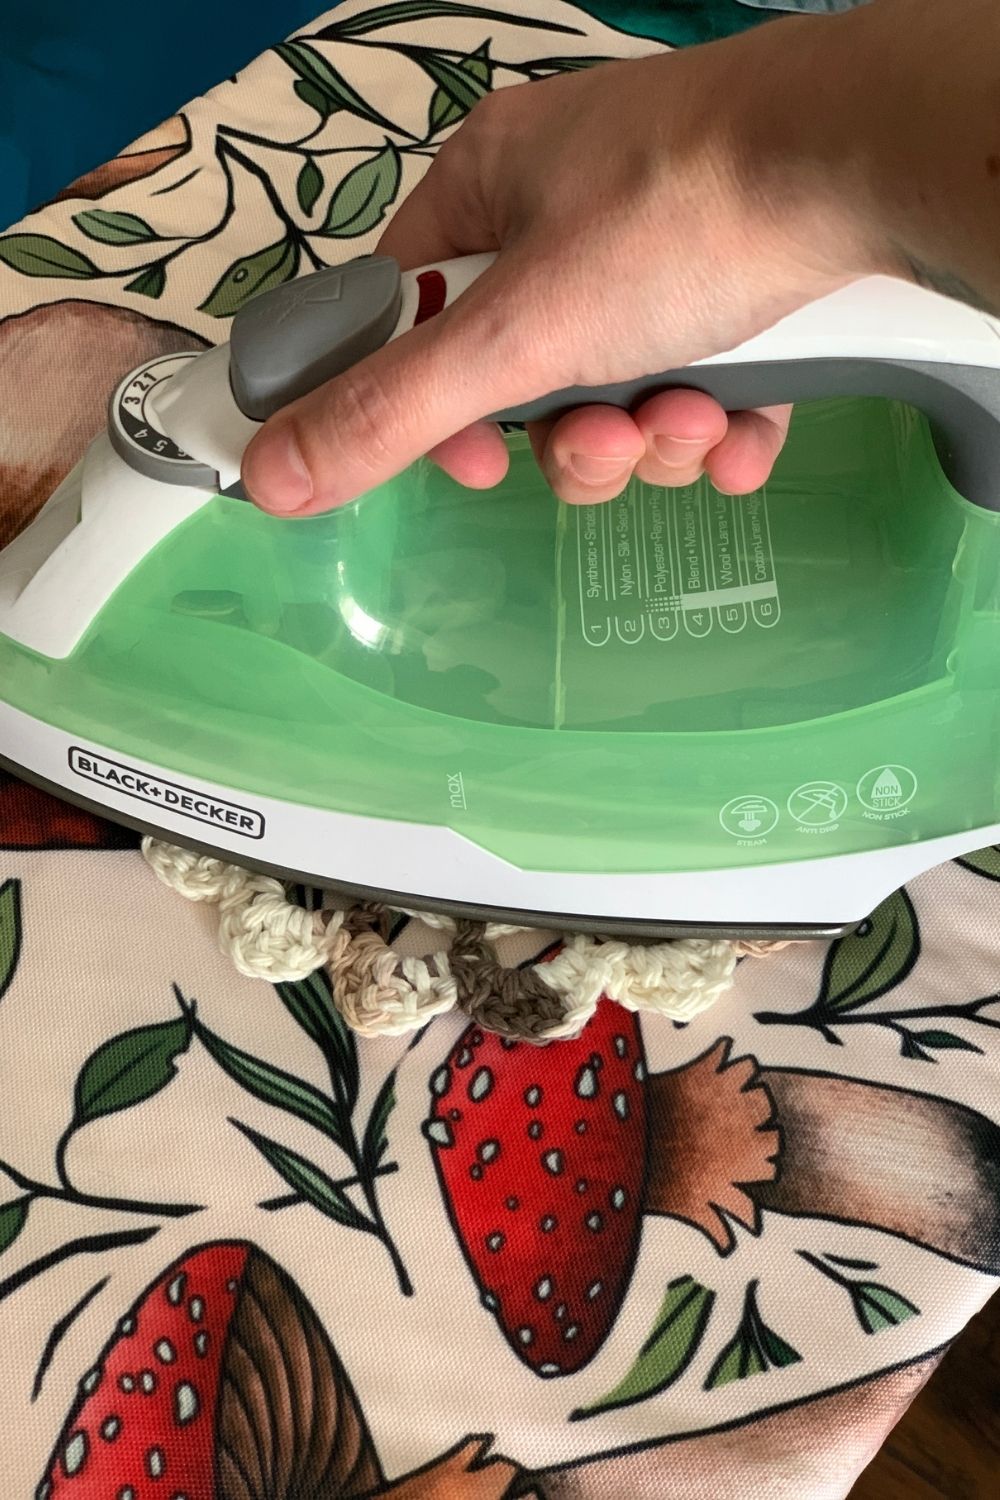
You can also spray it with starch if you like. I’ve used a light starch just to hold the shape a bit better, but you definitely don’t want your doilies to be stiff.
This finished pattern measures about 6 inches across. If you want to make it larger, repeat steps 4 and 5 (the third and fourth rounds) as many times as you need to get the size you want.
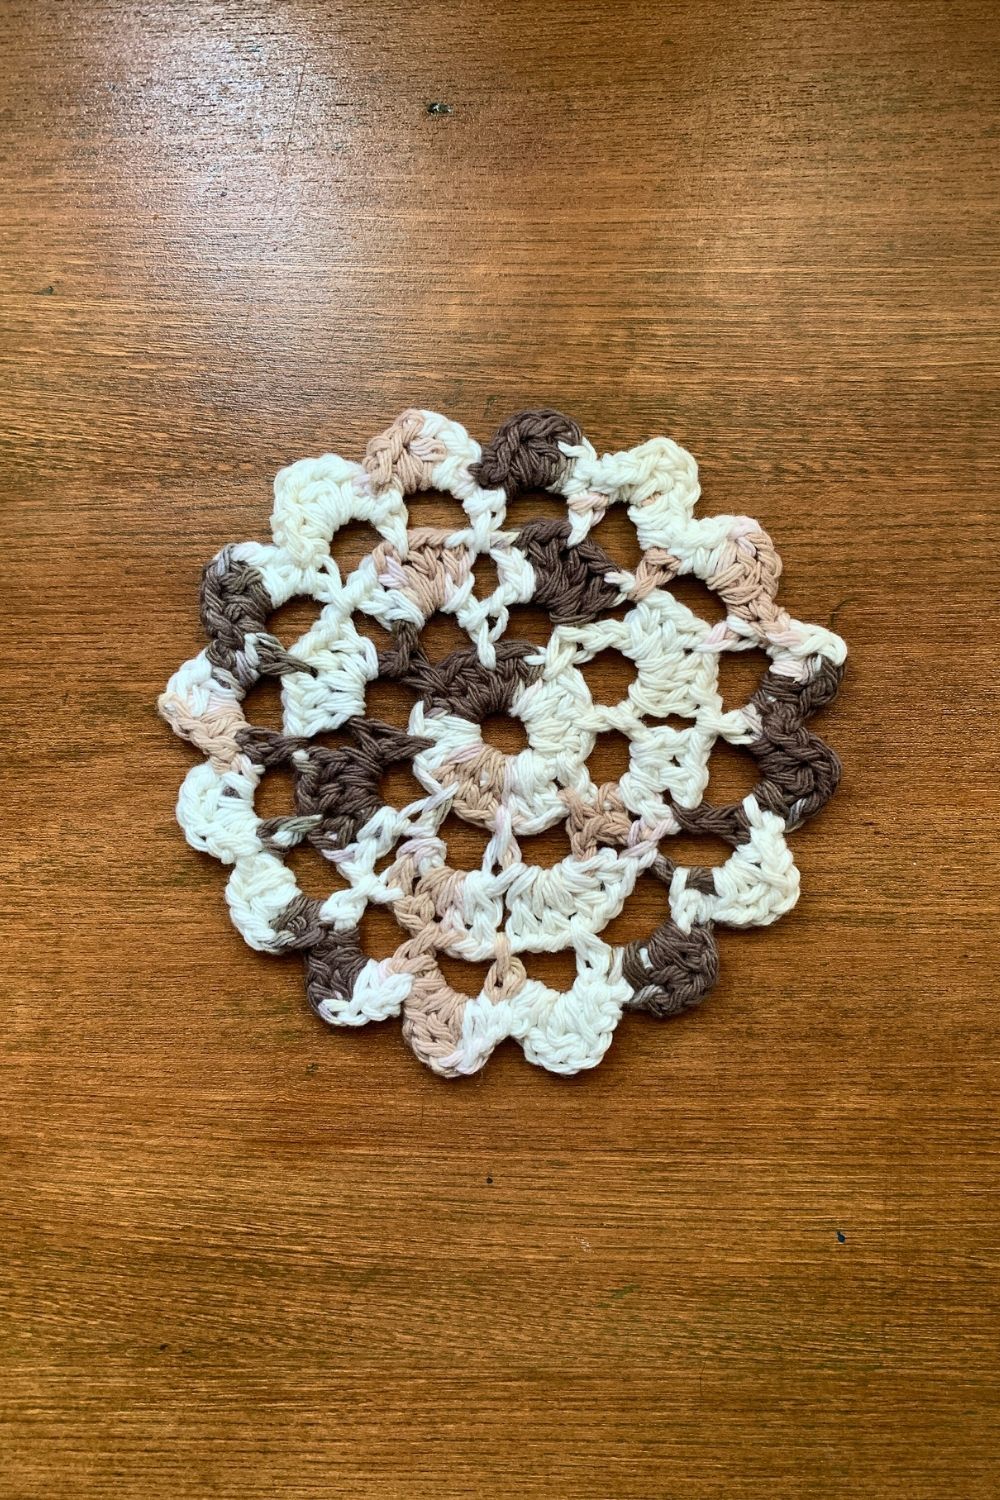
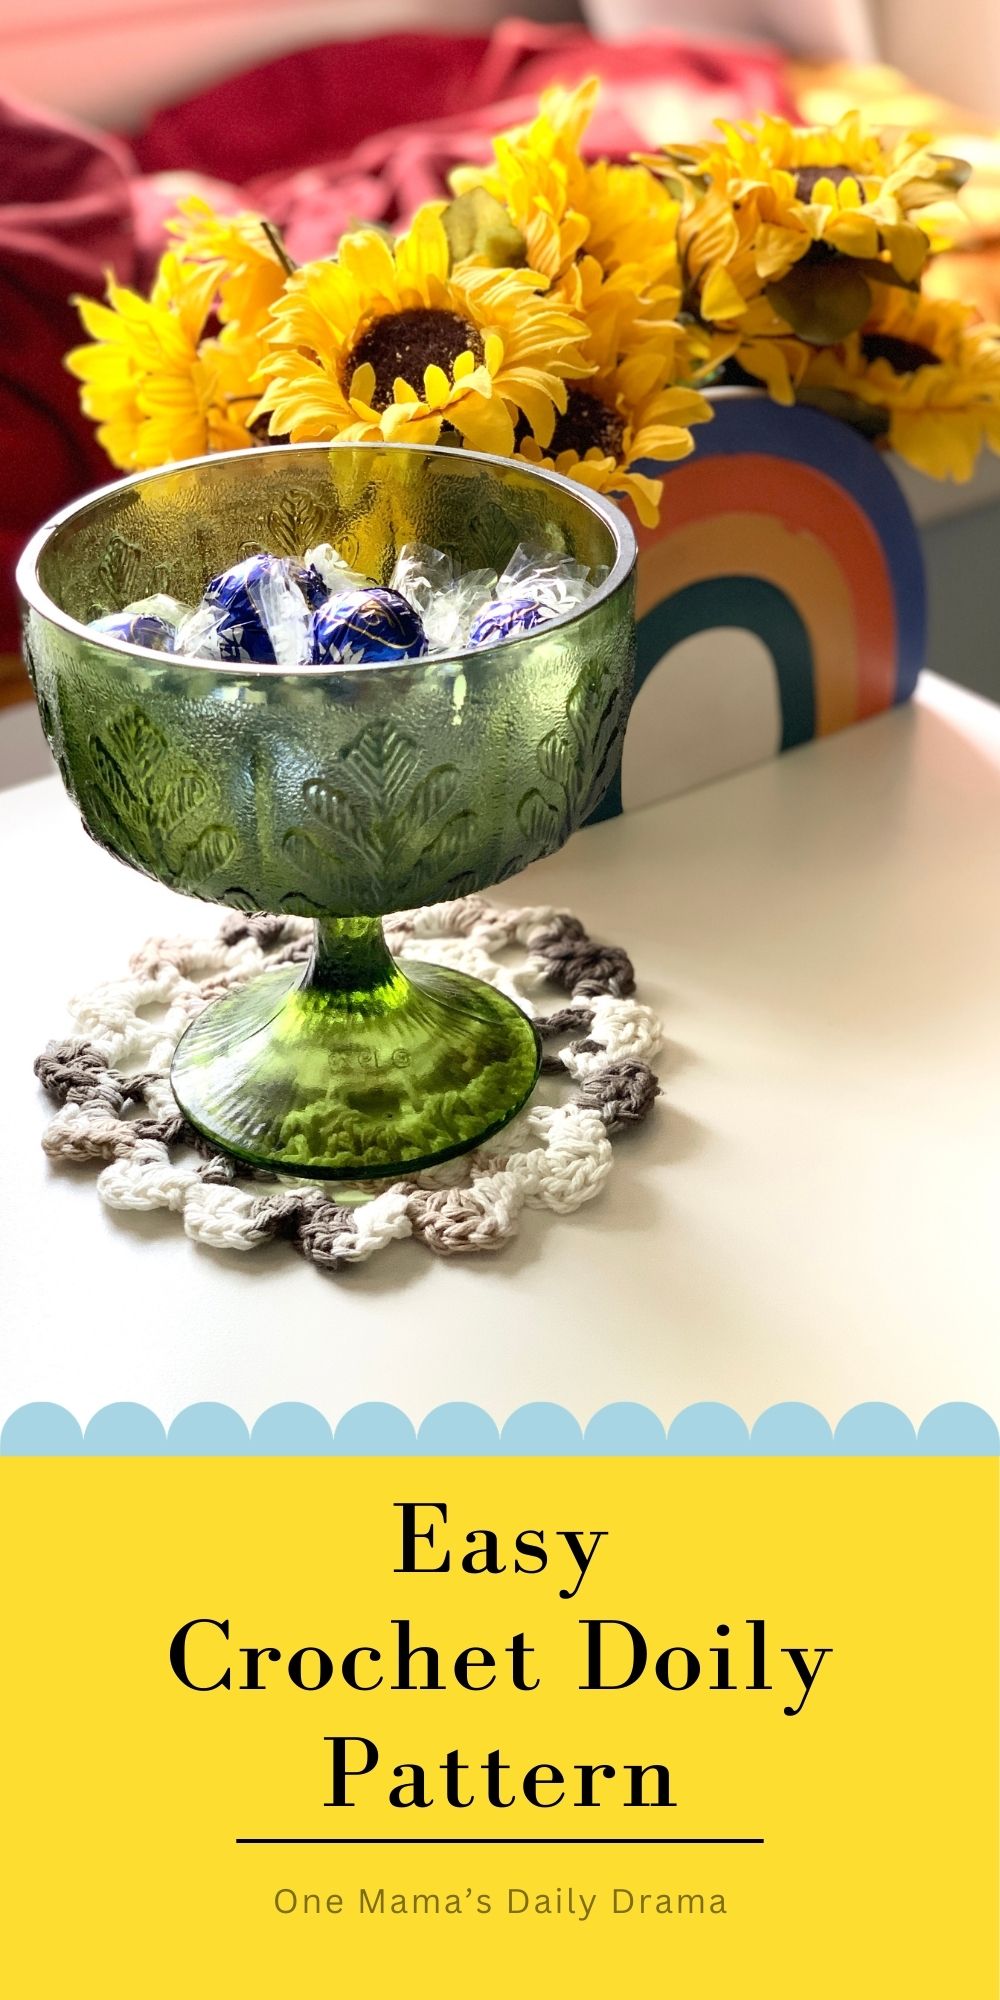
Doilies are pretty and they’re kind of handy around the house too. Use them under a bowl, vase, or wherever you might want something nicer than a coaster.
What’s next? Try these other fun and creative ideas on One Mama’s Daily Drama:
Leave a Reply