
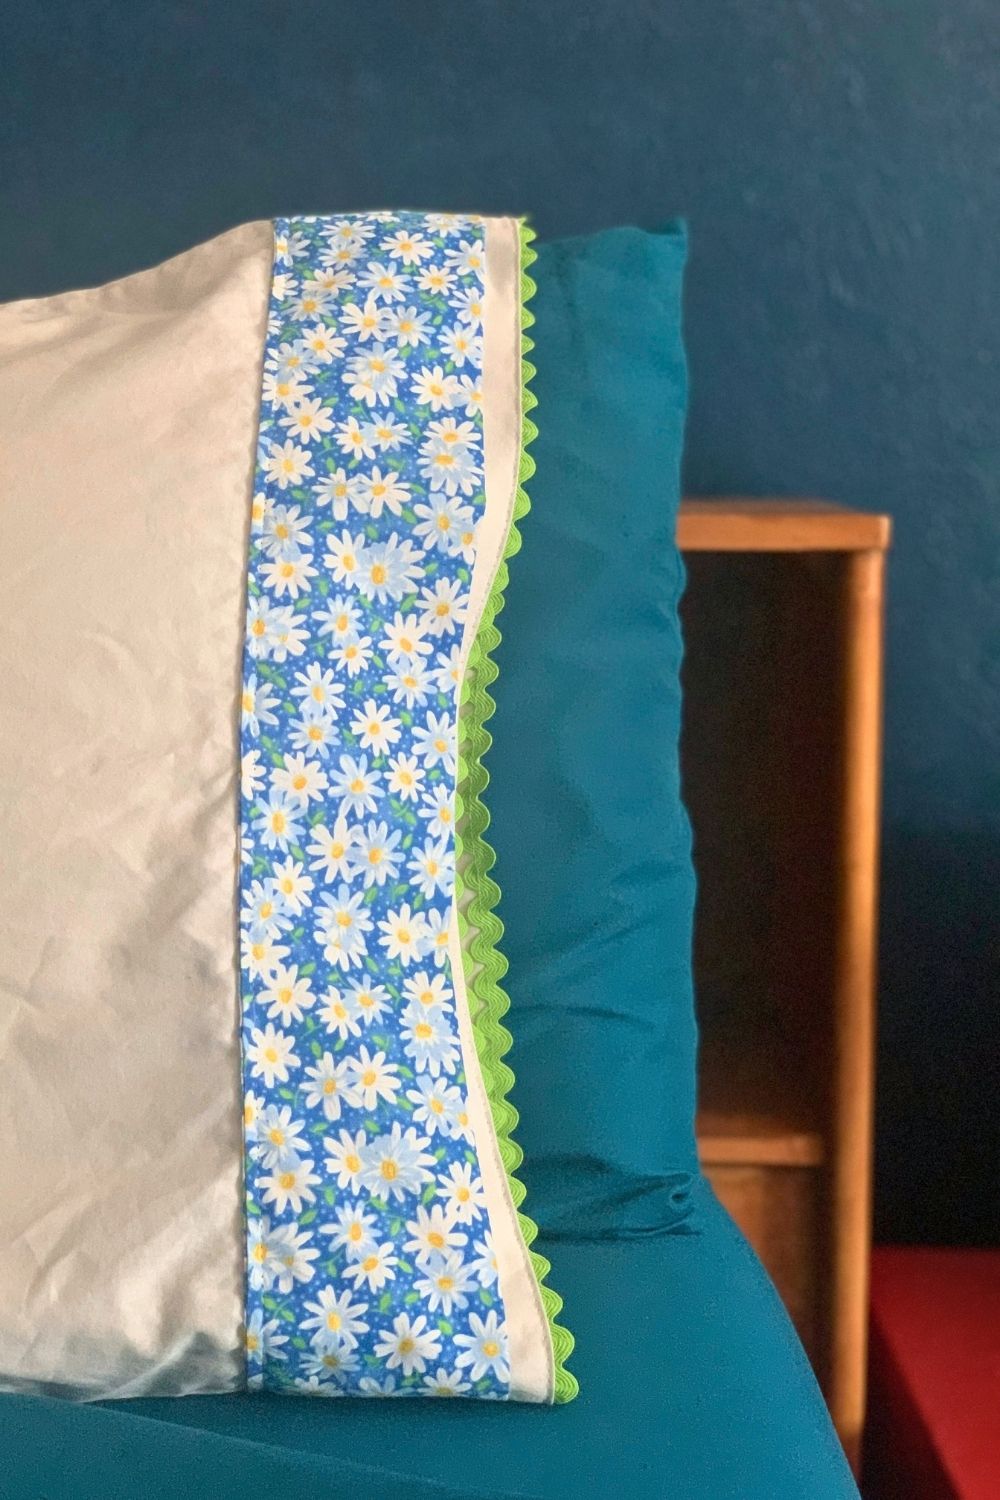
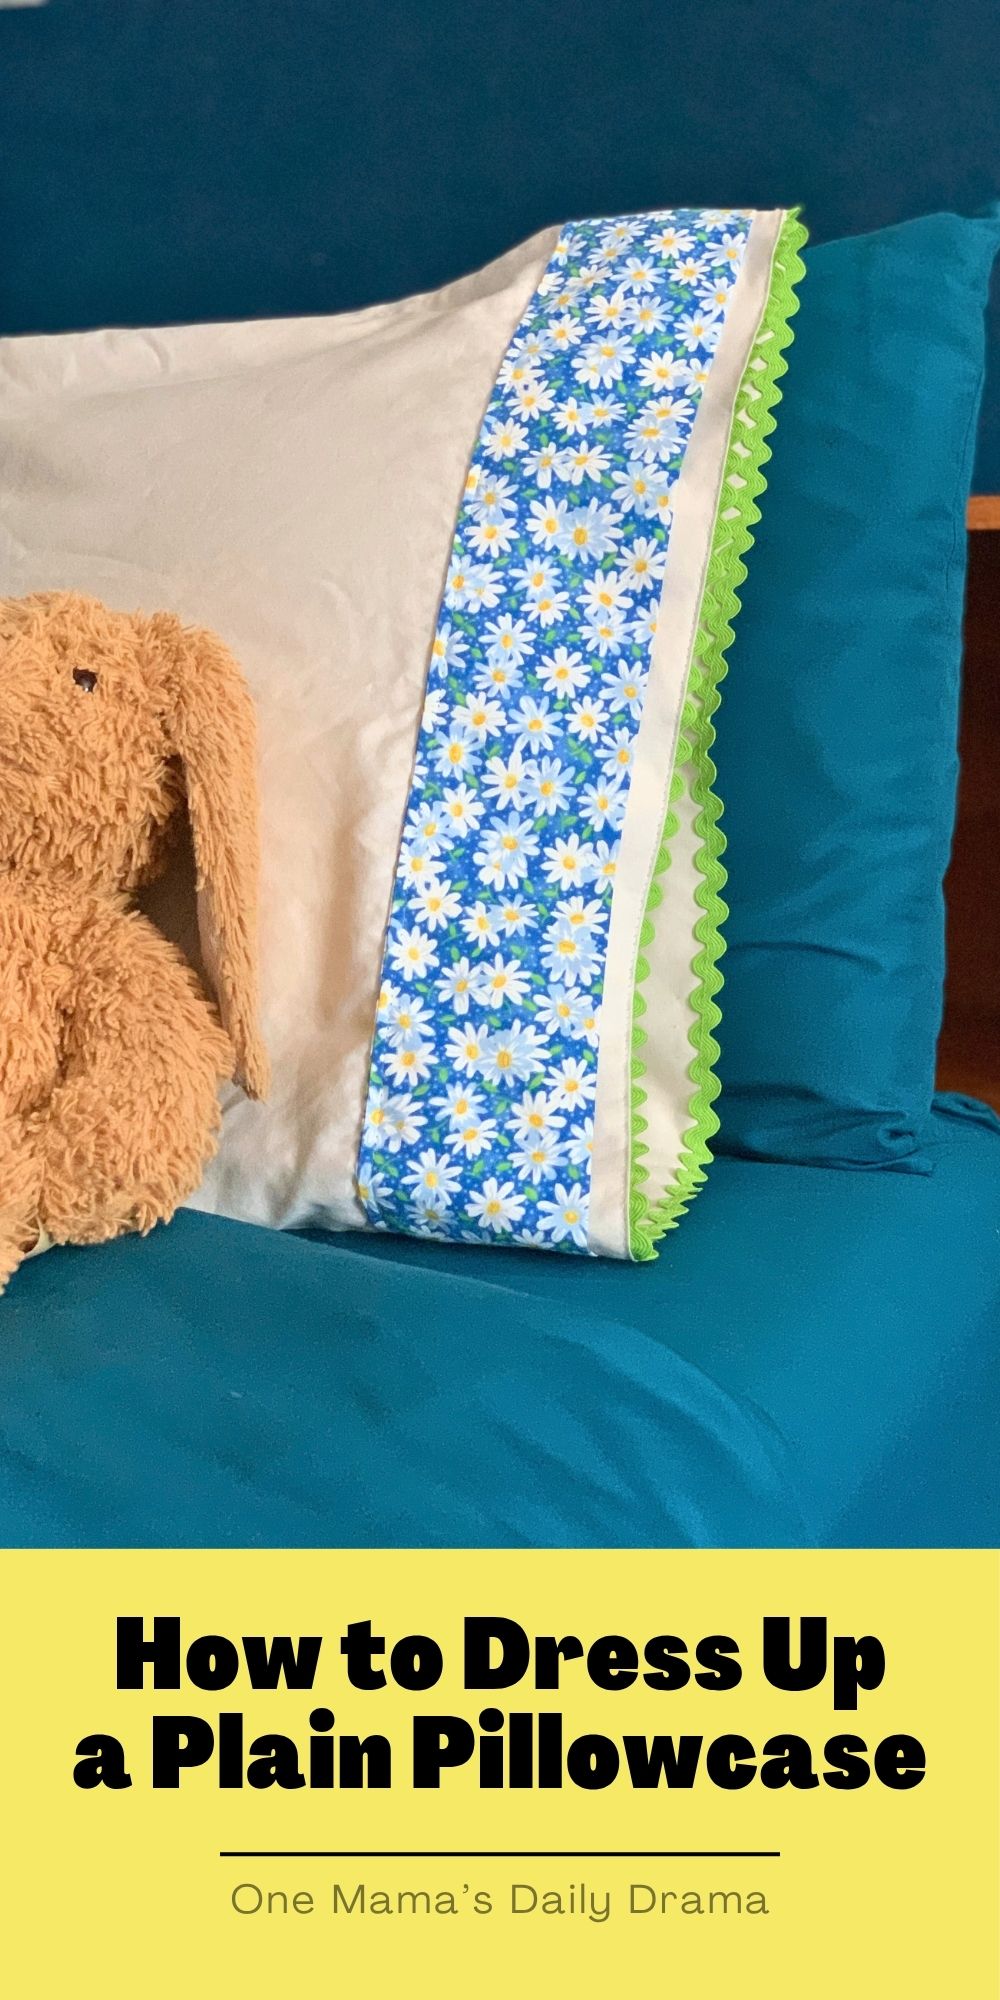
Dress up a plain pillowcase with fabric and trim! Add a touch of whimsy and give an old pillow an easy, cute update.
Disclosure: This blog contains affiliate links. As an Amazon Associate and member of other affiliate programs, Keri Houchin earns a commission from qualifying purchases at no additional cost to you.
Pillowcases are functional and kind of boring. They keep your pillows clean and maybe match the rest of your bedding. But it’s easy to dress one up and give it a new look with just a bit of fabric and trim.
Adding trim to a pillowcase is a good beginner sewing project. All of the stitches are straight lines and I used the same white thread for the whole project.
Updating a pillowcase is an inexpensive way to give your bedroom a makeover without spending much (if anything). A personalized pillowcase makes a lovely handmade gift too.
You can use whatever fabric and trim you like. Add a few mismatched pillowcases to give your bedroom a cottagecore look. Use playful fabric for a kids’ room or just something a bit more colorful than the rest of the bedding.
How to dress up a plain pillowcase
Supplies
- pillowcase ~ Mine was simple white cotton
- scrap fabric ~ It needs to be at least twice the width of the pillowcase, 40 inches for standard.
- rick rack
- scissors
- sewing machine or needle and thread
- iron
Instructions
1. Make a fabric strip.
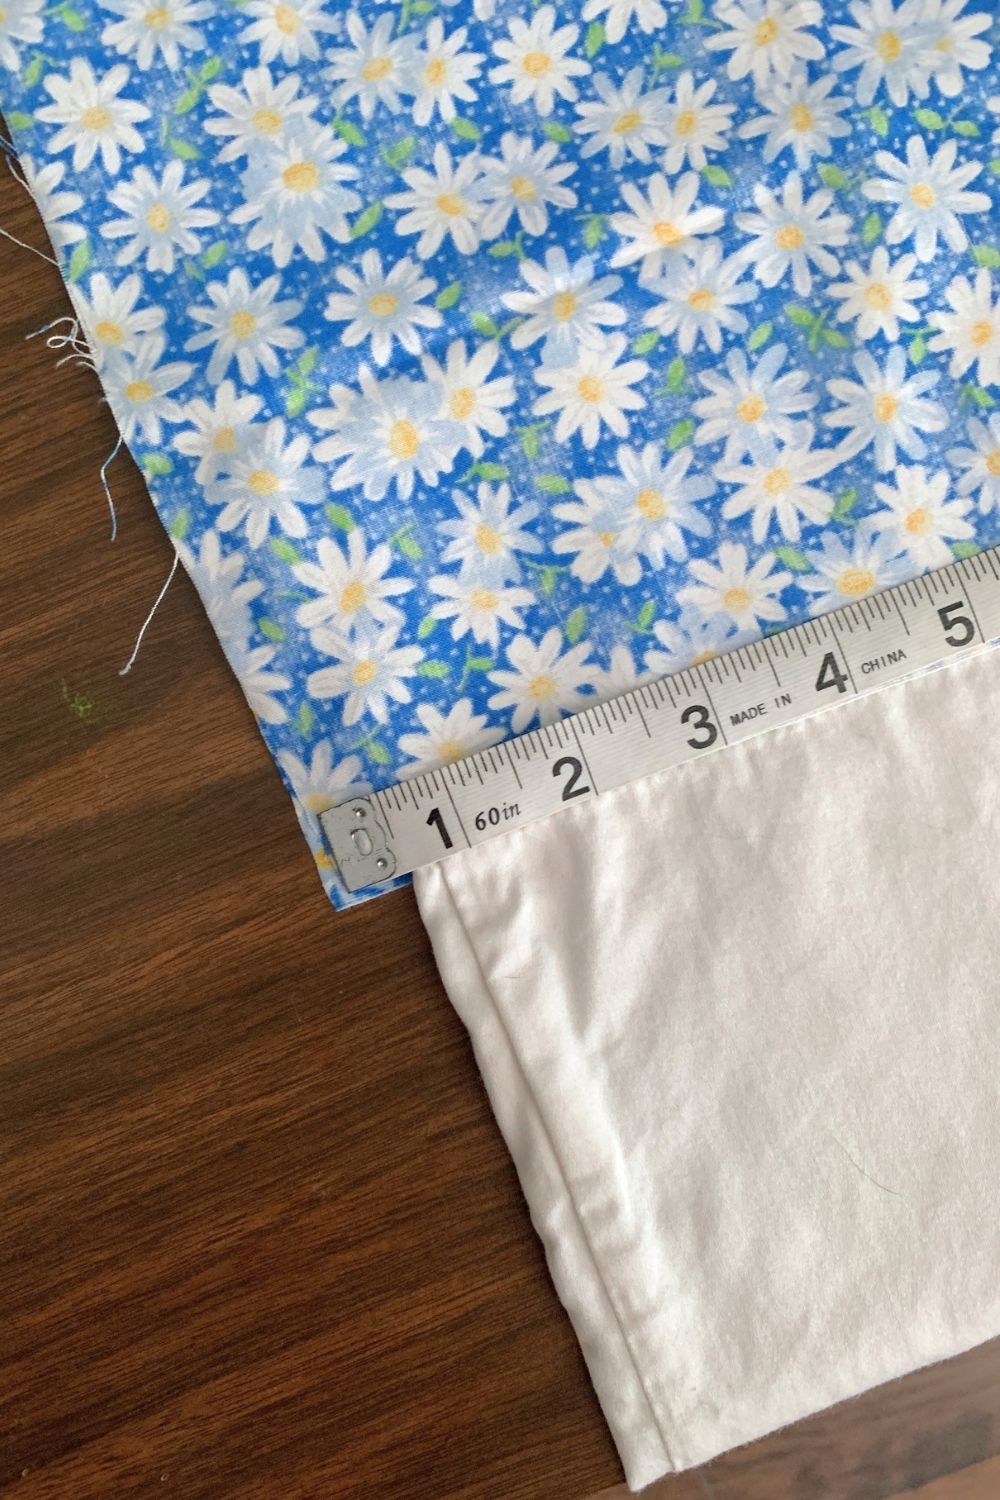
A standard pillowcase is 26×20 inches, but if yours is secondhand or has been washed a bit, it might’ve shrunk. Start by measuring the pillowcase and cutting the fabric to the size of the open end.
Line the fabric up with the pillowcase and add a half-inch margin. The other measurement can be whatever you like (and might depend on the size of your scrap fabric). You want it to be shorter than the end section of your pillowcase so that the pillowcase itself sticks out the end. Mine is 7 inches.
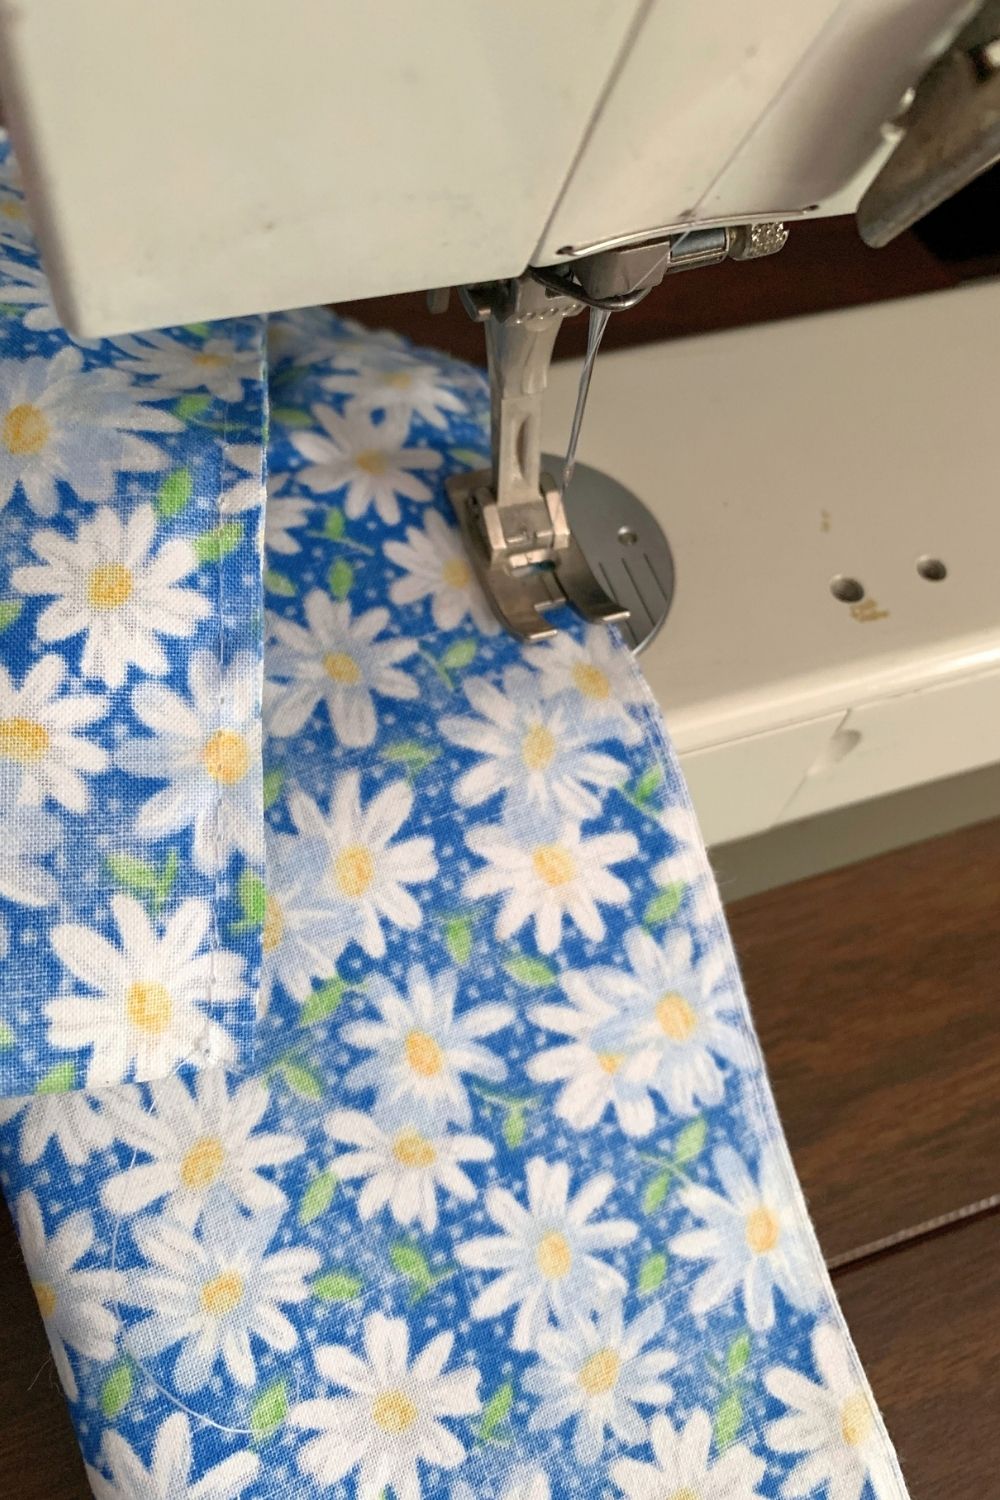
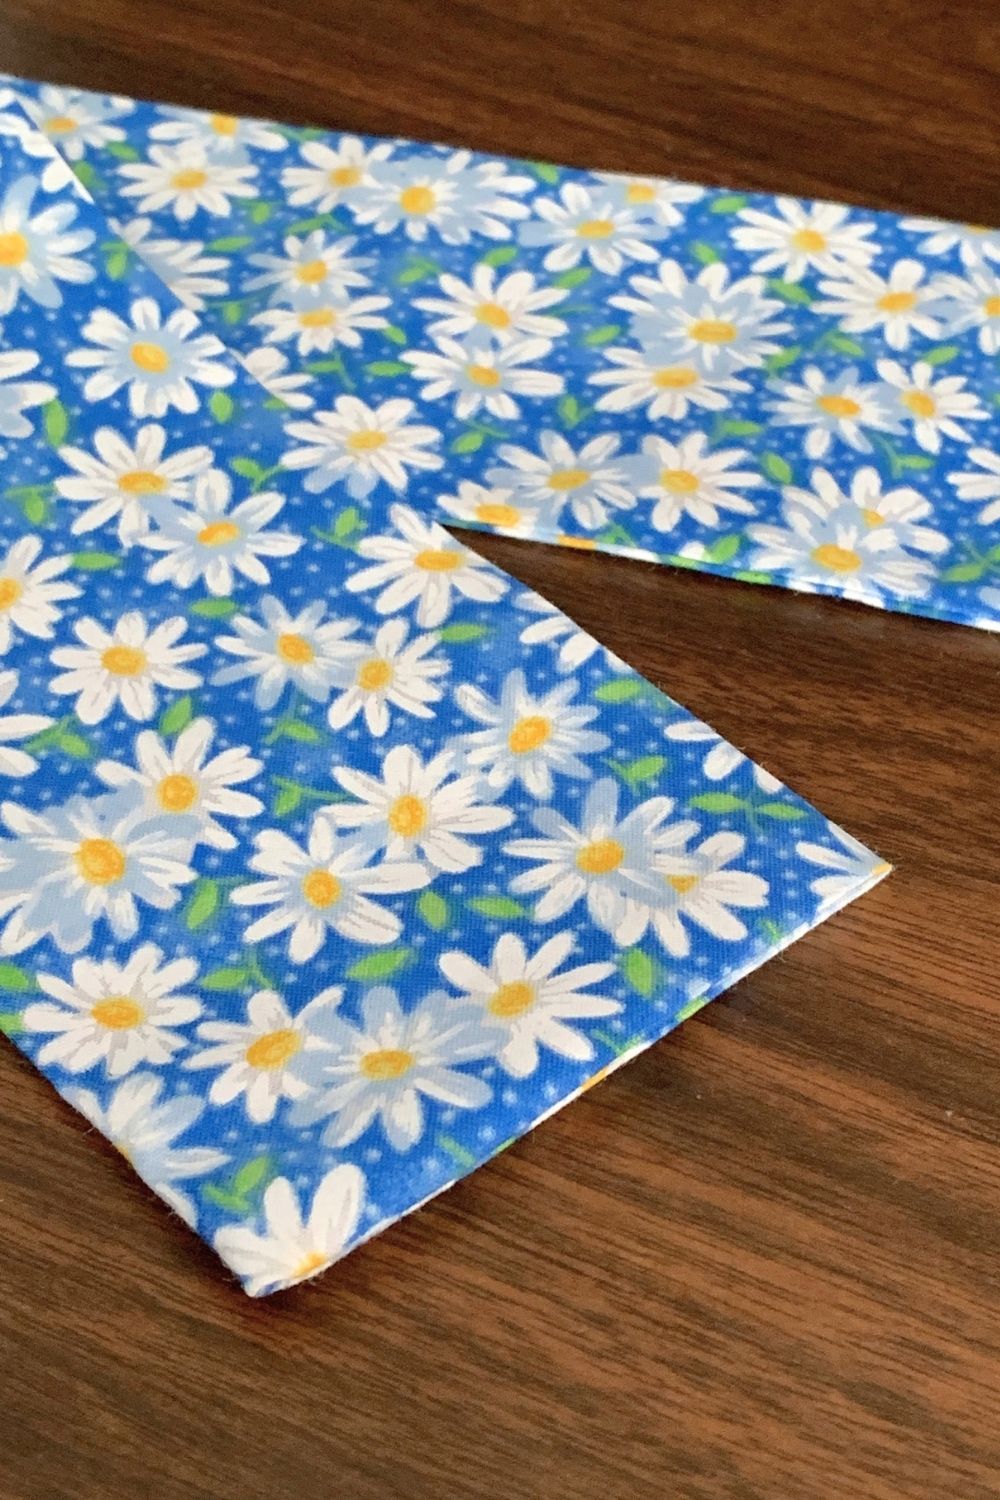
Fold the fabric in half the long way with right sides together. Sew the length of the fabric with a quarter-inch hem. You’ll have a long, skinny fabric tube.
2. Turn and iron.
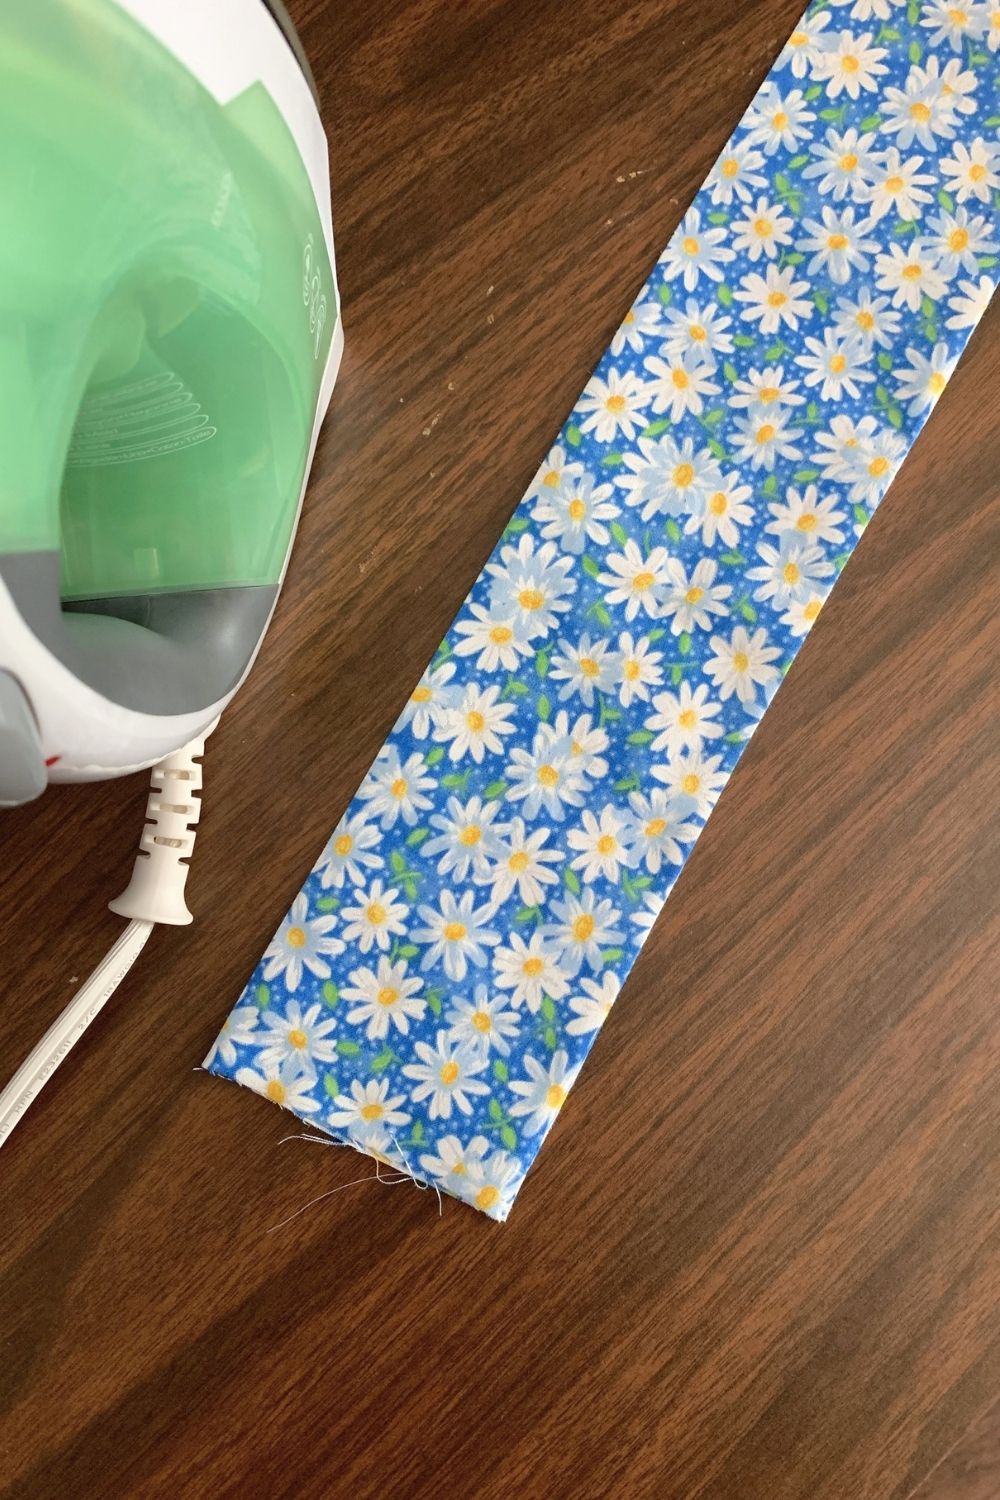
Turn the fabric right side out. Iron the fabric flat, keeping the hem straight and creasing the folded side. Turn one of the open ends in a quarter inch and iron that also.
3. Attach fabric to pillow.
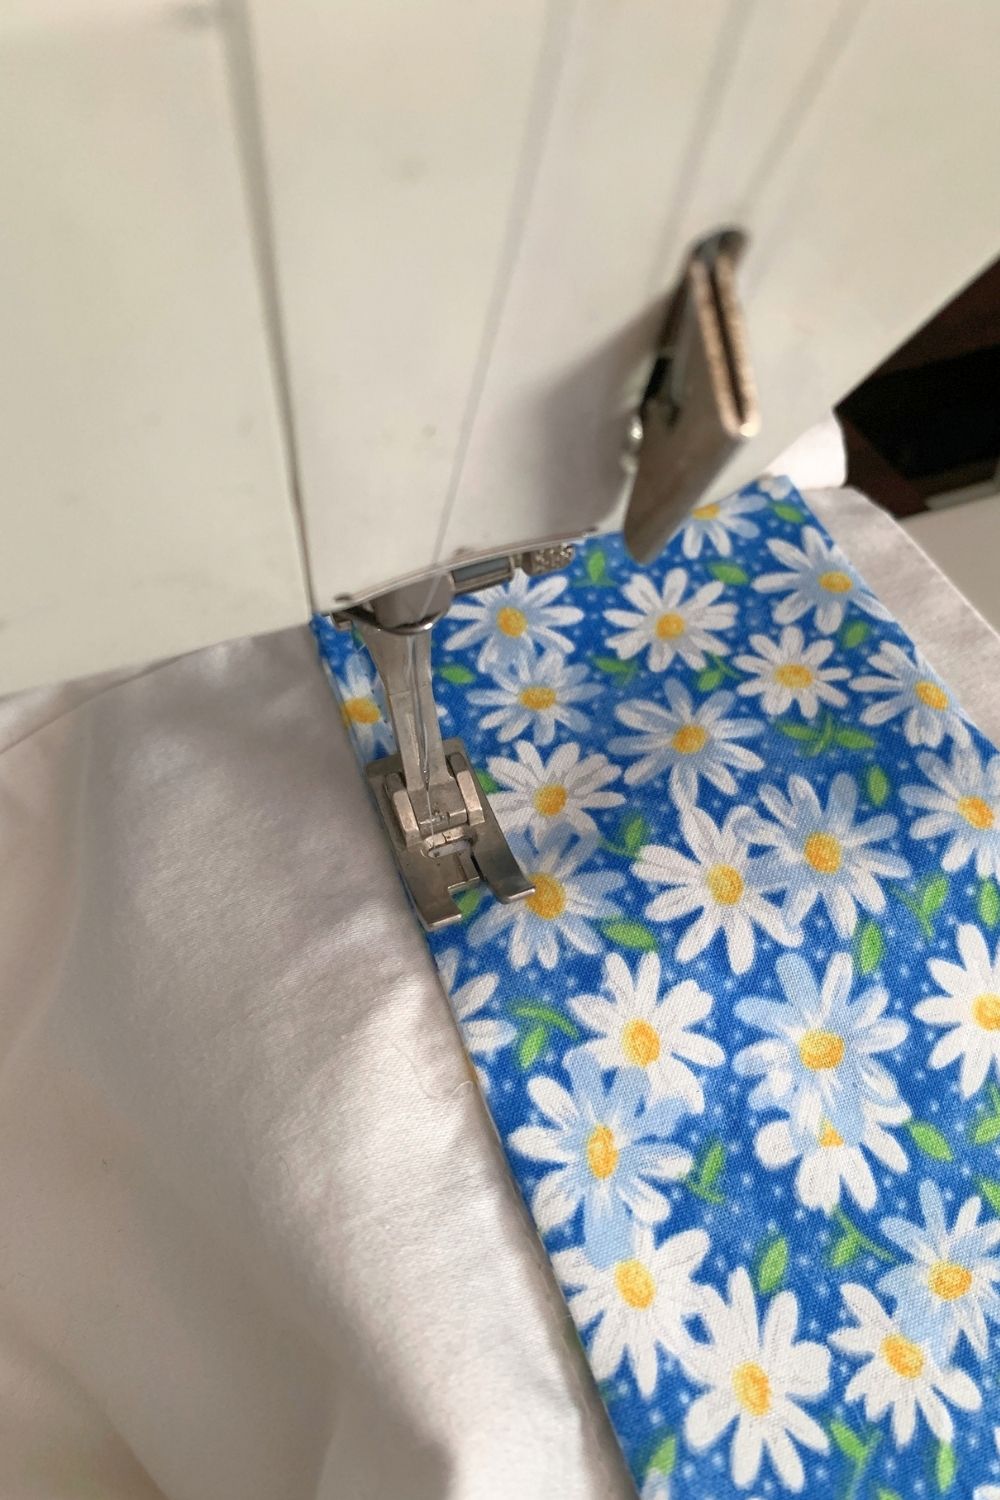
Line the fabric up with the pillowcase so that it does not quite cover the open end. I aligned my seam side with the existing seam of the pillowcase. Use a running stitch to sew it all the way around. Start with the folded edge, but leave the folded portion unattached for now.
4. Finish the ends.
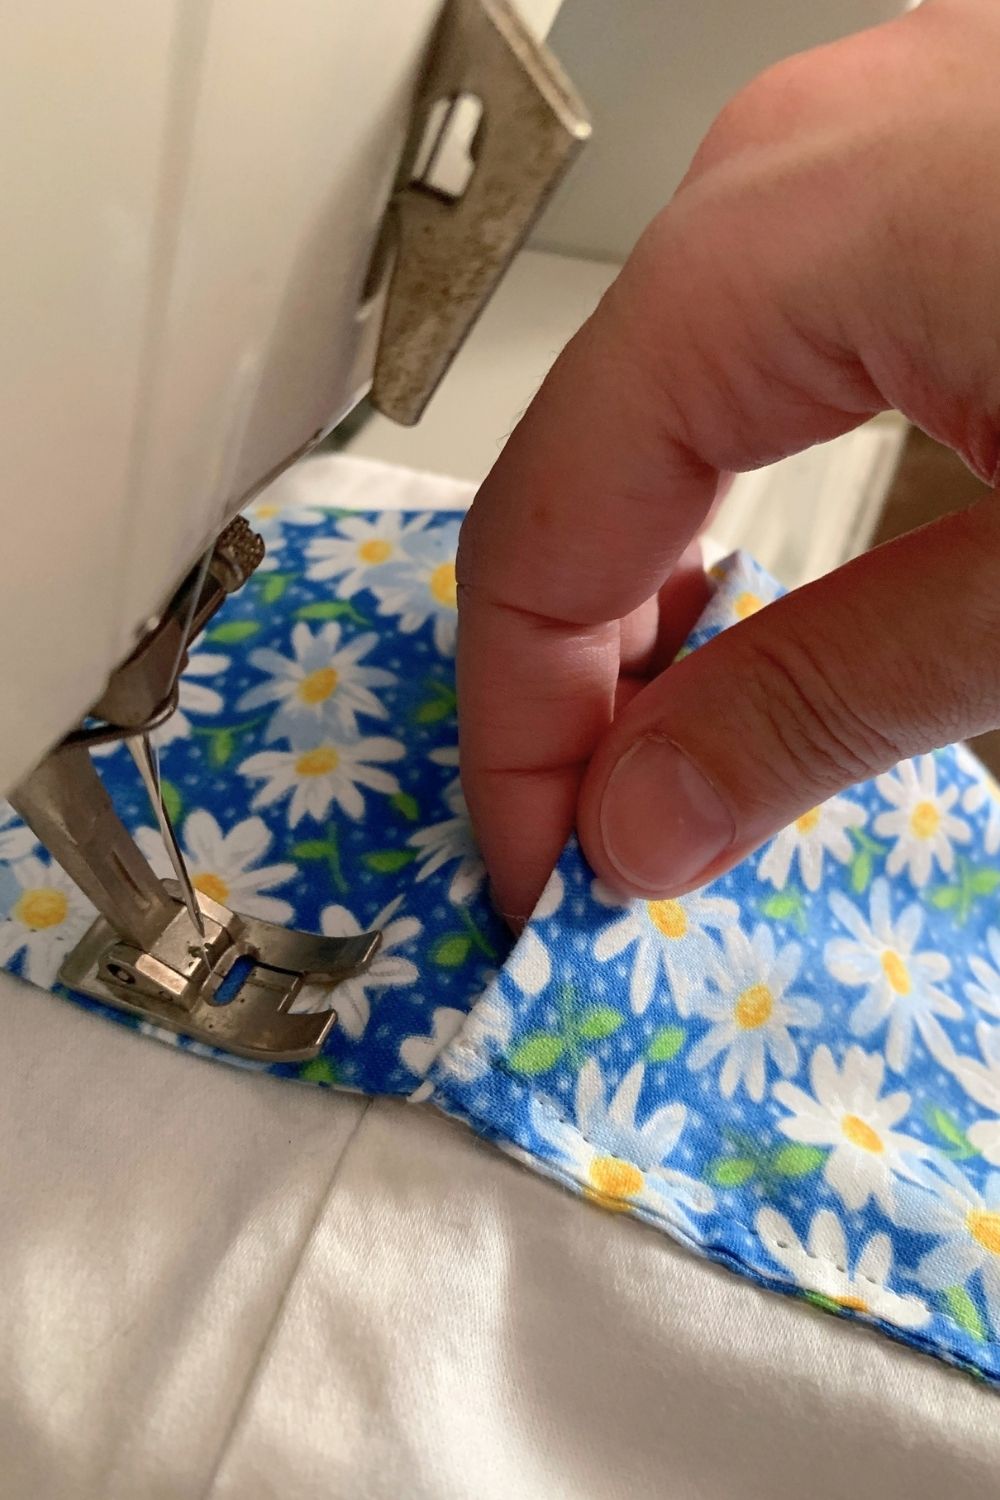
When you get to the end of the fabric, tuck the raw edge inside the folded edge. Smooth them together and finish sewing the fabric down.
Trim the threads, then stitch just the daisy fabric to itself to close the other seams.
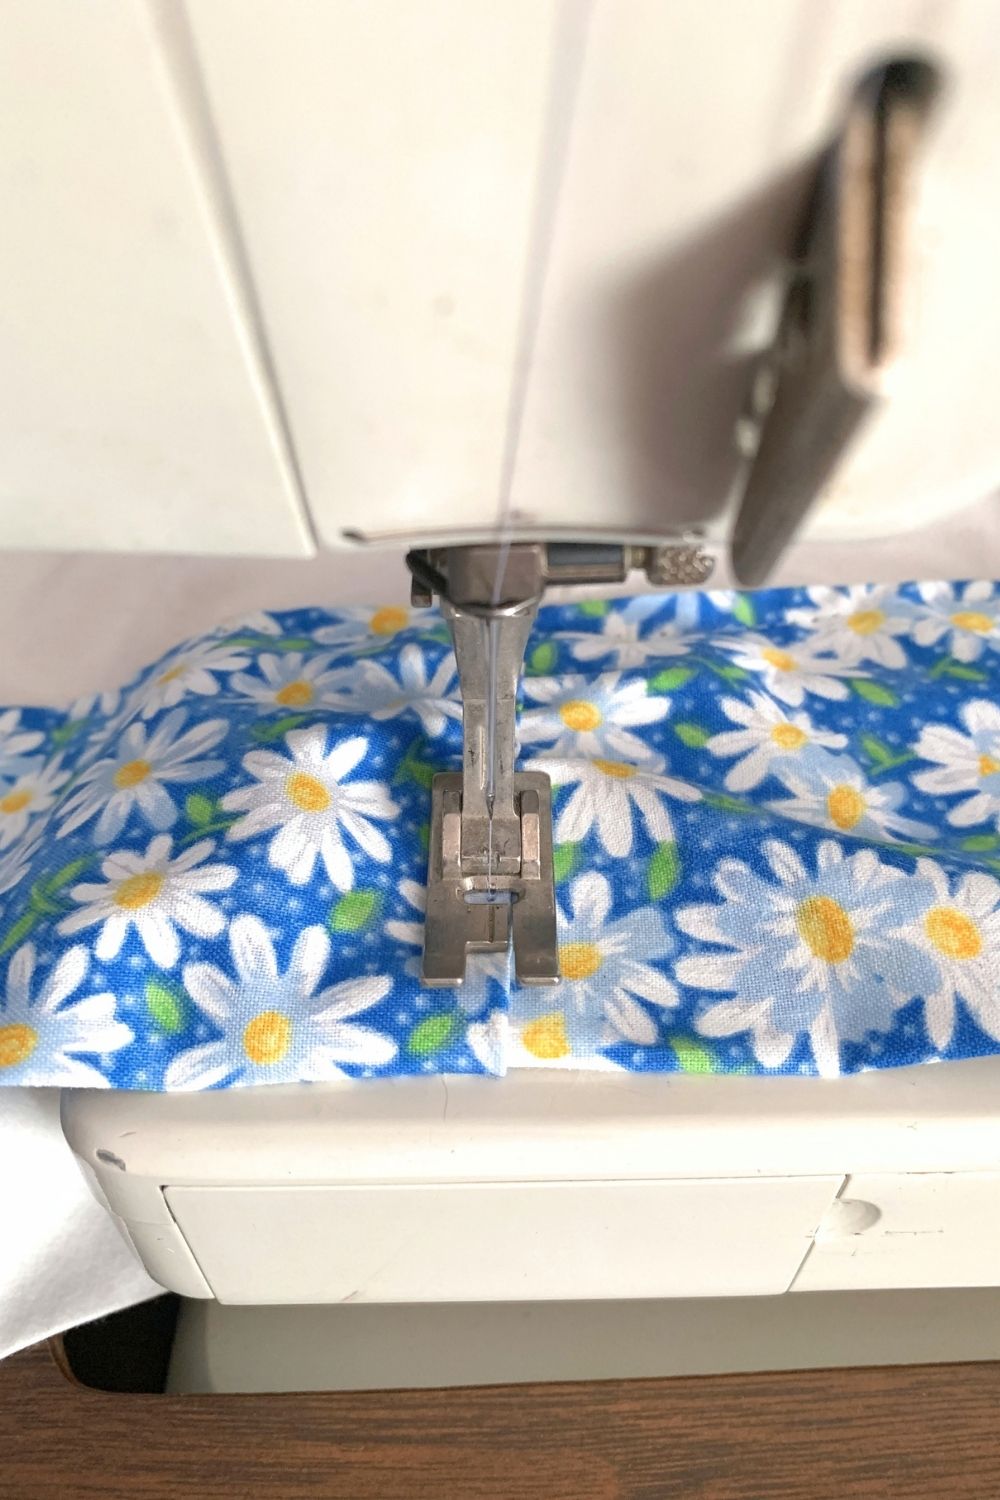
Trim any loose thread ends. You now have a pillowcase with a colorful strip of fabric on one end. The end of the pillowcase should be sticking out. Mine is about a half inch margin.
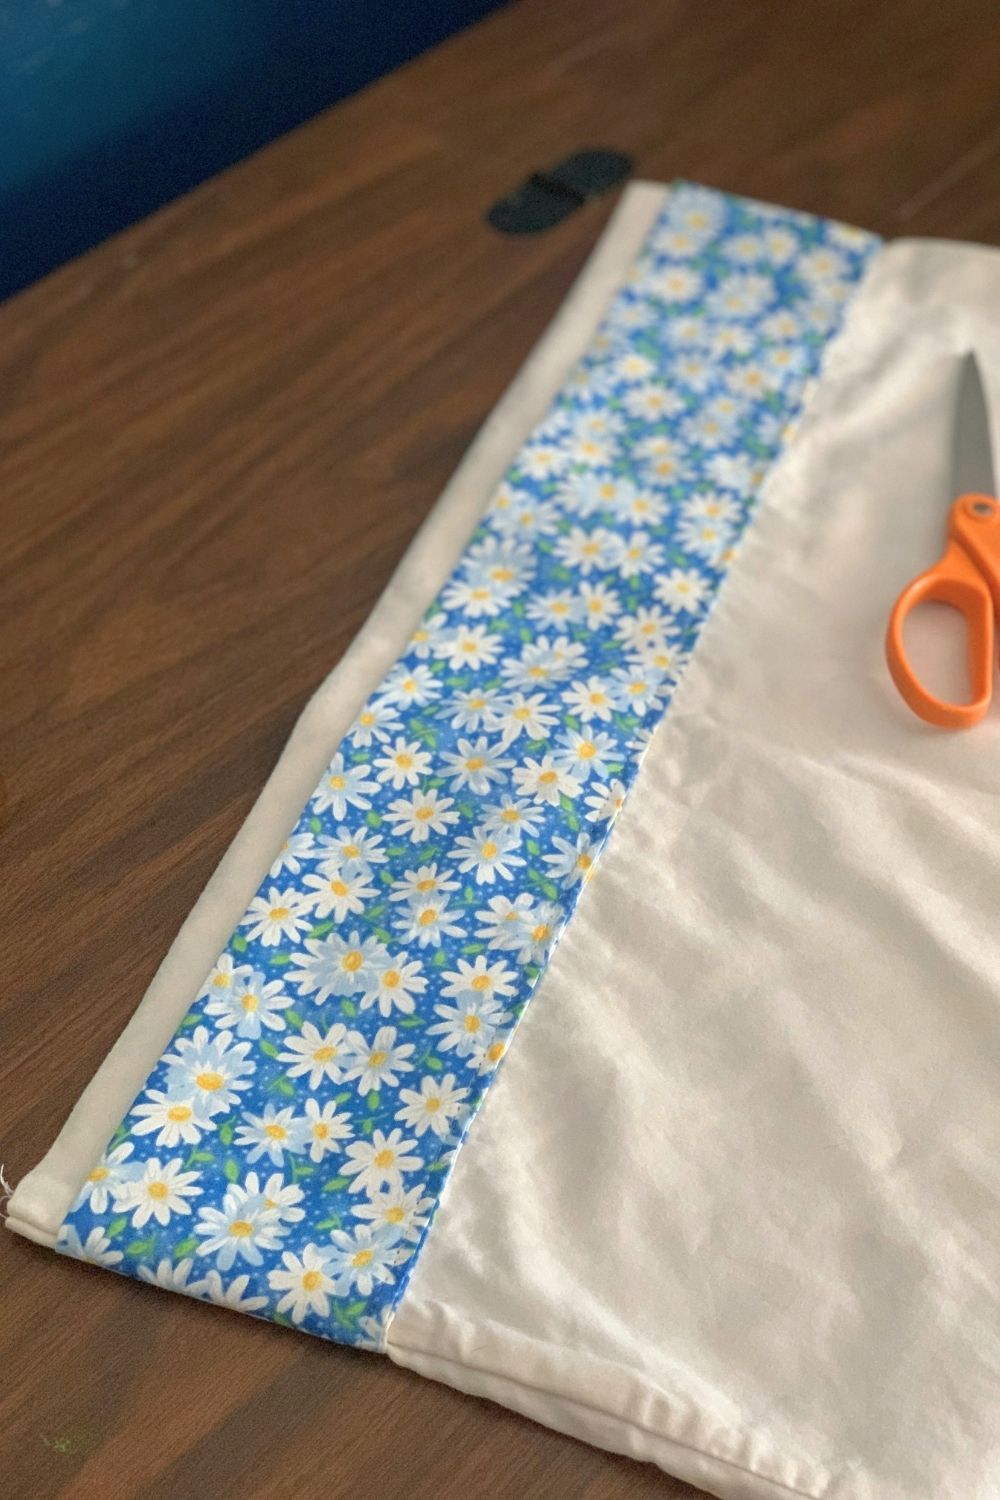
5. Add the rick rack.
Unroll the rick rack. You can measure and cut it to the size of your opening, but it’s easier to get it exact if you cut it at the end.
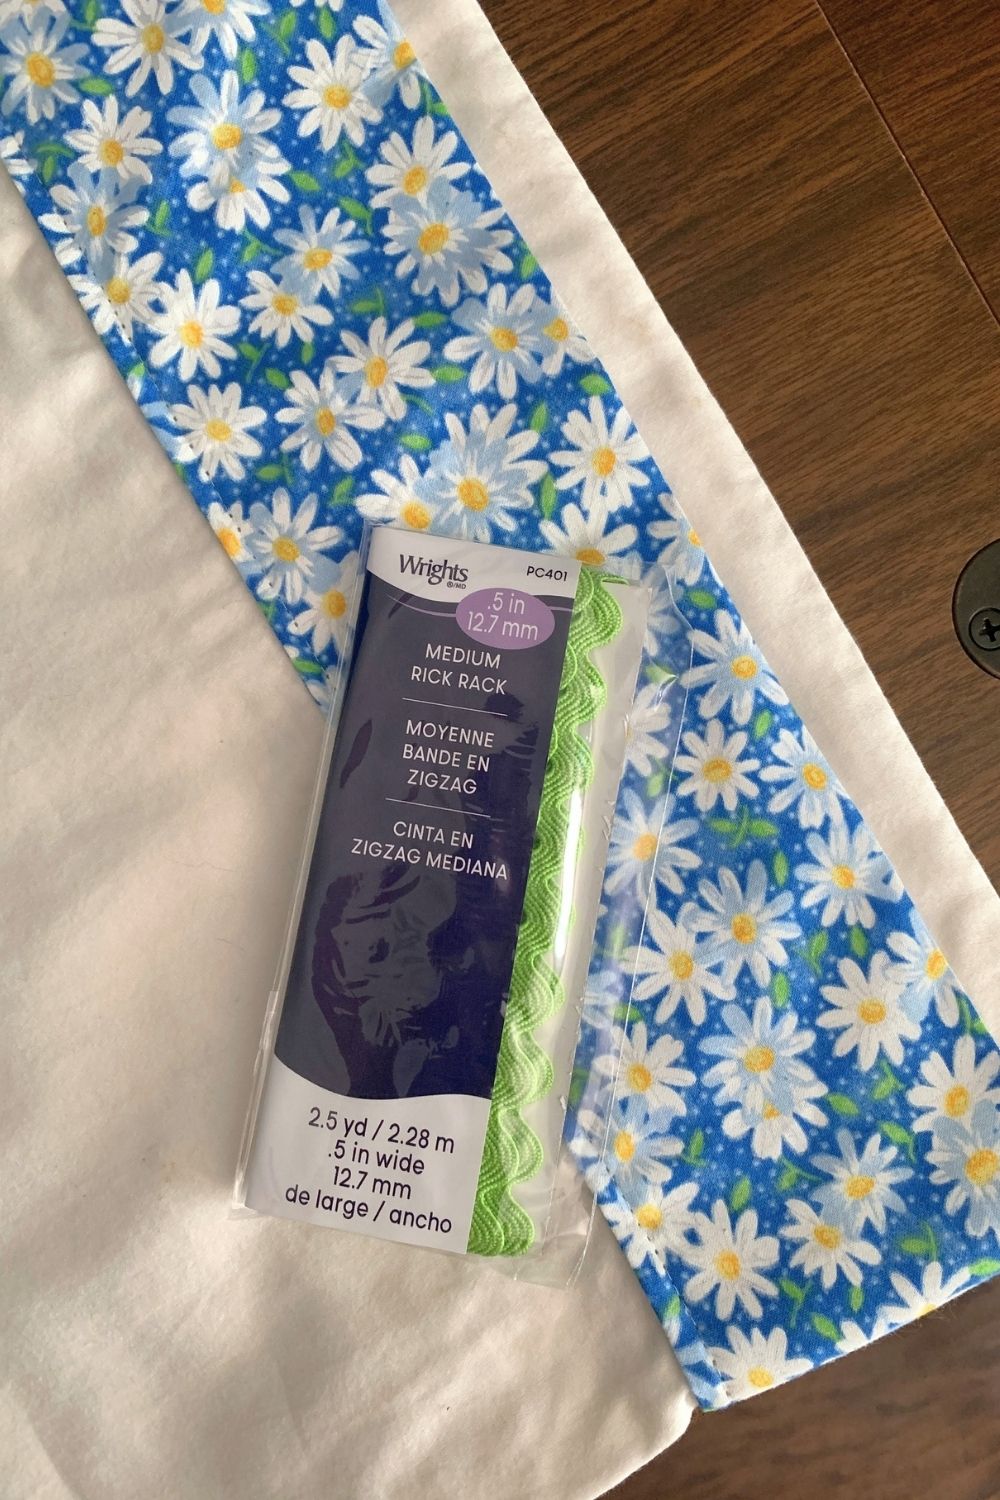
Line the rick rack up under the open end of the pillowcase. Sew the rick rack so that half is visible, creating a scalloped edge look. You’ll want to sew slowly with a small one-eighth inch hem so that the rick rack stays lined up just right.
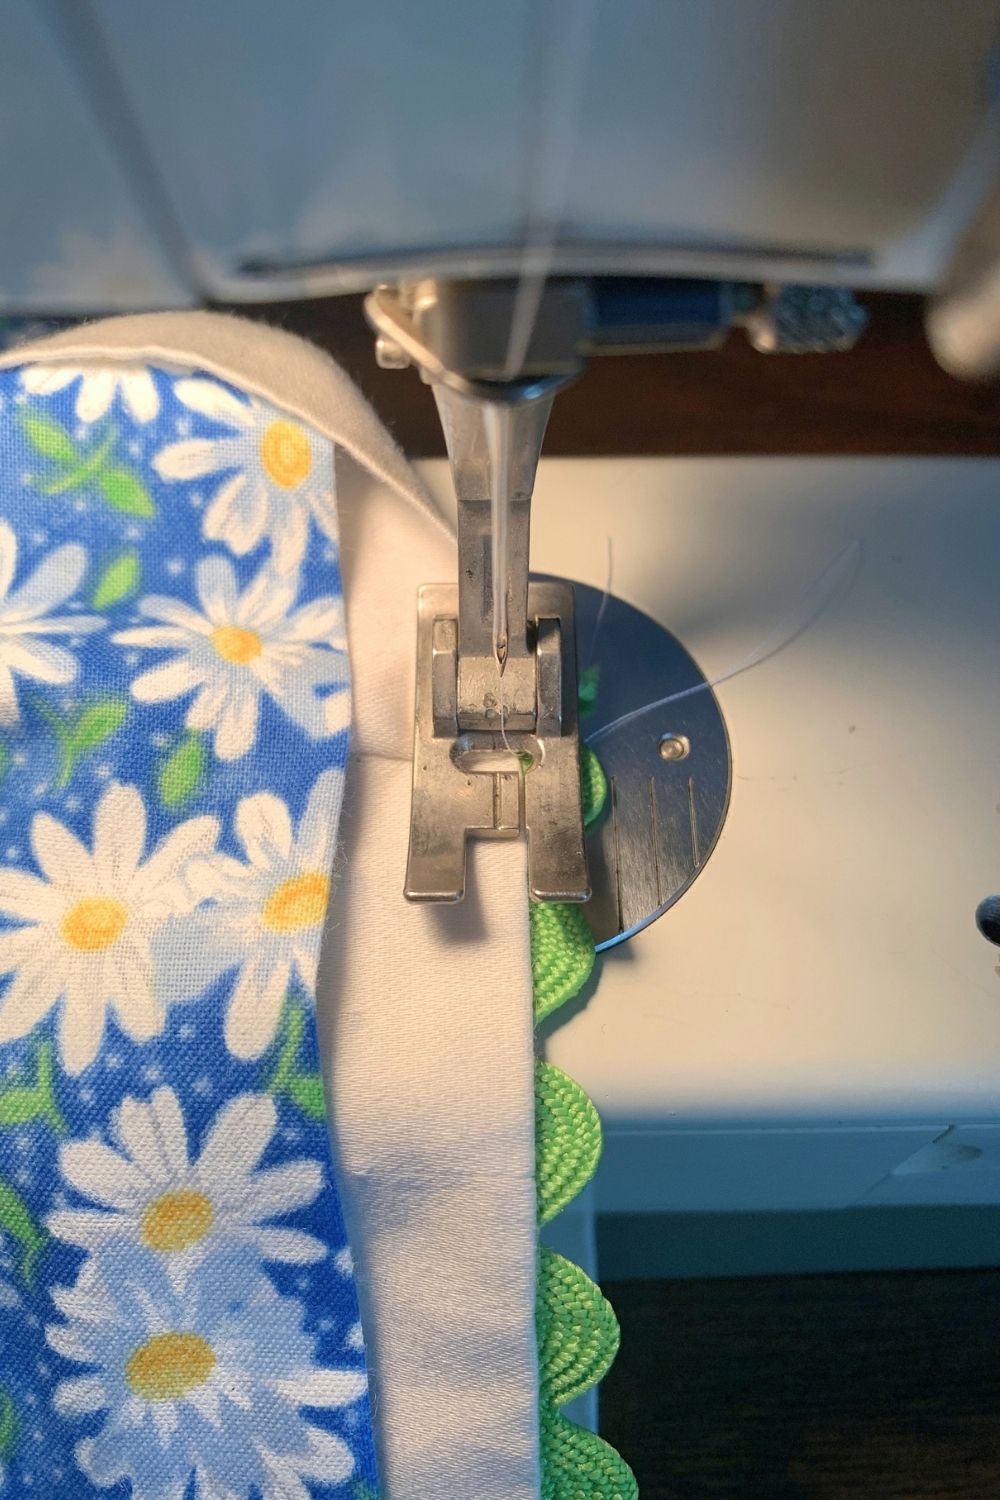
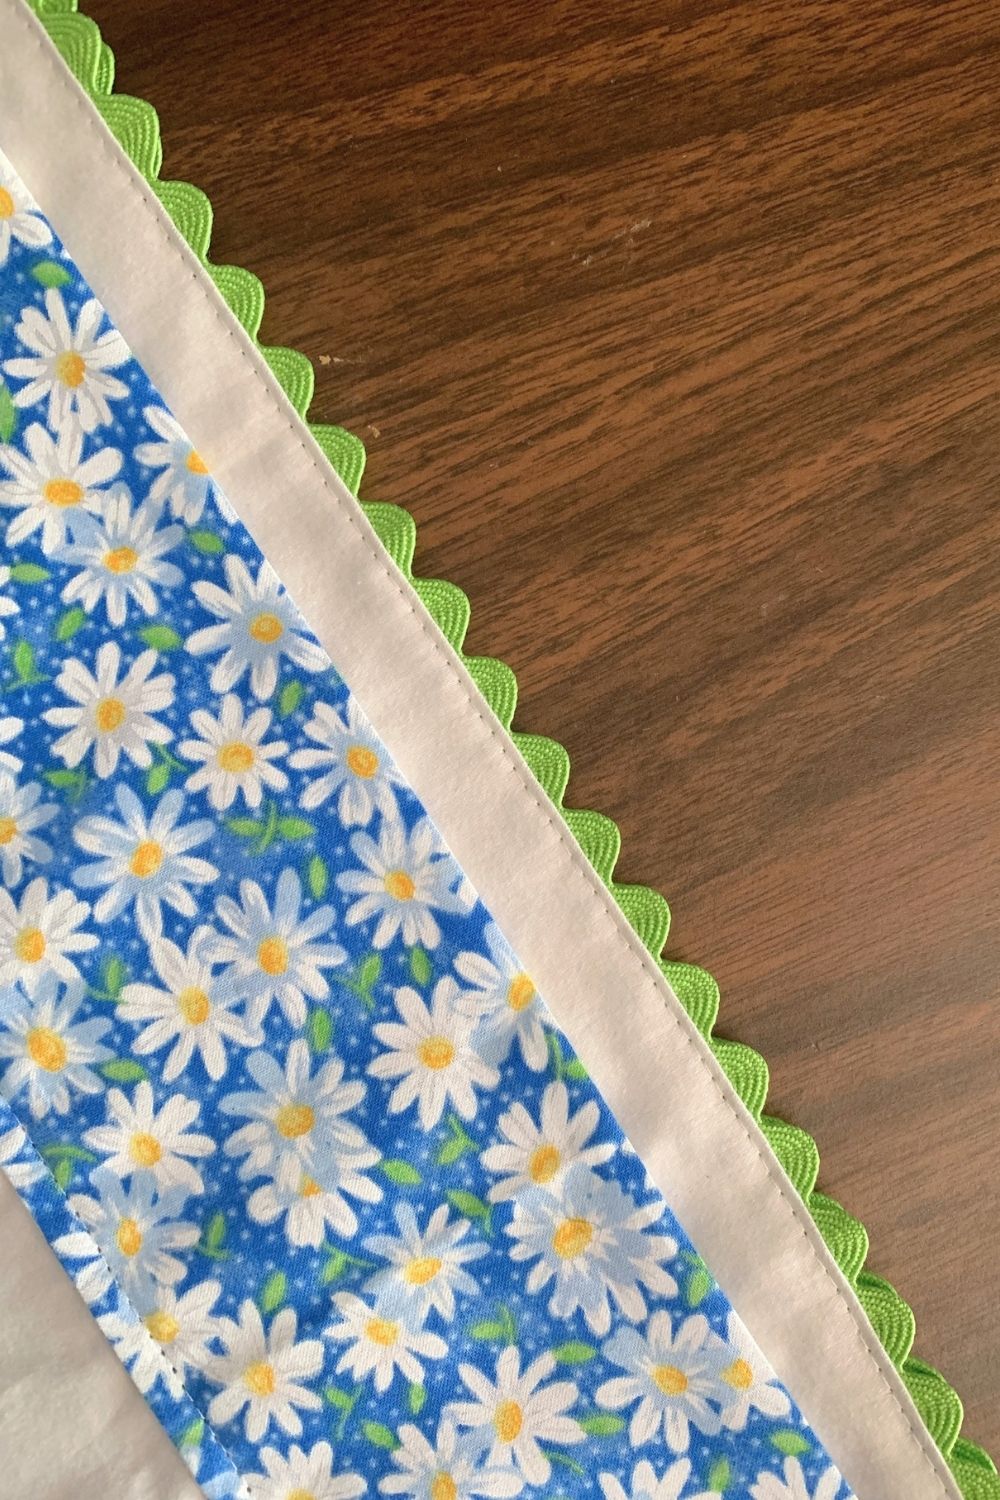
Trim any thread tails left and your pillowcase is done.
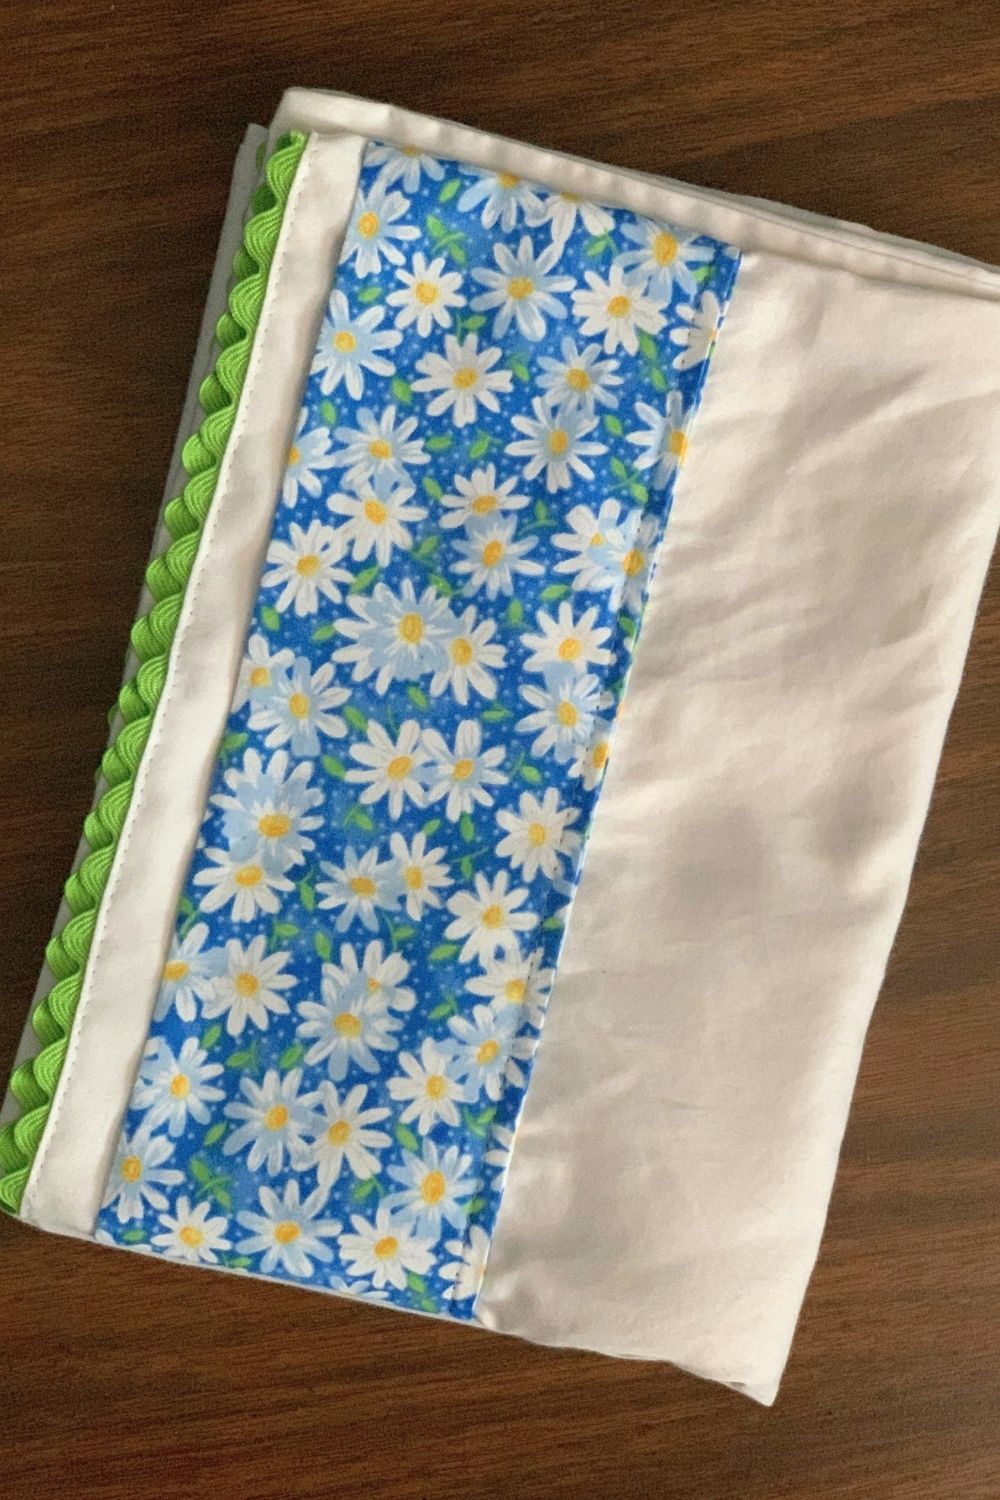
The double edge on this is open, but you could stitch down the other side of the daisy fabric too if you prefer.
The finished pillowcase is sturdy and washable. It adds a cute pop of color to simple bedding and is so easy to customize to fit your style!
What’s next? Try these other fun and creative ideas on One Mama’s Daily Drama:
Leave a Reply