
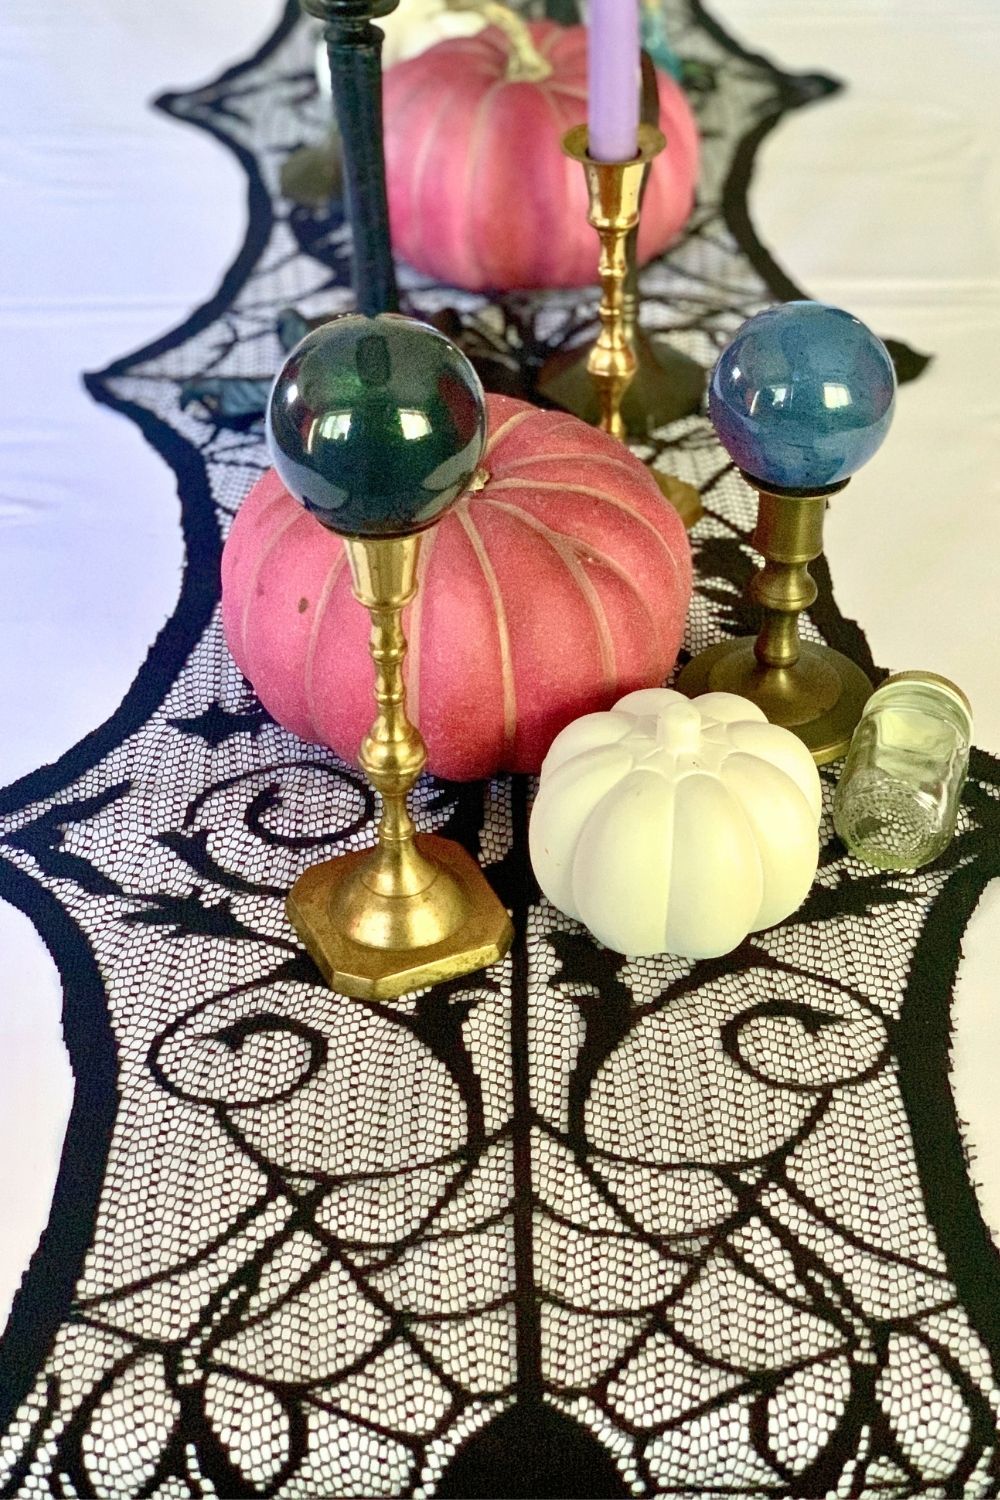
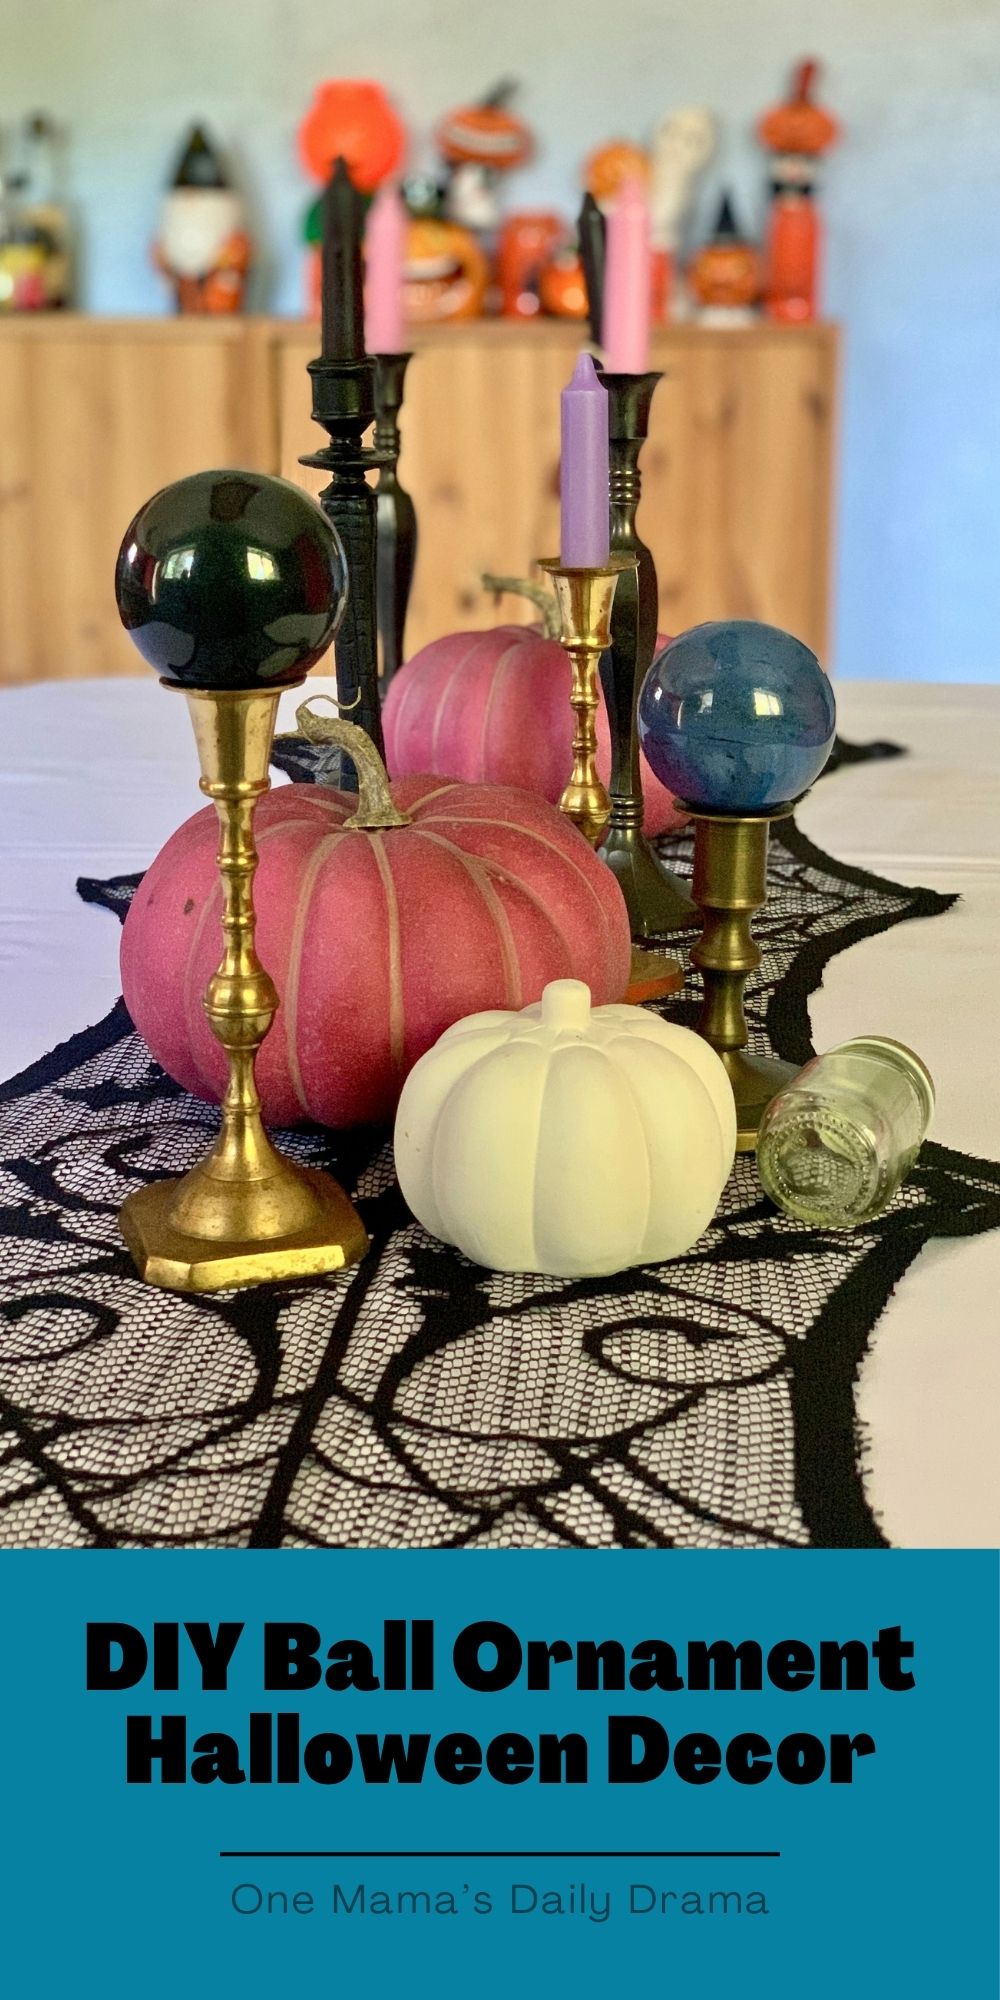
Turn a clear ornament into a spooky gazing ball or tabletop orb. Make this inexpensive DIY Halloween decor for your table or mantle.
Disclosure: This blog contains affiliate links. As an Amazon Associate and member of other affiliate programs, Keri Houchin earns a commission from qualifying purchases at no additional cost to you.
There are tons of things you can do with these clear plastic ornaments at Christmas. But they also make the spookiest Halloween decoration!
You can get these ornaments in plastic or glass at just about every craft store, plus Dollar Tree and anywhere else you can find Christmas crafts in October. They’re pretty inexpensive, just a dollar or so each.
If you don’t already have some old candlestick holders, I recommend checking thrift stores and antique shops. I’ve collected mine from various places over time and use them year-round. As an alternative, you could also set your orbs on top of a vase, bottle, or glass jar with a narrow opening.
How to make ball ornament Halloween decor
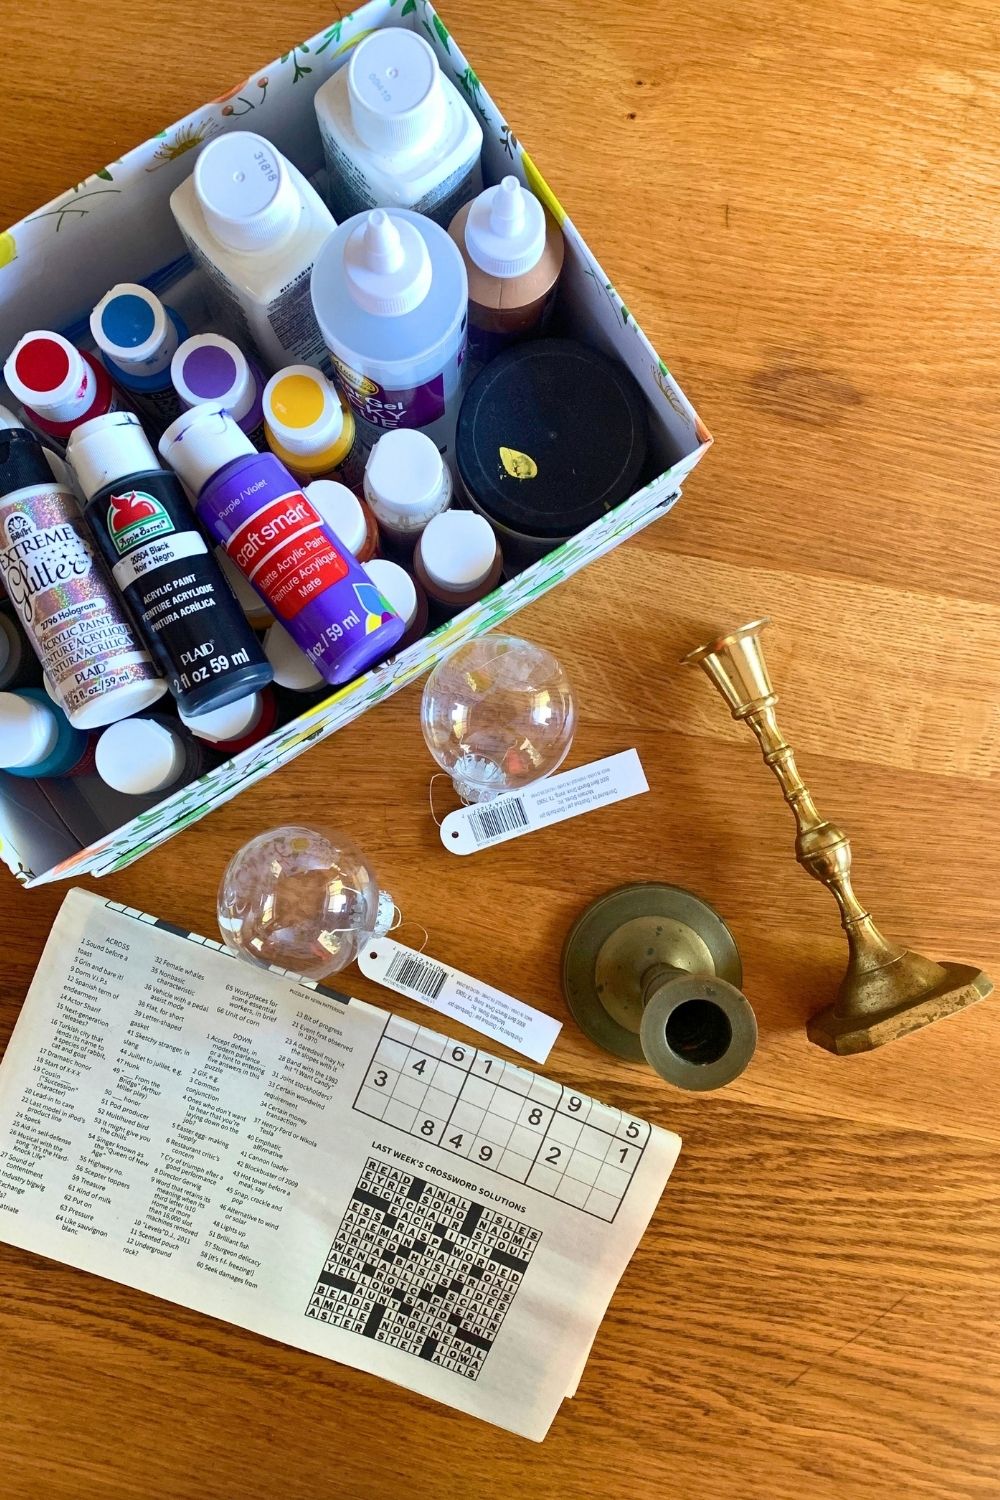
Supplies
- clear ball ornaments
- glitter paint
- craft paint in black, purple, blue, or colors to match your decor
- candlestick holders
- newspaper, to protect your workspace
- disposable cups, optional
Instructions
1. Mix the paint.
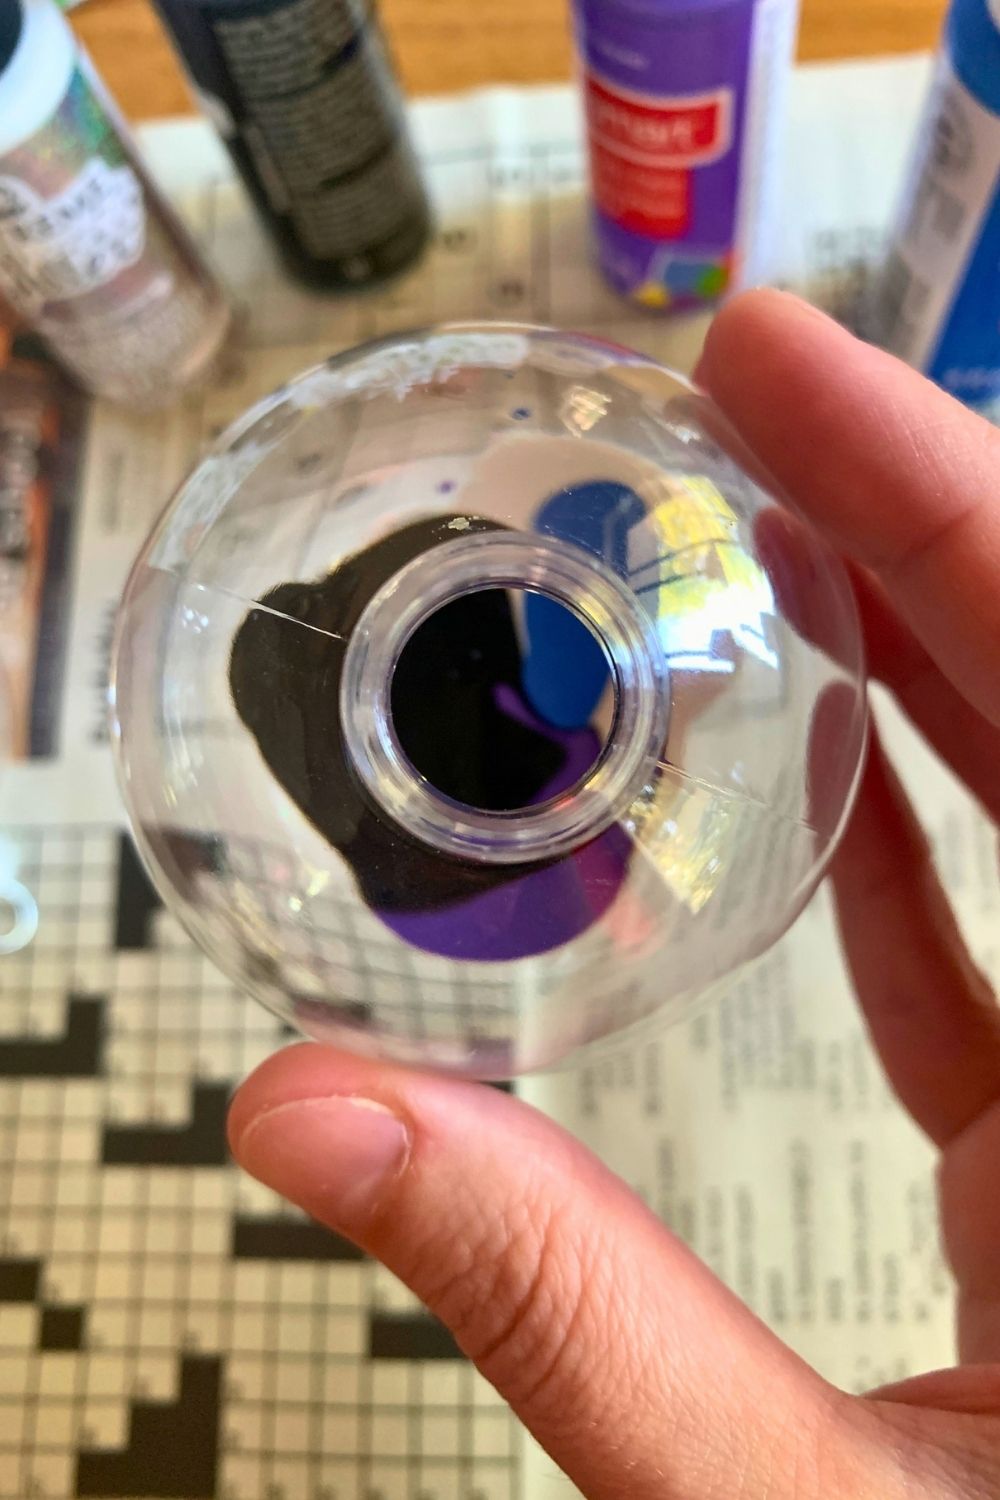
Start by choosing your paint colors. There are 2 ways to mix the paint, depending on how you want the finished orb to look. Pour a few drops of paint directly into the ornament and swirl for a marbled orb. Or mix the paint in a disposable cup and pour it into the ornament for a uniform color.
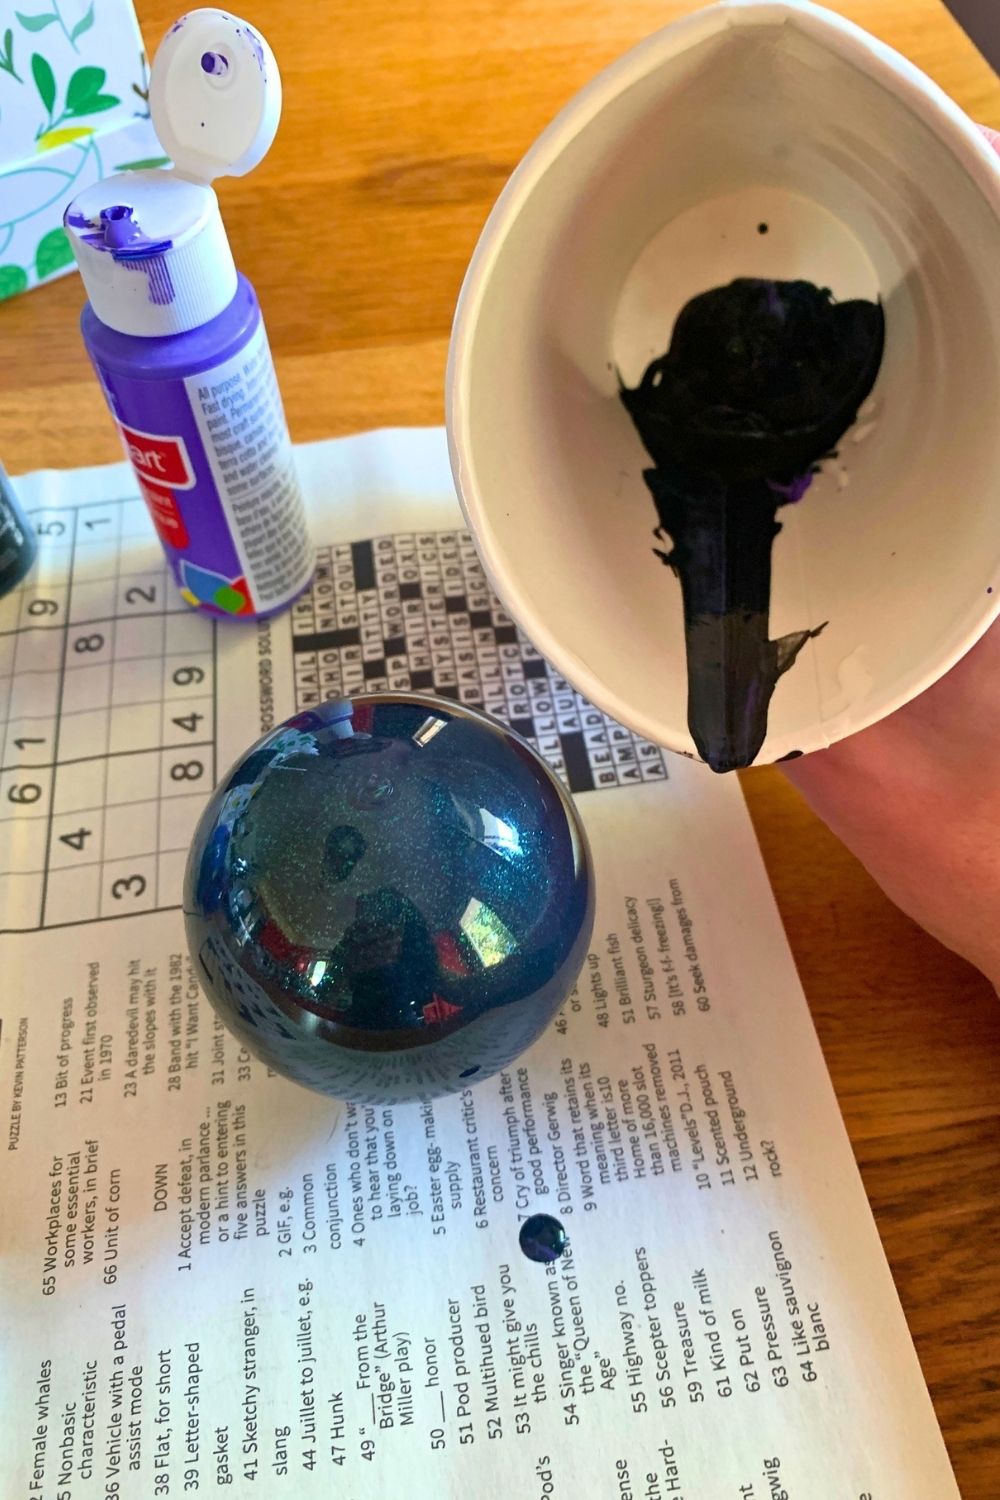
2. Drip and drain.
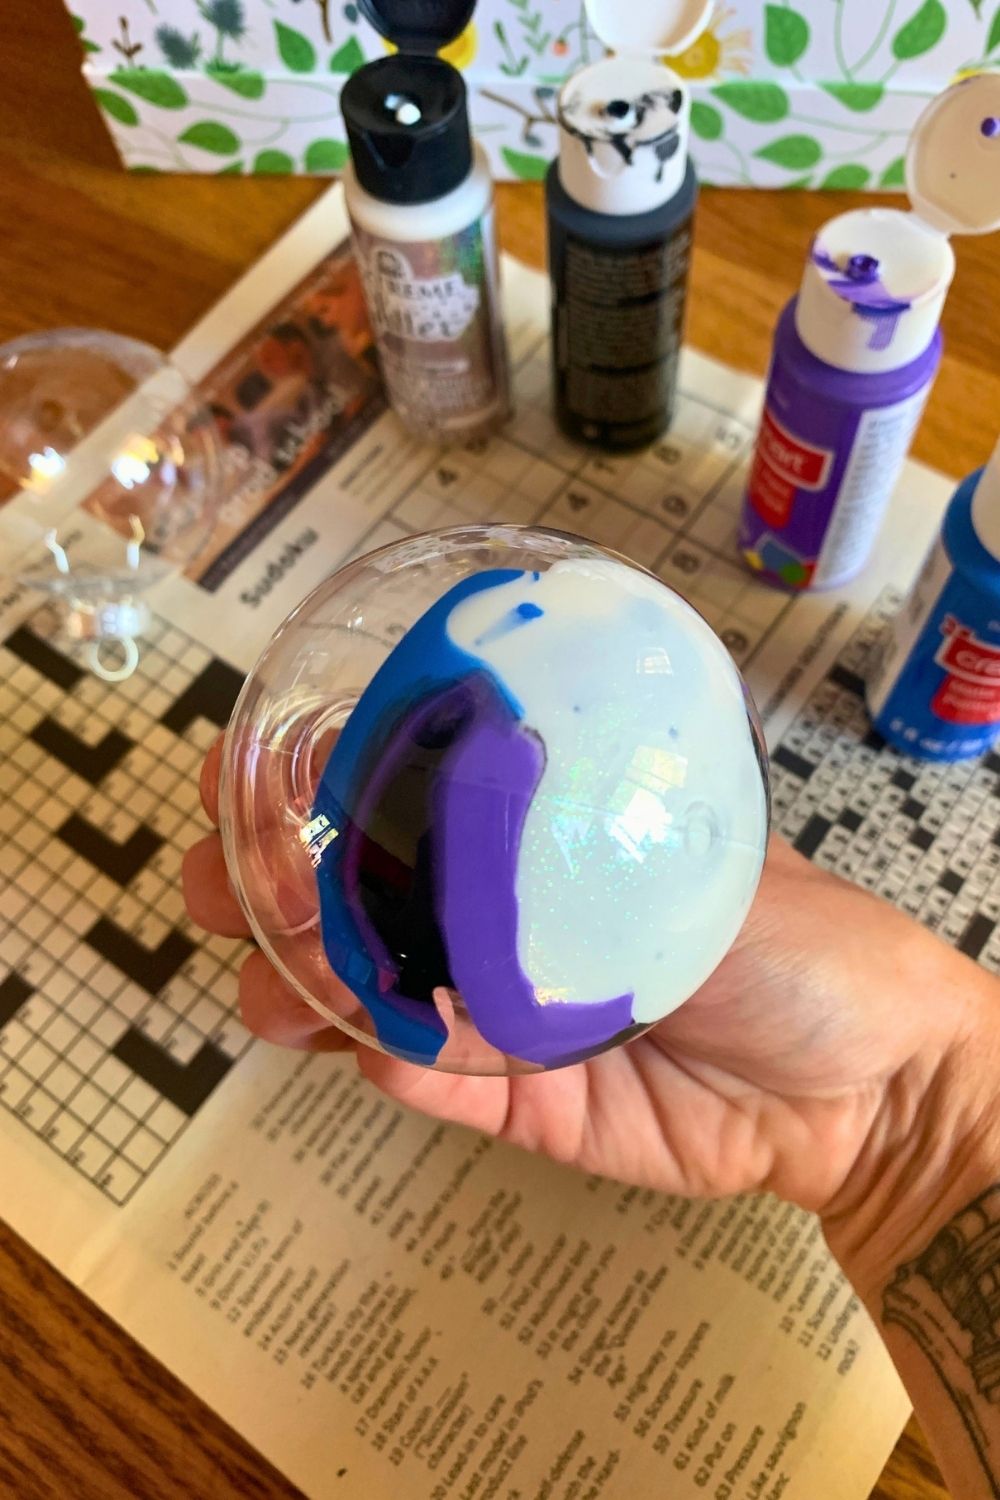
Swirl the paint around the inside of the ornament to coat the sides. Depending on how thick your paint is, this might take a few minutes. Once the paint has coated most of the inside, turn the ornament upside-down over the newspaper to drain.
You’ll probably need to pick up the ornament and move it a few times so the paint doesn’t puddle. If you have smaller disposable cups that would hold the ornament up, you could leave it to drip into the cup and then toss it.
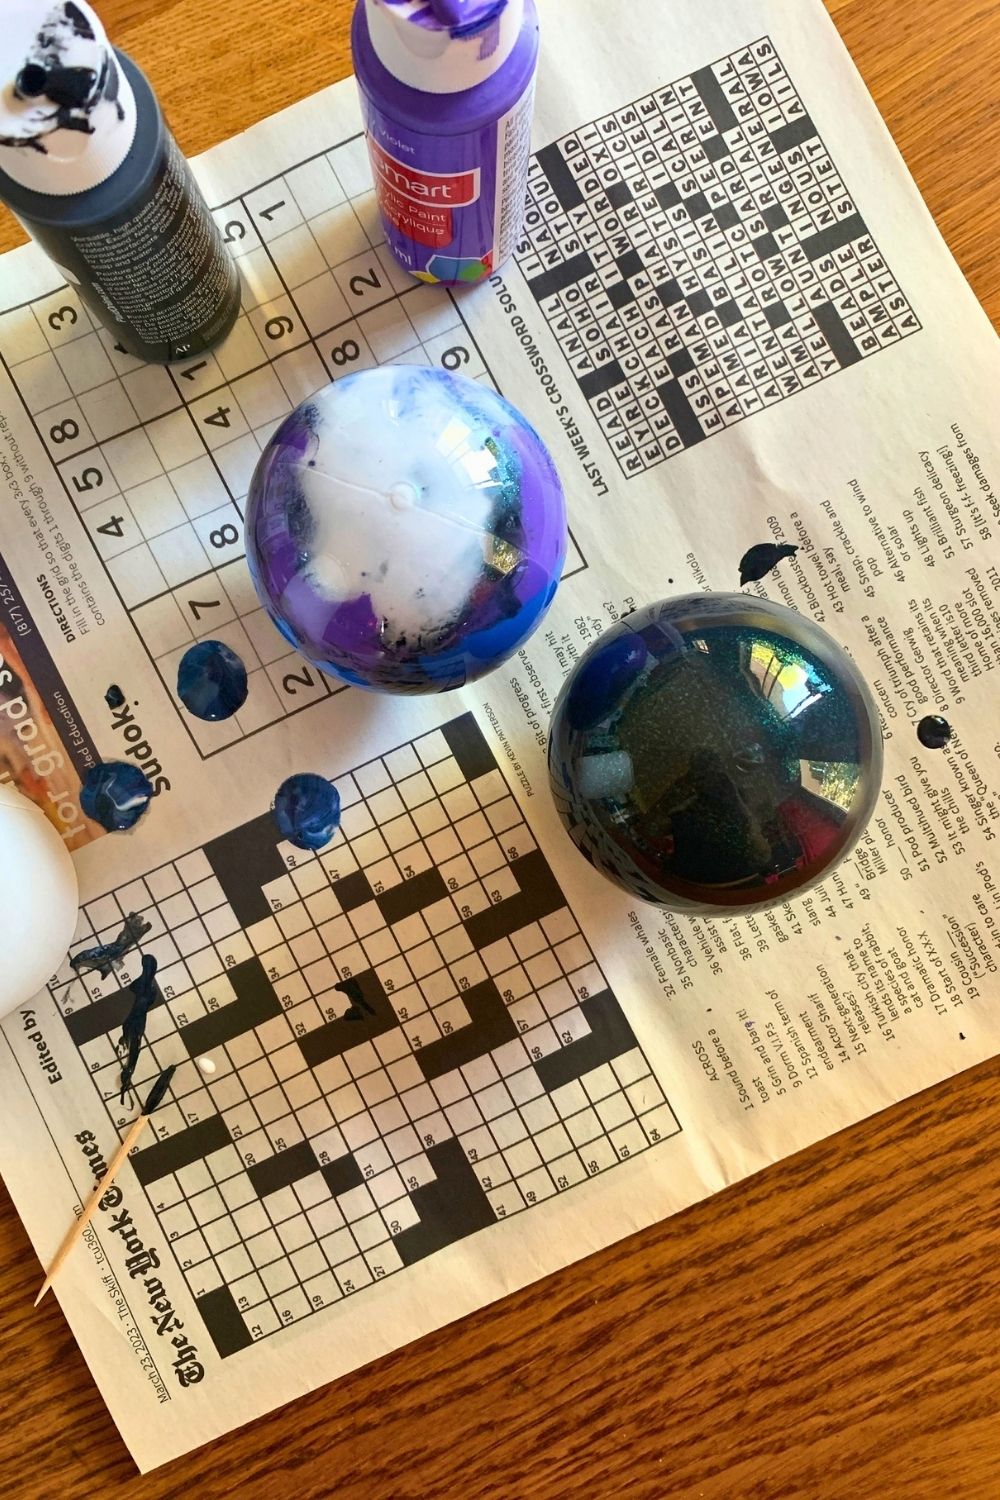
3. Allow to dry.
When the paint is no longer running out the end, turn the ornament back up and set it somewhere to dry completely. Depending on your paint, this might take an hour or more. Just to be sure they were totally dry, I let mine rest overnight.
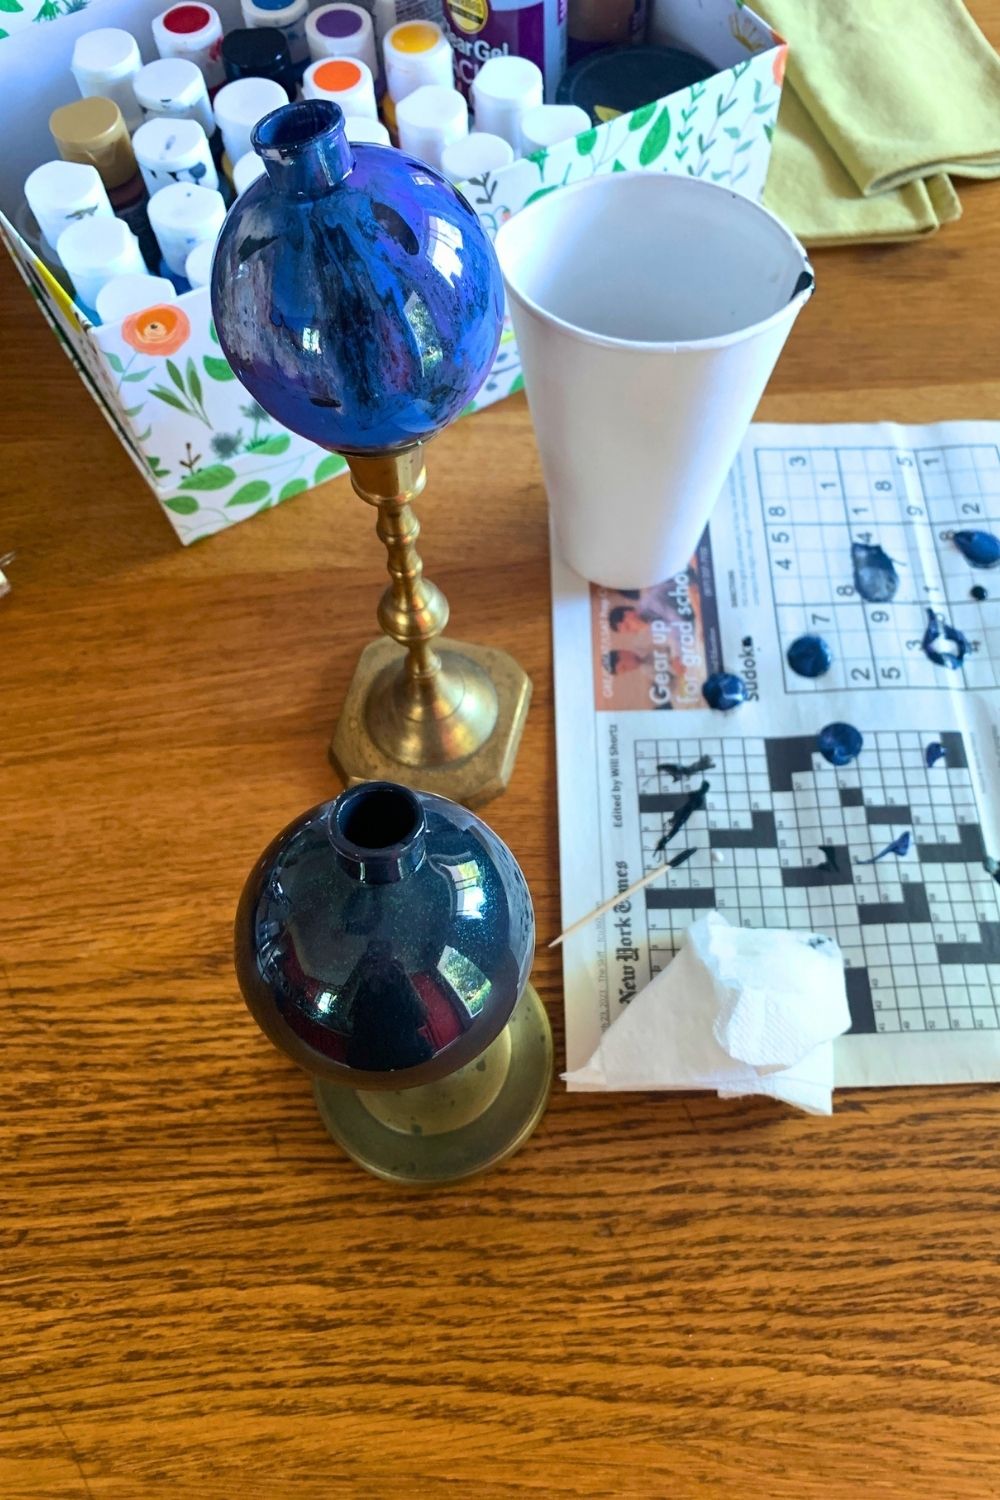
4. Assemble the orb.
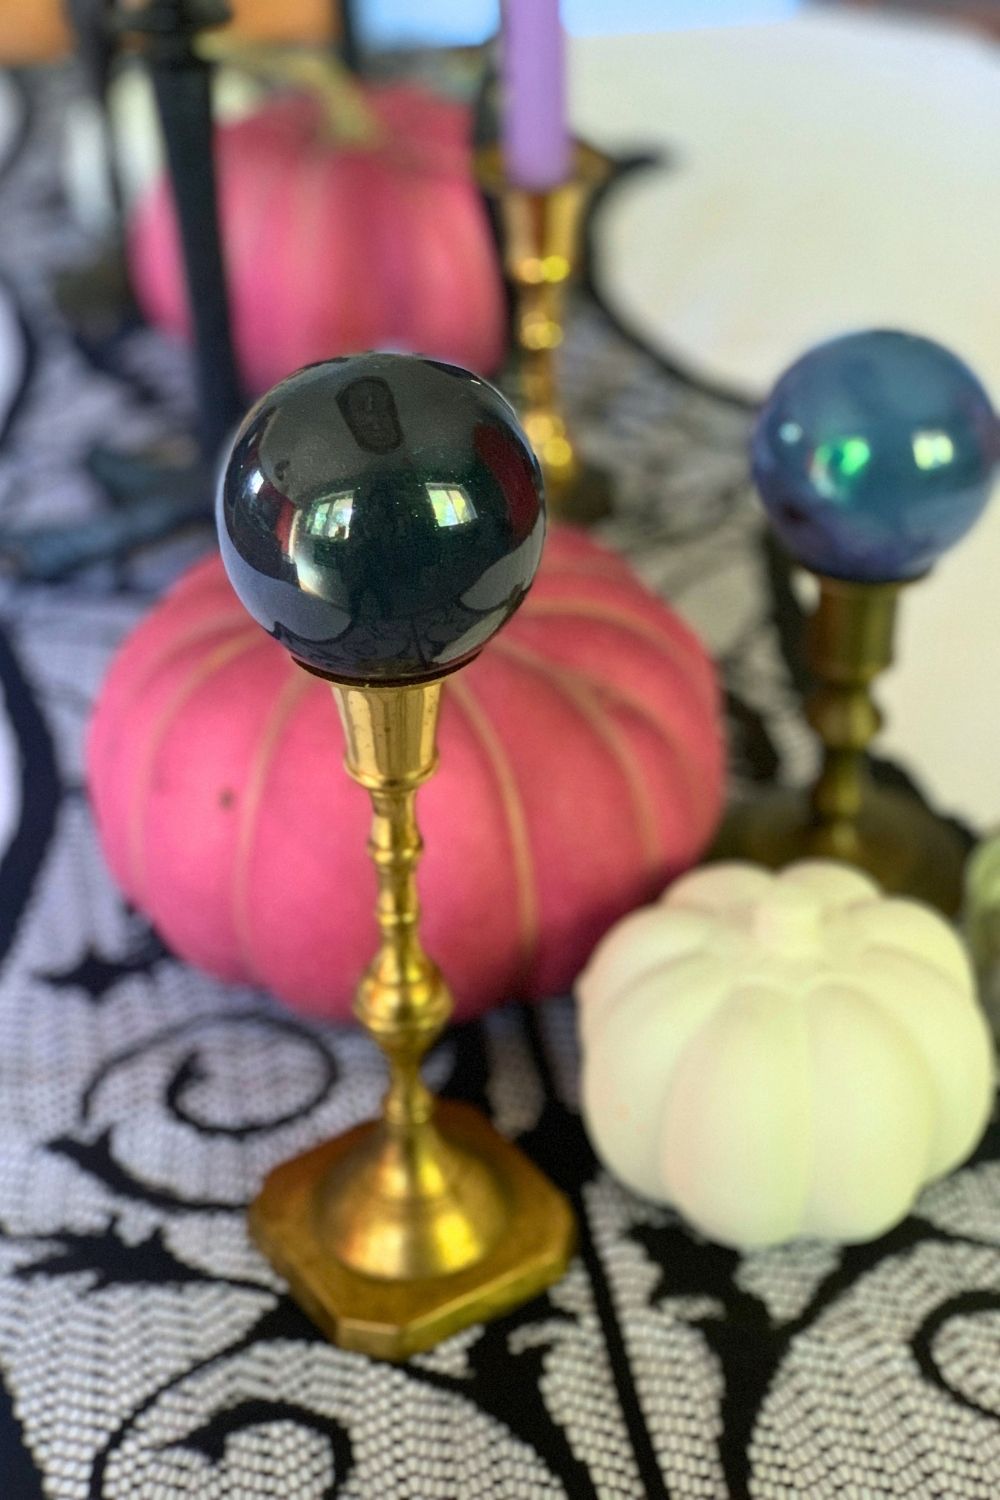
To display the painted orb, set it inside the stem of a candlestick holder.
I put the cap back on my ornaments, but you can leave it off if necessary to fit.
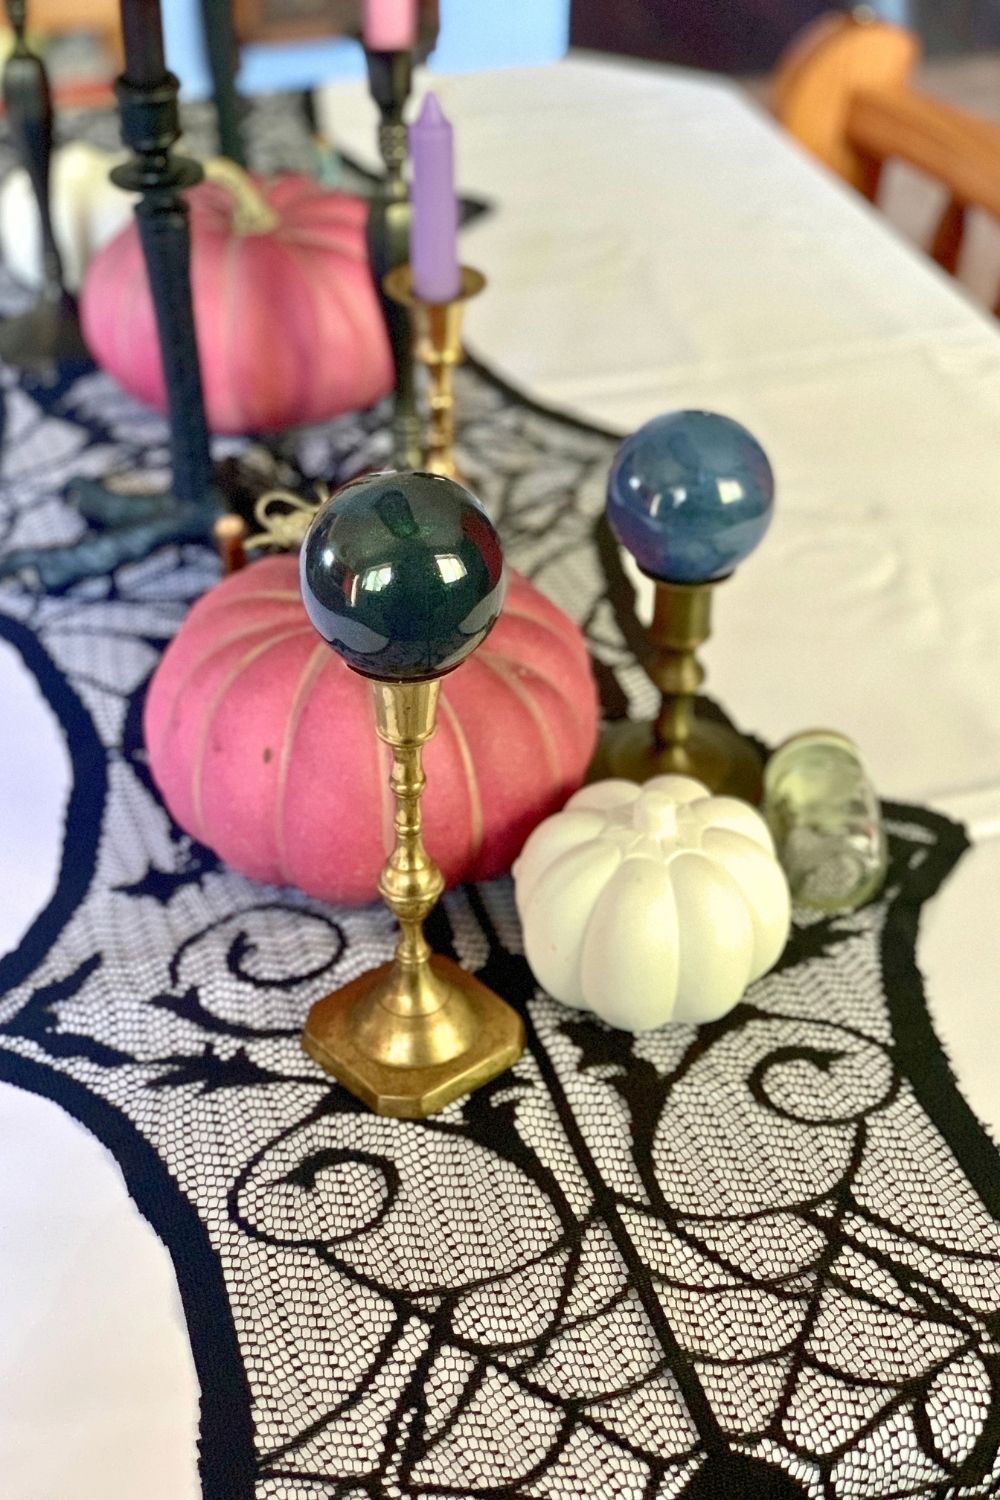
Display your tabletop orbs along with candles, pumpkins, potion bottles, and other Halloween decorations.
What’s next? Try these other fun and creative ideas on One Mama’s Daily Drama:
Leave a Reply