
Make a simple paper heart chain with your kids for a fun and festive craft to decorate for Valentine’s Day.

Disclosure: This blog contains affiliate links. As an Amazon Associate and member of other affiliate programs, Keri Houchin earns a commission from qualifying purchases at no additional cost to you.
I originally made this craft with my kids way back in 2015. I completely remade the paper heart chain in 2024 to make it prettier, improve the photos, and add more tips.
You can make a single chain of hearts or several to hang in doorways and windows. Use it as a garland on your mantle. Or turn it into a learning challenge!
- Create a color pattern
- Count how many hearts you made
- Make the paper chain a certain length
My kids were 8 and 11 when we first made this. They worked together to see how long they could make the chain. It ended up nearly ten feet long and I think they would’ve kept going if I’d given them more paper.

Paper craft tips
When you’re crafting with little kids, a few shortcuts can make it so much more fun!
- For very young kids, prep the supplies while the kids are doing something else. That way when you sit down to craft, they have something to do right away.
- Use a paper trimmer or a rotary cutter and ruler to cut lots of strips of paper fast.
- Glue dots or other quick adhesives are a must when you don’t want to wait and hold ends together while the glue dries.

How to make a paper heart chain
This craft is pretty simple, so there are lots of ways to customize it: colors, sizes, length, or adding other elements like glitter or stickers (like this dollar store garland).
Supplies
- pink craft paper – I used 2 pages of 8.5×11-inch card stock for a 5-foot chain.
- scissors or paper trimmer
- glue or adhesive roller
- single hole punch – This one is easy to use and gentle on hands!
- pink ribbon (This isn’t the one I used, but it’s similar.)

Instructions
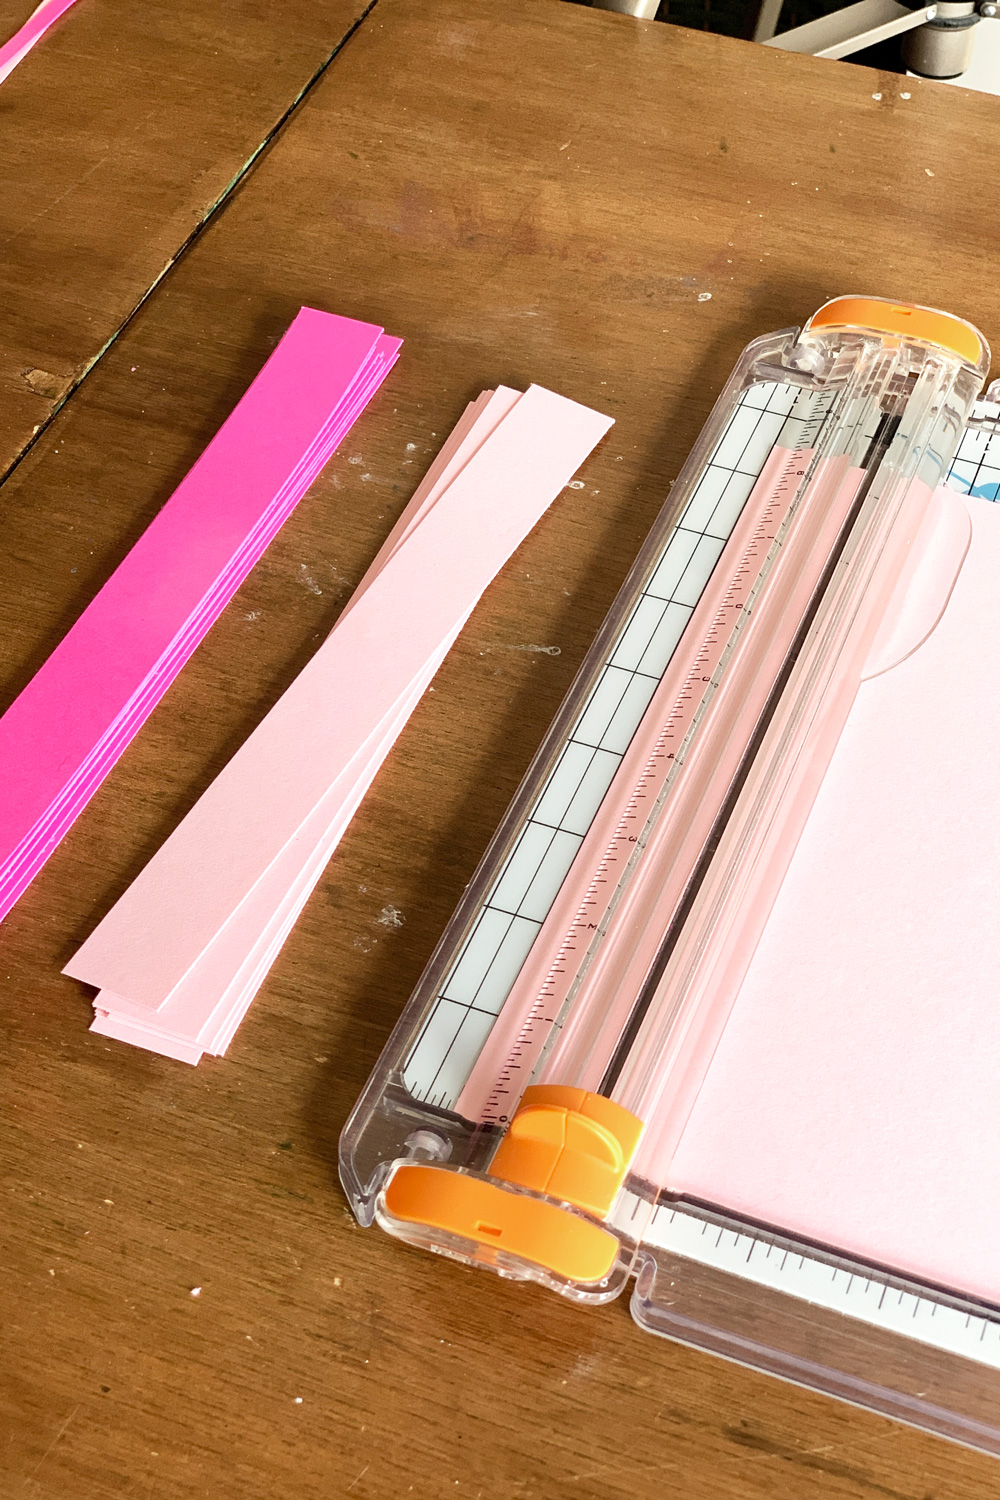
1. Cut the paper into strips.
Cut the paper width-wide into one-inch strips. For each piece of card stock, you’ll have 11 pieces that measure 8.5×1-inch. You’ll need 2 strips of paper per heart.
2. Glue both ends together to make hearts.
To make each single heart, start with 2 strips of paper. Line them up at the bottom and glue the ends together. Take the other ends and bend them toward each other. Glue the ends together to create a heart shape.
Repeat this step to make as many hearts as you want. I recommend at least 10, but the more the merrier!

3. Punch holes in the hearts.
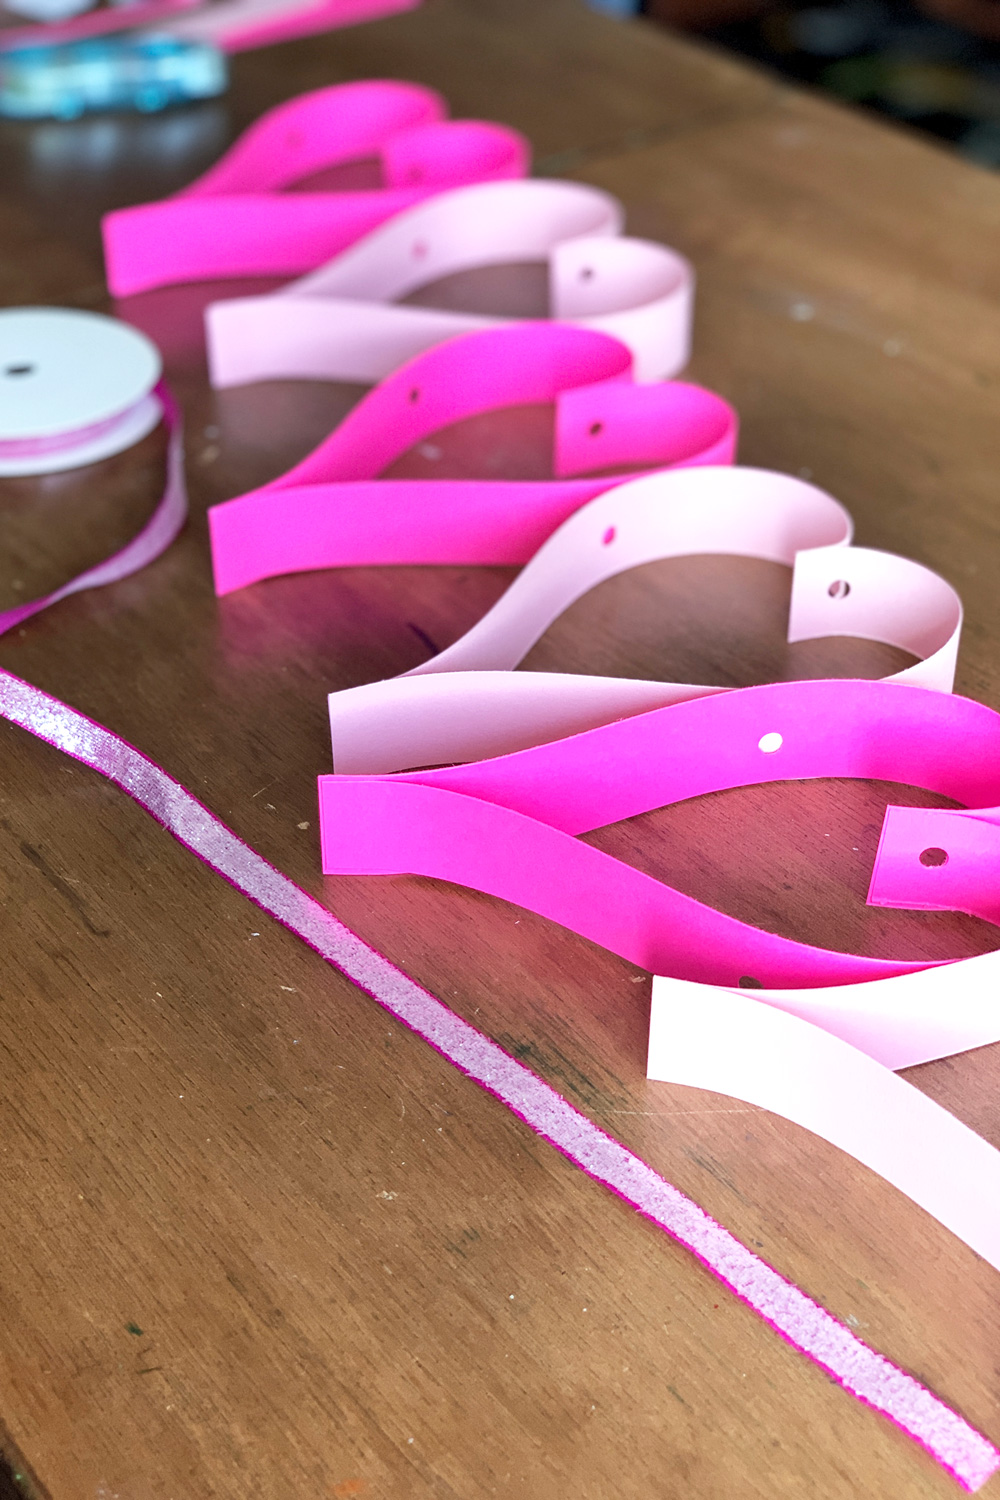
Punch a hole at the top center of a heart. Make 2 more holes roughly at the center of the outside edges. They will line up horizontally with the center hole, but you can eyeball where they need to go. Mine aren’t all exactly the same but I don’t think you can tell.
4. Cut ribbon and string through hearts.
Once you’ve finished making hearts, it’s time to turn them into a chain. Cut a piece of ribbon longer than you want the finished chain to be. You can always trim it shorter. I started with a 10-foot length and then just let the extra ends hang and it looked fine.
Thread the ribbon through all 3 holes in each heart. Gently slide them down the ribbon as you add more hearts. The ribbon will hold the hearts in place, so you can adjust the spacing as needed.

When your paper heart chain is finished, hang it up to display for Valentine’s Day or the whole month of February! This also makes a fun anytime craft that kids can make on a rainy day or when they need an easy boredom buster.


What’s next? Try these other fun and creative ideas on One Mama’s Daily Drama:
Great idea – looks like your kids had fun with this project too! So many neat things to do with paper.