
DIY heart garland makes the cutest hanging window decor for Valentine’s Day! Drape this anywhere you need colorful swag.

Disclosure: This blog contains affiliate links. As an Amazon Associate and member of other affiliate programs, Keri Houchin earns a commission from qualifying purchases at no additional cost to you.
I loved my felt pompom window garland. It was so cute and fun as hanging window decor until the dogs decided it made a good toy and pulled a few balls down.
Garland is a great all-purpose home decor item. You can put them anywhere – windows or the end of a table or across a mantle.
I have a few store-bought garlands, but most of mine are DIY craft projects, like this dollar store heart garland.
If you’re looking for a super easy valentine garland to decorate, I used a combination of supplies I already had and these felt heart stickers from Dollar Tree!

Heart garland tips
- You can either measure the space where your garland will hang or just make it as long as you can and wing it.
- Leave a long tail of yarn on either end of the garland so you have some options for tying or hanging it up.
- These Dollar Tree hearts are super sticky! Be careful not to wrinkle them or stick them anywhere you don’t want one. Once they’re stuck, the are hard to adjust.
- While I stuck my hearts along the yarn vertically, you could stick them horizontally instead. Or alternate!
- Add ribbon, felt pompoms, beads, or whatever else you like to fill out the garland.
- Garland can be use for more than just swag! Use it in place of ribbon to wrap a gift.
- Wrap heart garland around an artificial pink tree for an adorable Valentine’s Day tree.

How to make a heart garland
I made my felt garland in classic red, pink, and white but you can use any color scheme you like! I think I’ll search for some rainbow hearts to make a rainbow garland next.
Supplies
- 2 packages felt heart stickers – Michaels or Amazon
- skein of white cotton yarn – Dollar Tree or Amazon
- coordinating ribbon – Dollar Tree or Michaels
- scissors – Michaels or Amazon
Instructions
1. Plan out your pattern.
Start by planning out the pattern for the hearts. Alternatively, you can totally stick them as you go and make the design random. You will need 2 of each heart to stick back-to-back.
Spread out a length of yarn on a flat surface, then line up pairs of hearts beside it and space them about an inch apart.
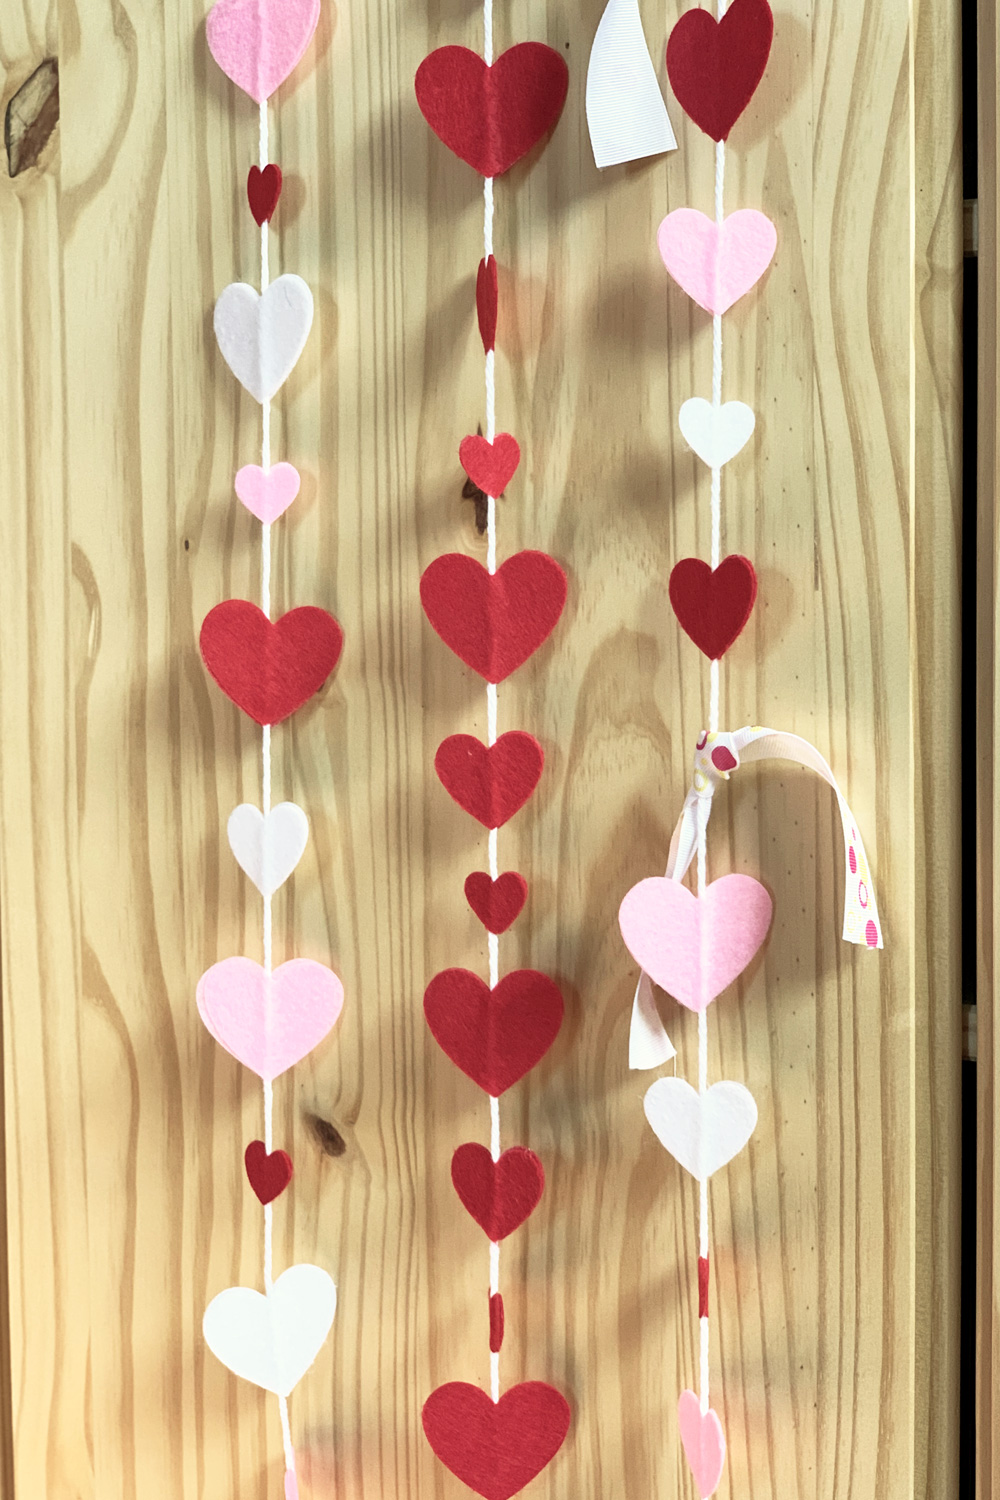
For my first one, I alternated between larger and smaller hearts and ordered them red, pink, and white. (My packs had large, medium, and small hearts. I used the mediums in place of large or small, just for variety.)
For the next heart garland, I used just the red hearts but alternated large, medium, and small sizes.
And to make the last garland, I added some scraps of grosgrain ribbon between every few heart stickers.
2. Peel and stick the hearts.
The main part of this craft is peeling and sticking the hearts to the yarn. Once you get into a routine, it goes pretty quickly.
Peel the backing off of the first heart sticker and place it sticky side up under the yarn. Peel the backing off of a matching heart sticker and stick it down on top of the first heart, with the yarn in between.
Repeat as many times as you like until the garland is the length you desire.

3. Cut the yarn ends.
Finally, cut the yarn ends with scissors and leave a few inches for a tail to hang or tie. If you’re adding embellishments besides the stickers, make sure a sticker is at each end so that the other items don’t slide off.

4. Display the heart garland.
There are a couple of ways to display this garland:
You can tie the tail ends to a curtain rod or just loop them over and let them hang straight down.
Use a heavy object like a flower pot to hold the ends in a window sill or mantle.
Close the ends of your garland in a cabinet or door.
Use Command hooks or Scotch tape for a temporary way to hang it anywhere.

What’s next? Try these other fun and creative ideas on One Mama’s Daily Drama:
Leave a Reply