
Learn how to make an easy melted crayon pumpkin with a printable template to celebrate fall and Halloween with your kids.

Disclosure: This blog contains affiliate links. As an Amazon Associate and member of other affiliate programs, Keri Houchin earns a commission from qualifying purchases at no additional cost to you.
Several years ago there was an online trend to melt crayons over a pumpkin for a Halloween craft. I saw so many pretty pumpkins that I had to try it.
Unfortunately, it turned out to be very messy with just okay results. We used a hair dryer to melt the crayons, which blew them around and splattered hot wax, and the colors ran together quickly.
I’ve been thinking about my lackluster pumpkin craft ever since and this year I came up with a new idea! Take a peek at the original (ugly, let’s be honest) pumpkin and keep reading to see my new melted crayon pumpkin craft idea.

How to make a melted crayon pumpkin
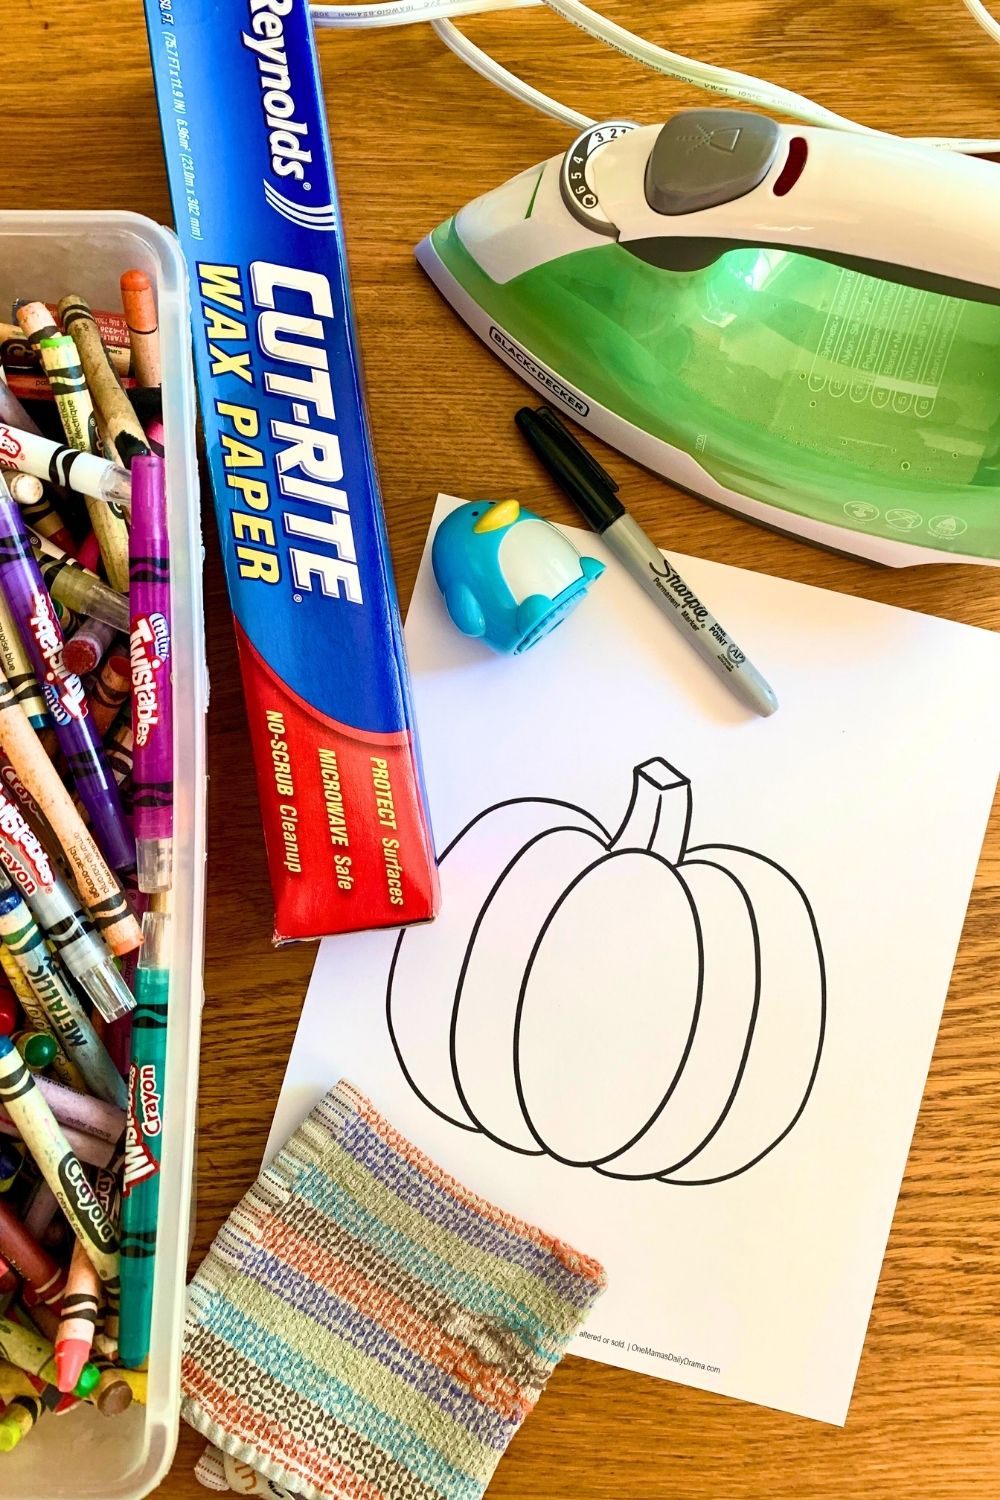
Supplies
- wax paper
- crayons
- crayon/pencil sharpener
- black permanent marker
- iron
- old cloth (something you don’t mind getting a bit of crayon on)
- scissors
- pumpkin template
Note: You can draw your own pumpkin or use any image you already have. If you want to use my pumpkin template, there’s a link to download for subscribers at the bottom of this post.
Instructions
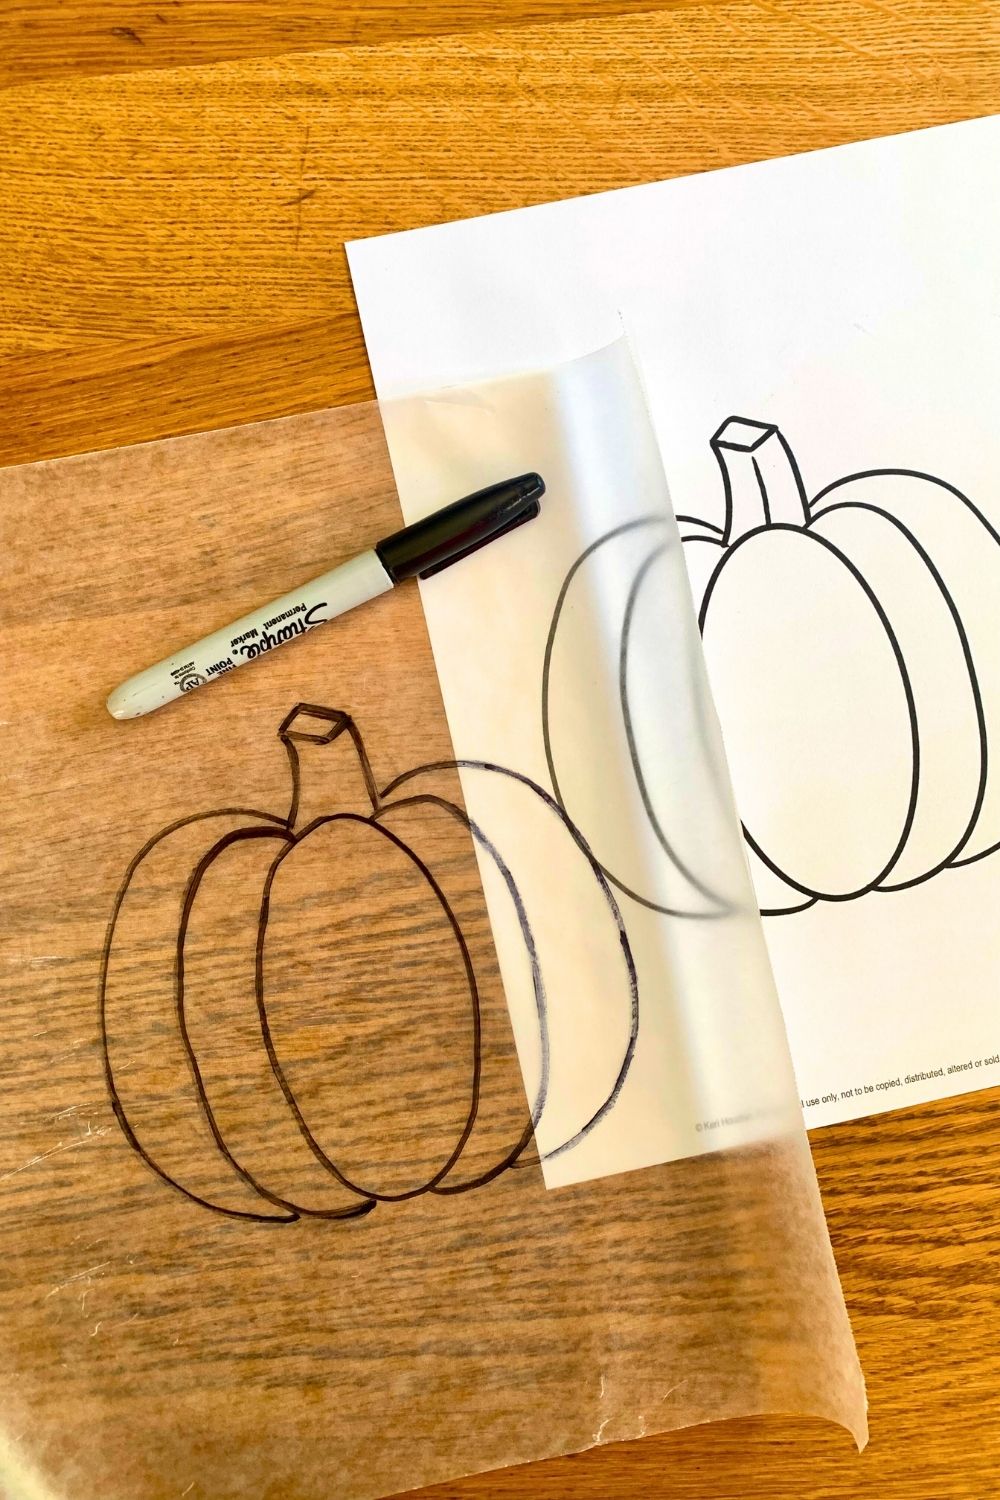
1. Trace template onto wax paper.
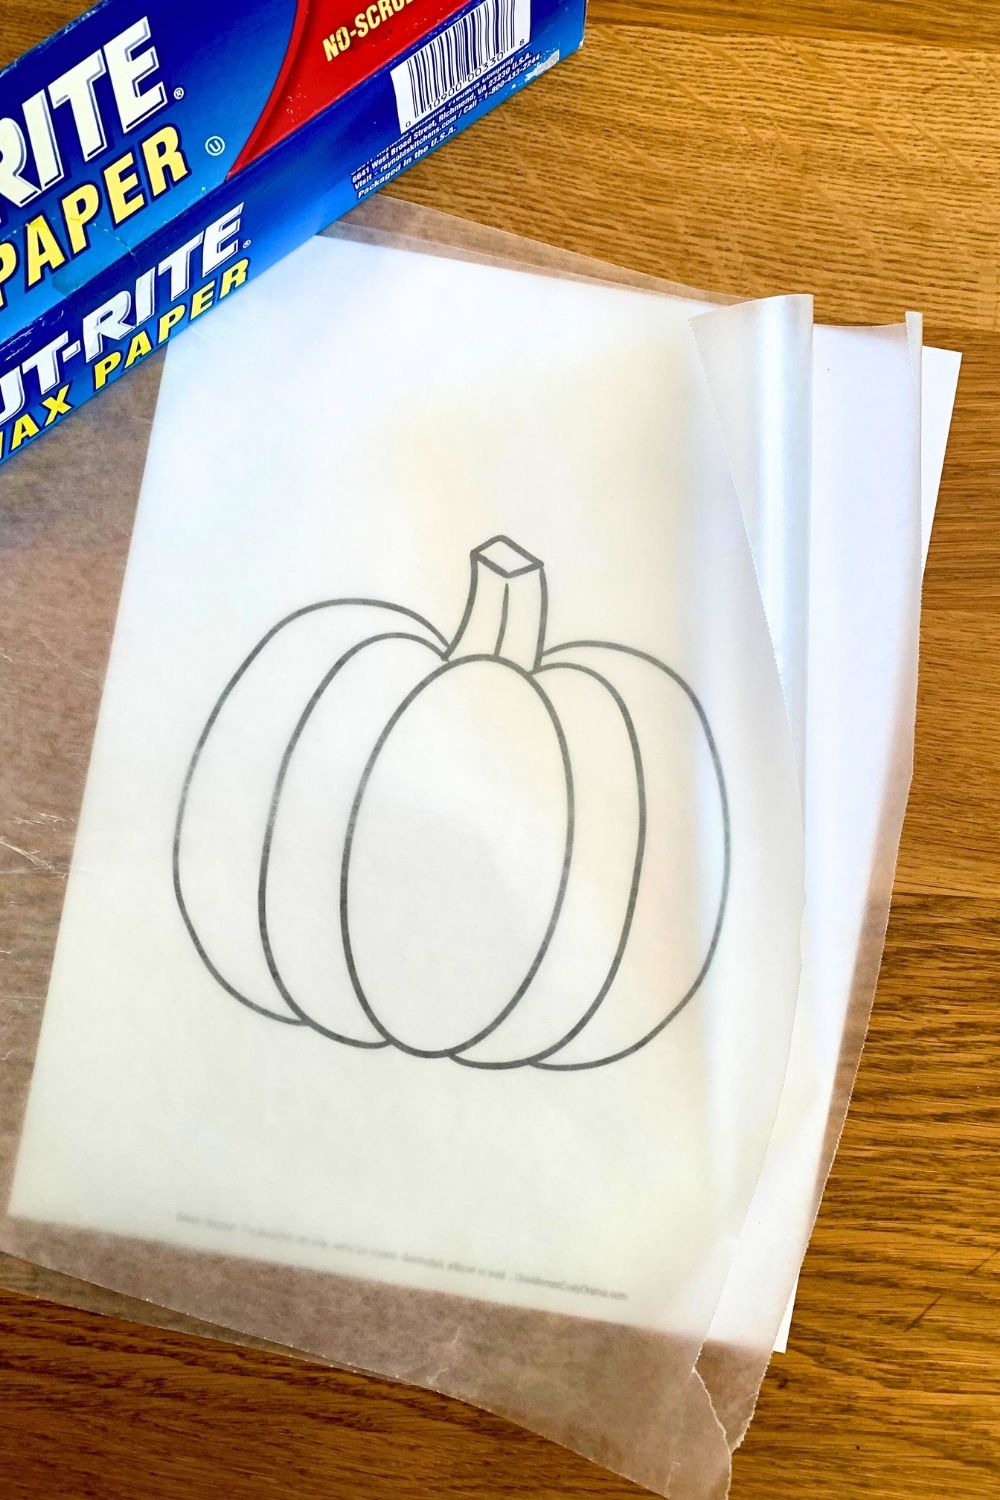
Print the pumpkin template. Tear 2 sheets of wax paper that are about the same size. On one sheet of the wax paper, trace the pumpkin template with permanent marker.
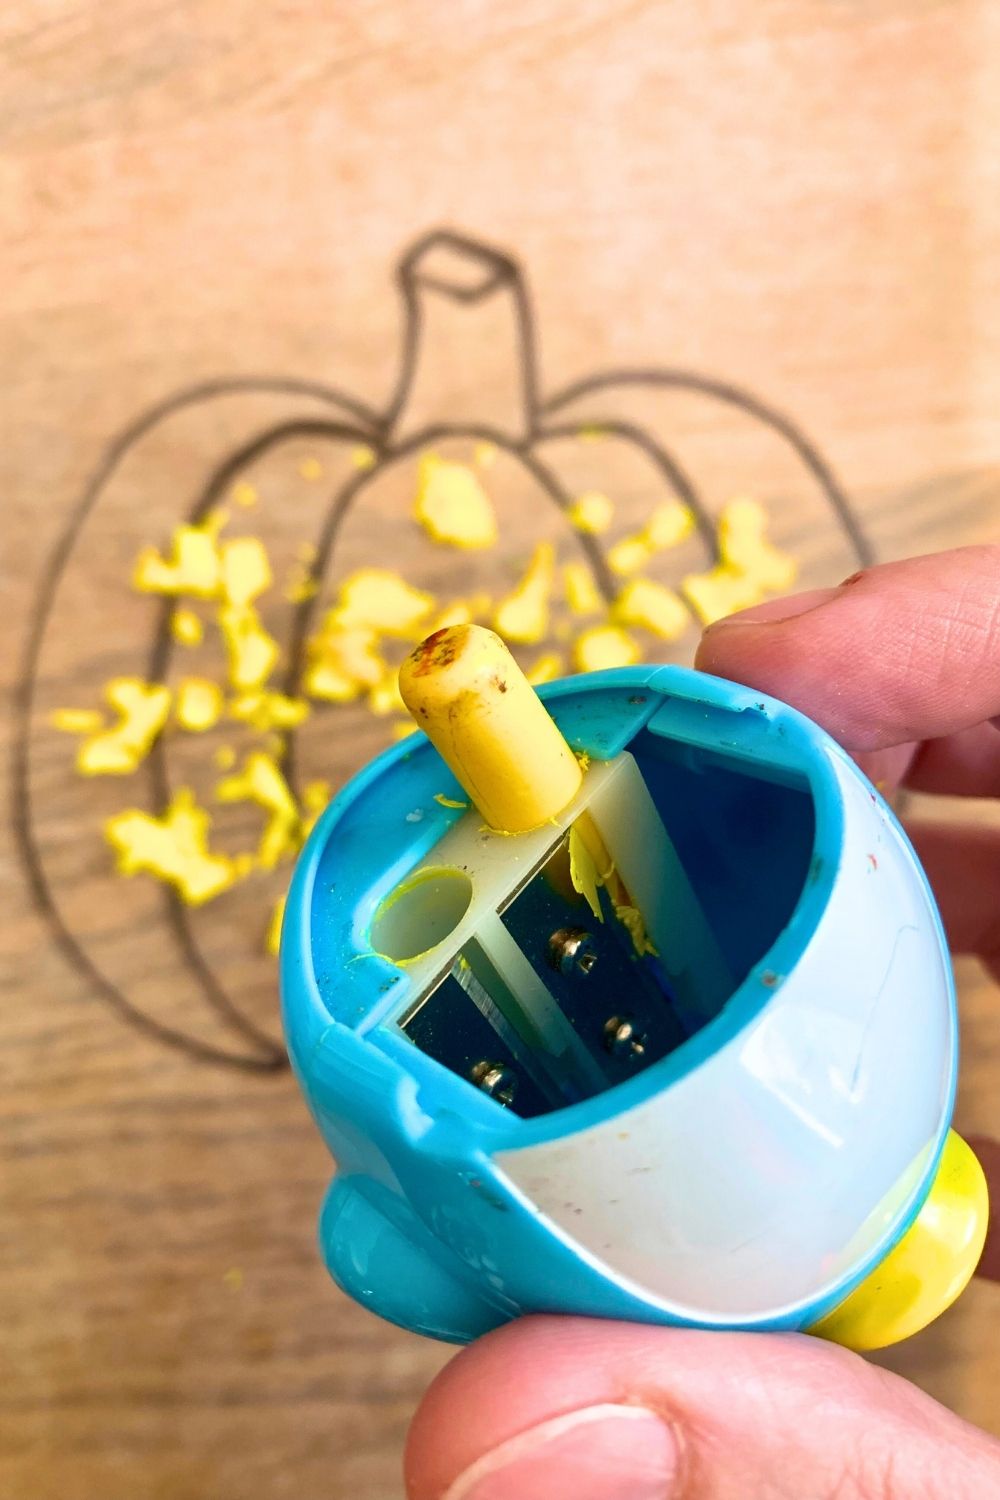
2. Peel and shred crayons.
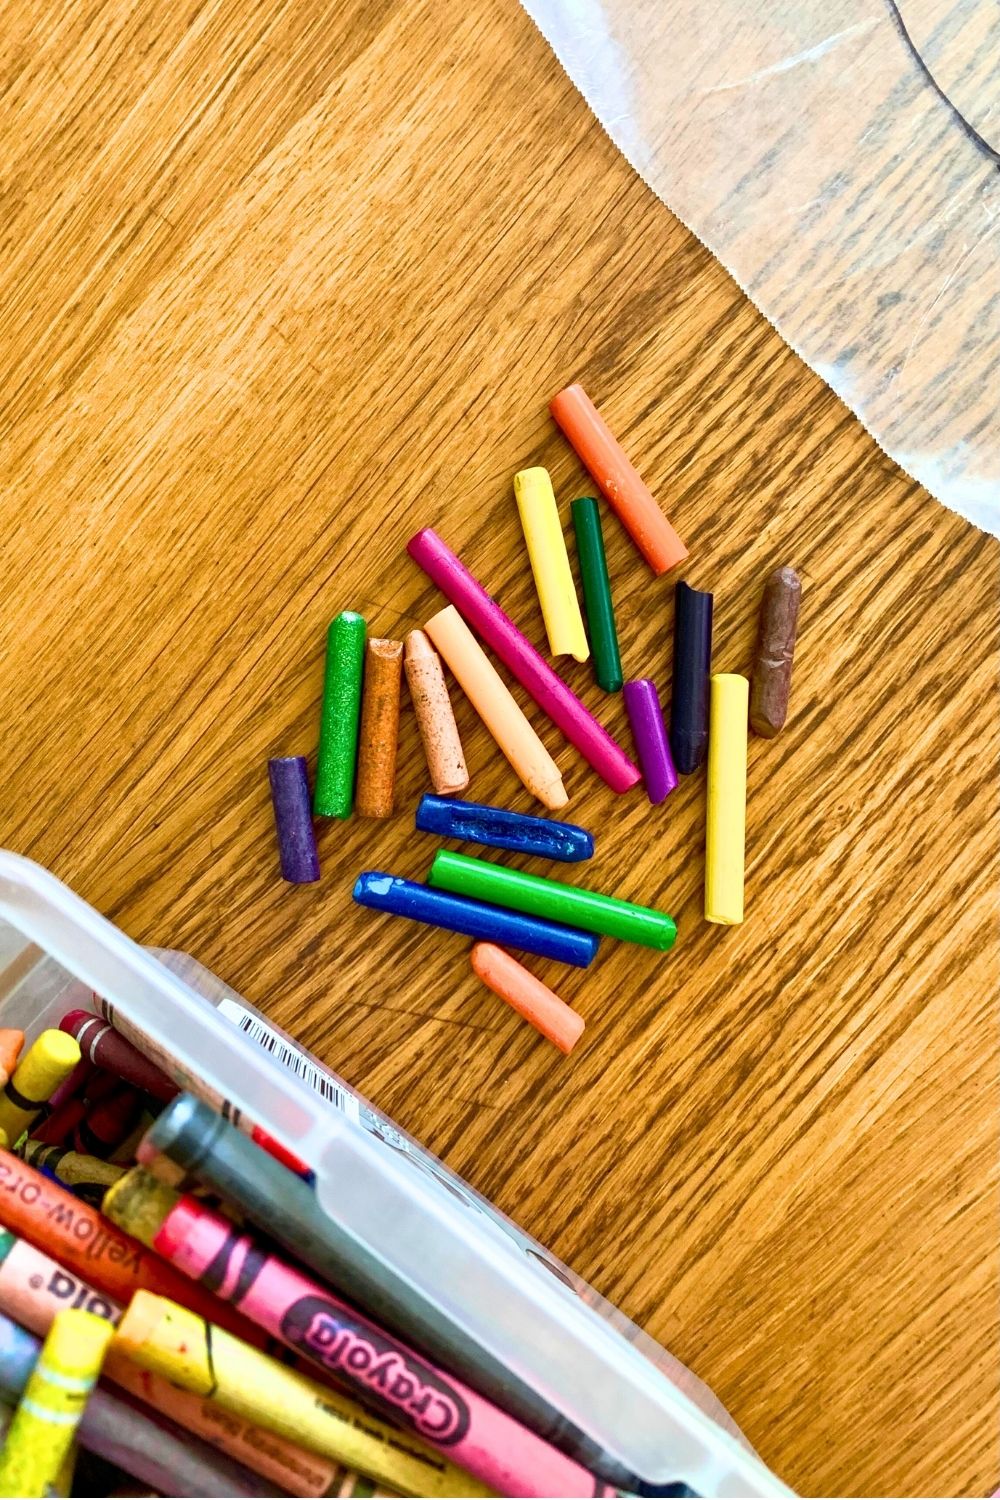
Choose which colors you want to use. We have a plastic tub of crayons, so I just used the broken crayon scraps at the bottom. Use the crayon/pencil sharpener to shred the crayons into shavings.
You’ll need several pieces of crayon and probably won’t be able to sharpen the pieces down to the end. You can use any colors. I tried a fall color palette and a pink Halloween version. Both turned out cute.
3. Sprinkle crayon shavings.
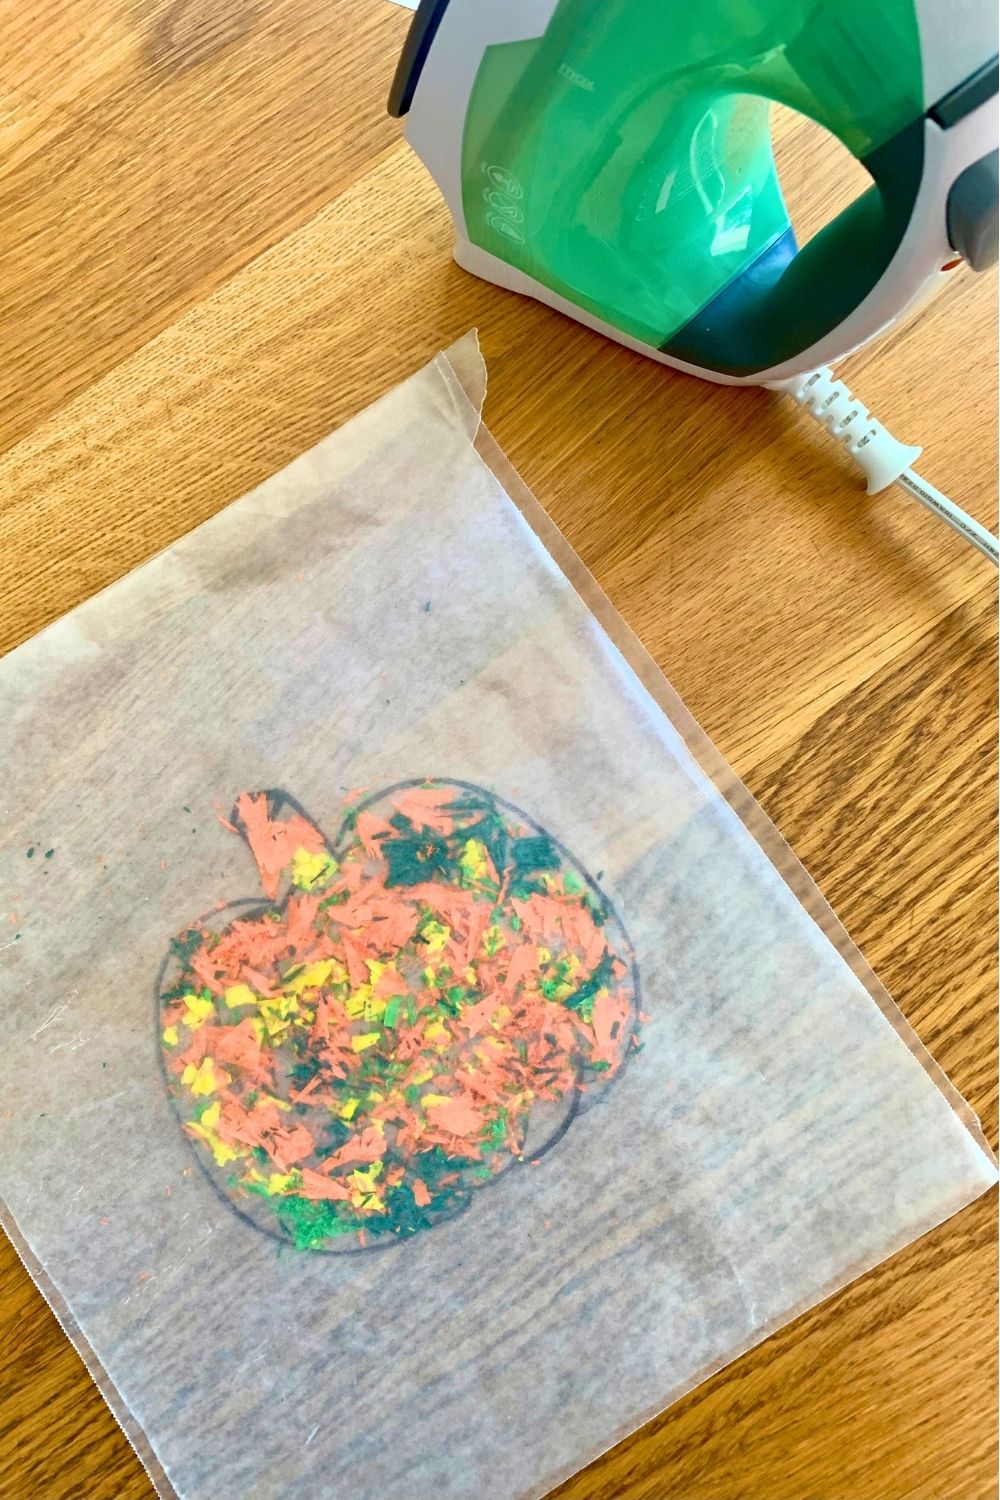
Sprinkle the crayon shavings over the pumpkin on the wax paper and spread them evenly. The crayons will spread some as they melt.
You can mix them all together, make each section a different color, or try ombre or other patterns.

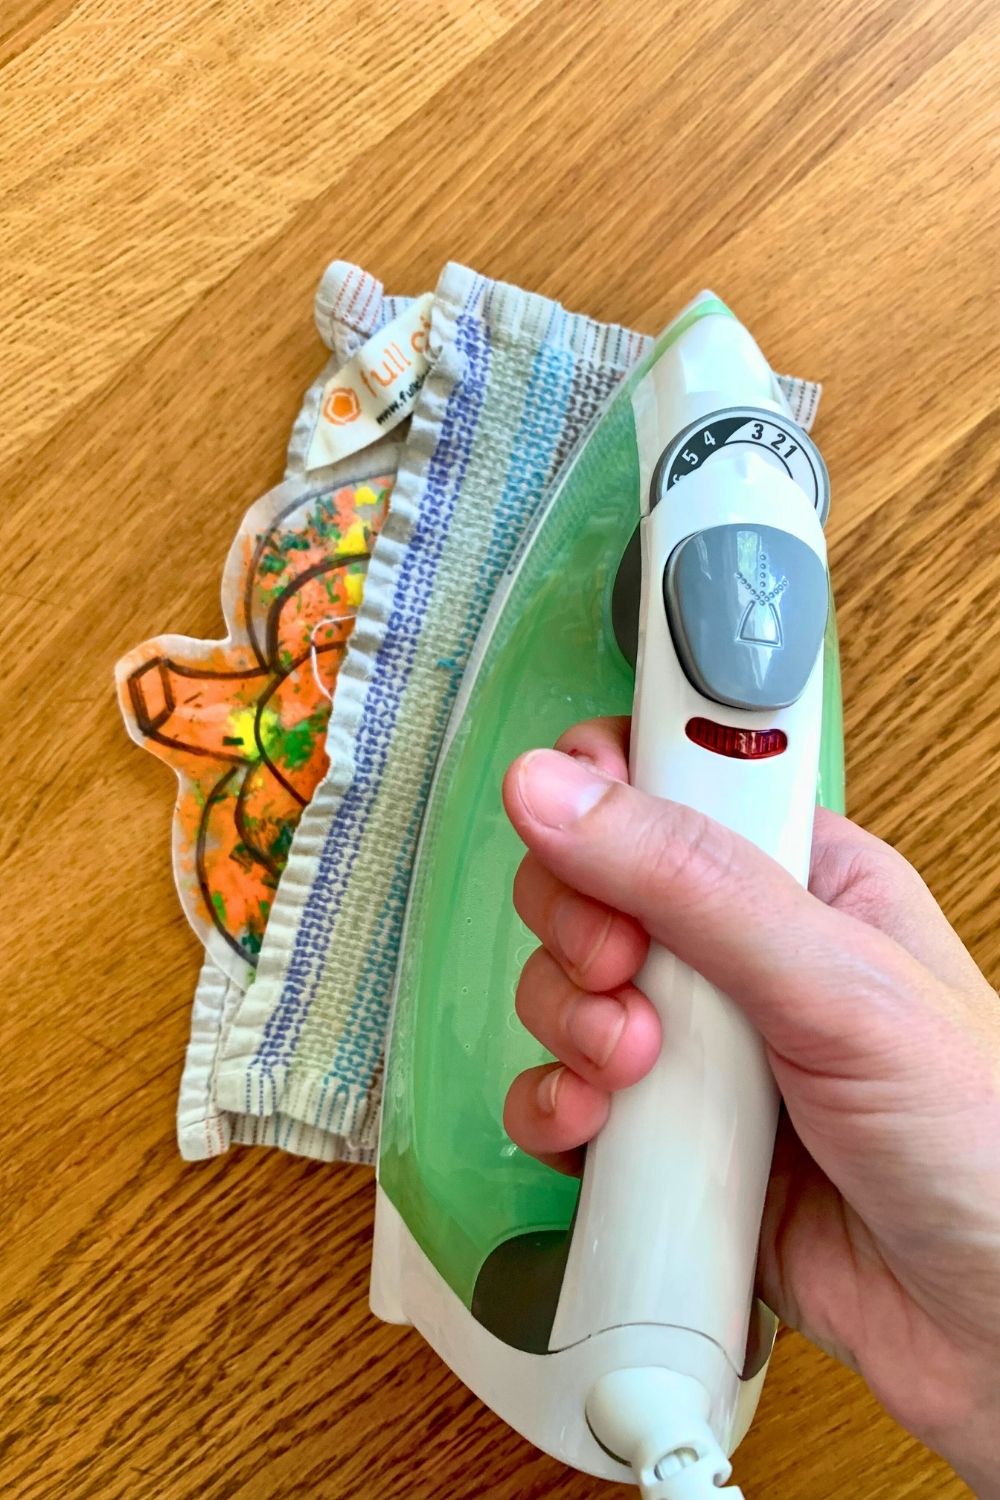
4. Cover the pumpkin and iron.
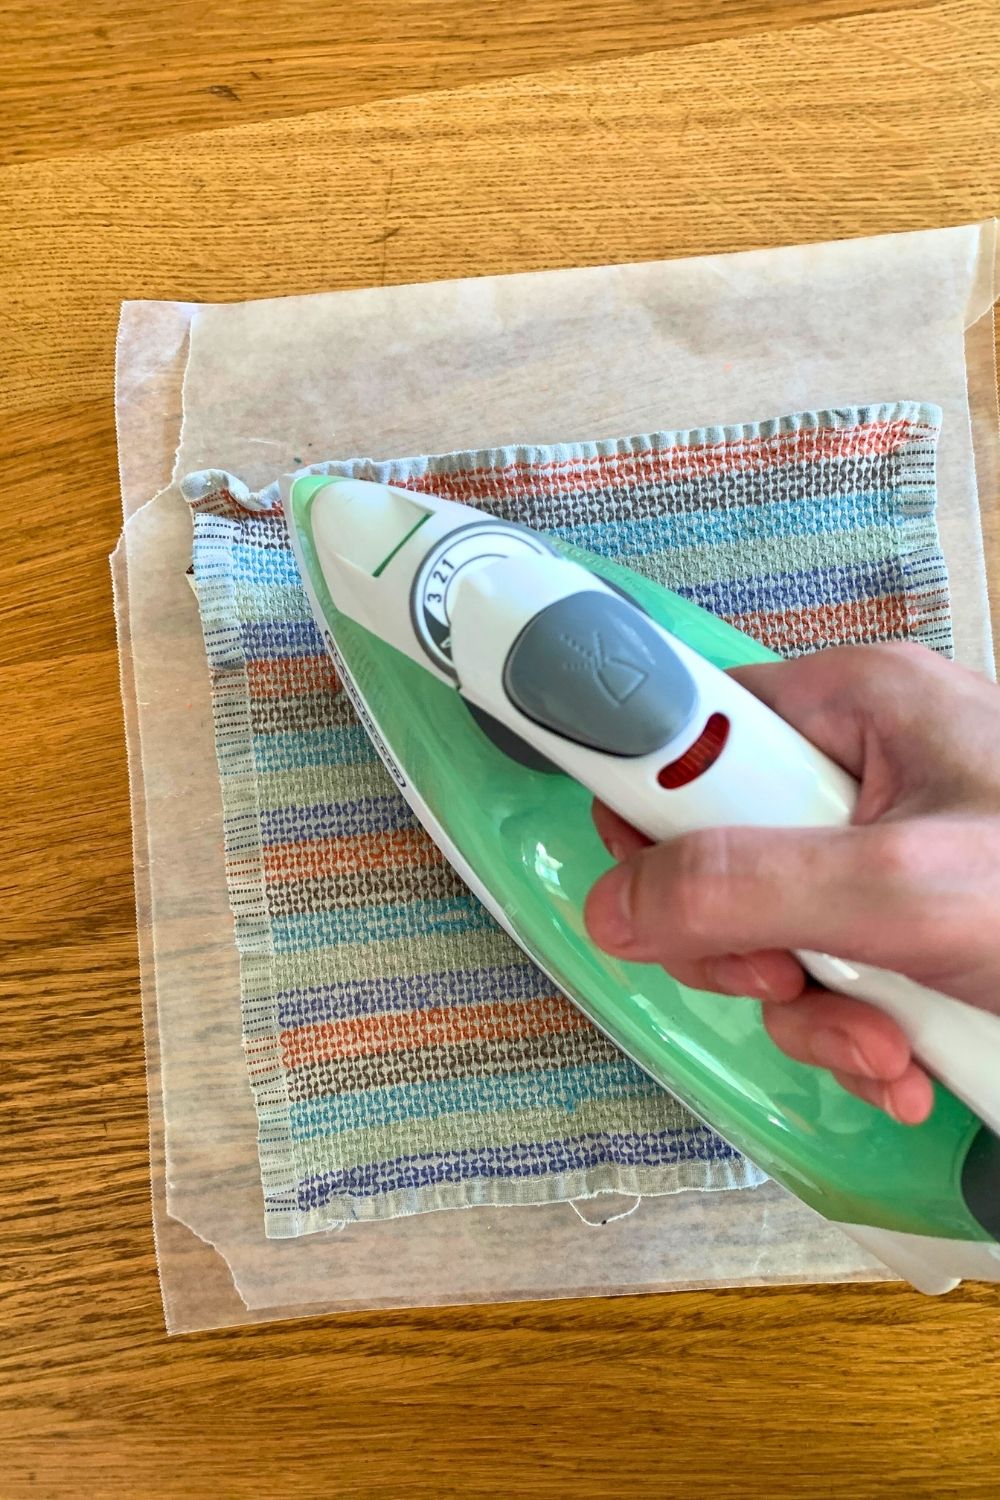
When you’re happy with the crayon shavings, line up the other piece of wax paper on top. Heat the iron on a low setting (no steam), layer a towel, and iron the pumpkin.
The crayon will melt pretty quickly, so iron in short sections and check it often. If you press straight down, the crayon will melt in place. If you move the iron, the crayon will spread. A little spreading looks nice, but too much and the colors gets muddy.
5. Check and cool the pumpkin.
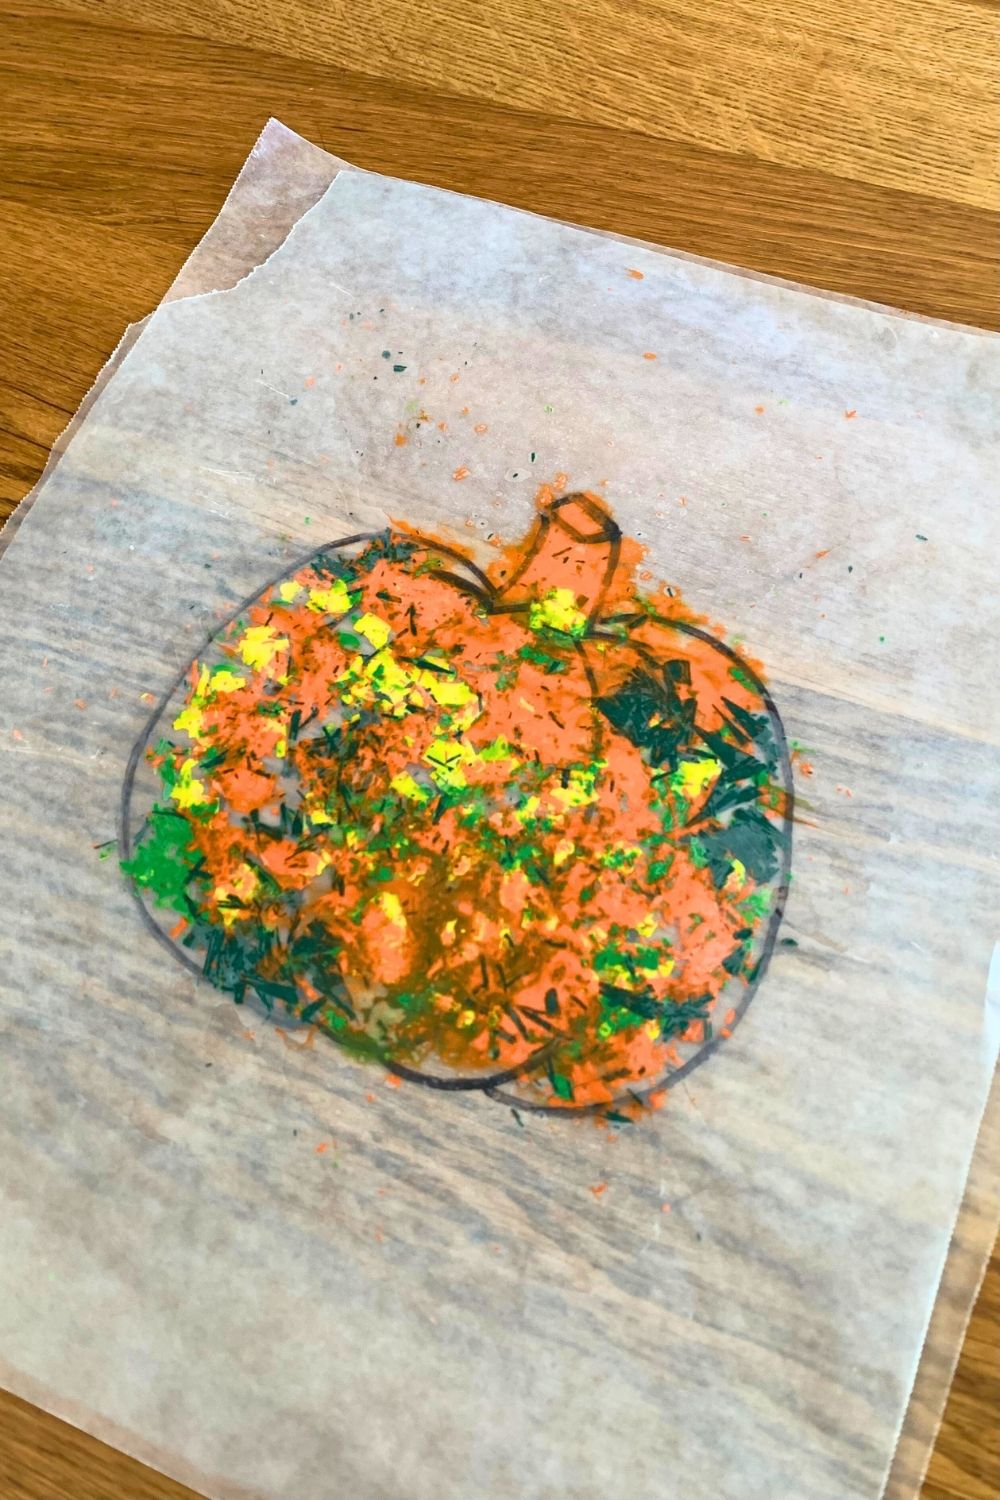
When all the crayon is melted, set the iron aside. Let the pumpkin cool for a few minutes.
6. Trim wax paper edges.
Use scissors to trim around the pumpkin outline, leaving about a quarter to half inch of wax paper.
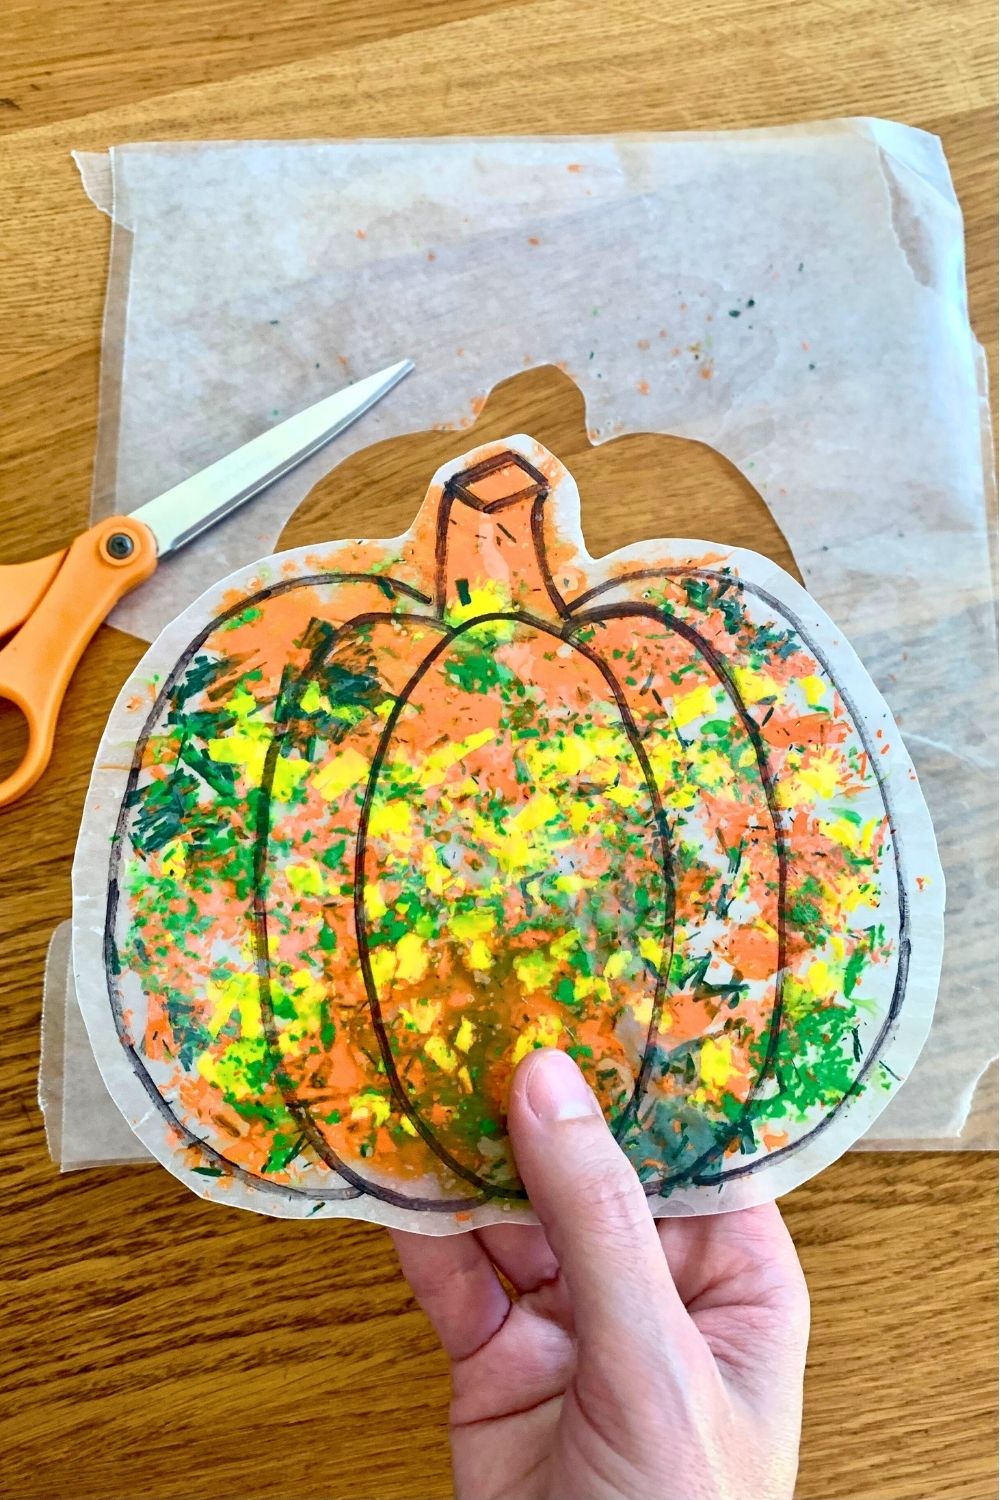
The 2 pieces of wax paper should be stuck together, but if there are loose sections, you can use the iron to press them again.
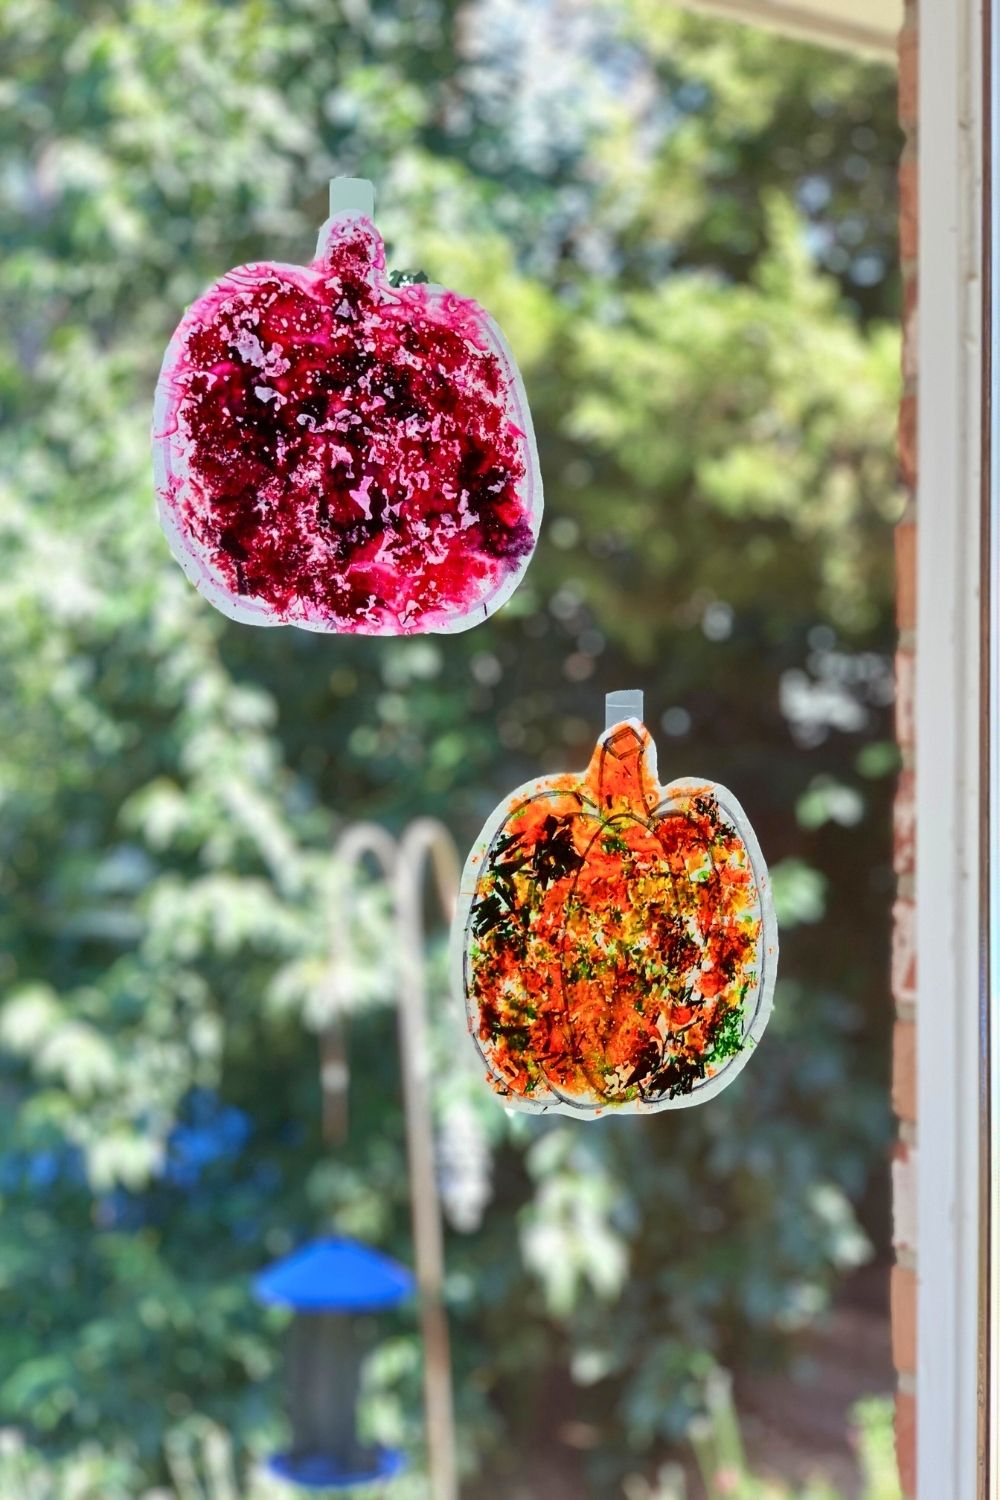
Display your melted crayon pumpkins. I taped these up to the window with the lines facing inside. They look like sun catchers with the sunlight shining through them.
You can see I used a pink marker on the pink pumpkin, but the black shows up better against the crayon. There are really tons of ways to make this melted crayon pumpkin craft!
- Use different colors
- Draw a jack o’lantern face while tracing the template
- Print the pumpkin template smaller (full size is about 6×6-inches)
- Omit the details and just trace the outline of the pumpkin, then draw any design inside
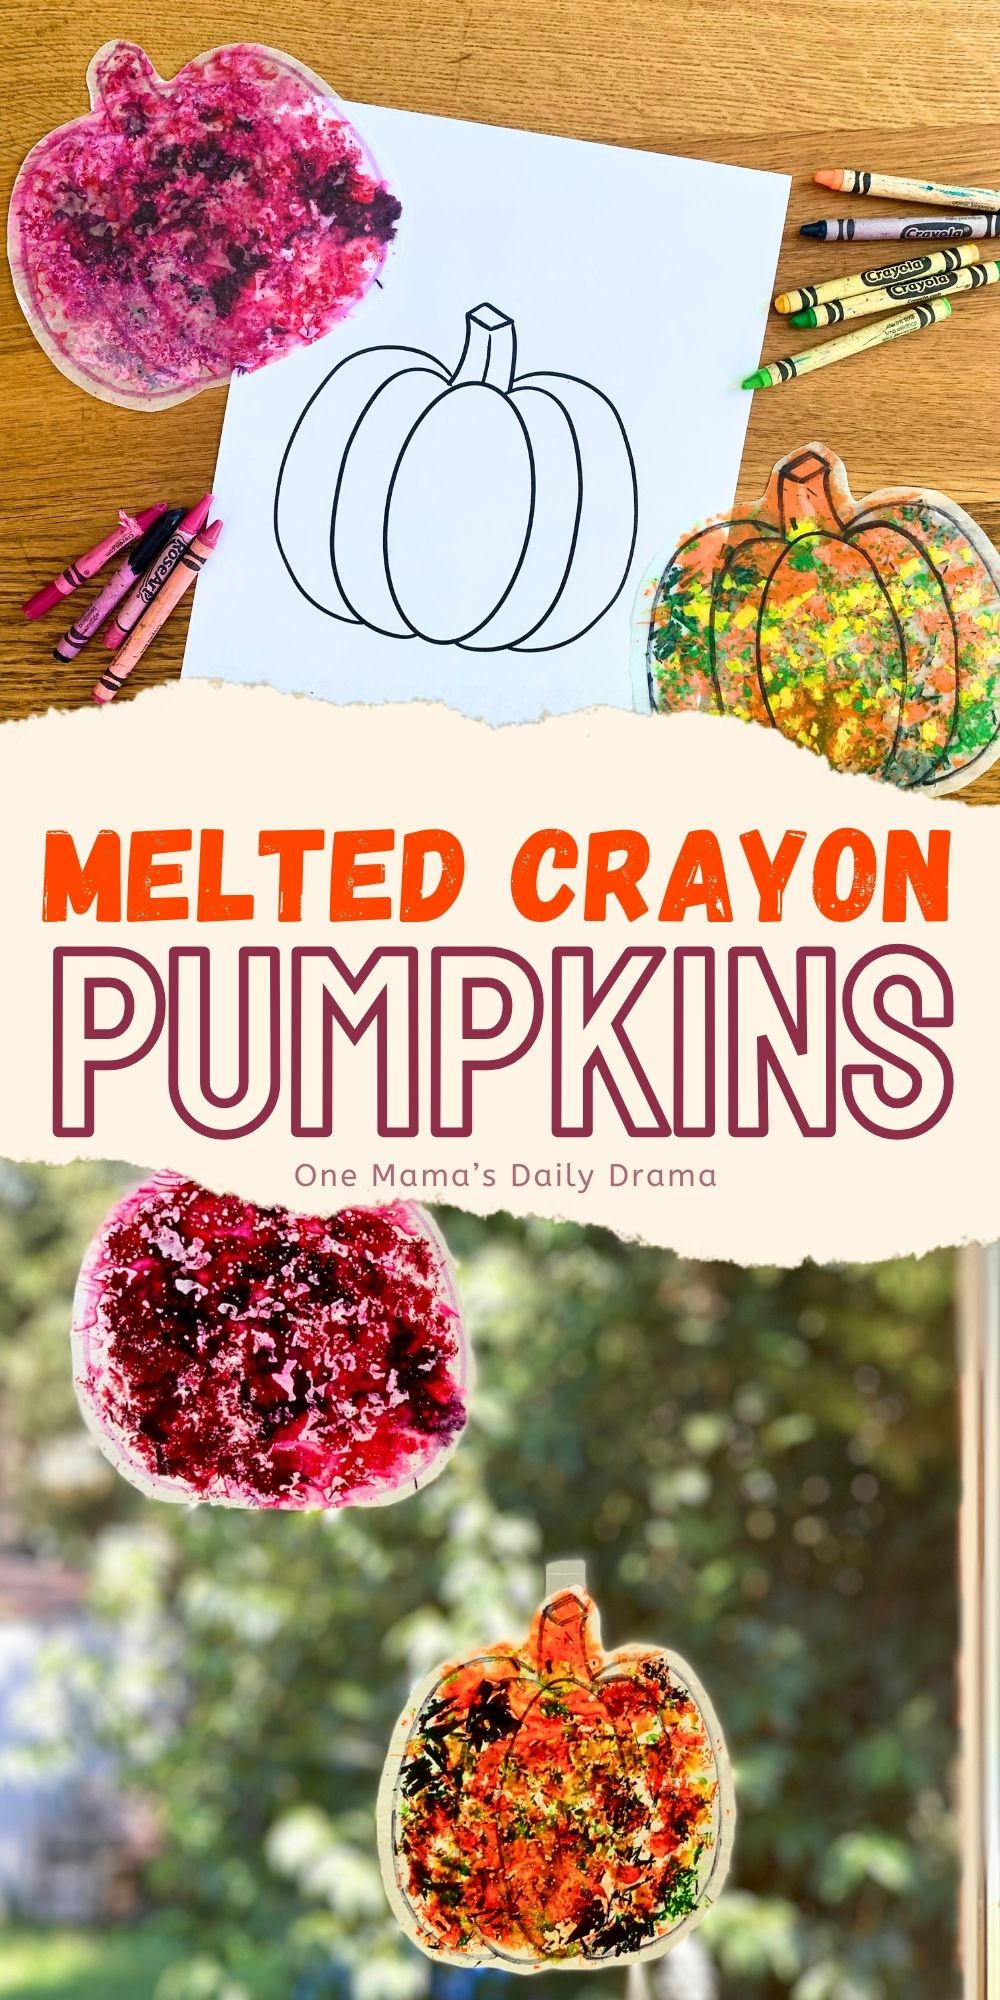
Get the printable
Printables are free for subscribers. Sign up below to have this printable sent to your inbox. (If you’re a new subscriber, you’ll need to confirm your email address first. Check your spam ~ the emails are nearly instant.)
Don’t want another newsletter? No problem. Join The Printables Library for a one-time fee and get all the printables in one place. If you’re already a member, you can find this file there now.
Terms of use: All printables are for personal use only (home, classroom, library) and are not to be redistributed or sold. Please share by sending your friends to this blog post!
What’s next? Try these other fun and creative ideas on One Mama’s Daily Drama:
Leave a Reply