
This dutch door planner idea is an easy way to create a monthly heading. The top section stays visible as you flip through pages.
Disclosure: This blog contains affiliate links. As an Amazon Associate and member of other affiliate programs, Keri Houchin earns a commission from qualifying purchases at no additional cost to you.
A dutch door is an architecture feature that you might have in your house. It’s a door that opens in the middle, dividing into 2 parts. It’s convenient because you can open just the upper half for visual access (without letting the dog out, for example).
In your planner this can also be handy. I’ve seen a lot of fancy decorative cutouts in planners that add interest or allow a peek at what’s behind the cutout.
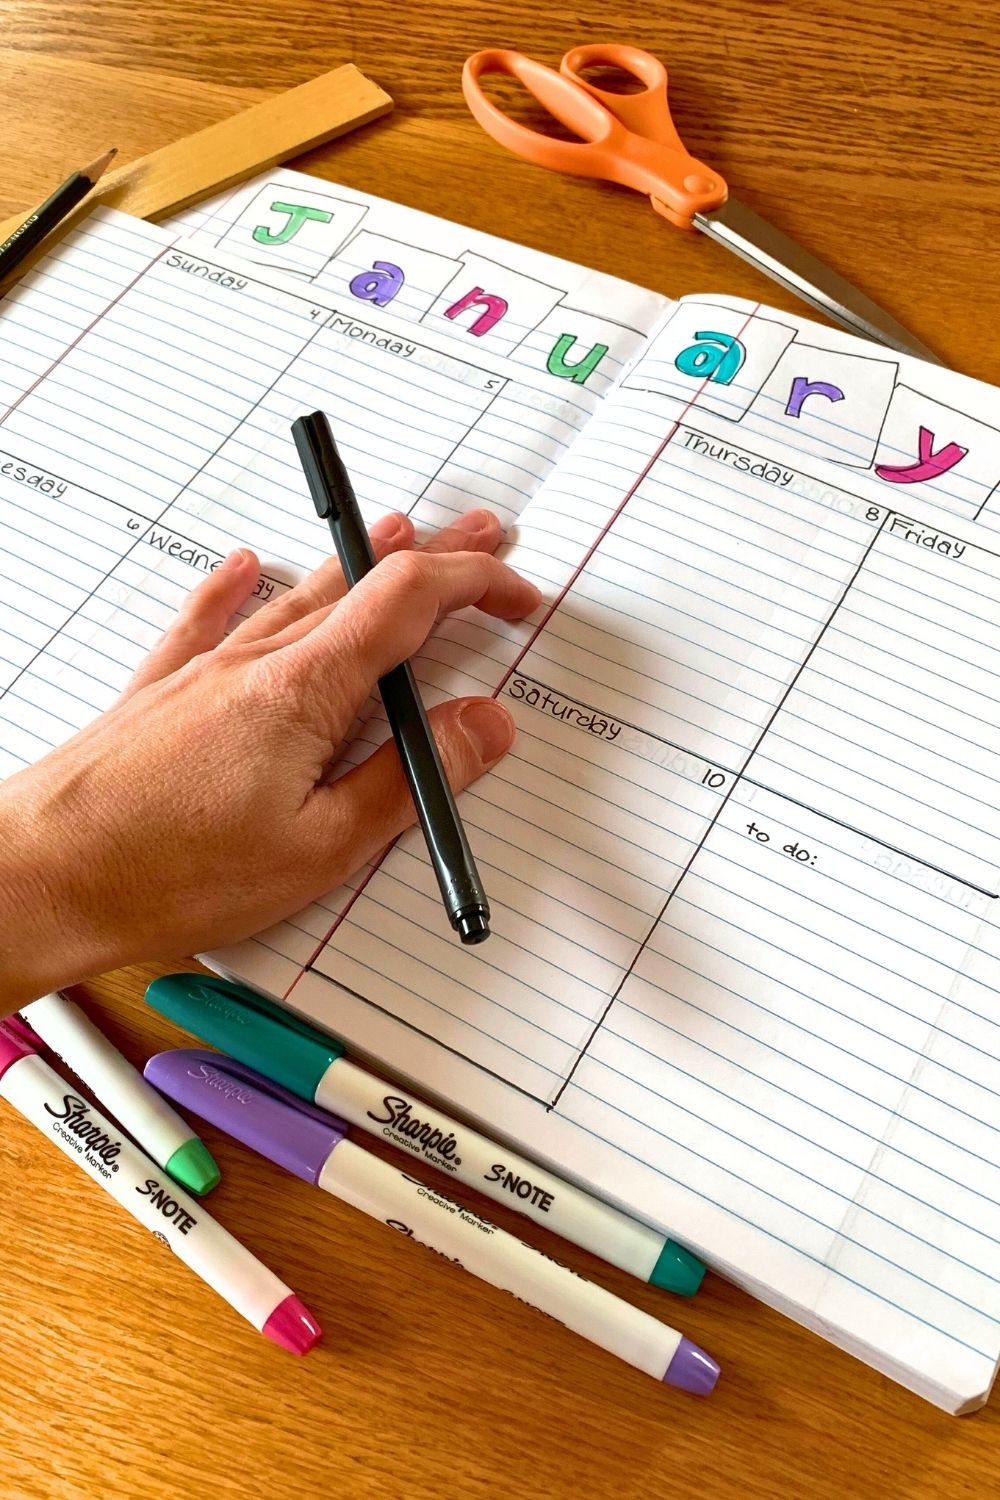
If, like me, you’re new to dutch door planner layouts, start with this simple layout. You can create a decorative heading for the month, then cut the pages so that the heading stays in place as you flip through.

How to create a dutch door planner
Supplies
- planner or notebook (I’m using a college-ruled composition book)
- scissors
- ruler
- pencil
- black pen

Instructions
1. Decide your planner layout.
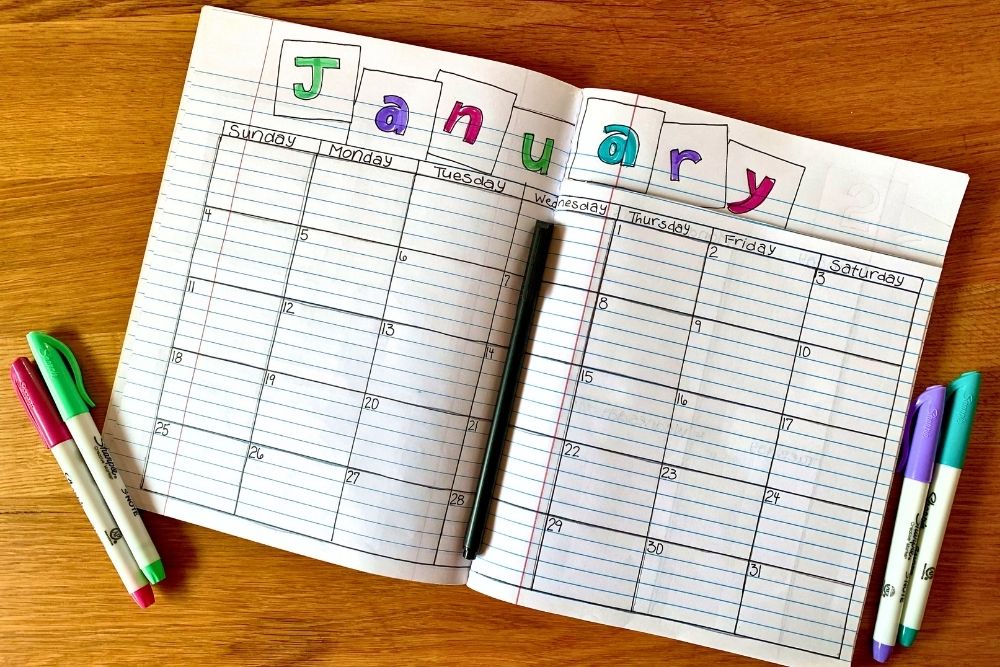
For this planner, I’m using a pretty standard layout. Each month has a cover page, then the monthly calendar, followed by weekly spreads.
My cover page is one full-sized page. Then my monthly calendar and the weekly spreads go across 2 pages. I want to create a heading that will be visible above all those pages.
Determine how much space you need for the heading and the individual pages. For mine, I counted up from the bottom so that each box in the monthly calendar was 5 lines high, plus a row for
2. Mark the pages to cut.
Count how many pages you need for the monthly and weekly spreads. Most months start mid-week, so you’ll want to decide where those odd days go. I personally like to include them in the previous month so that my weekly spreads always start on Monday.
I’m using the horizontal lines in my composition book. If your planner isn’t lined, use a ruler and pencil to draw a line where you want to cut.
3. Cut the dutch door.
Cut out the pages along the marked lines. Depending on how your planner is assembled, be careful about cutting into the spine. If your pages are held in by other pages, cutting in the front might make pages at the back loose. I just cut mine close to the stitching, but you can see the cut edge.

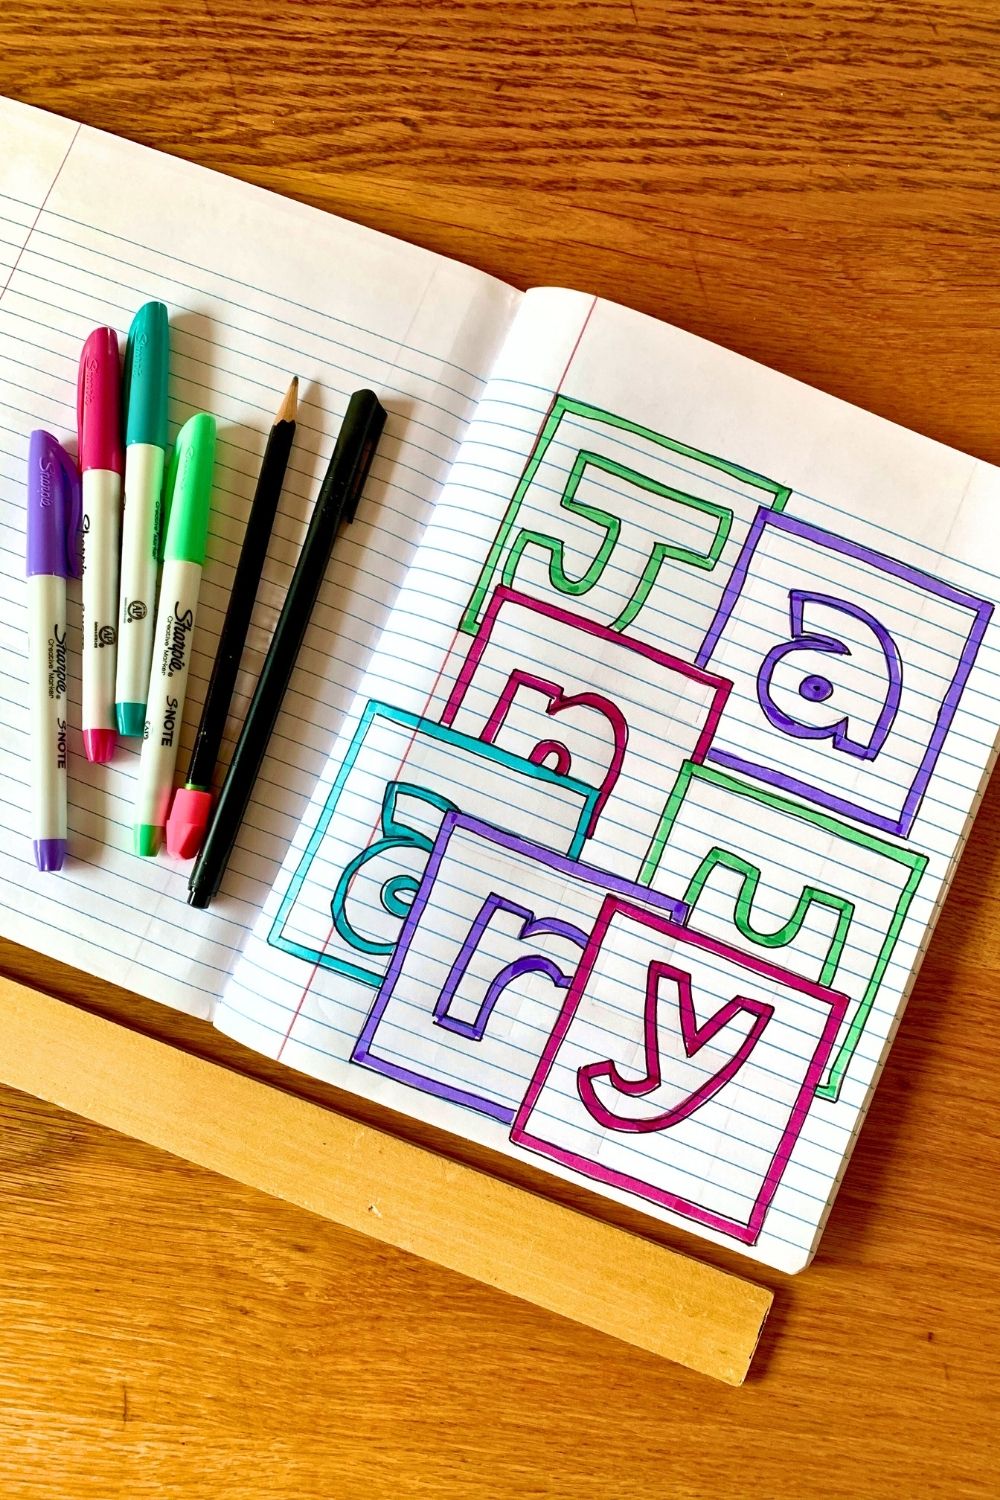
4. Draw the monthly heading.
Finally, create the heading that will be visible across all the pages. Then draw your monthly calendar and weekly spreads.
I like how this turned out and now I’m brainstorming other ways to make dutch door planner pages do extra work for me. This isn’t perfect, of course. But if you’re looking for an easy way to turn an inexpensive notebook into a planner, this dutch door planner idea is perfect!

What’s next? Try these other fun and creative ideas on One Mama’s Daily Drama:
Leave a Reply