
Make a DIY planner dashboard to mark the beginning of each month! Use a pretty at-a-glance printable as a divider that holds essential info.

Disclosure: This blog contains affiliate links. As an Amazon Associate and member of other affiliate programs, Keri Houchin earns a commission from qualifying purchases at no additional cost to you.
Every month is a fresh start, a chance to re-evaluate your plans and start again. I like to do a monthly brain dump and organize my schedule and important tasks.
This page also doubles as a DIY planner dashboard. Use card stock and washi tape to make this page stand out. Practical and pretty.
Below I shared how I embellish my pages. It’s a simple process, but one that makes a difference in my planner. You can download my printable month-at-a-glance pages or use this technique with any planner.
I designed these pages to match my 2026 printable calendar and the undated rainbow calendars.
How to add a DIY planner dashboard
Supplies
Instructions
1. Punch hole in paper.
Print the PDF on card stock. Use a 3-hole punch on the left edge of the paper.

2. Attach washi tape border.
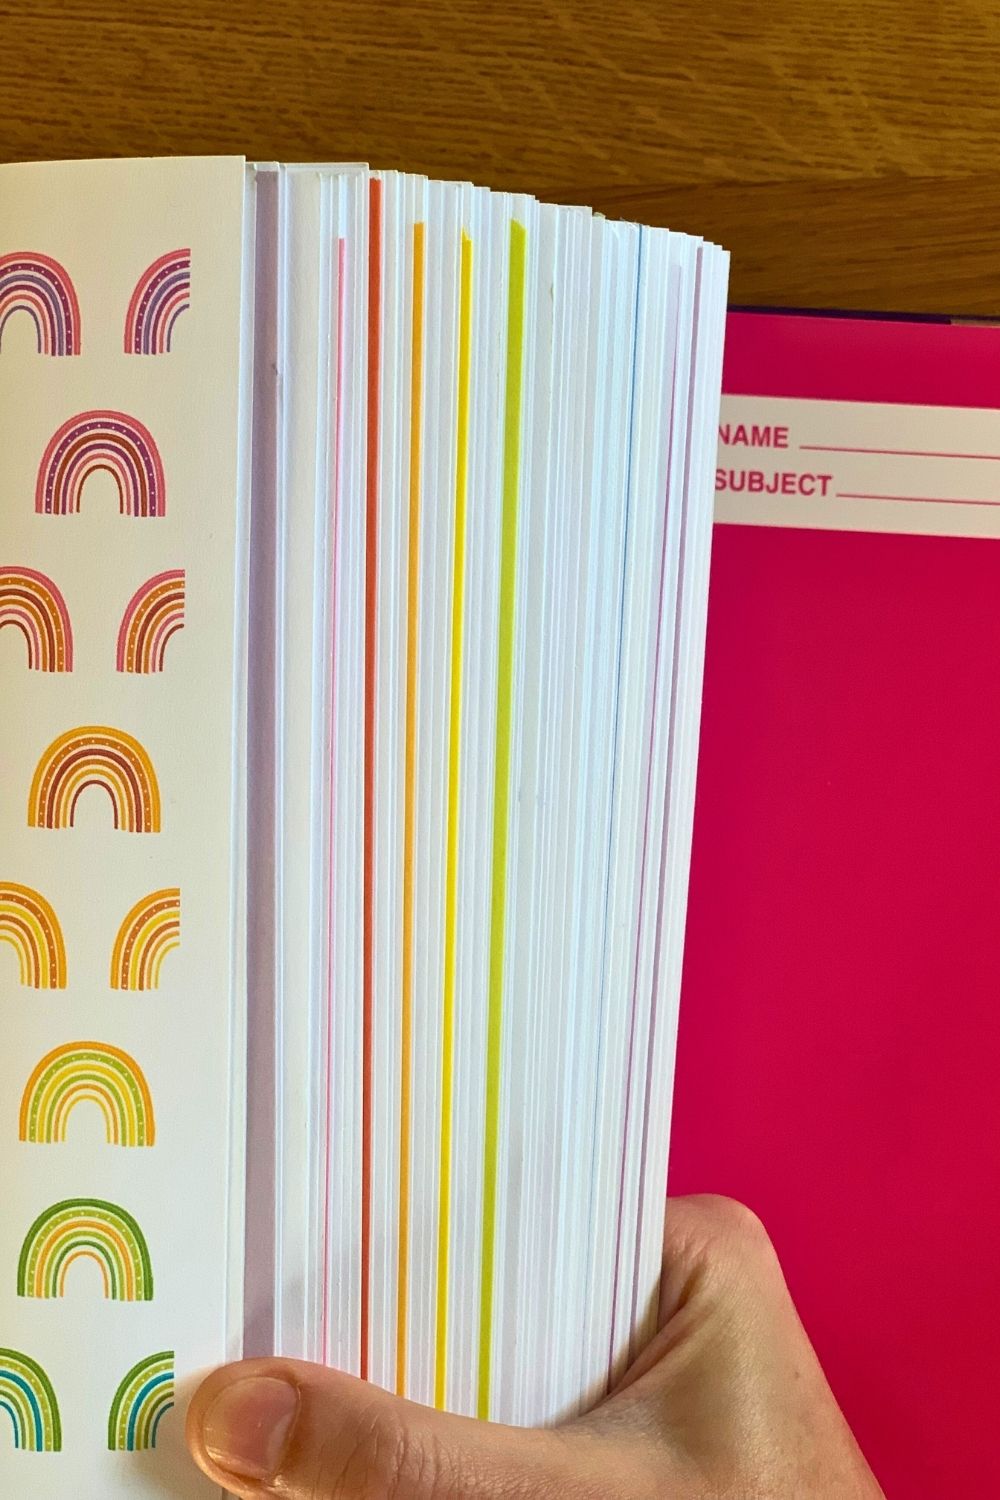
Pick the washi tape for the edge. I have the rainbow packed linked above and my printables are also a different color for each month. I picked washi tape that coordinates with the colors on each monthly page.
If you plan all 12 months at once, you can coordinate the washi tape to make a rainbow along the side too.
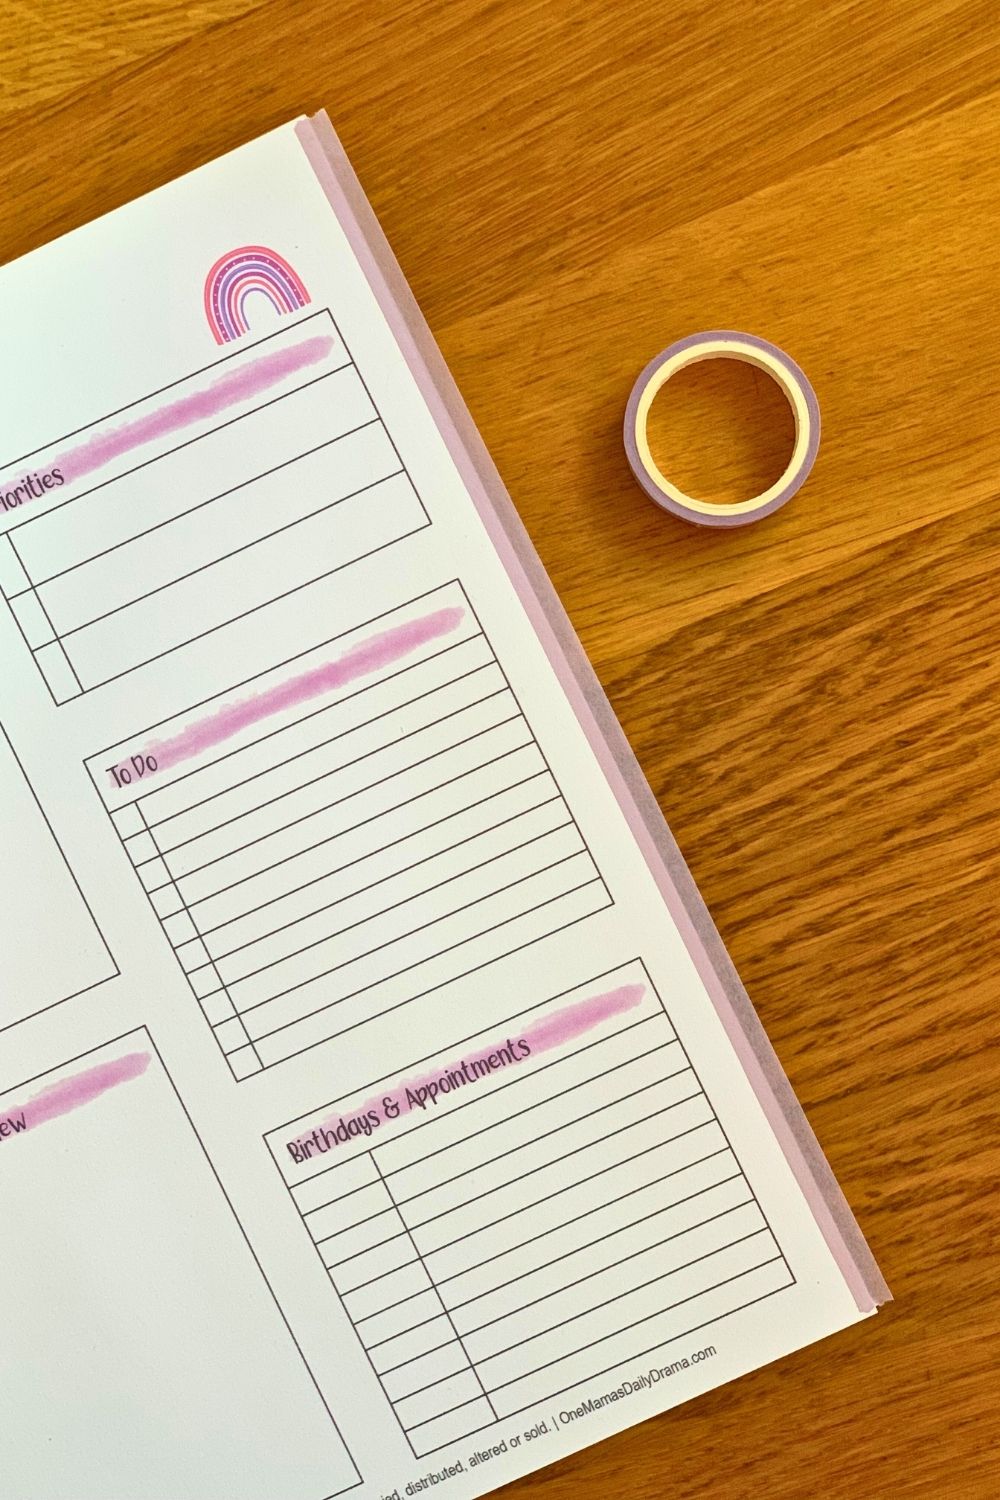
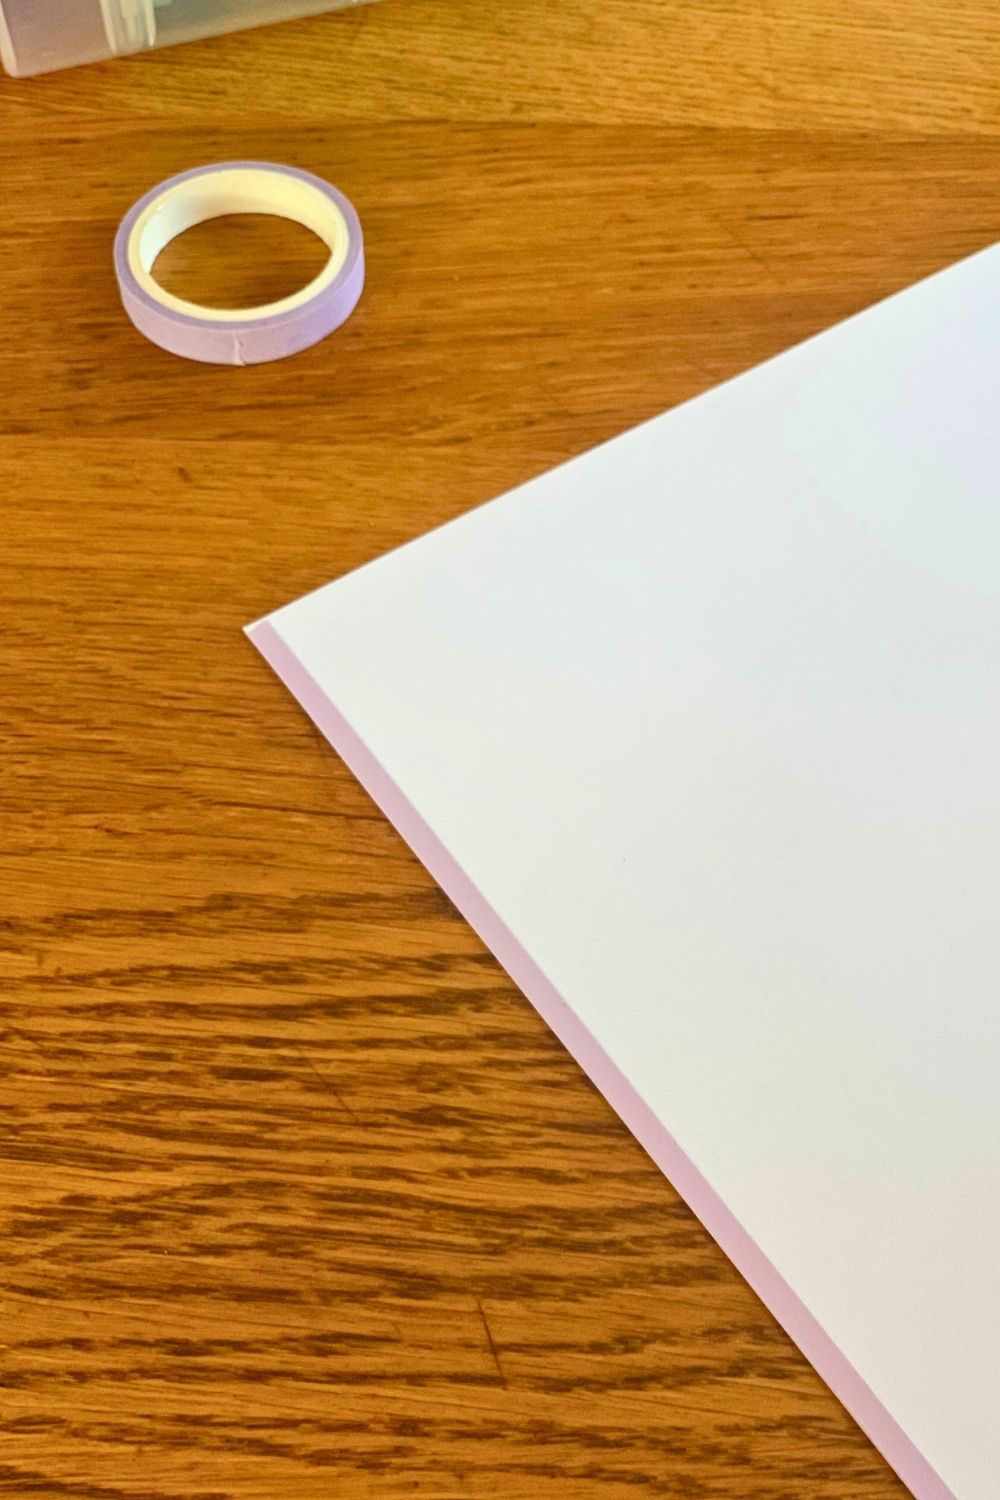
Tear the tape just a bit shorter than the. length of the page. Center the tape along the edge and smooth the front down. Flip the page over and fold the washi tape onto the back, then smooth it down.
3. Add pages to binder.
Finally, add the monthly dashboard page to your binder. This is handy whether you print one month at a time or do the whole year at once.
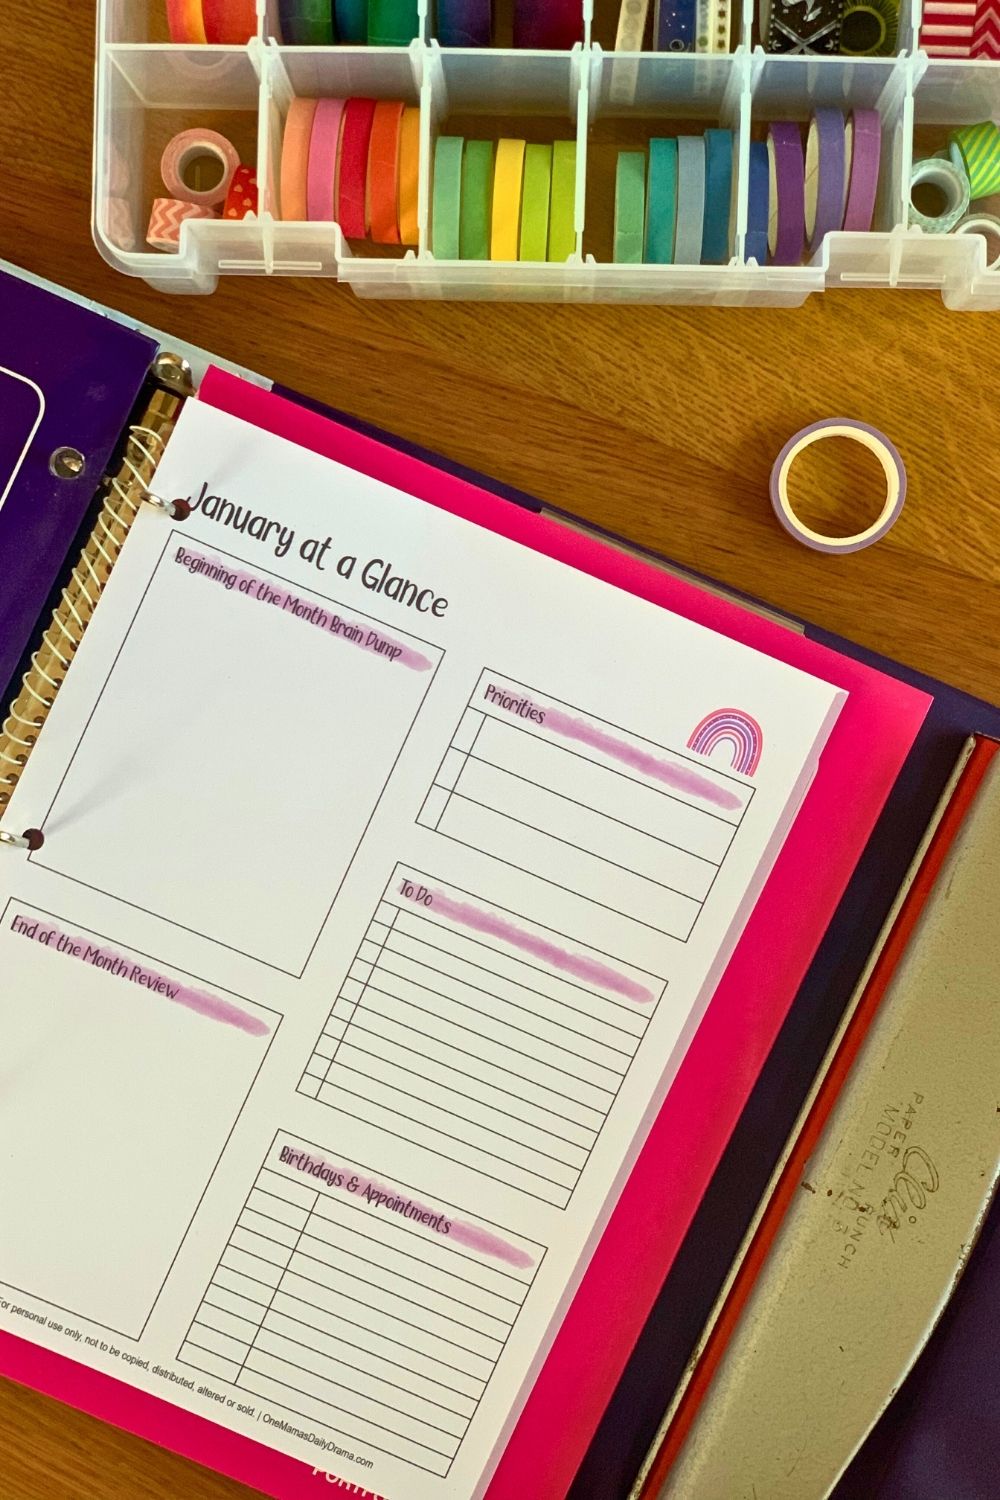
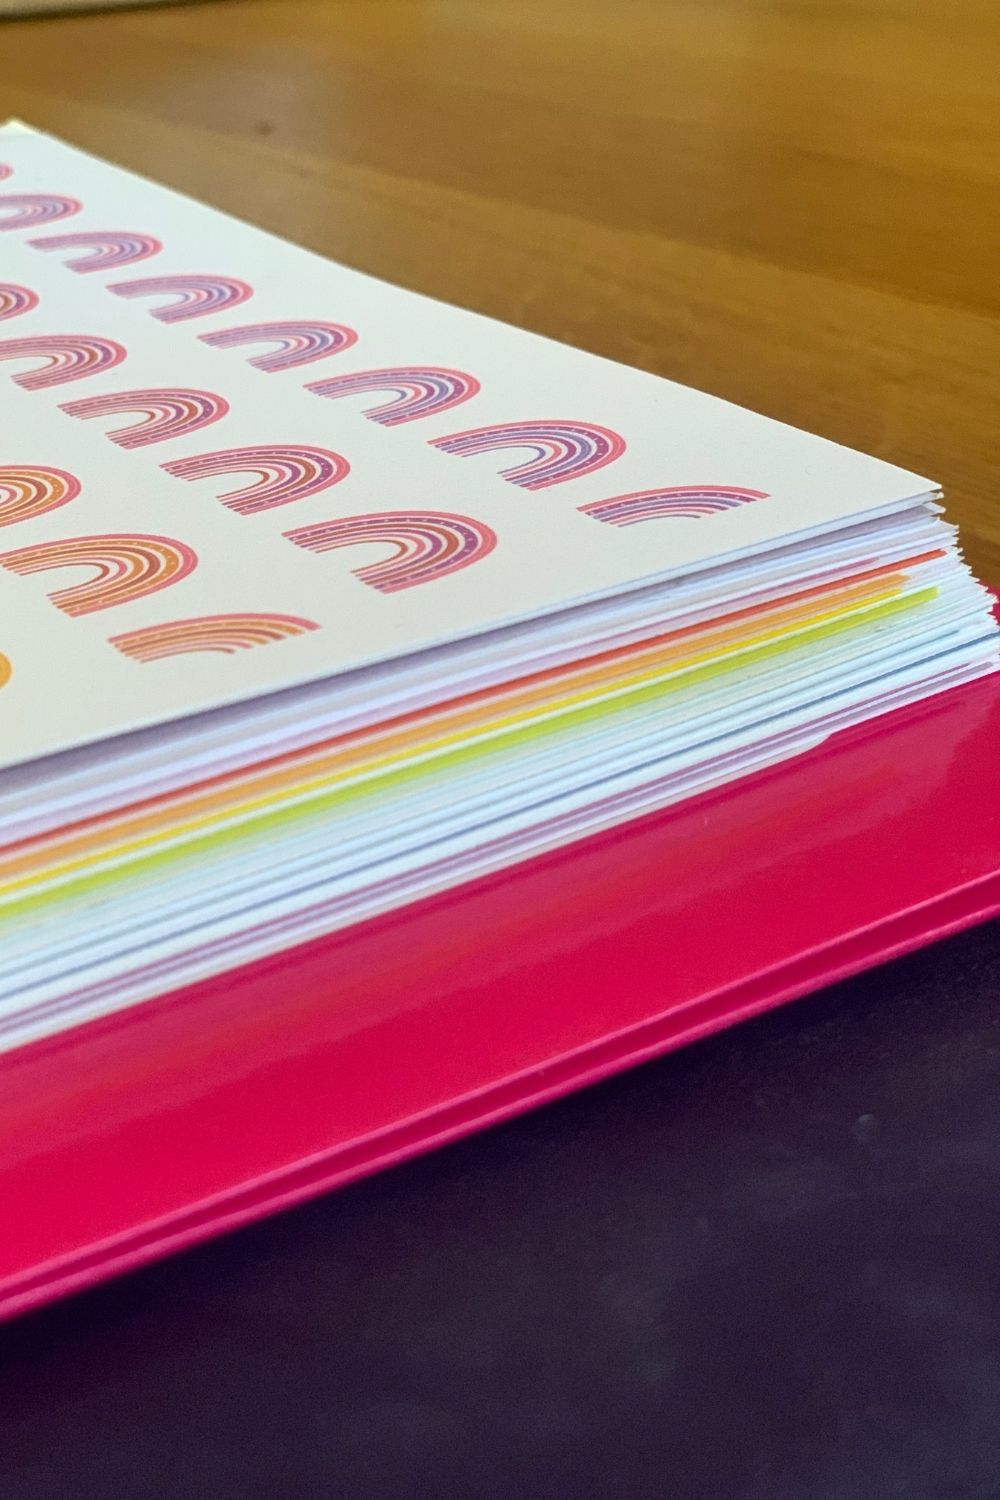
My regular planner pages are just printed on plain paper, so the card stock and washi combo makes the monthly dashboards stand out. I love how pretty this is. You cold use tabbed dividers, but I think this is an easy way to mark the beginning of each month.
On each month at-a-glance page, there’s room for a brain dump of thoughts and notes. Highlight the most important priorities, make a to-do list to check off, and keep track of appointments.
Come back to this page throughout the month to add quick notes or to check on something. At the end of the month, there’s space for a review. You can use this space to evaluate your projects or make note of what needs to be carried over to the next month.
Note: this includes all 12 months, I just only photographed January.

Get the printable
Printables are free for subscribers. Sign up below to have this printable sent to your inbox. (If you’re a new subscriber, you’ll need to confirm your email address first. Check your spam ~ the emails are nearly instant.)
Don’t want another newsletter? No problem. Join The Printables Library for a one-time fee and get all the printables in one place. If you’re already a member, you can find this file there now.
Terms of use: All printables are for personal use only (home, classroom, library) and are not to be redistributed or sold. Please share by sending your friends to this blog post!
What’s next? Try these other fun and creative ideas on One Mama’s Daily Drama:
Leave a Reply