
Make DIY Valentine’s Day treat tubes – also called poppers or crackers – filled with toys and candy for the perfect easy gift.

Disclosure: This blog contains affiliate links. As an Amazon Associate and member of other affiliate programs, Keri Houchin earns a commission from qualifying purchases at no additional cost to you.
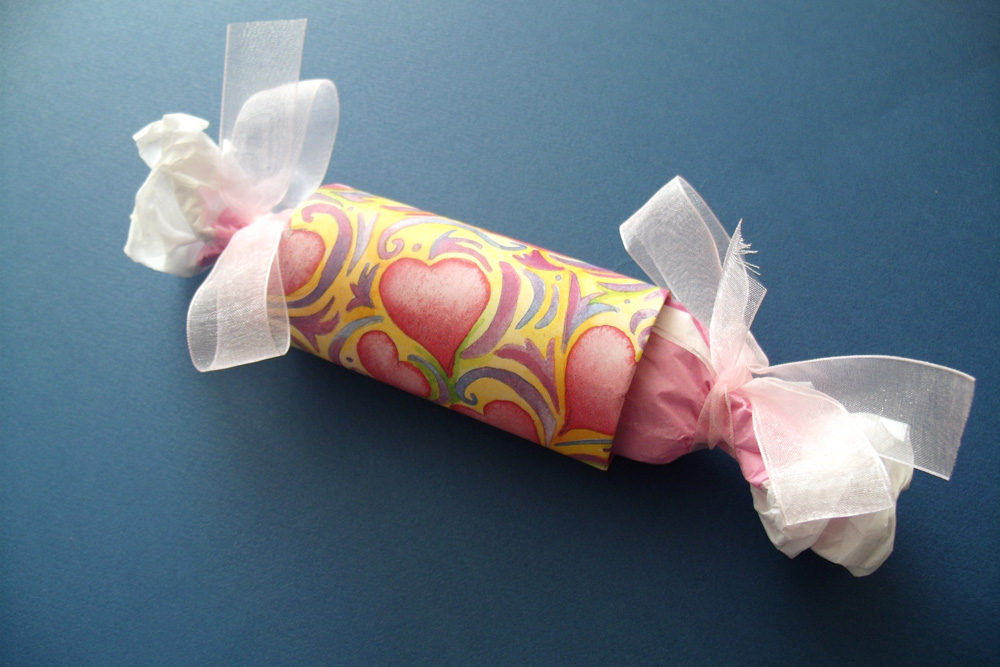
These Valentine’s Day treat tubes are a fun and easy craft that you can fill with any small treats! They’re inspired by British Christmas crackers, but they don’t pop when you tear into them.
Fill these with candy, small toys, and other fun piñata favors. You can make just a few of these, personalized for your family. Or make up a bunch and fill them with fun surprises for a classroom, club, or other group of kids.
These are easy to customize with the supplies you have at home or you can purchase almost anywhere. Once you’ve made a few for Valentine’s Day, you might just want to make them for other holidays too.
How to make treat tubes
If you don’t want to use toilet paper tubes, you can cut paper towel tubes or even use tube mailers for this craft.
Supplies
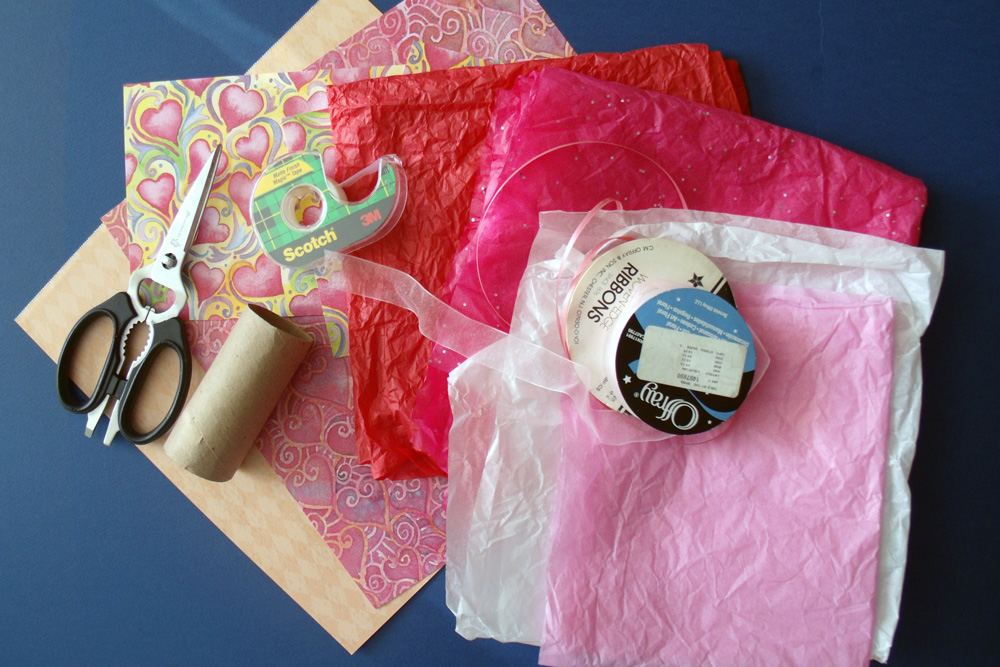
- valentine scrapbook paper
- pink tissue paper
- toilet paper tube
- pink ribbon
- scissors
- tape
- goodies for filling: Valentine’s candy, stickers, erasers, or small toys
- confetti, optional
Instructions
1. Wrap the tube with scrapbook paper.
Start by cutting your paper to fit the tube. I used scrapbook paper, which is 12×12 inches. No need to even measure. Just fold a sheet in half and cut along the crease, then repeat to get a smaller square of 6×6 inches.
Center the scrapbook paper along the tube and tape the edge to the tube. Wrap the paper around the tube and tape it along the seam.
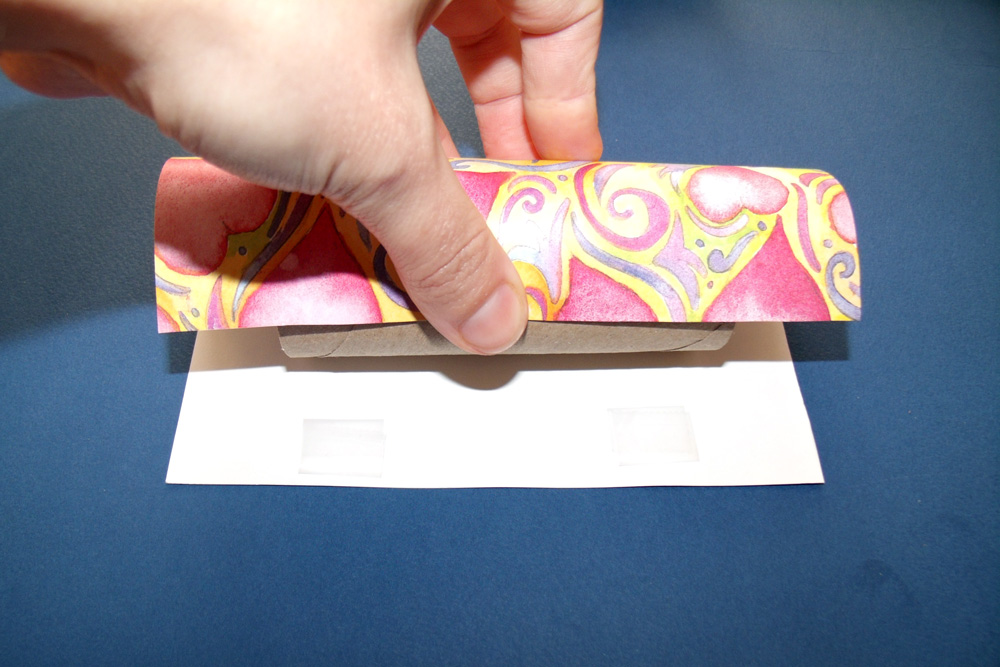
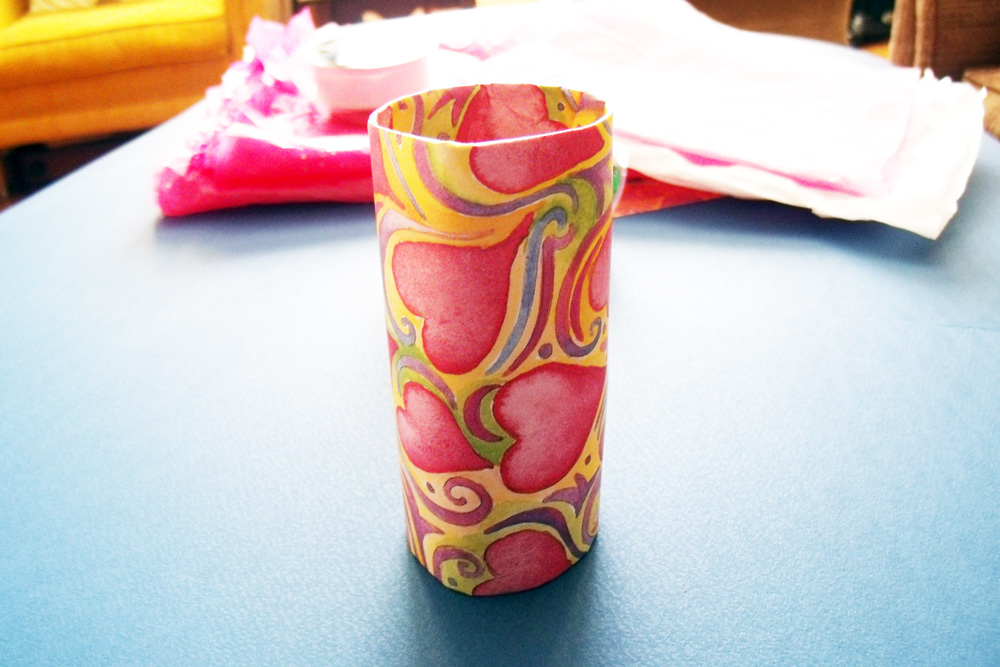
Take the paper sticking over the ends and gently fold it into the tube. It’s going to wrinkle on the inside and that’s okay. You want the edge flat and the outside smooth.
2. Wrap treats in tissue paper.
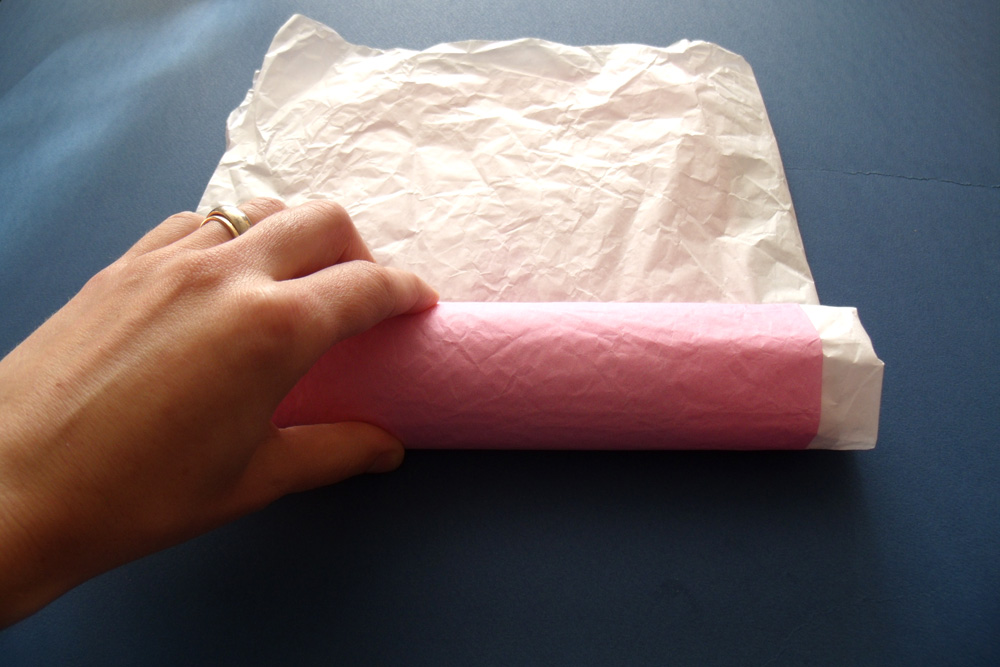
Next, lay out the tissue paper. I layered two pieces together and folded them both in half. The outside one is smaller, so you can see both of them when it’s rolled up.
Put your treats in the middle. (Add the confetti if you’re using it.) Fold the bottom up and then start rolling everything into a tube shape.
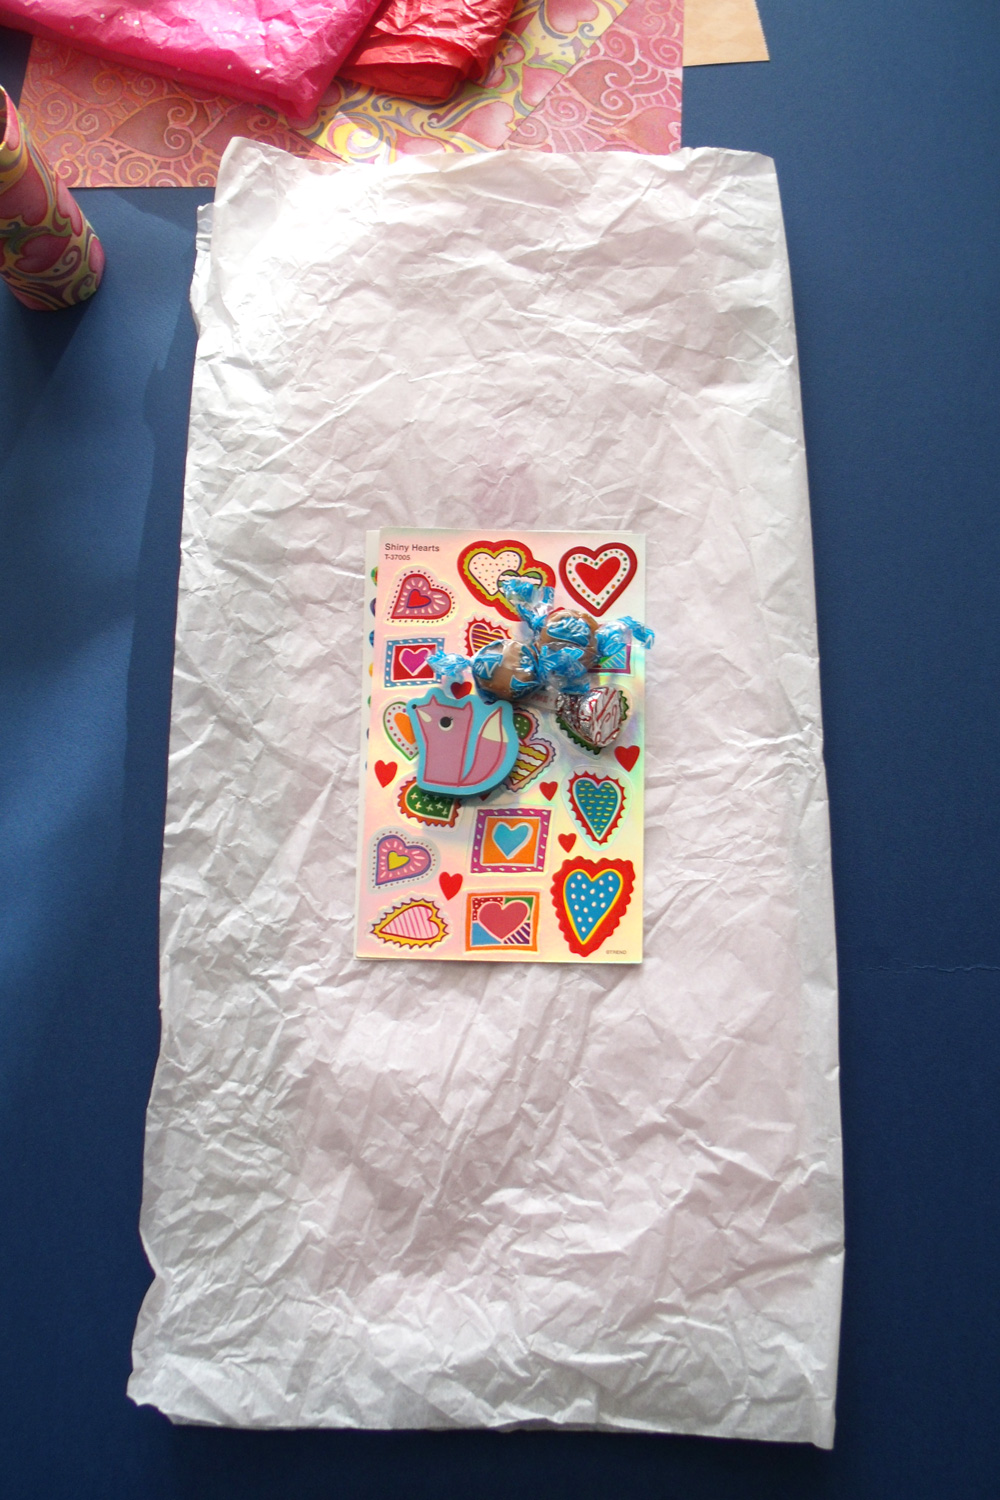
The tissue paper roll needs to fit inside the paper tube, so you may need a bit of trial and error to get it the right size.
3. Assemble the tube.
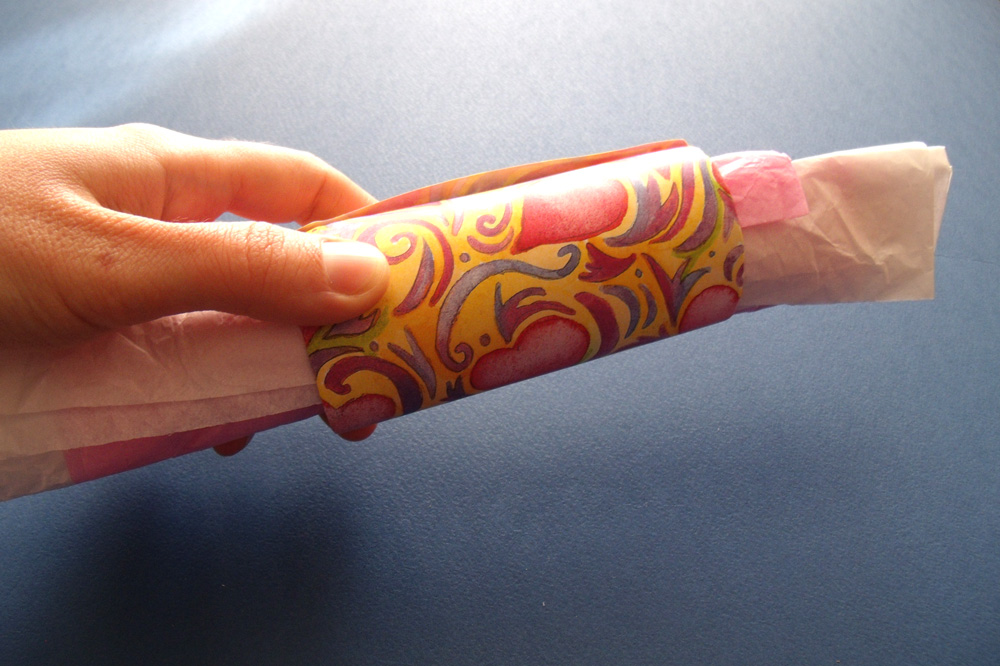
Stick the rolled tissue paper into the wrapped paper tube. Wiggle it around so that it fits snugly and is more or less in the middle. You’ll have the ends of the tissue paper sticking out on both sides.
4. Tie the ends.
Cut two pieces of ribbon about 12 inches long each. Tie the ribbon around the tissue paper sticking out of either end with a knot. It should be snug enough that it won’t slide, but not so tight that it tears the tissue paper. Loop it into a bow and repeat on the other end.
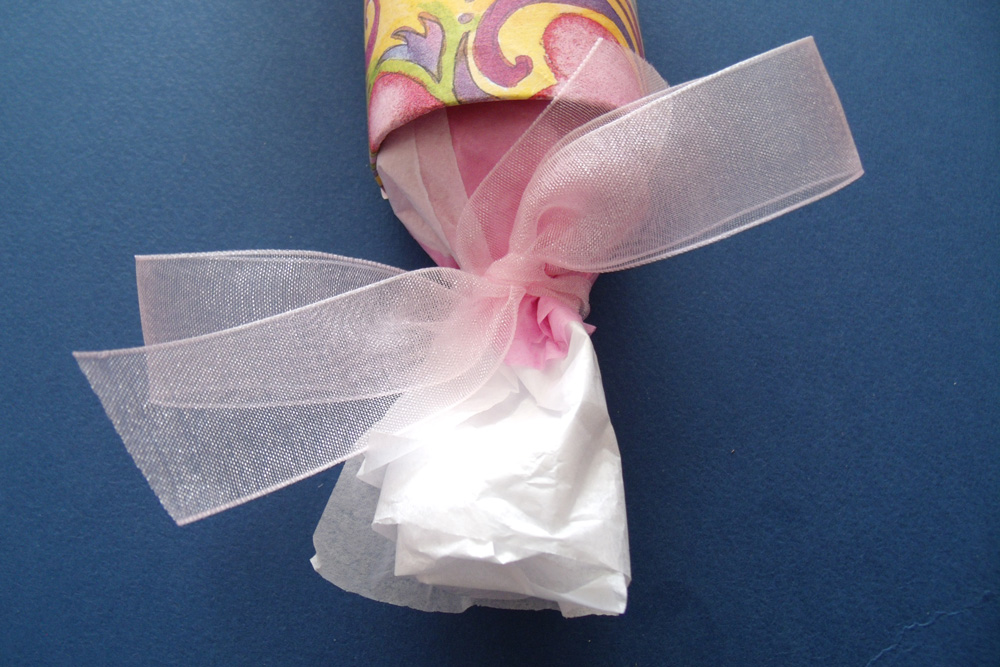
The finished Valentine’s Day treat tube should be even and feel secure. If you feel like the treats inside are sliding around too much, you can try re-wrapping them to spread out differently. You could also add more tissue paper for filler.
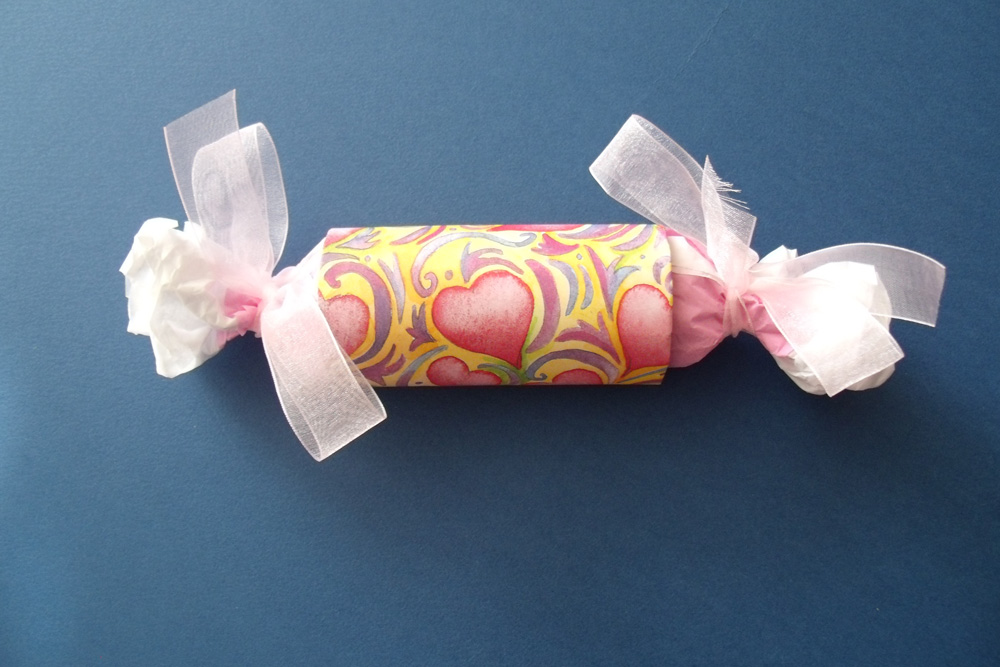
When you gift your treat tubes, the recipient can either untie the ribbons or just tear into the tissue paper! If you added confetti, tearing into the paper should make it spill out for a surprise.
Be sure to bookmark these DIY Valentine’s Day treat tubes so you can come back and make them again next year too.

What’s next? Try these other fun and creative ideas on One Mama’s Daily Drama:
These are adorable! I love the “recycle” aspect of your creativity. Pinning to my Valentines board.
Thanks! Anything I can pull out of the trash instead of buying is a win in my book.
What a great way to wrap gifts! I’m always looking for ways to reuse/recycle tp rolls. I hate waste, lol. Thanks for linking up with FTAF!
Thanks!