
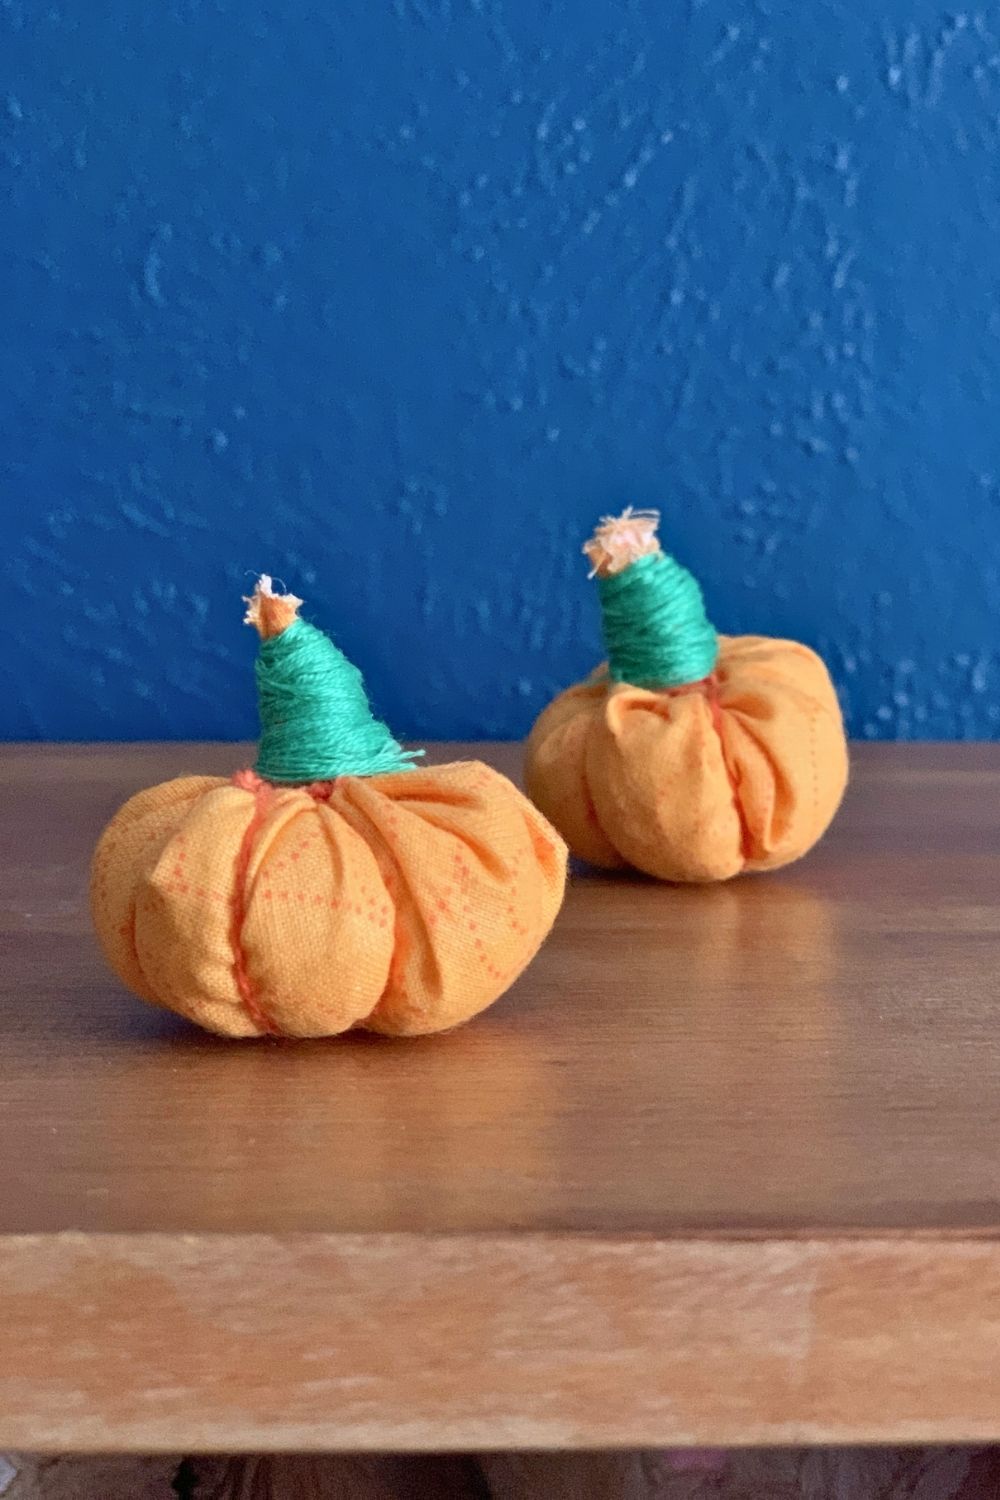
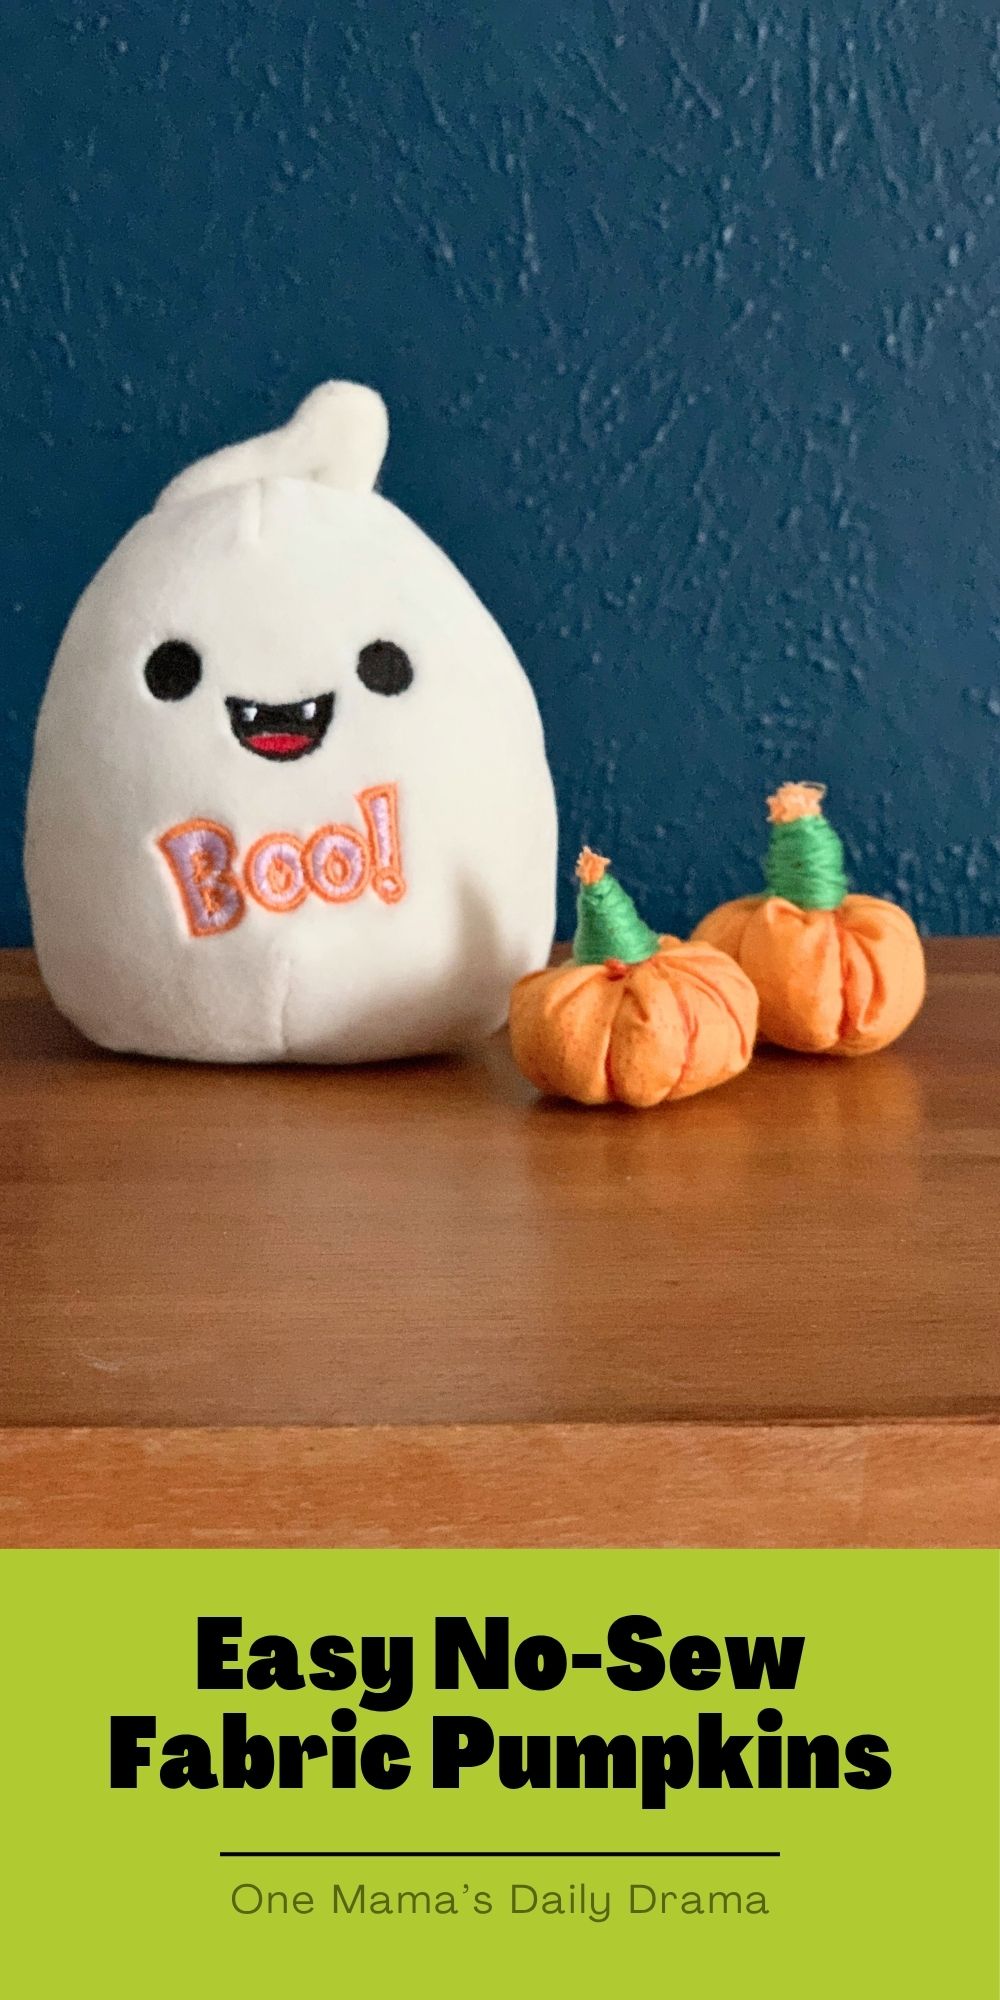
You can make pumpkin decorations from almost anything! Make up a whole patch of these no-sew fabric pumpkins for easy fall decor.
Disclosure: This blog contains affiliate links. As an Amazon Associate and member of other affiliate programs, Keri Houchin earns a commission from qualifying purchases at no additional cost to you.
Can you have too many pumpkin decorations? I say nope.
So far I’ve made fall pumpkins from yarn, paper, and wax paper.
And all you need to make these little cuties is fabric and thread. These are perfect for a fat quarter, but would also be cute from fleece or even old sweaters or tee shirts. I filled mine with fiberfill, but you could stuff them with scraps.
These soft pumpkins are cute to add to a fall centerpiece or just display on a tabletop or mantle on their own.
How to make fabric pumpkins
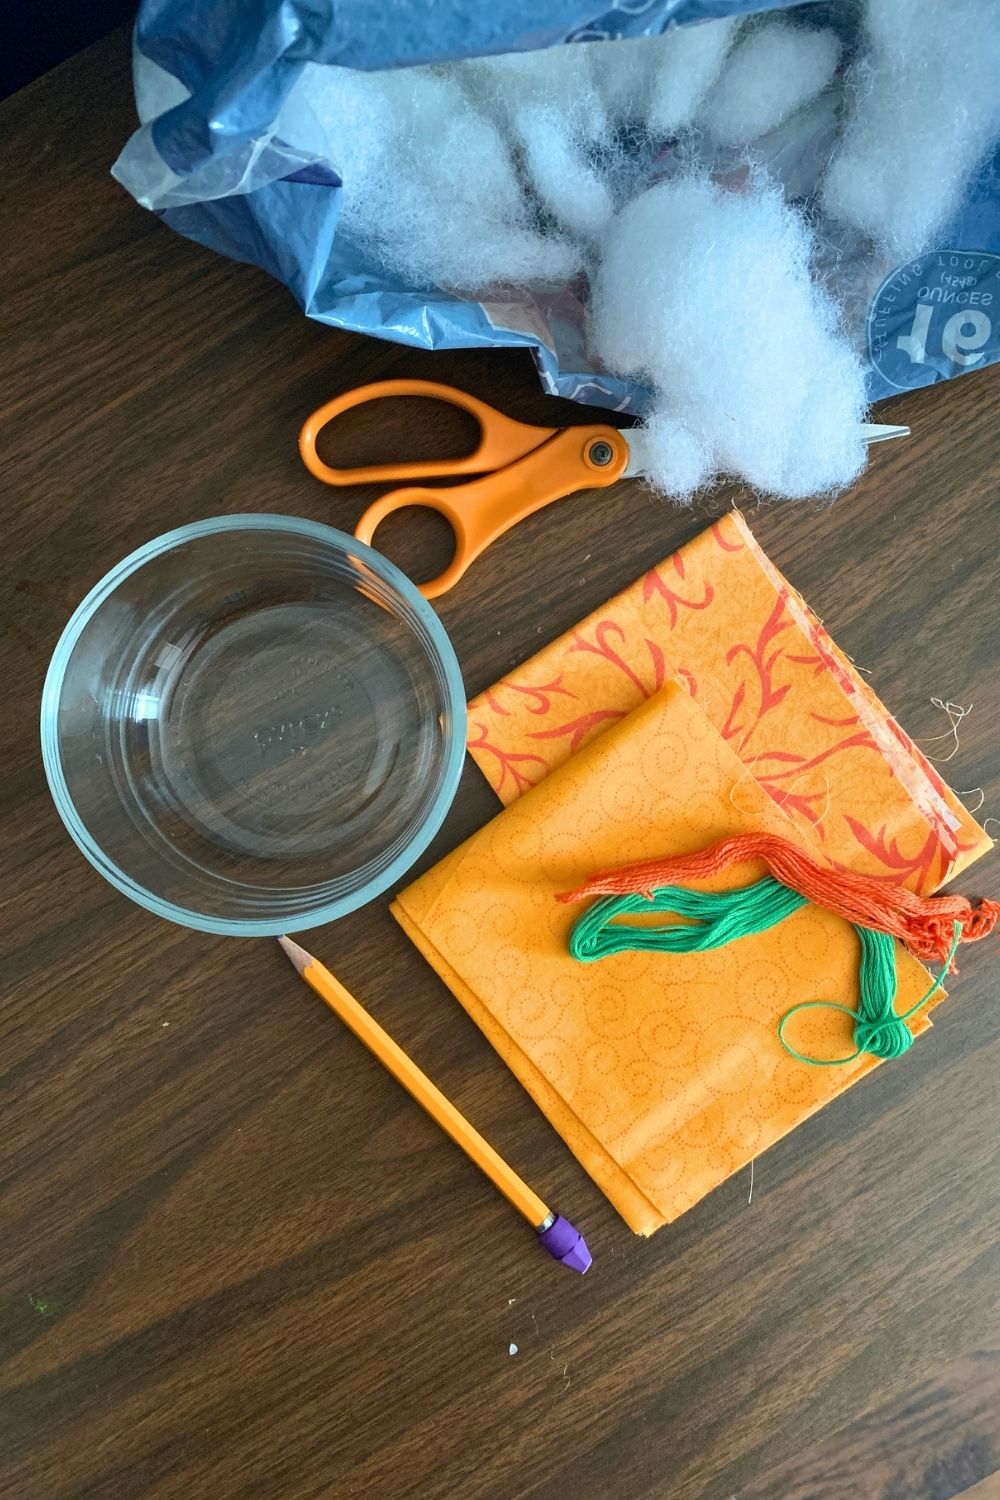
Supplies
- orange fabric
- poly fiberfill
- orange and green embroidery thread
- scissors
- pencil
- any circle to trace
Instructions
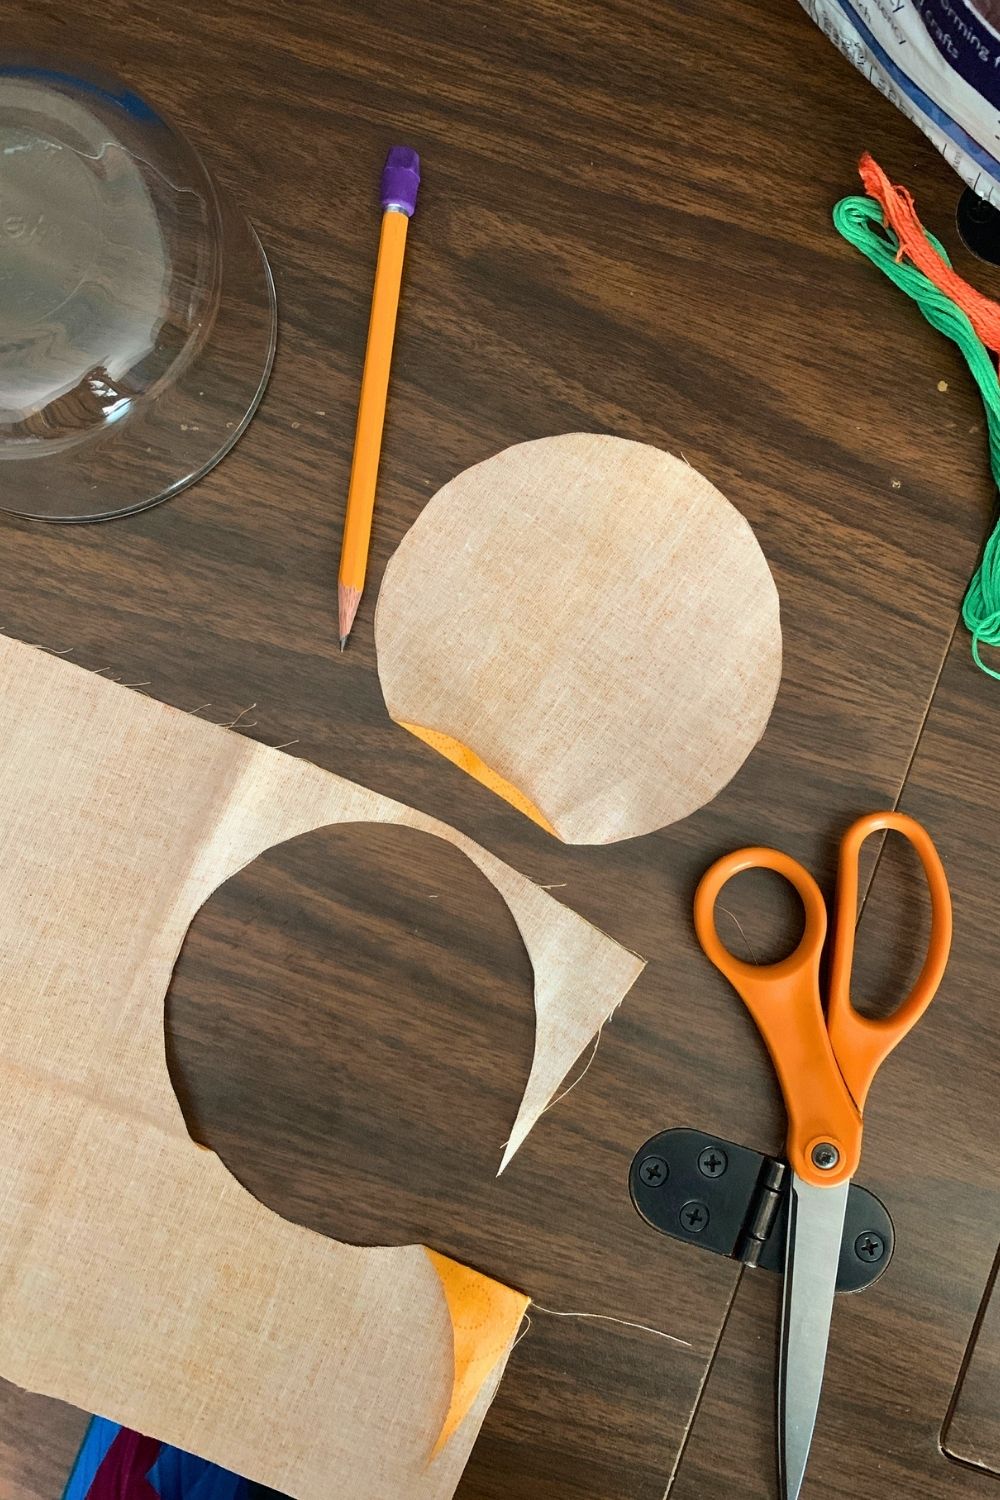
1. Cut fabric circle.
Lay the fabric right-side down and trace a circle onto the back. I used a glass bowl, but an embroidery hoop or empty container works too. My smaller pumpkin used a 4-inch circle and the bigger one used a 6-inch circle. Both finished pumpkins are smaller than my palm, so to make a larger pumpkin, you’ll need a very large circle.
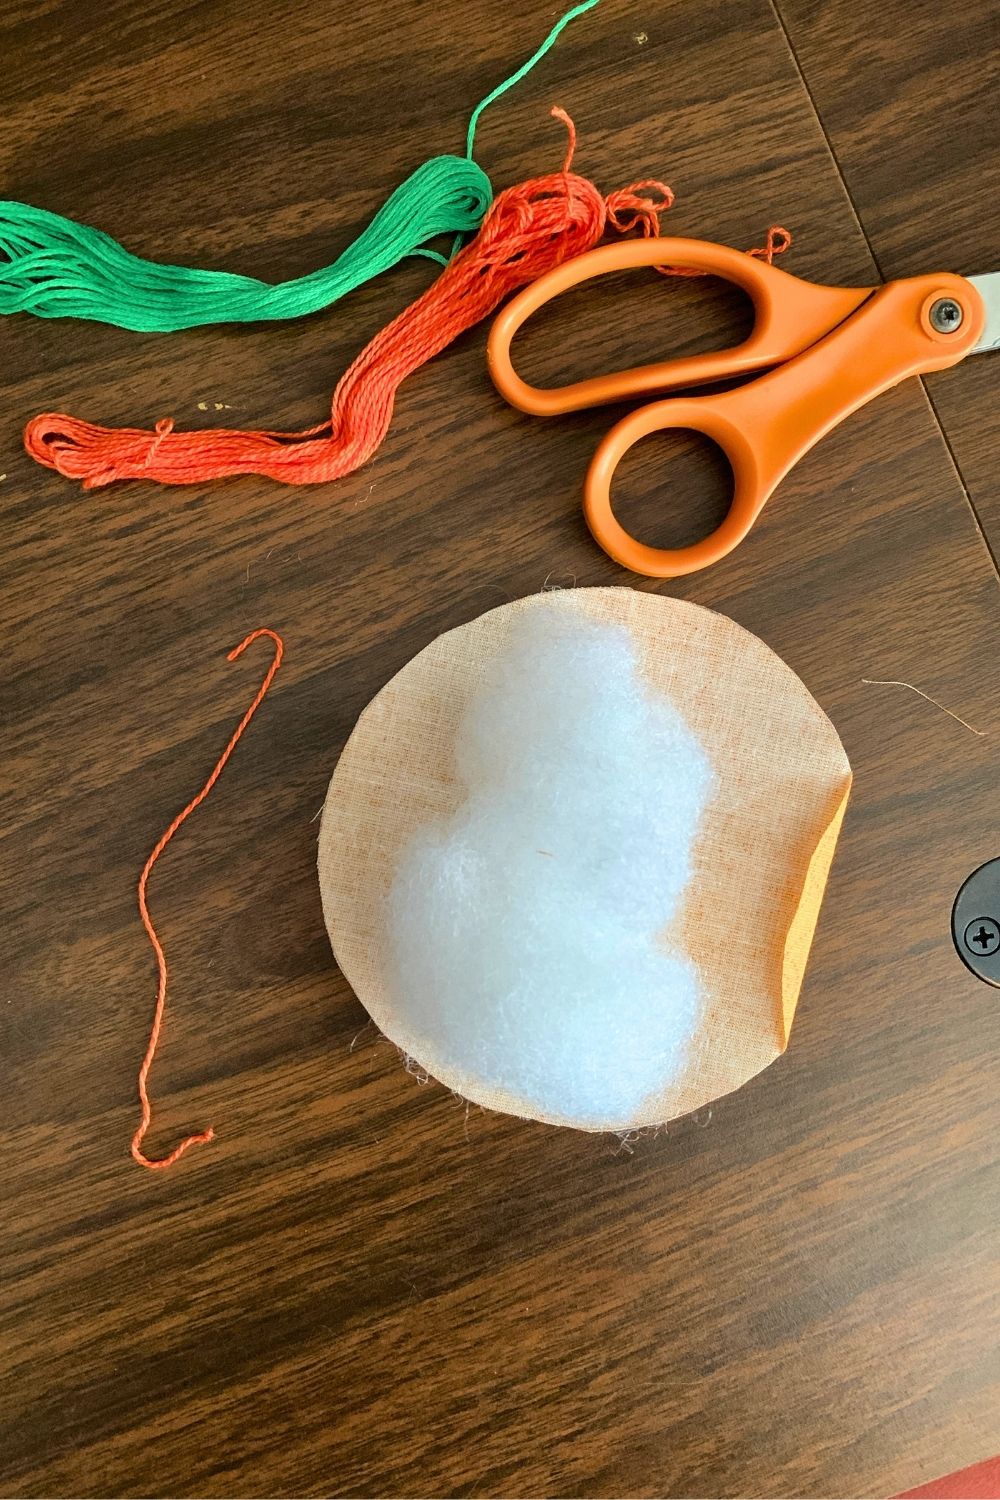
2. Stuff the pumpkin.
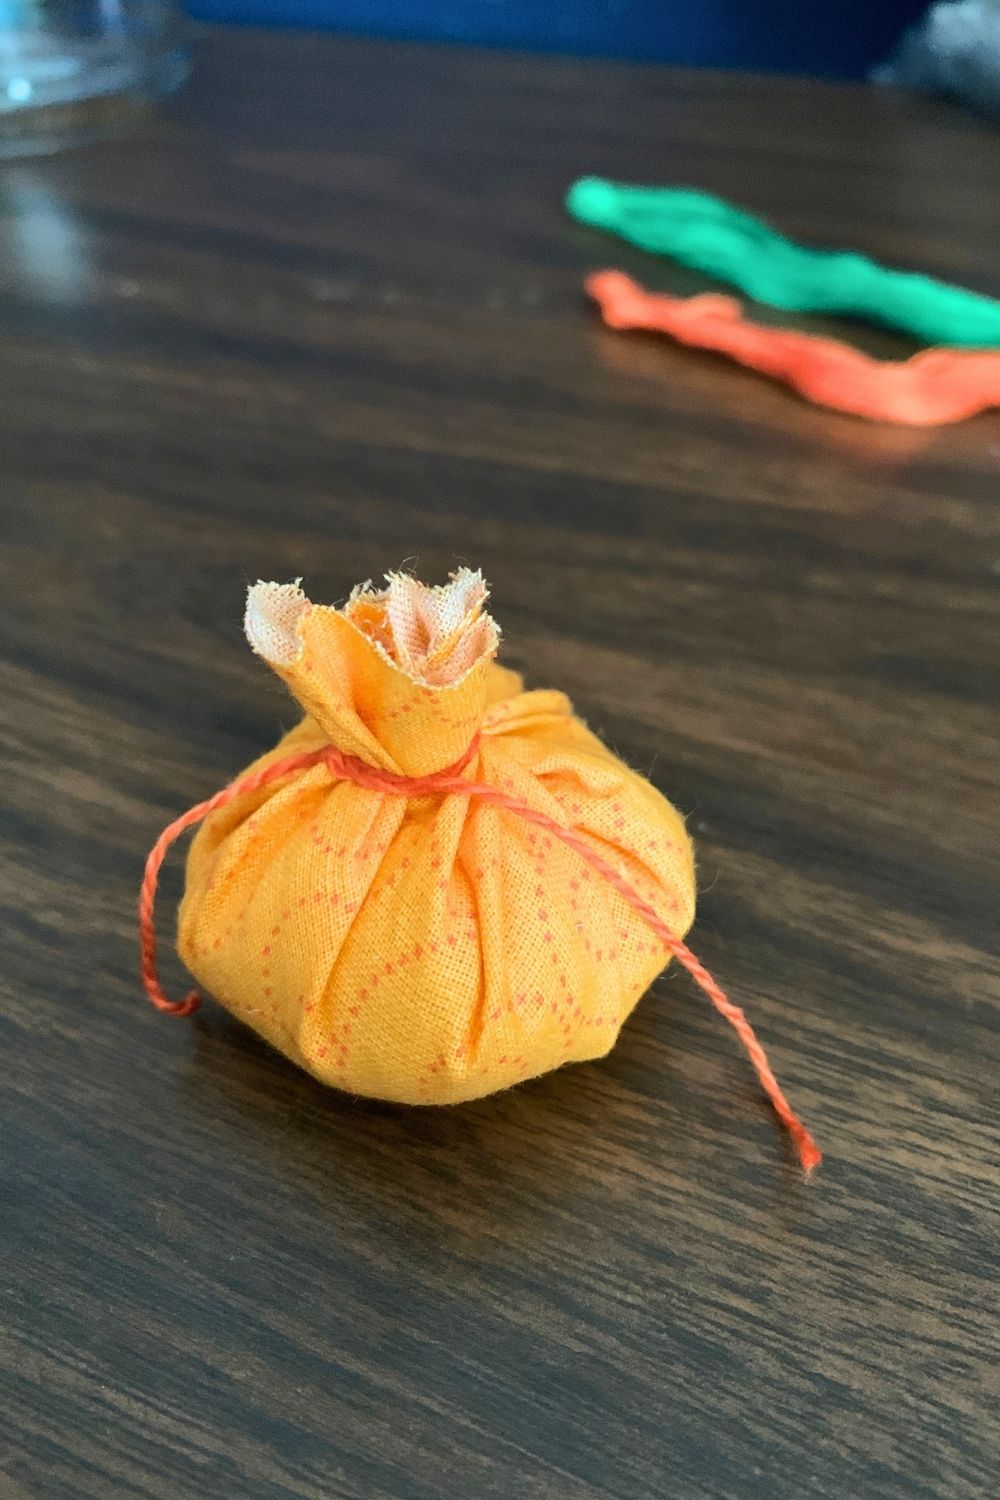
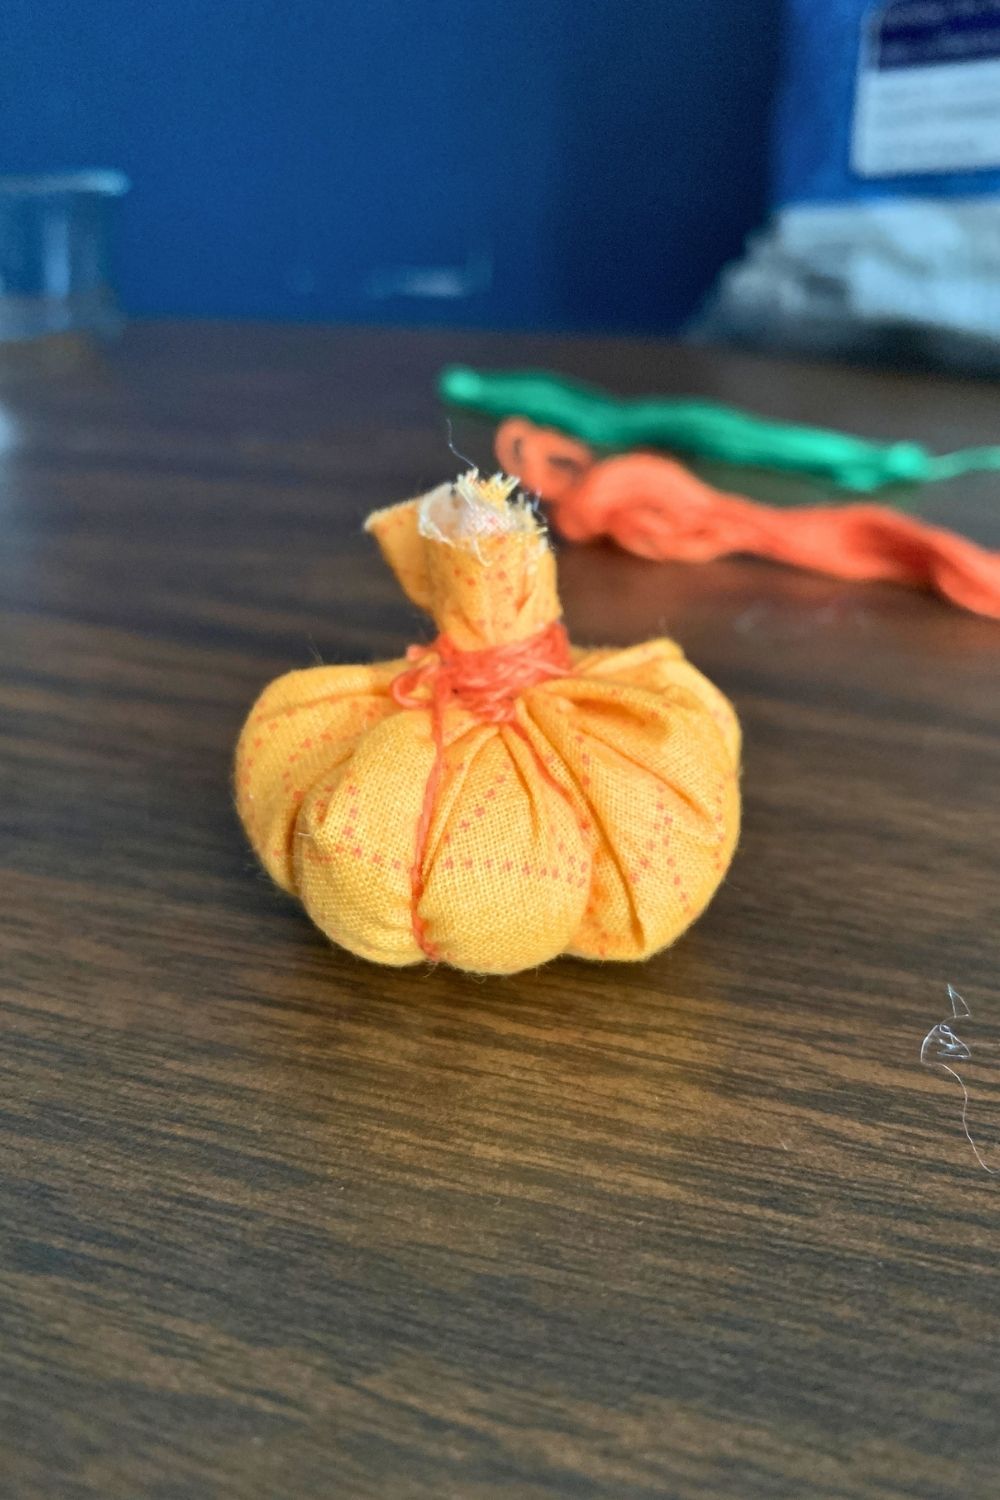
Grab a handful of fiberfill and cut a piece of orange thread several inches long. Put the fiberfill in the middle of the circle and gather the edges at the top. This will create a round-ish shape that should be snug. Tie the thread around the fabric securely with several knots, leaving a short tuft of fabric sticking up. (This will be the stem later.)
3. Shape the pumpkin.
Next, cut a longer piece of orange thread, around 36 inches long. Tie it around the stem of the pumpkin, leaving 2 long strands.
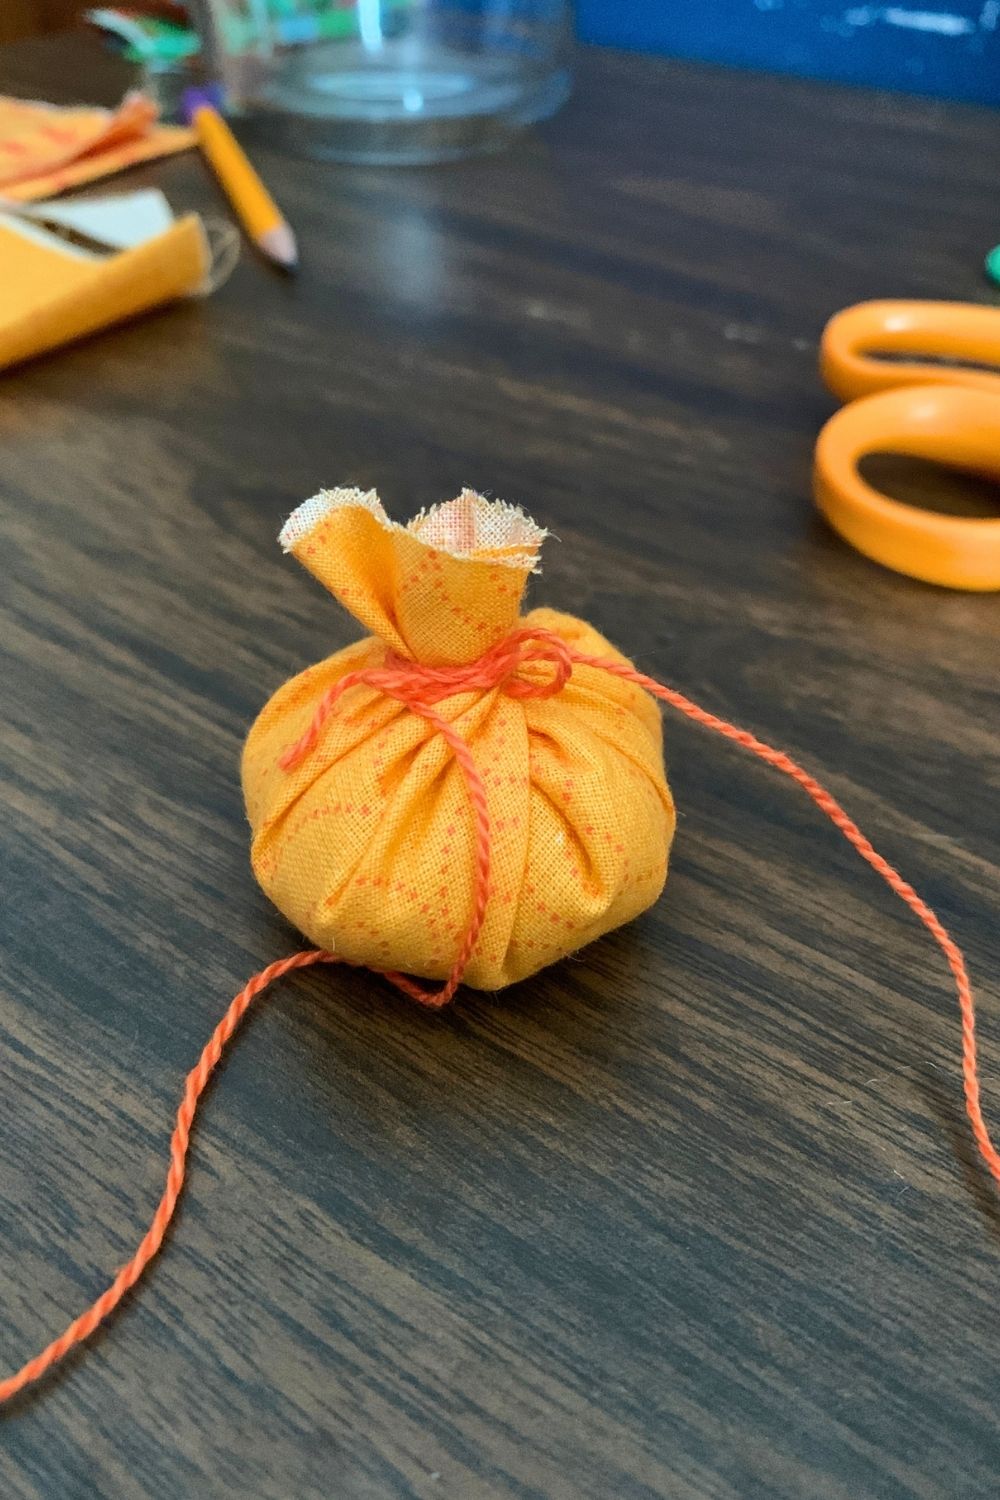
Pull the 2 strands down around the base of the pumpkin on opposite sides, cross them, then pull them back up toward the stem end. This will divide the pumpkin into 4 even segments. Tie the thread around the stem, then repeat to divide the pumpkin into 4 more segments (total of 8).
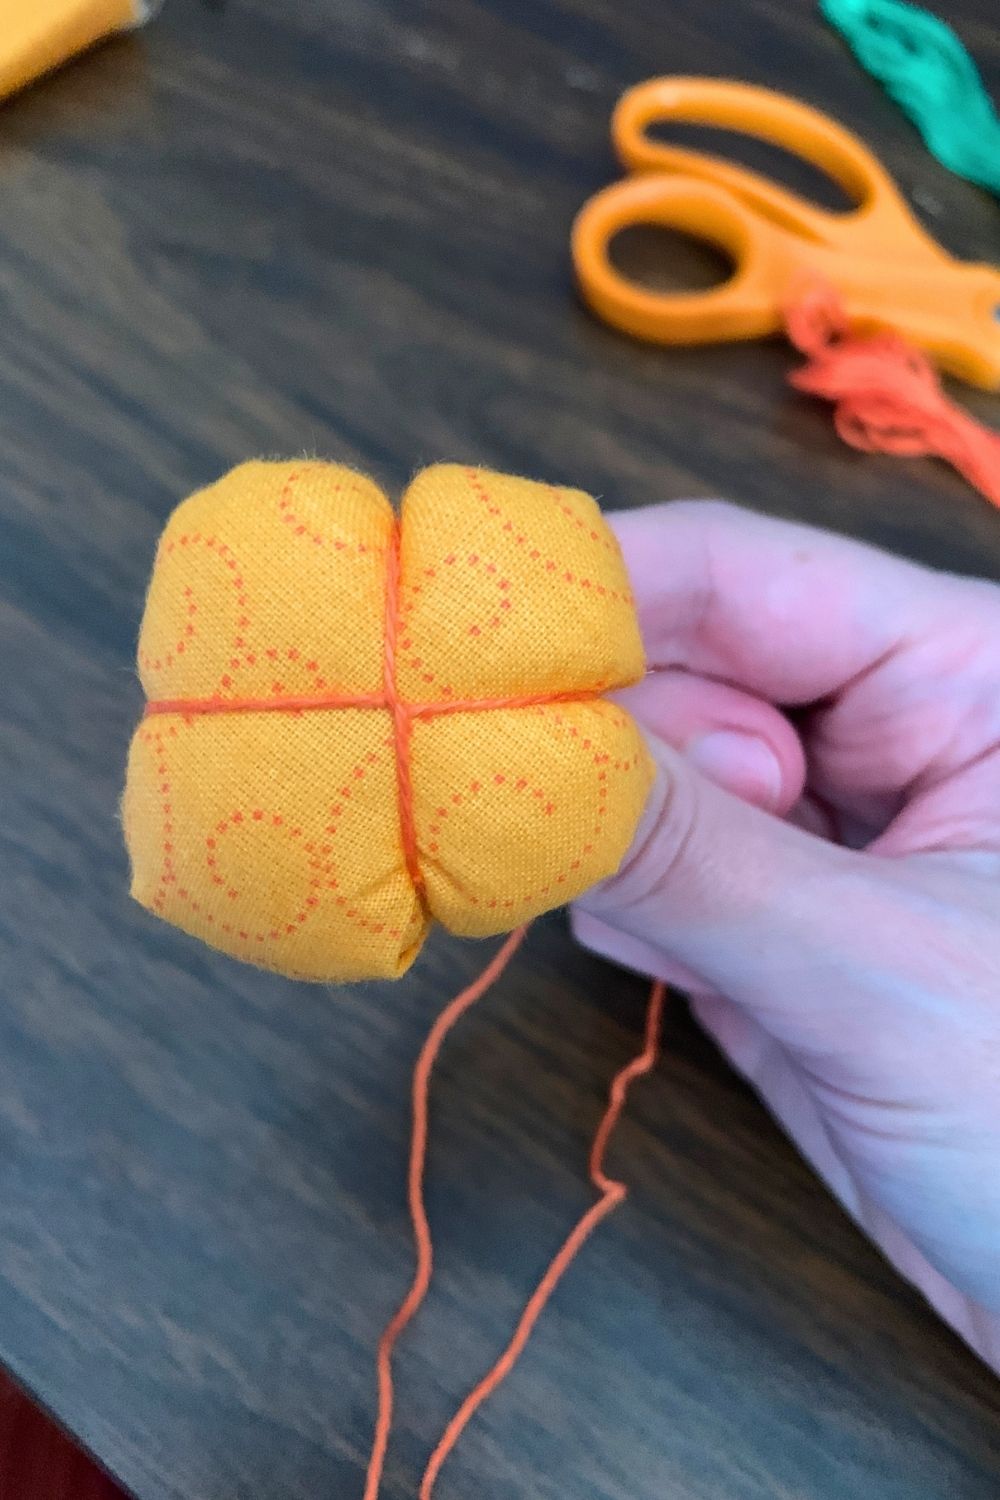
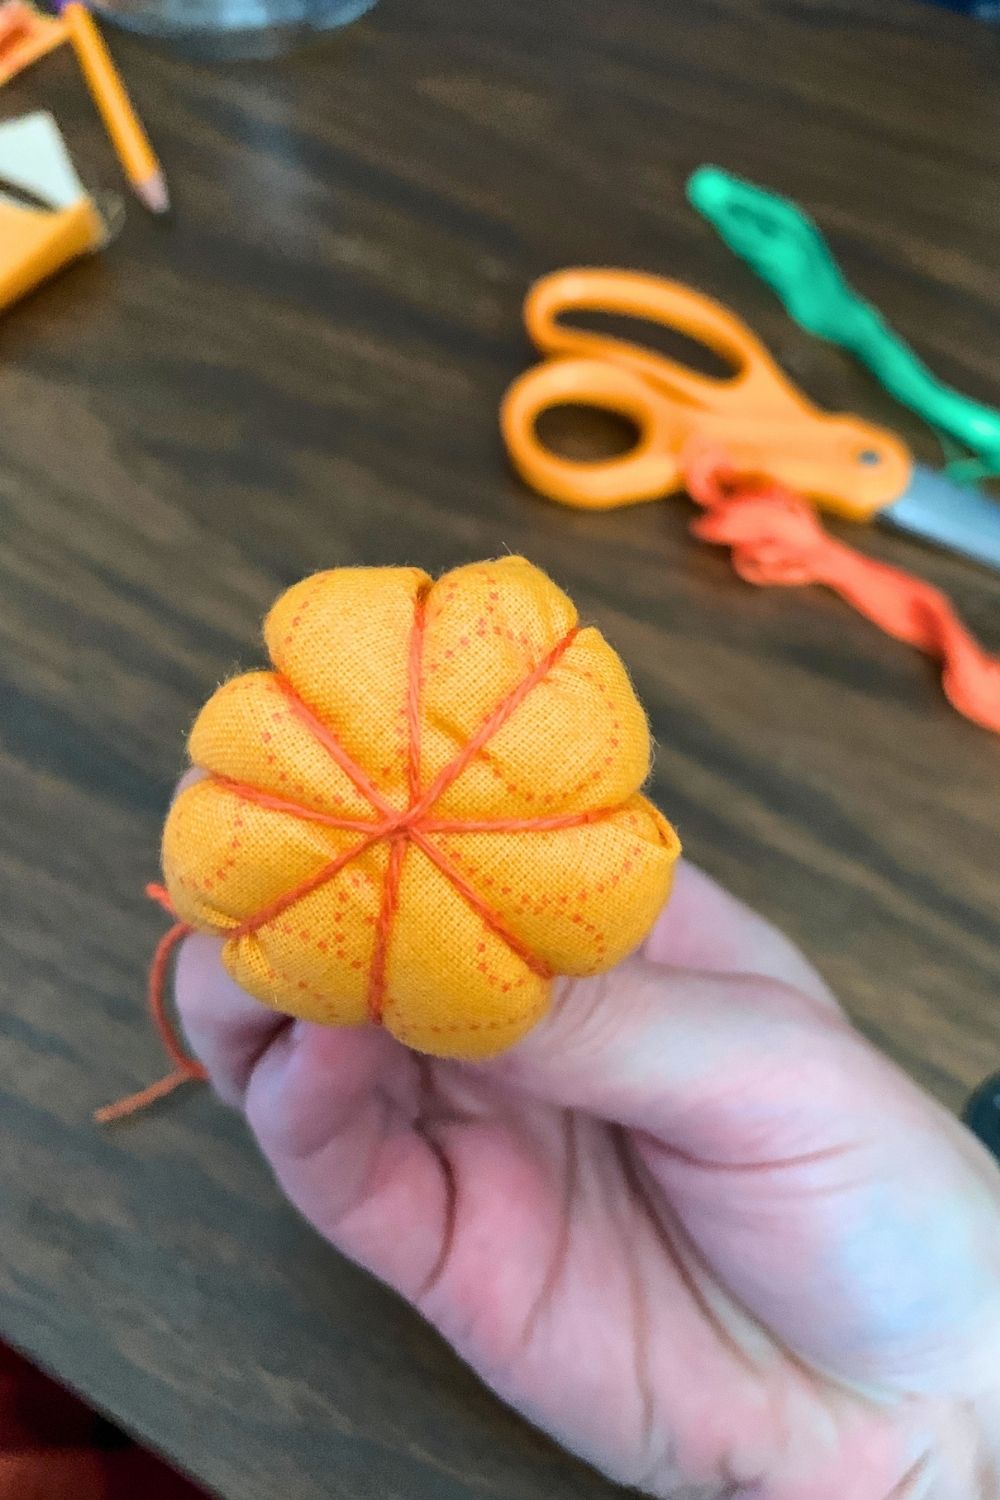
Knot the thread around the stem several times, then cut off any excess.
4. Wrap the stem.
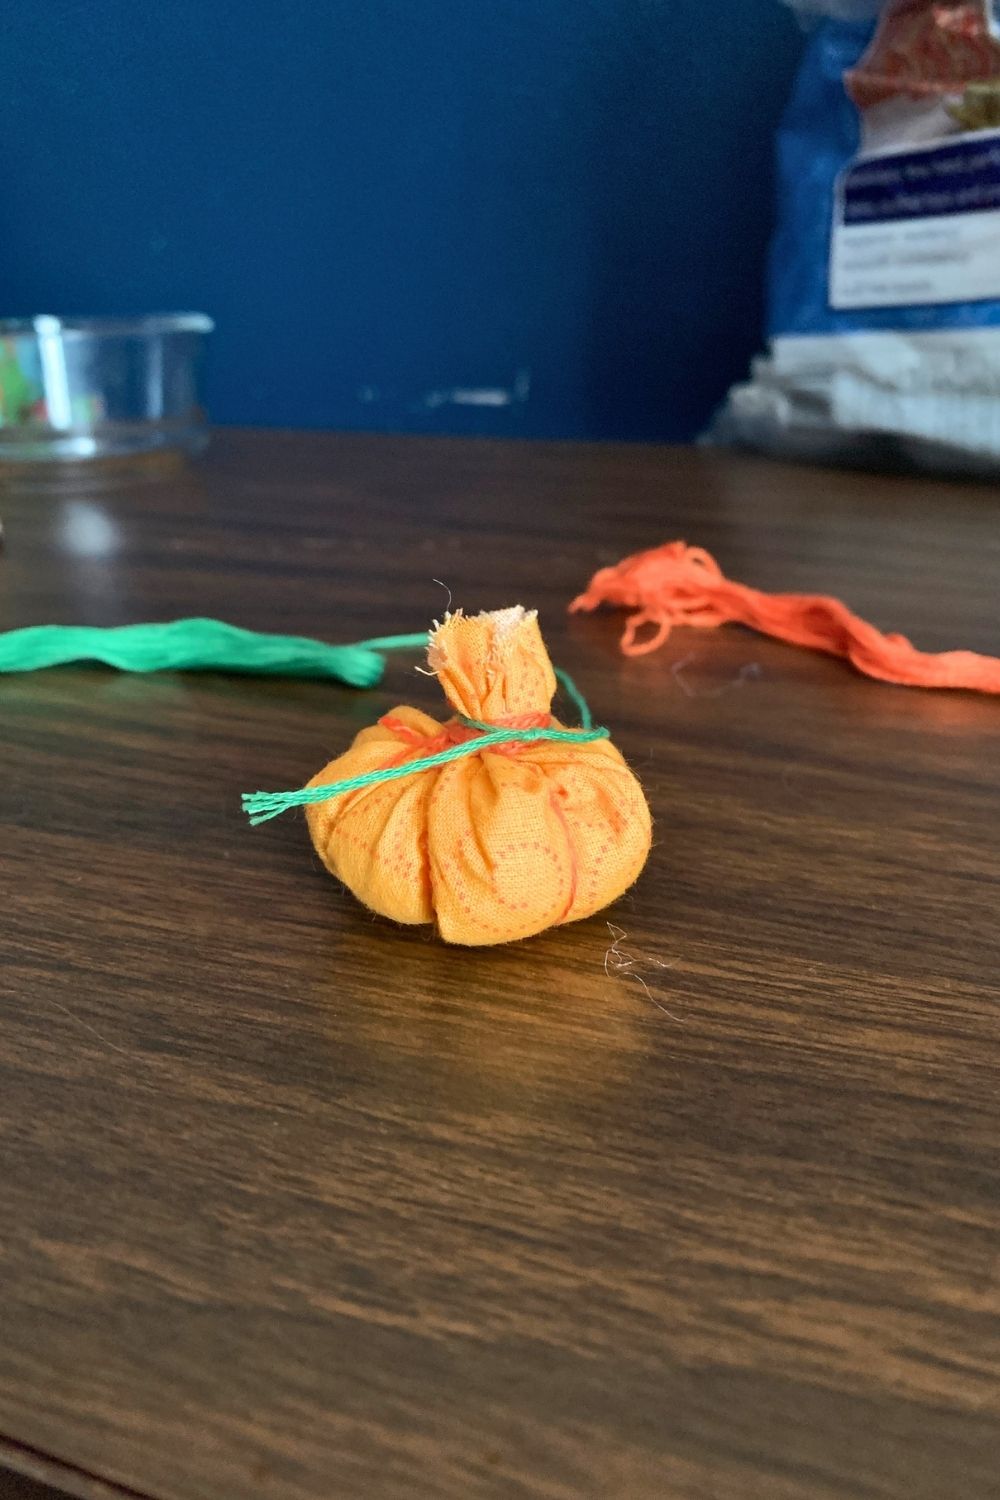
Take the green thread and tie one end around the base of the stem. Holding is snugly, wrap the thread around and up the stem. It should taper toward the top. Make sure it stays tight and wrap back down, covering the fabric and creating a stem shape.
Cut the thread and tie it off or tuck it into the body of the pumpkin.
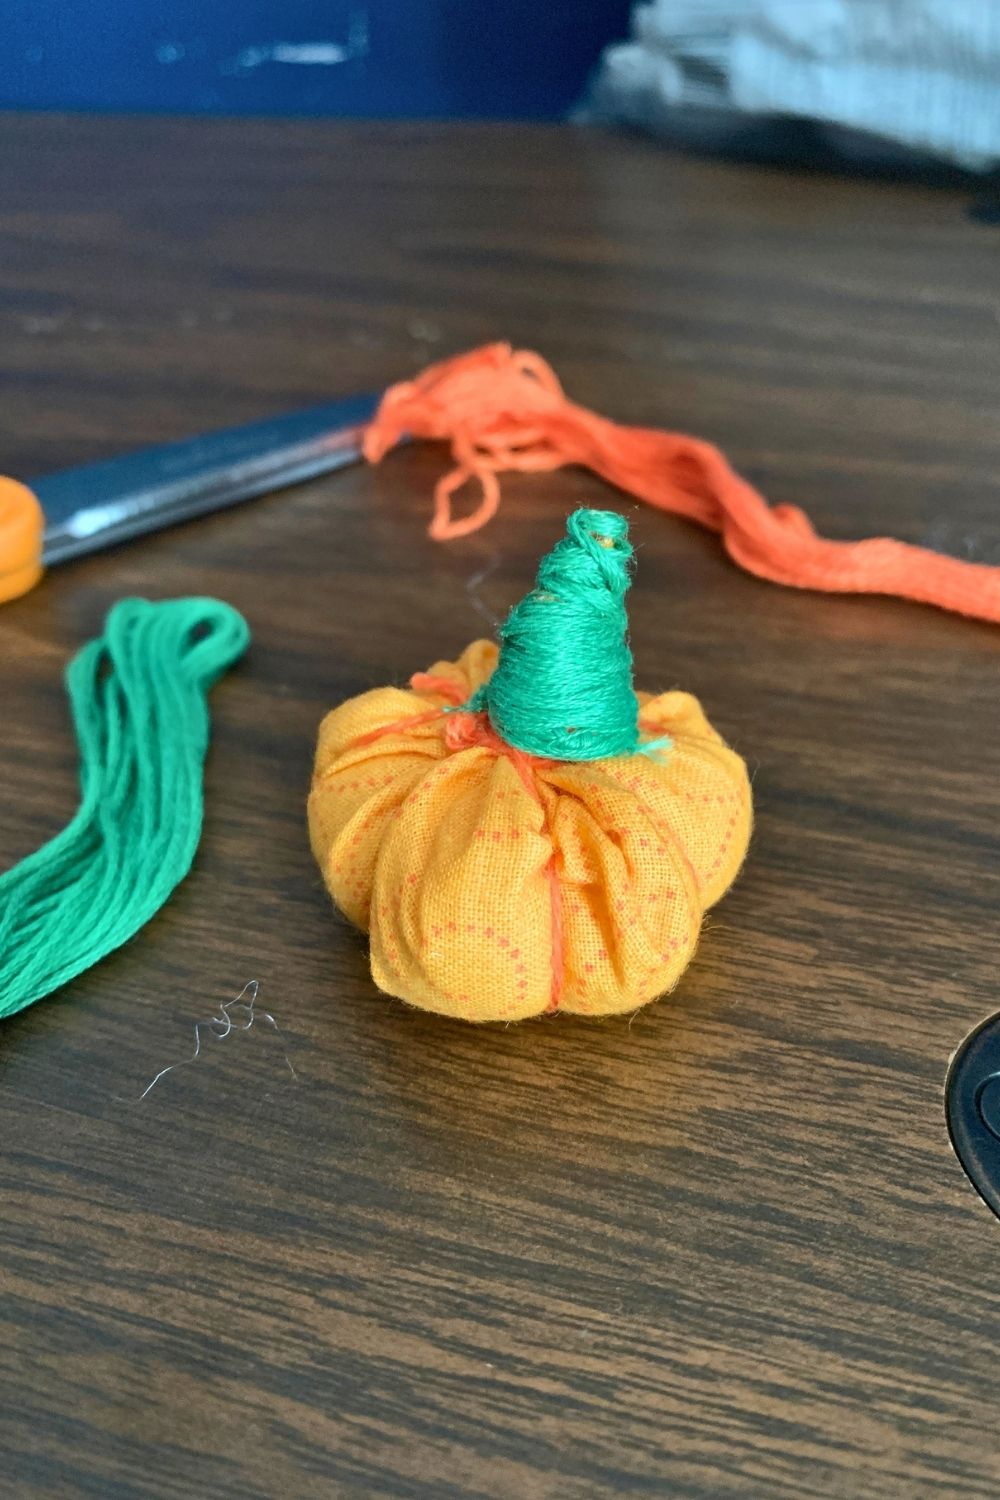
Adjust the segments of the pumpkin and shape it as needed. Even if you use the same size fabric circle, your pumpkins will probably all turn out a bit different.
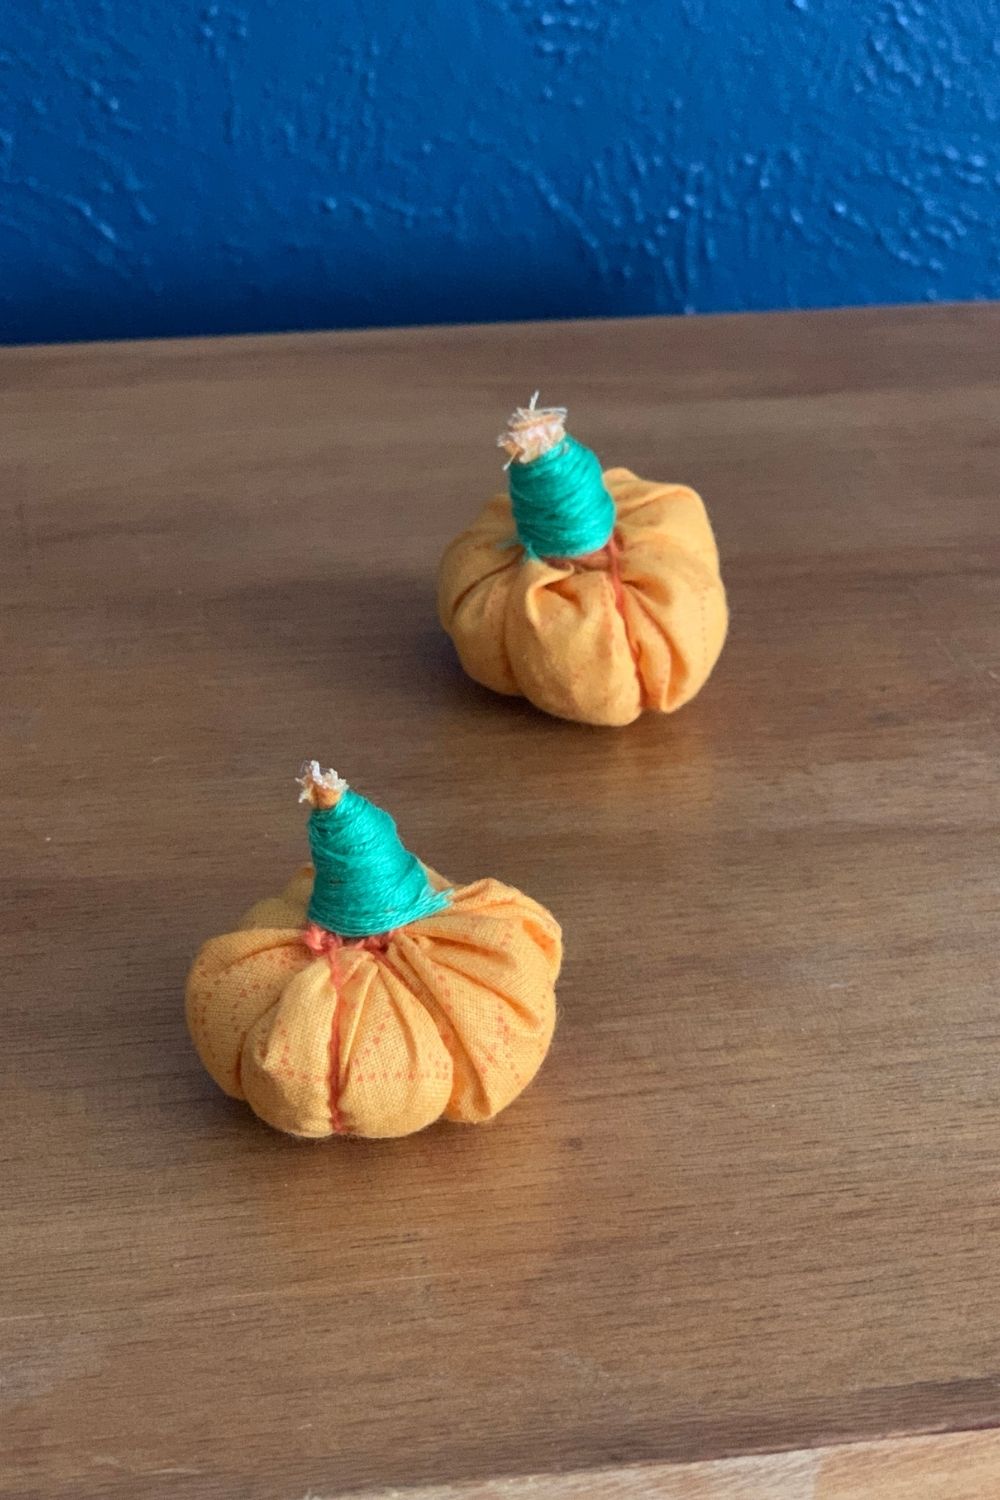
I made these from classic orange and green, but you could make them any color. Use up scrap fabric from other projects, or just make your pumpkins to match the rest of your fall and Halloween decor!
What’s next? Try these other fun and creative ideas on One Mama’s Daily Drama:
Leave a Reply