
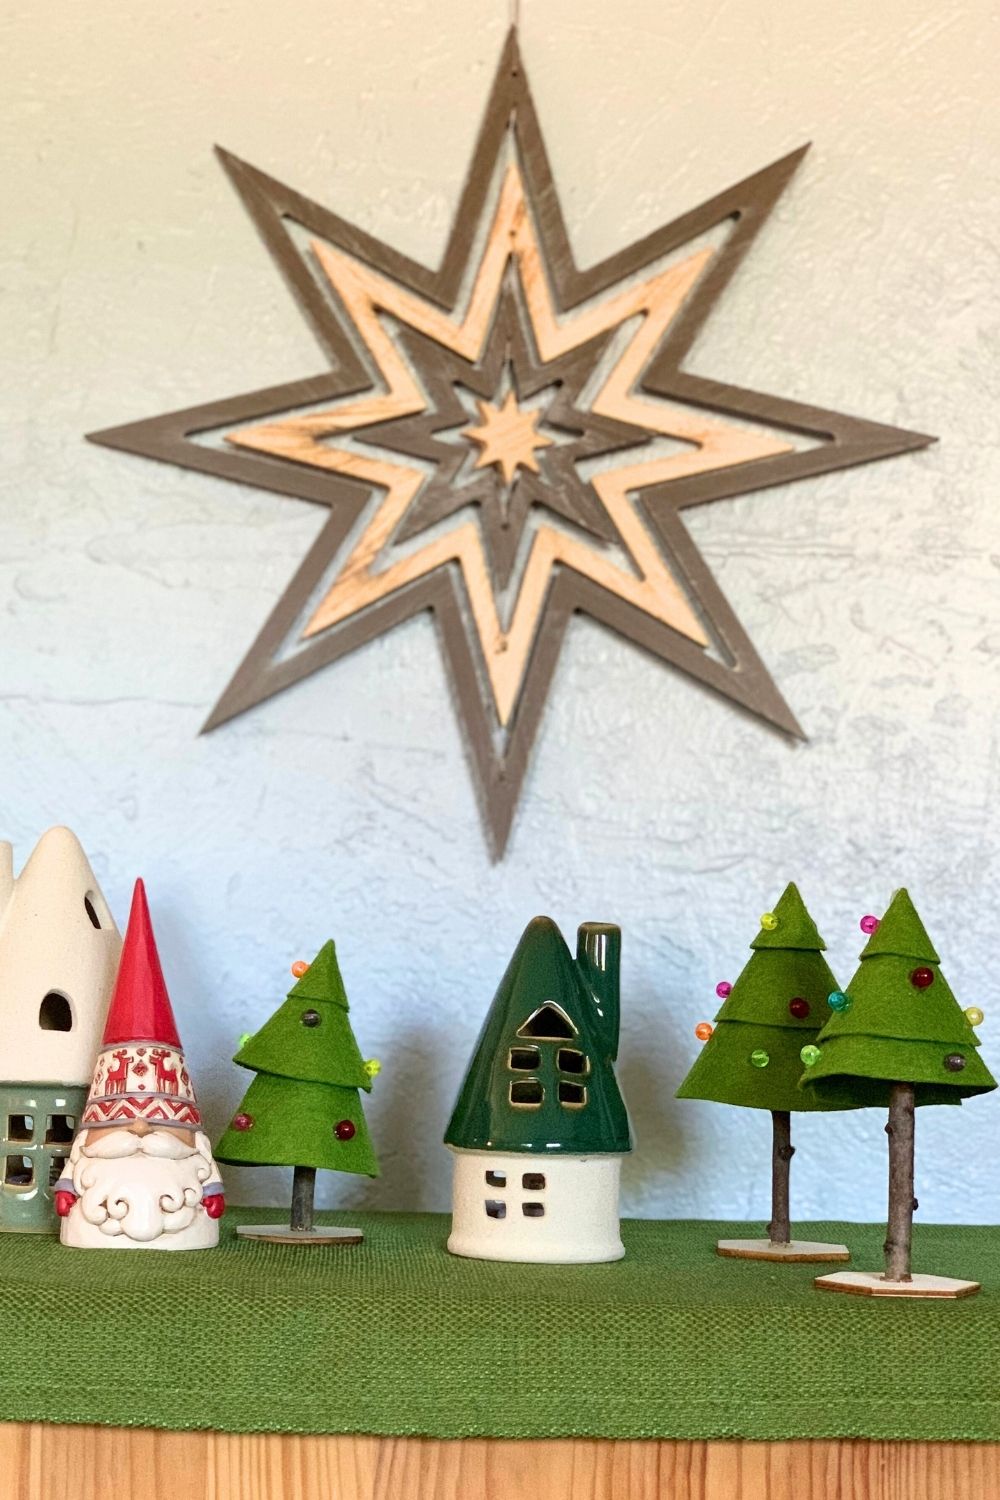
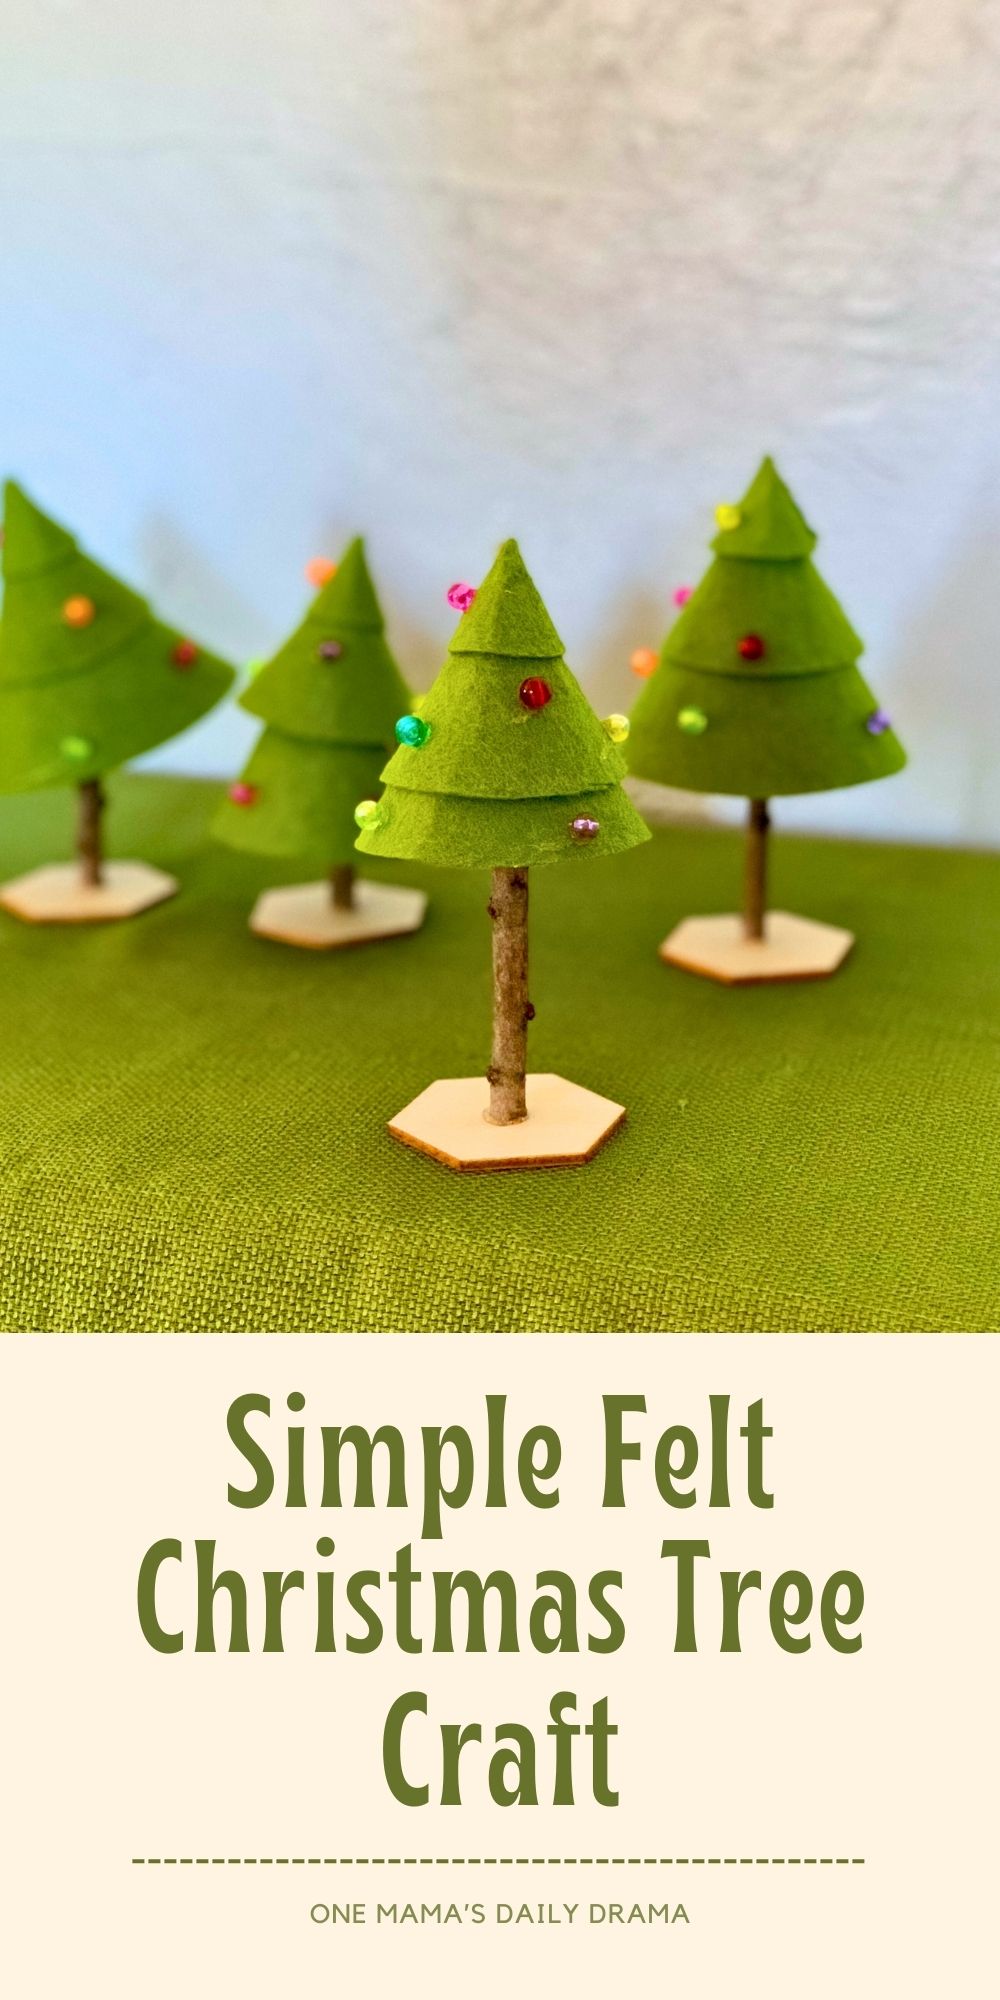
Make this felt Christmas tree craft for a simple handmade holiday display, perfect for a tabletop or mantle.
Disclosure: This blog contains affiliate links. As an Amazon Associate and member of other affiliate programs, Keri Houchin earns a commission from qualifying purchases at no additional cost to you.
This year I’m trying to make more handmade Christmas decorations. There’s something really lovely about simple things made with wood and felt and other natural (ish) materials. Plus, it’s the perfect way to use up supplies I already have on hand.
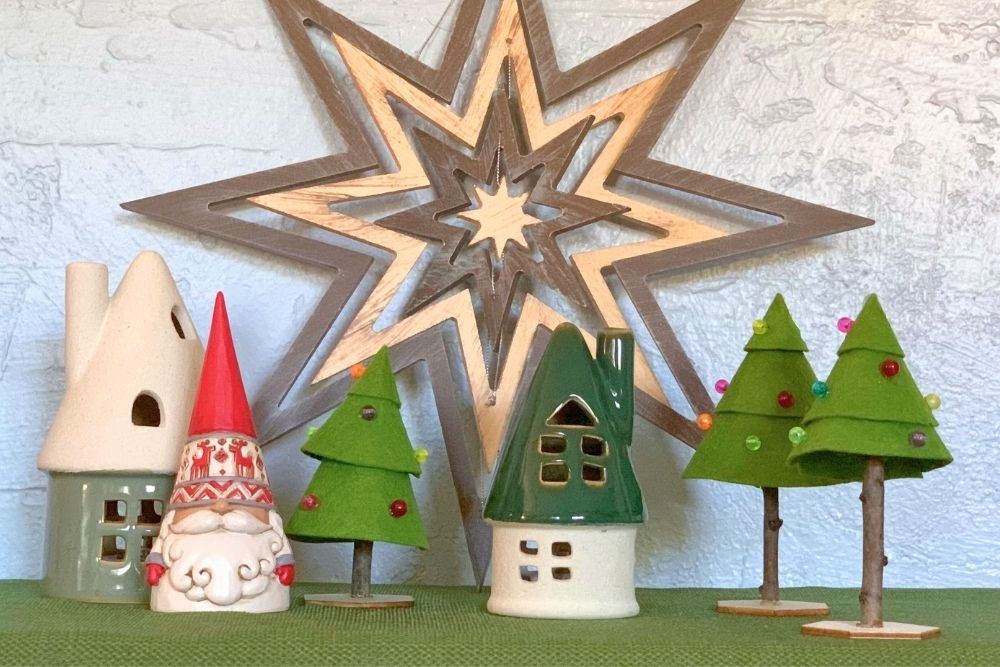
While I love colorful retro Christmas, I’ve been leaning more toward winter and nature themes. This Christmas tree craft looks so cute alongside other wooden trees, mushrooms, and woodland creatures!
Tips
- Felt: The felt I used is thick and stiff, so it holds its shape. If your felt is more flexible, you may want to spray it with starch. You’ll want to treat it the way you would starching and ironing laundry. Just be careful with the temperature; acrylic felt will melt if it gets too hot.
- Beads: I used a needle and thread to sew the beads on my first Christmas tree, but used hot glue on the rest. You can use either method, but the glue is much faster and looks just as good, in my opinion.
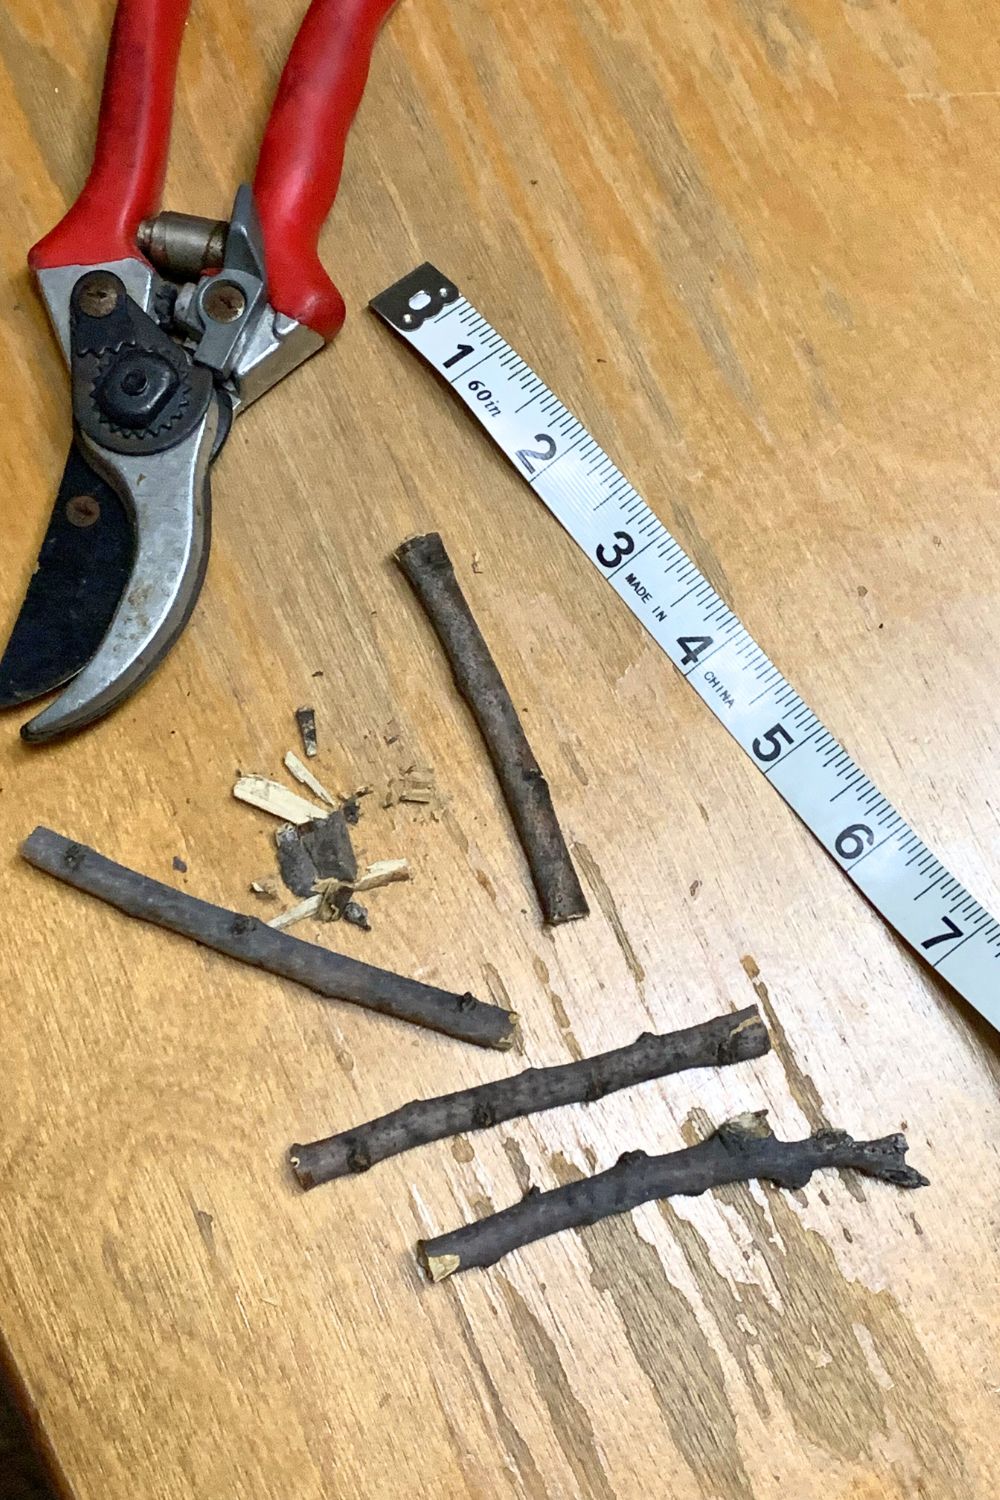
- Sticks: For the tree trunks, I just picked up a fallen branch from my backyard. It’s a little under a half-inch diameter and was easy enough to cut with the clippers. The bark splintered in a few places, but I’m not worried about these looking a bit rustic.
- Base: I bought these wood hexagons for a project I never did. They were the perfect size and weight for holding up these trees. For alternatives, you could use any craft wood or even popsicle sticks glued in an X shape.
How to make a felt Christmas tree
Supplies
- green craft felt
- circle cutter
- hot glue gun and glue
- small beads in assorted colors
- small wood branches
- ruler
- gardening clippers
- unfinished wood slices
Instructions
1. Cut felt pieces.
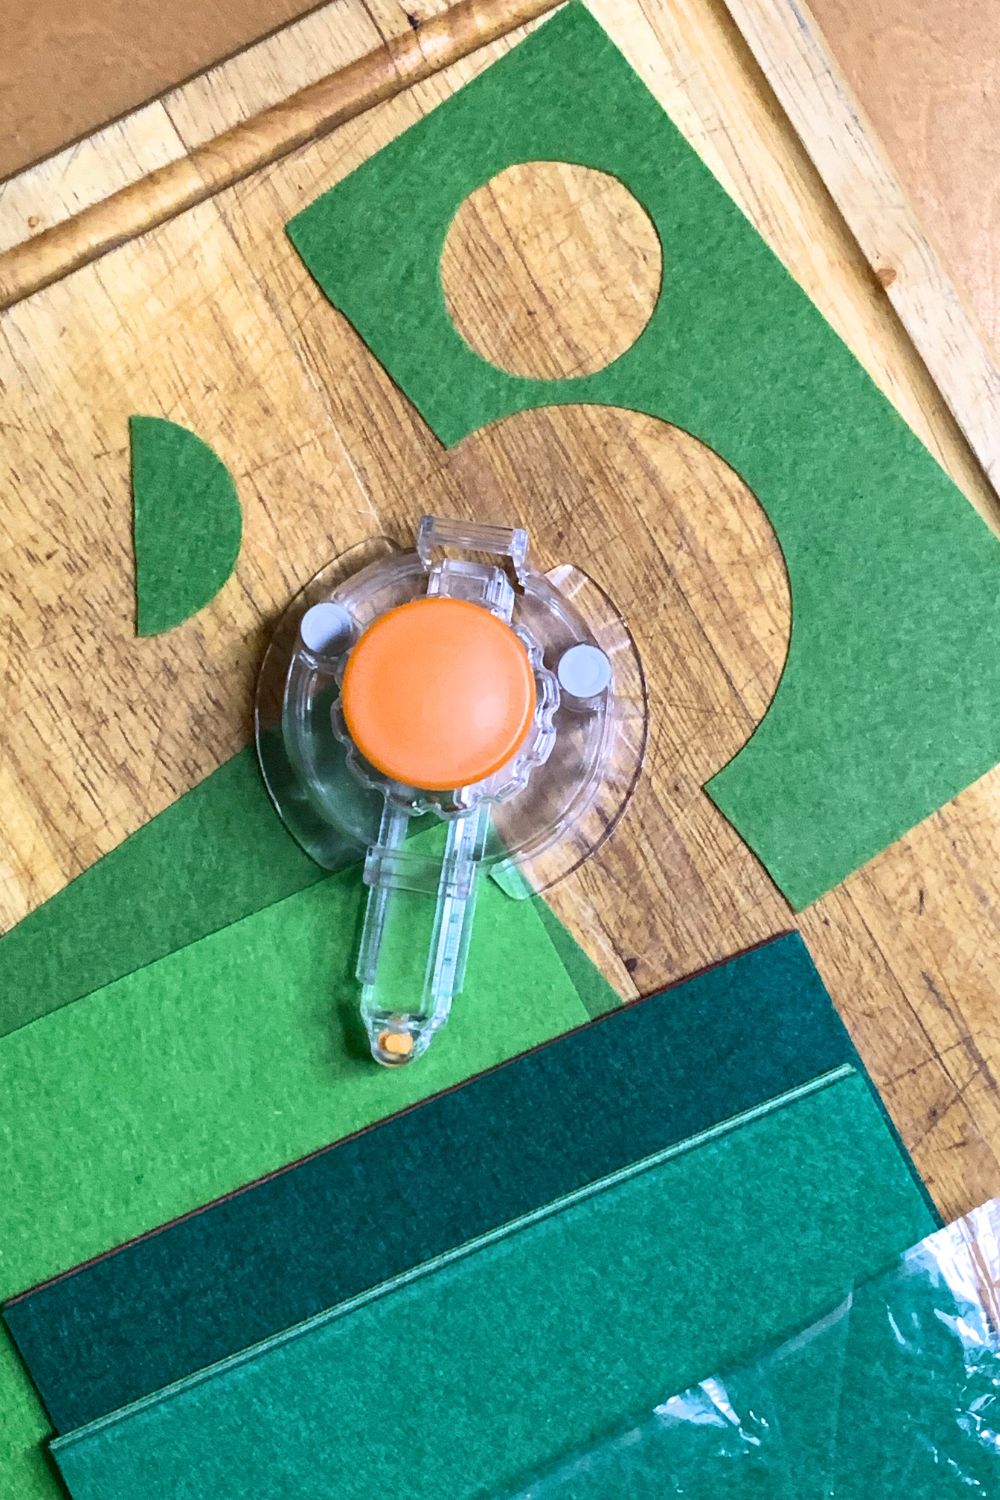
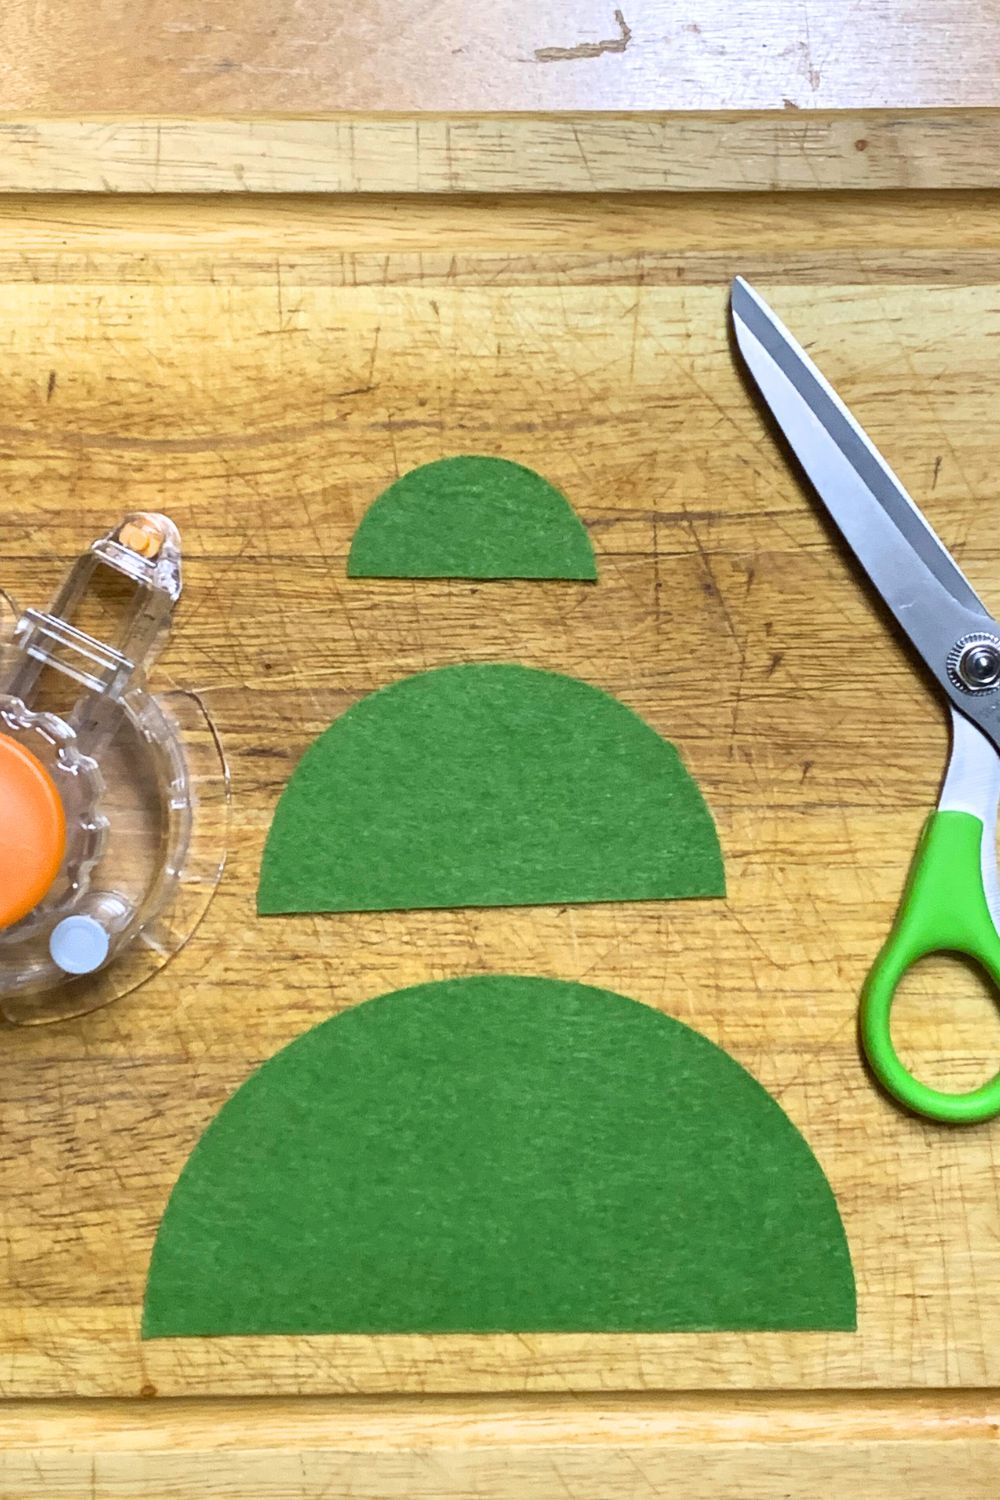
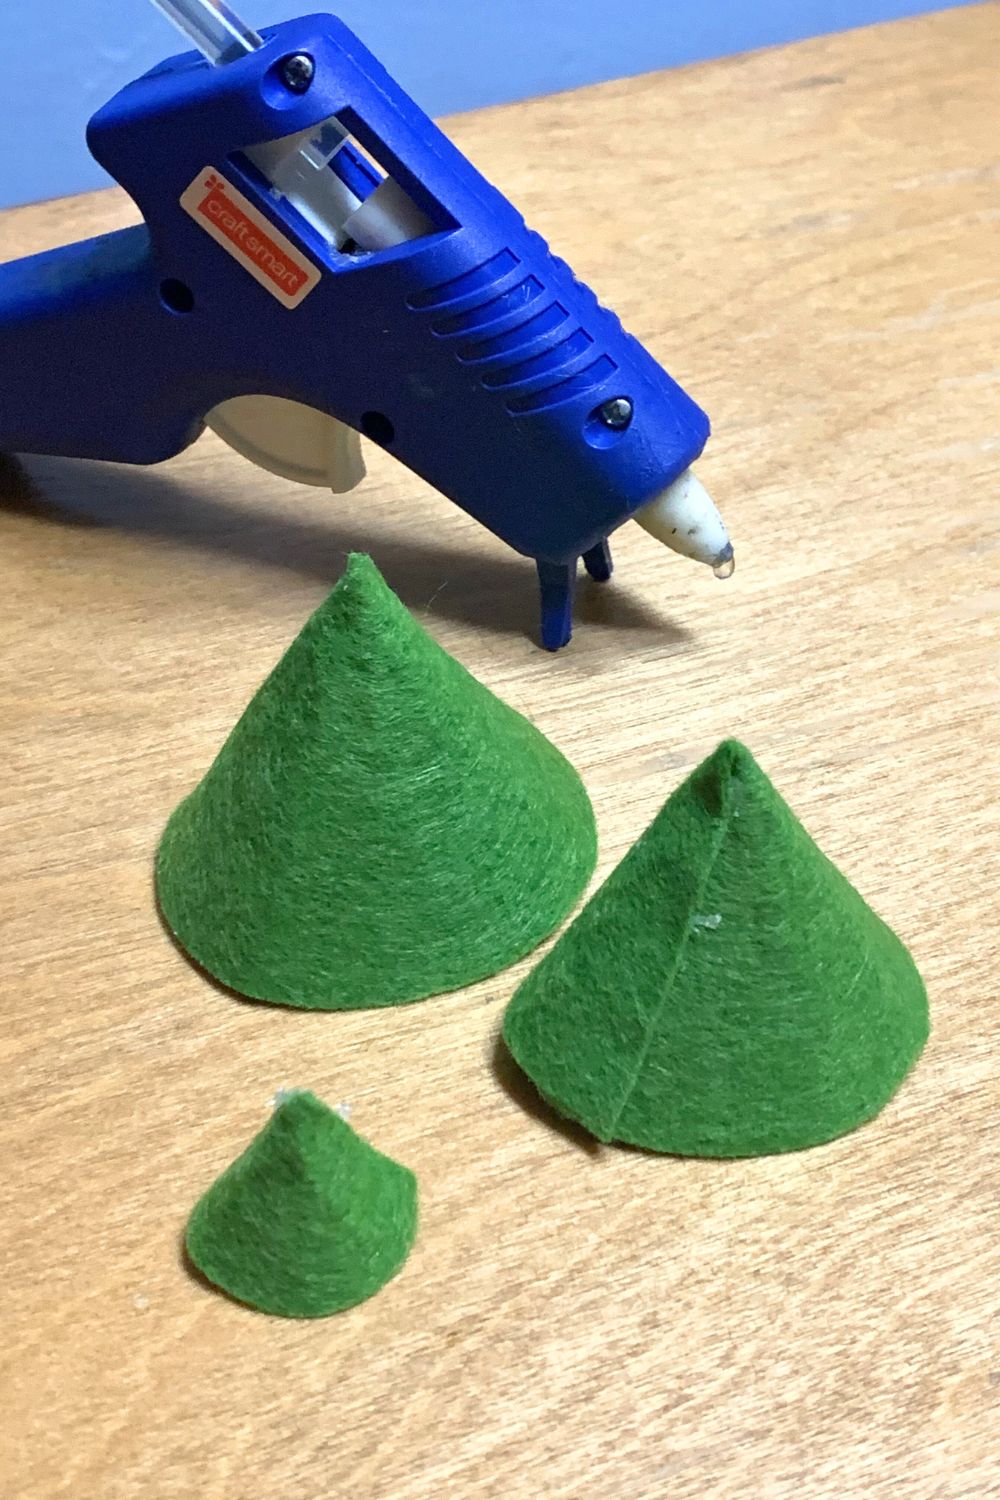
Start by cutting the green craft felt into half circles. You can either cut them as half circles to begin with, or just make full circles and then cut those in half. For each tree, you’ll need 3 pieces: 2-inch diameter, 4-inch diameter, and 6-inch diameter.
2. Make felt cones.
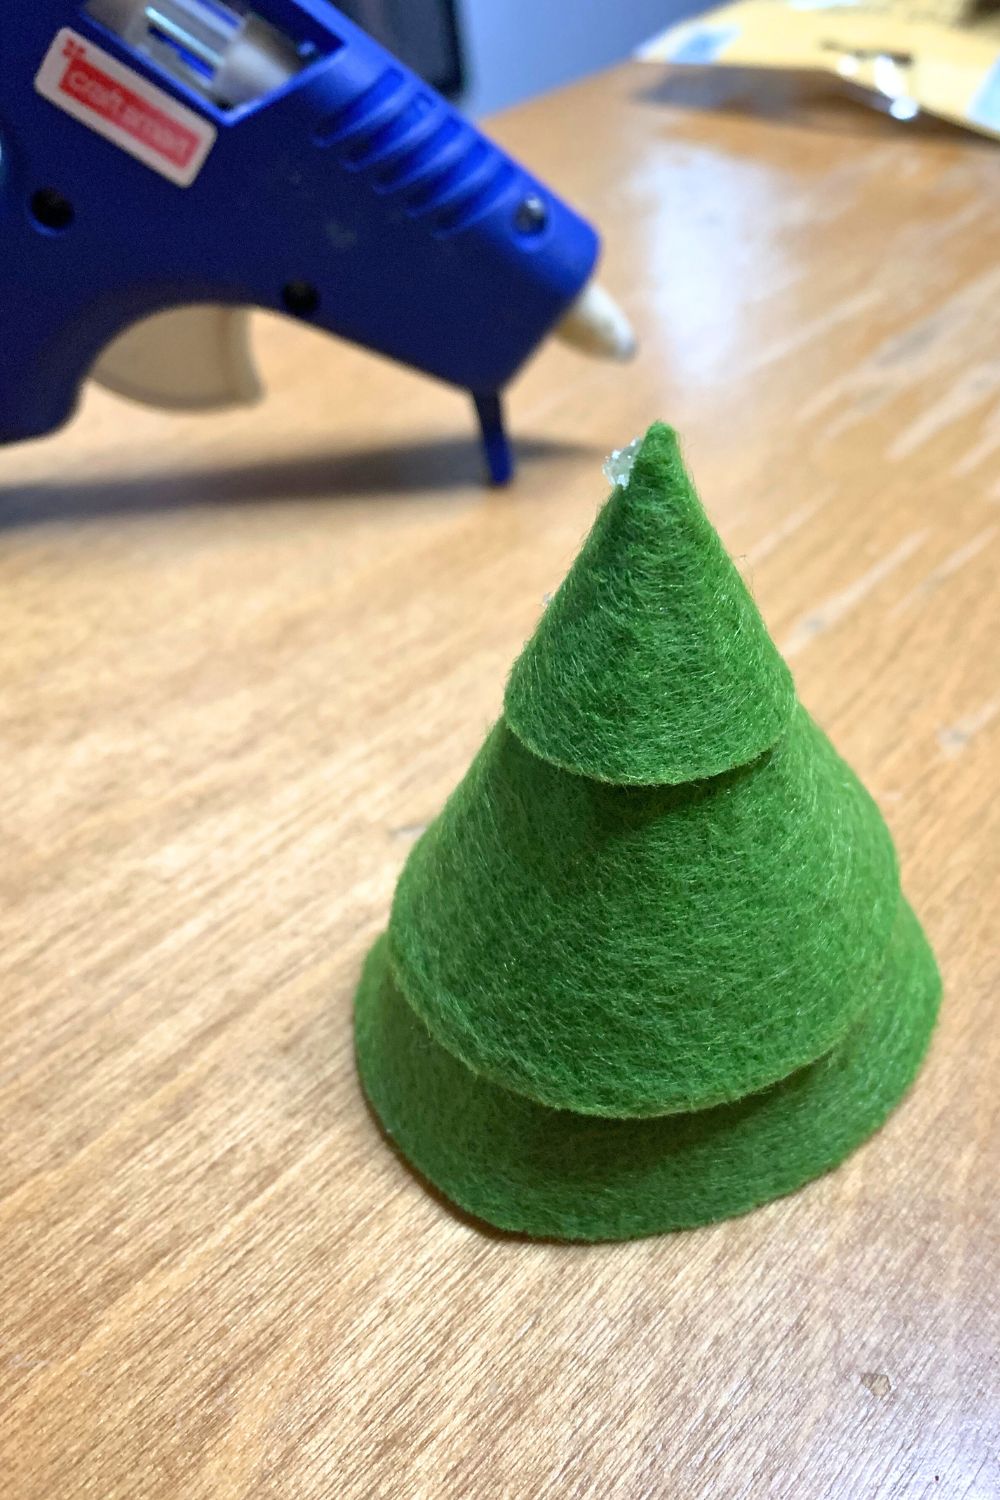
Take each half circle of felt and fold it into a cone with the edges overlapping. Run a thin bead of hot glue along the seam and hold it a moment while it sets. Repeat with each of the 3 sizes for each tree.
Stack the cones with the largest on the bottom and add a dot of glue on the point, then add the next one and repeat.
3. Decorate with beads.
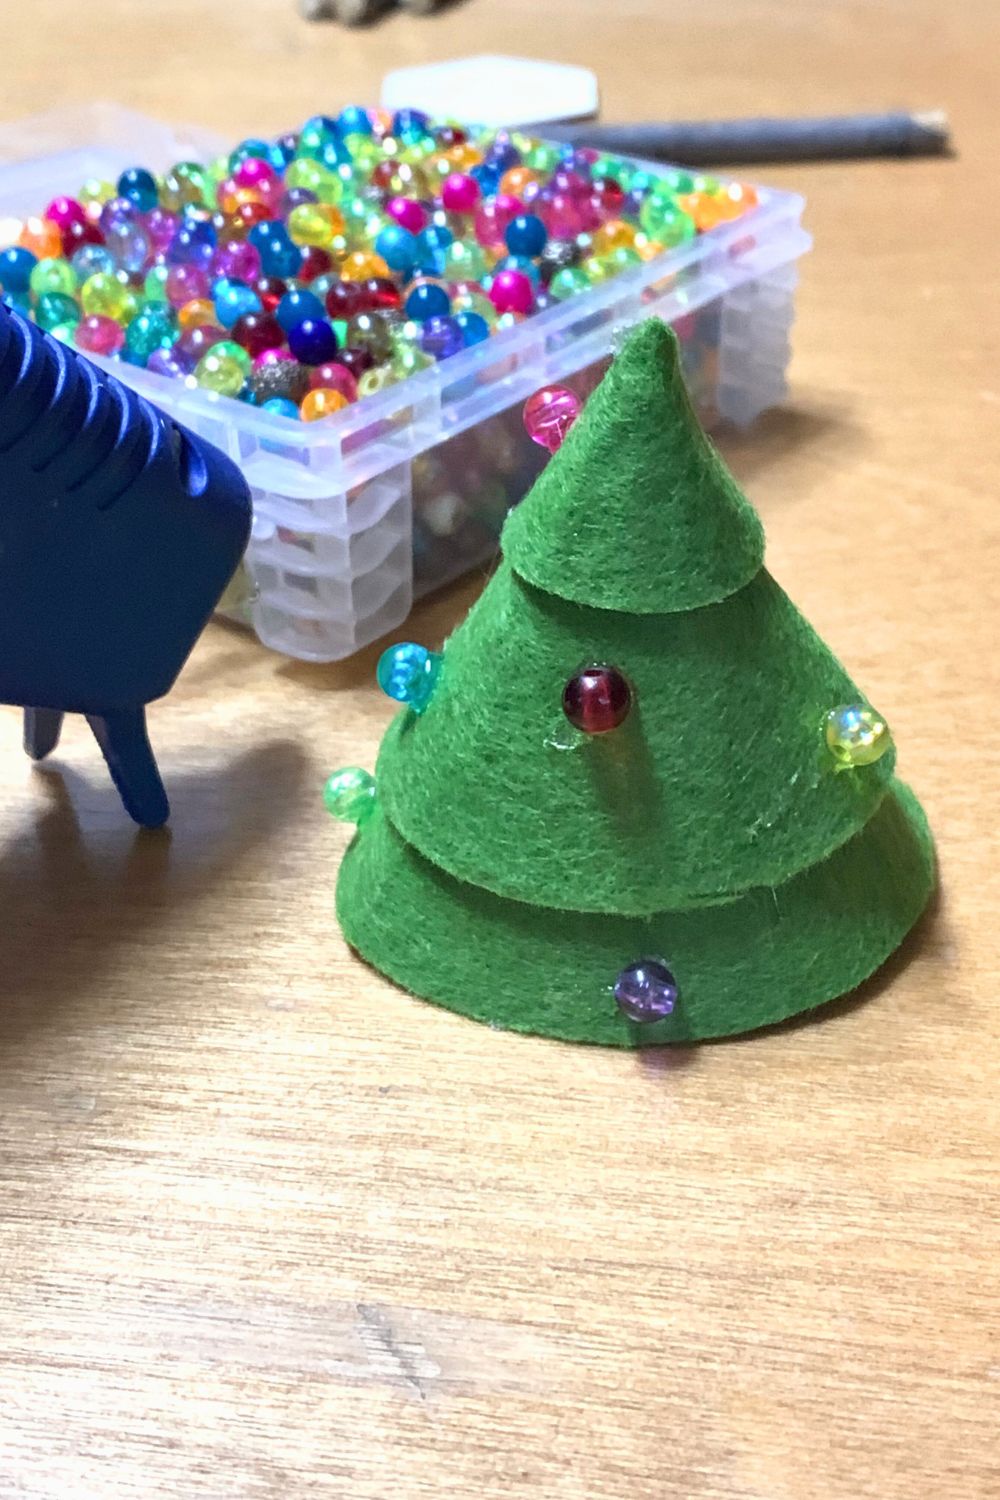
Use hot glue to attach a few beads to each section of the felt tree. Mix them up, space them out, and make each one different. I used 7 beads in different colors for mine, but you could make them all the same and use more or fewer.
4. Cut the branch into segments.
Measure and cut the branch into small lengths. I intentionally cut each of mine a bit different so the trees wouldn’t be identical. All my pieces are between 3 and 4 inches long.
5. Asssemble the Christmas tree craft.
Use hot glue to attach a stick to the wood base. Hold it upright a moment while the glue sets.
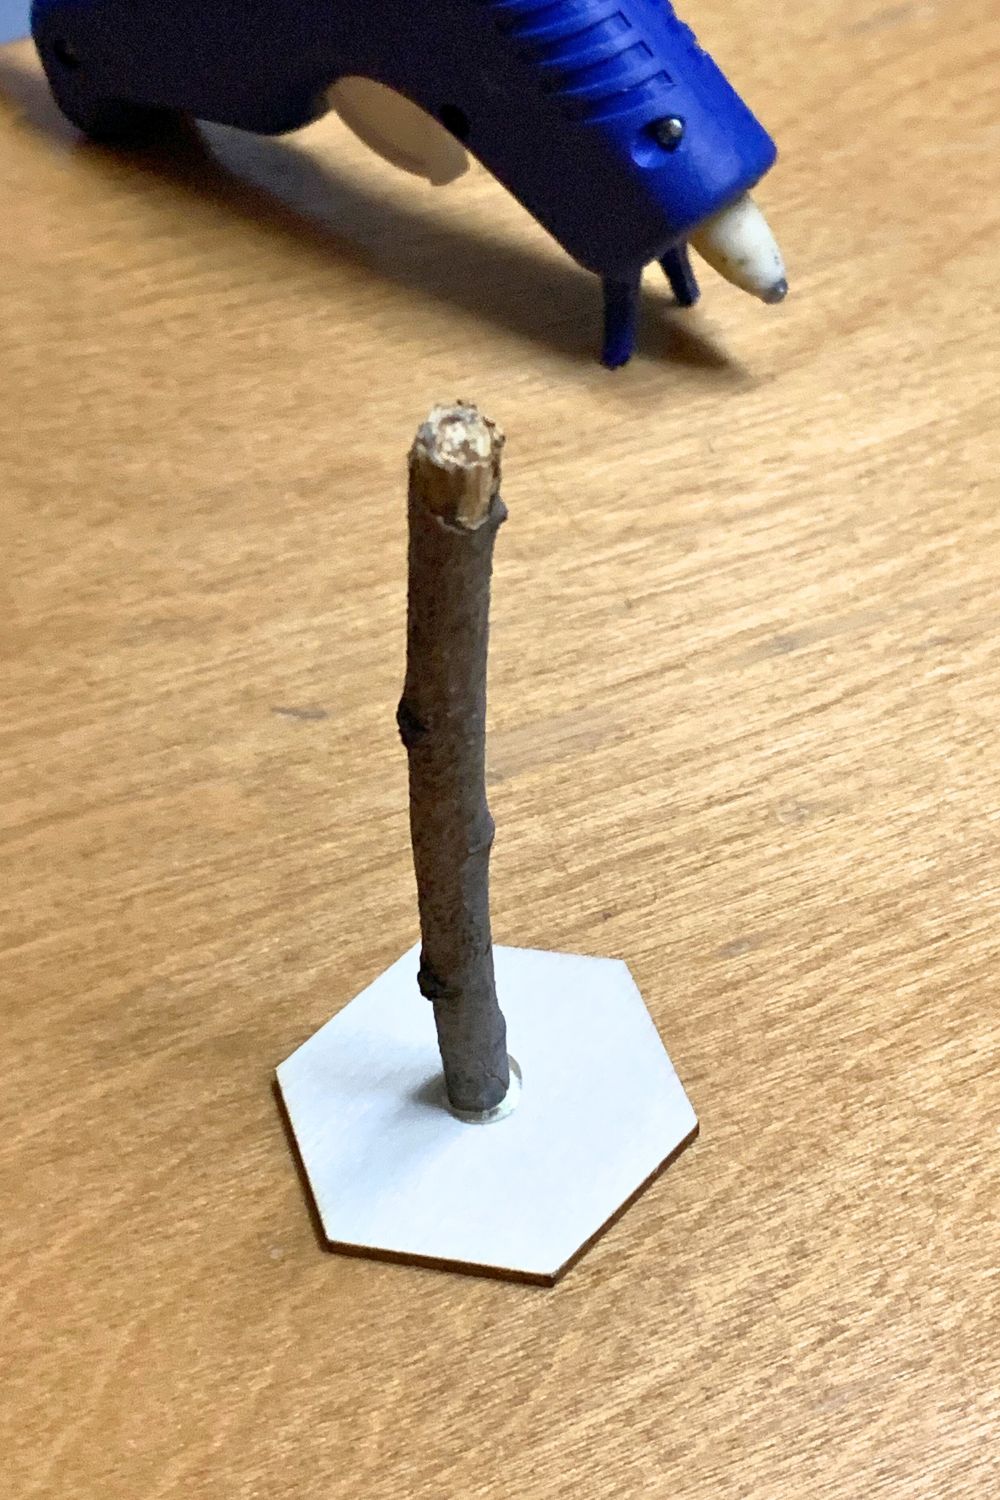
Put a dot of glue on top of the stick and carefully place the felt tree on top, pressing the tip so that its secure. Hold it one last time while the glue sets, and you’re done.
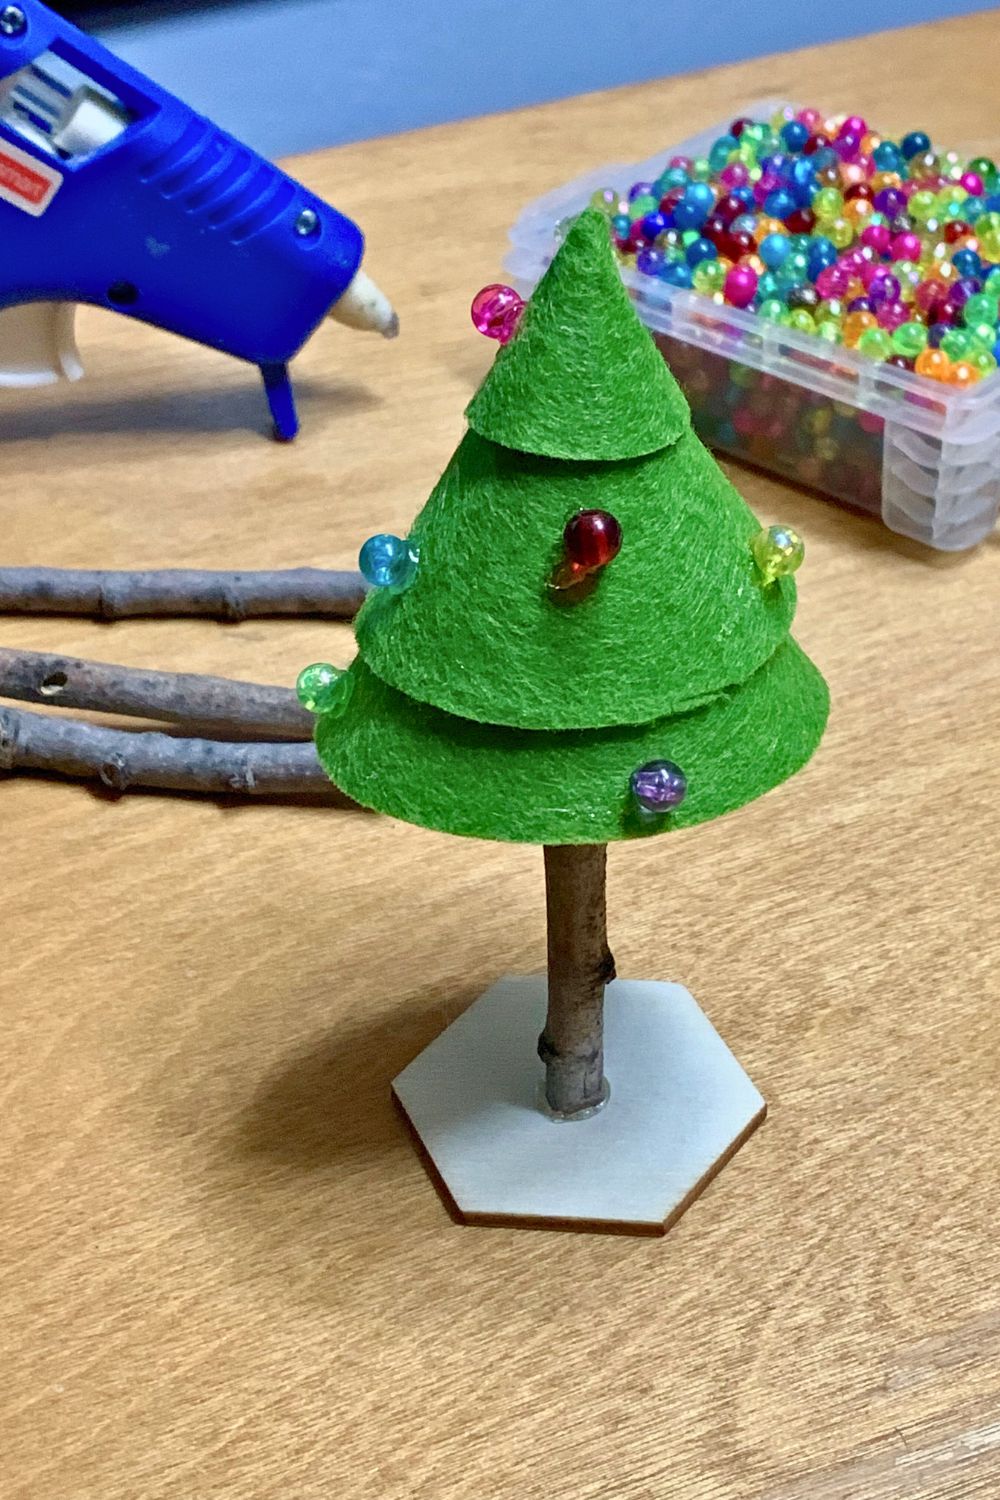
Make several trees to stand together for a festive woodland display. These look cute on their own, or you can make a whole scene with figures or other winter elements. You could easily make these larger or smaller, add more layers of green felt, or customize them in other ways to match your other holiday decorations.
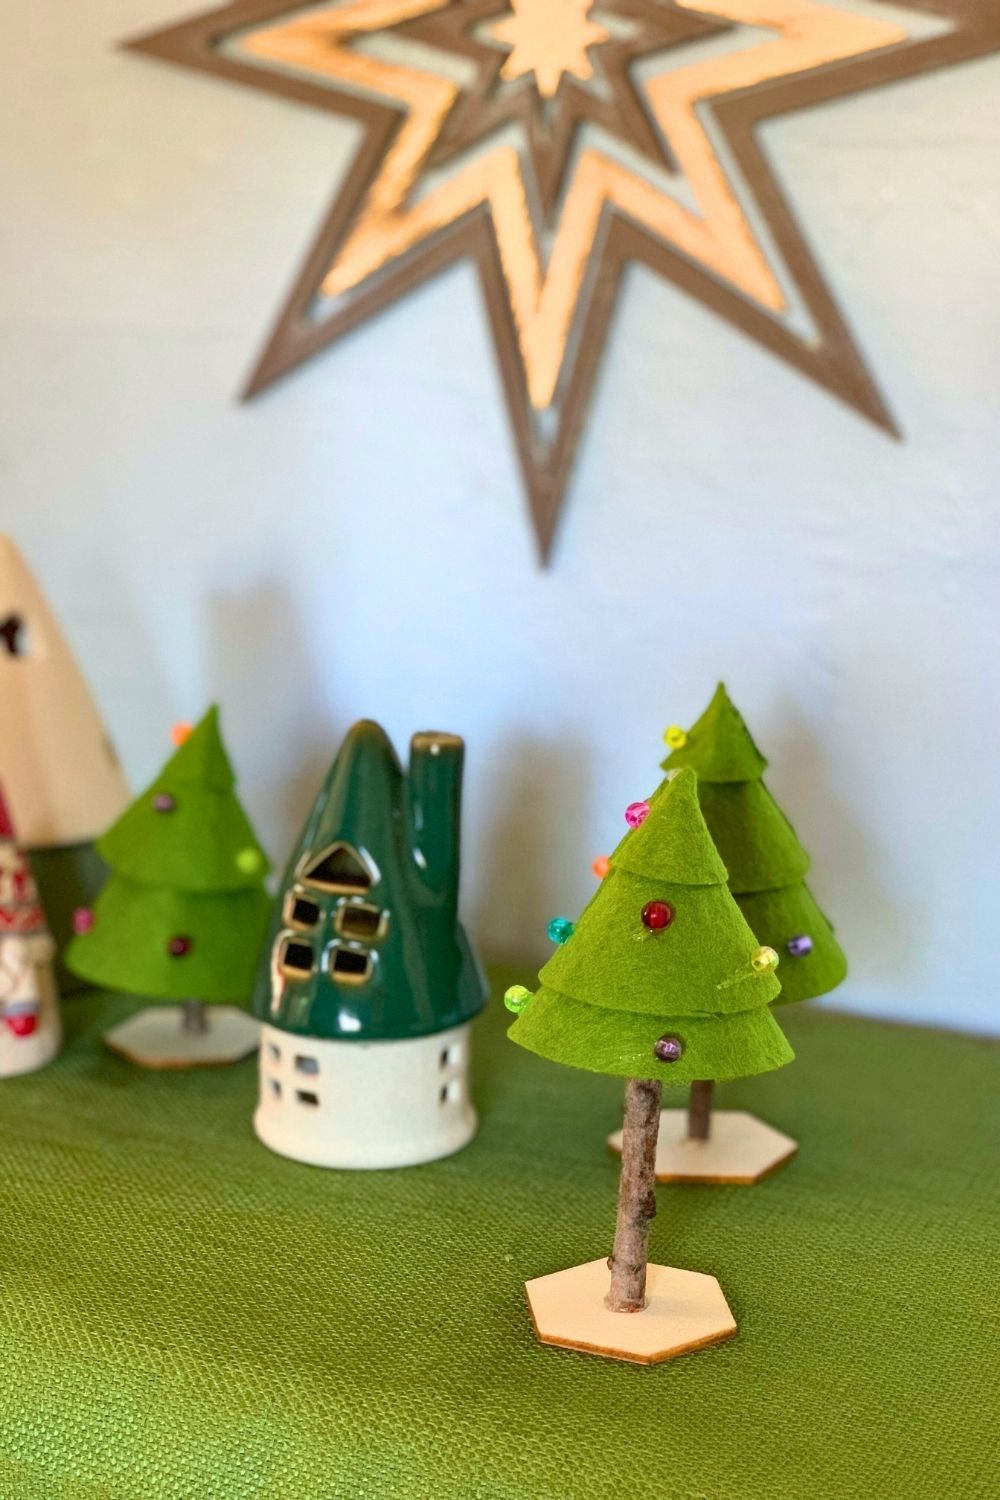
I love how easy this Christmas tree craft was!
Be sure to bookmark this craft so you can find it again. And share it on your favorite social media platforms!
What’s next? Try these other fun and creative ideas on One Mama’s Daily Drama:
Leave a Reply