
Turn a handful of retro wood ornaments into a cute and kitchy garland that matches your Christmas holiday decor.

Disclosure: This blog contains affiliate links. As an Amazon Associate and member of other affiliate programs, Keri Houchin earns a commission from qualifying purchases at no additional cost to you.
Most of my Christmas decorations are red and green – with a twist. I love bright colors, so in addition to classic red, I also have lime green, turquoise blue, and pink.
I’m not too much of a stickler for things matching exactly, but this is a color combo that’s hard to find sometimes. That just means I have to DIY my Christmas decor!
I made this yarn-wrapped Yule goat and a washi tape Advent calendar. It’s not quite the same color scheme, but if you like bright colors, take a peek at this felt Christmas candy wreath and garland.
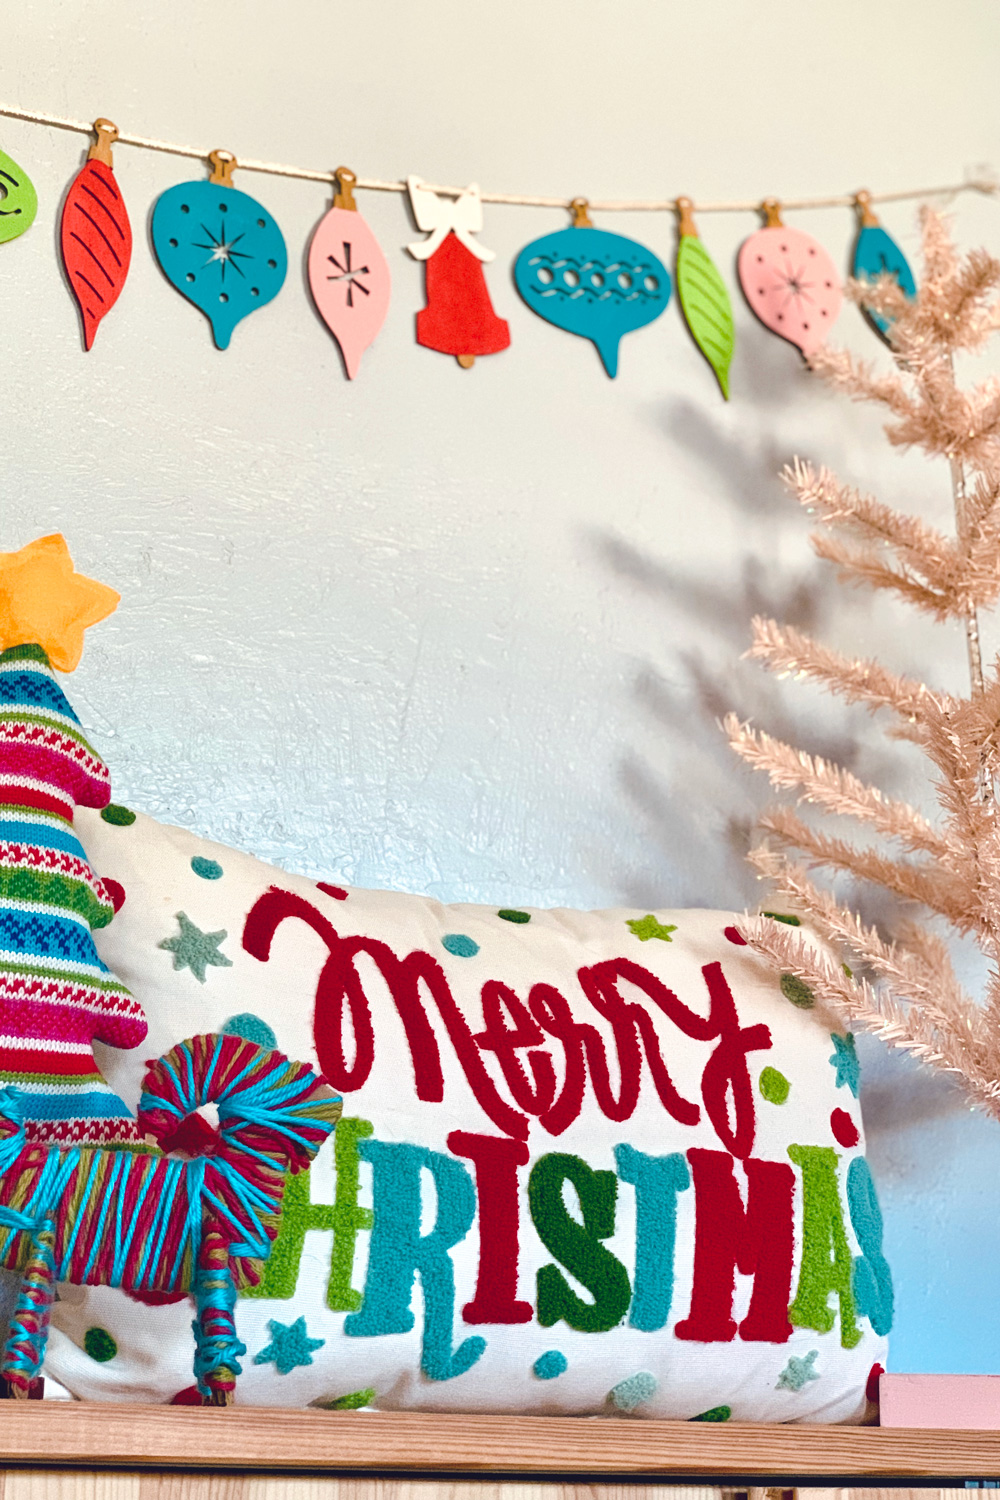
Of course, you can easily customize this ornament garland with different paint colors to match your holiday color scheme. You could even use a wood stain to match a more natural theme.
How to make wood ornament garland
Supplies
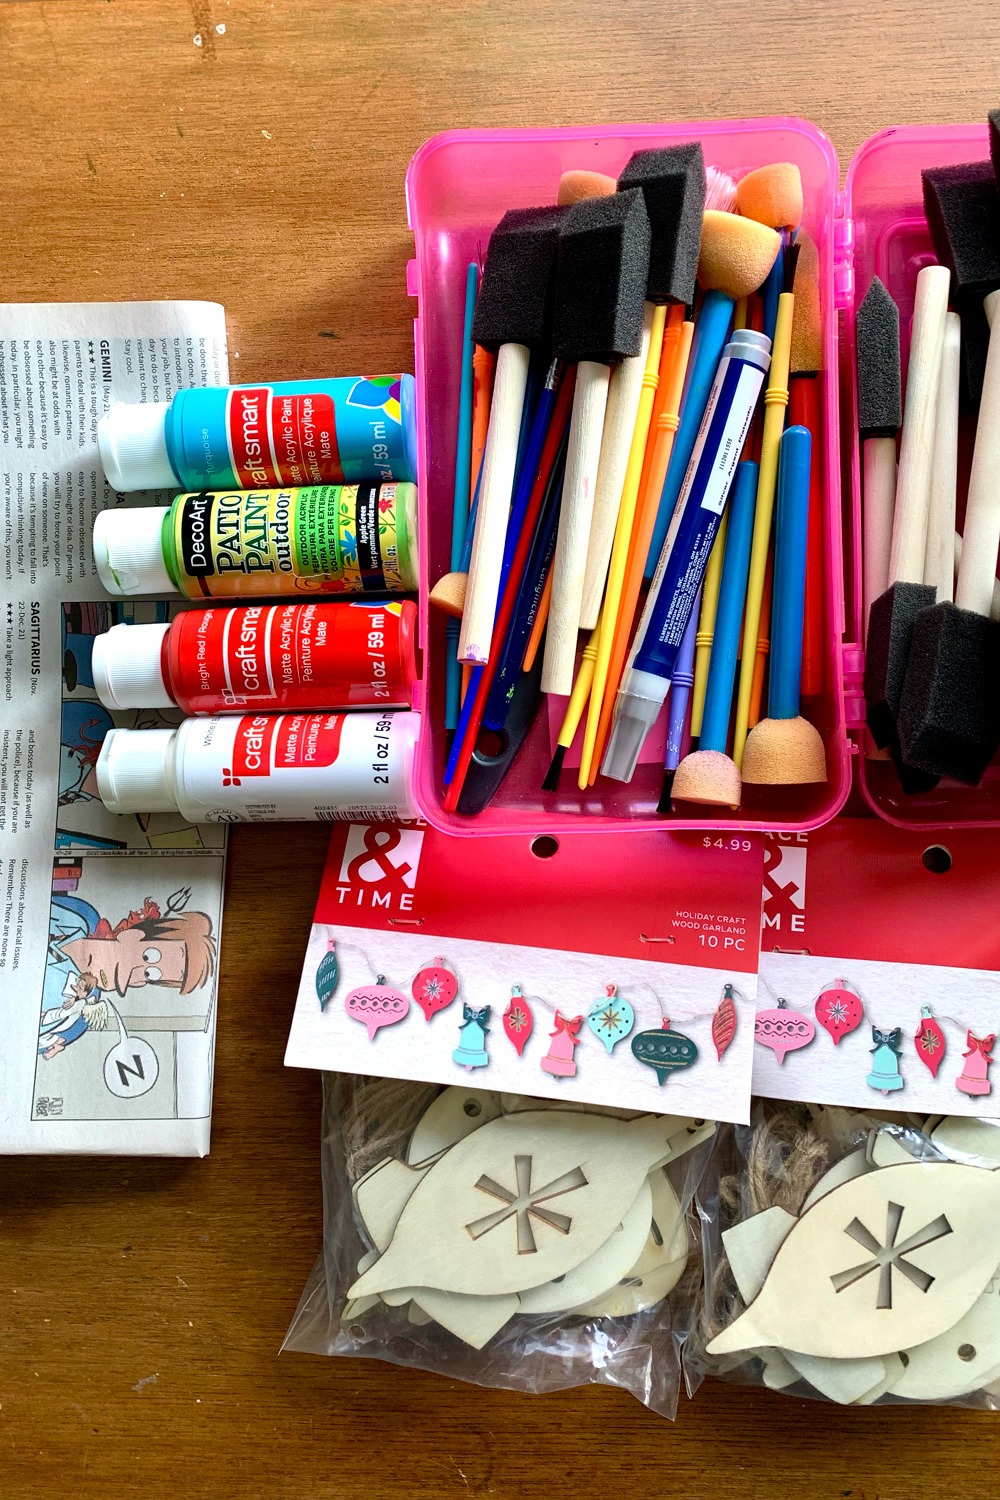
- Place & Time wood ornament garland – Each kit includes 9 ornaments, so I used 2.
- craft smart paint and DecoArt paint – This is what I already had; use any craft paint.
- 1-inch sponge brushes
- small watercolor brushes
- newspaper to protect your workspace
- 1/8-inch ribbon
- scissors
Instructions
1. Mix colors and paint the first coat.
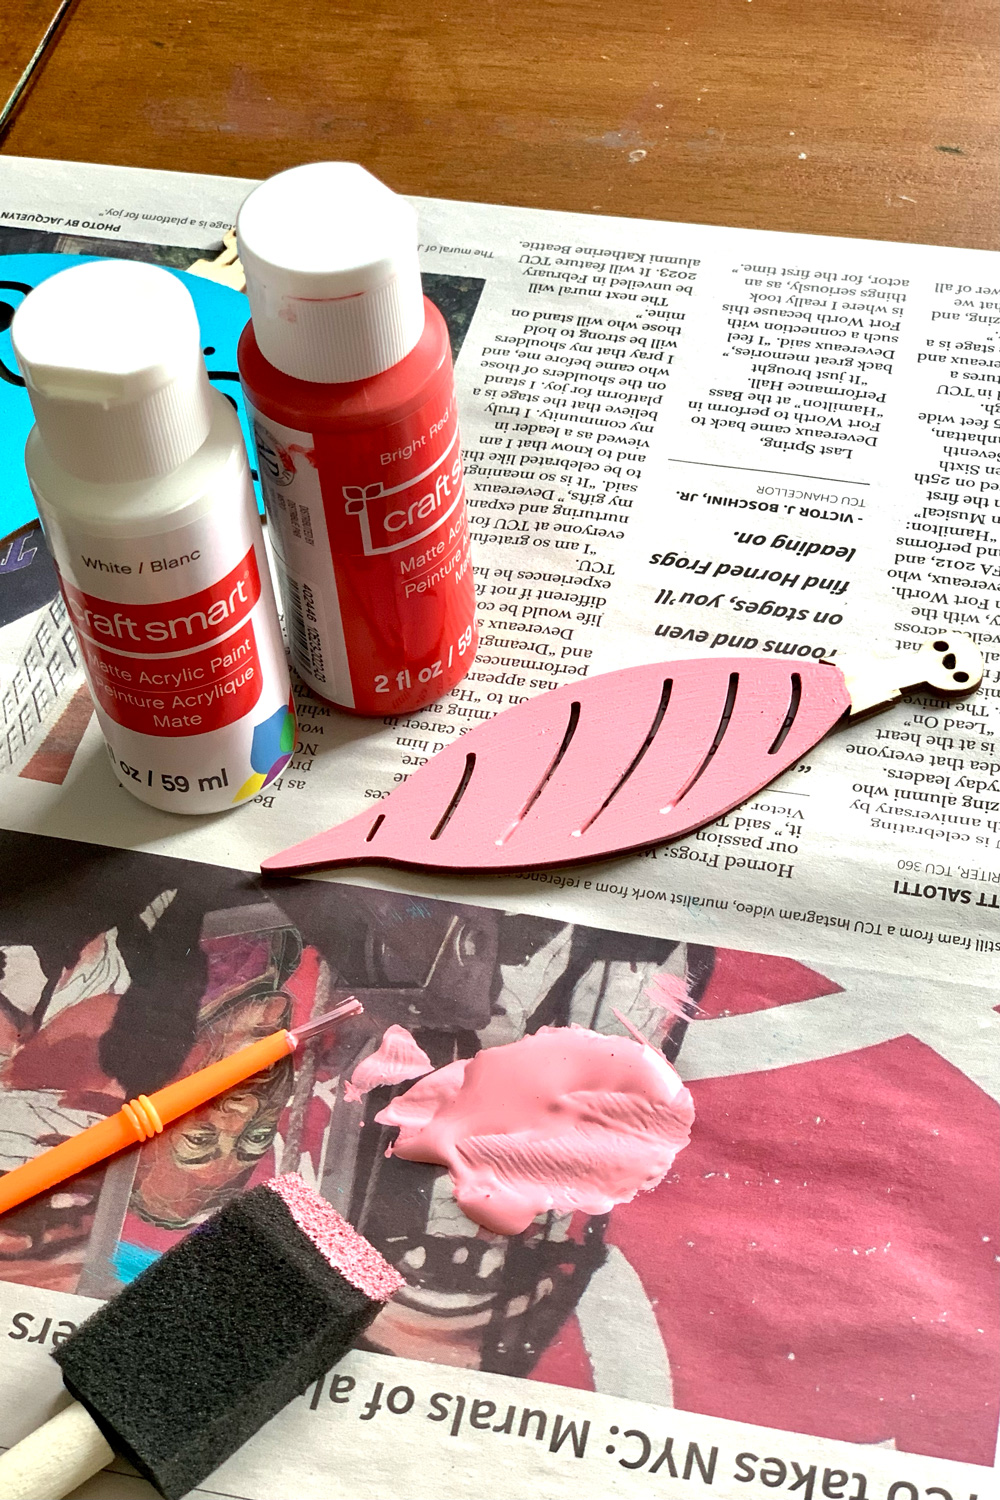
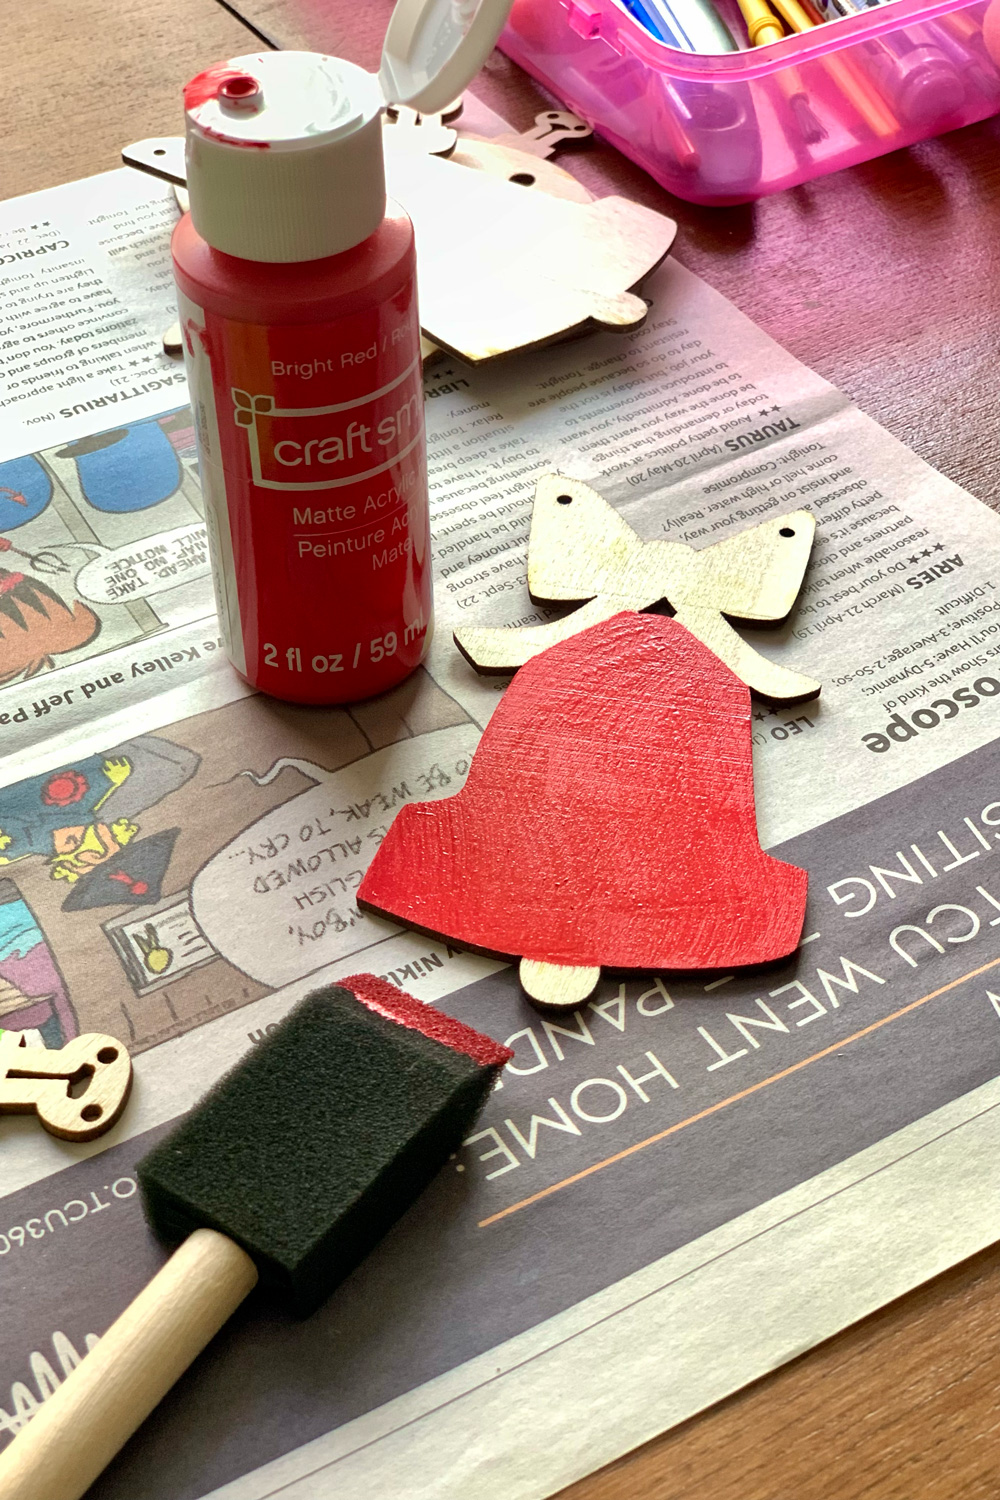
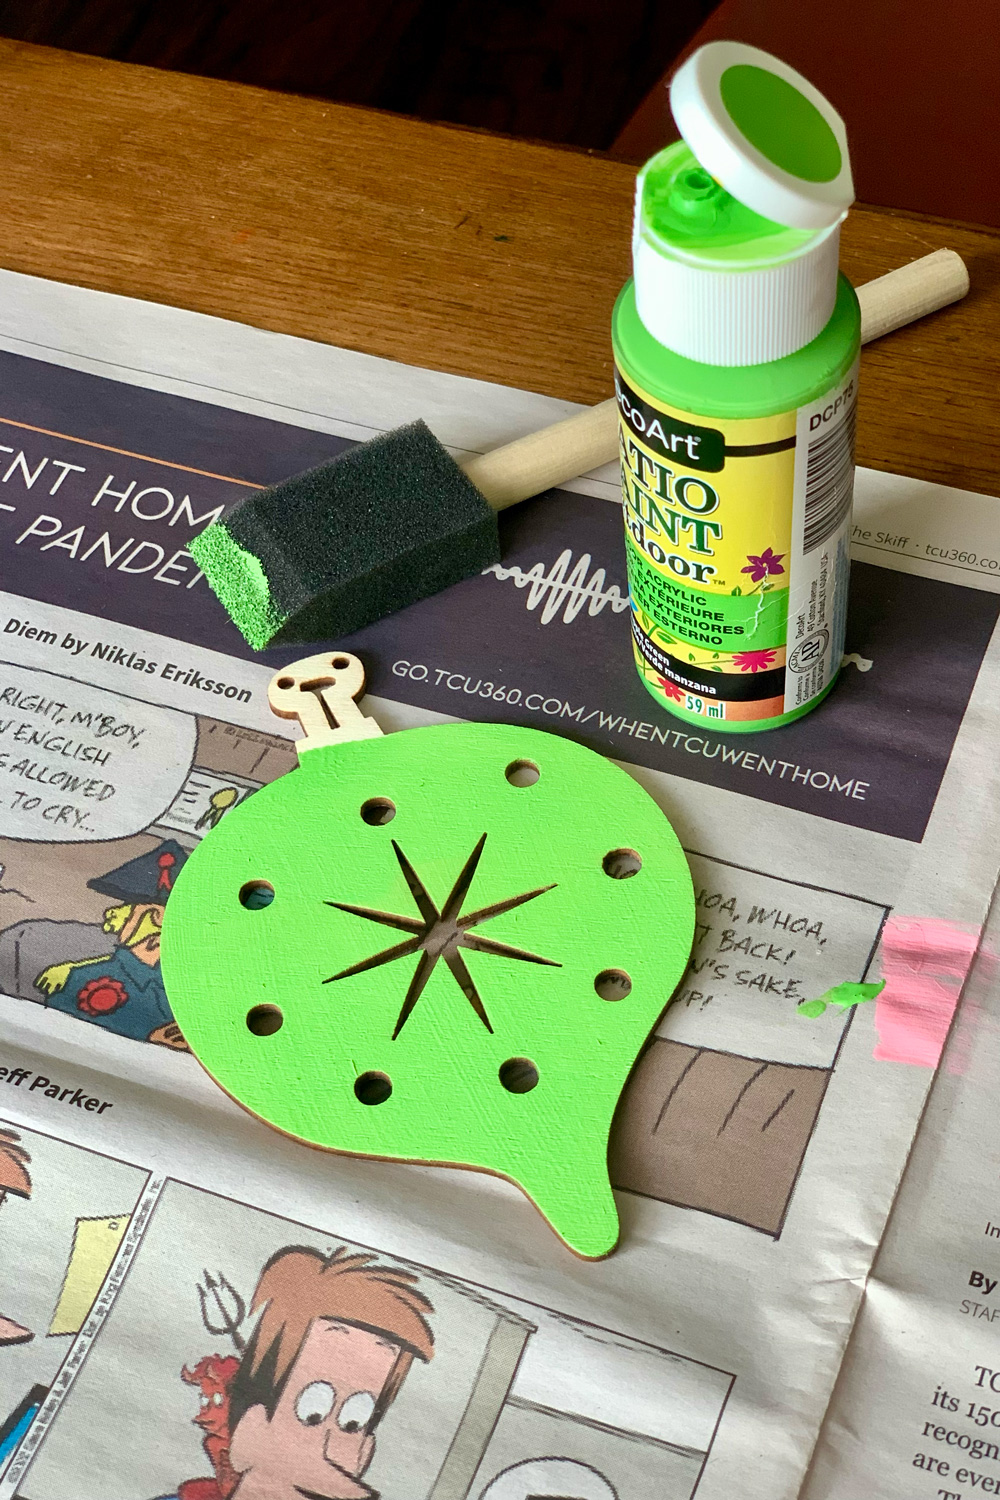
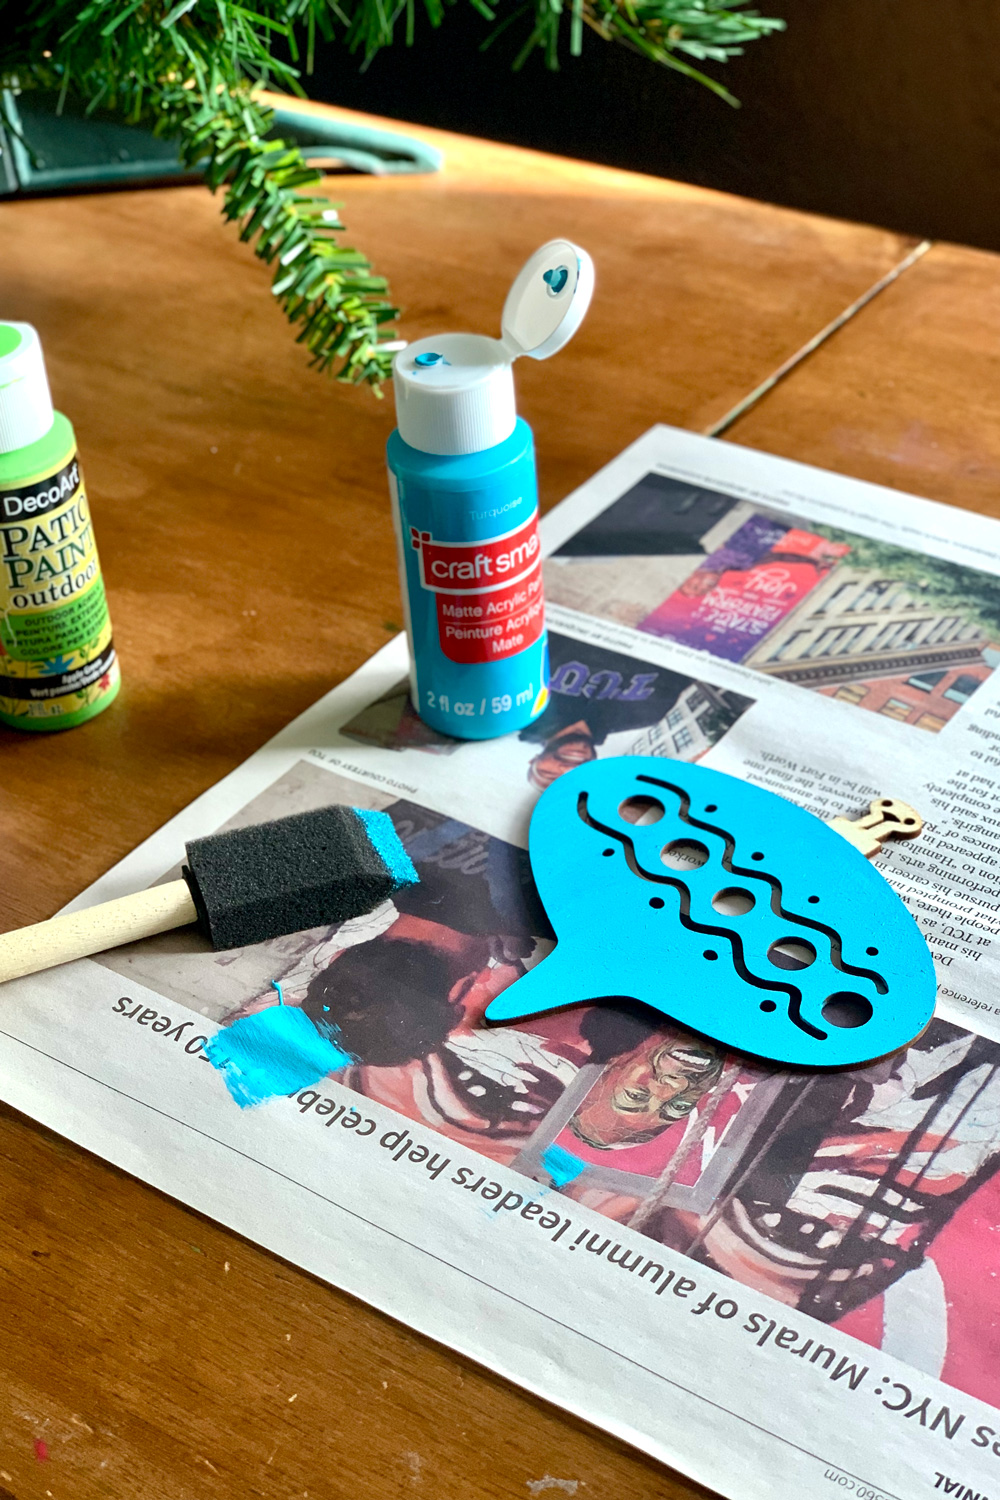
Start by laying out newspaper over your table. For the red, green, and blue I just painted them with the sponge brush. I mixed roughly equal parts red and white to make the pink; if you have pink paint, just use that.
The sponge brush make it easy to get a smooth line and not get paint on the top ornament fixtures and the ribbon on the bell.
Let the first coat of paint dry about 15 minutes.
2. Paint a second coat.
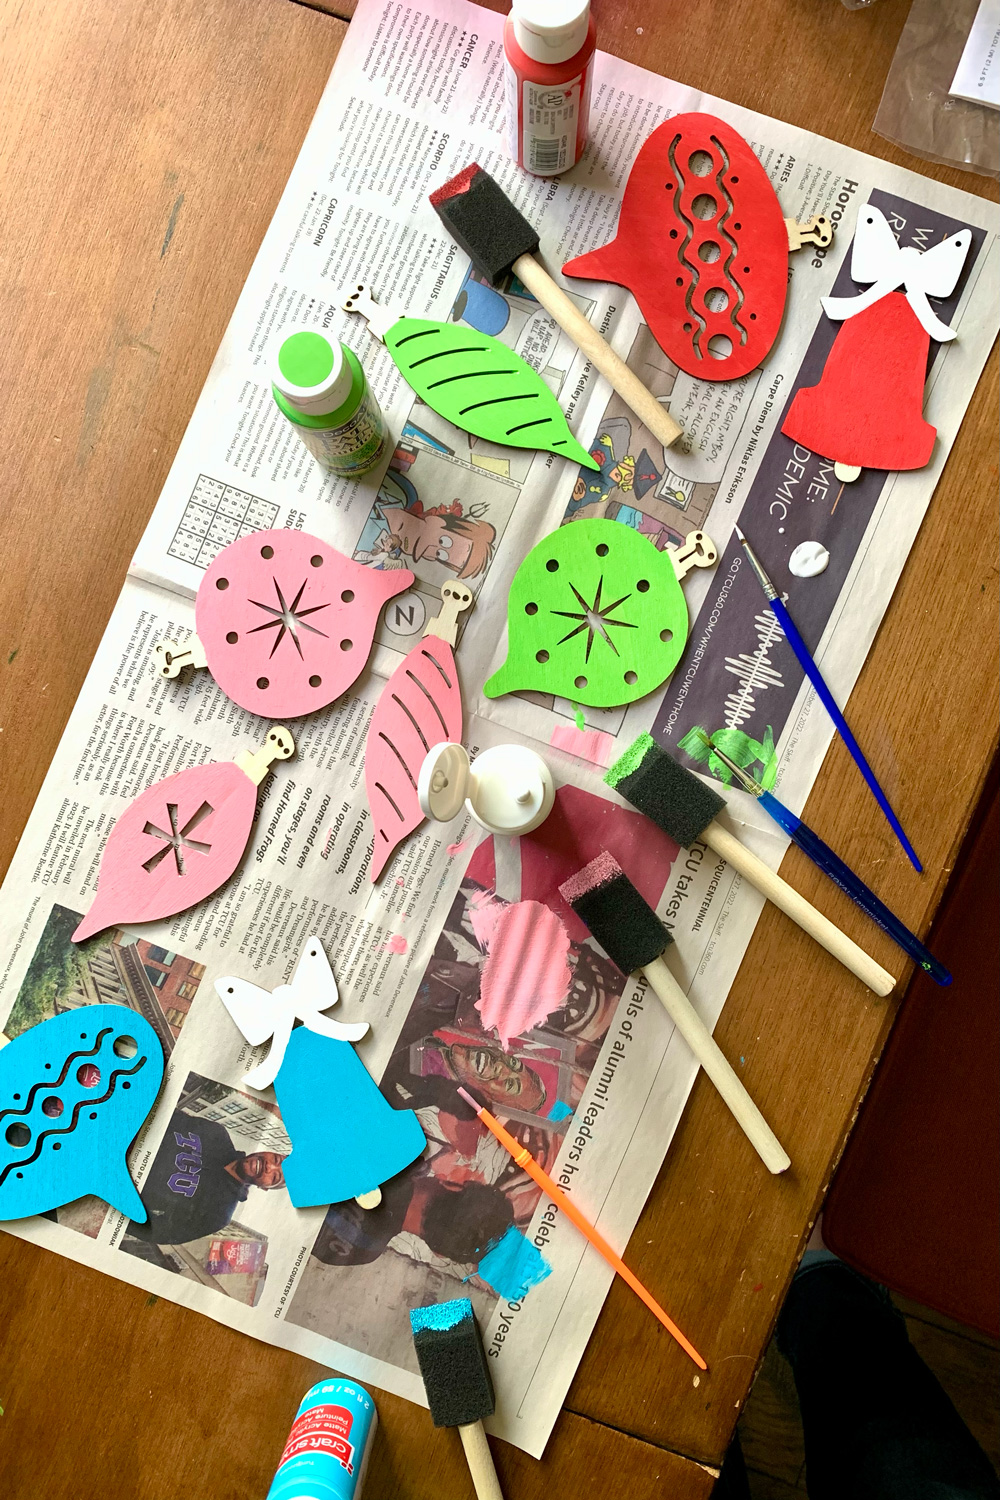
Paint a second coat of the red, green, blue, and pink. Let the ornaments dry another 15 minutes.
3. Paint the other details.
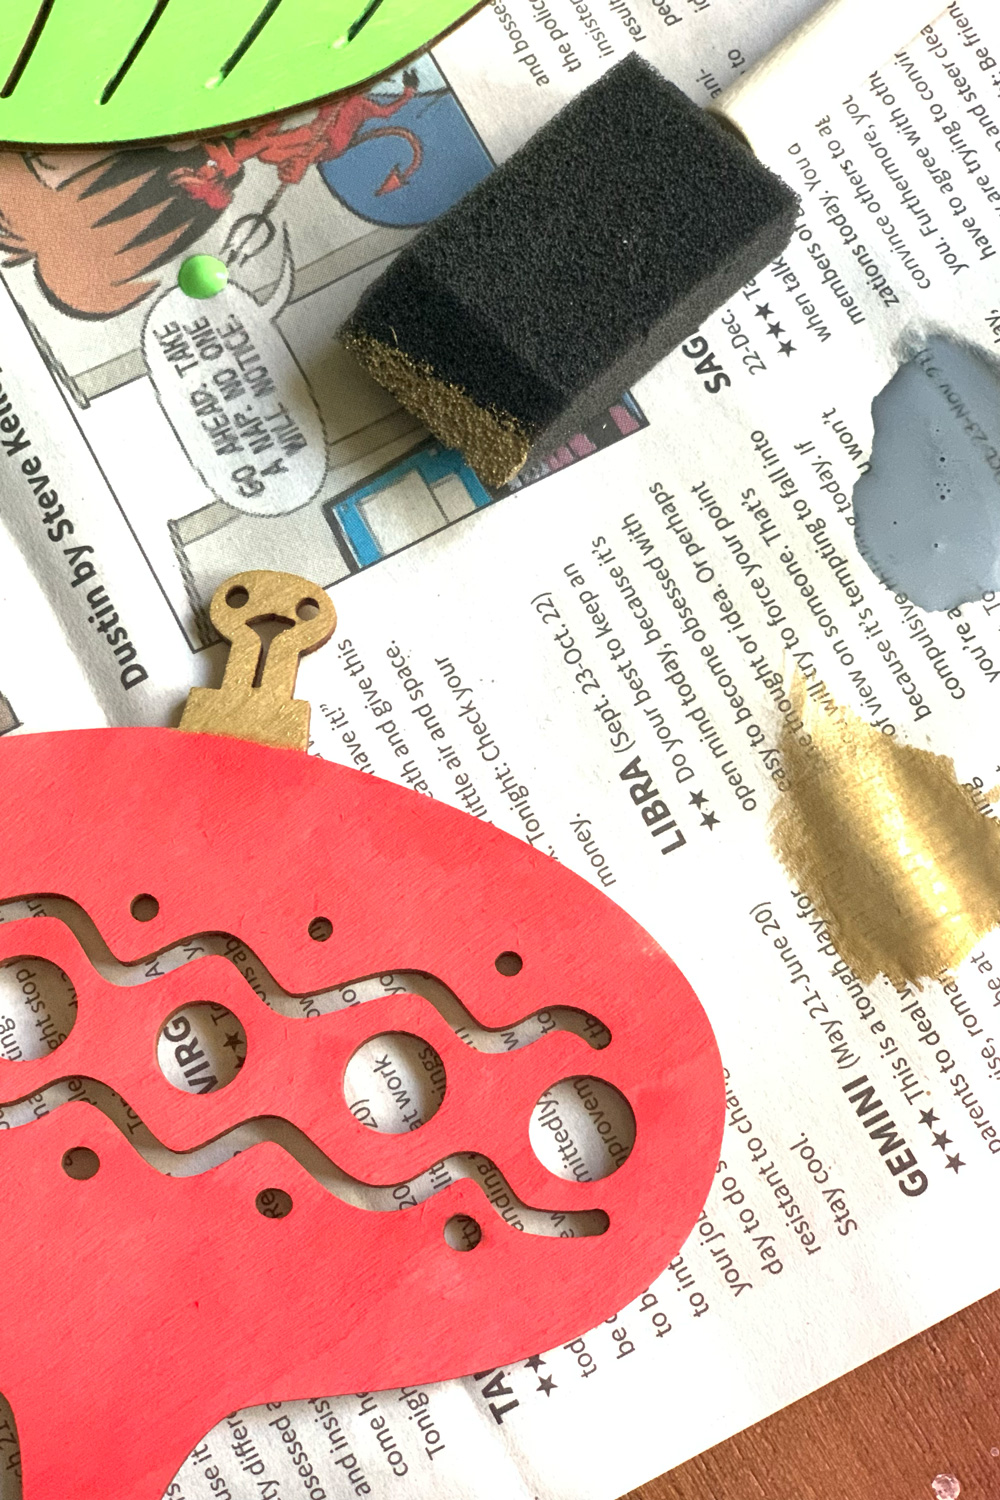
When the main sections are dry enough that the colors won’t smudge, paint the ribbon on the bell ornament and the top ornament fixtures. I also painted the clapper on the bell gold.
I didn’t need a second coat on these, but you might. Let everything dry completely, about an hour.
4. Thread the ribbon.
If you’re using the same garland kit from JoAnn, it comes with a jute cord. It didn’t match my aesthetic and I dislike how jute tends to fray and drop threads, so I used ribbon instead.
I cut the ribbon to about 9 feet long, then threaded it through the ornaments.
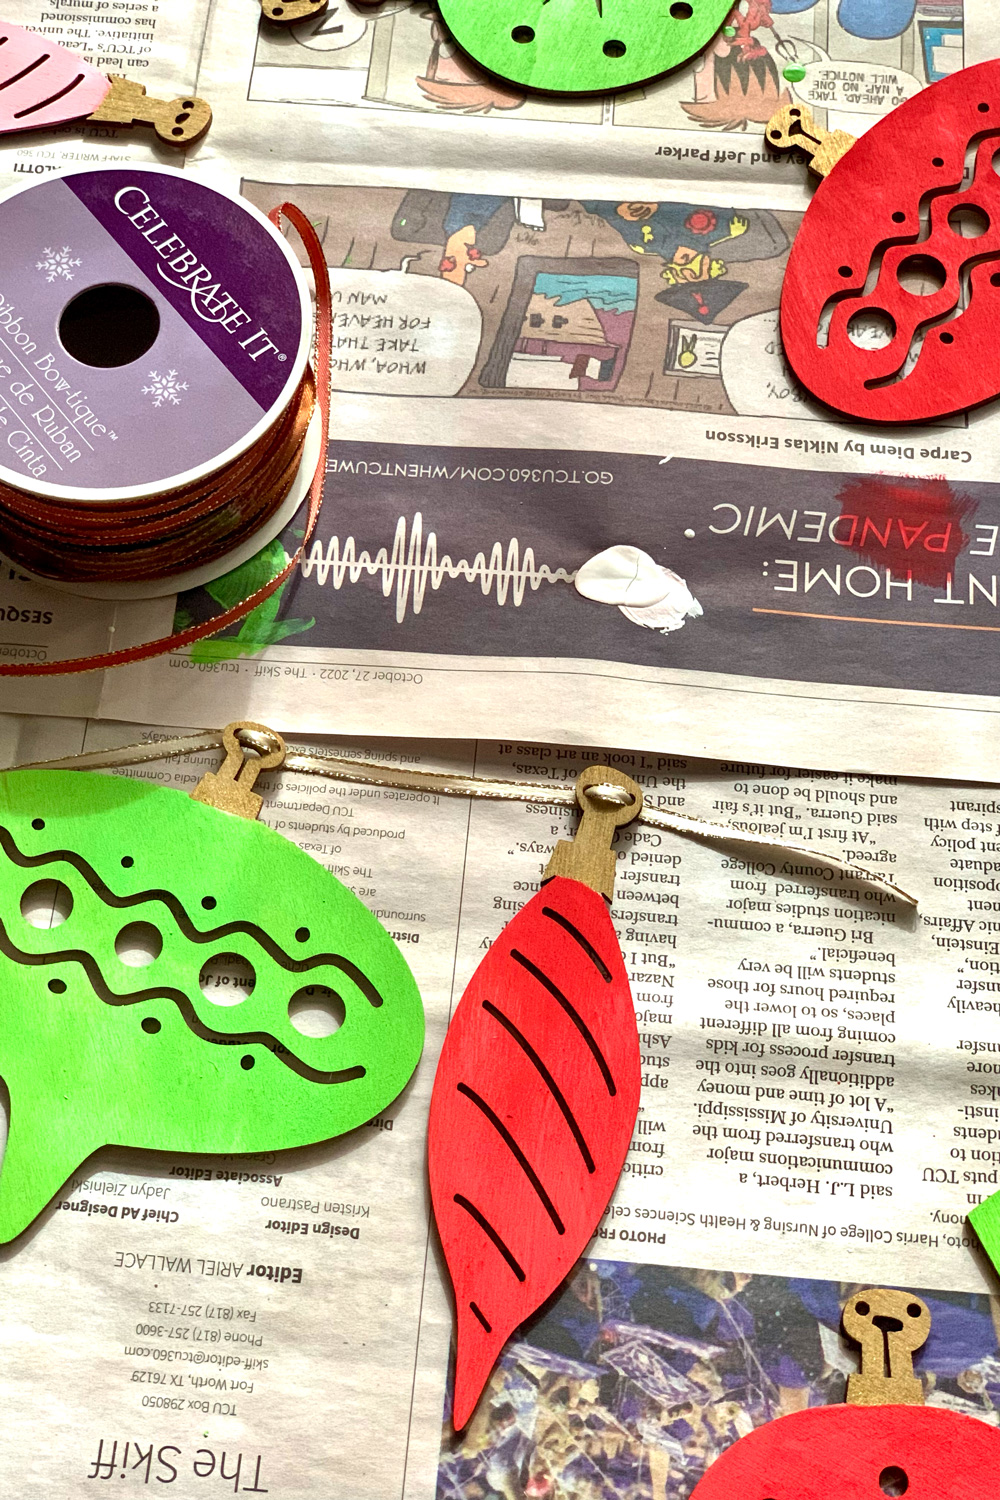
To thread the ribbon, I pinched it in half and poked it through each hole by hand. The ribbon frayed a little bit, so I trimmed the edges after I was happy with the ornaments.
I found it helpful to lay out the ornaments on the table and plan out the order so that I didn’t have to thread them more than once. The fit is snug, so they don’t slide down the ribbon without help.
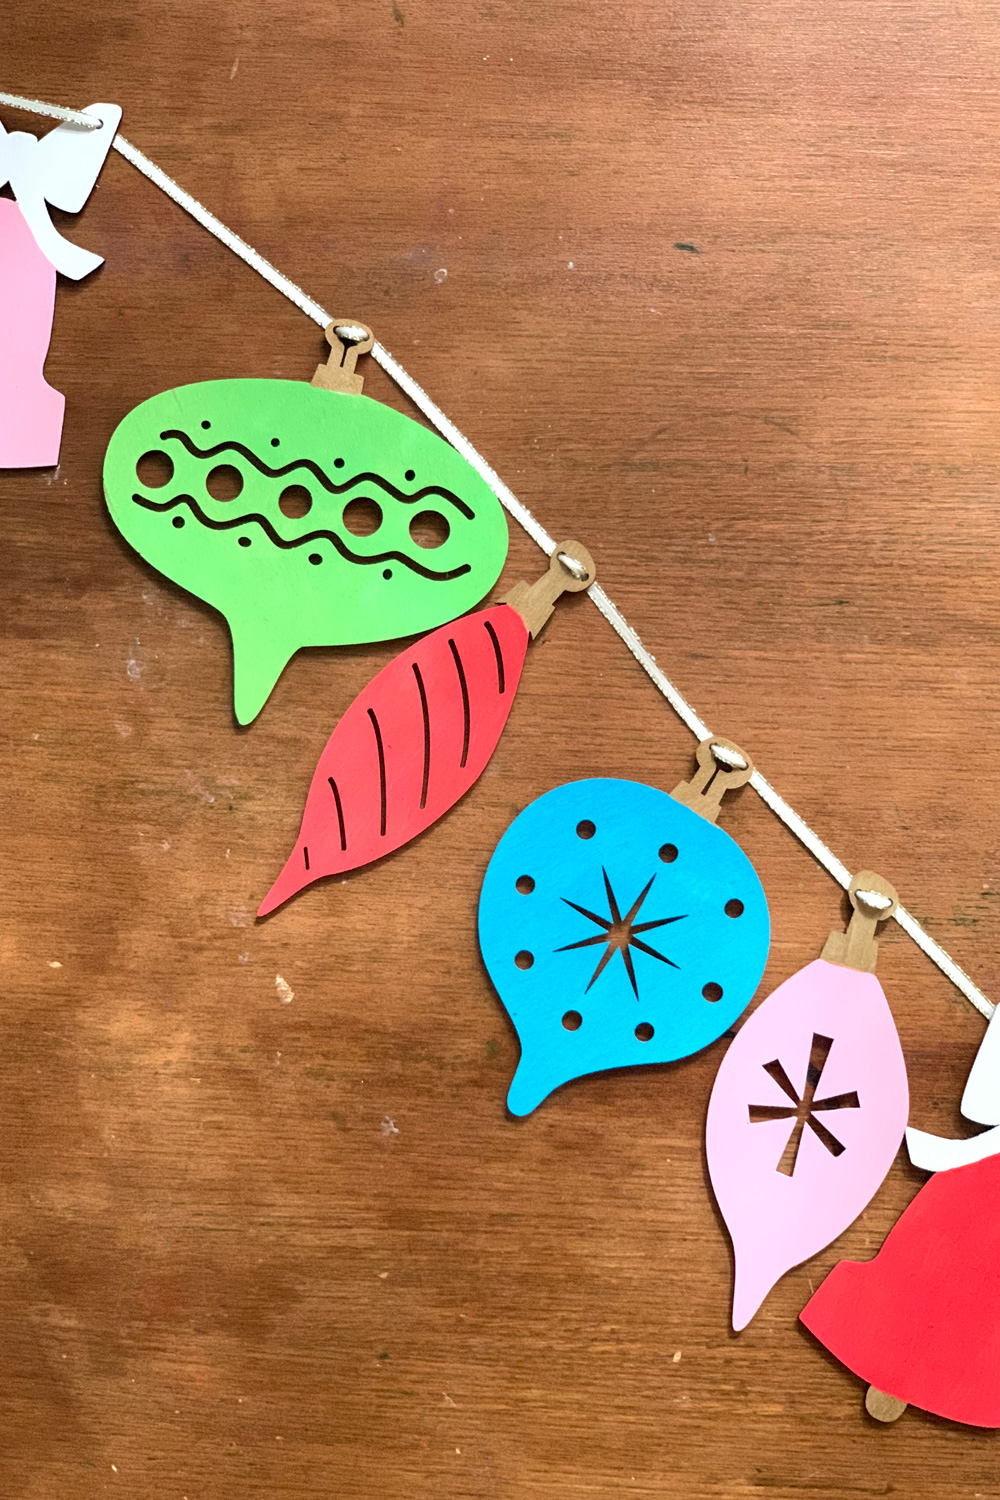
Hanging the garland
I used 3 Command hooks to hang this garland over these cabinets in my dining room/kitchen. I just attached the Command hooks to the wall following the package directions, then tied either end of the ribbon in a loop. This is my favorite way to add temporary decor that can easily come down at the end of the holiday season.
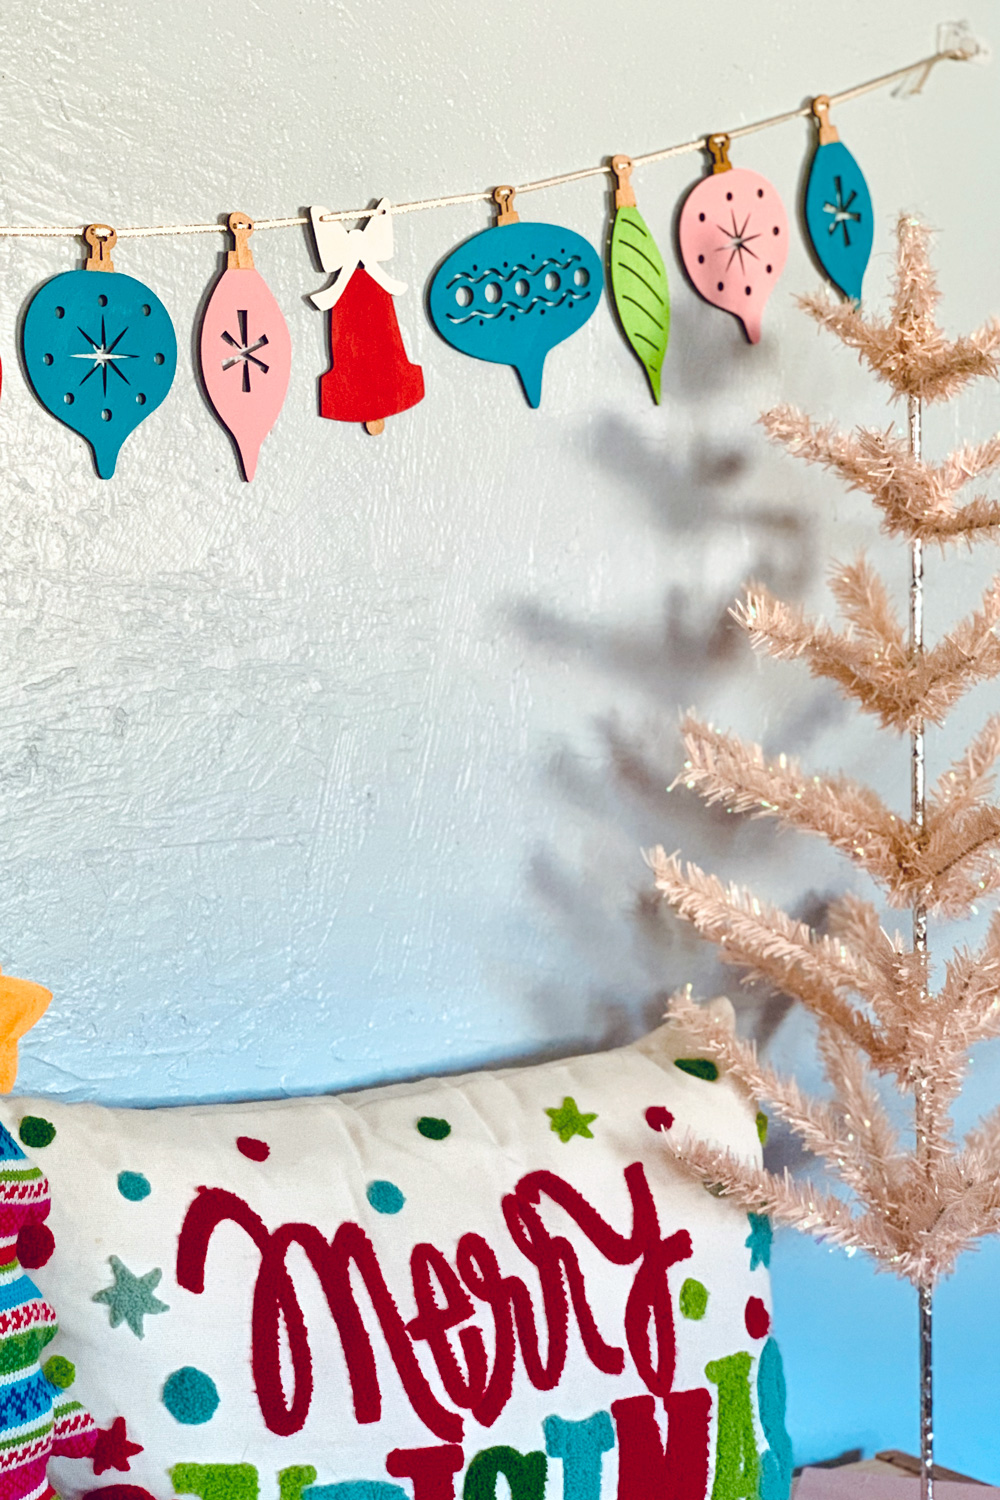
I did test wrapping the retro wood ornament garland around a mini tree, but it didn’t lay very well. If you wanted to use these on a tree instead of a wall (or mantle), I recommend cutting the ribbon into short sections to hang the ornaments individually.

What’s next? Try these other fun and creative ideas on One Mama’s Daily Drama:
Leave a Reply