
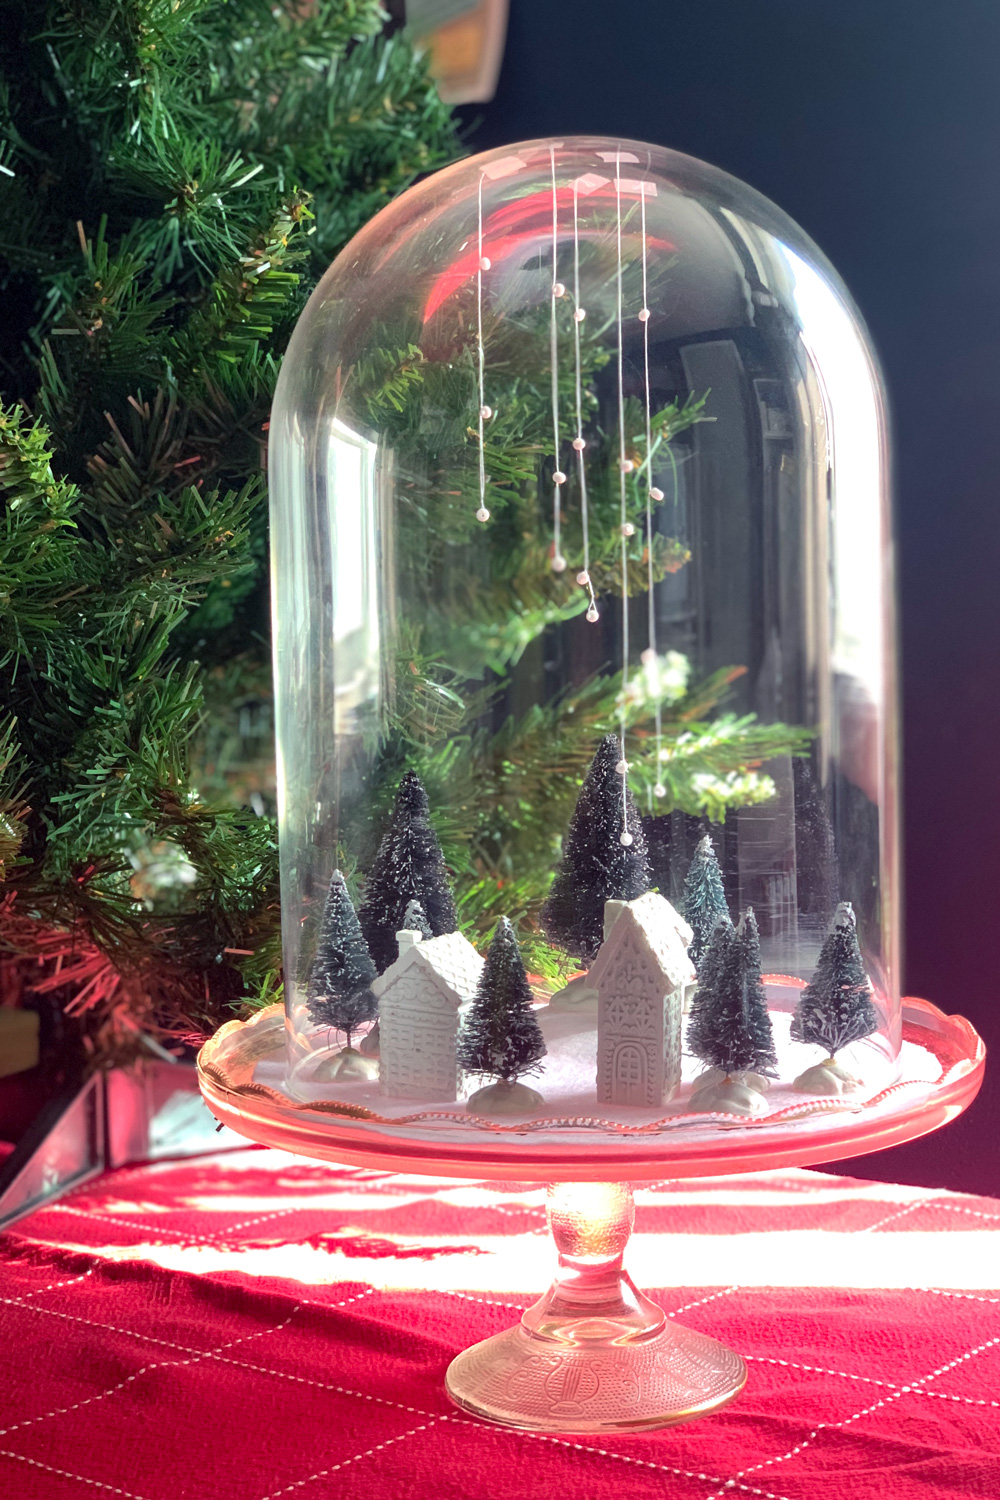
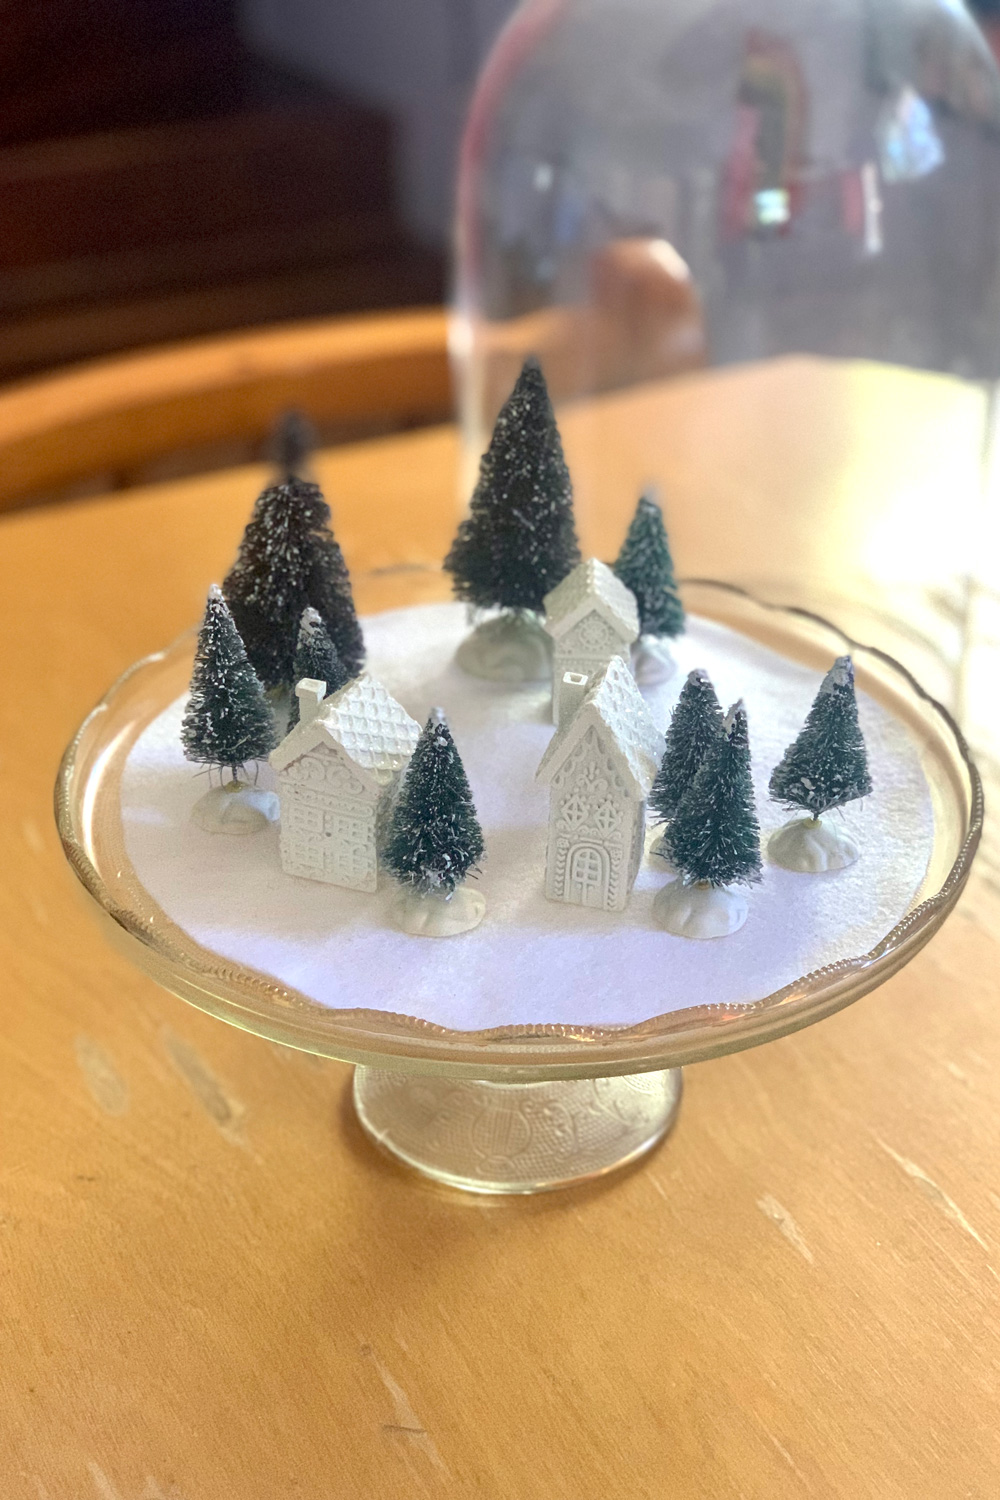
This mini Christmas village is the cutest little holiday decoration that fits anywhere if you don’t have space for a big one.
Disclosure: This blog contains affiliate links. As an Amazon Associate and member of other affiliate programs, Keri Houchin earns a commission from qualifying purchases at no additional cost to you.
I love a Christmas village. When I was a kid, I used a mix of action figures and Little People to set up a somewhat chaotic one as a kid. As an adult, I drool over all the Lemax houses and shops that get set up at Michael’s every holiday season.
But those buildings are pricey and can very easily take up a ton of space. If you love the idea of a Christmas village but can’t swing the elaborate version, try this mini Christmas village.
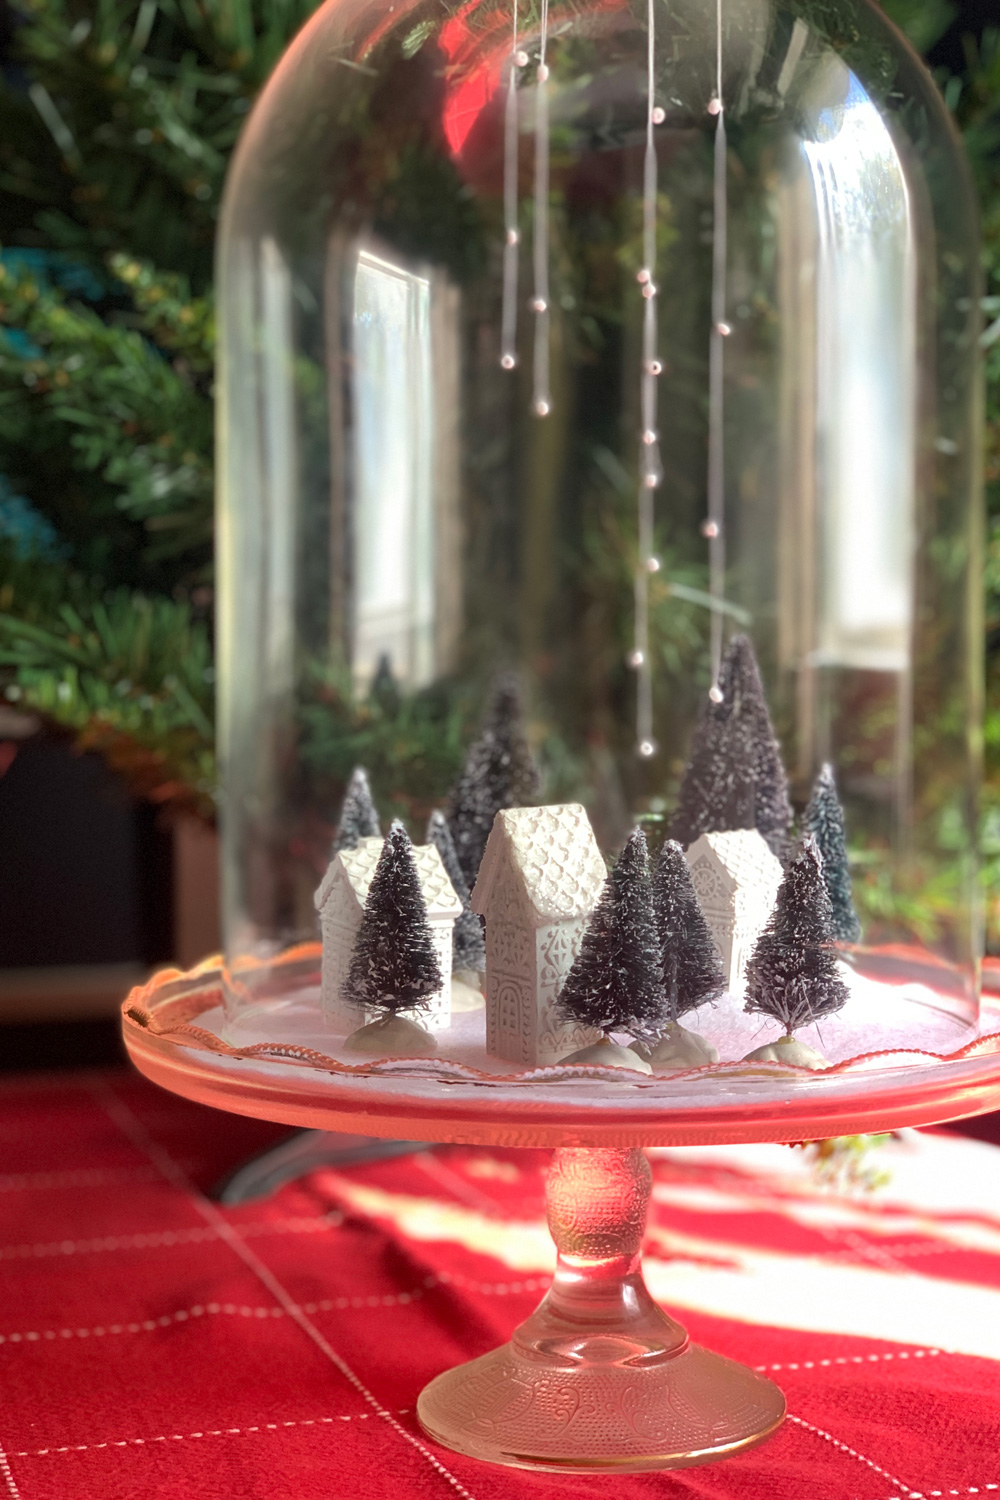
I set mine up on top of a 12-inch cake plate and set a glass cloche over it. The cake plate and cloche are part of my decor year-round, and I just swap out what’s inside with the seasons.
For Christmas, this tiny village is a little slice of winter wonderland sitting on a side table.
Christmas village tips and variants
- I picked up this cloche at a local antique shop years ago. I think the cake plate is a hand-me-down from a relative. You can set up your mini village anywhere – a serving tray, cake stand with lid, or directly on the table.
- Make the winter scene as large or small as your space allows. The point is for this to be small, but you can add more houses or shops or other miniatures.
- It’s chilly but we don’t get much snow here in Texas. You could swap the white felt for green and use star beads instead of snow!
- These houses are white with glitter on the roofs; you could paint them different colors with fine tip paint pens.
How to make a mini Christmas village
Supplies
- cloche and base plate – Michael’s has a 6-inch cloche and an ornament cloche
- white felt
- scissors
- miniature village houses
- extra – miniature village shops
- miniature green sisal trees
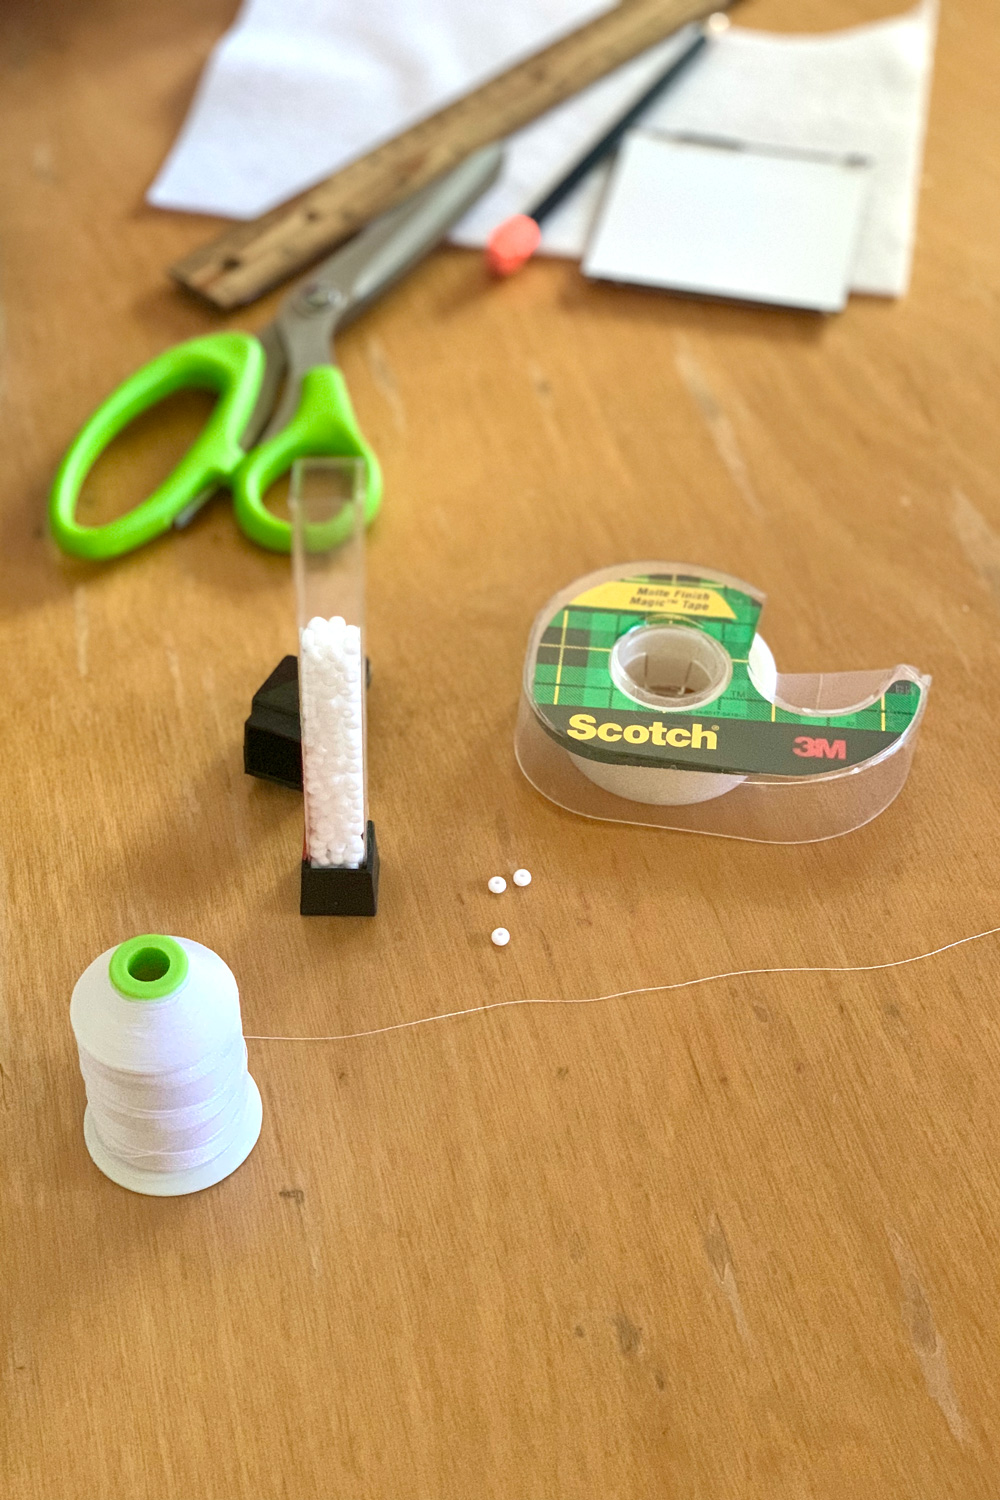
- white thread
- white seed beads
- scotch tape
Instructions
1. Cut the felt base.
Measure the cake plate and the cloche. Cut the white felt to fit between the two. My plate is 12 inches and my cloches in 10, so it was easy to make the felt circle 11 inches across.
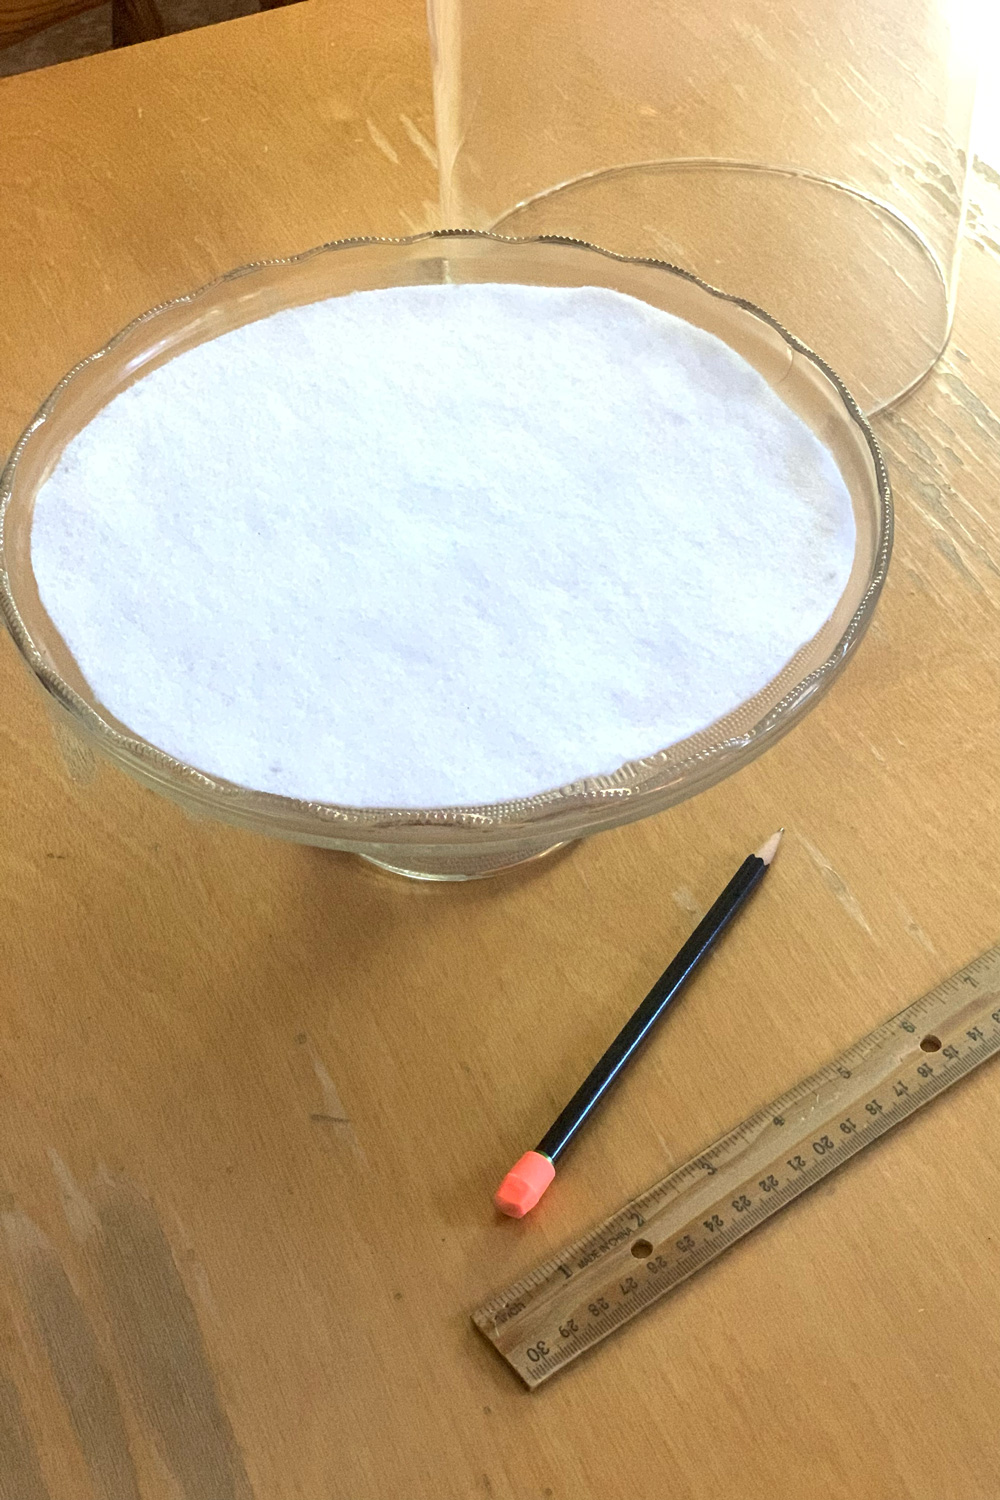
2. Create a small hill.
Adding a hill gives the village a little extra dimension. To make the hill, cut one felt circle that’s just large enough for a house and a tree or 2. Cut more circles, each slightly larger than the previous one. I used 4 circles total for a small hill. Place them on the cake plate and set the larger felt circle on top.

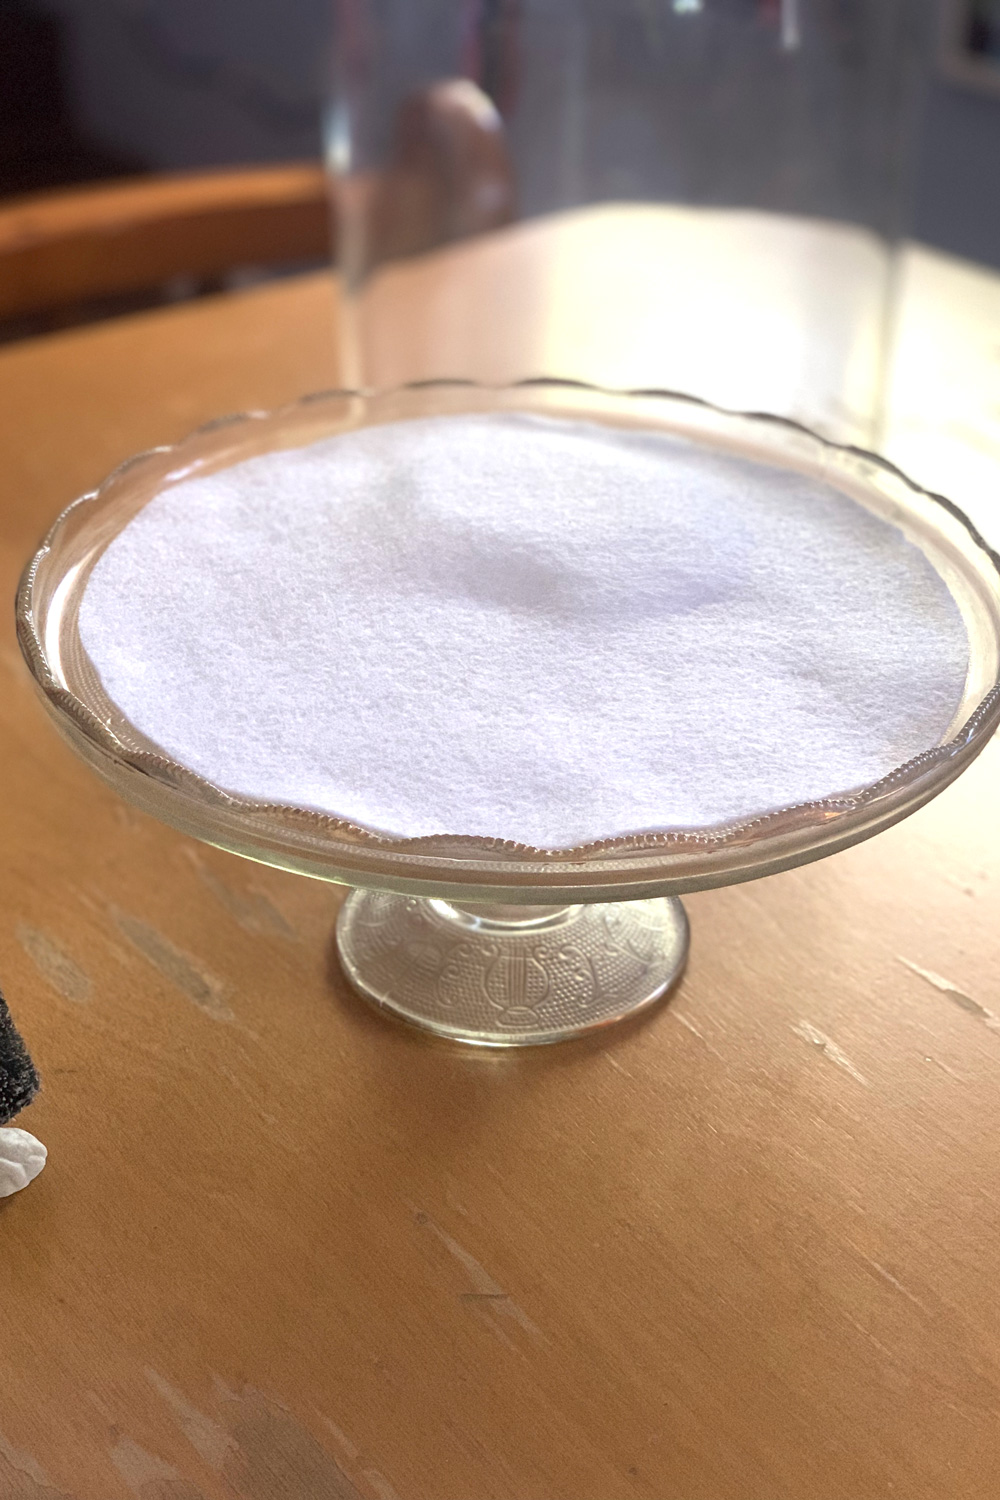
3. Assemble the village.
Lay out the houses and trees on the felt. Clusters of odd numbers tend to look best. Leave space around the outside edge where the cloche will sit.
4. Make the snowflakes.
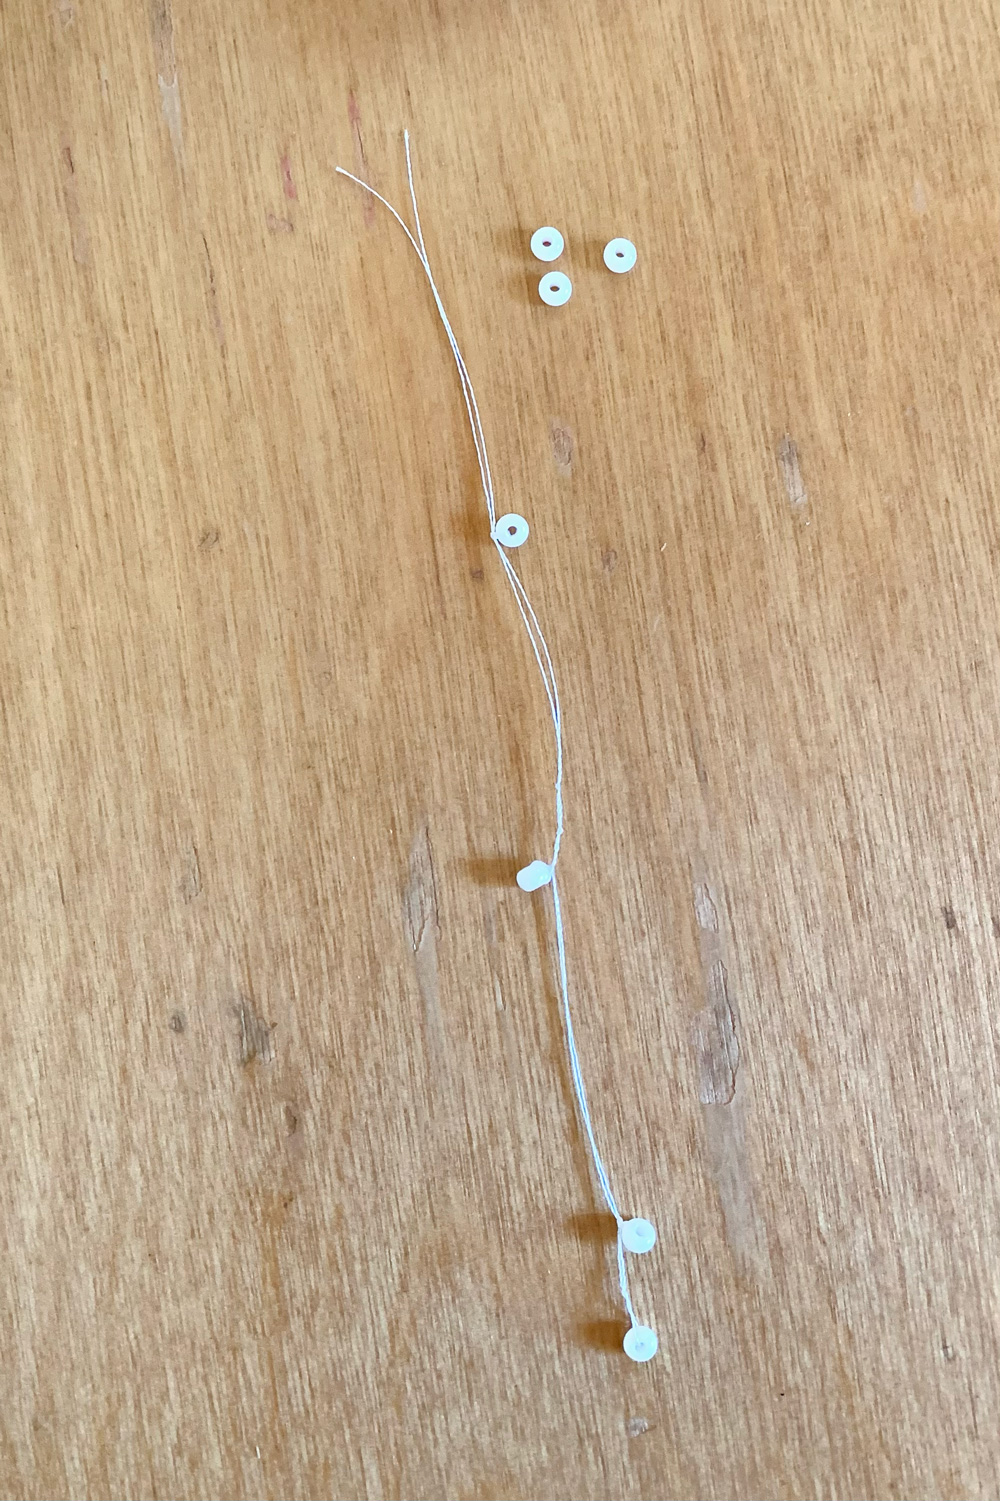
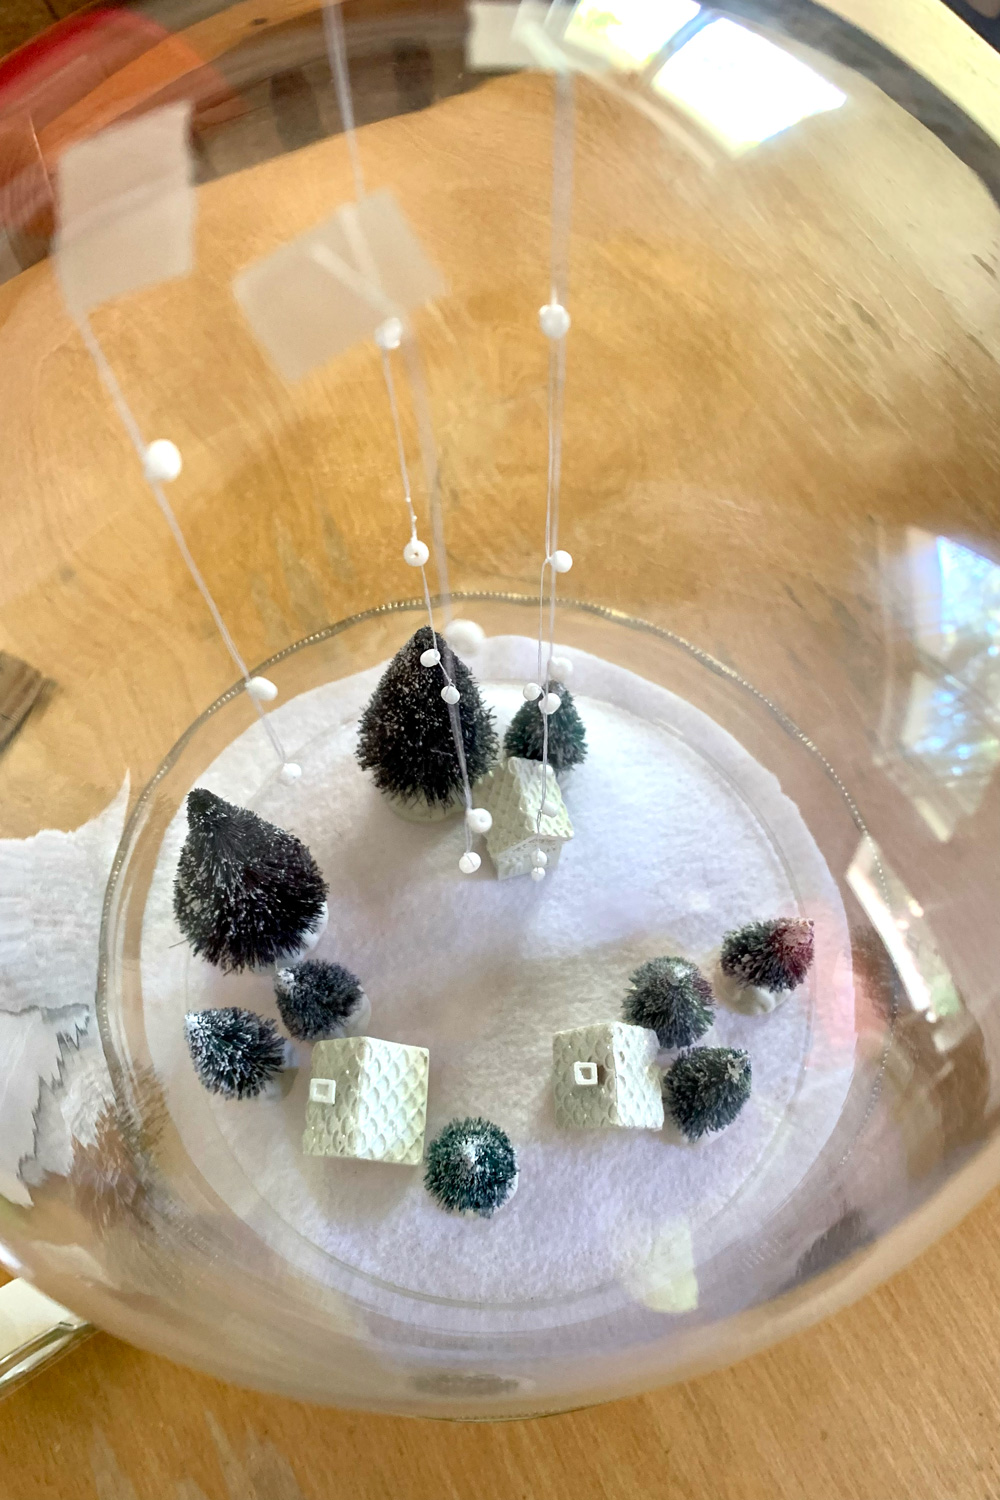
White beads on string give the illusion of falling snow. To make these, cut a length of thread that’s as tall as the cloche. Fold it in half and tread a bead on the end; tie a knot. Add more beads randomly along the thread, tying a knot to hold each one in place. Use scotch tape to attach the string to the top of the cloche. Repeat to make strings on different lengths with random bead placing.
5. Place the cloche over the village.
Finally, place the cloche over the Christmas village. Rotate is until you’re happy with the way the snow hangs over the village.
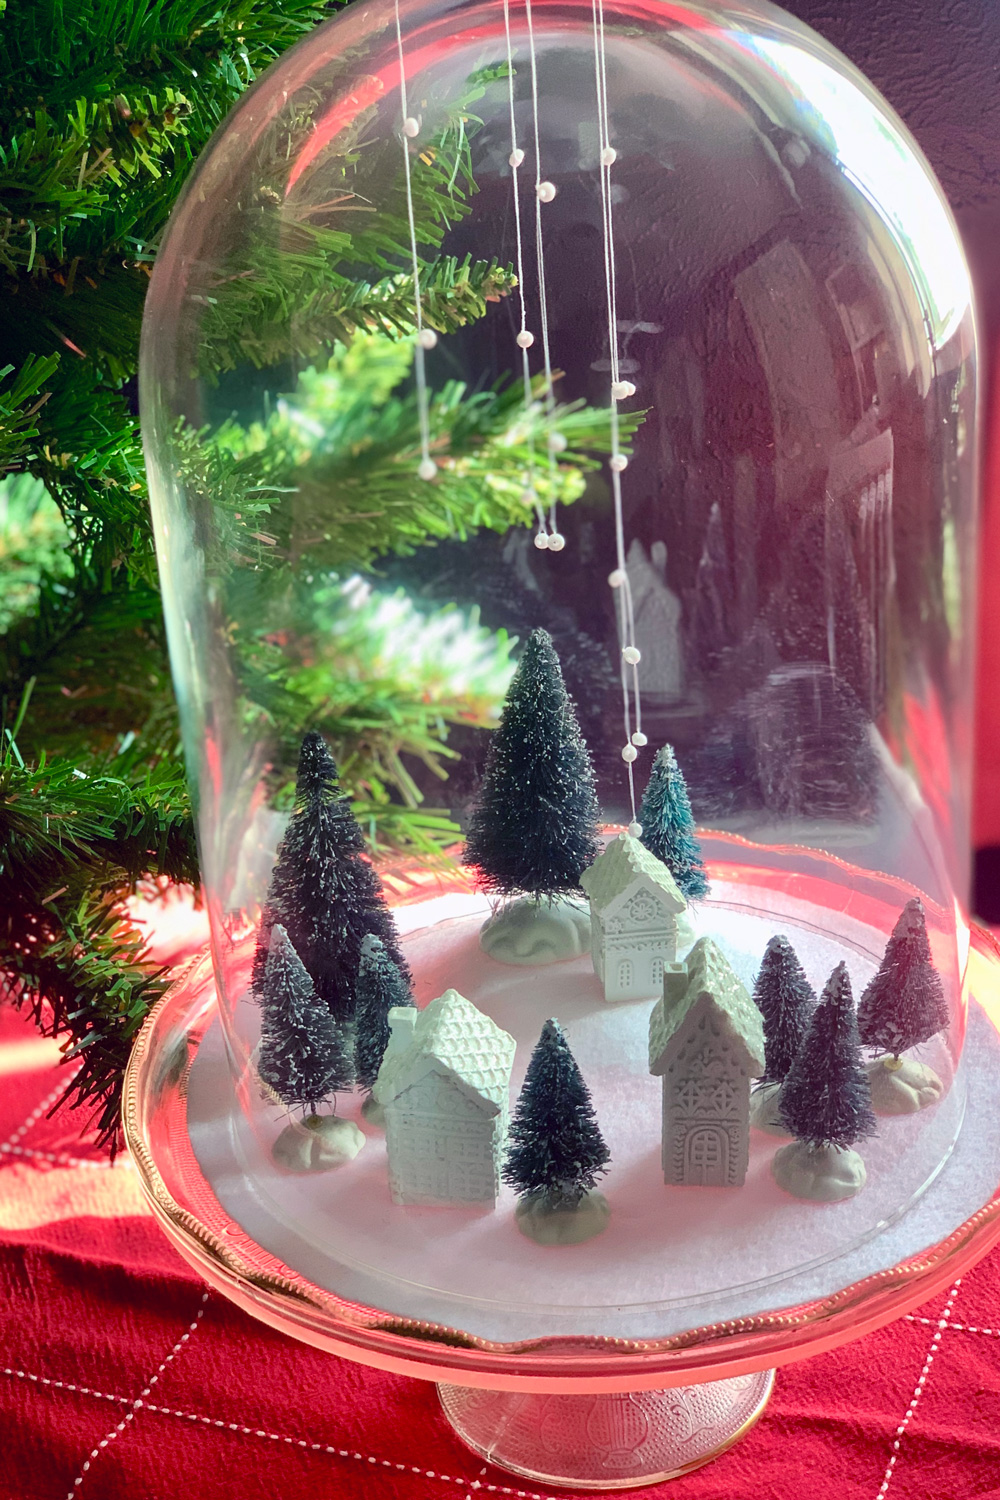
This mini Christmas village is an easy way to add a little winter wonderland to your holiday decor. It’s small enough to fit on a tabletop or shelf, but looks lovely and festive.

What’s next? Try these other fun and creative ideas on One Mama’s Daily Drama:
Leave a Reply