
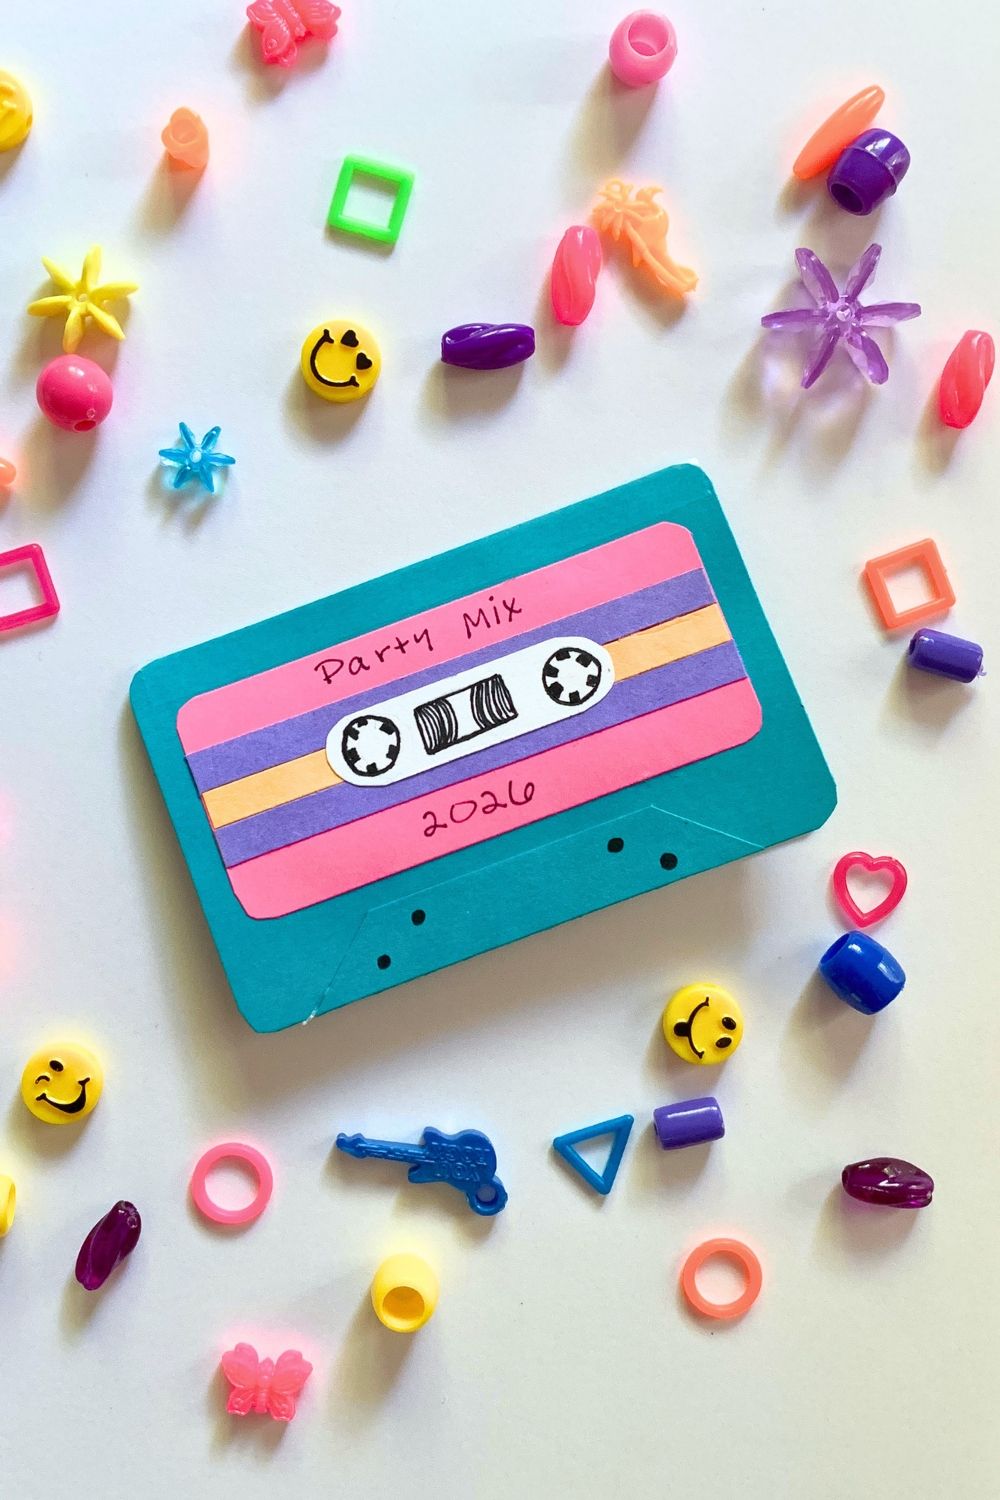
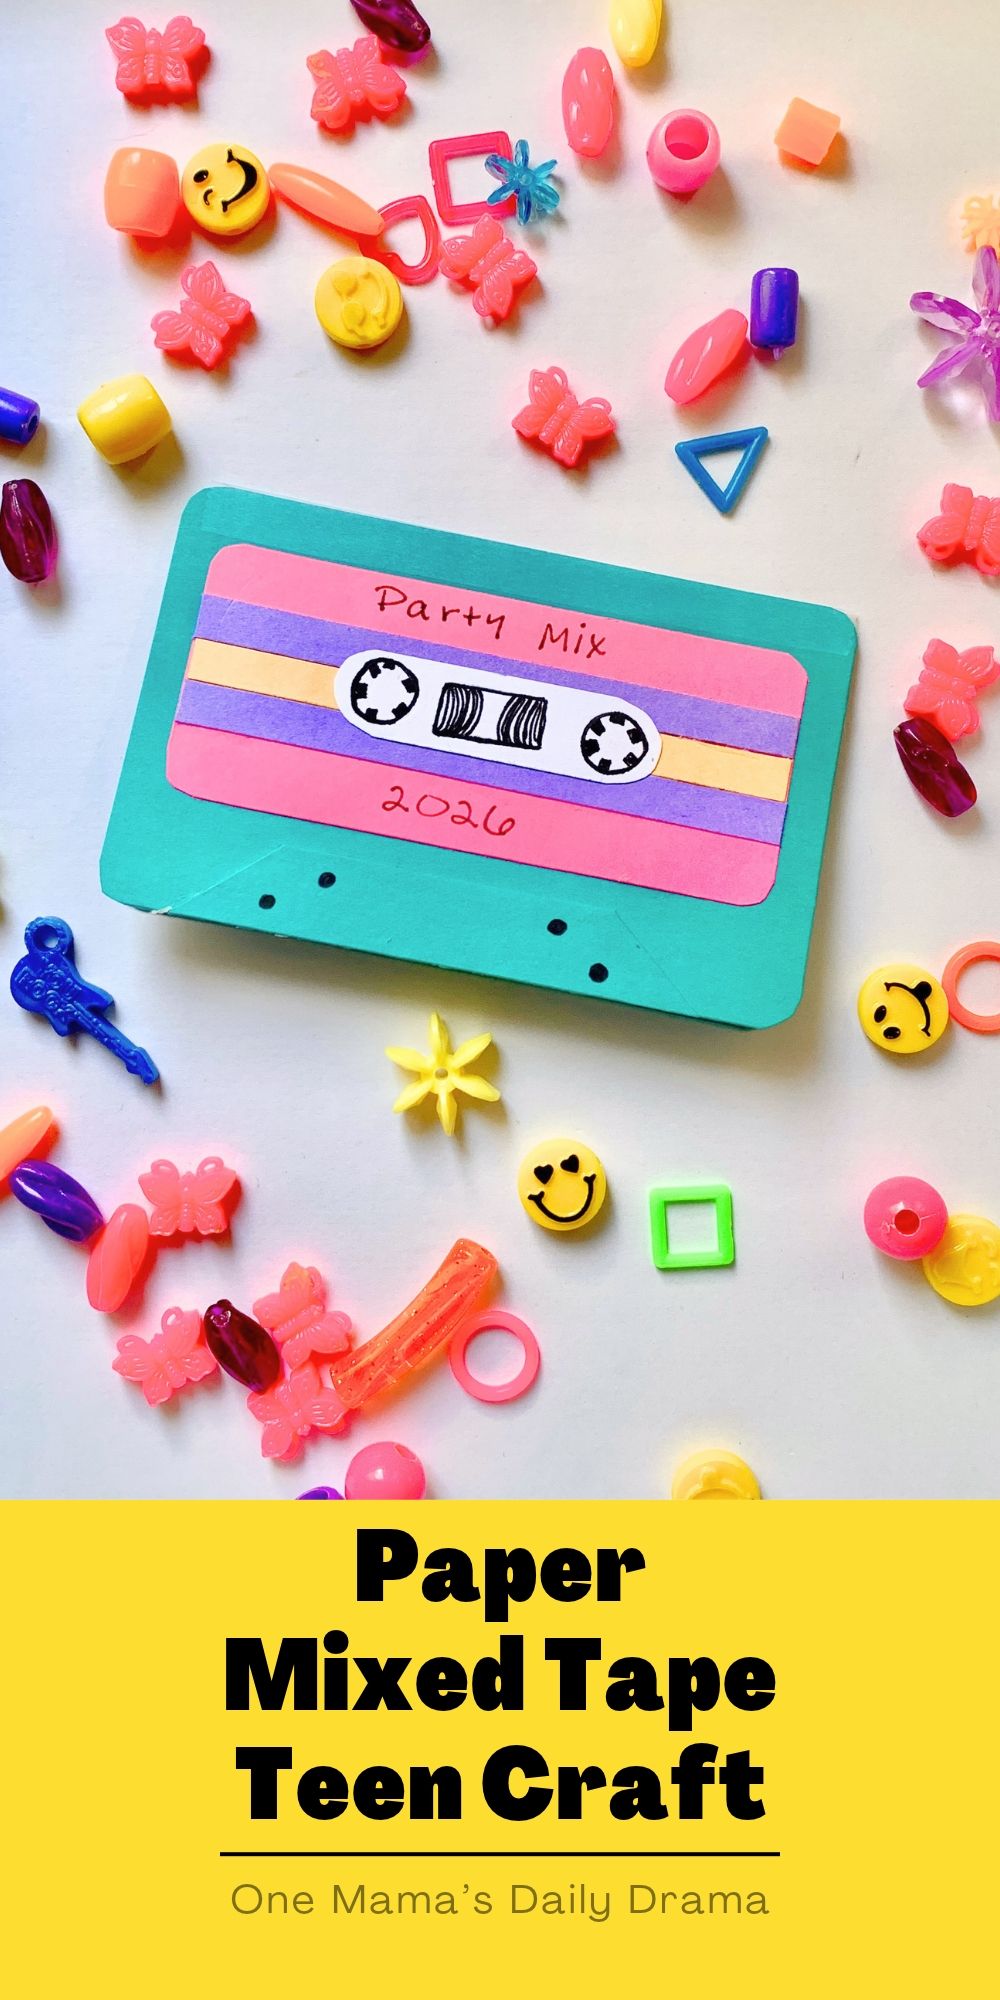
Make a paper mixed tape and fill it with your favorite songs! This is a fun teen craft for parties or a weekend boredom buster.
Disclosure: This blog contains affiliate links. As an Amazon Associate and member of other affiliate programs, Keri Houchin earns a commission from qualifying purchases at no additional cost to you.
Making a mixed tape in the 1990s was an all-day activity, but you can do this craft in less than an hour. This is mostly paper and glue, and you can pick whatever colors you like.
This paper mixed tape holds a few pieces of notebook paper, where you can write out the perfect playlist.
How to make a paper cassette tape
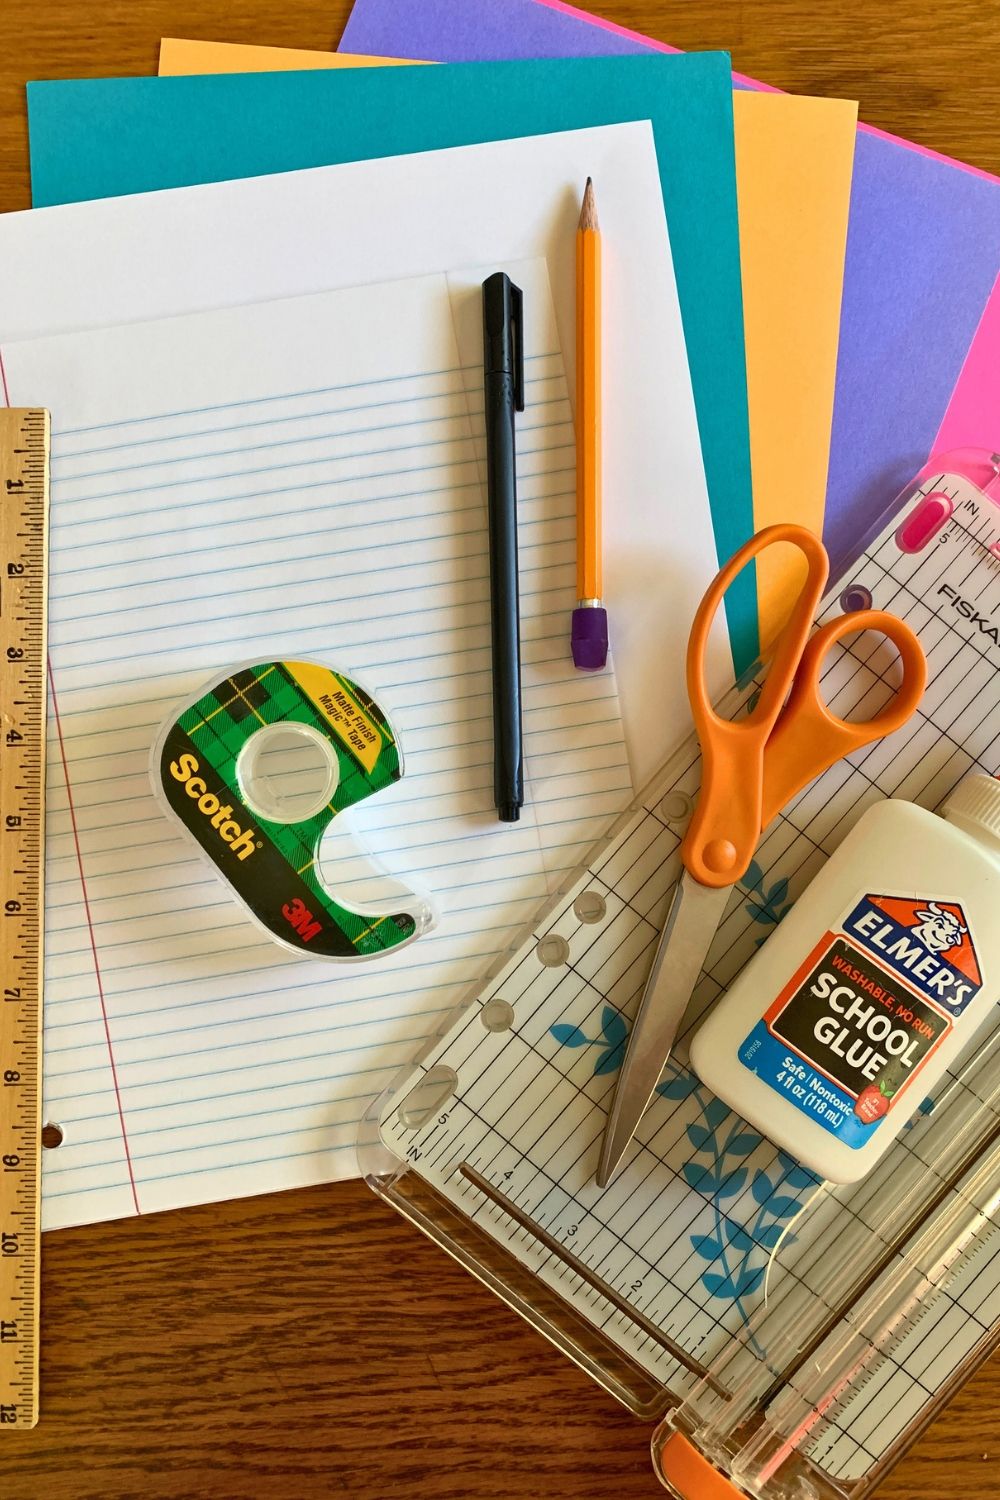
Supplies
- colored card stock
- white card stock
- notebook paper
- scissors or paper trimmer
- ruler
- glue
- tape
- pencil
- blank pen
Instructions
1. Cut paper shapes.
Start by cutting out all the pieces for the cassette tape. You can use any colors, of course, but for clarity I’ll list the colors I used. Here are the pieces you need:
- 2 blue rectangles, 4×2.5 inches
- 1 pink rectangle, 3.5×1.5 inches
- 1 yellow stripe, 3.5×0.25 inches
- 2 purple stripes, 3.5×0.25 inches
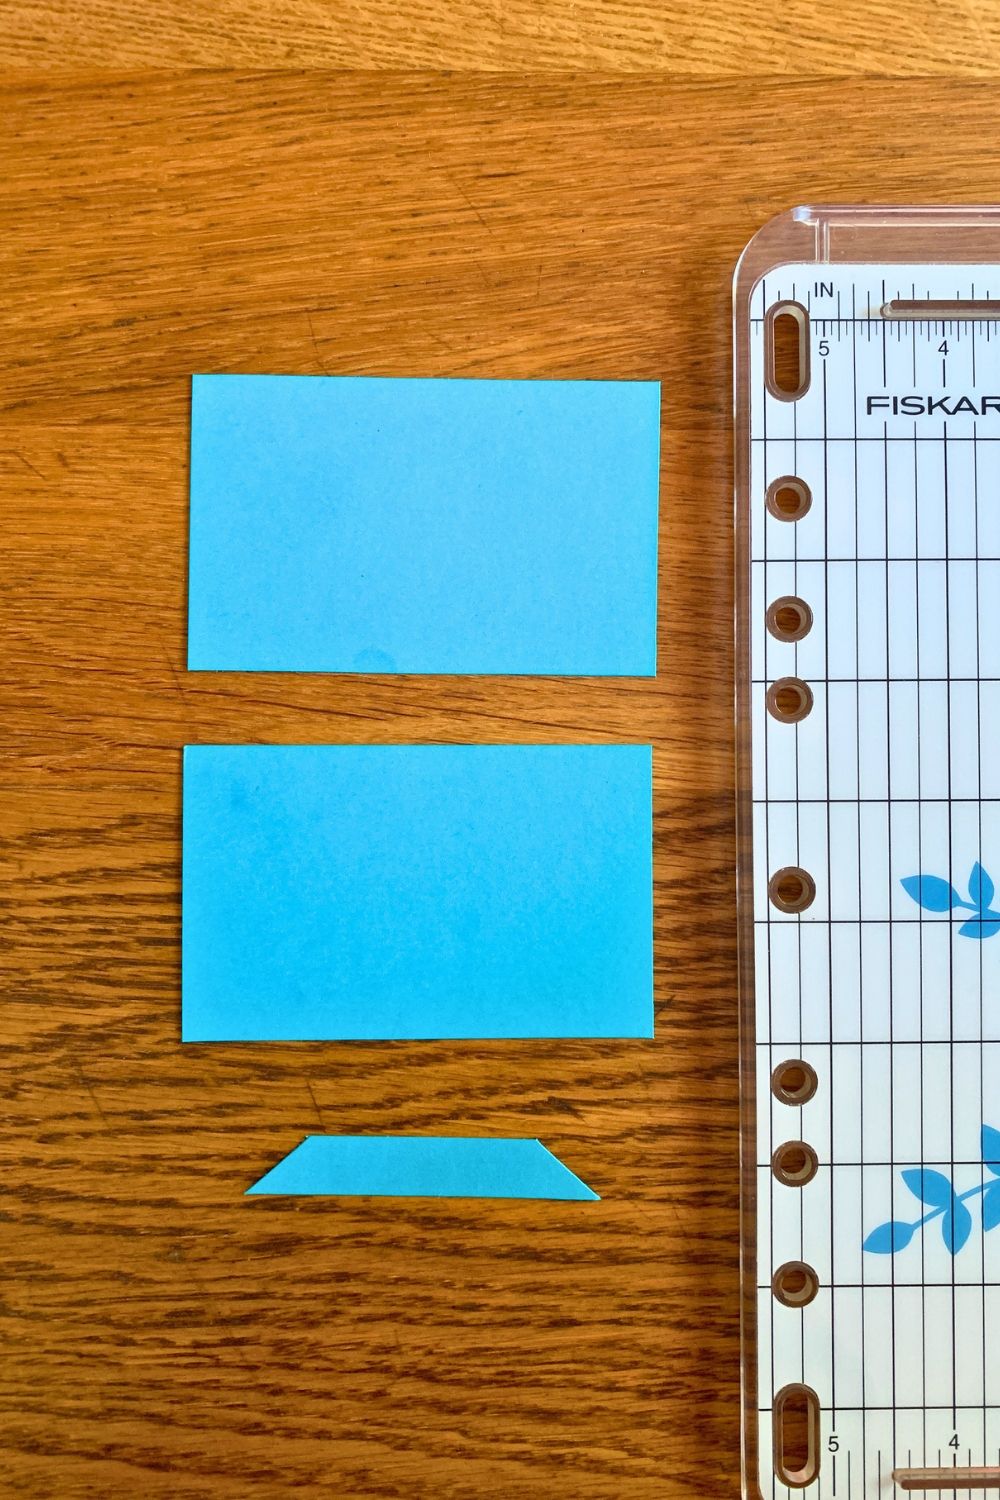
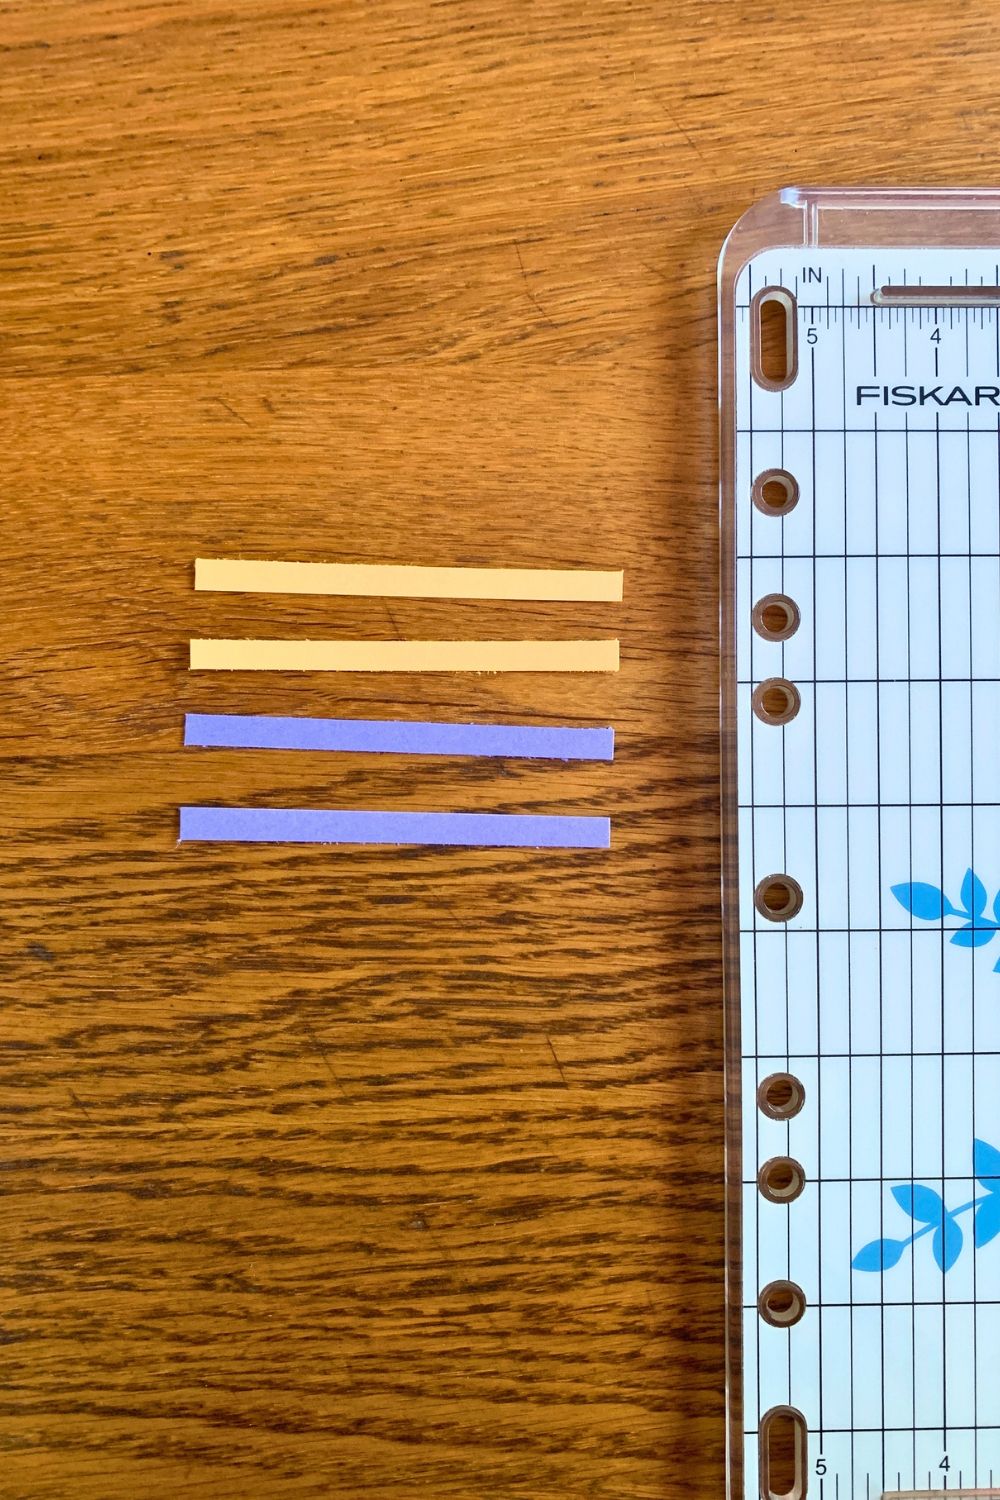
Cut these rectangles, then trim them to shape:
- 1 blue rectangle, 3×0.5 inches ~ Mark 0.5 inch from each end on one side; cut a diagonal from the mark to the opposite corner to create a trapezoid.
- 1 white rectangle, 2×0.5 inches ~ Round the ends. (You can see this in the photo of the next step.)
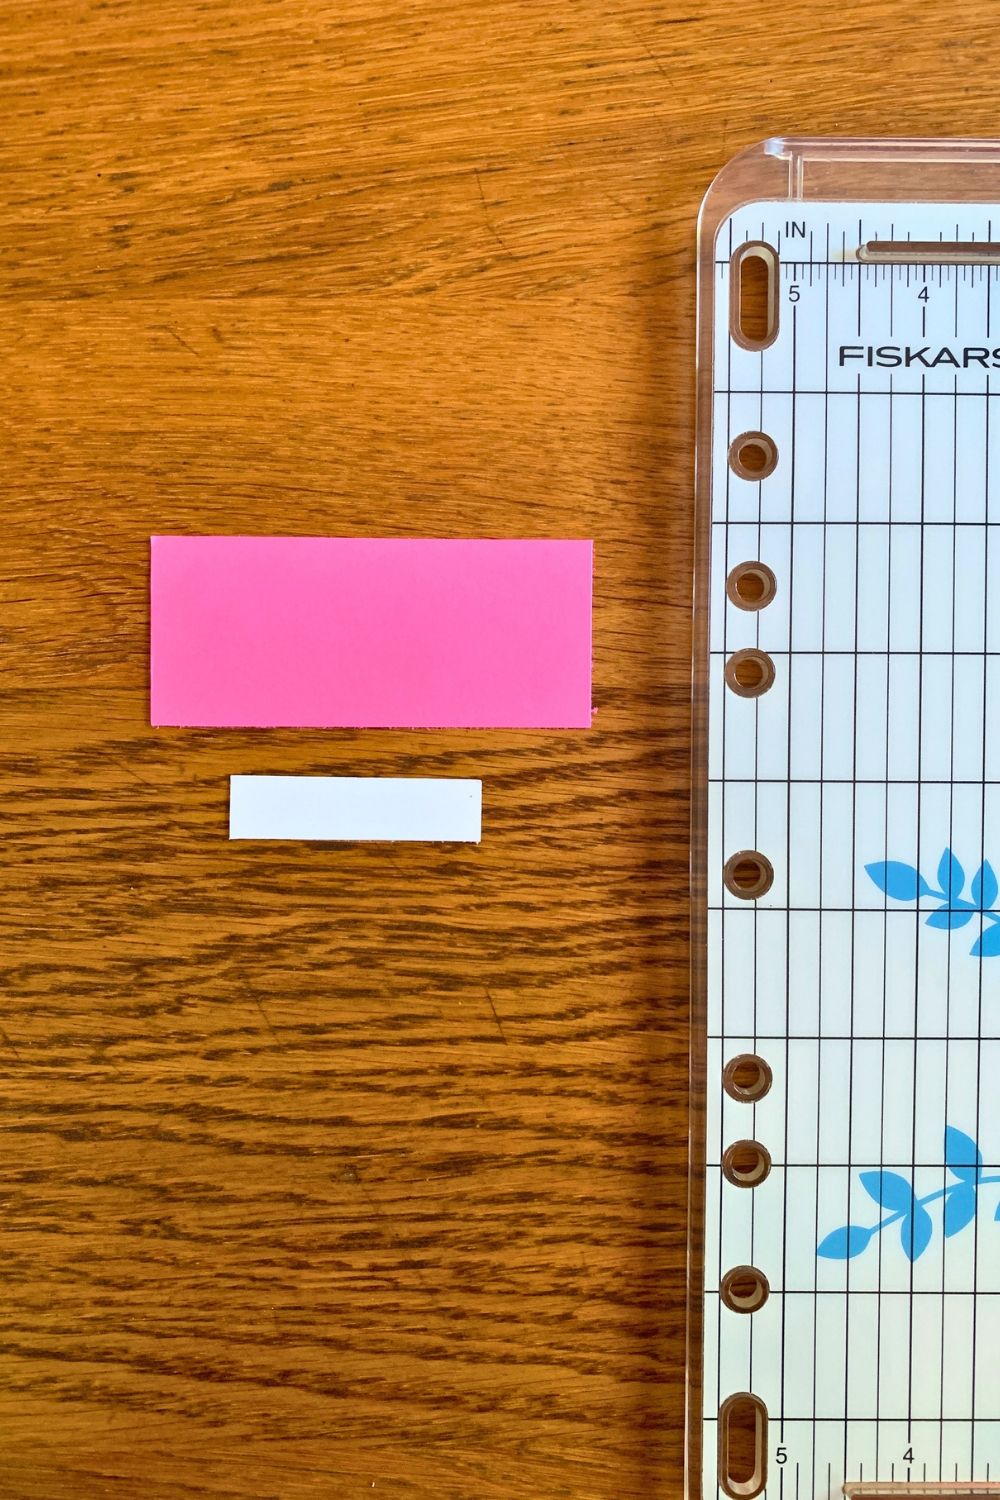
2. Round the corners.
This step isn’t critical, but makes the finished mixed tape look a bit more like a real cassette. Use scissors to round the corners of the blue and pink rectangles.
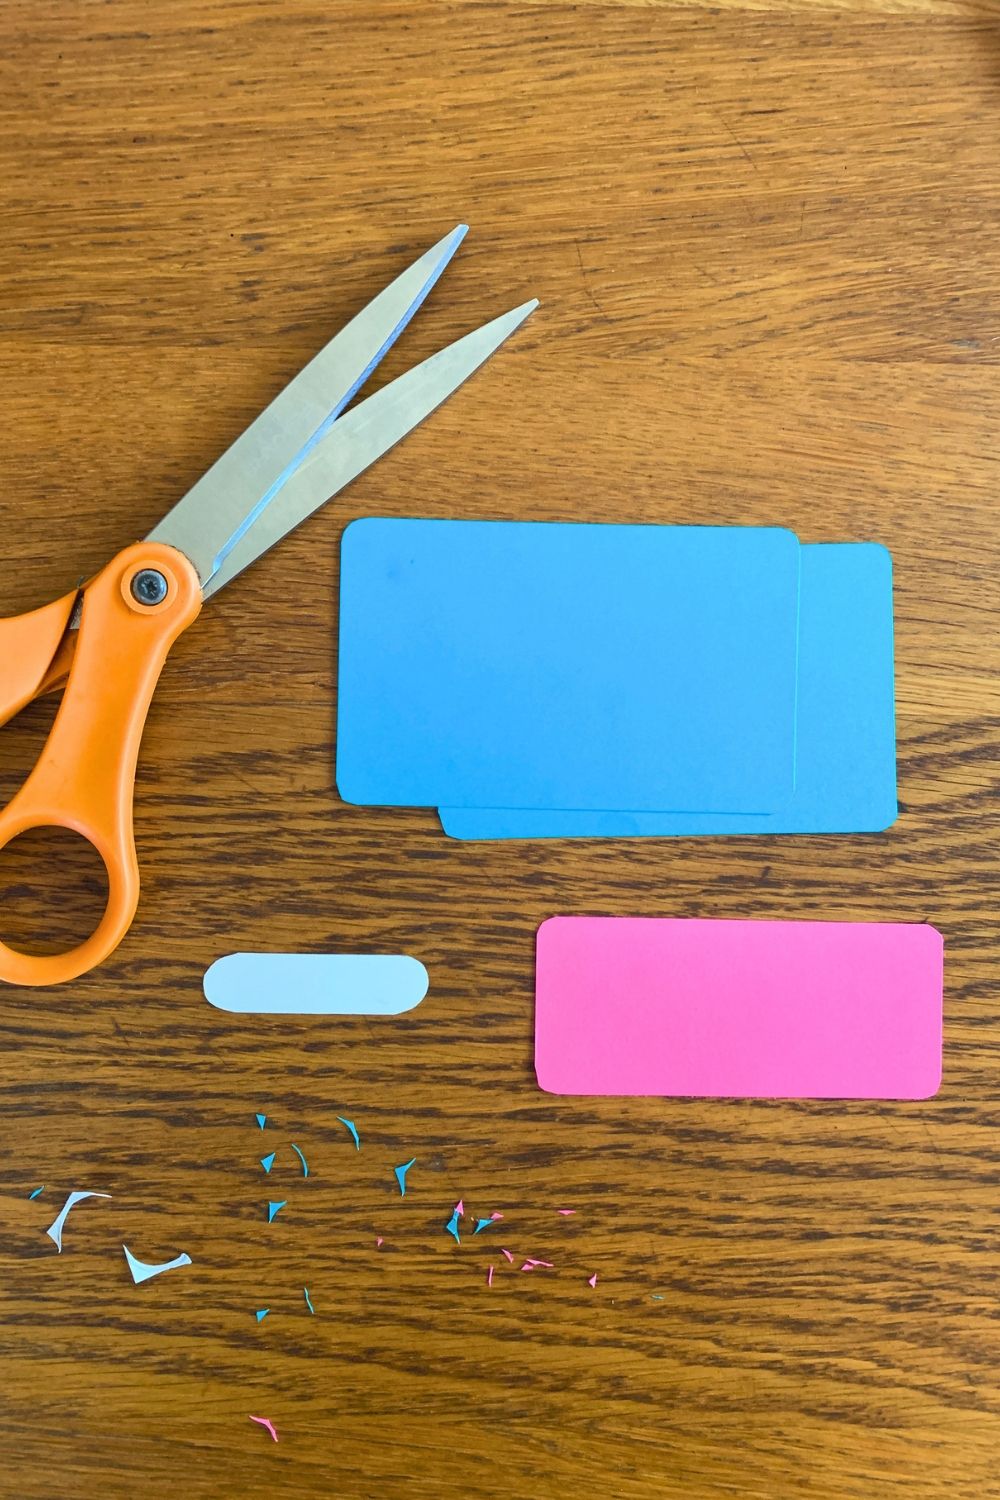
3. Glue everything together.
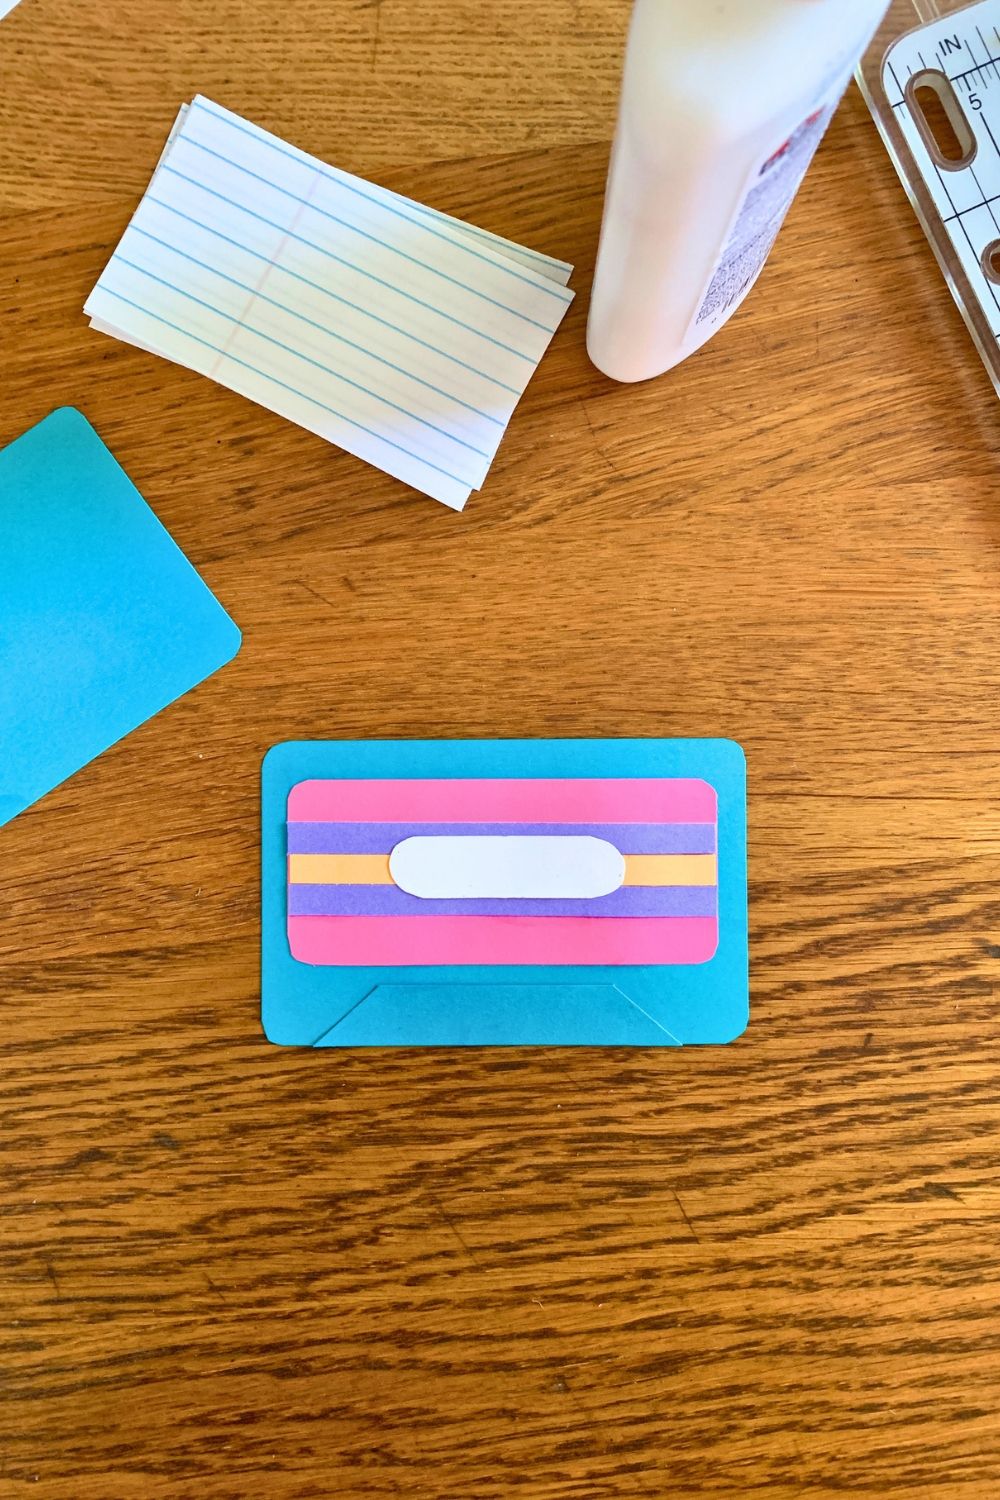
Now it’s time to assemble the cassette. Use one blue rectangle (the other is for the back, later).
Glue the blue trapezoid in the center of the bottom edge. Center the pink rectangle in the middle of the blue space. Center the stripes on the pink rectangle.
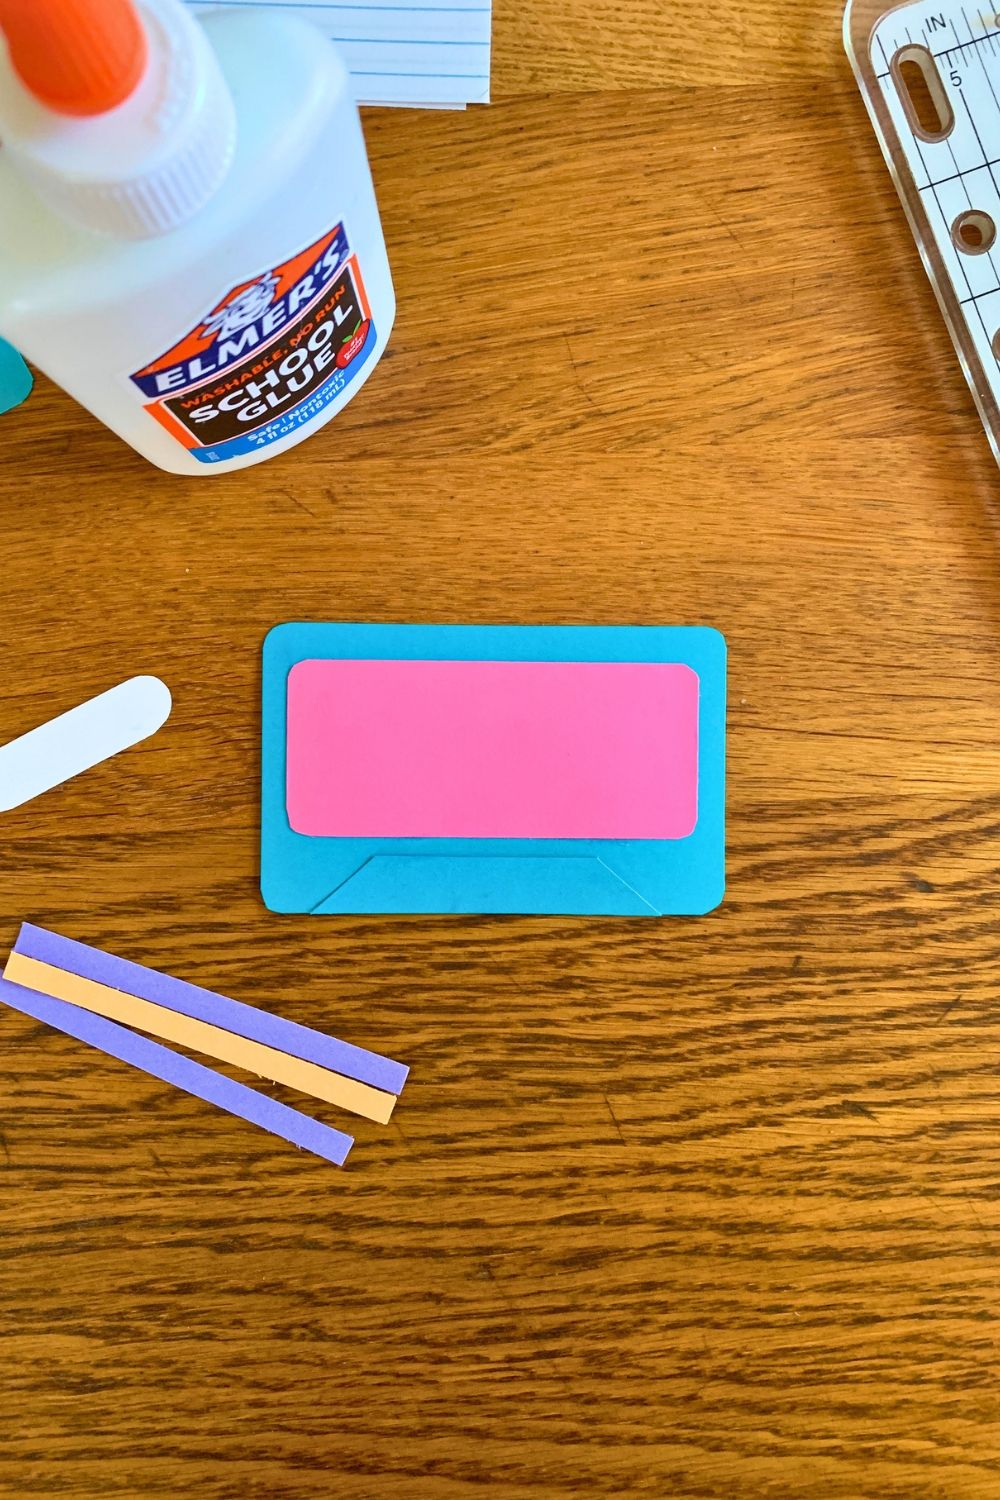
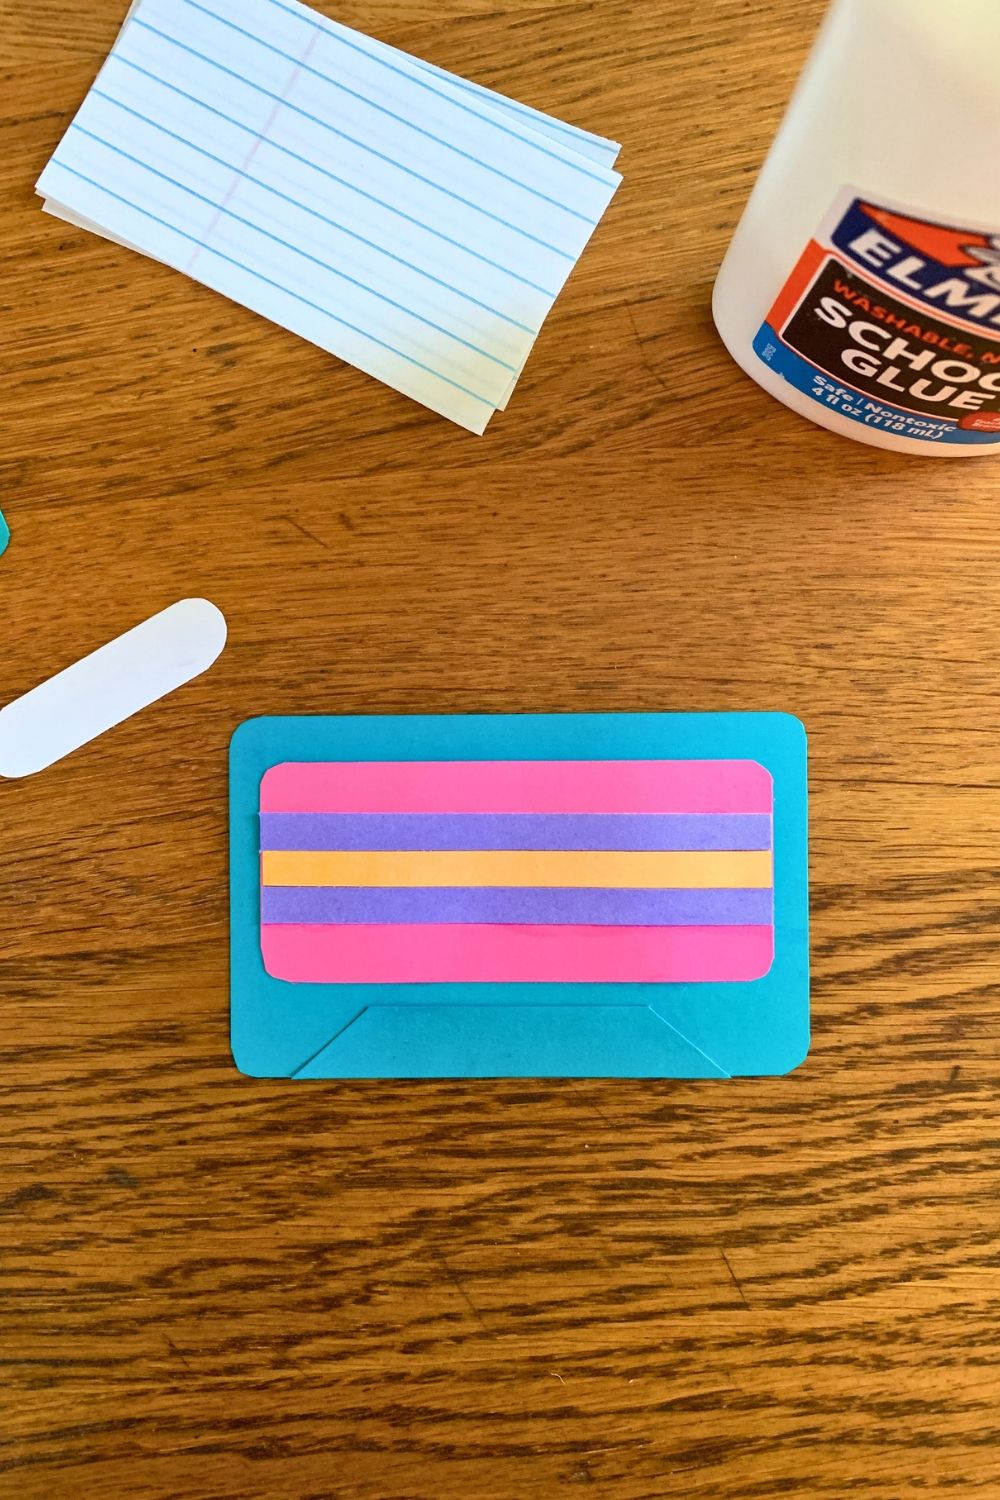
Center the rounded white rectangle over the stripes. Set the cassette aside to dry, 5-10 minutes. If the paper is curling, it may be helpful to set a heavy object on top.
While you’re waiting for the glue to dry, cut 5 rectangles of notebook paper that are 3.5×2 inches.
4. Draw the details.
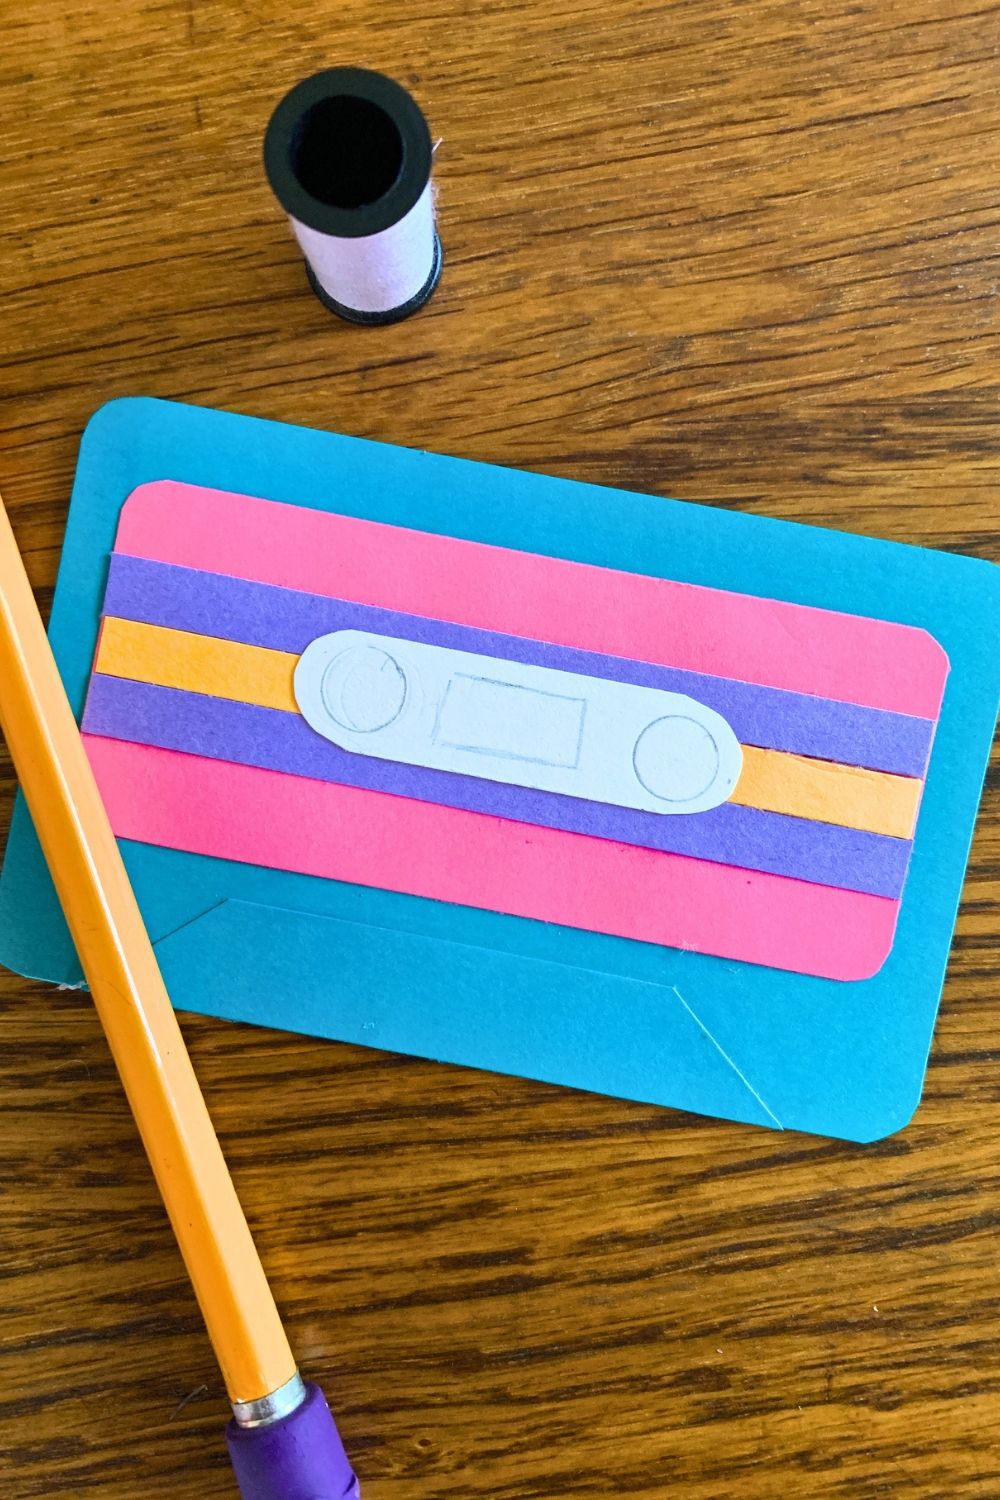
You can be as realistic or not with the cassette details. Sketch 2 circles for the tape reels and a rectangle between them for the window. (If you’re a perfectionist, trace a tiny spool or a very small circle.)
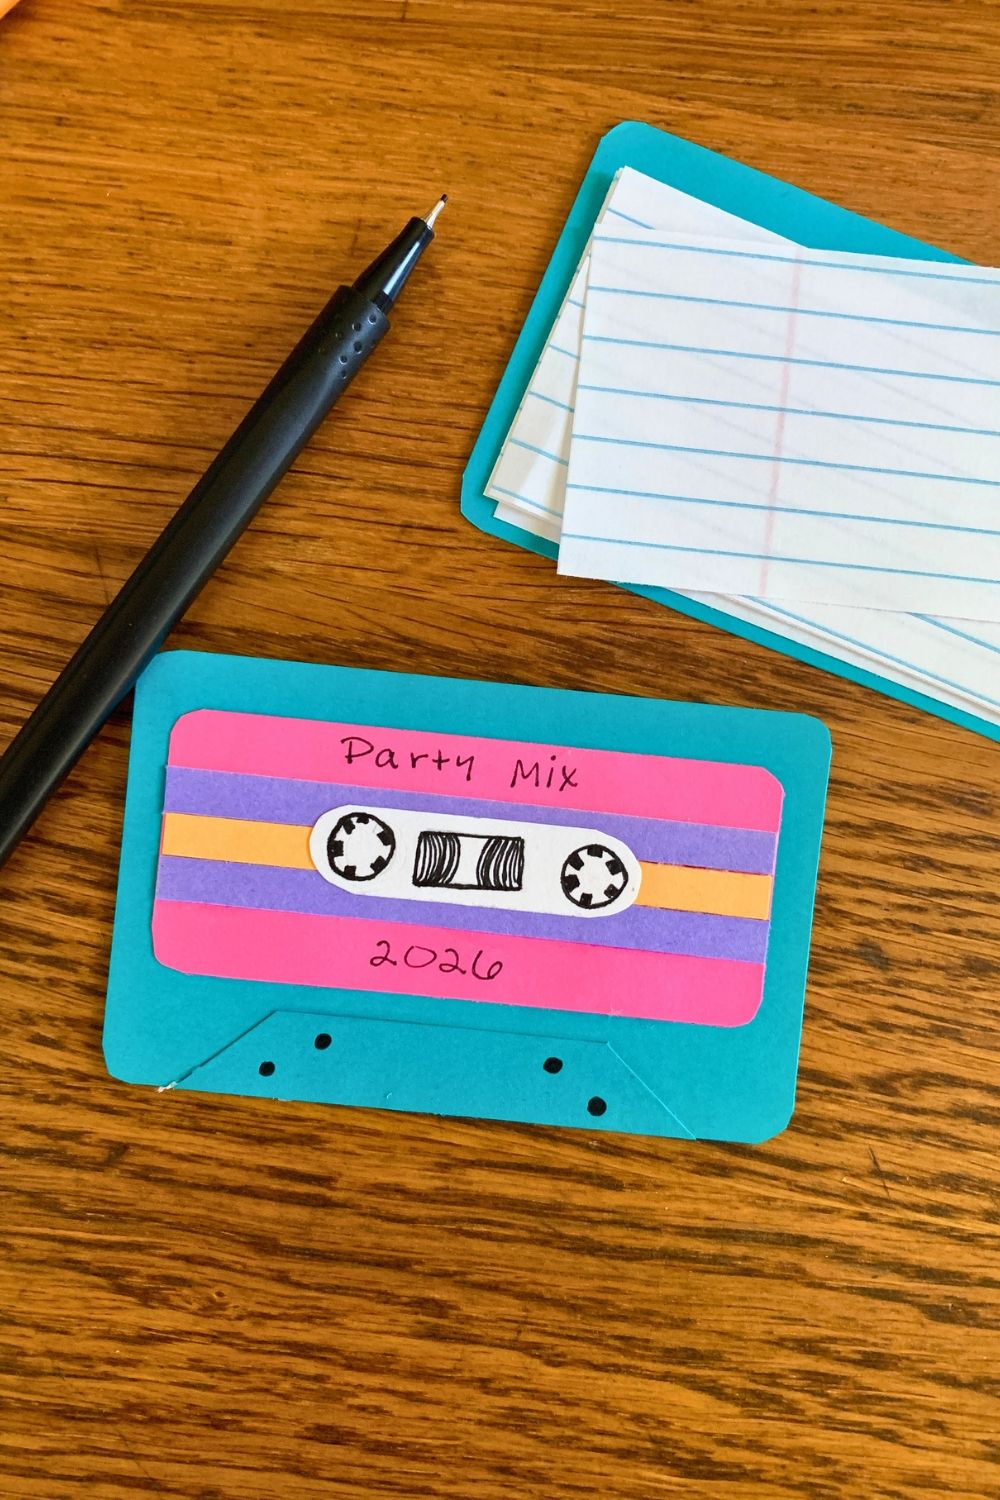
Go over the sketch lines with black ink. Add some teeth inside the reels and lines for the tape seen through the window. Add a couple of dots on the trapezoid where the holes would be. (I don’t actually know why cassettes have these. Maybe so the player can grab on?)
Label your mixed tape. Picking a name might be the hardest part of this craft. Add more doodles, stickers, or decorations if you like.
5. Finish the inside.
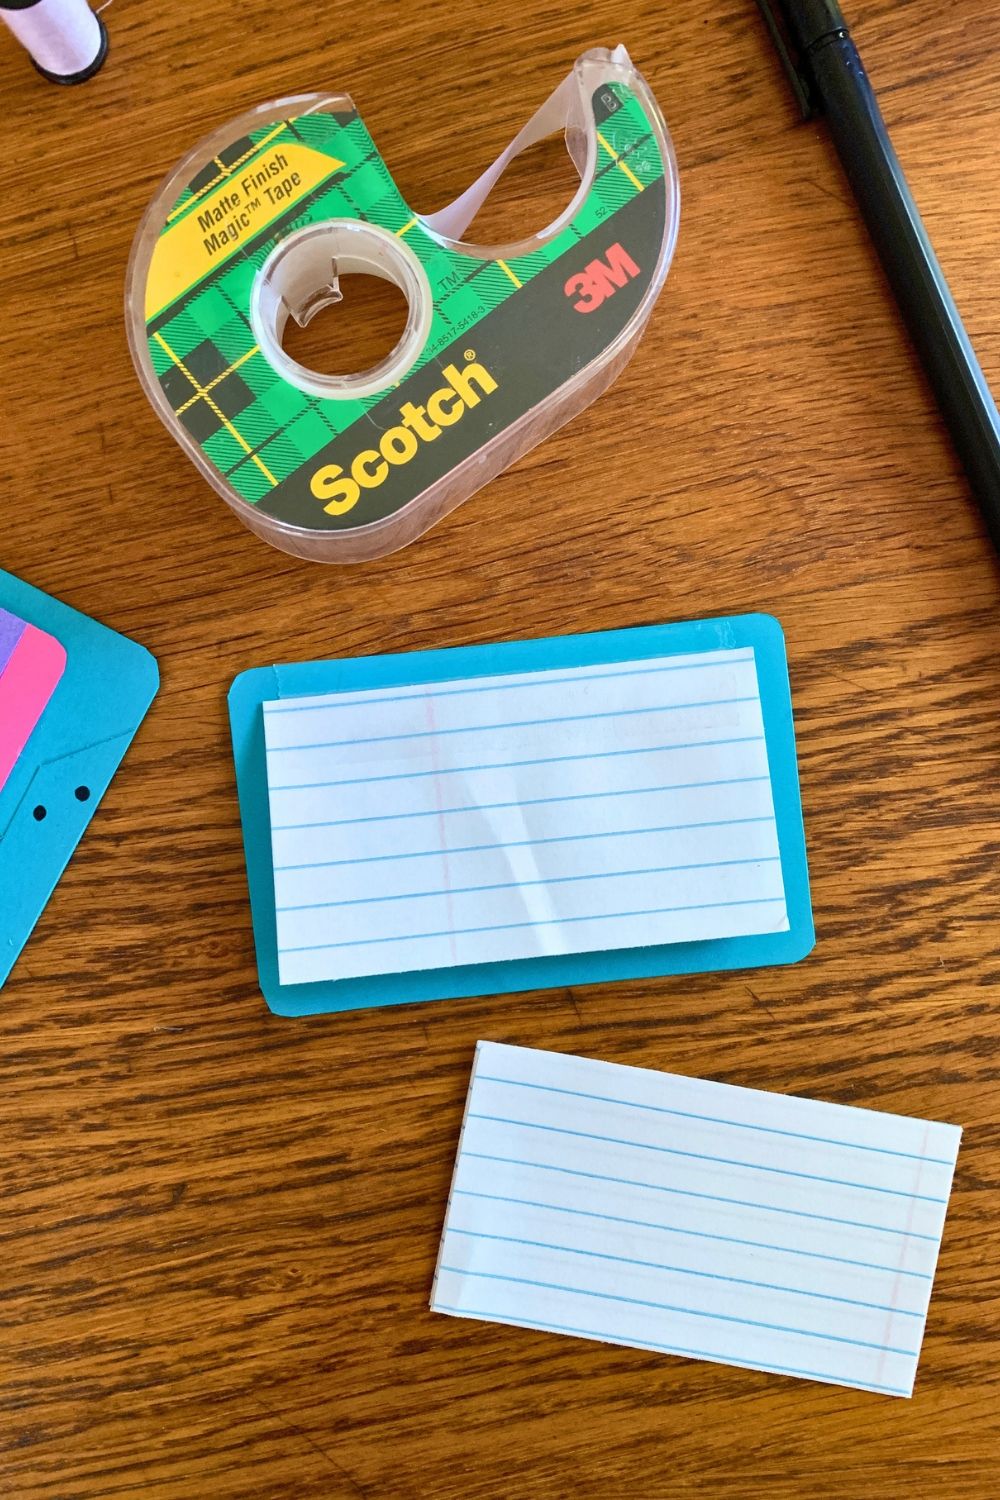
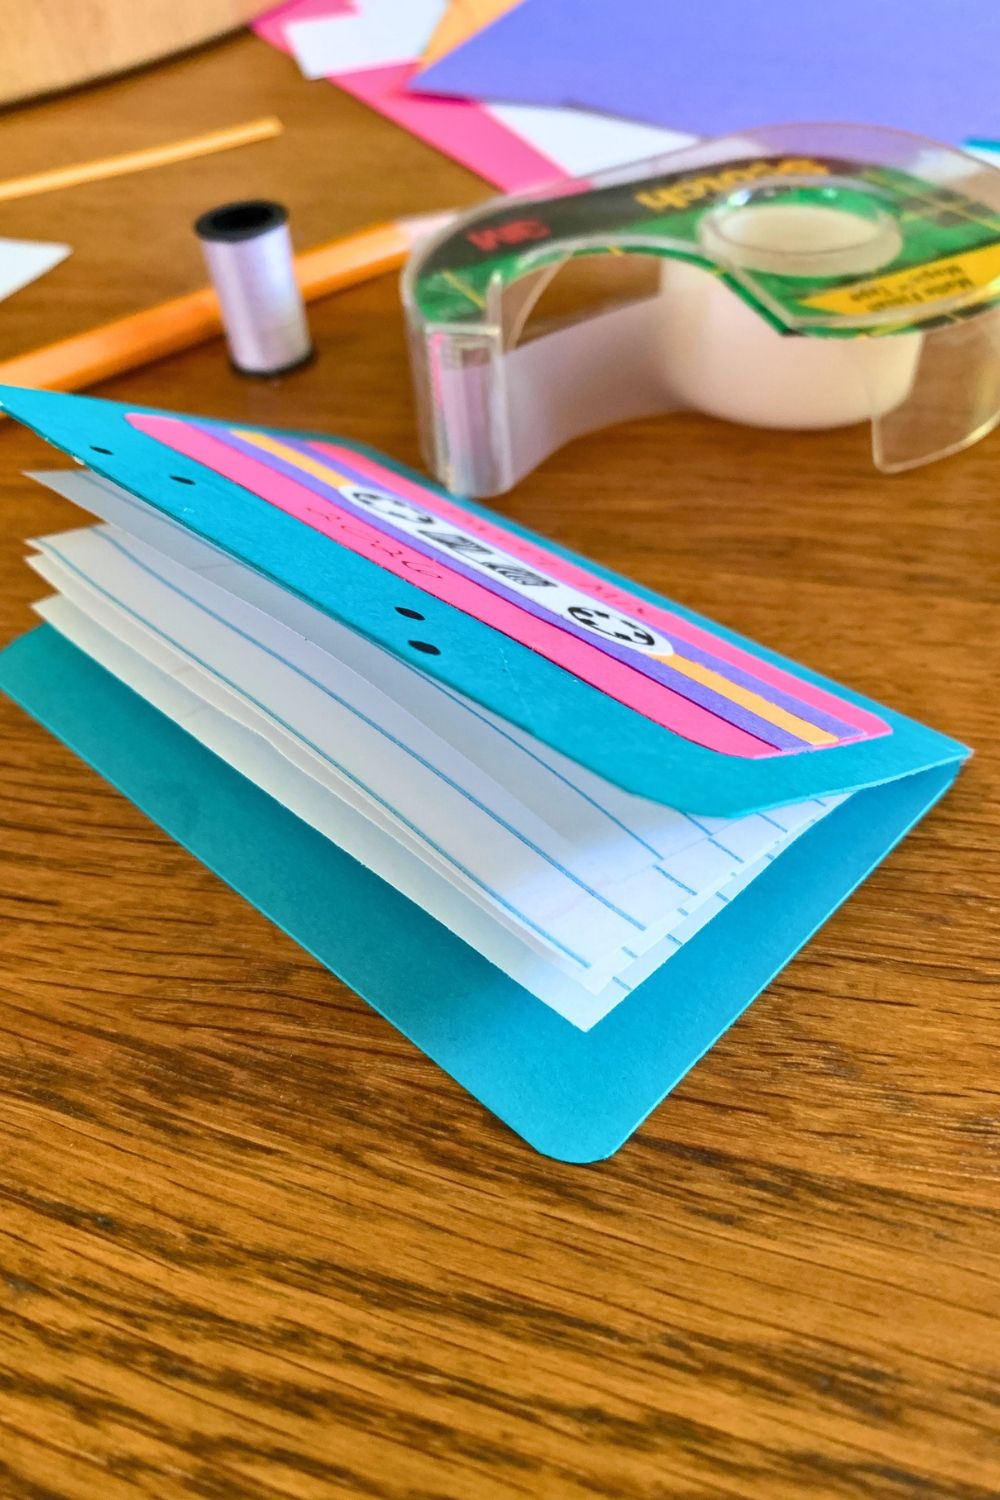
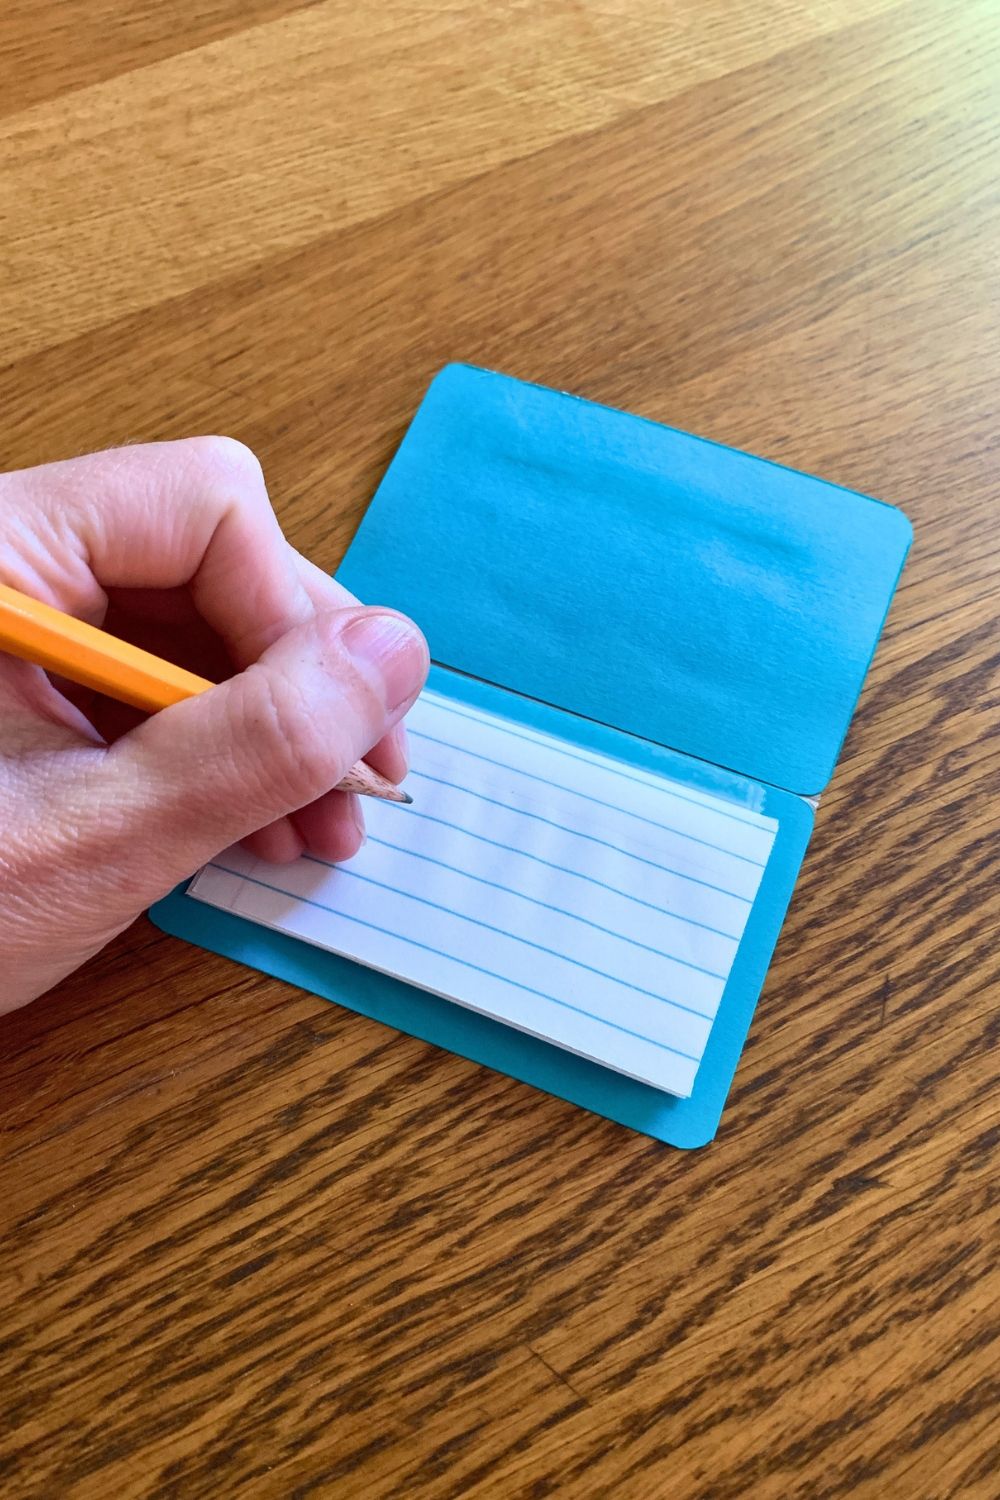
To assemble the rest of the mixed tape, grab that second blue rectangle that you haven’t used yet. Stack the notebook paper in the center and use the tape to attach each piece along the top, one at a time.
Line the cassette up on top and tape it down across the top, folding the tape over the back.
Make a mixed tape playlist
Used the finished paper mixed tape to make a mini playlist. Just like a real cassette, space is limited so you’ll need to think about which songs you want to include. Write one on each page. You could even make an A and B side if you finish both sides of the cassette cover, then write songs on both sides of the notebook paper.
Party idea:
Set up the supplies and let teens make their own cassette craft. Then have them pass the cassettes around so each person can add one song.
I think this would be a fun activity for big kids and teens to do at Thanksgiving or another family holiday. If they don’t see their cousins often, they might not readily know what to talk about. A music-sharing activity would be a fun way to get them talking instead of defaulting to screens.
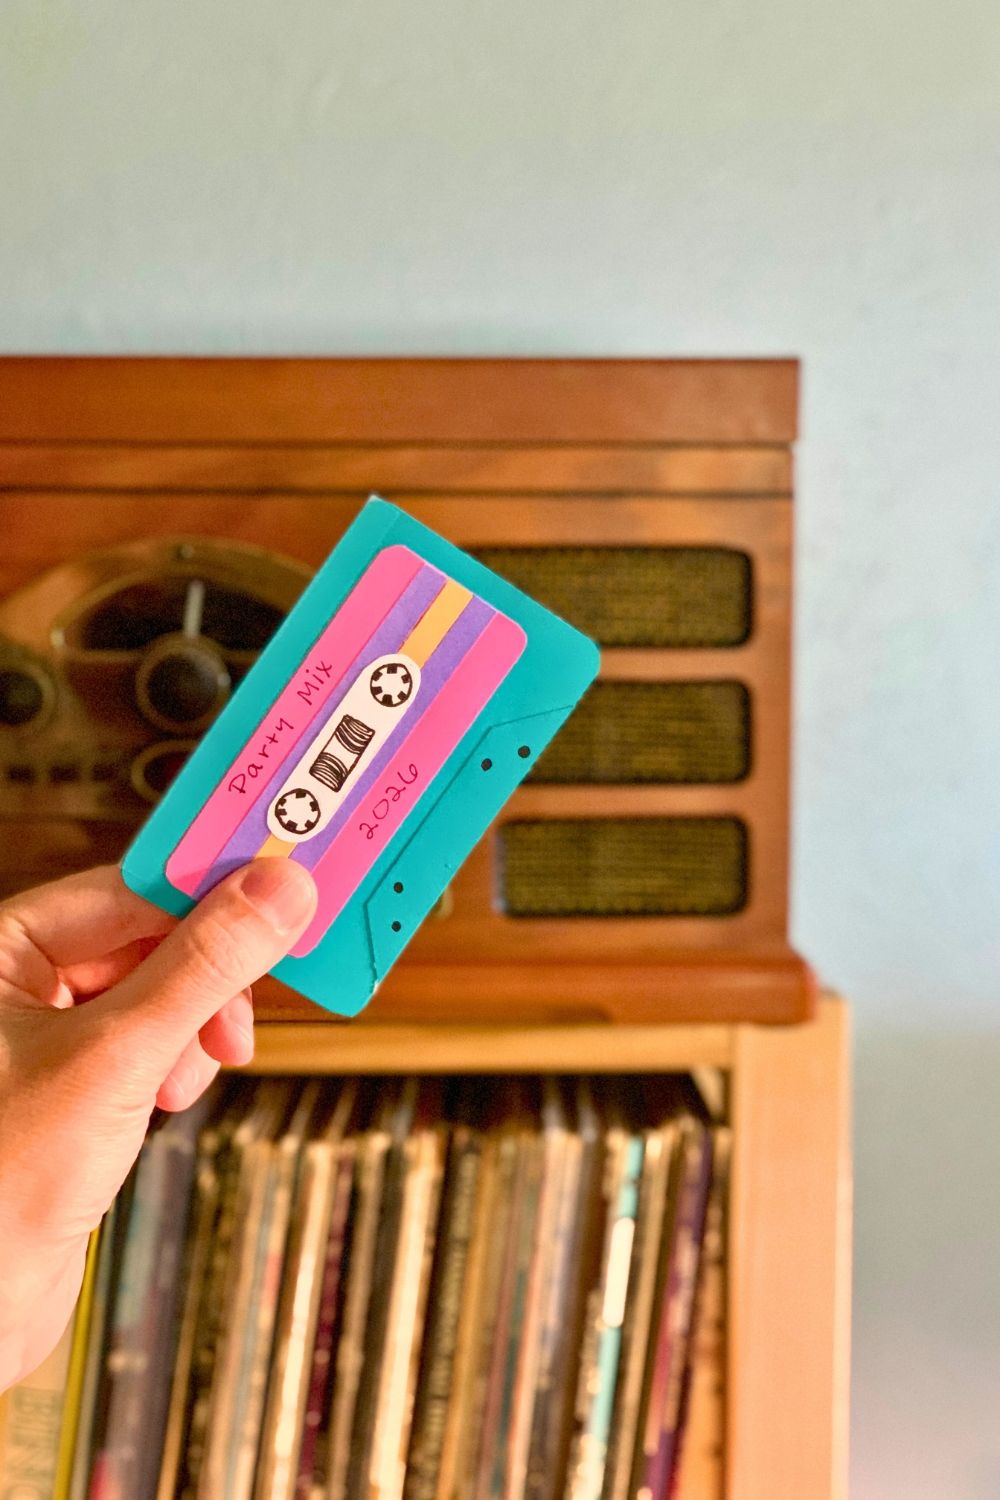
I created this craft with teens in mind, but this would be a fun activity for adults too! A mixed tape is a time capsule that captures a moment in time. You could make one to document a season or special event and add it to your planner or journal.
Or make a mixed tape for someone special!
What’s next? Try these other fun and creative ideas on One Mama’s Daily Drama:
Leave a Reply