
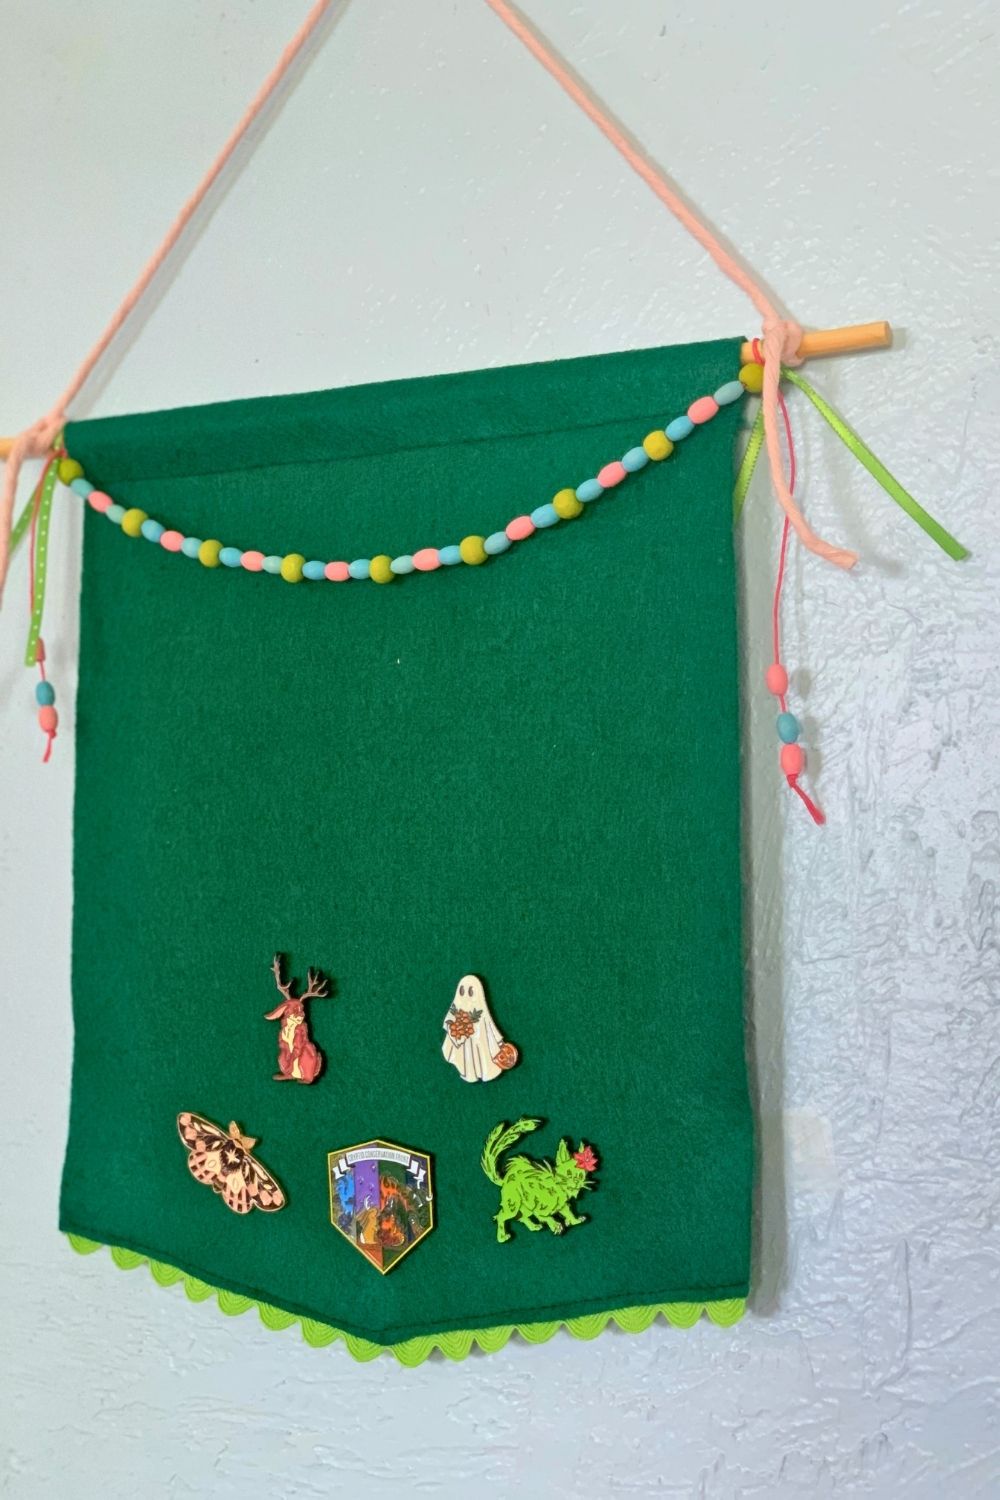
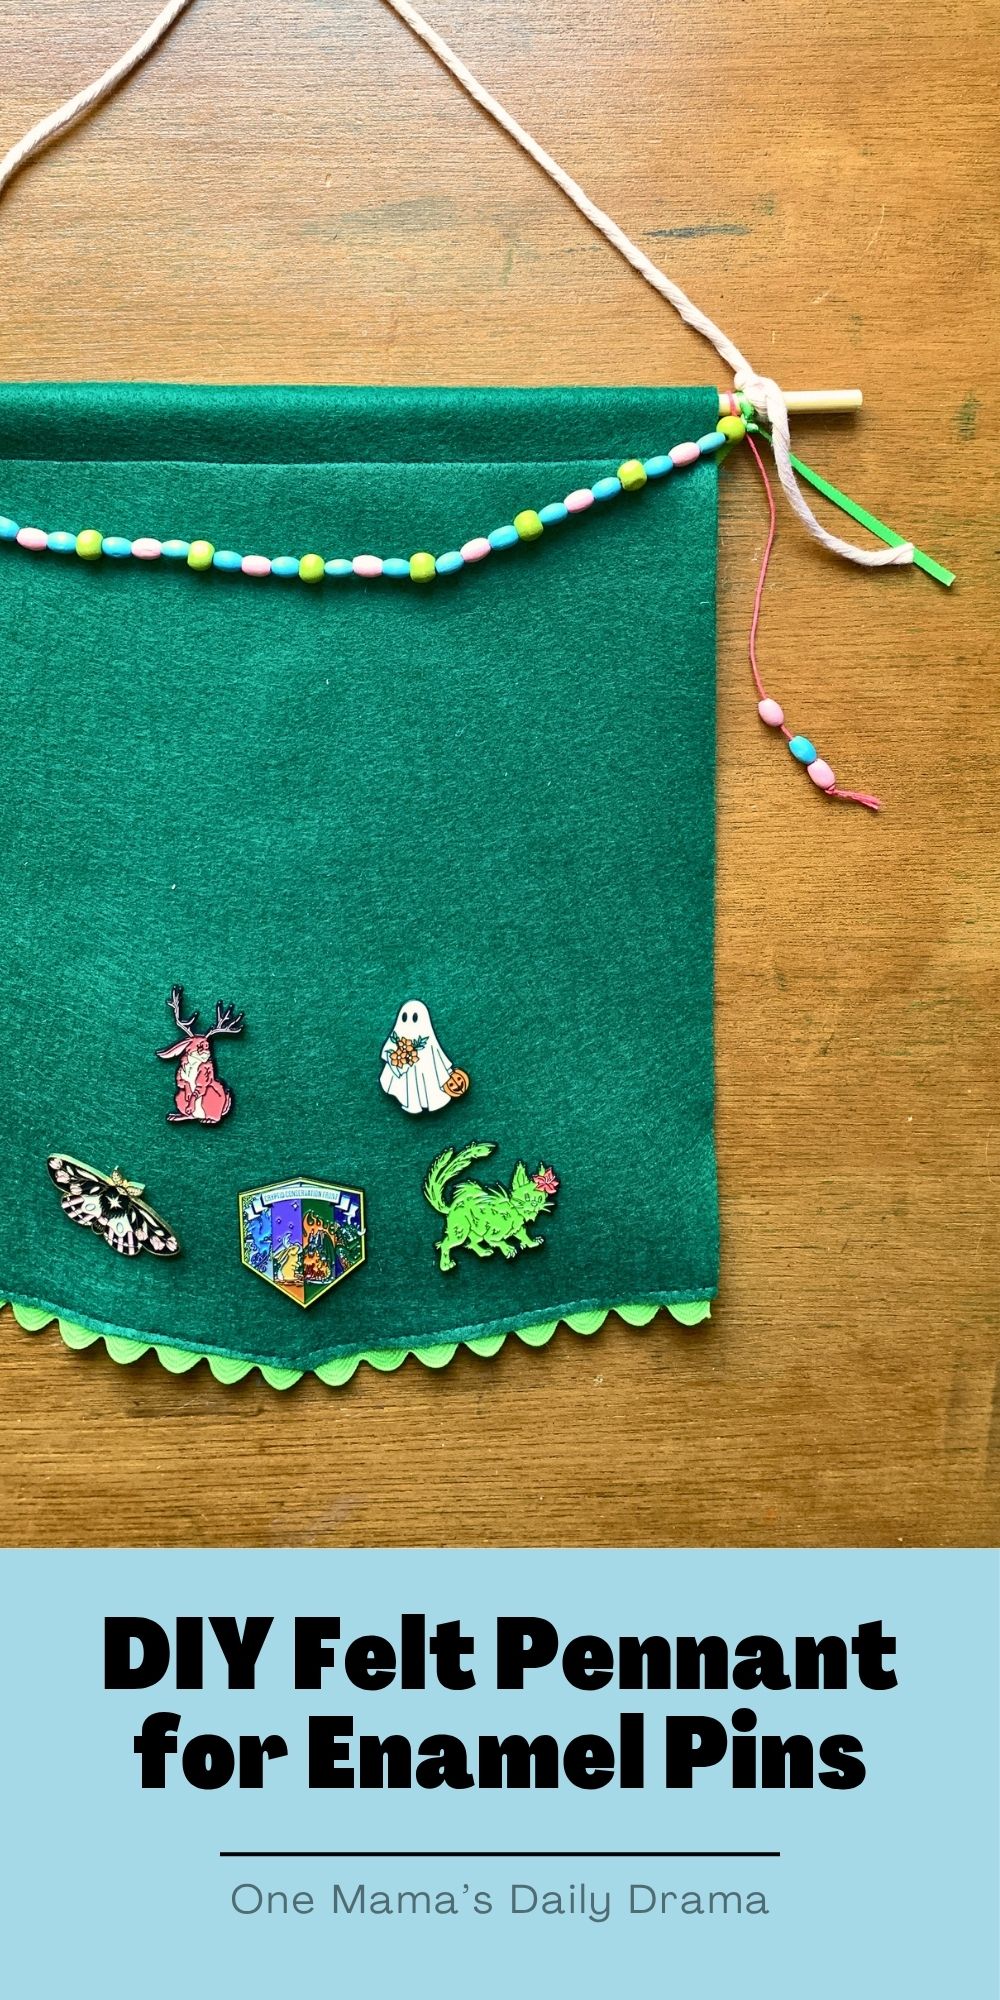
This DIY felt pennant is a cute way to display enamel pins! Simple sewing, beads, and ribbon make this easy to customize.
Disclosure: This blog contains affiliate links. As an Amazon Associate and member of other affiliate programs, Keri Houchin earns a commission from qualifying purchases at no additional cost to you.
Do you have a collection of enamel pins that you don’t know what to do with? I’ve been collecting them for years, but I don’t wear them. When I was a teen, they looked cool pinned to my backpack or purse. But if you take them off, they leave a bunch of holes.
The solution? Make a cute felt pennant to display the pins!
Organize your pins with a theme or fill up a pennant with everything collaged together. This makes cute room decor for kids and teens too.
How to make a felt pennant
Supplies
- craft felt
- wood dowel
- rick rack ~ or any fabric trim
- macrame cord
- cotton cord
- wood beads
- ribbon
- scissors
- sewing supplies ~ needle and thread or machine
Instructions
1. Cut and hem felt.
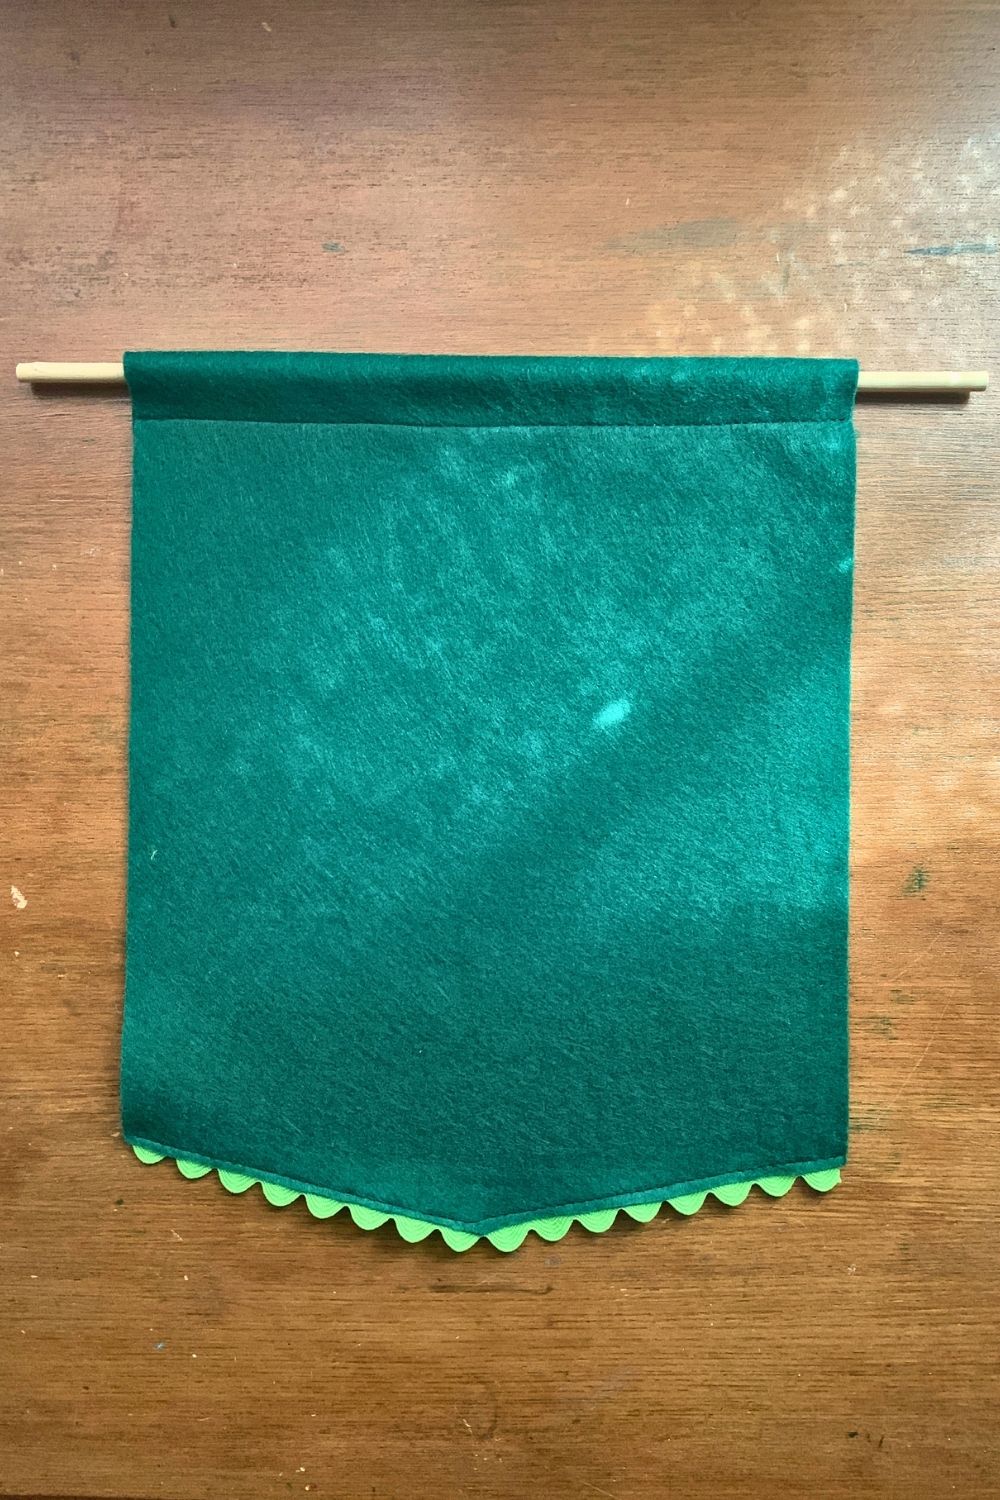
You can make a pennant in any size. My felt sheet is 9×11-inches, so that’s what I started with. The dowel should be about 2 inches wider than the felt (mine is 12 inches, which was convenient so I didn’t have to cut it).
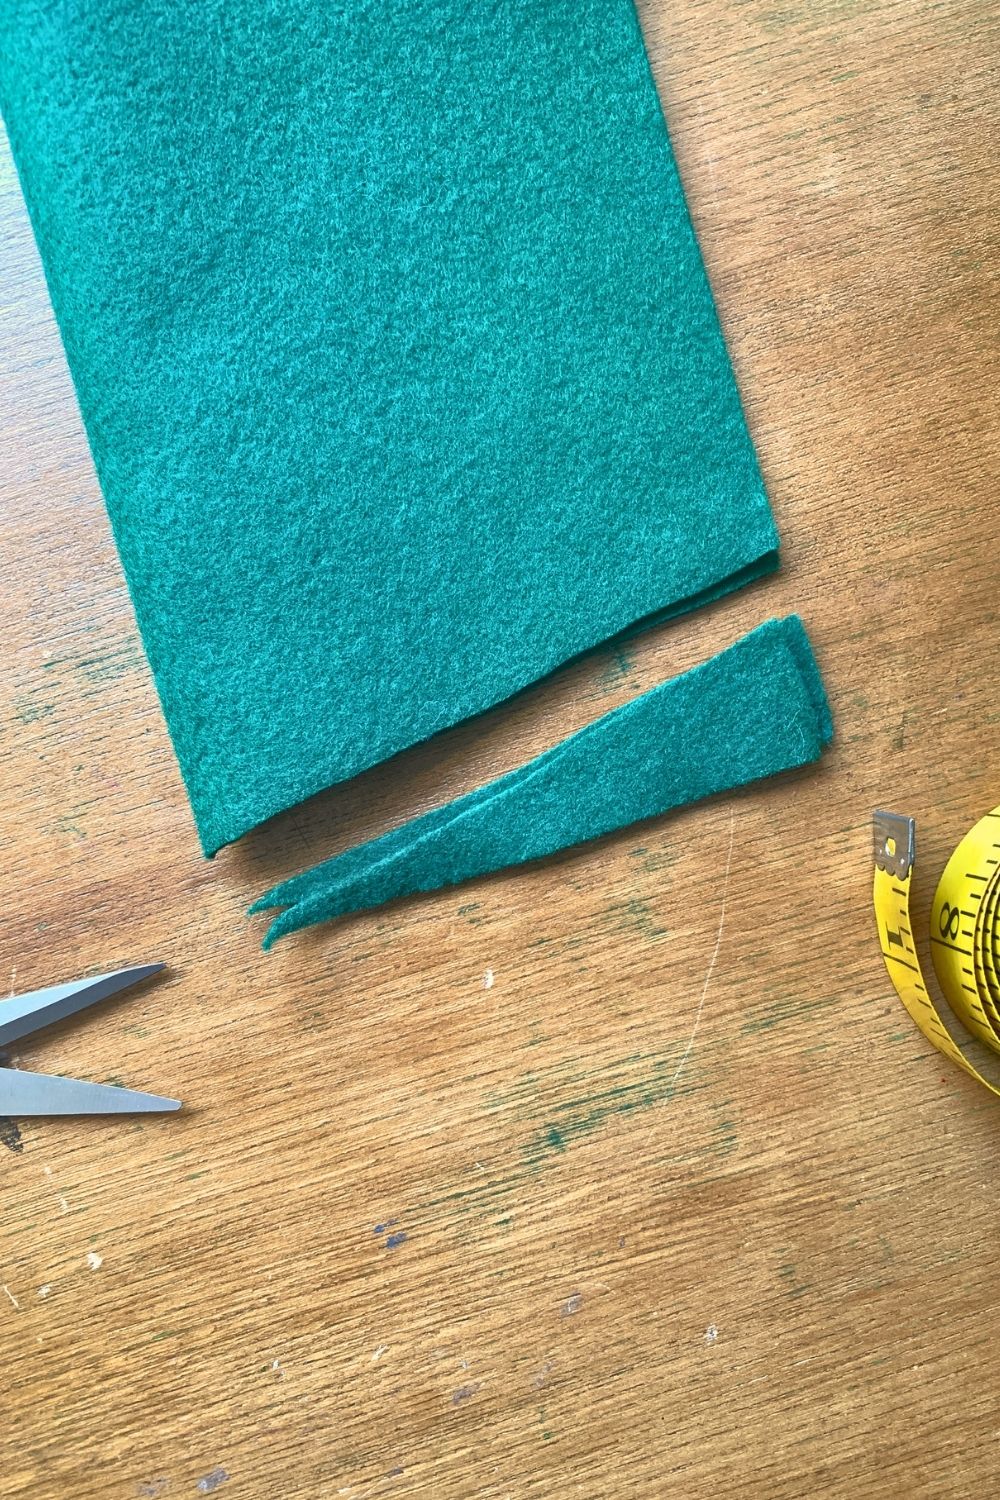
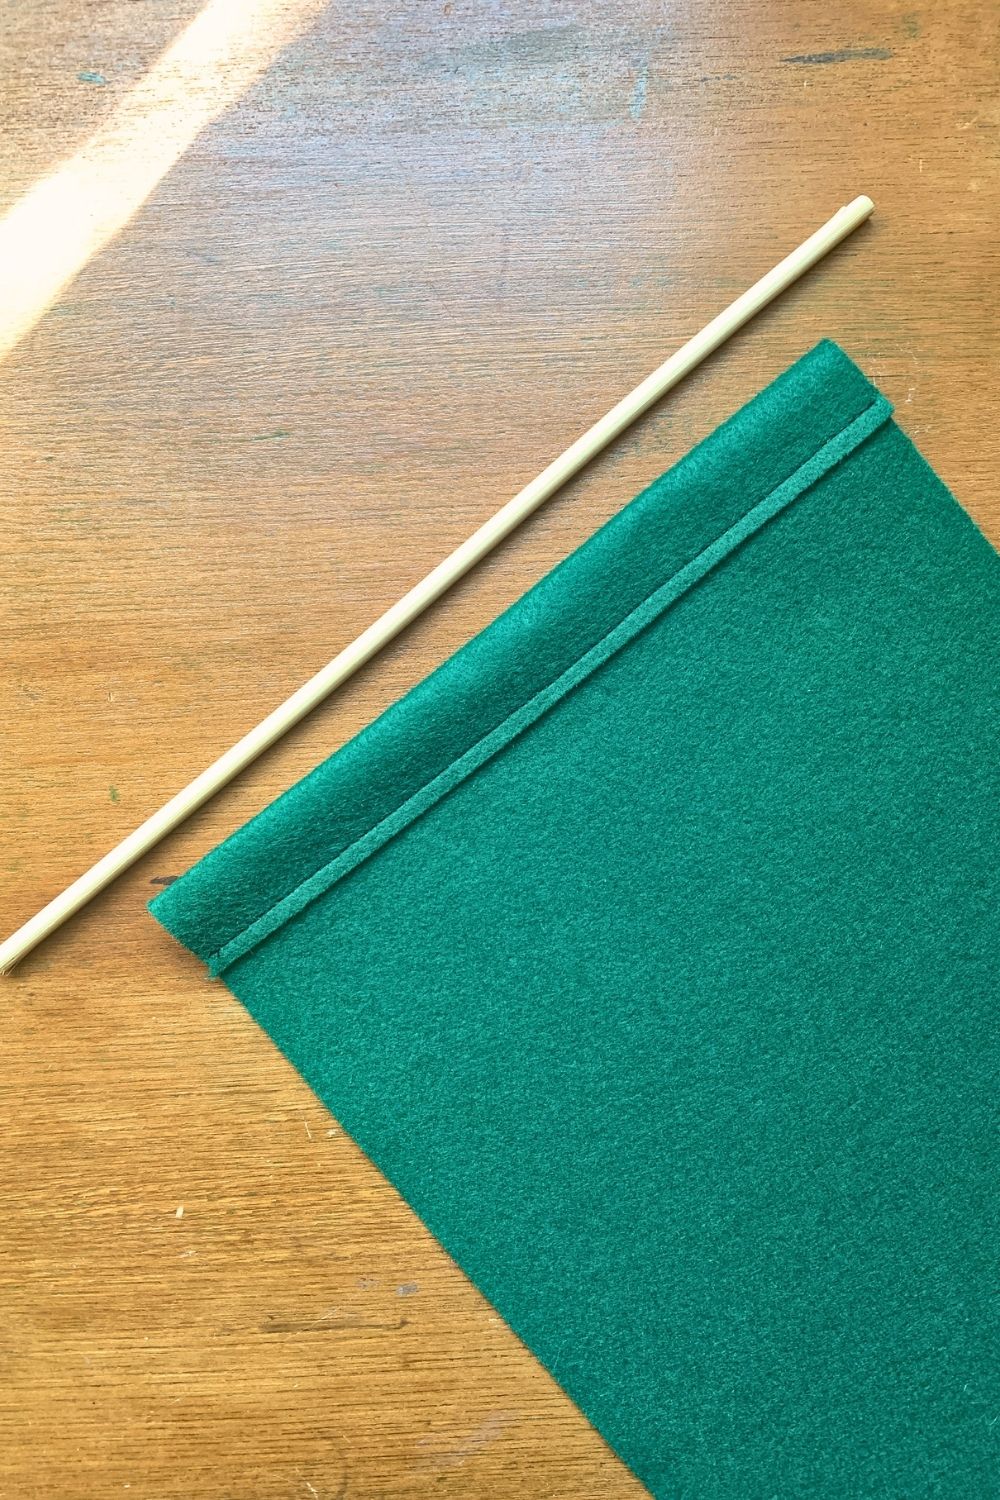
Fold the felt in half length-wise and trim the bottom end into a point. Unfold the felt and fold the top edge over an inch. It needs to be large enough that the dowel can easily slide through. Hem the edge and trim thread ends.
2. Add trim.
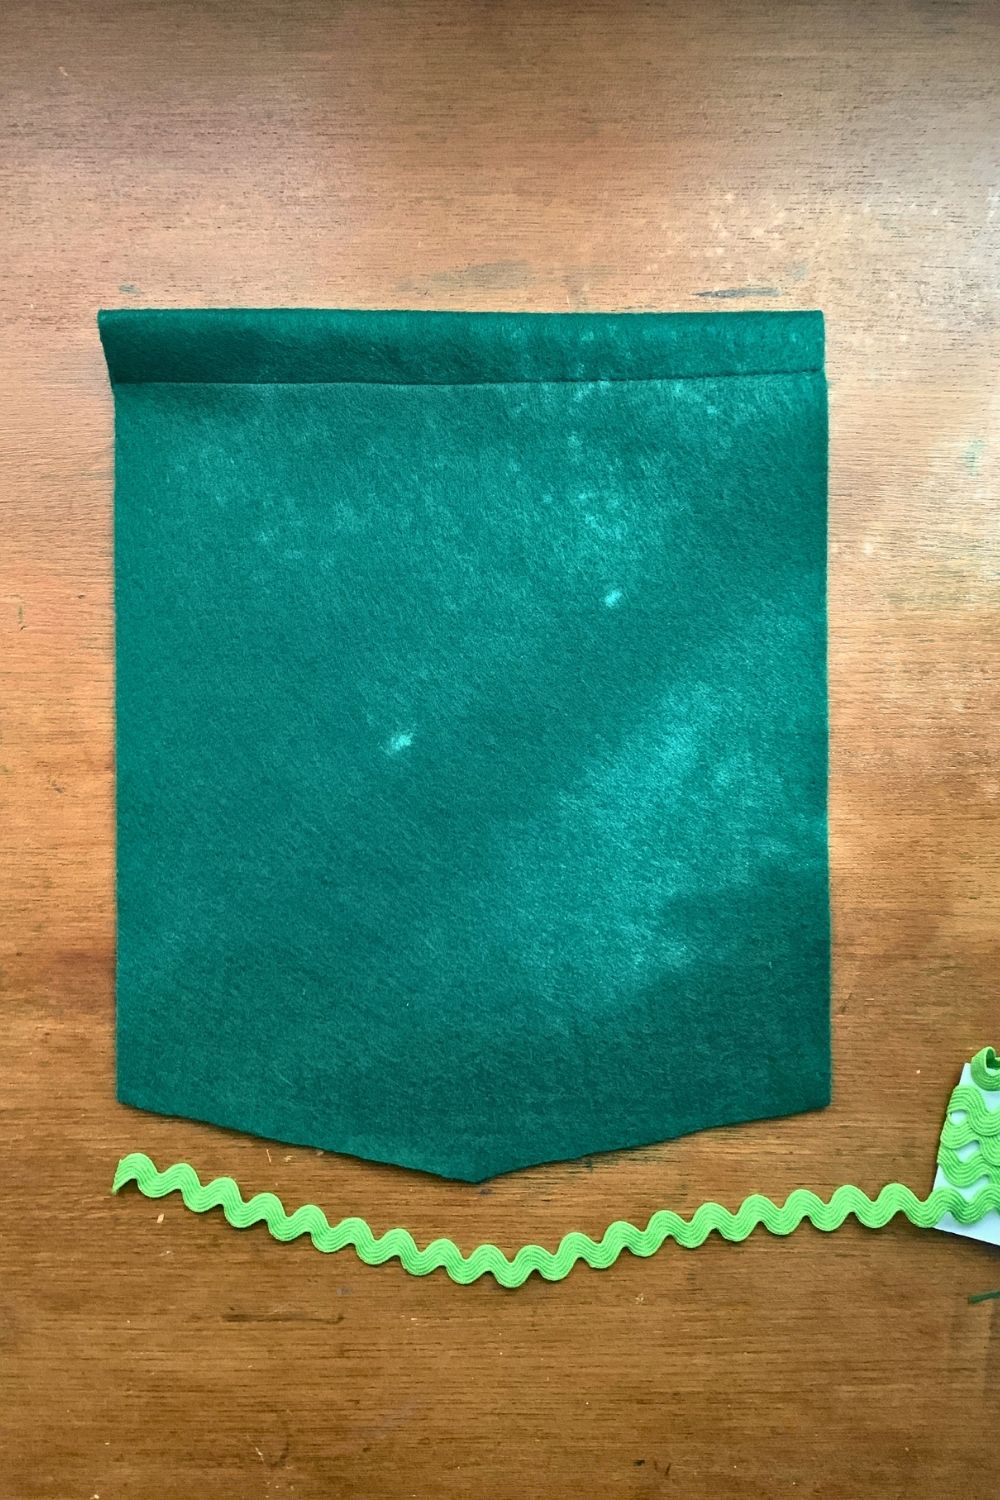
To add rickrack to the bottom edge, line the felt up with the center of the rickrack. Sew a quarter-inch hem, keeping the rickrack lined up as you go. Cut the rickrack at the end and trim thread ends again.
3. String beads.
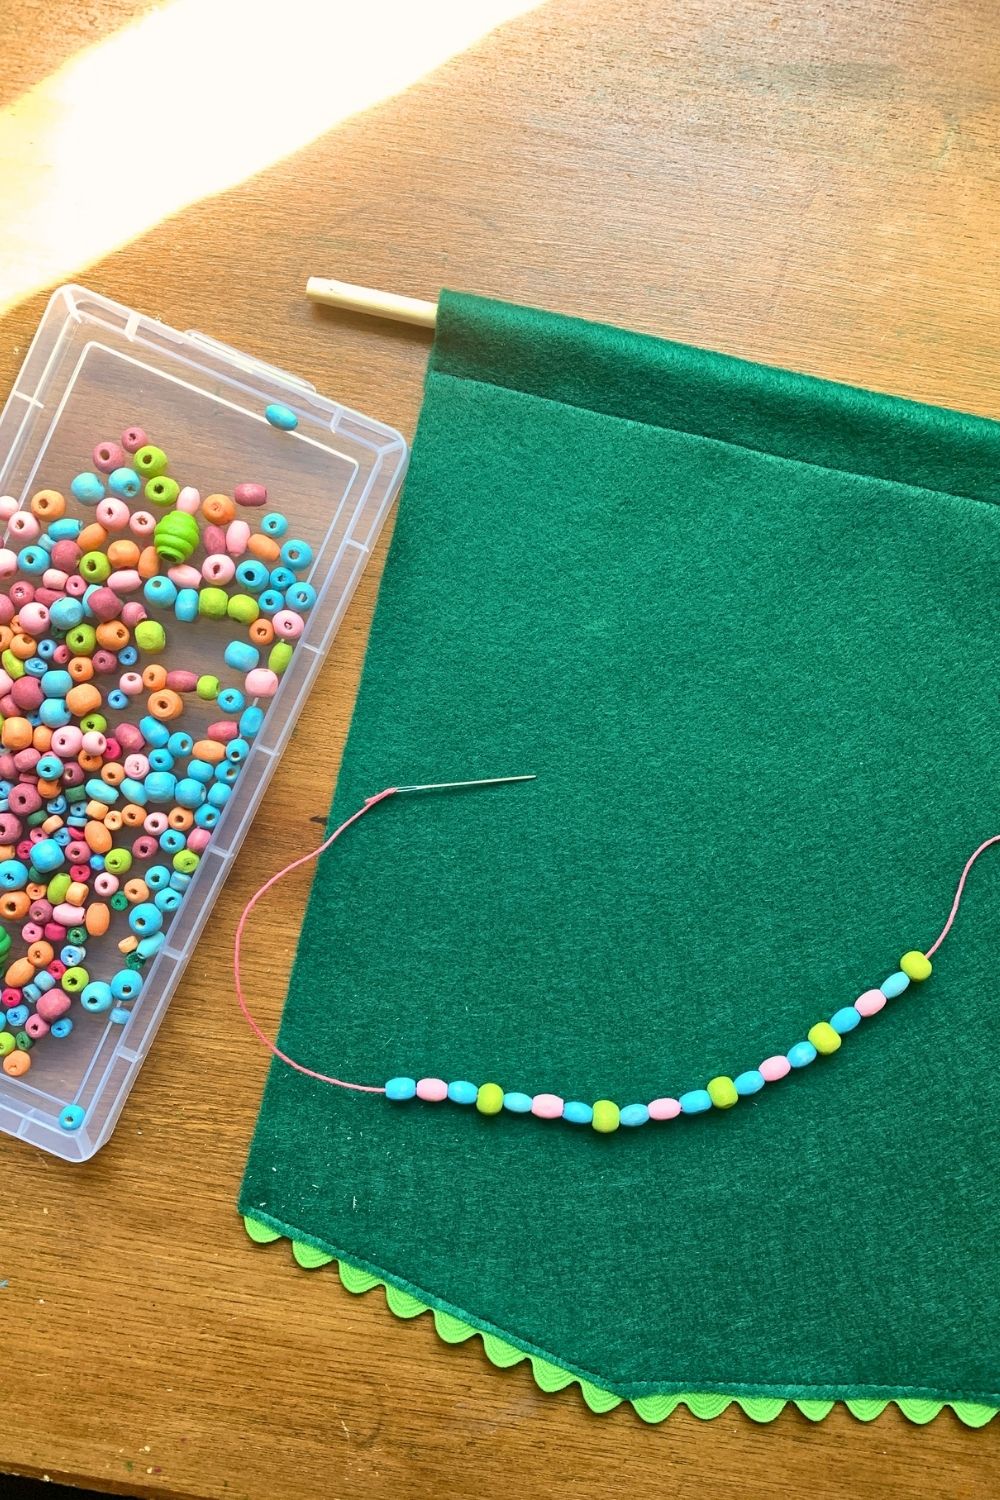
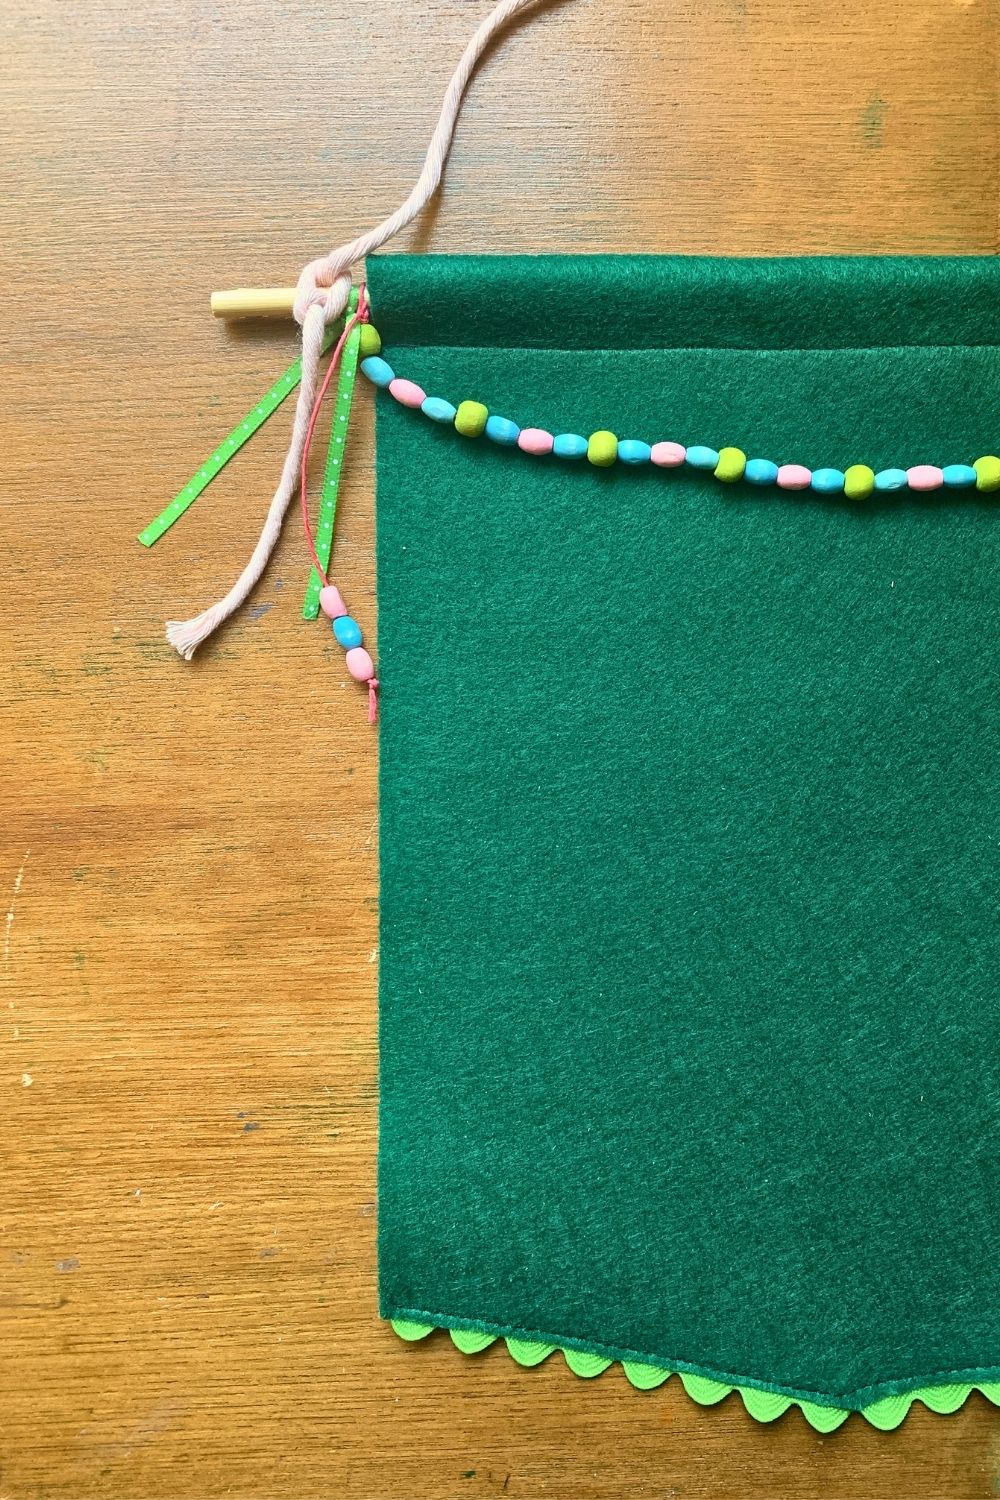
Add a garland of beads to add more color to the pennant. I used wood beads in complimentary colors; the light green bead matches the green rickrack. This would also be cute with letter beads to spell out a name or phrase, like “shiny trinket collection.”
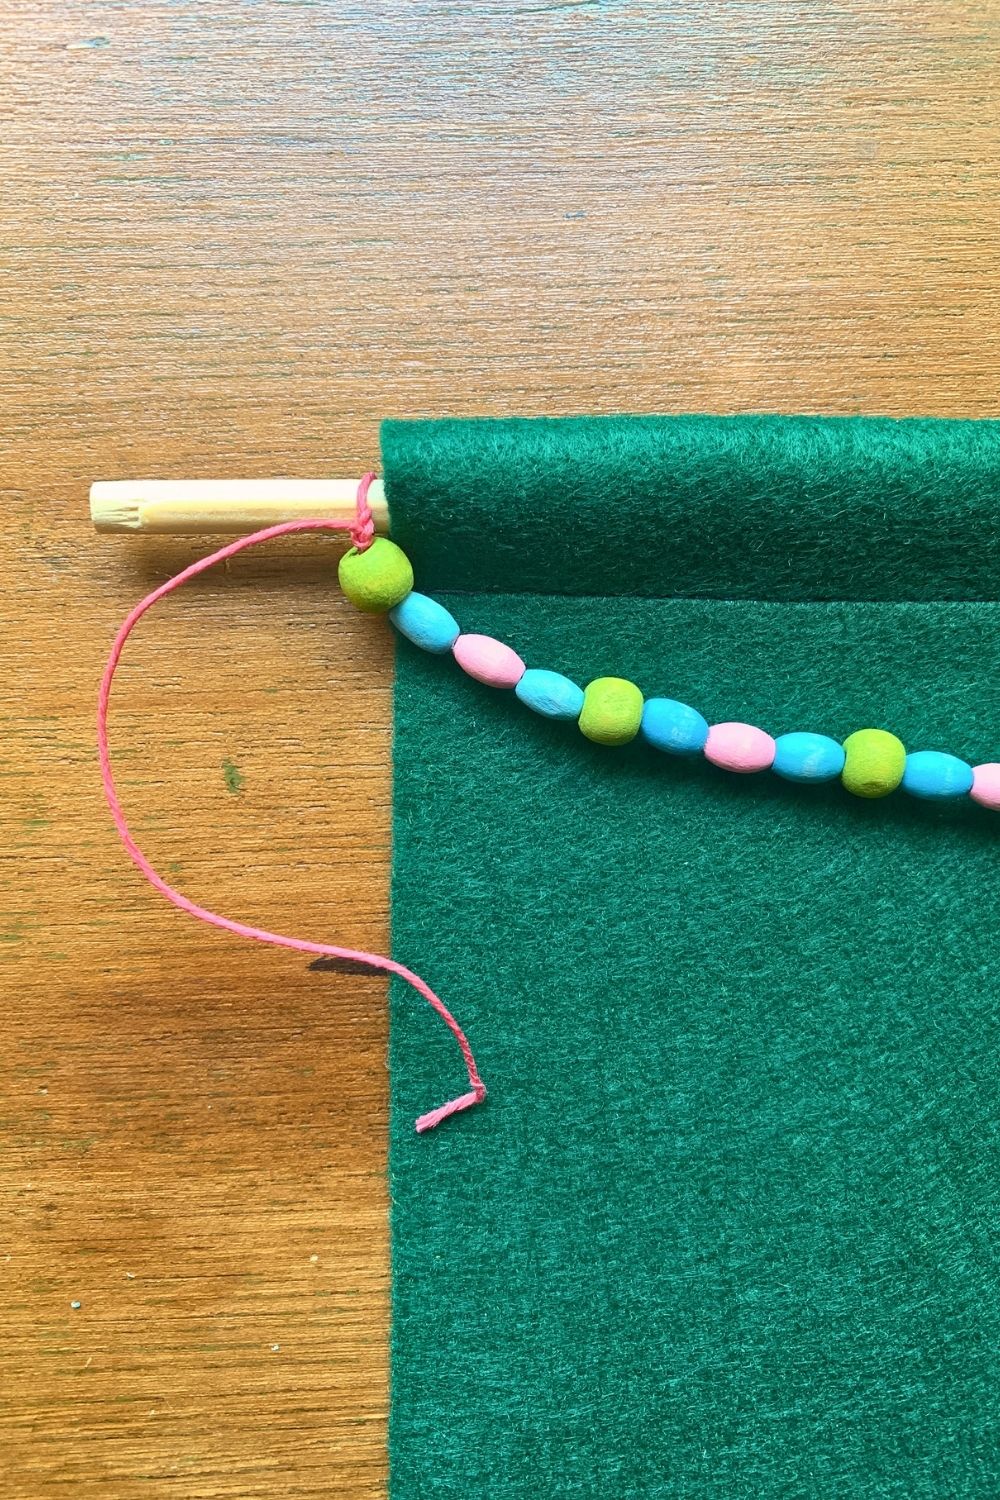
Thread the beads onto cord and tie the ends to the dowel so that it hangs slightly. Rather than cutting the loose ends, I added some additional beads to hang down.
4. Add hanging cord.
To hang the felt pennant, cut a length of macrame cord that’s about 3 times the length of the dowel. Tie it securely to both ends of the dowel, leaving plenty of cord hanging down.
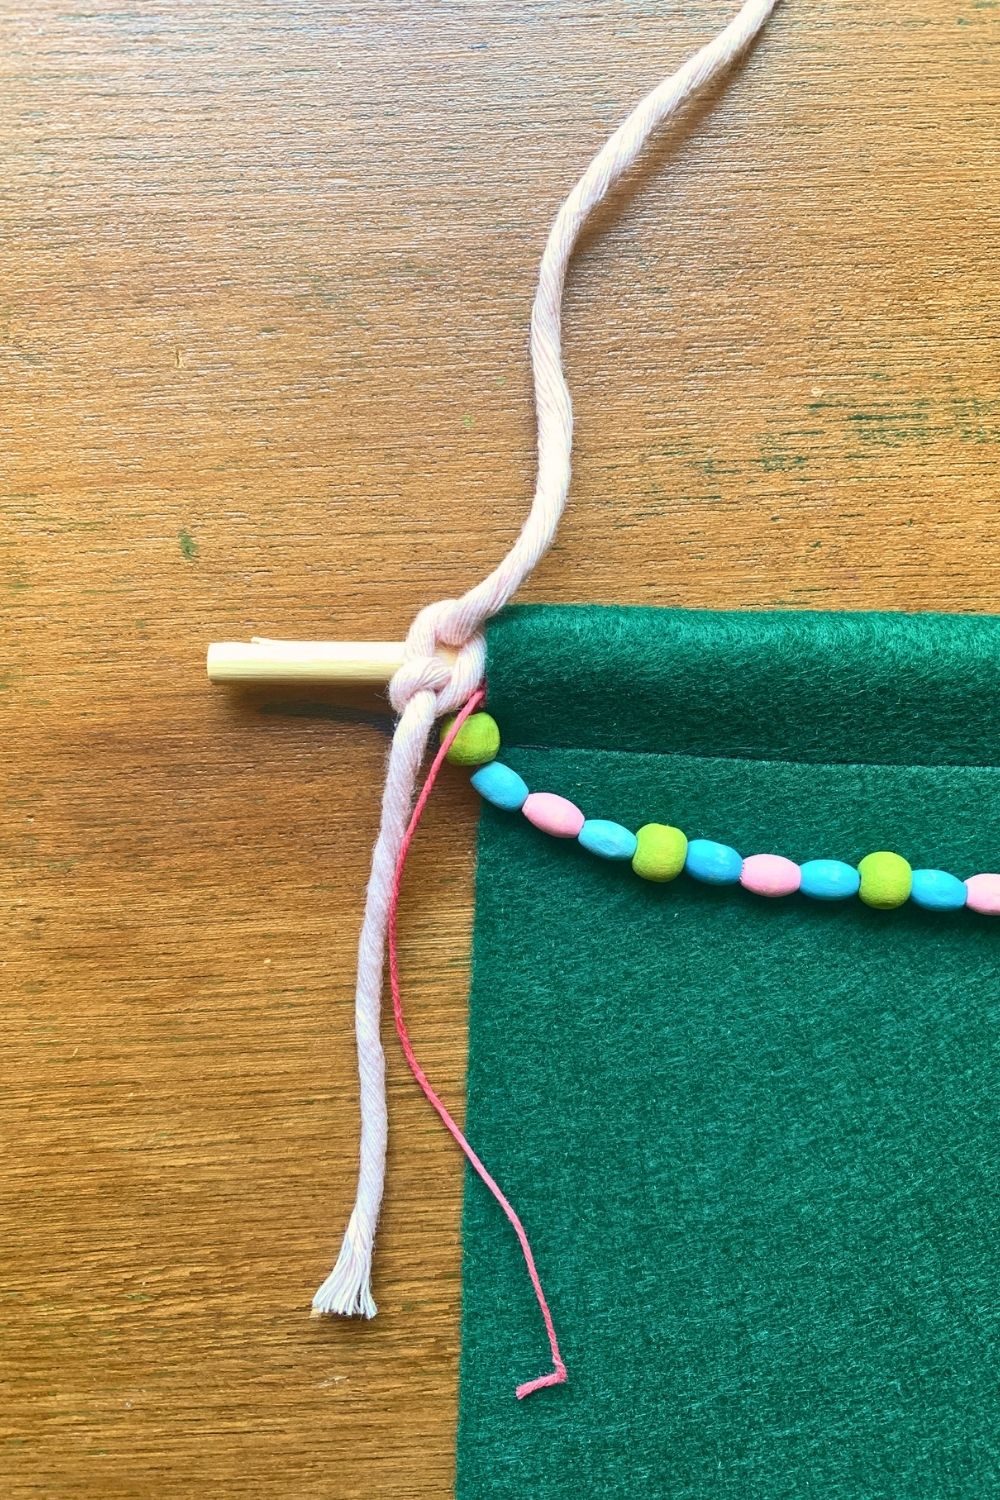
I added some ribbon the same length as the other cord ends for extra embellishment. You could add tassels, more strings of beads, or extra ribbons and cords.
When you’re happy with the details, the felt pennant is done.
How to add pins to a pennant
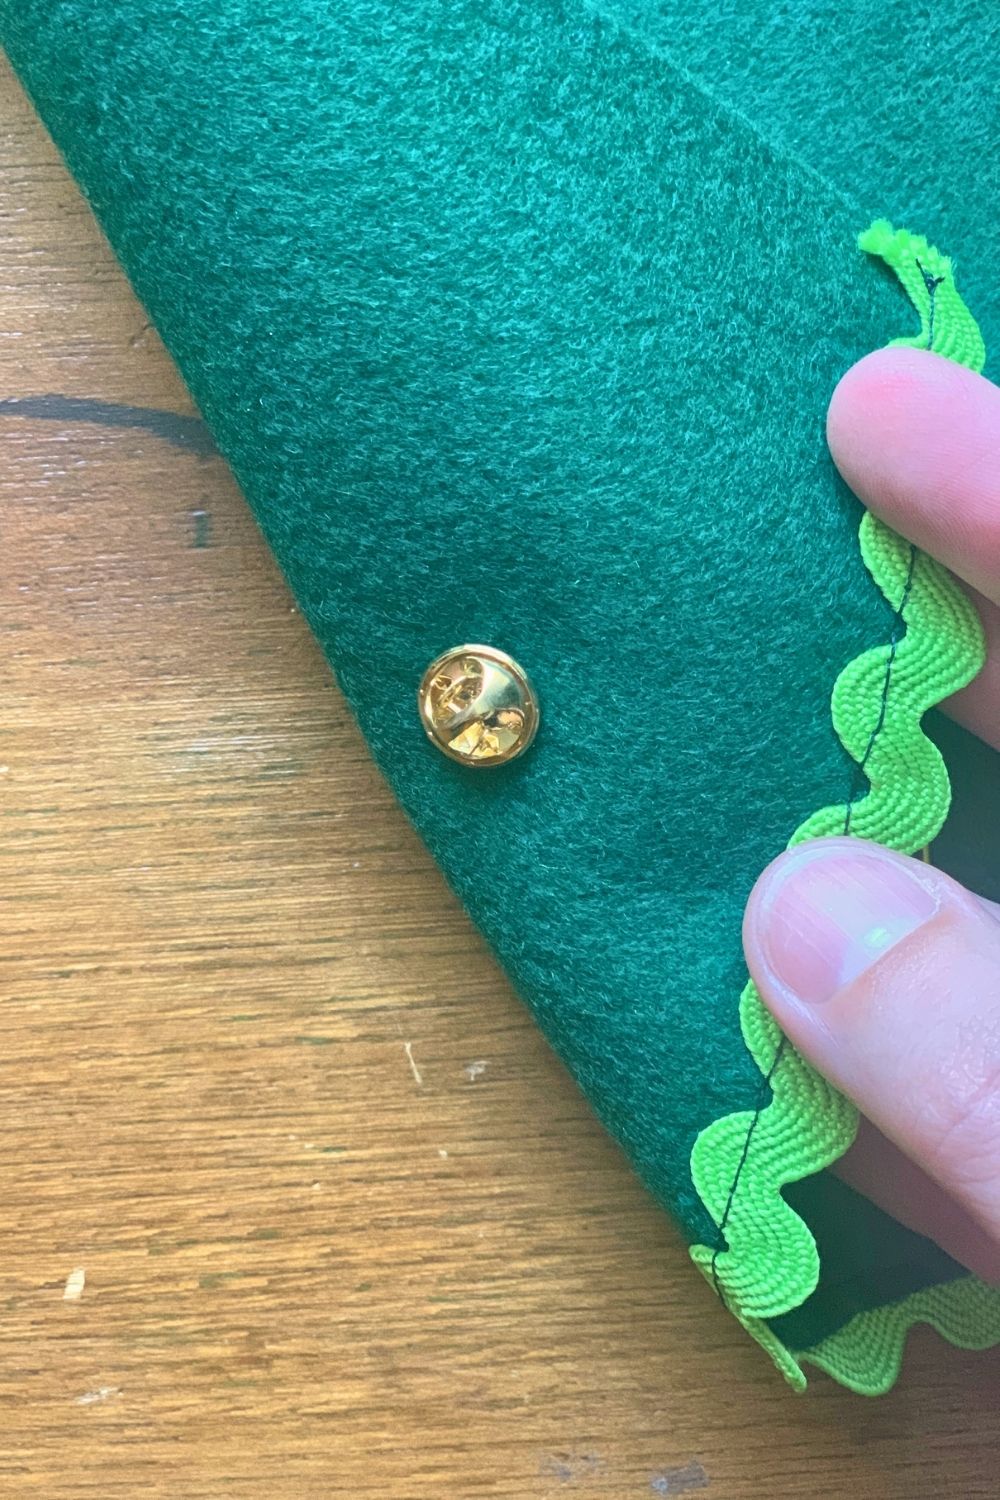
Adding enamel pins or metal buttons to a felt pennant is easy. I recommend laying out all of your pins to plan where they’ll all go first. Then remove the back, stick the pin through the felt, and snap the pin back on.
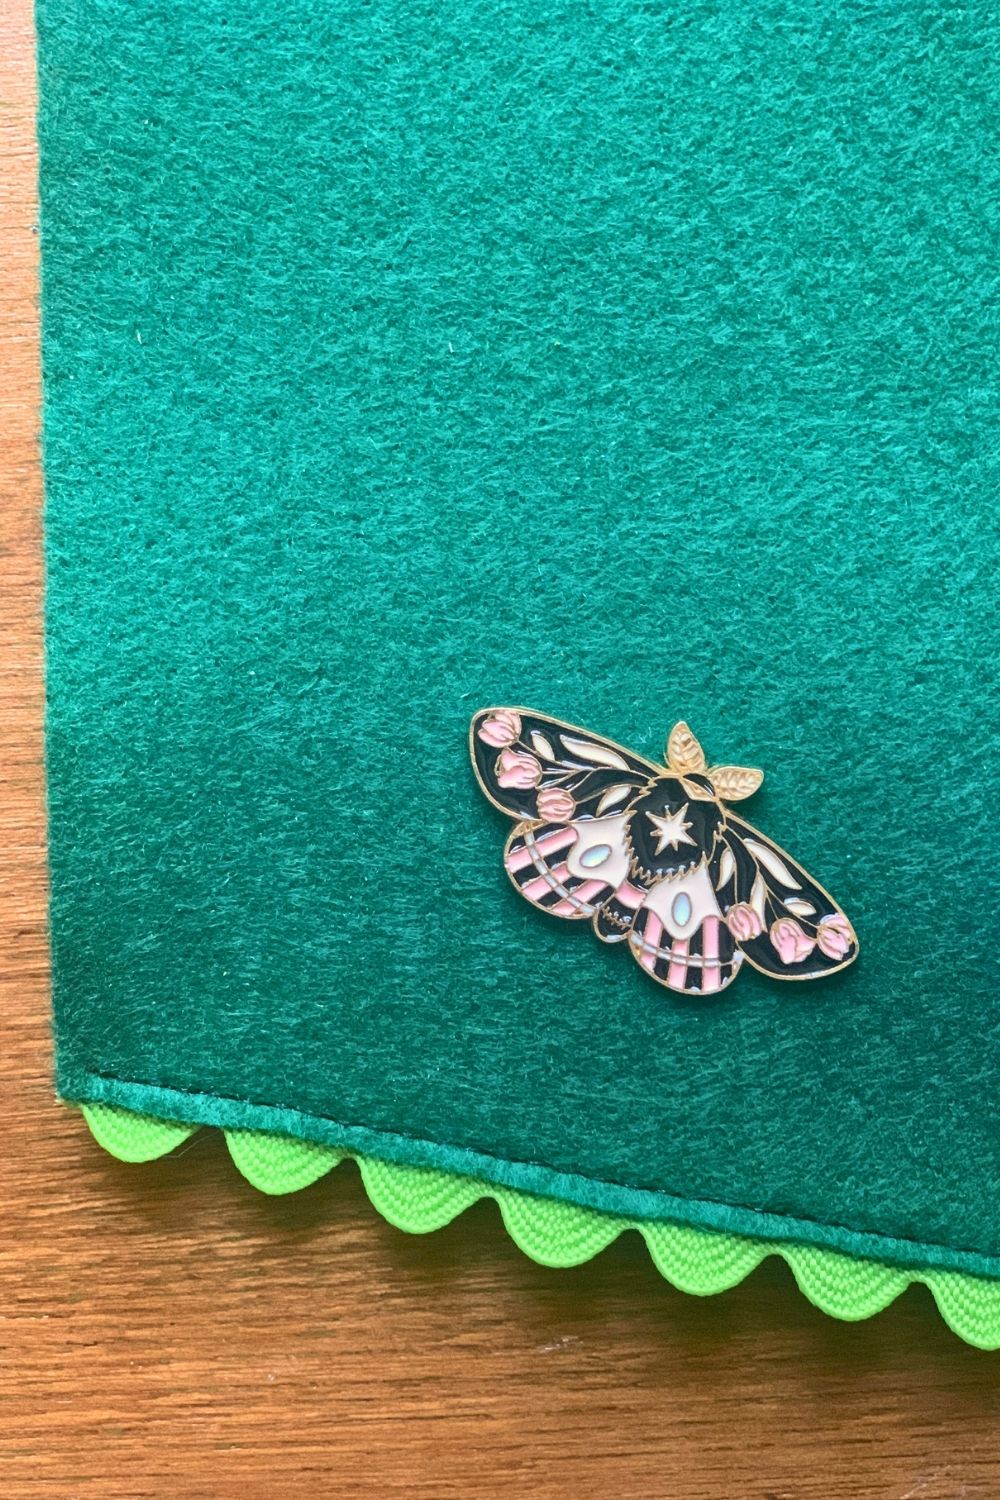
This pennant will hold a few dozen pins, depending on their size.
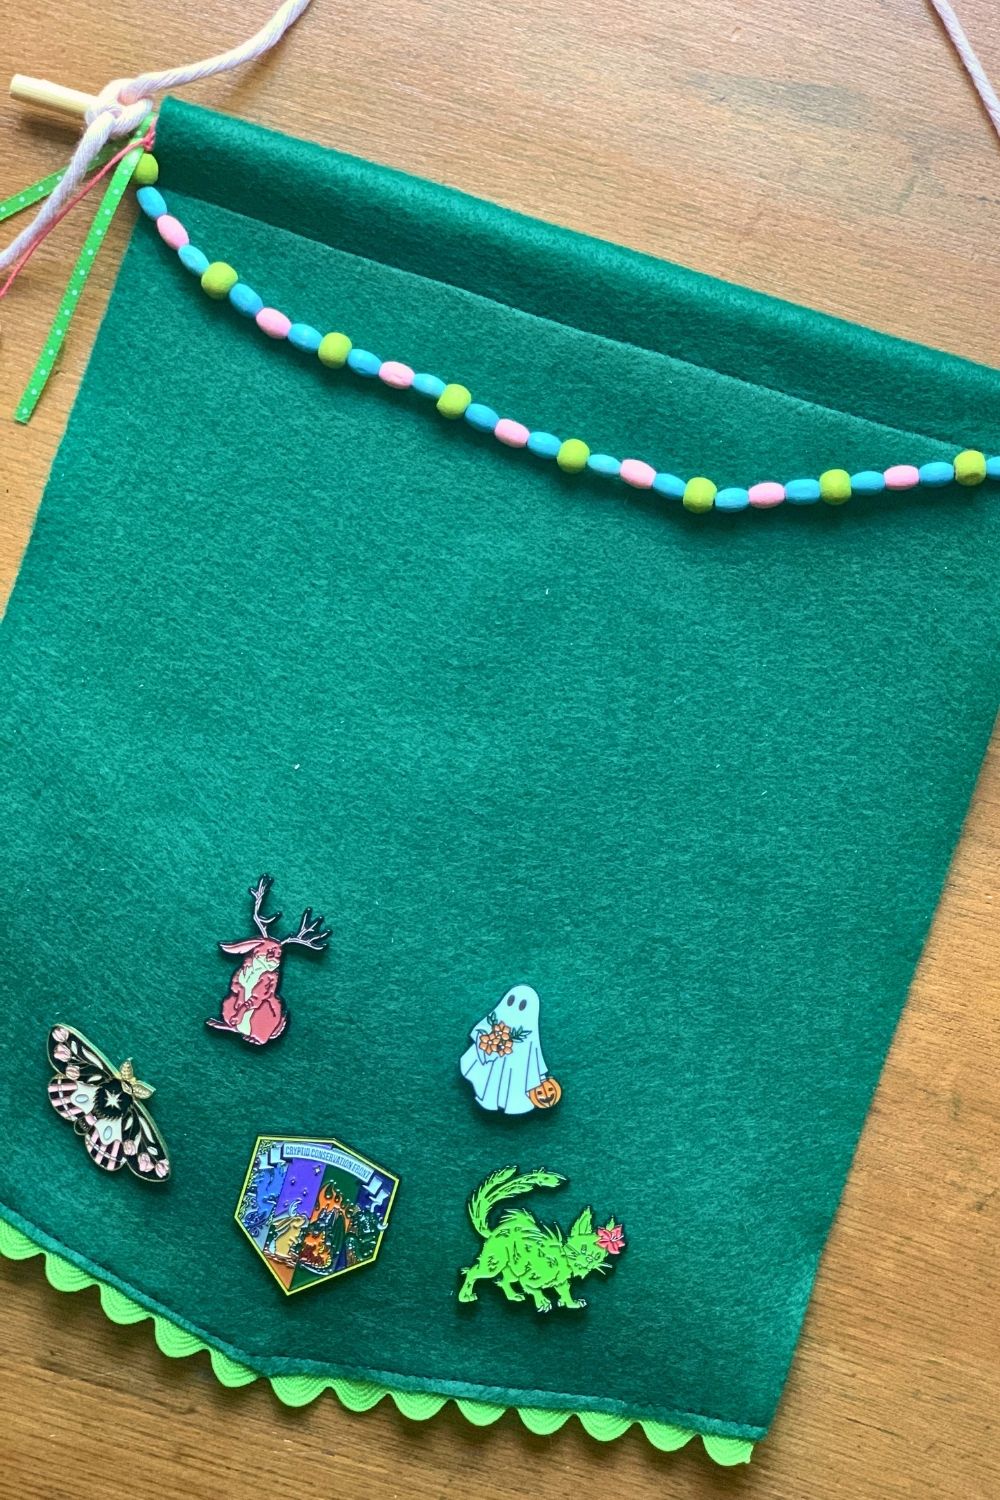
Show off all your enamel pins on a felt pennant. Hang it up with your wall decor or where you keep your jewelry. This is such a cute way to display a collection!
What’s next? Try these other fun and creative ideas on One Mama’s Daily Drama:
Leave a Reply