
Download this Easter craft printable to color, cut out, and glue together to make a cute spring birdhouse.

Disclosure: This blog contains affiliate links. As an Amazon Associate and member of other affiliate programs, Keri Houchin earns a commission from qualifying purchases at no additional cost to you.
My kids have a bunch of these tiny fuzzy Easter chicks. They like to scatter them around the house to decorate for Easter. Some of them look a bit wonky, but I think they are pretty cute.
I was looking at them the other day when I came up with this cute Easter craft printable idea! It’s a little birdhouse that you can decorate and assemble.
Use it for Easter decor or as a table centerpiece. Or cut out the little door on the front so kids can use it as a play house for tiny figures.
Technically this birdhouse isn’t only for Easter – just the fuzzy chicks – so use it as a craft to do with your kids anytime in the spring.

How to make a paper birdhouse
Supplies
- printable birdhouse (download below)
- printer and card stock
- scissors
- crayons, markers, etc.
- glue stick
- fuzzy Easter chicks, optional but so cute
Instructions
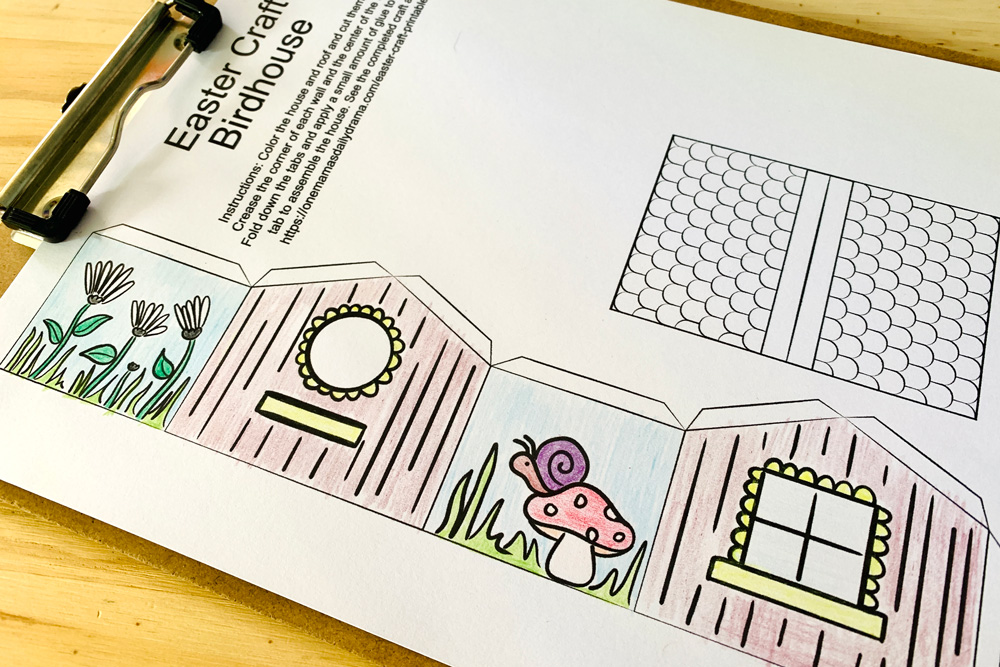
1. Print and decorate the birdhouse.
At the bottom of this blog post, fill out the form and download the Easter craft printable. Open the PDF and print it onto white card stock. It fits on one page.
Start by decorating the pieces. Use whatever art supplies you like to color the birdhouse walls and roof. Make it realistic or silly!
2. Cut and fold the edges.
Next, cut out the birdhouse walls and roof around the outside lines. You should have two pieces – the walls and the roof. (Optional: If you want to cut out the round birdhouse door, now is the time to do it. You can also just leave it in place.)
Take the roof piece and crease it along the center line, then open it back up. Take the walls and crease them in 3 places, between each of the walls. Then fold down each of the 6 tabs along the top edge of the walls and the one on the end.
3. Glue the seams.
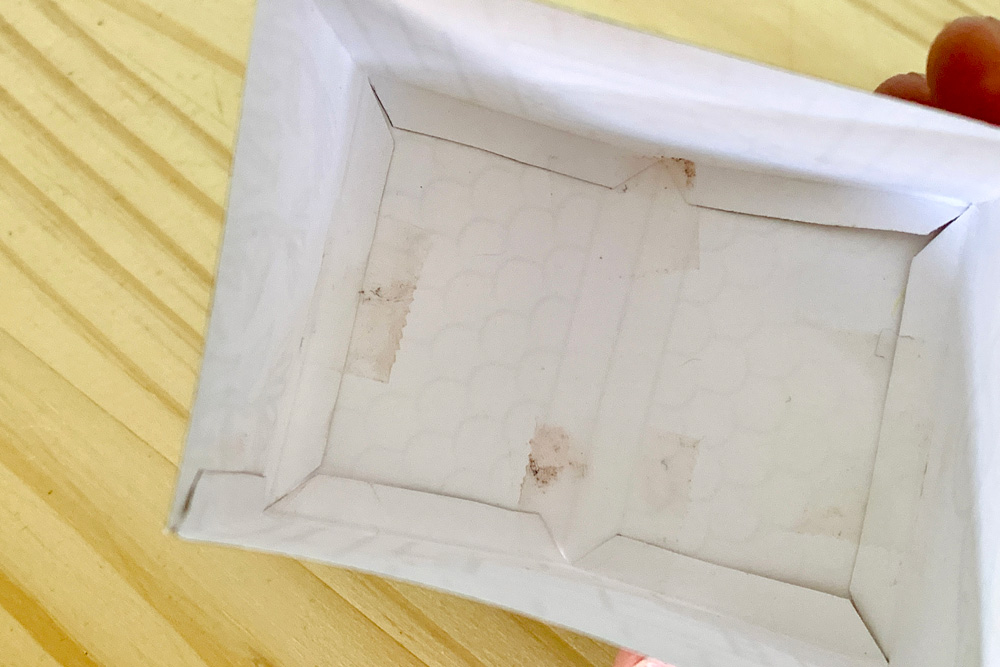
Now it’s time to glue everything together. Apply a small amount of glue to the side tab and line it up with the opposite side. Your house should be a square with 4 walls. Let the glue dry.

To attach the roof, apply glue to each of the 6 tabs along the top. Line up the roof with the house and press each tab to it. Let the glue dry.
When the birdhouse is dry, it’s time to decorate or play!

Note that the finished birdhouse is about 2×3 inches wide and about 2.5 inches tall.

Get the printable
Printables are free for subscribers. Sign up below to have this printable sent to your inbox. (If you’re a new subscriber, you’ll need to confirm your email address first. Check your spam ~ the emails are nearly instant.)
Don’t want another newsletter? No problem. Join The Printables Library for a one-time fee and get all the printables in one place. If you’re already a member, you can find this file there now.
Terms of use: All printables are for personal use only (home, classroom, library) and are not to be redistributed or sold. Please share by sending your friends to this blog post!
What’s next? Try these other fun and creative ideas on One Mama’s Daily Drama:
I love all of the fun and educational activities for the children who attend the library programs.
Thank you so much for doing this. The children and me appreciate it.