
Washi tape is a fun craft supply with endless possibilities. This DIY washi tape bunny art makes a fun spring or Easter decoration.

Disclosure: This blog contains affiliate links. As an Amazon Associate and member of other affiliate programs, Keri Houchin earns a commission from qualifying purchases at no additional cost to you.
Washi tape is a great craft supply to stock up on. You can find it just about everywhere and it’s really versatile. The tape is made of thin paper, so it’s easy to tear by hand and bend around curves.
My favorite project to date has been these washi tape light switch plates. This washi tape bunny art is definitely a close second, though.
It’s cute, easy to make, and works as an Easter decoration that you can leave up through spring.
How to make a washi tape bunny
Supplies
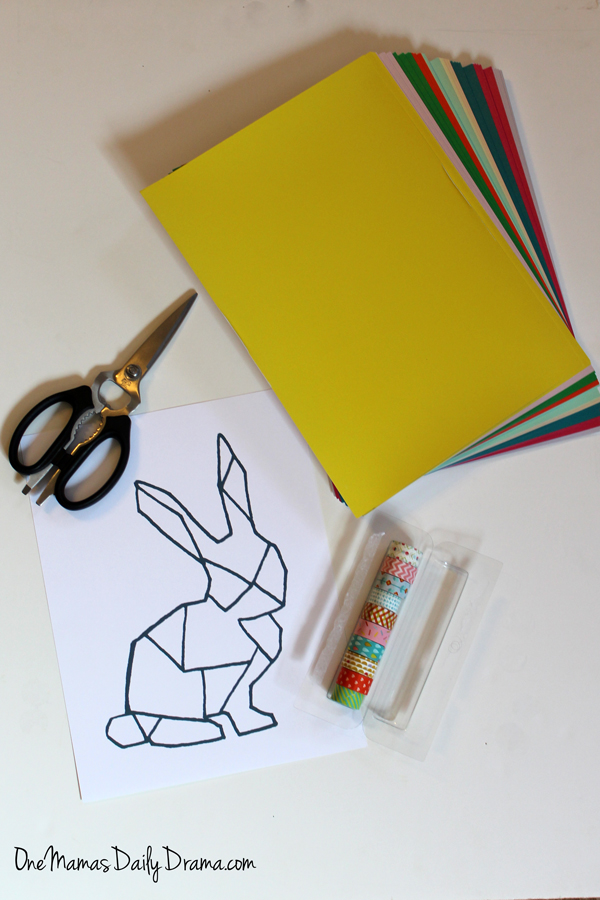
- printable bunny template (download below)
- washi tape in multiple colors/patterns
- scissors
- white cardstock, 8.5×11-inches
- colored cardstock, 8.5×11-inches (I love this pearlescent paper!)
- craft glue
- display frame or clipboard, optional
Instructions
Start by printing the bunny template. I recommend printing him on white cardstock because it’s durable and the white won’t show through the washi tape.
If you don’t want to use this template, you can draw your own or use any image cut into pieces!
Cut out the white shapes inside the bunny. Try to leave the black lines intact so that you can use them as a guide to reassemble the bunny. It is also helpful to lay out your pieces on the colored cardstock as you cut.
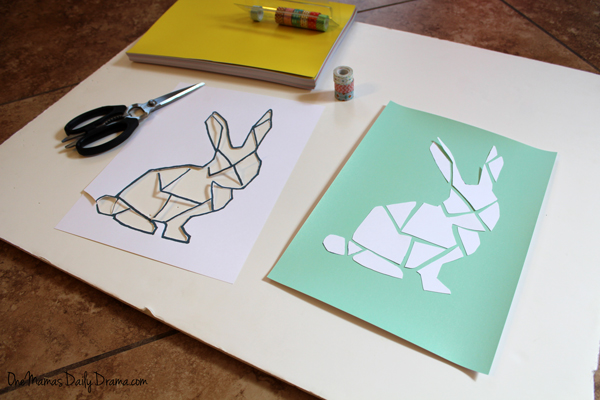
After all the pieces are cut out, it’s time to tape. I chose three coordinating washi tape designs that also matched my colored cardstock.
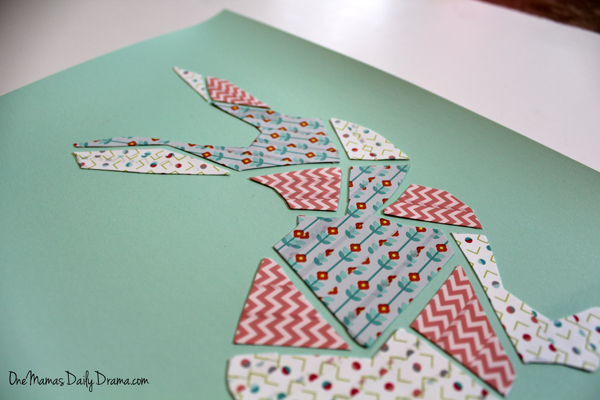
I didn’t really plan ahead where each of the tape patterns would go, but I did plan the next few touching pieces as I was taping each one so that I was sure that the same pattern wouldn’t be next to itself.
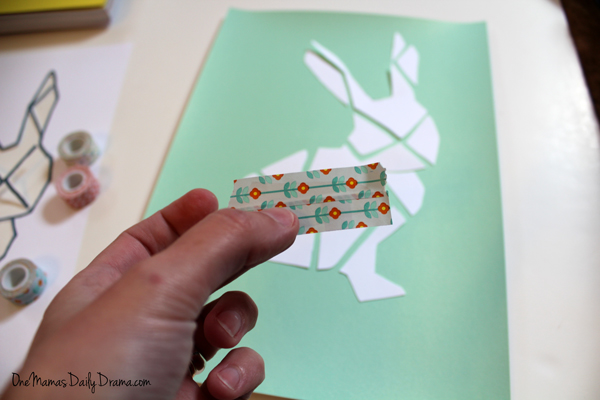
For each piece, tear a few strips of washi tape to cover the cardstock. It should hang over the edge just a bit so that you can fold it.
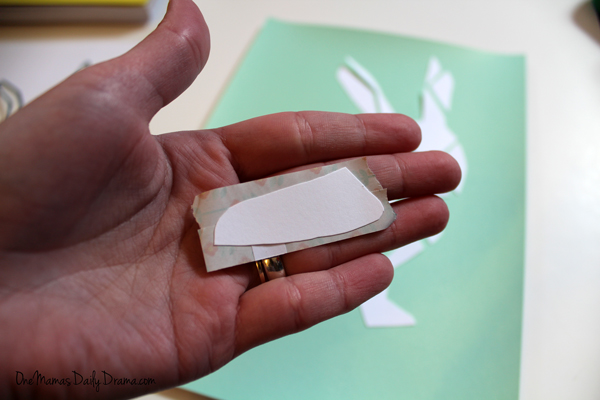
Fold the tape over the back, smoothing edges and trimming around corners if necessary.
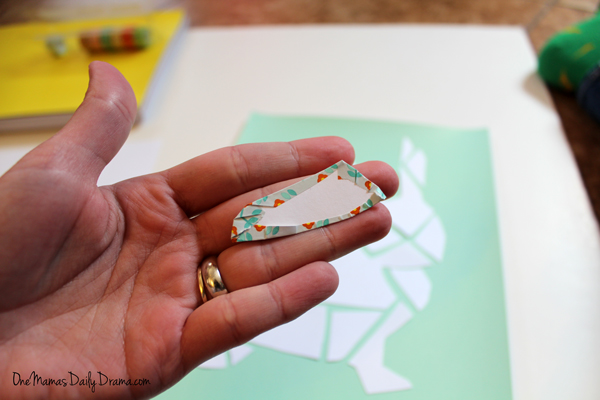
Layout each piece back where it will go so that you don’t lose track.

After all the pieces are taped, space them out exactly where you want them to go. One at a time, glue the taped pieces down onto the colored cardstock. I just used a regular Elmer’s glue stick because that’s what I had; craft glue will work too.
I set a book on top of the finished bunny for about 5 minutes, just so the glue could definitely set in the corners.

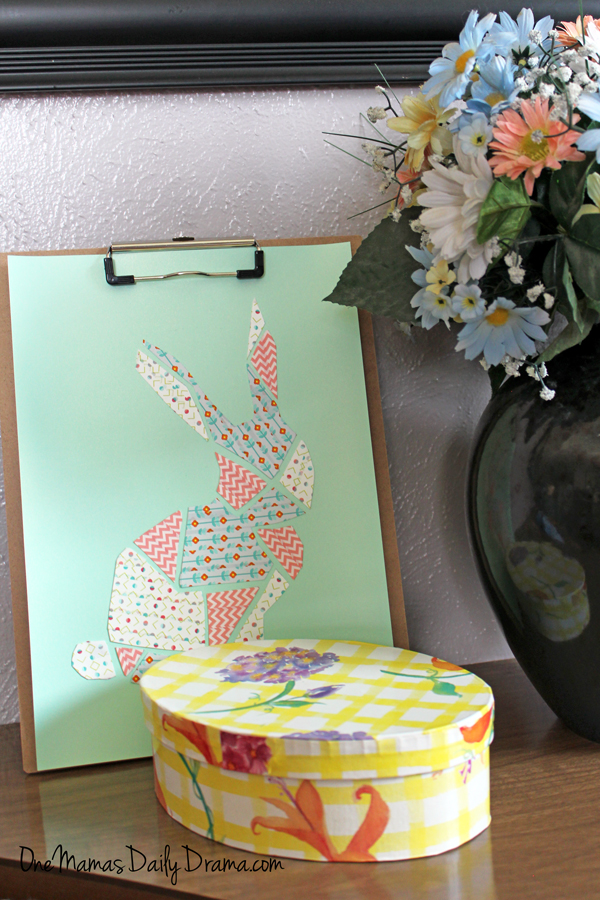
Display your washi tape bunny art in a picture frame or on a clipboard.

I love how each of the bunny pieces sticks out from the page. It looks really nice, but it was so simple to make. Download the printable and make your own DIY washi tape bunny art.
Bunny art tips and ideas
- Choose washi tape patterns that are complimentary, but not too similar.
- Add a solid-colored tape to tie the patterns together.
- Pick a single color theme and choose patterns that include it.
- Make several bunnies in different colors to line up together.
- Washi tape tears easily by hand, but you can use scissors to get a really straight edge.
- Use a ruler to smooth down the tape edges on round corners to get it really flat.
- Try this technique with other designs too!
Ways to display your bunny art
- Clipboard or bulletin board
- Single picture frame
- Gallery wall with complimentary art
- Front of a greeting card
- Trim around the bunny on the main paper, punch a hole, and string several together to make a garland.

Get the printable
Printables are free for subscribers. Sign up below to have this printable sent to your inbox. (If you’re a new subscriber, you’ll need to confirm your email address first. Check your spam ~ the emails are nearly instant.)
Don’t want another newsletter? No problem. Join The Printables Library for a one-time fee and get all the printables in one place. If you’re already a member, you can find this file there now.
Terms of use: All printables are for personal use only (home, classroom, library) and are not to be redistributed or sold. Please share by sending your friends to this blog post!
What’s next? Try these other fun and creative ideas on One Mama’s Daily Drama:
This is so cute, Keri! How creative!
Thanks, Gail! I had a lot of fun with this one.
Keri this is so cute. And now i see where you got the idea from too. I love your bunny. Very abstract art with a twist.
Thank you! Yes, I “cheated” and used the same bunny that I made the blog hop logo with. 😉 I’m already thinking how I could do this with other shapes… Any ideas?
totally adorable bunny! love it’s made with washi tape! I have only used it once but I have several different rolls 🙂
Thanks! I have a stash, but it’s taken me a while to figure out what to do with it.
Such a cute bunny, and I love the colors!
Thanks!