• Skip to primary navigation
  • Skip to main content
  • Skip to primary sidebar
  • Skip to footer
  • Crafts
  • Holiday
    • Valentine’s Day
    • Easter
    • Mother’s Day
    • End of School
    • Father’s Day
    • July 4th
    • Back to School
    • Halloween
    • Thanksgiving
    • Christmas
  • Kids
    • LEGO
    • games
    • coloring pages
    • writing
    • books
  • Planner
    • pages
    • tutorials
  • Recipes
    • Breakfast
    • Snacks
    • Drinks
    • Entrees
    • Sides
    • Desserts
  • Shop
  • One Mama's Daily Drama
One Mama's Daily Drama: organized chaos for year-round family fun since 2009.

One Mama's Daily Drama

Organized Chaos for Year-Round Family Fun

Home » Crafts » DIY Chapstick Holder Keychain

DIY Chapstick Holder Keychain

Make a simple chapstick holder keychain so you always have a tube with you! This makes a cute handmade gift too.
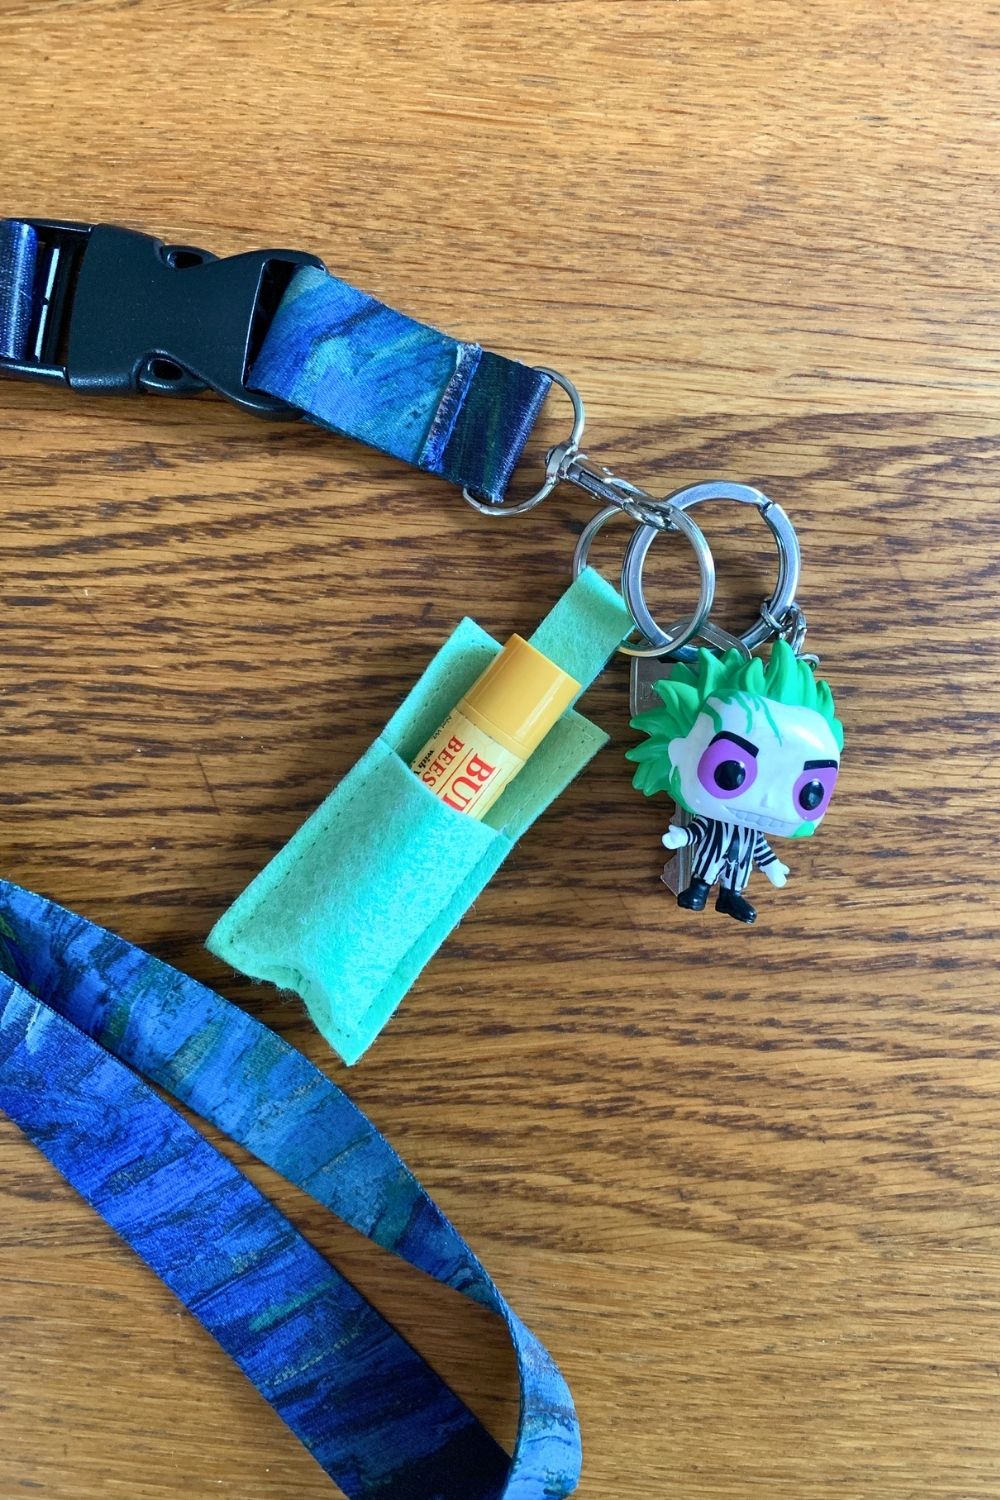
Green felt chapstick holder keychain with a tube in the pocket attached to a lanyard with keys.

Disclosure: This blog contains affiliate links. As an Amazon Associate and member of other affiliate programs, Keri Houchin earns a commission from qualifying purchases at no additional cost to you.


I try to always carry chapstick with me, but when I’m wearing something without pockets, I tend to forget. This chapstick holder keychain is small and easy to attach to your keys or the zipper on a wallet. It fits a single tube of basic lip balm.

This craft is a pretty easy beginner sewing project. You only need to sew a running stitch around the hem of the rectangle. It also doesn’t use a lot of materials. I used scrap felt from another project.

This tiny felt pocket would make a fun handmade stocking stuffer or a gift idea for a group. You can make one in less than half an hour. The tutorial is below, including how to make your own template (no printable needed).
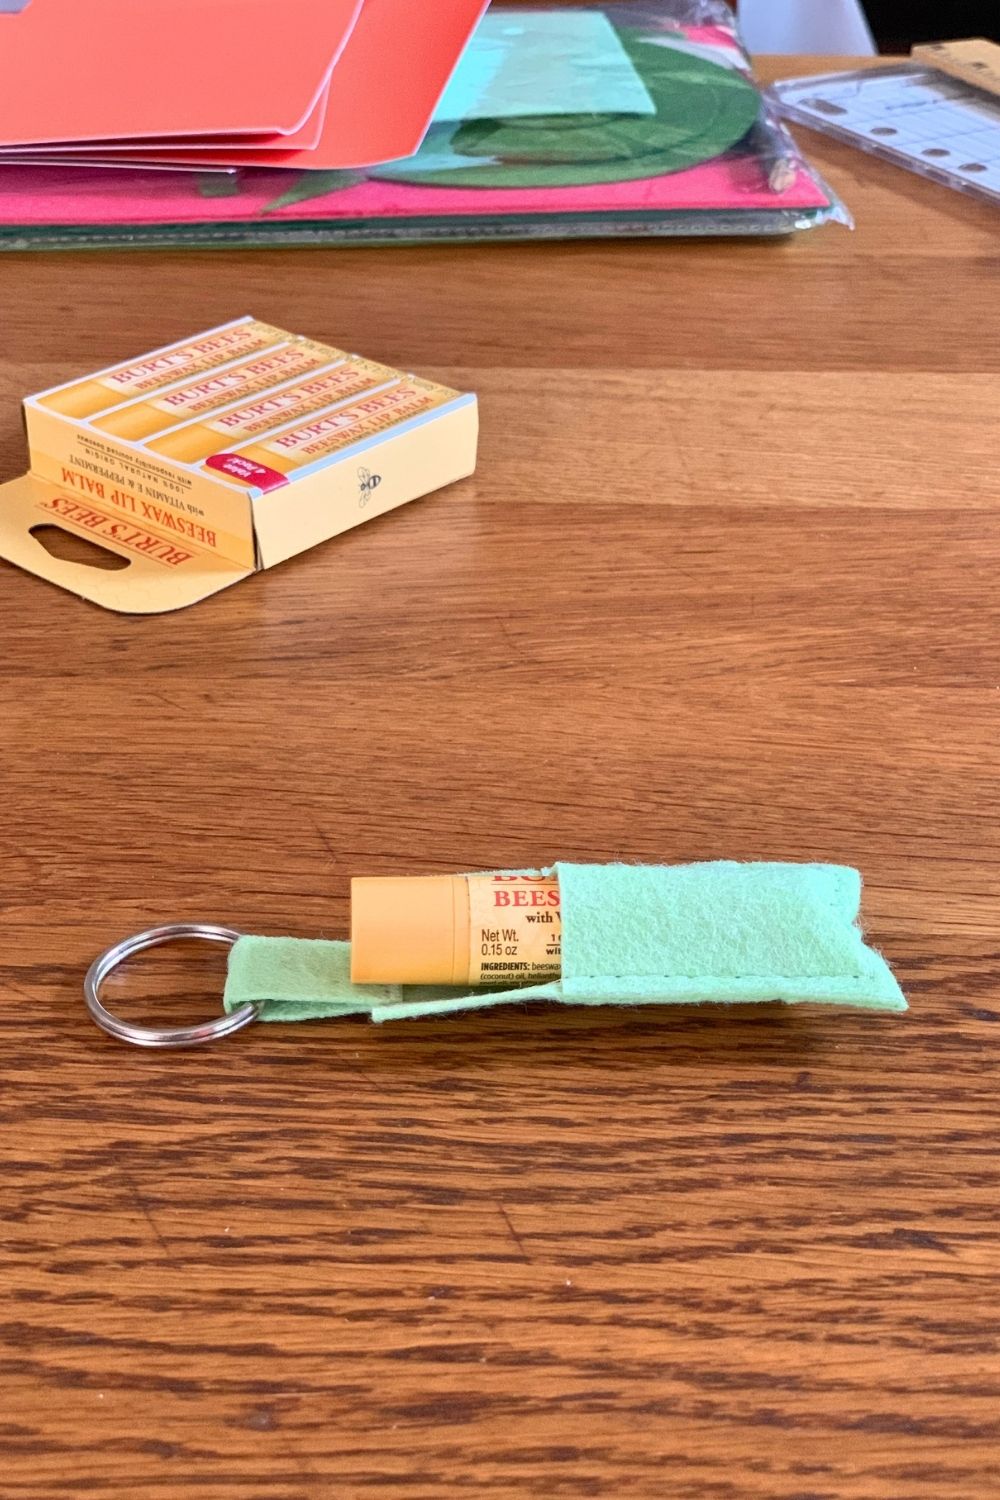
Green felt chapstick holder keychain holding a tube of Burt's Bees.

How to make a chapstick holder keychain

Supplies

  • paper / card stock
  • pencil
  • scissors
  • felt sheet
  • keyring
  • sewing supplies ~ machine or needle and thread

Instructions

1. Make a paper template.

The first step is to make a paper template for the keychain. Start by cutting the paper into a rectangle that measures 1.5 inches wide and 7 inches long.
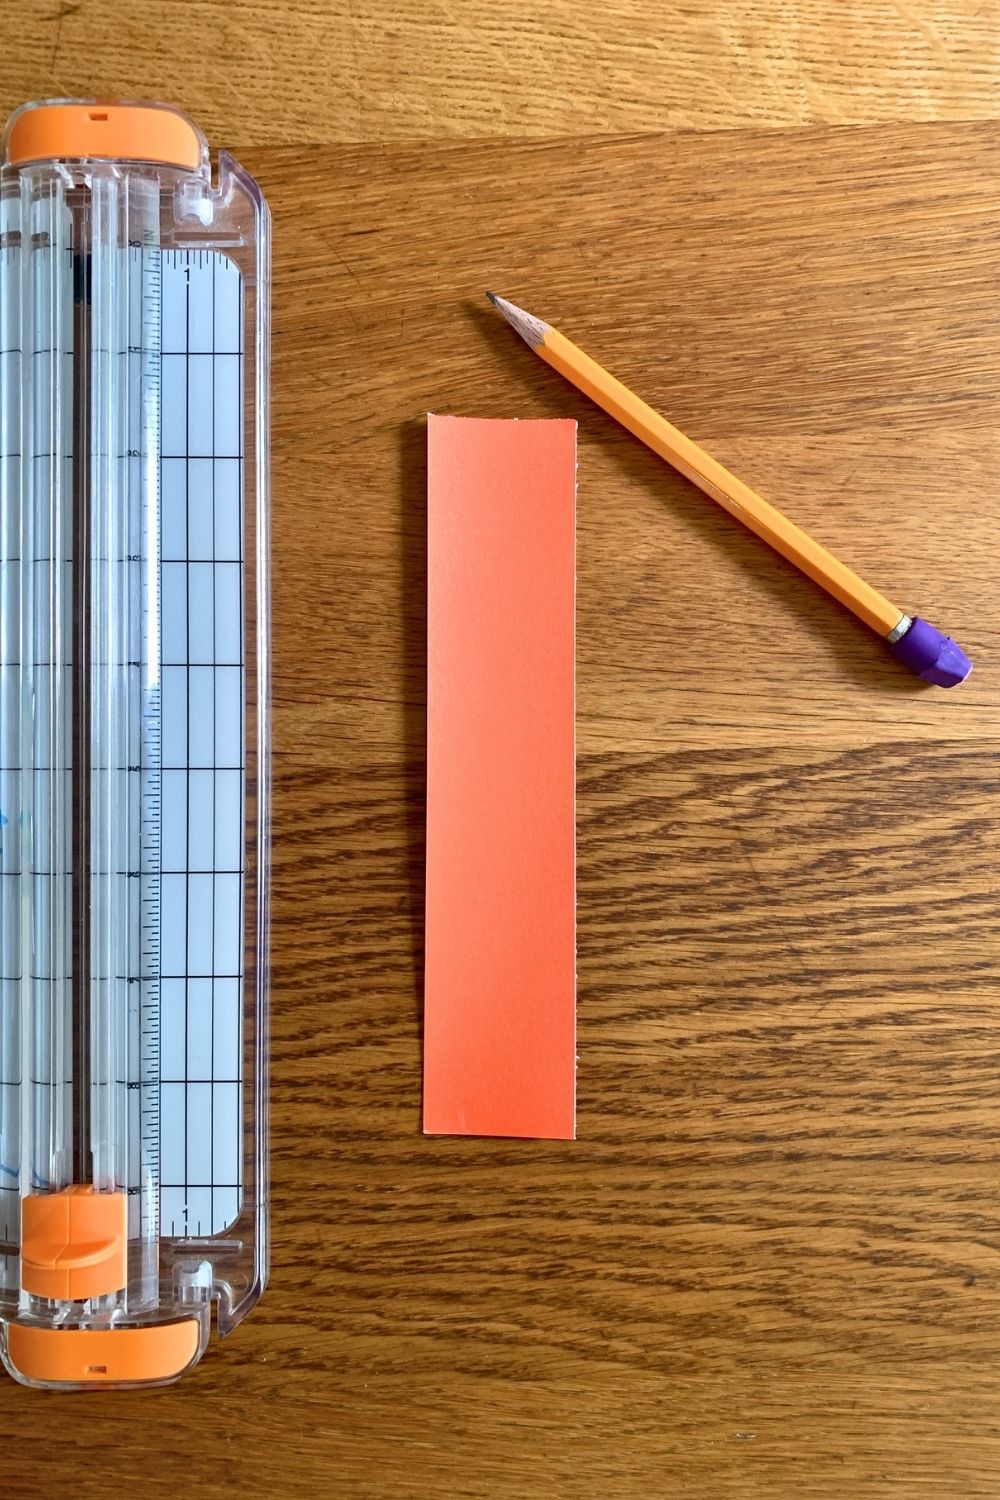
A long narrow rectangle of orange card stock.

Draw a line 2 inches from one end. Divide it into 3 half-inch sections. Cut off the outer 2 sections to create a long, narrow strip down the center.
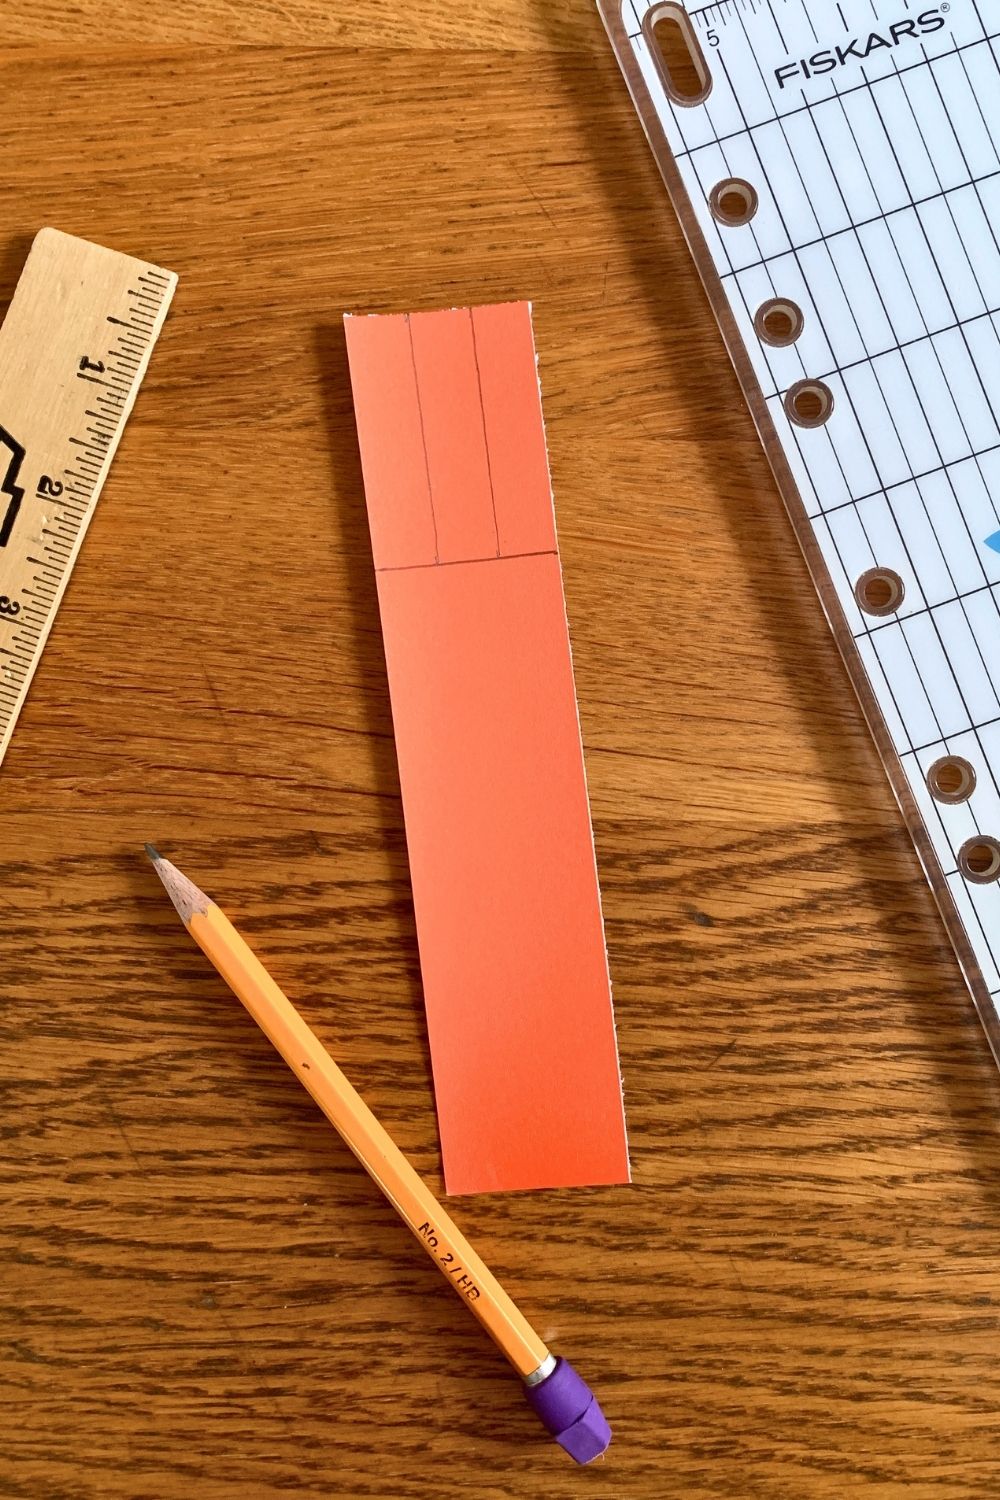
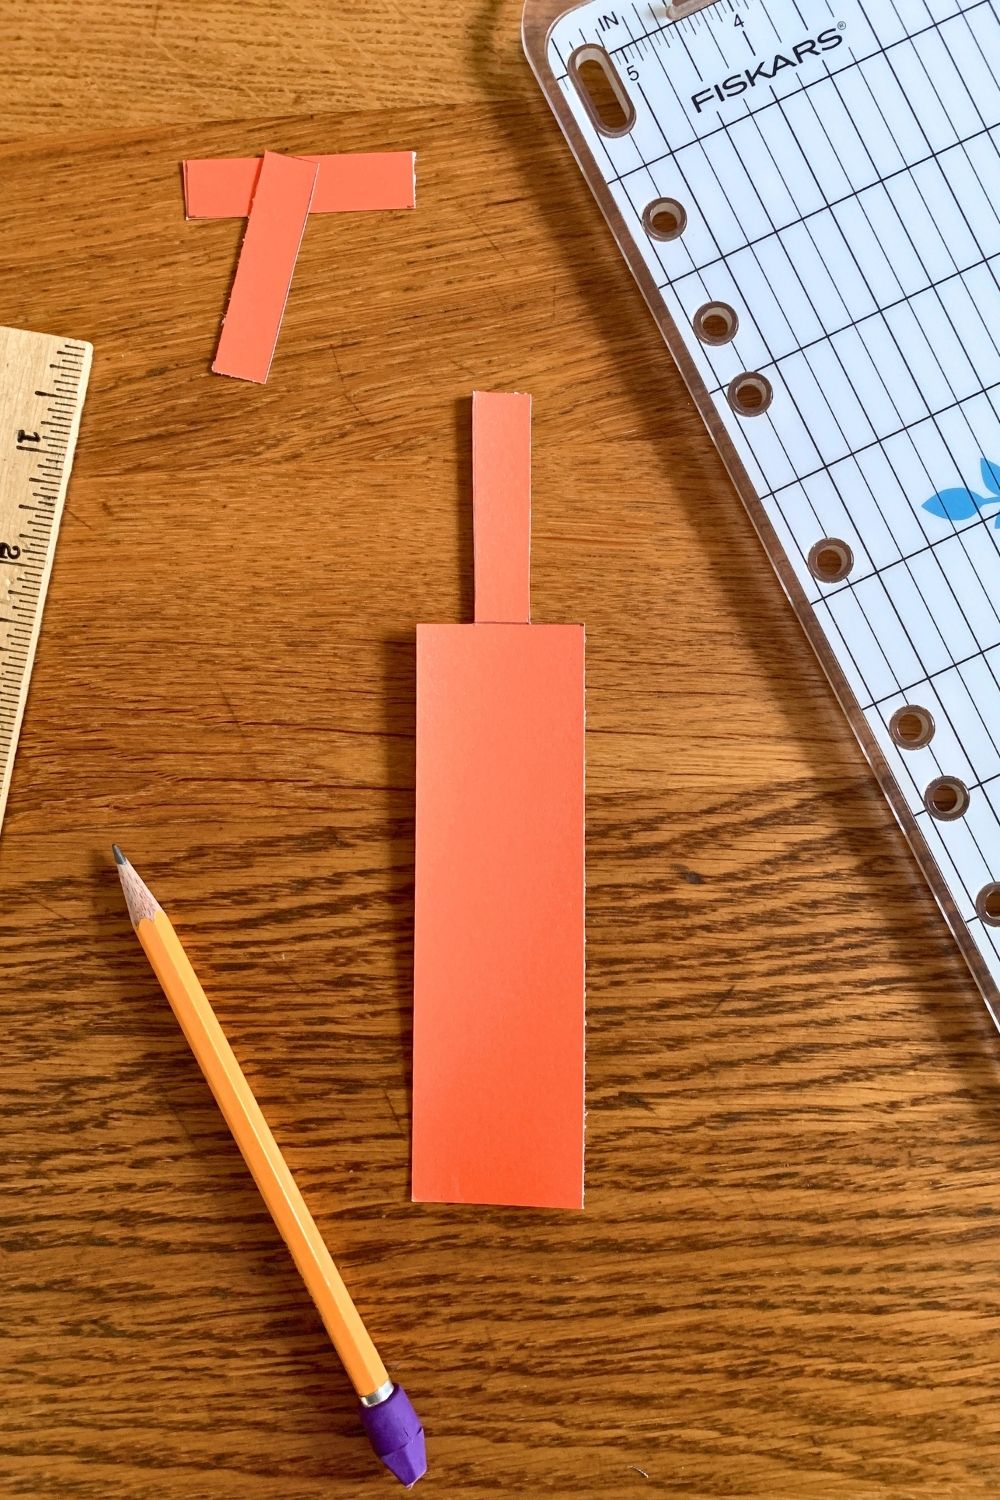
Pencil lines dividing the last 2 inches of the paper rectangle into 3 equal sections.
The paper rectangle with the outer marked sections removed to leave a narrow center strip.

2. Cut out the felt.

Trace the paper template onto the felt and cut it out. You can erase the pencil lines if they are visible.
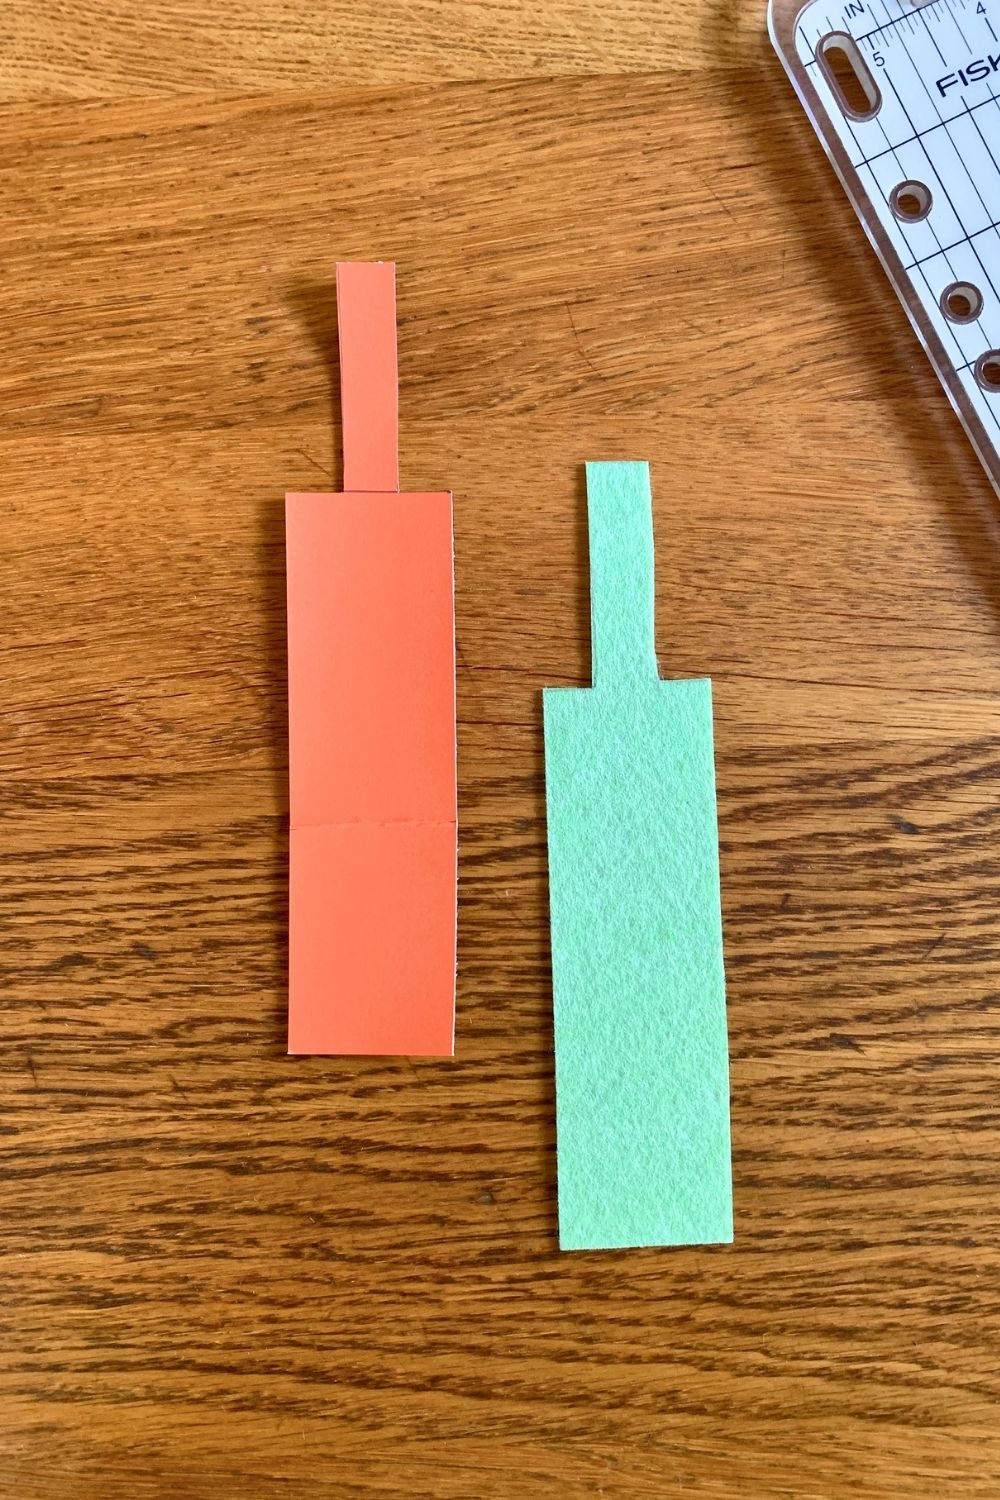
The paper keychain template beside a felt cutout.

3. Sew the keychain.

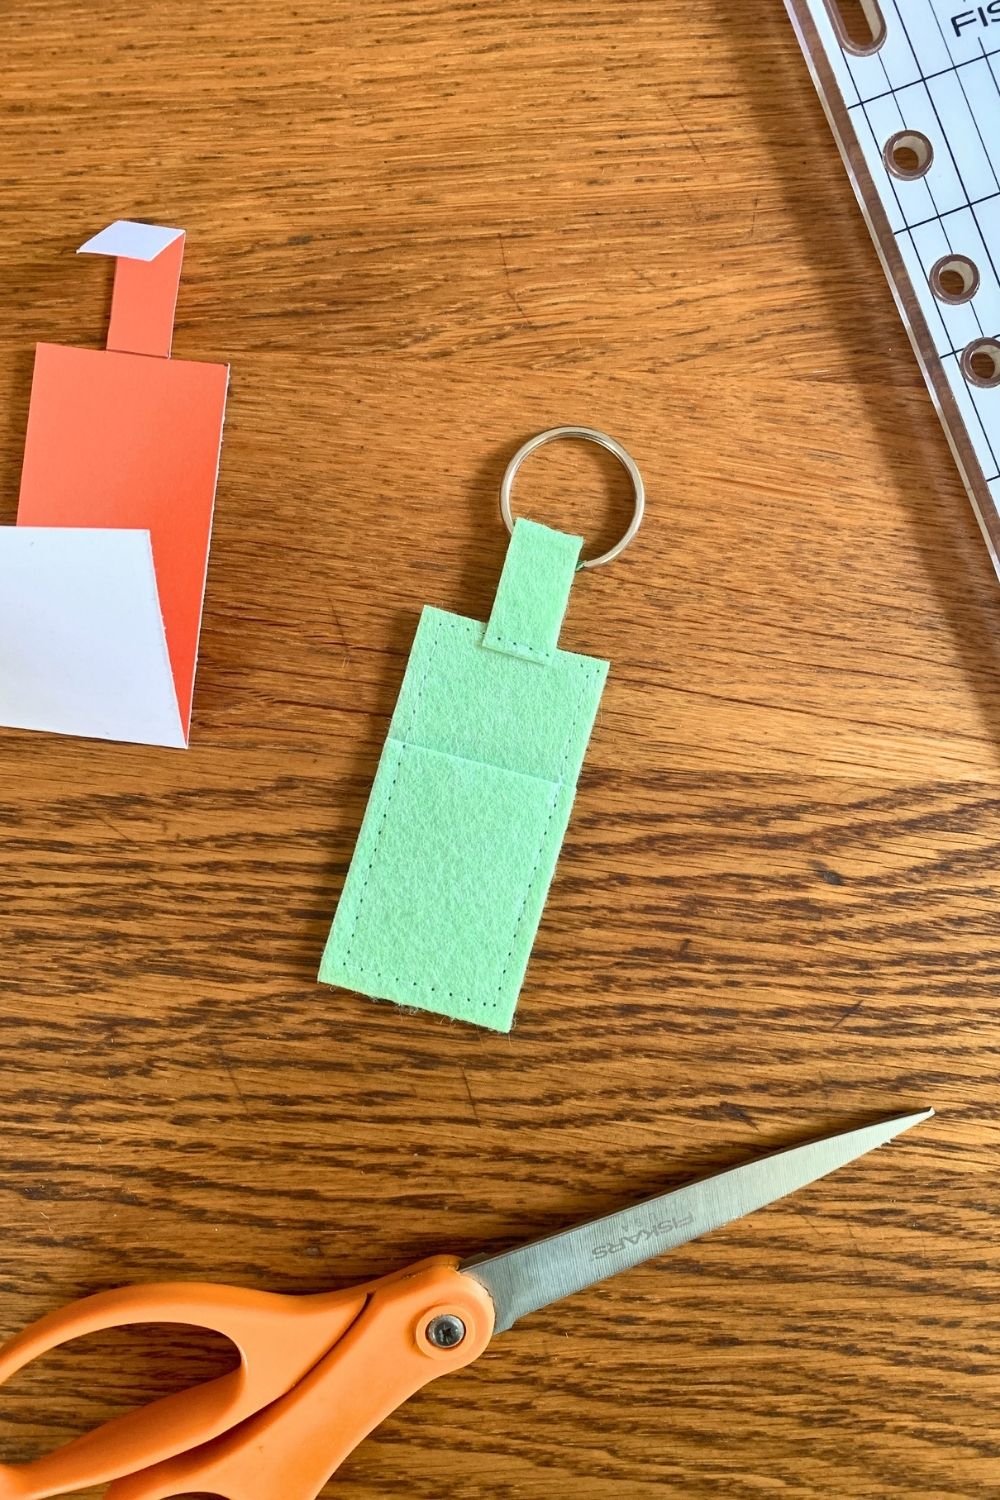
Fold the narrow strip down with the keyring inside. Fold the bottom section up 2 inches. Sew around the large rectangle with a quarter-inch hem, leaving the center open.
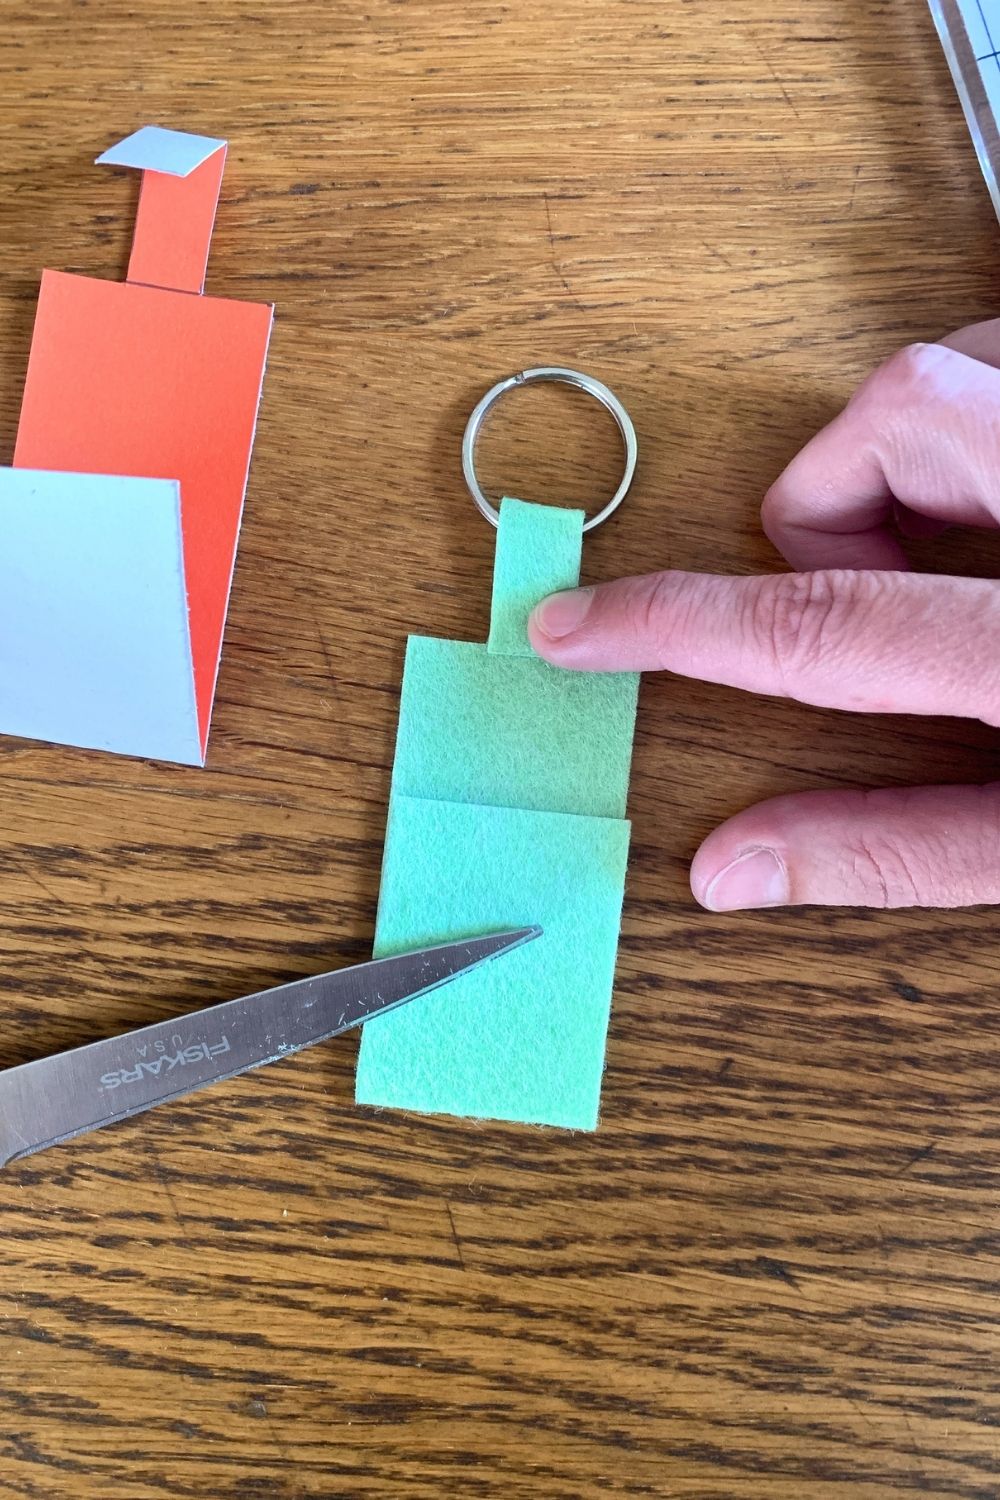
Folding the end flaps of felt before sewing them down.
Machine stitches around the outside edge of a felt keychain pocket.

The little pocket should snugly hold a tube of chapstick ~ ChapStick brand and many others that are the same size like Burt’s Bees, Lip Smackers, Blistex, etc. The top of the tube will stick out so that you can pull it out easily.
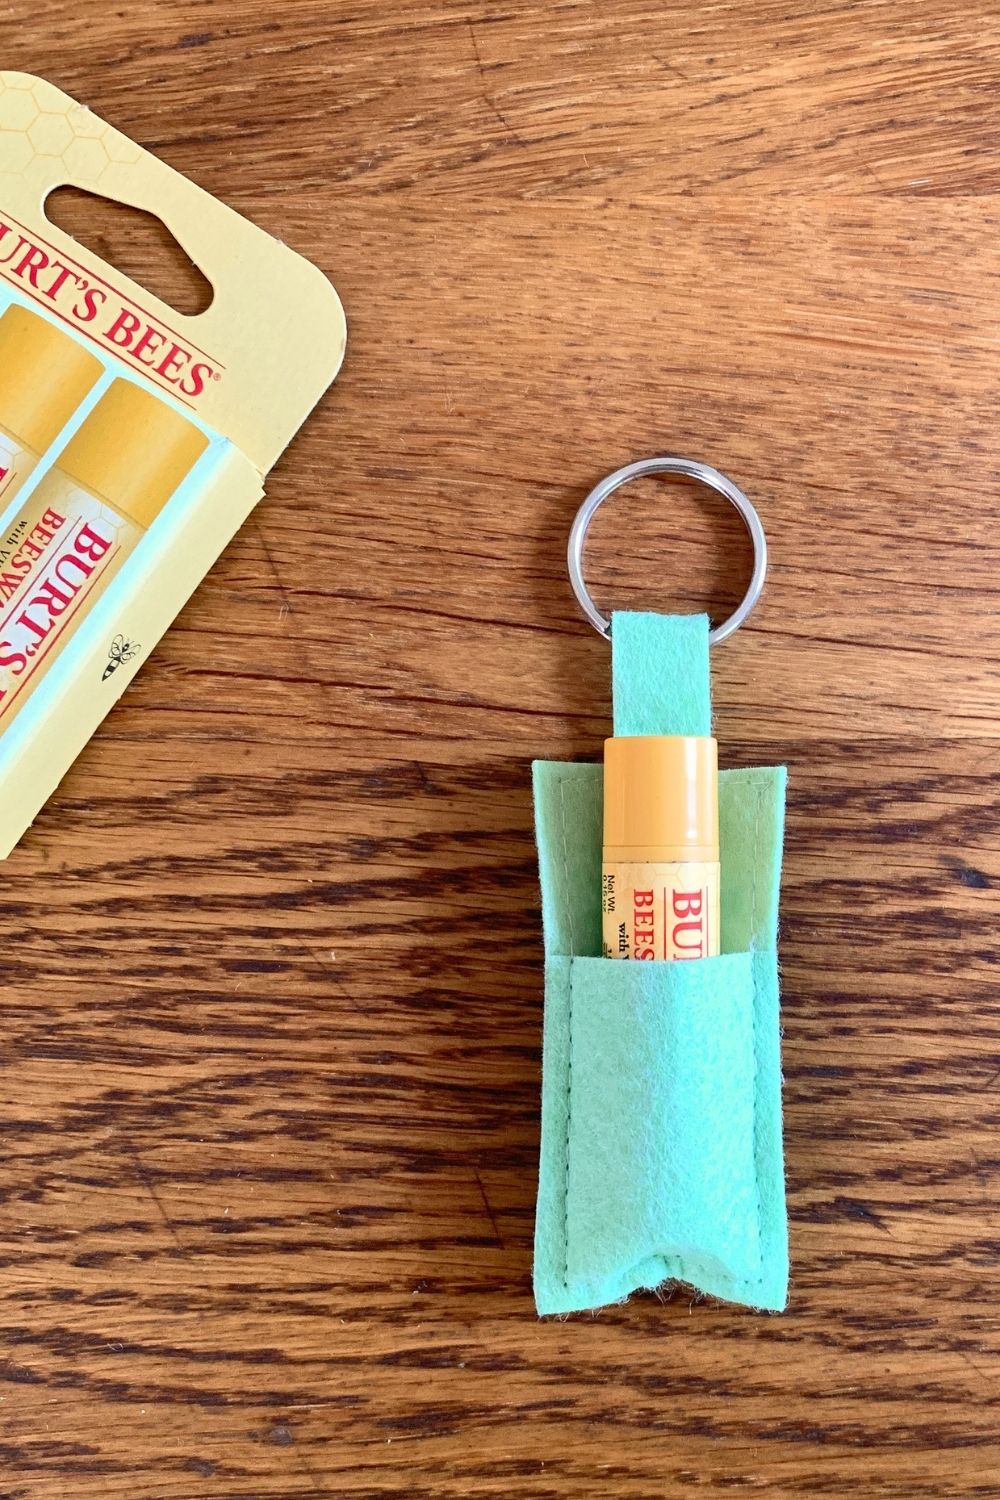
A tube of Burt's Bees chapstick in a green felt keychain pocket.

Slip the keyring onto your keychain or lanyard. I used a circle keyring, but you could make this with the clip type and attach it to your belt loop.
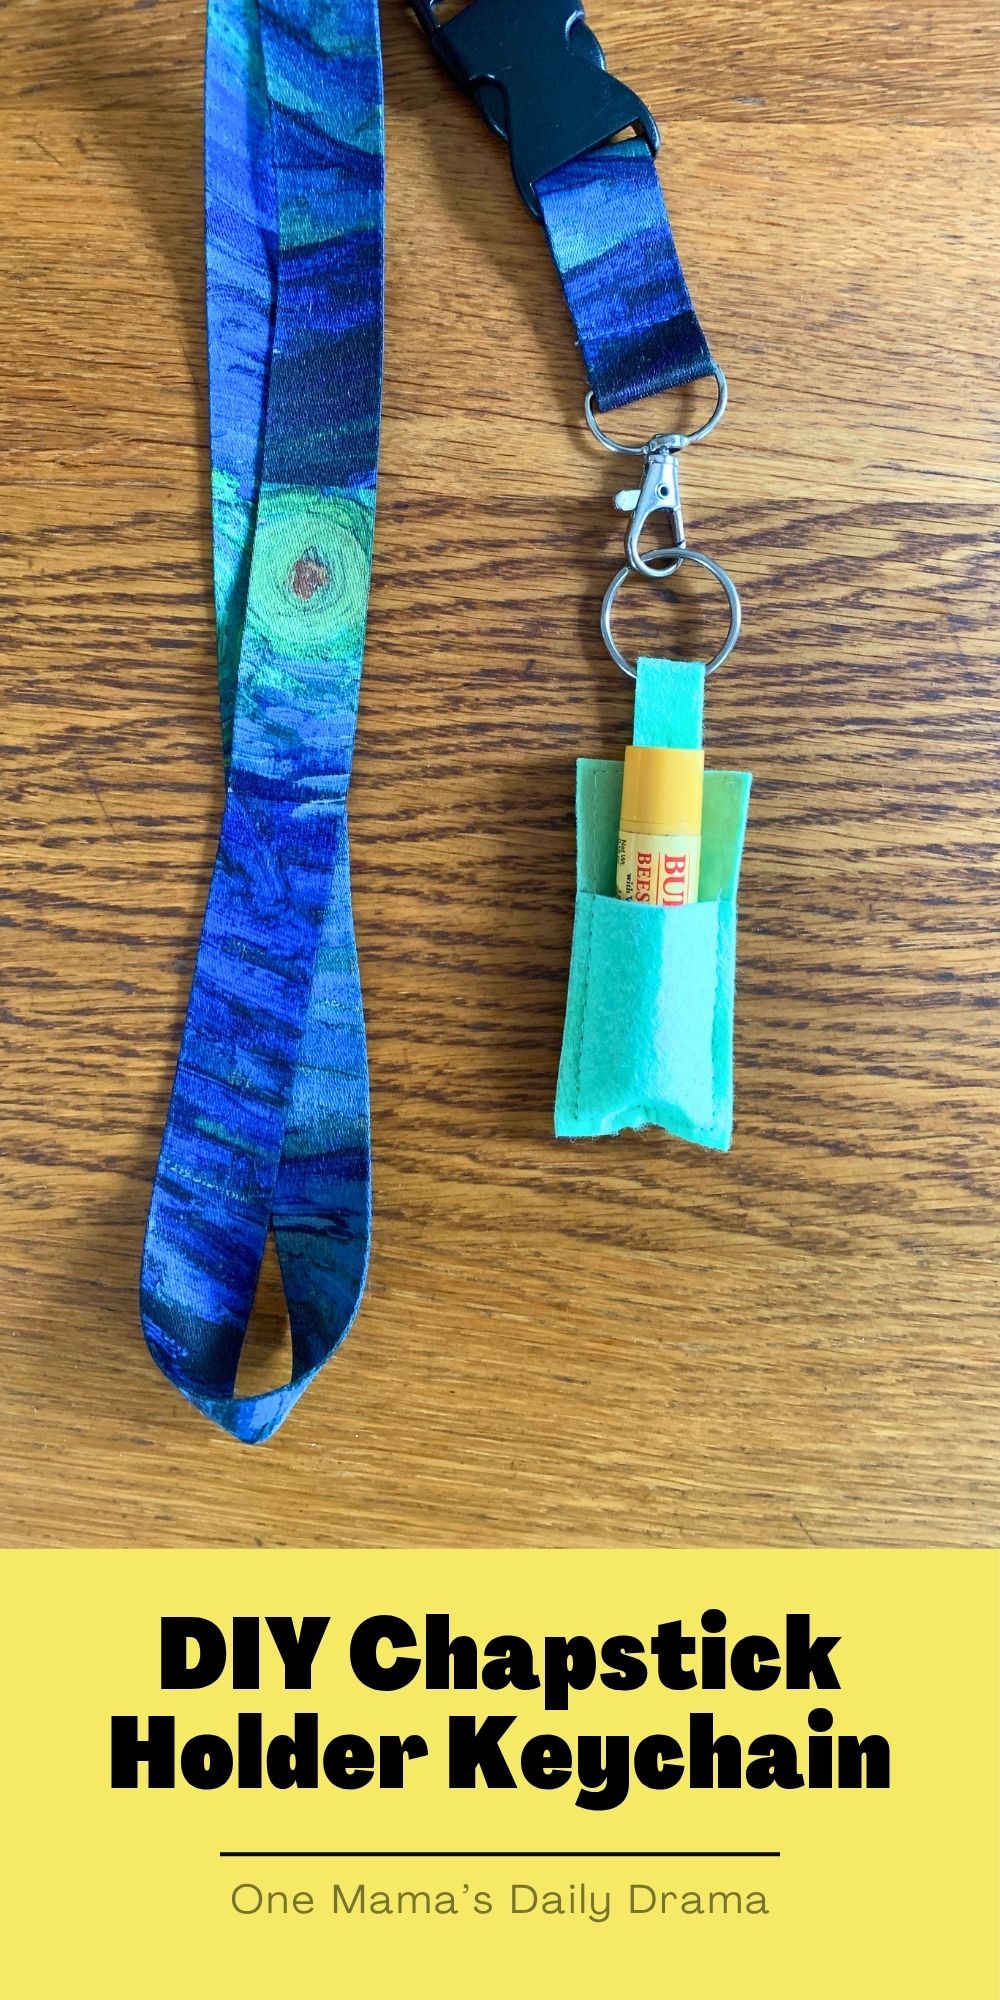
DIY chapstick holder keychain.

What’s next? Try these other fun and creative ideas on One Mama’s Daily Drama:

  • DIY Felt Pennant for Enamel Pins
  • 22 Food Stocking Stuffer Ideas
  • DIY Notebook Cover With Elastic Closure
Previous Post: « Easy Pumpkin Bread Recipe
Next Post: 5 Pumpkin Recipe for Dessert »

Reader Interactions

Leave a Reply Cancel reply

Your email address will not be published. Required fields are marked *

This site uses Akismet to reduce spam. Learn how your comment data is processed.

Primary Sidebar

Hello and welcome!

I'm Keri - geek, mom, crafter, and color lover! One Mama's Daily Drama is all about creating a happy home through beautiful DIY projects and home decor, practical planning and organizing, and easy kids activities. Read More…

Footer

Archives

Connect

  • Facebook
  • Instagram
  • Pinterest
  • Threads
  • YouTube

Search the Blog

  • Privacy Policy
  • Disclosure
  • About
  • Contact

Copyright Keri Houchin Design, LLC © 2026 · Thyme Theme by Restored 316