
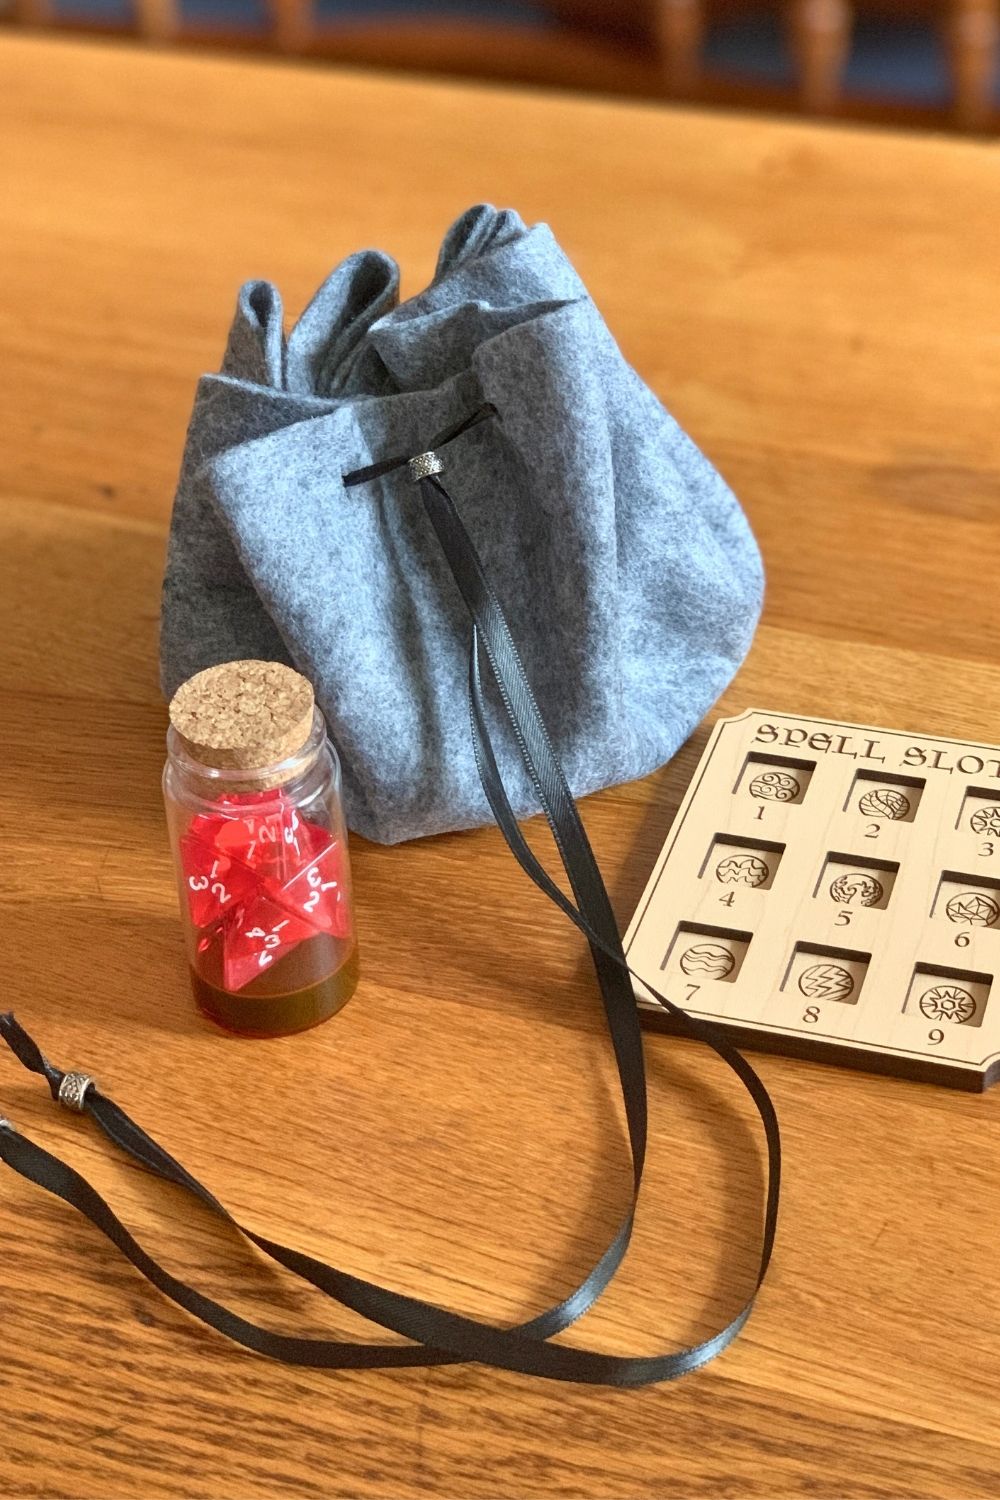
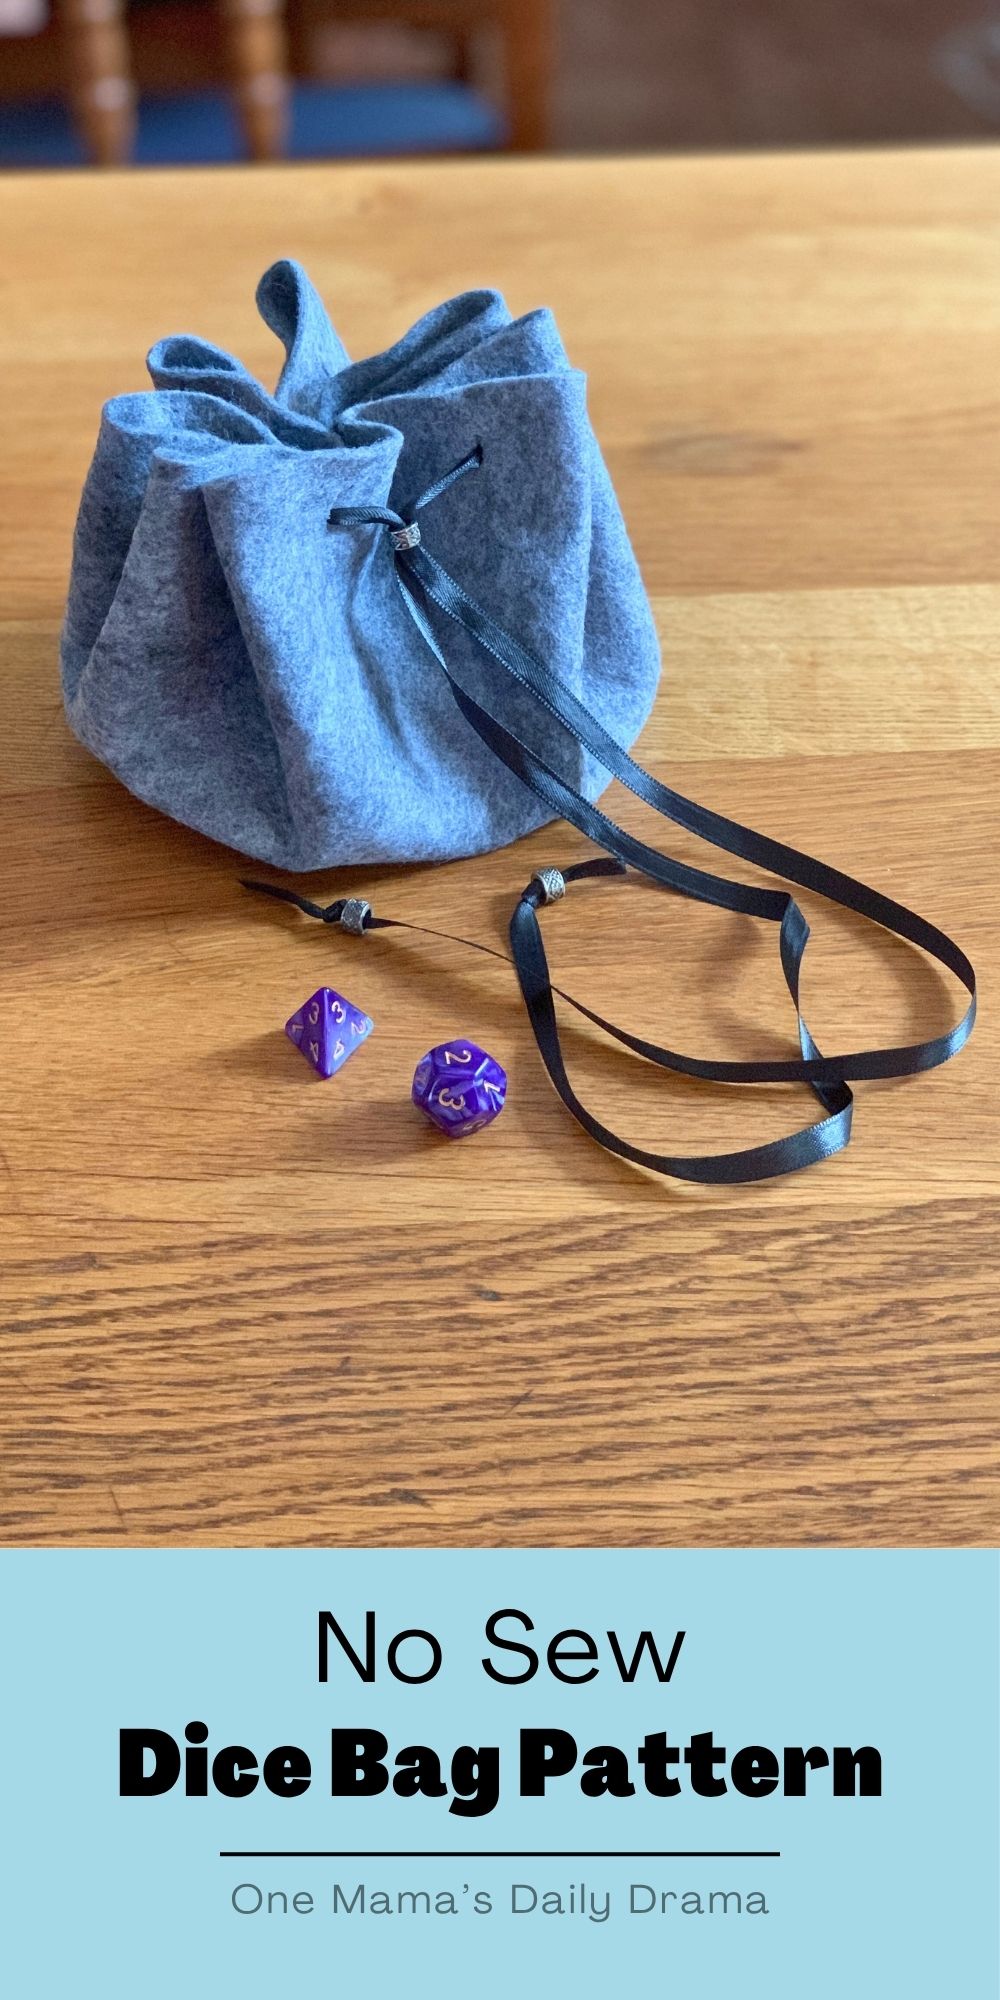
Follow this dice bag pattern to make an easy, no-sew drawstring bag. It’s perfect for D&D and other tabletop games with dice.
Disclosure: This blog contains affiliate links. As an Amazon Associate and member of other affiliate programs, Keri Houchin earns a commission from qualifying purchases at no additional cost to you.
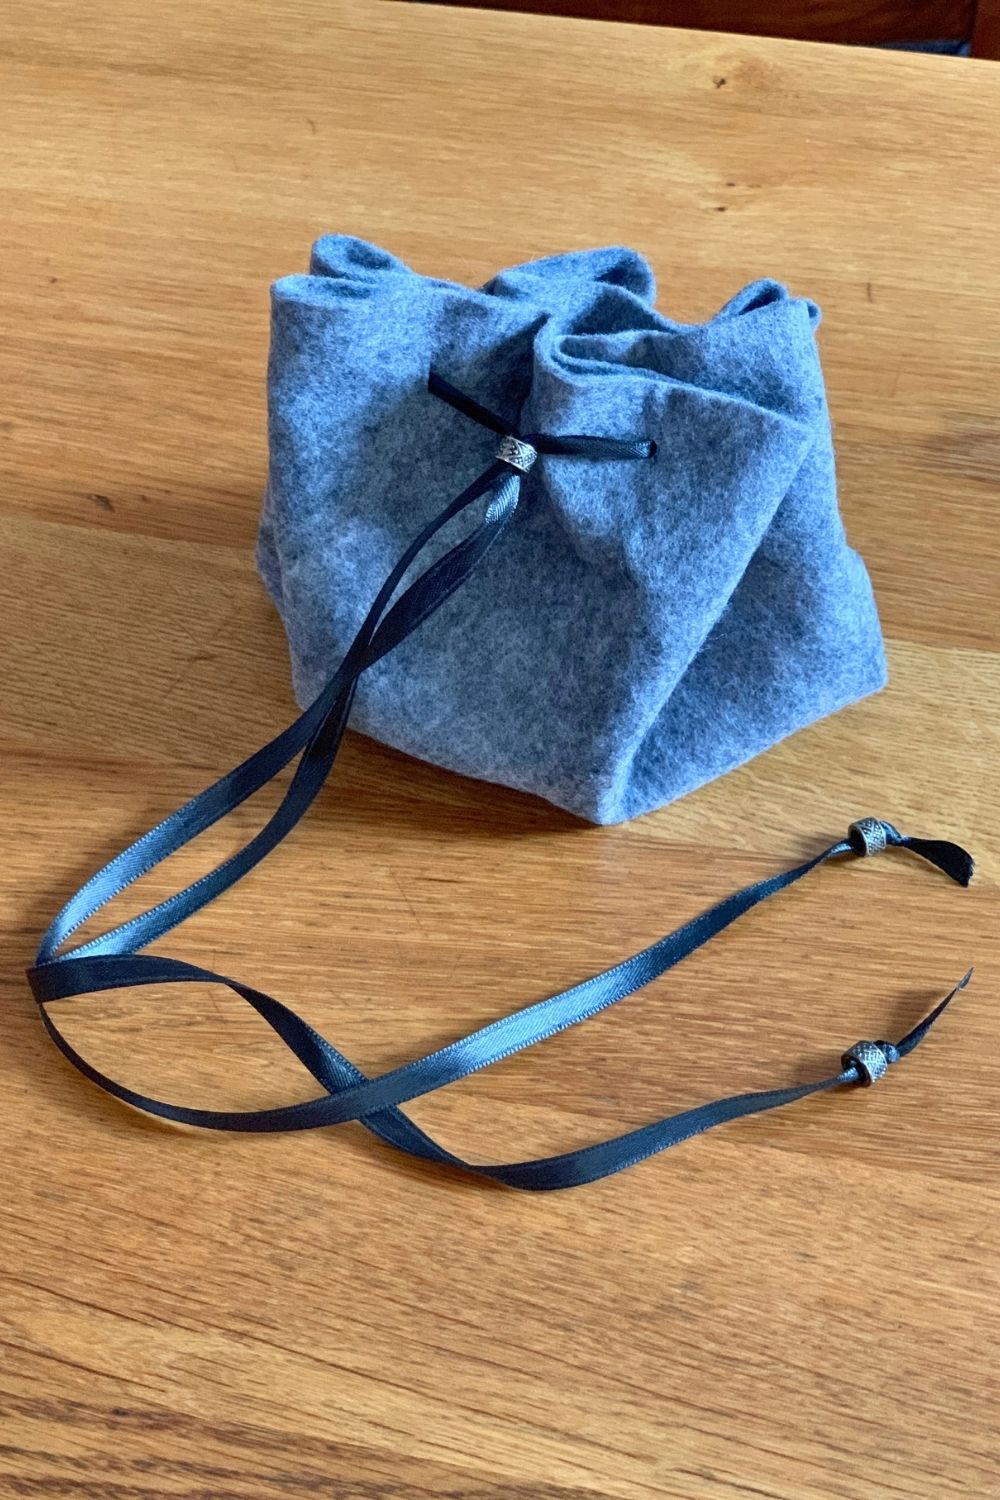
Make a simple drawstring bag from felt and ribbon, no sewing skills necessary!
The trick to this bag is to use a good quality wool felt material. The cheap felt sheet that come in a big pack aren’t going to work well. I bought this felt by the yard several years ago at Joann, but I’ve seen similar at Michaels and my local fabric store.
Half a yard of felt is enough to make 2 bags.
You can easily customize this with any color felt and ribbon. If you don’t mind this becoming a sewing project, you could even use a sturdy patterned fabric and hem the cut edge. Add whatever beads you like. Embroider the outside of the bag. There are really a lot of ways to change this up!
You can, of course, make this for yourself. It’s also a nice handmade gift for someone who plays Dungeons and Dragons, an accessory for a cosplayer, or just a fancy-looking reusable gift bag.
How to make a dice bag
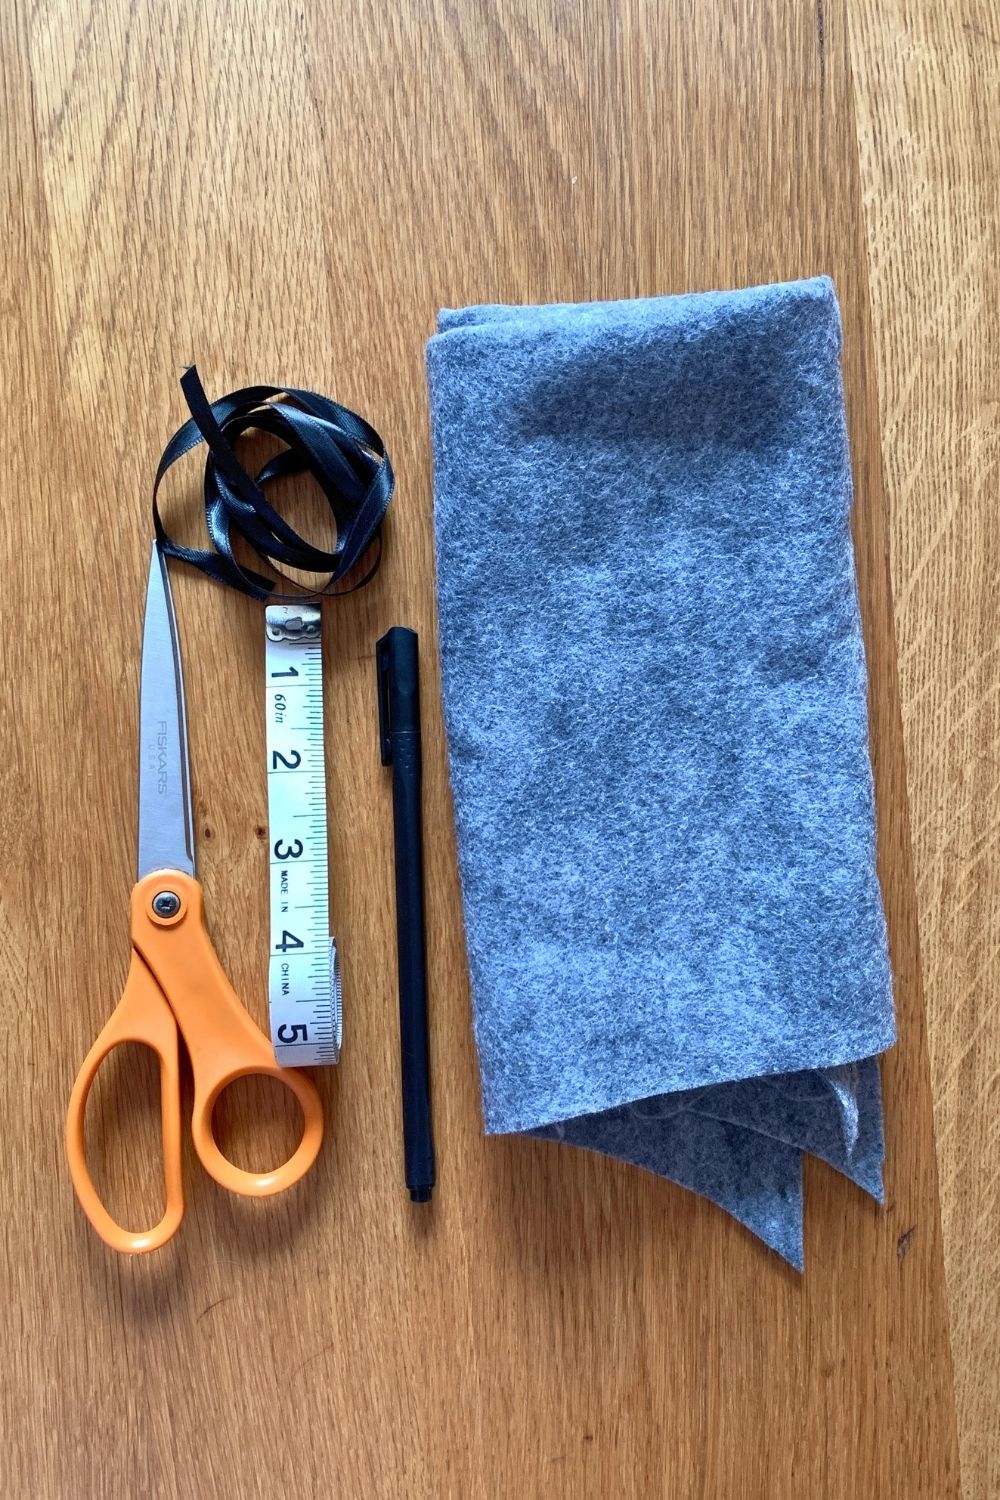
Supplies
- wool felt
- 0.25-inch ribbon
- beads
- scissors
- tape measure
- fabric pen
Instructions
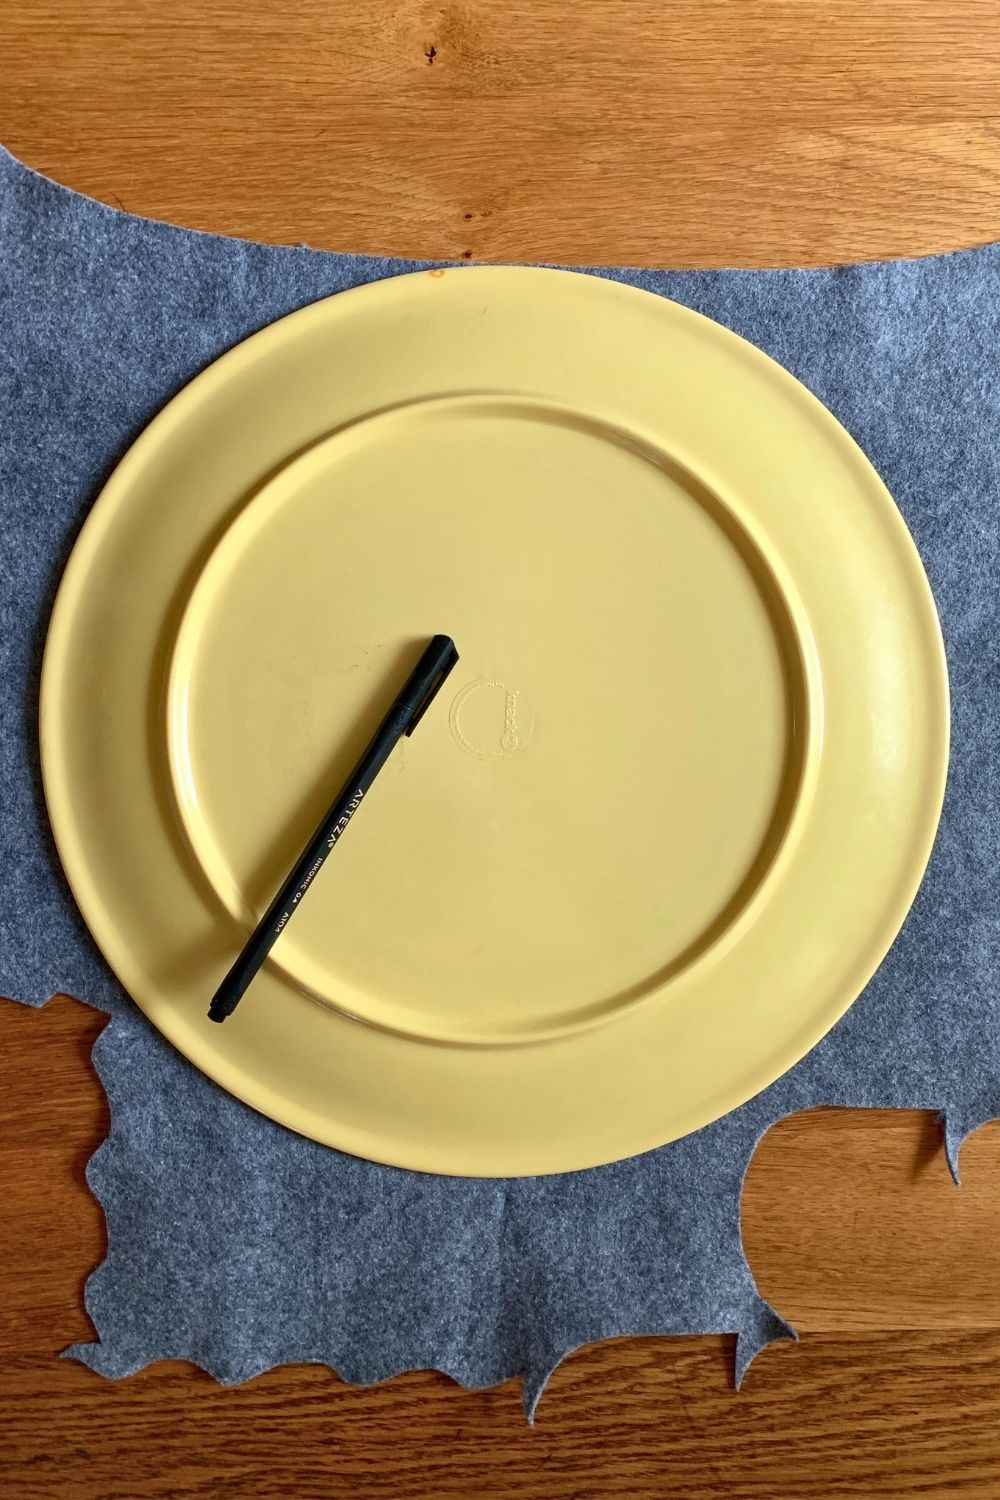
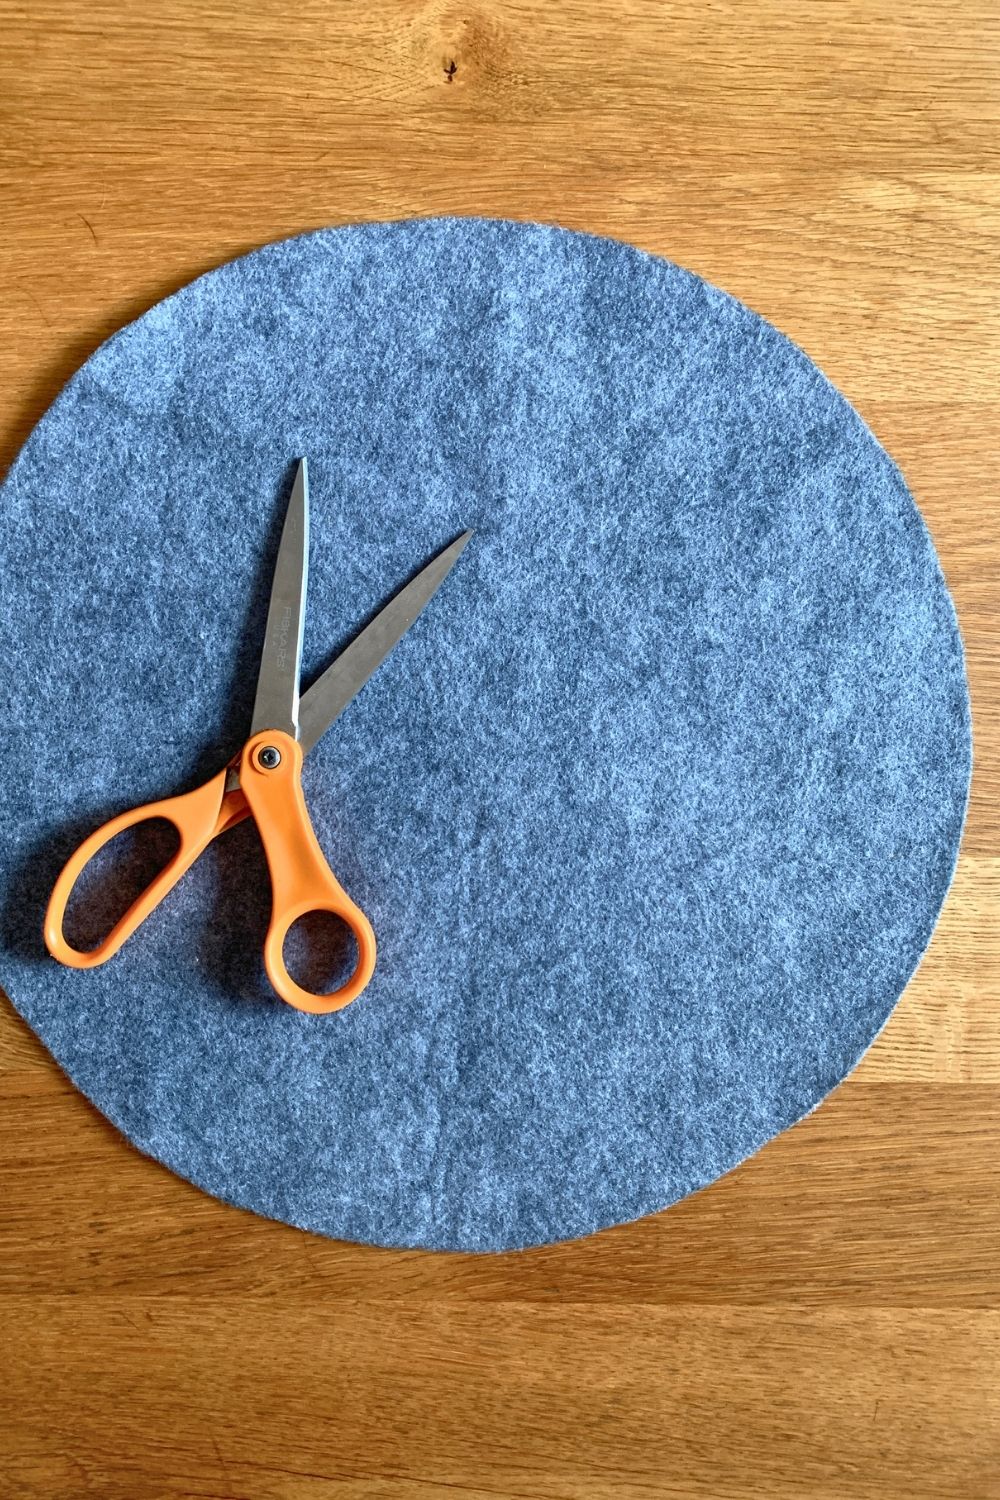
1. Cut a felt circle.
Start by marking a large circle on the felt. The easiest way to do this is to find a plate or other circle to trace onto the fabric. Mine is 14 inches across, but anywhere between 12 and 16 inches is good.
Draw the circle, then cut it out with scissors.
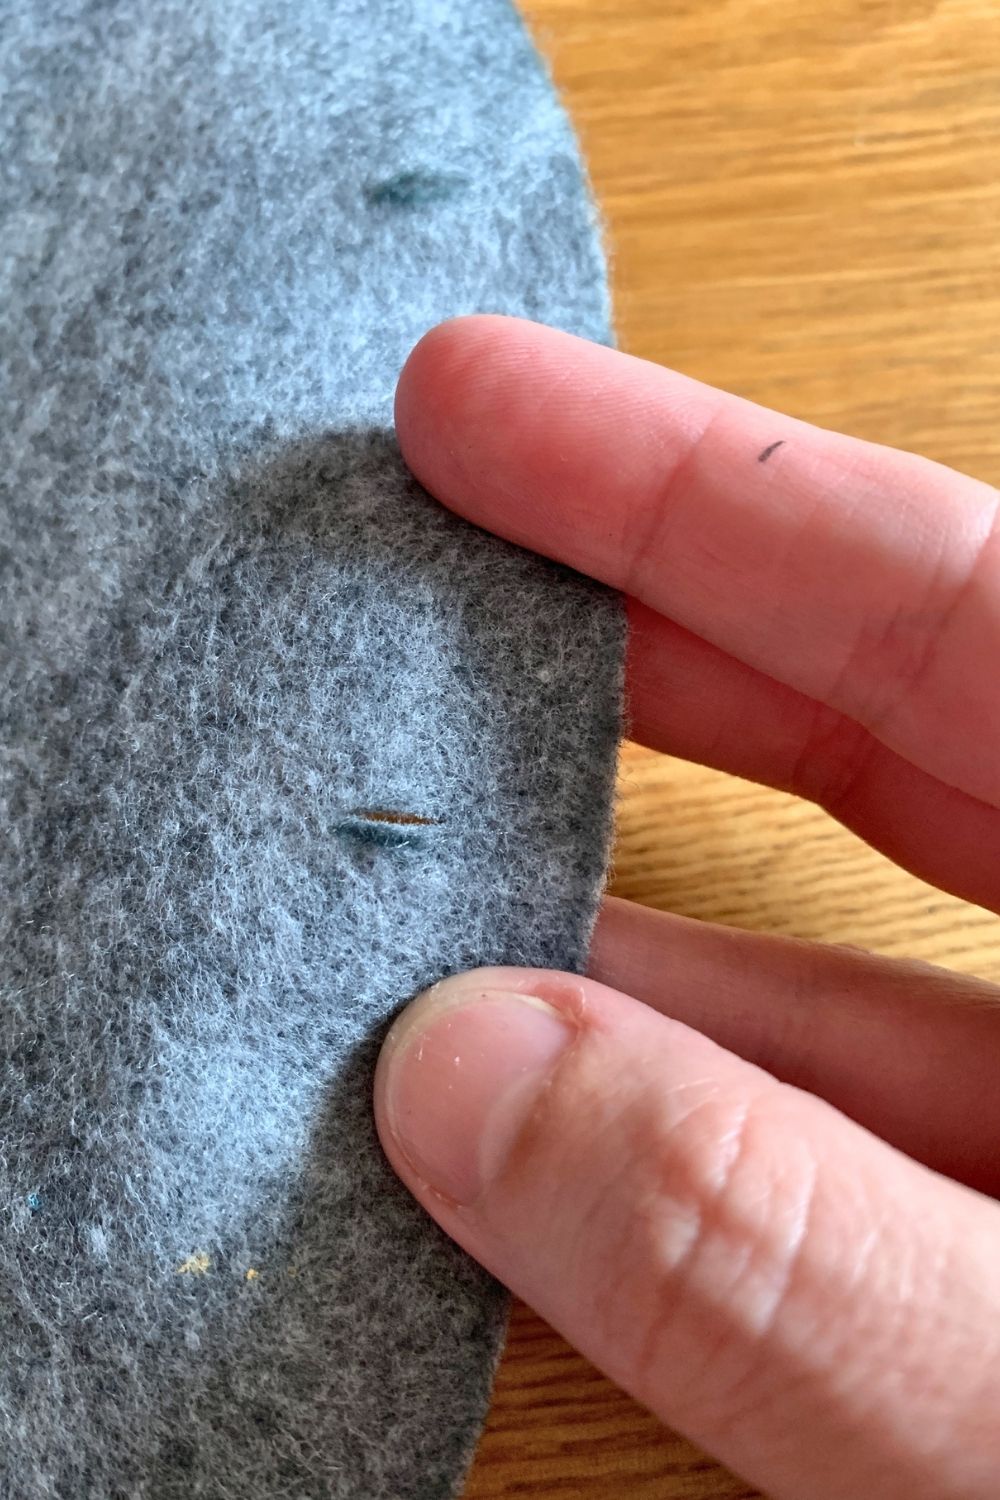
2. Add slits for the drawstring.
Next, measure and mark 16 slits around the edge to weave the drawstring through. Use the tape measure to find and mark a quarter-inch line that is half an inch from the edge of the circle.
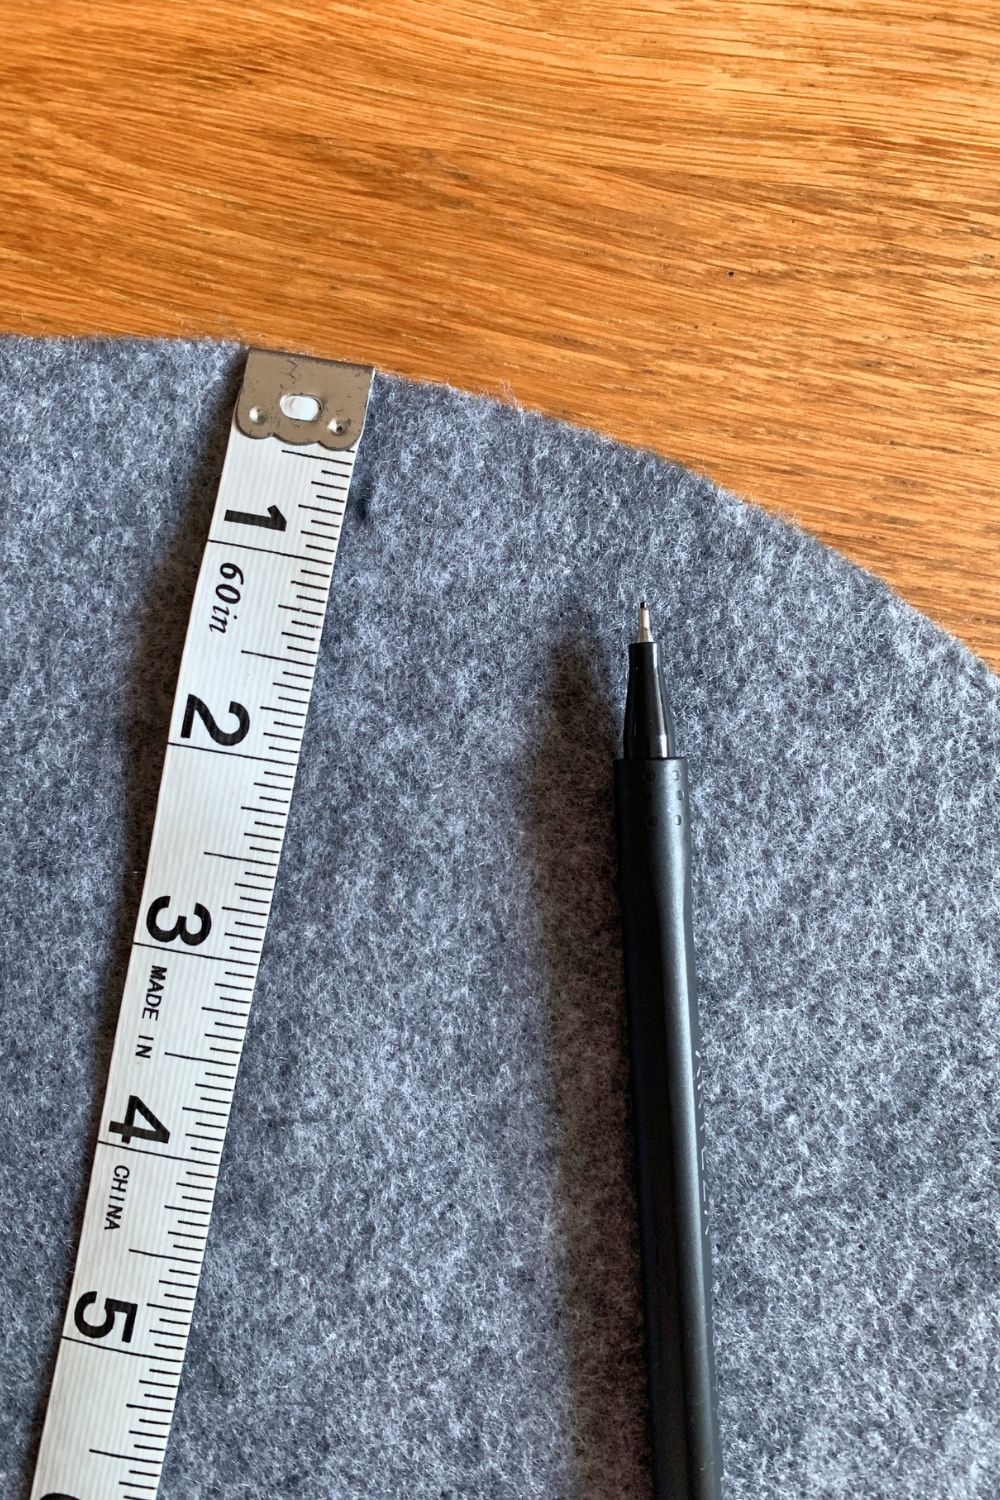
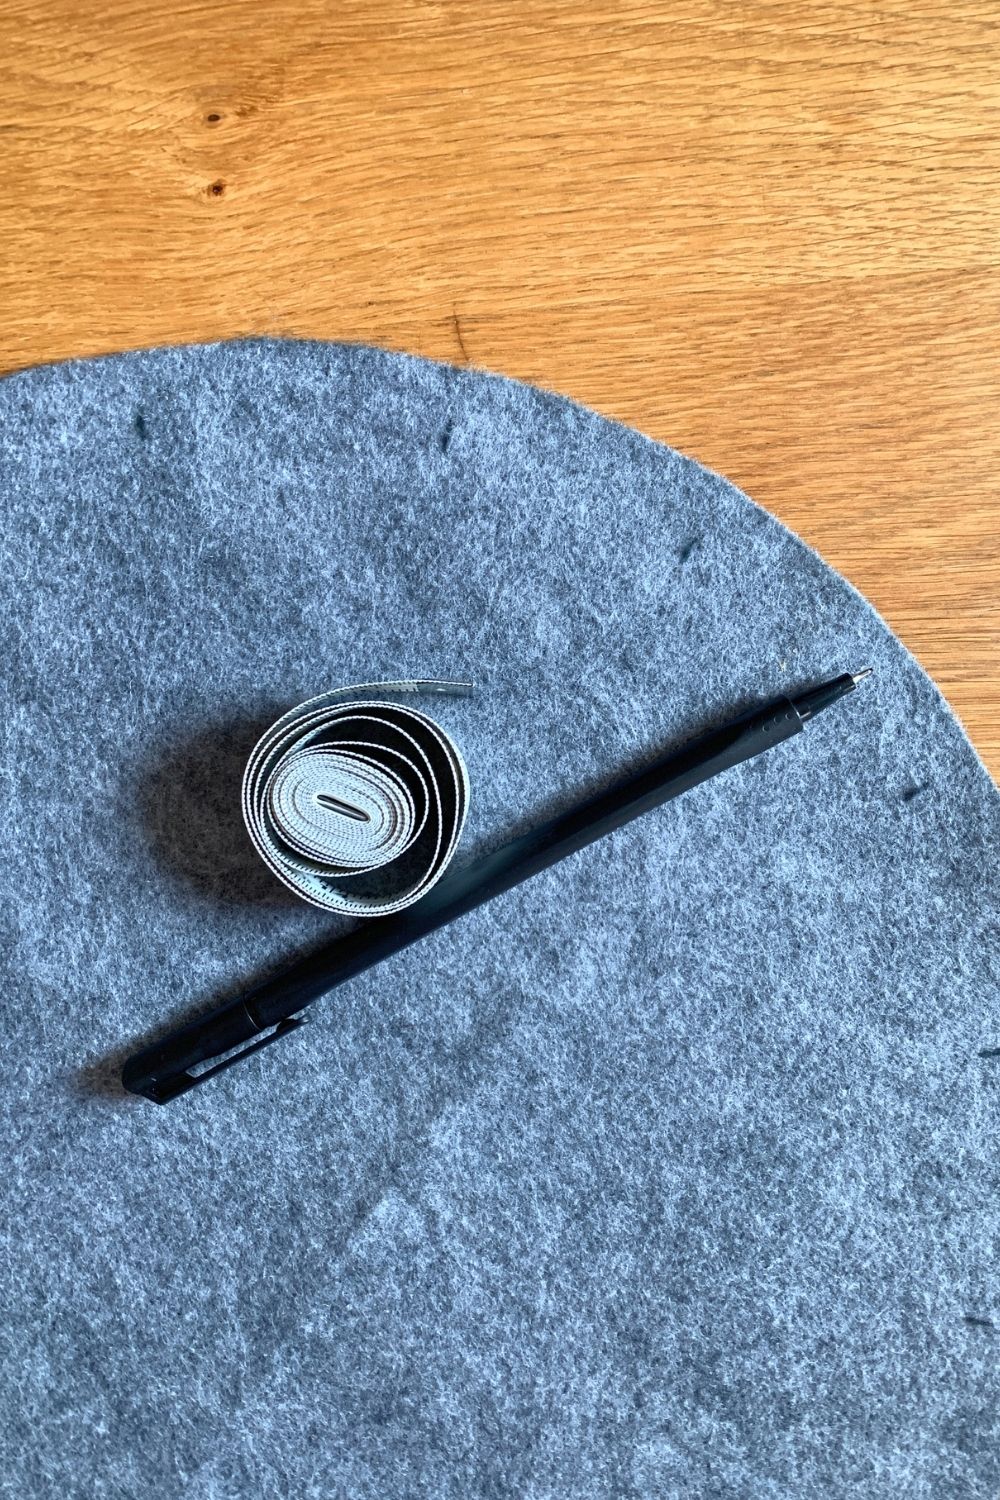
Lay the tape measure on top of the fabric and mark 2 opposite lines (12 o’clock and 6 o’clock). Rotate the fabric and repeat to make 2 more. Once you have 4 marks, make another 4 halfway between those. Finally, mark halfway between those.
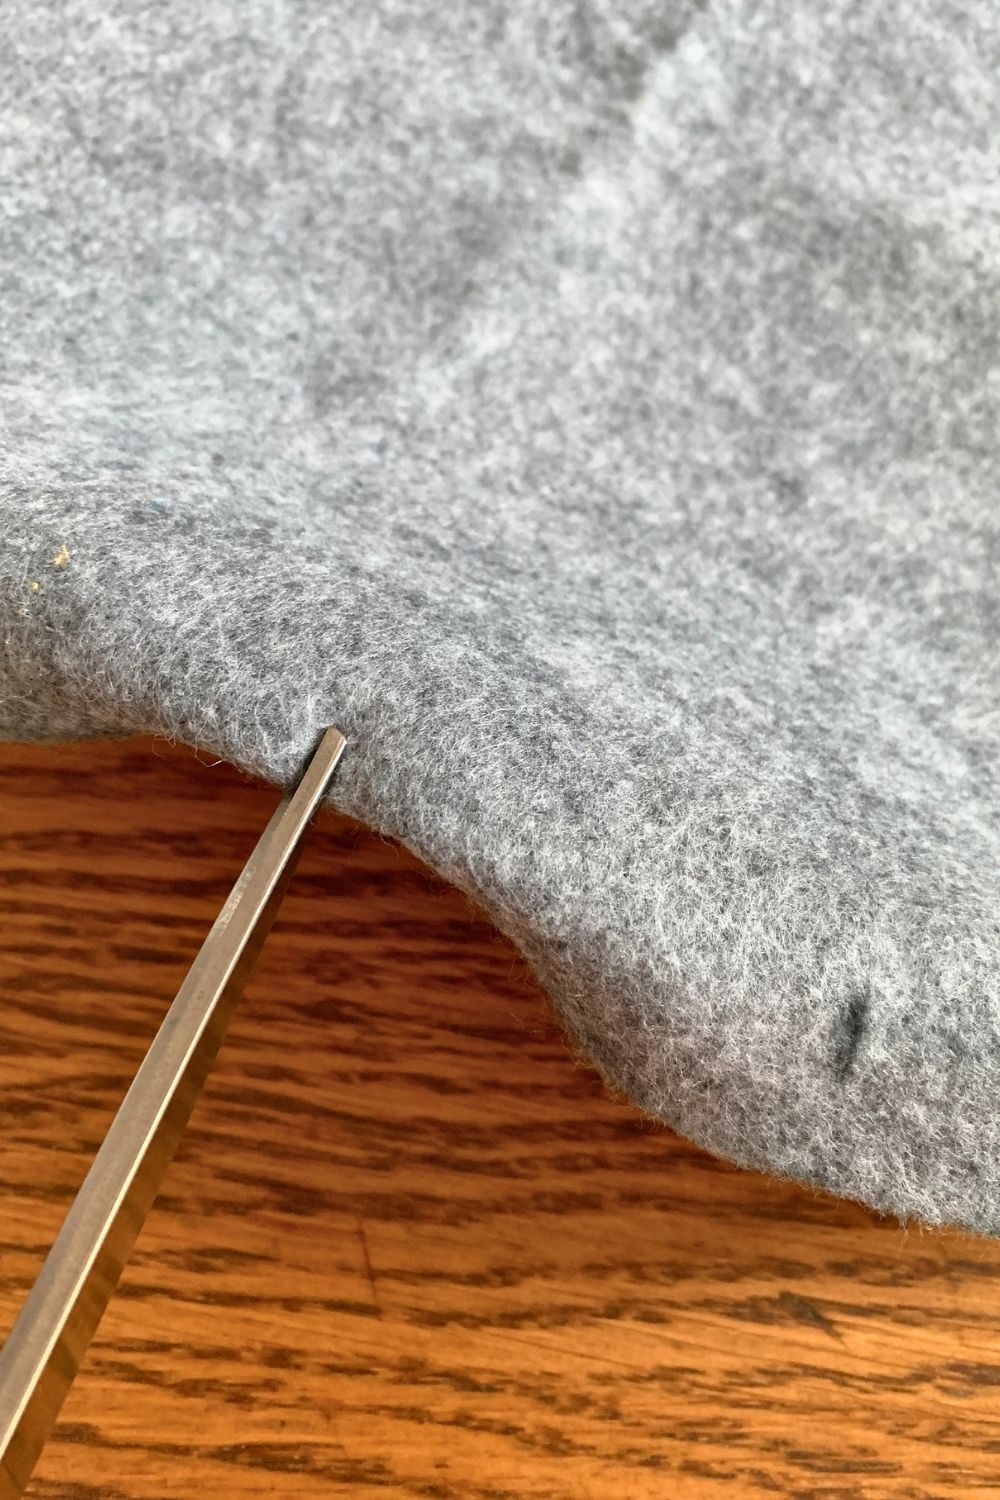
There should be 16 marks total. Pinch the fabric in half and snip each mark with scissors.
3. Thread the ribbon.
Cut a length of ribbon that’s 3 times the diameter of your circle. My felt is 14 inches across, so my ribbon is 42 inches long. Weave the ribbon in and out of the slits in the felt. It should begin and end on what will be the outside of the bag.
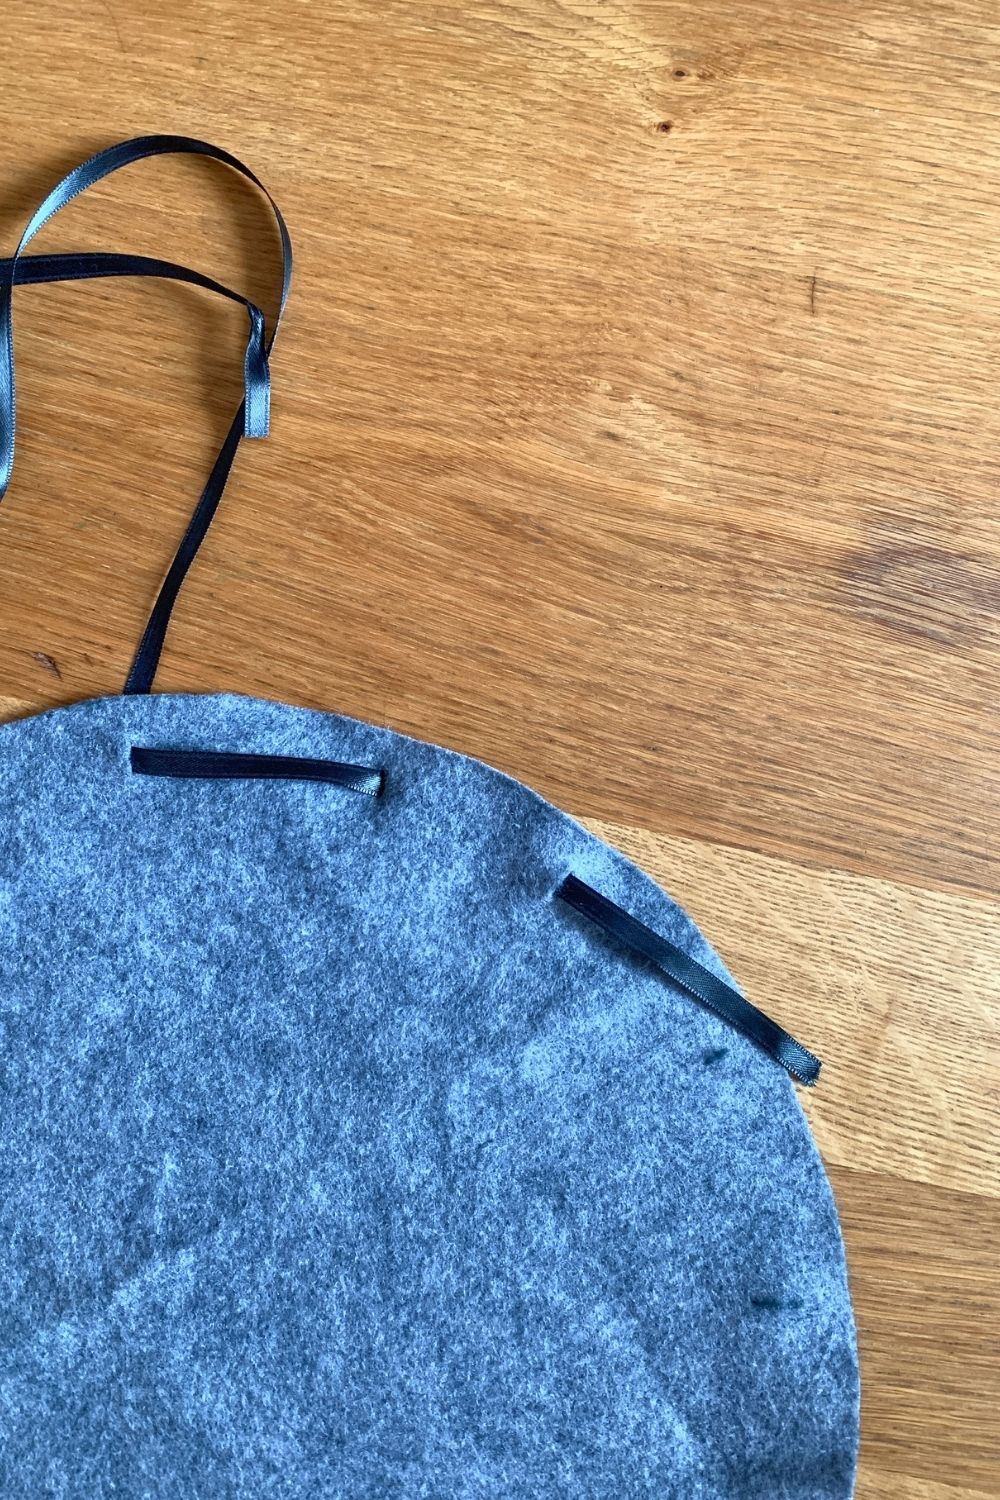
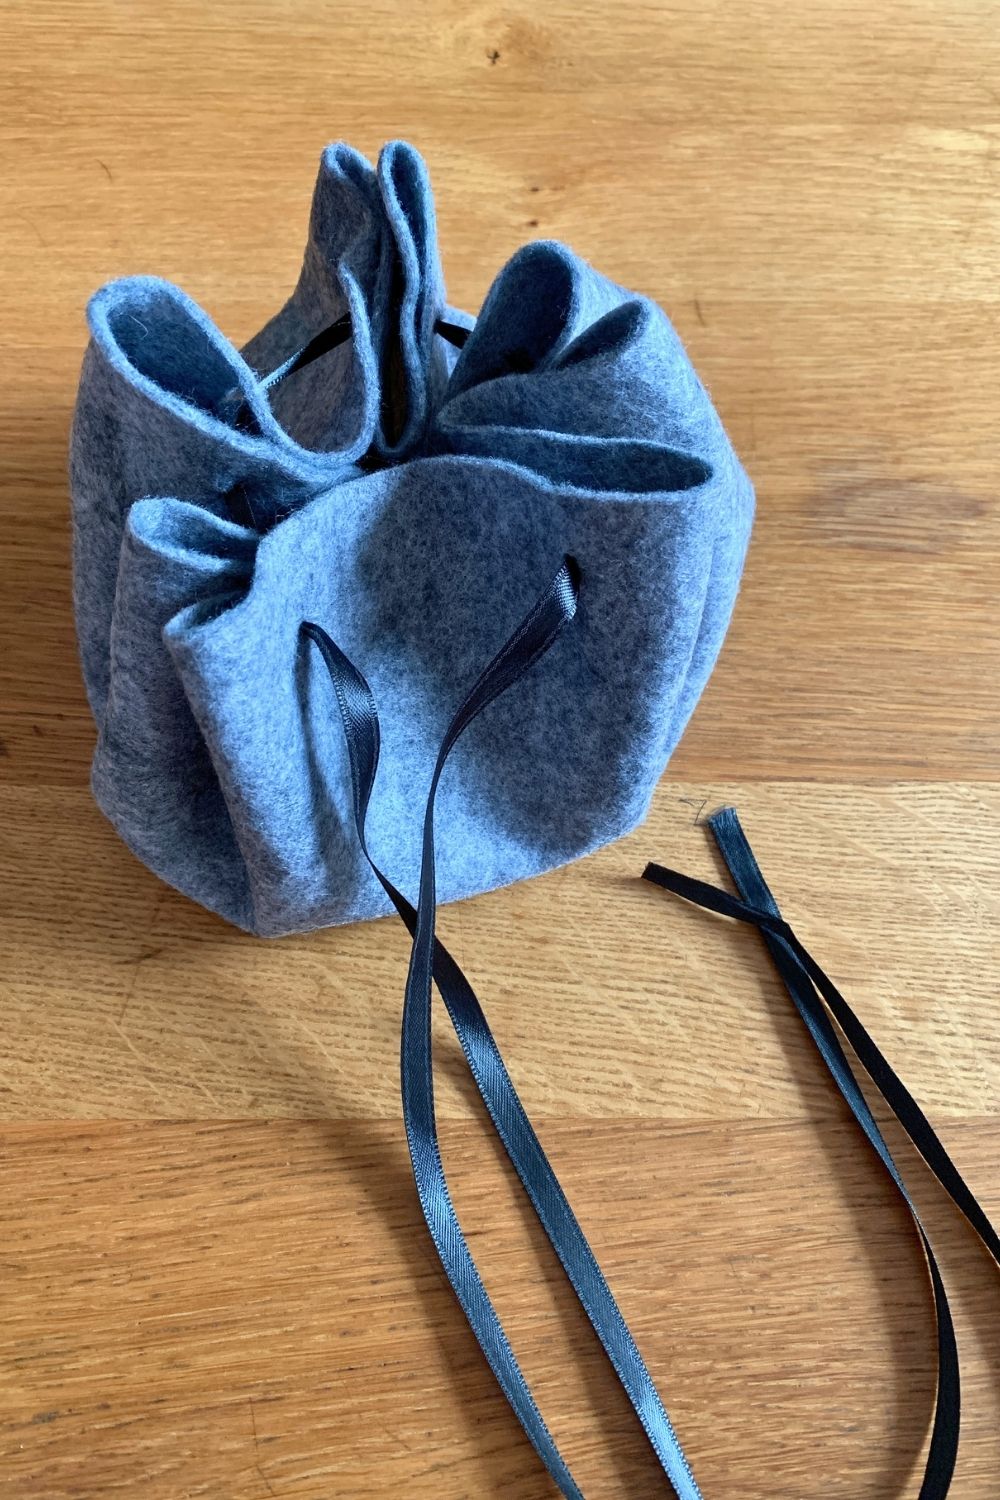
Hold the ends of the ribbon together and slide the felt to close the bag.
4. Finish the bag with beads.
The last step is to add beads to the ribbon for the closure. You need 3 beads, but you could add extra for decoration.
Holding the cut ends of the ribbon together, slide one bead over both. Add a bead to each of the ribbon ends. Tie knots in the end of the ribbon large enough that the beads won’t slide off.
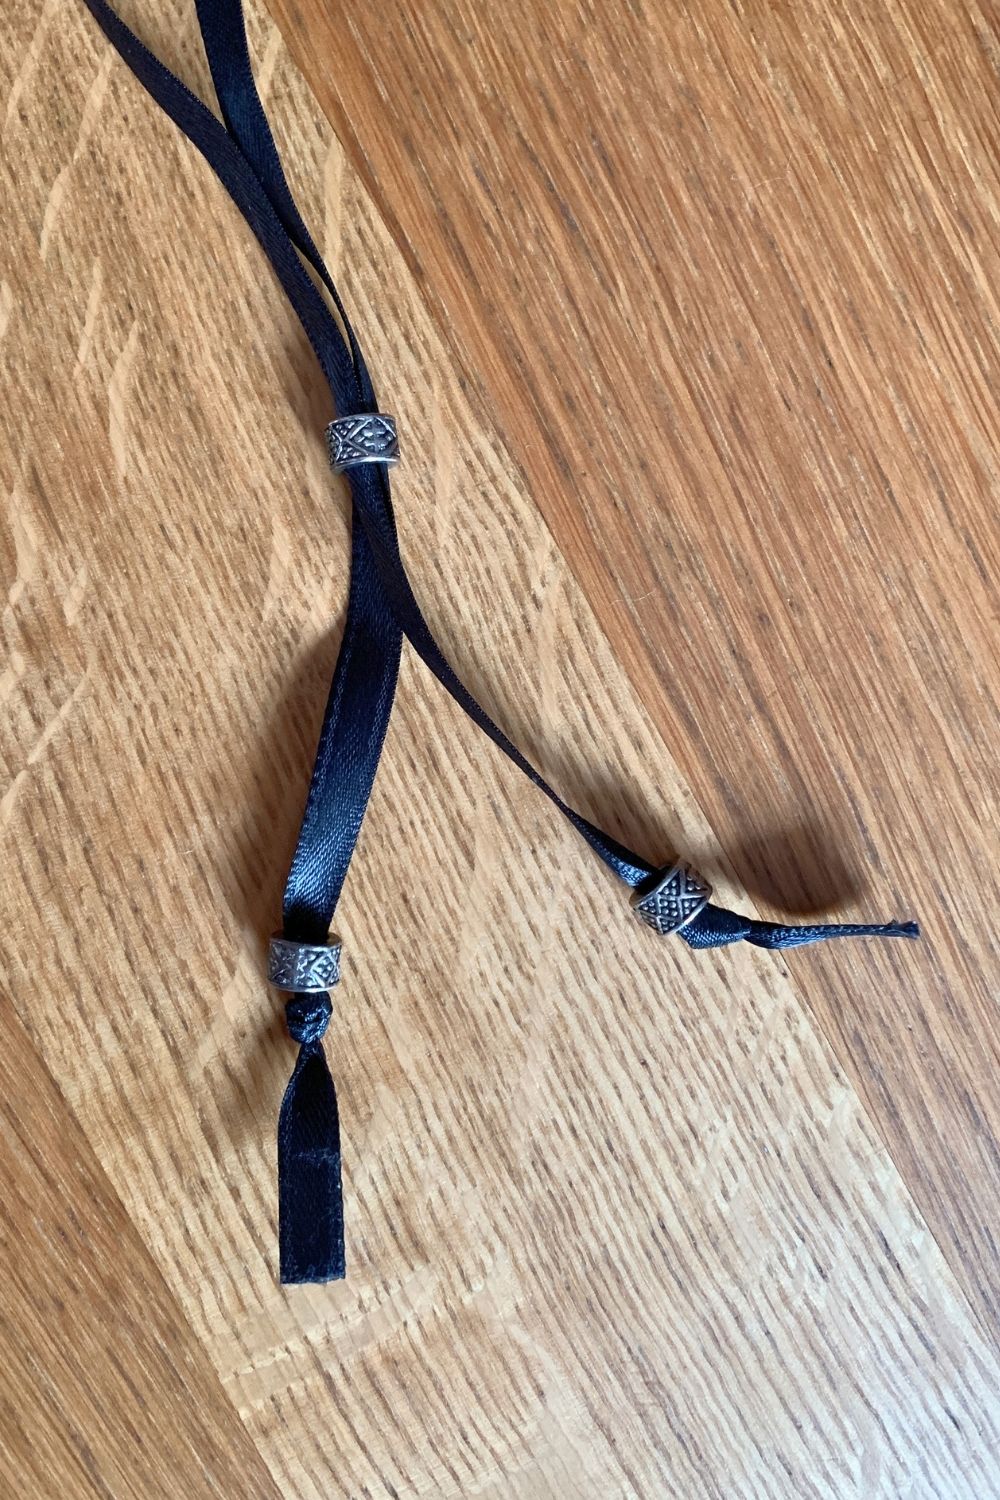
Once you’re happy with the ribbon, you’re done! The middle bead should slide up the ribbon to hold the bag closed, but easily slide back down to open.
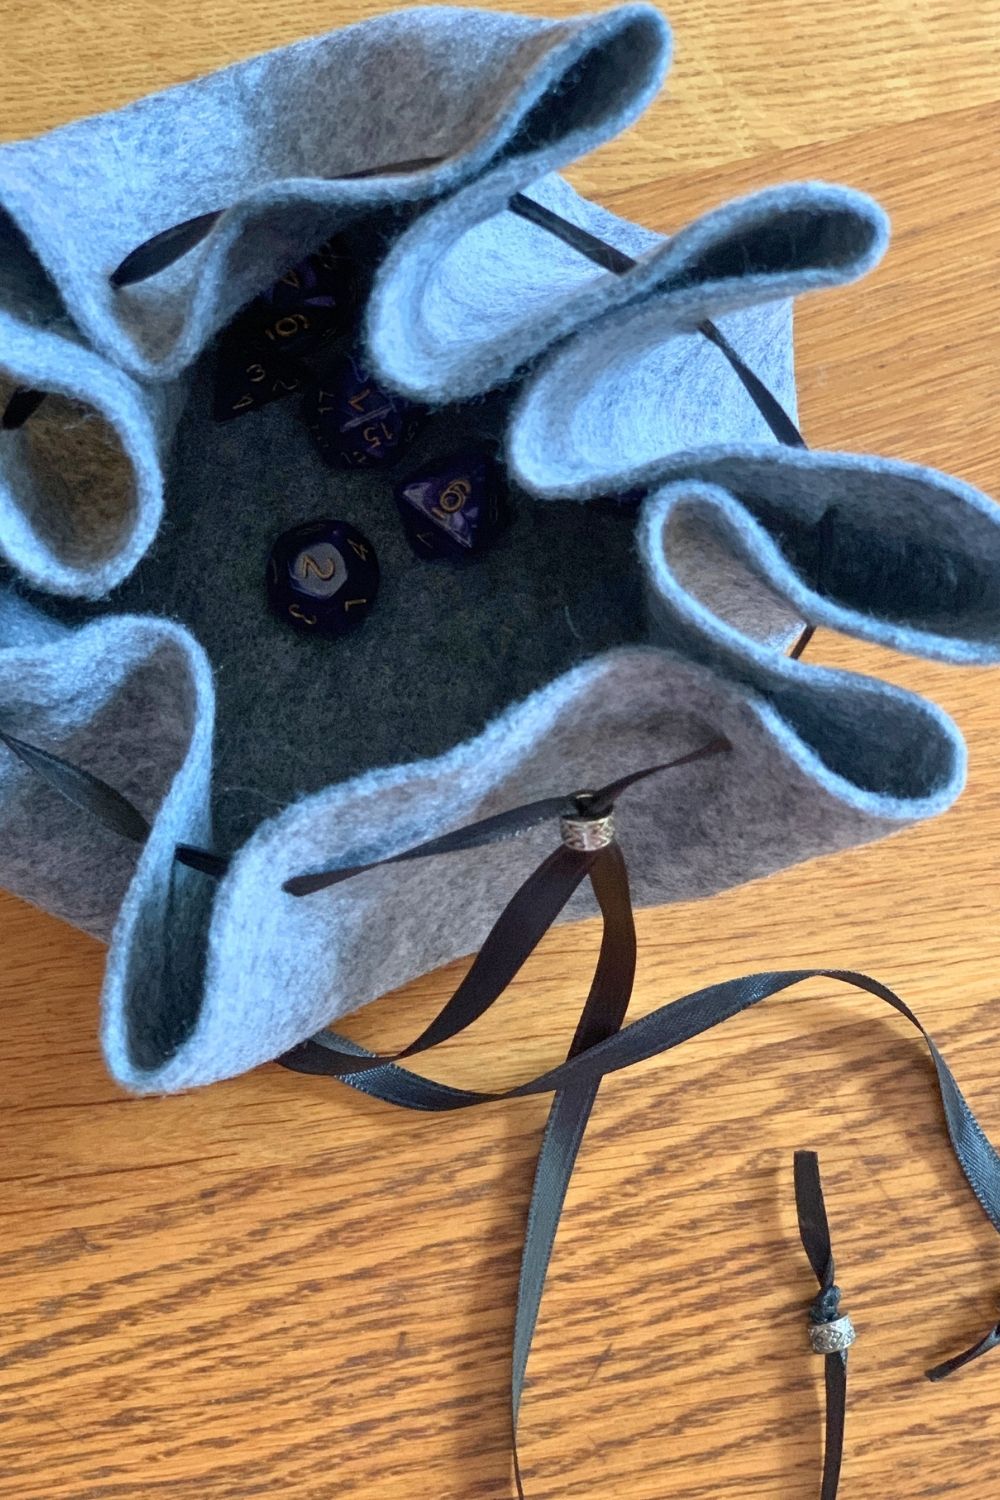
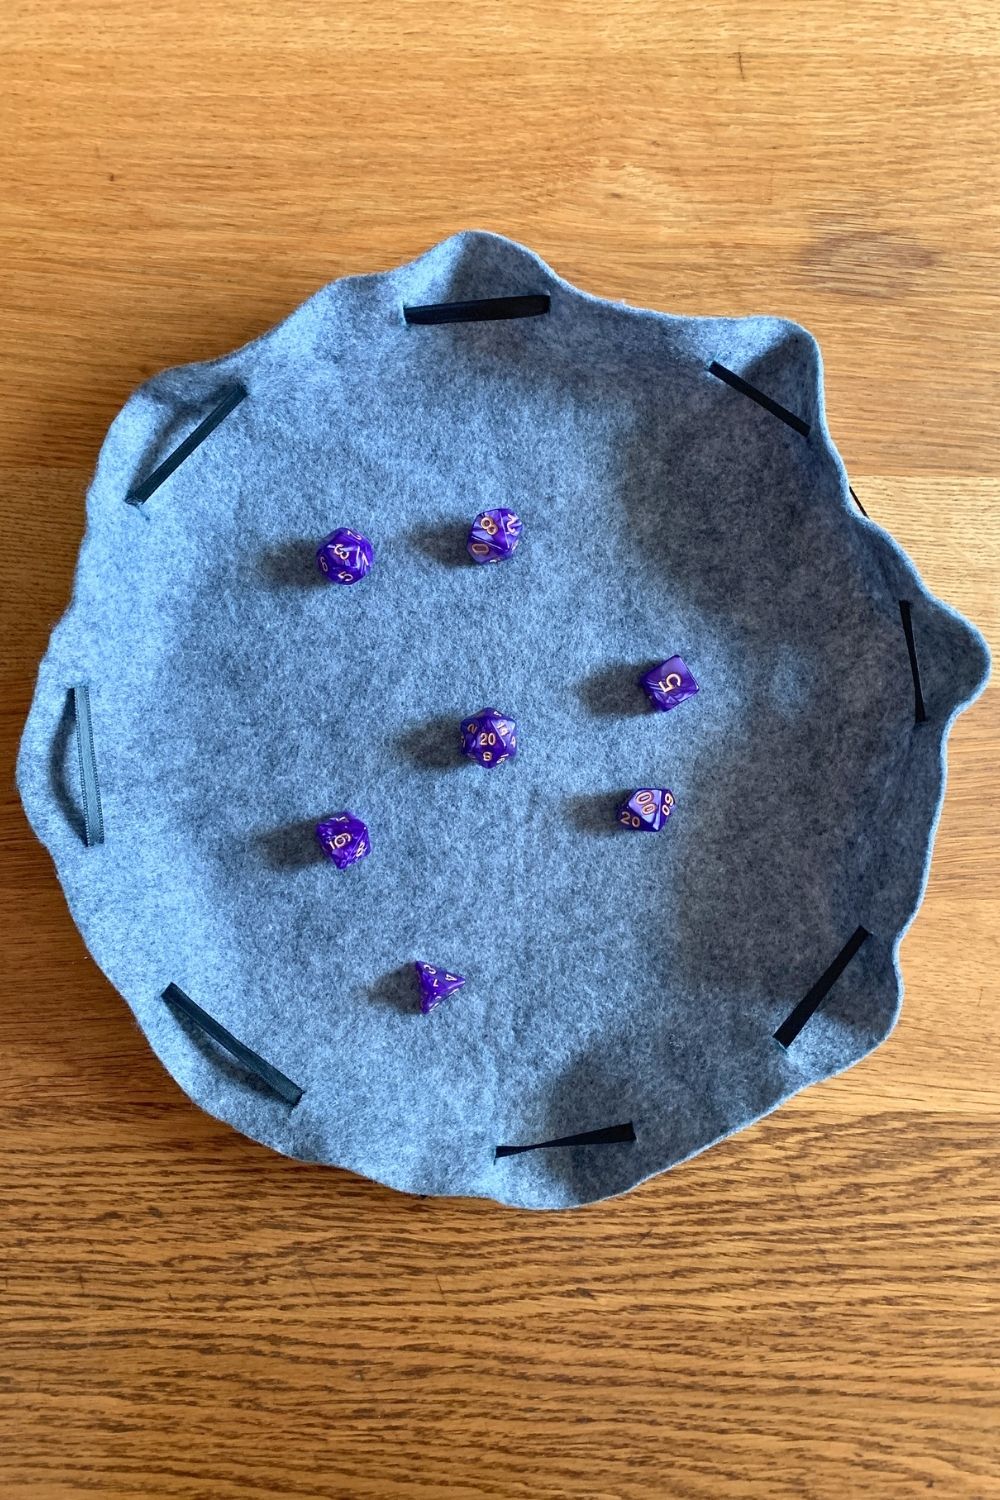
My favorite part of this is that the bag can open to double as a rolling mat. It opens flat and the ribbon keeps the edge turned up for a slight lip. You can roll dice and have a flat surface, but they won’t get away from you.
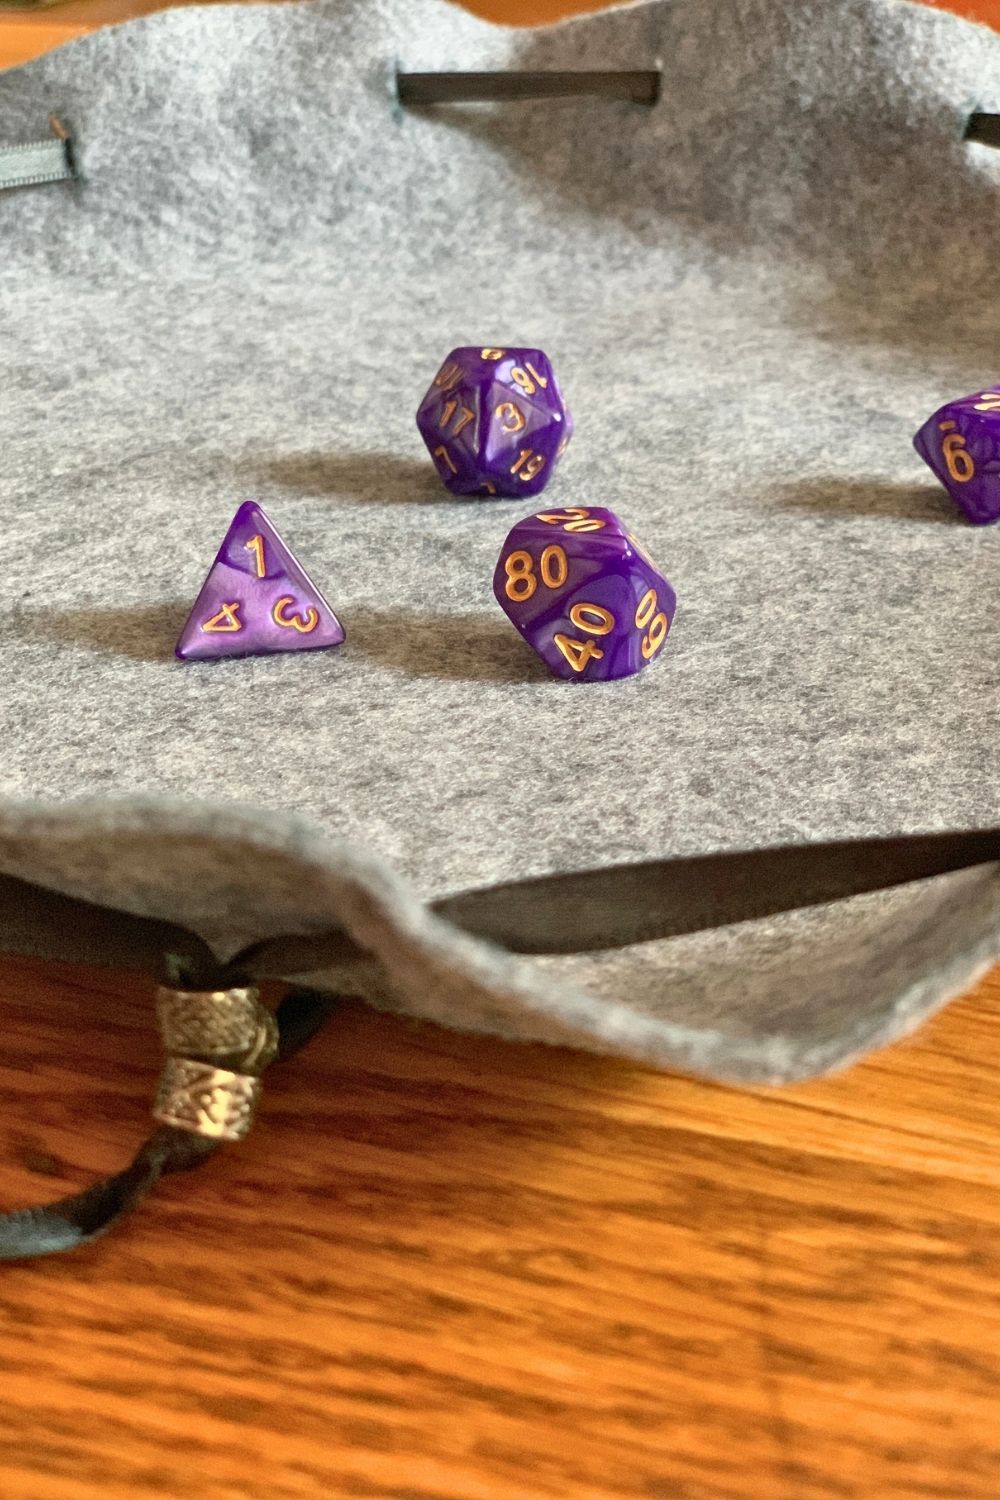
Then just pull the ribbon to close up the bag. It’s large enough to keep a full set of dice, plus a few more small items.
What’s next? Try these other fun and creative ideas on One Mama’s Daily Drama:
Leave a Reply