
Make your own game level counter for Munchkin! Create custom character tokens for everyone using shrink plastic.

Disclosure: This blog contains affiliate links. As an Amazon Associate and member of other affiliate programs, Keri Houchin earns a commission from qualifying purchases at no additional cost to you.
This post was originally published in June 2017; it was updated in 2025 with more and better photography.
Tabletop games are fun for kids and families to play together. Make this simple DIY game level counter to keep track of everyone’s level or remember how many rounds each player has won.
We play a lot of tabletop games like Munchkin and Love Letters. For Munchkin, you need to keep track of what level everyone is on and it can go up and down. For Love Letters, you need to remember who has won each round. And tons of other games include the mechanic of keeping track of points.
Of course, you can just use a pencil and paper to keep track of levels and scores, but making a custom Muchkin level counter for your family adds extra fun! It’s also easy to make with Shrinky Dinks.
How to make a game level counter
I made this specifically for Munchkin, but you can trace anything onto Shrinky Dink plastic or draw your own designs.
Supplies
- Shrinky Dinks frosted plastic sheets
- scissors or circle cutter
- pencil
- permanent markers or colored pencils (For skin tones I like the Crayola Colors of the World.)
- Munchkin game cards (or whatever art you’re tracing)
- conventional or toaster oven
- baking sheet
- parchment paper
- scrap cardboard

Instructions
1. Cut shrink plastic.
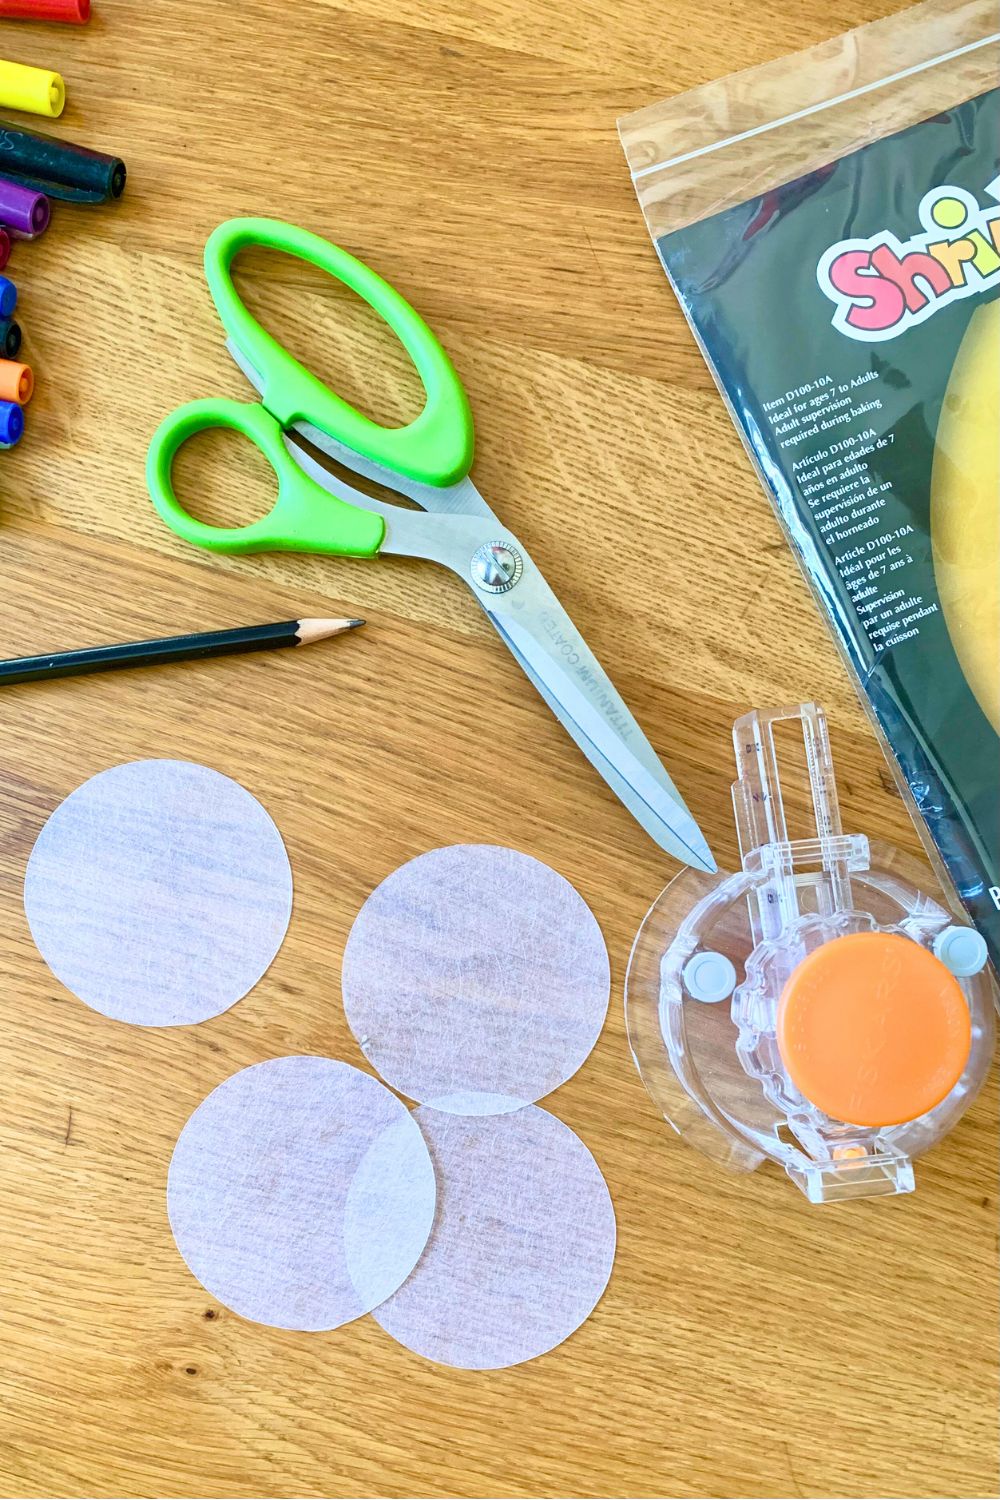
For each token, cut a 3-inch circle of Shrinky Dink plastic. Trace a round object with pencil and cut it out with scissors. Or set a circle punch to 3 inches and cut.
2. Create the token designs.
Choose the design for each token. Images will shrink to about a third of the size, so don’t choose anything with too much detail. It’s also best to leave a small margin around the edge without design.
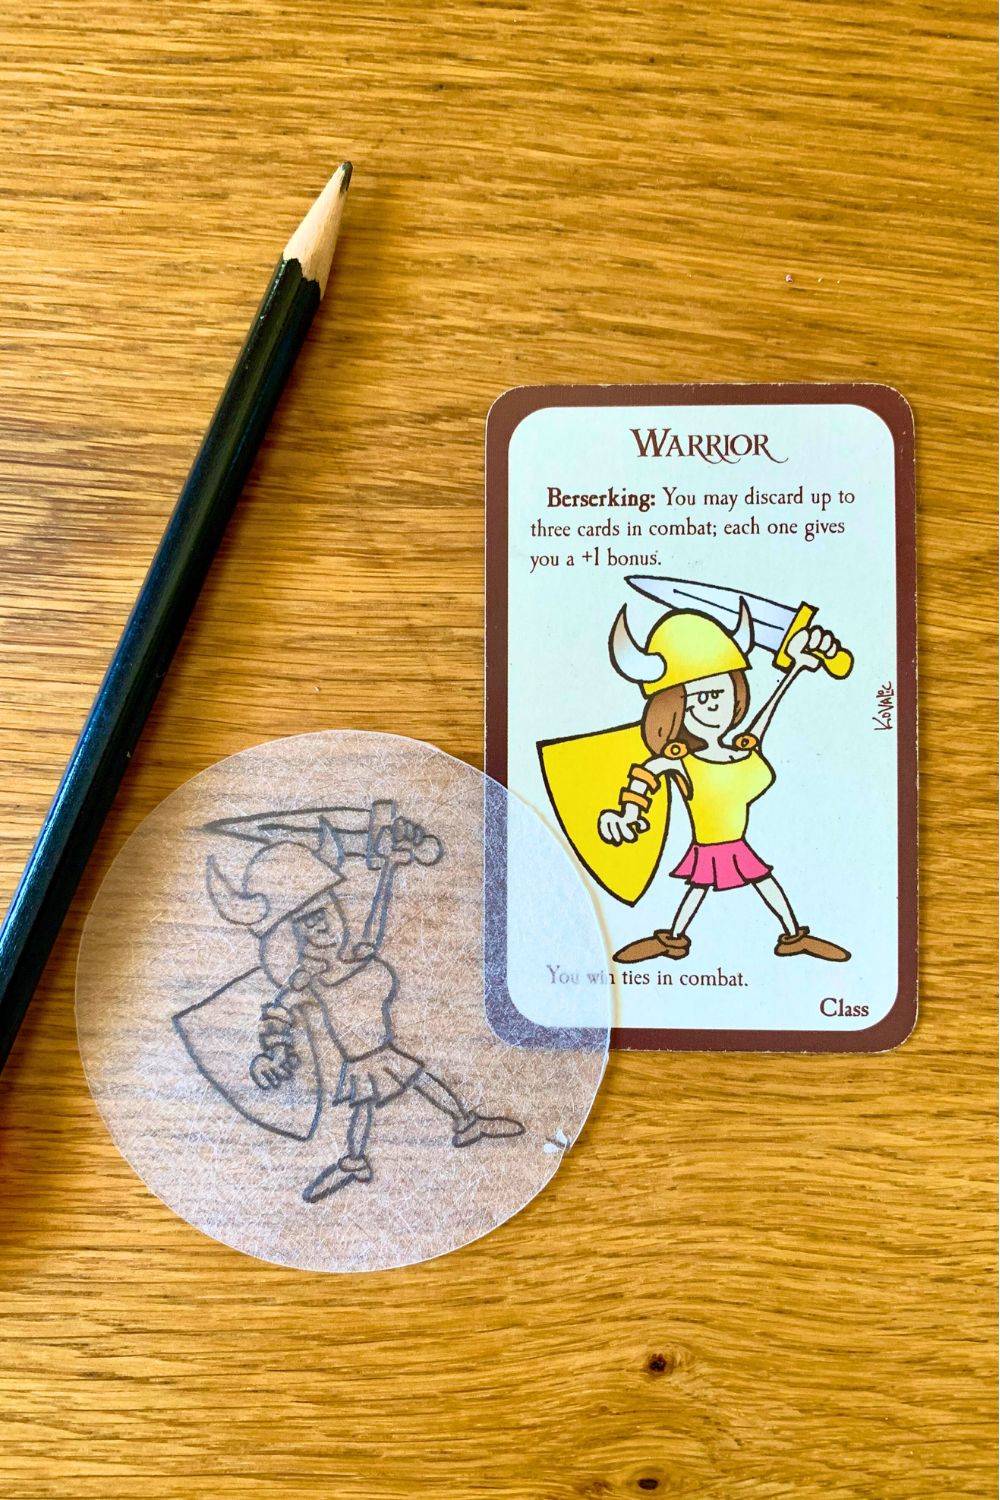
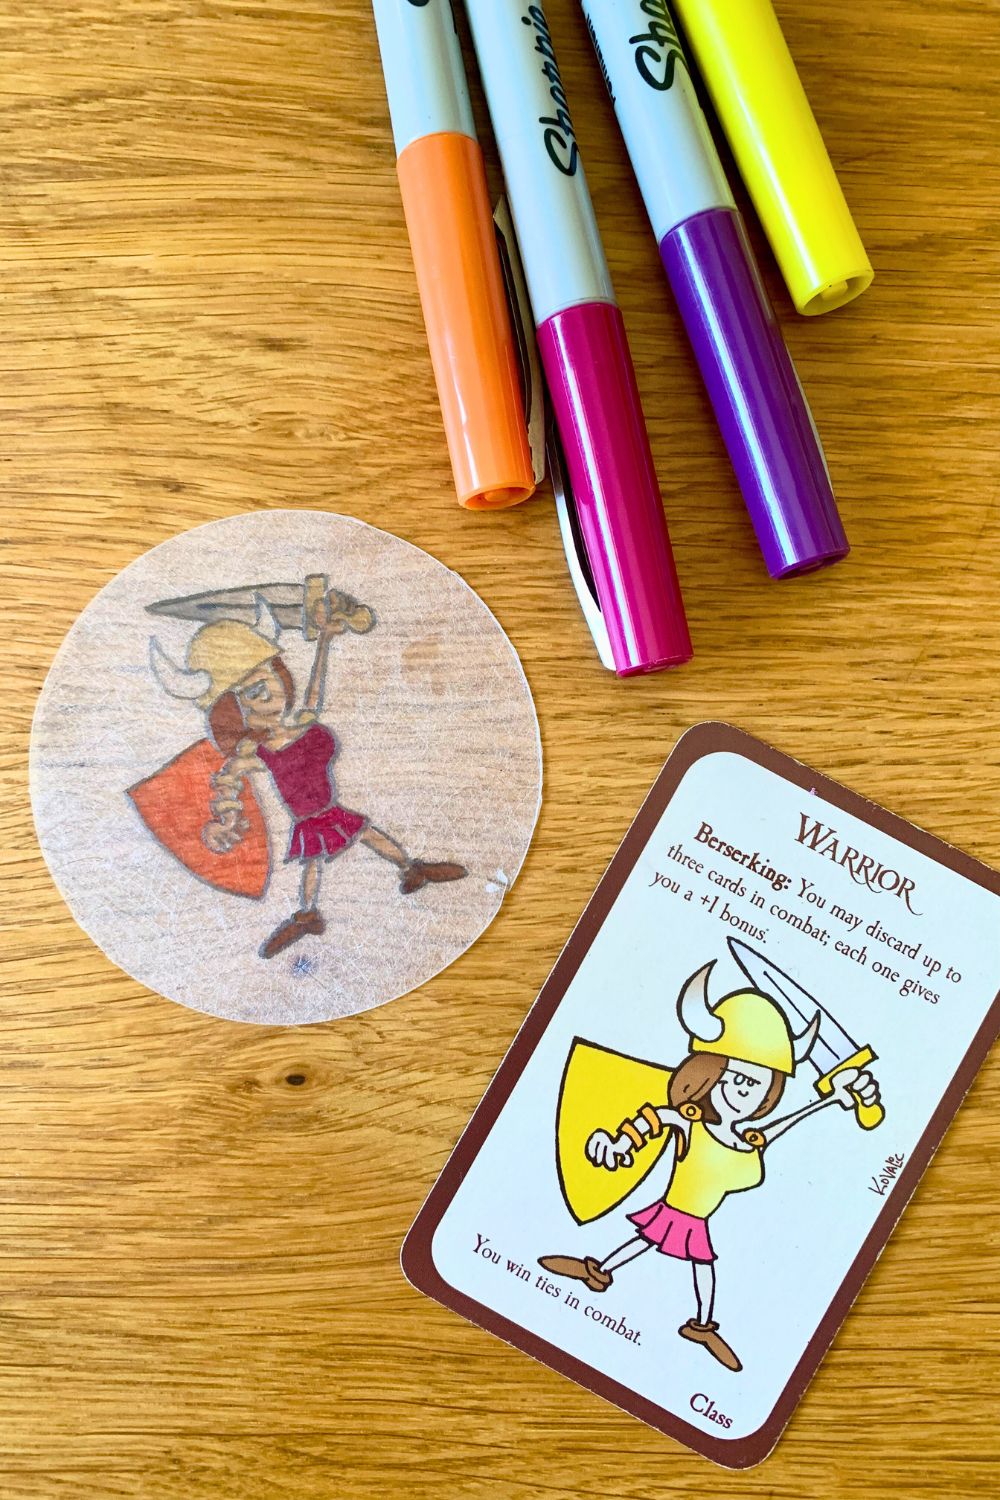
Trace your design in pencil onto the rough side of the plastic. Use permanent marker or colored pencils to color in. If you’re tracing Munchkin cards, remember that you don’t have to copy every detail or use the same colors!
3. Bake the shrink plastic.
Preheat the oven to 325 degrees Fahrenheit. Place a sheet of parchment paper on a baking sheet and space the tokens a few inches apart. Bake them at 325 degrees for 1 to 3 minutes.

Shrinky Dinks tend to shrink from the outside in and may curl before flattening back out. Don’t panic if they look weird while they’re baking.

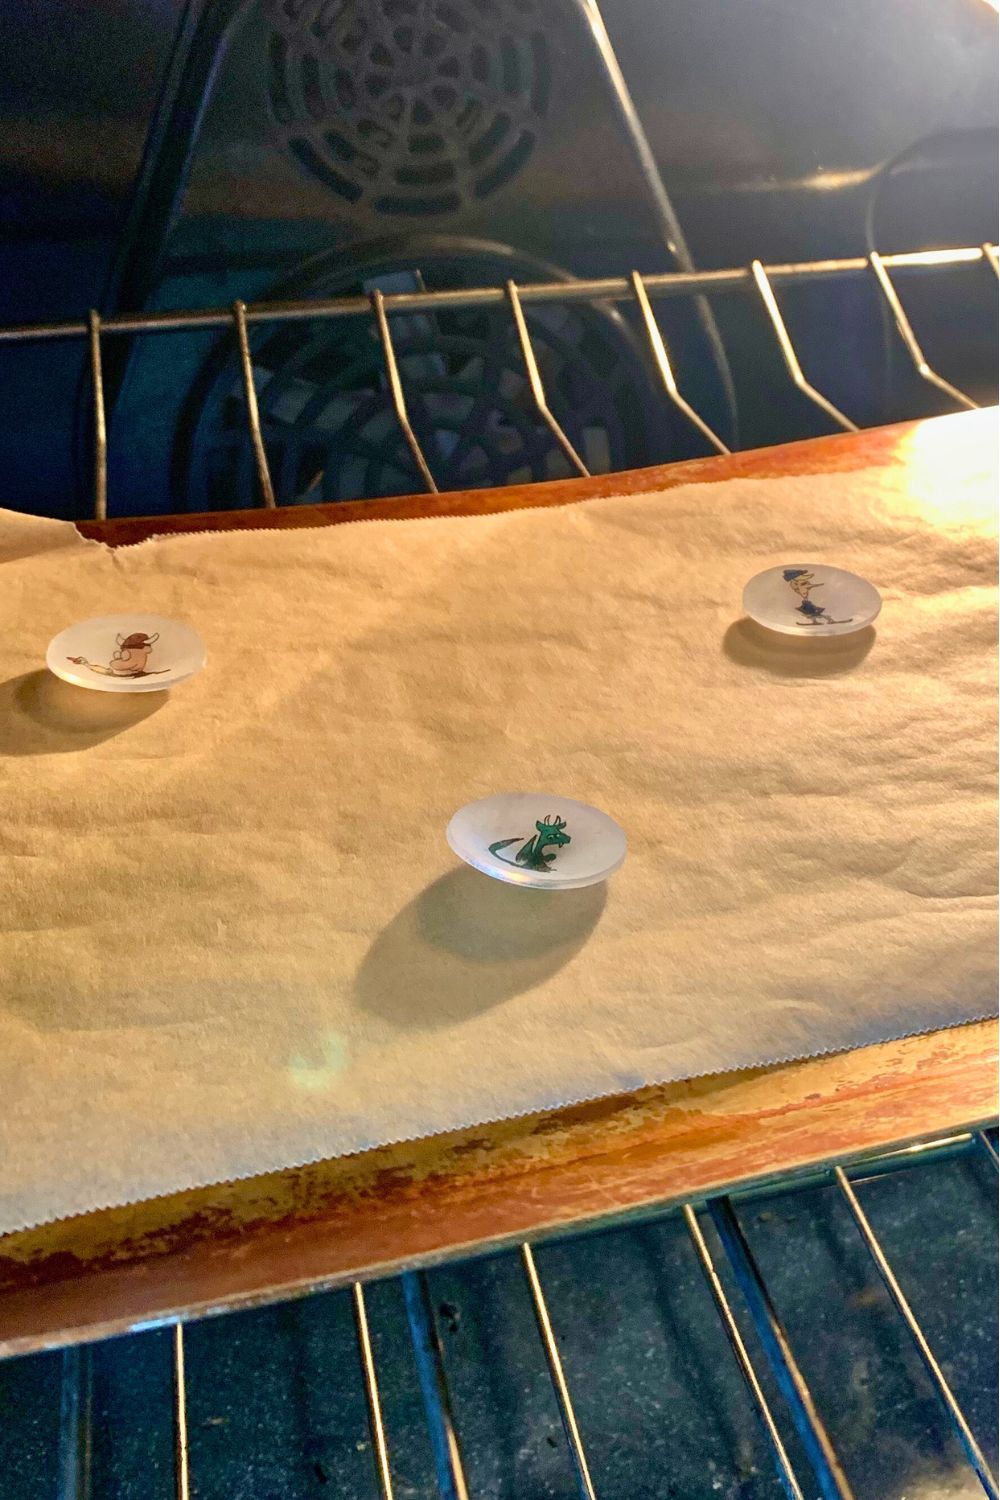
Keep a close eye on the baking plastic. It shrinks quickly! As soon as the pieces have shrunk, remove the baking sheet from the oven and move the parchment and tokens somewhere to cool. If they’re not entirely flat, you can press them flatter within a minute of removing from the oven (careful – hot!).
The finished tokens are about 1-inch across.
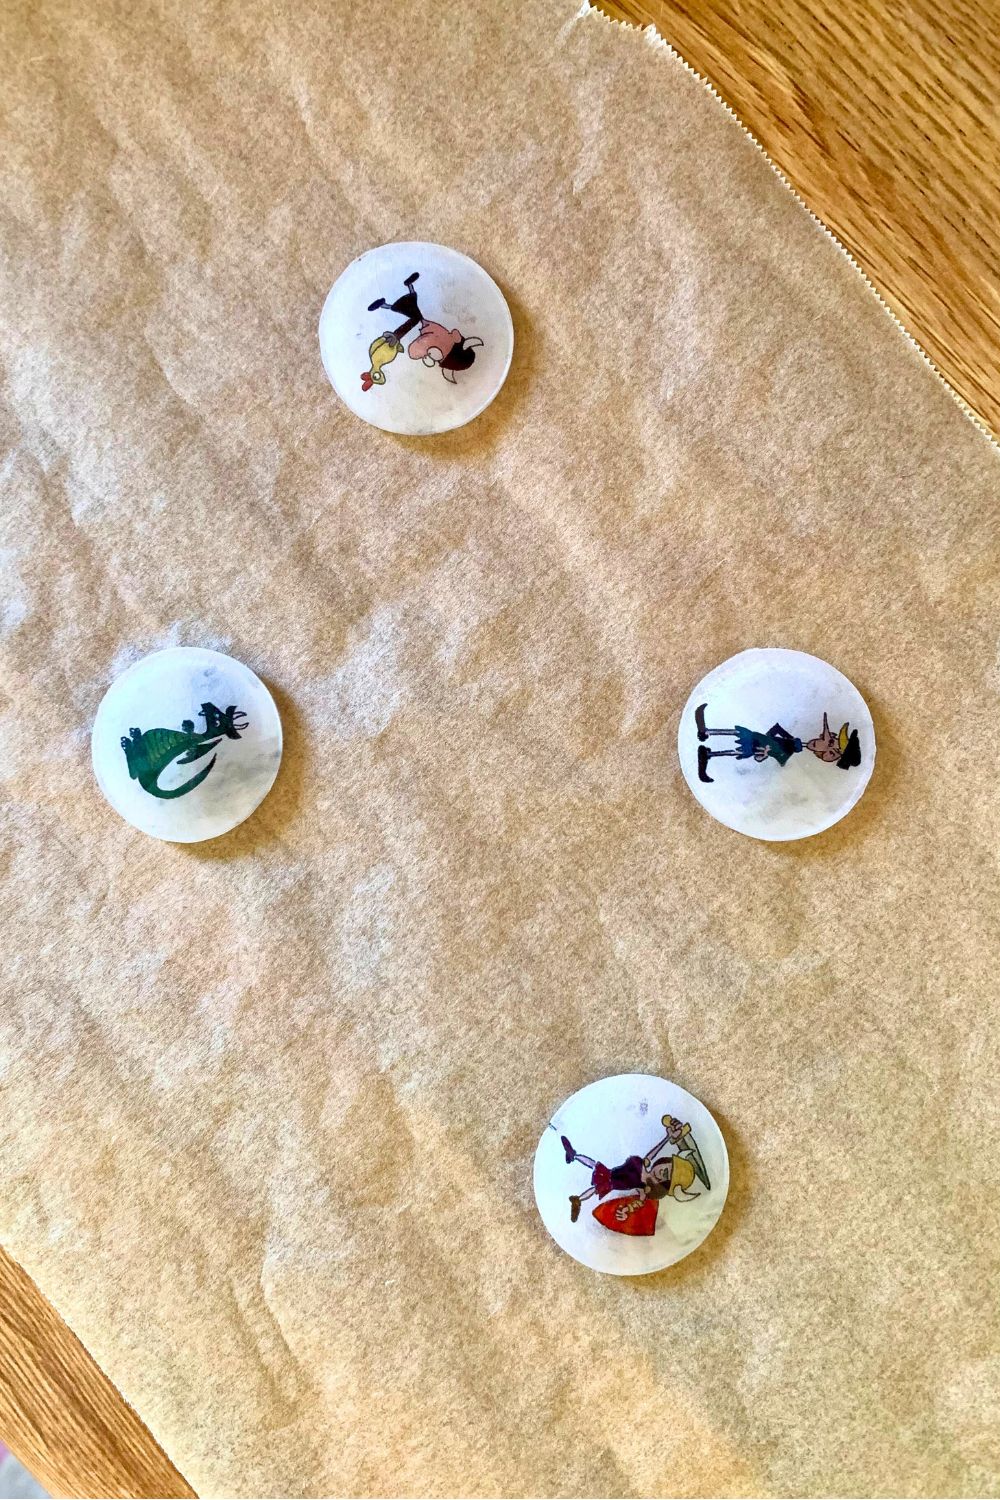
4. Make the cardboard counter.
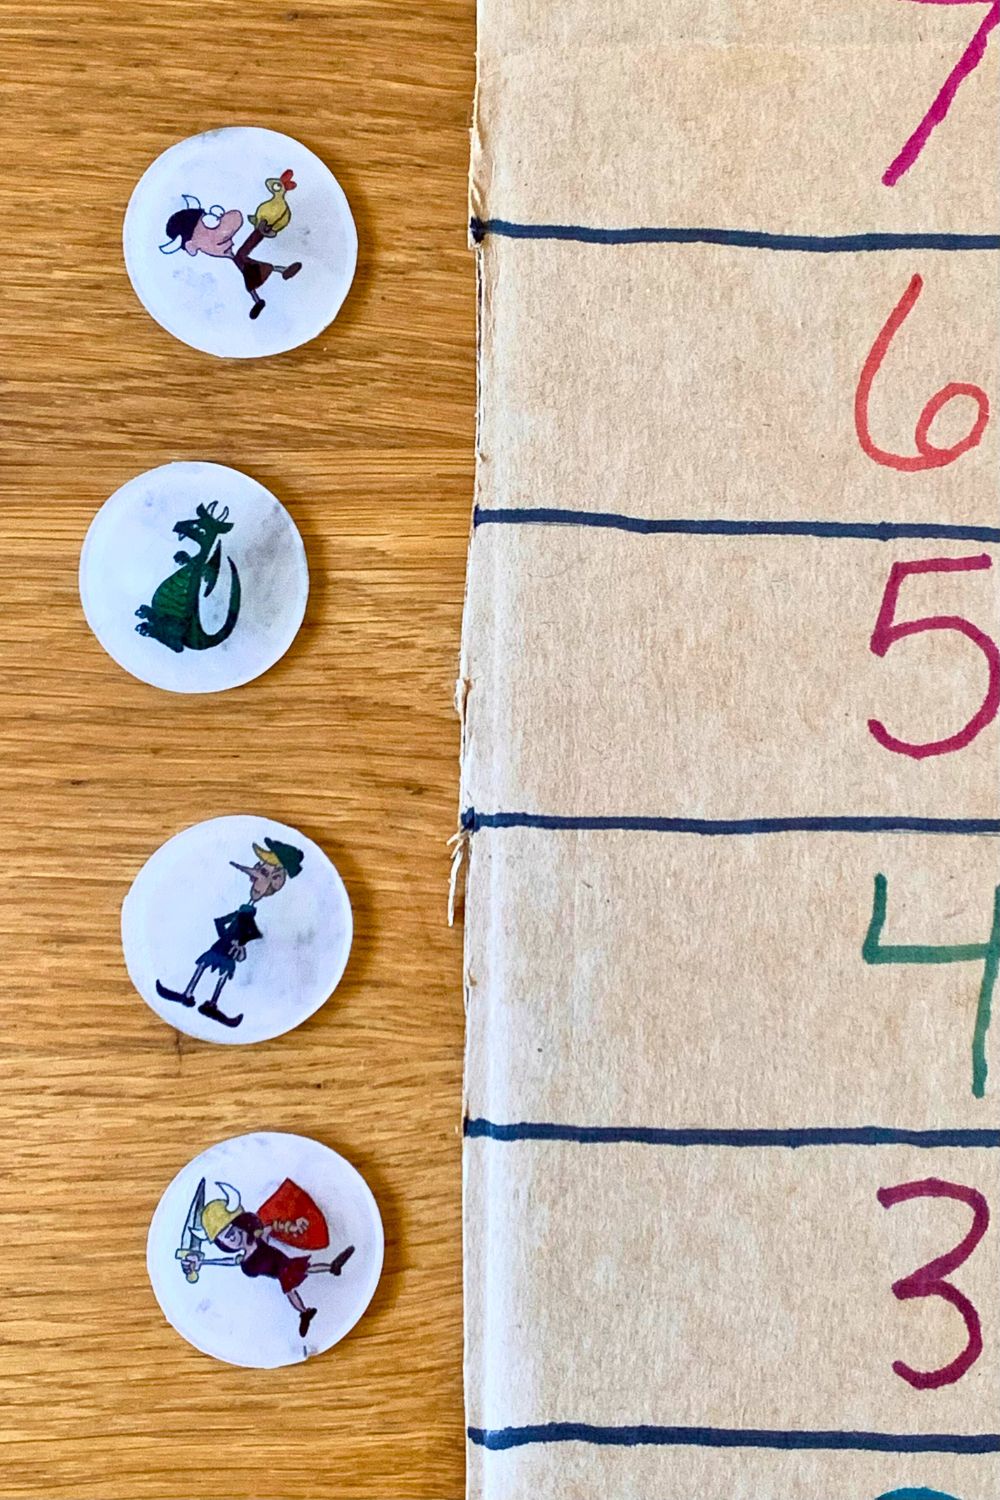
While the tokens cool, make the cardboard counter. Cut a scrap of cardboard into a long rectangle. Ours measures about 5×10 inches. Divide the cardboard into 10 sections and number them 1 through 10.

Now you’re ready for the next family game night! Once you’ve made a Munchkin level counter token for everyone in your family, you might want to make a few extra for guests. Or create a custom set of tokens for every game you use the tracker for.


What’s next? Try these other fun and creative ideas on One Mama’s Daily Drama:
I love this idea! We would use the counter pieces as game tokens and it would stop a lot of arguments. (DH and I love Munchkin and miss playing it. The kids will be old enough in a few years 🙂 .)
Thanks! Making custom game tokens would be fun too.