
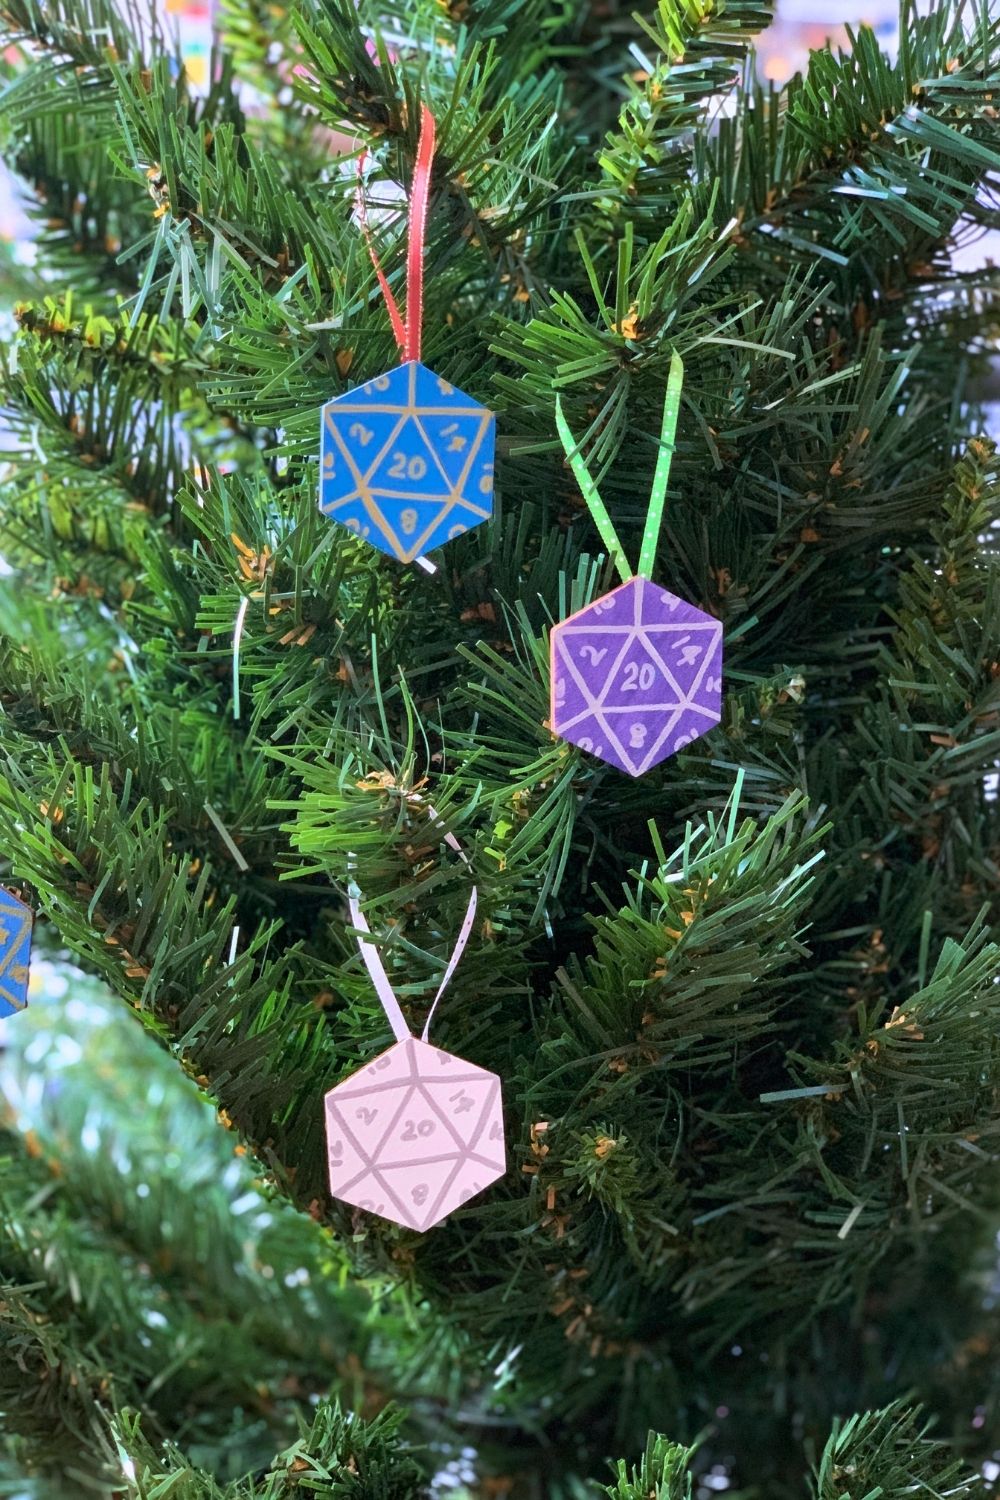
Turn an unfinished wood hexagon into a D20 ornament. This makes a cute Christmas craft or handmade gift for tabletop gamers!
Disclosure: This blog contains affiliate links. As an Amazon Associate and member of other affiliate programs, Keri Houchin earns a commission from qualifying purchases at no additional cost to you.
I bought these wood hexagons years ago, sure a fun craft idea would come to me, and it finally has! From above, the 20-sided dice used in Dungeons and Dragons look like hexagons.
With paint and a metallic marker, I turned this flat hexagon into a D20 ornament. This would be a fun gift for a friend or your whole party. Or make a whole bunch and decorate a themed tree. (I’m imagining dragon ornaments, maybe some gelatinous cubes.)
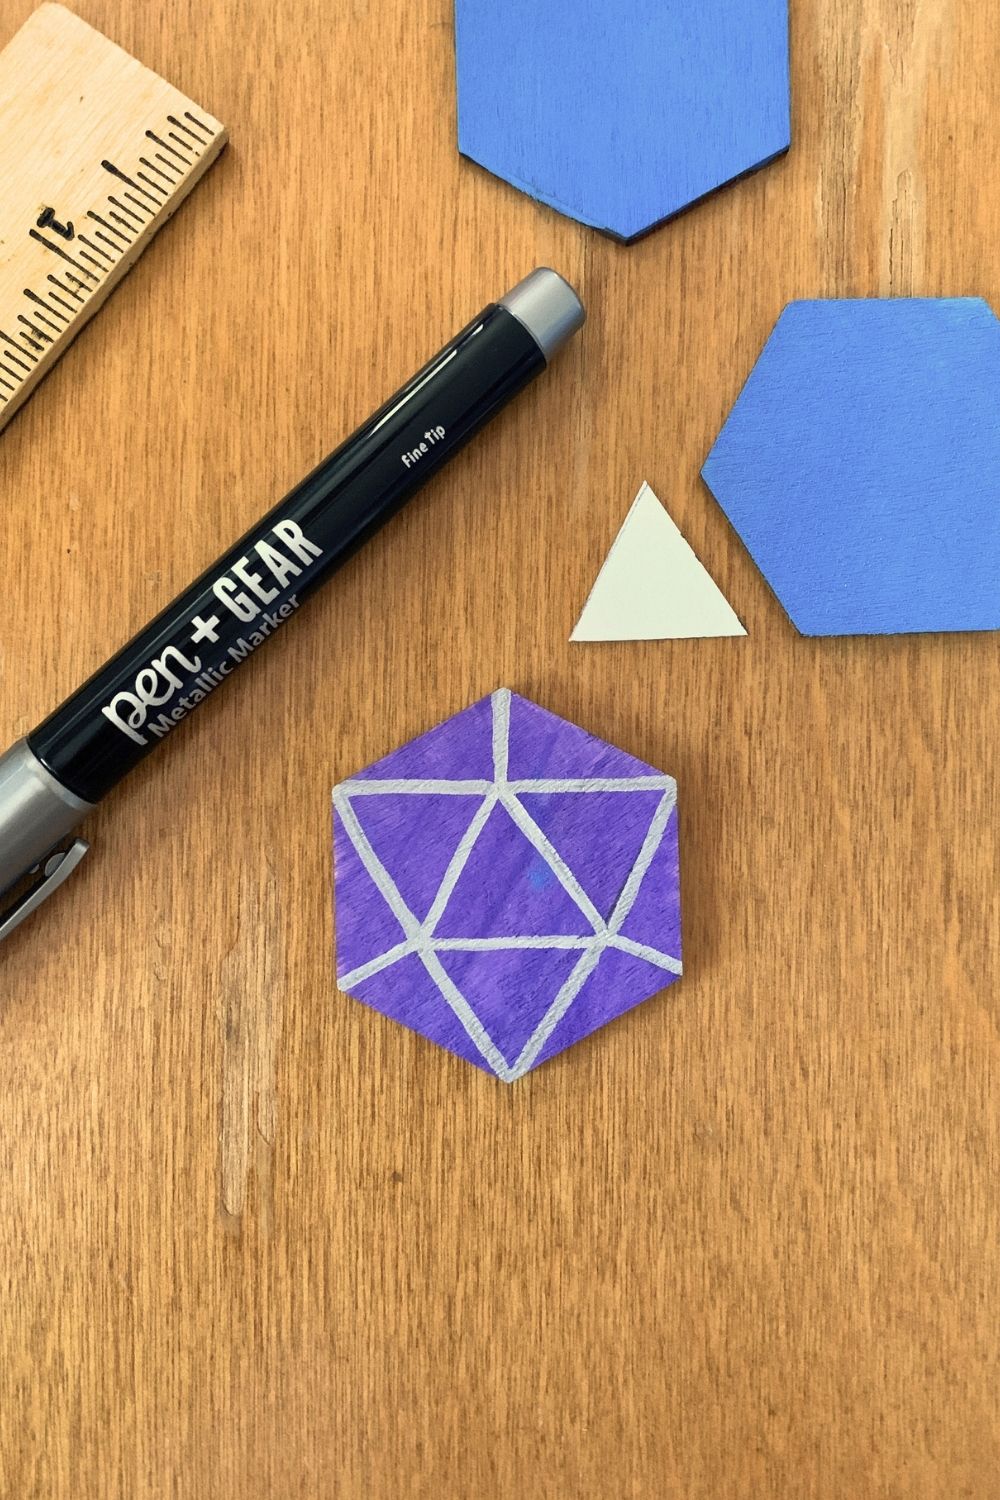
Dice come in infinite colors, so you can make these any color you like. I tried a few different combos and overall, I think the high contrast of light marker on dark paint works best. I used Pen + Gear metallic markers in silver and gold.
How to make a D20 ornament
Supplies
- unfinished wood hexagons – these are 2 inches across the widest point
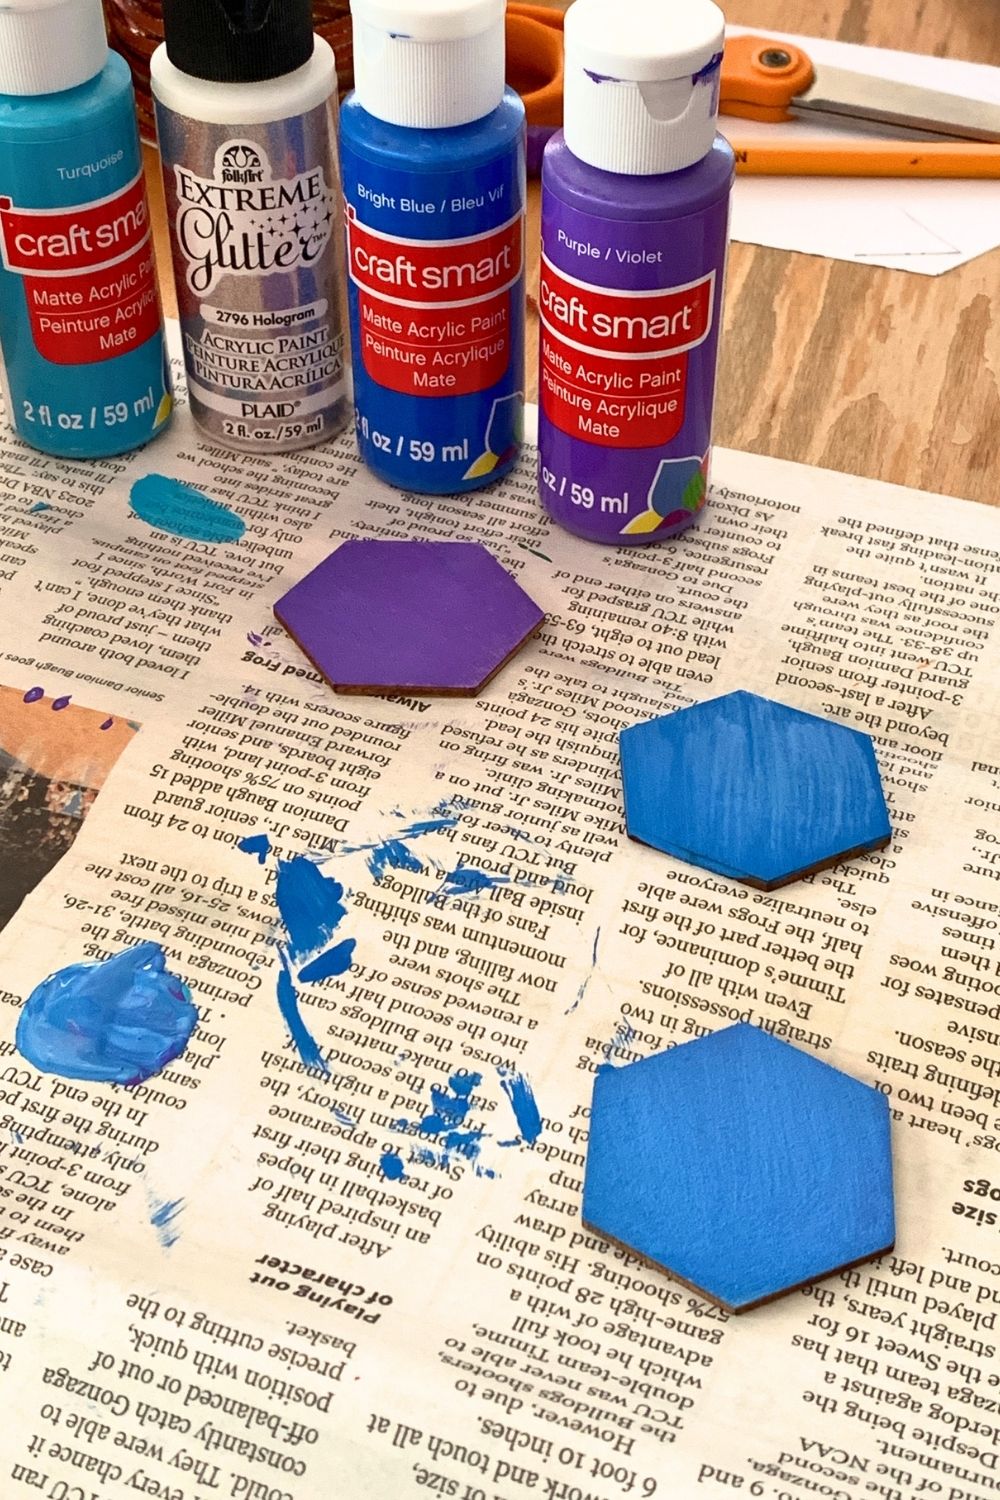
- craft paint
- paintbrush
- scrap paper
- pencil
- ruler
- scissors
- metallic markers
- ribbon – mine is 0.25 inch
- hot glue
Instructions
1. Paint the base color.
Start by picking a color for your dice. Paint a thin coat of paint into the wood hexagon. Add a second coat if needed and let it dry completely. I left mine for over an hour just to be sure.
2. Draw the edges.
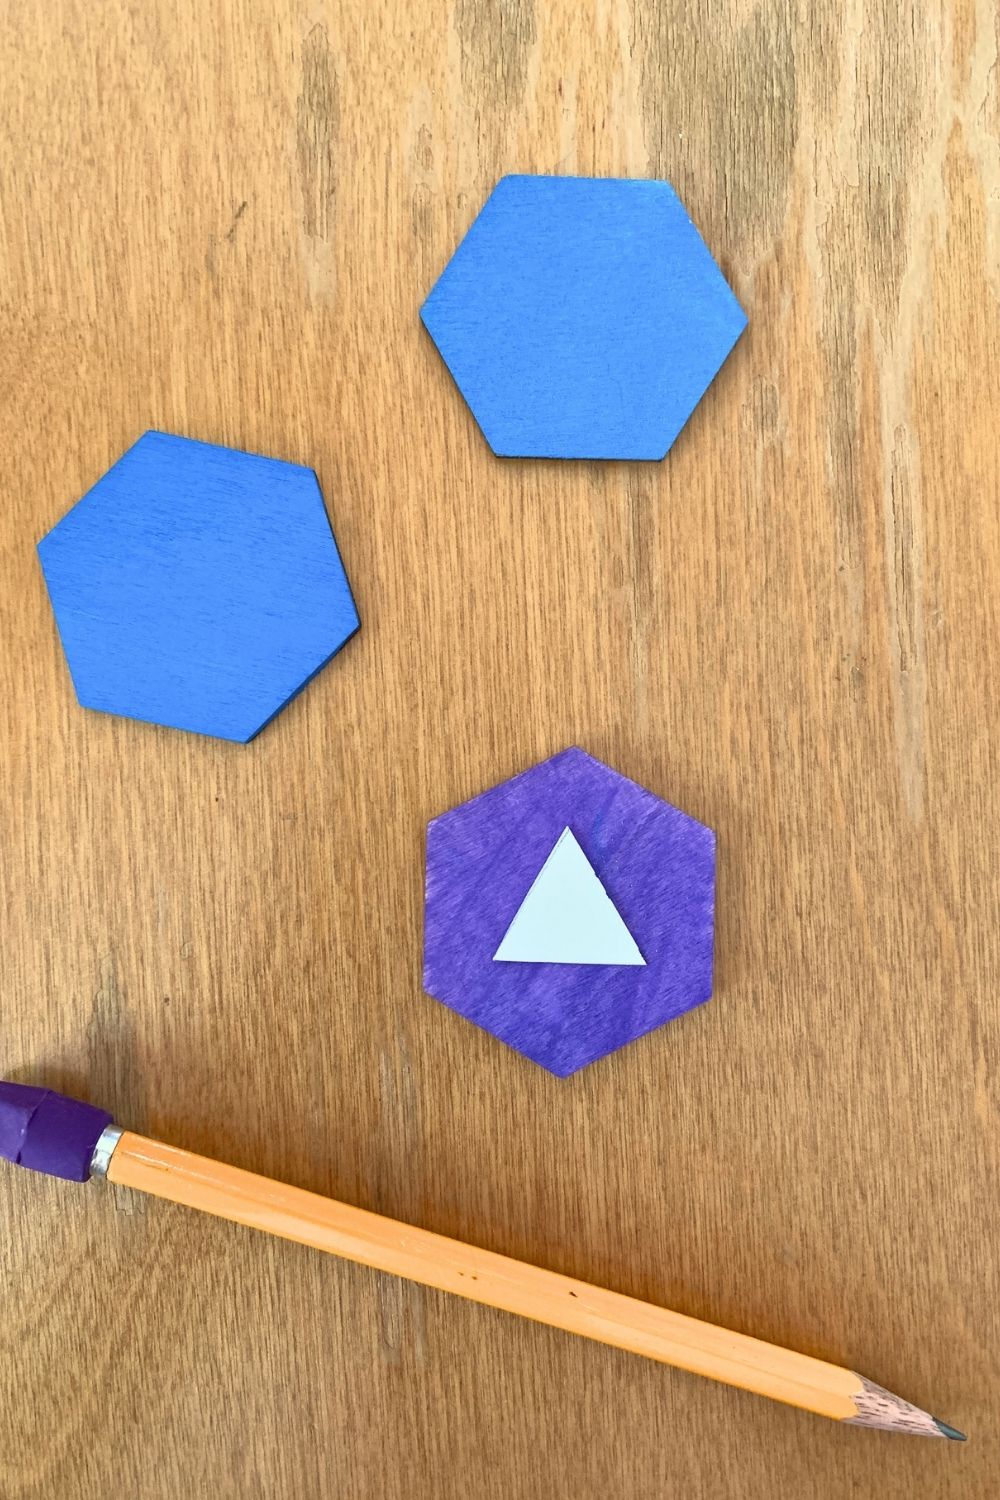
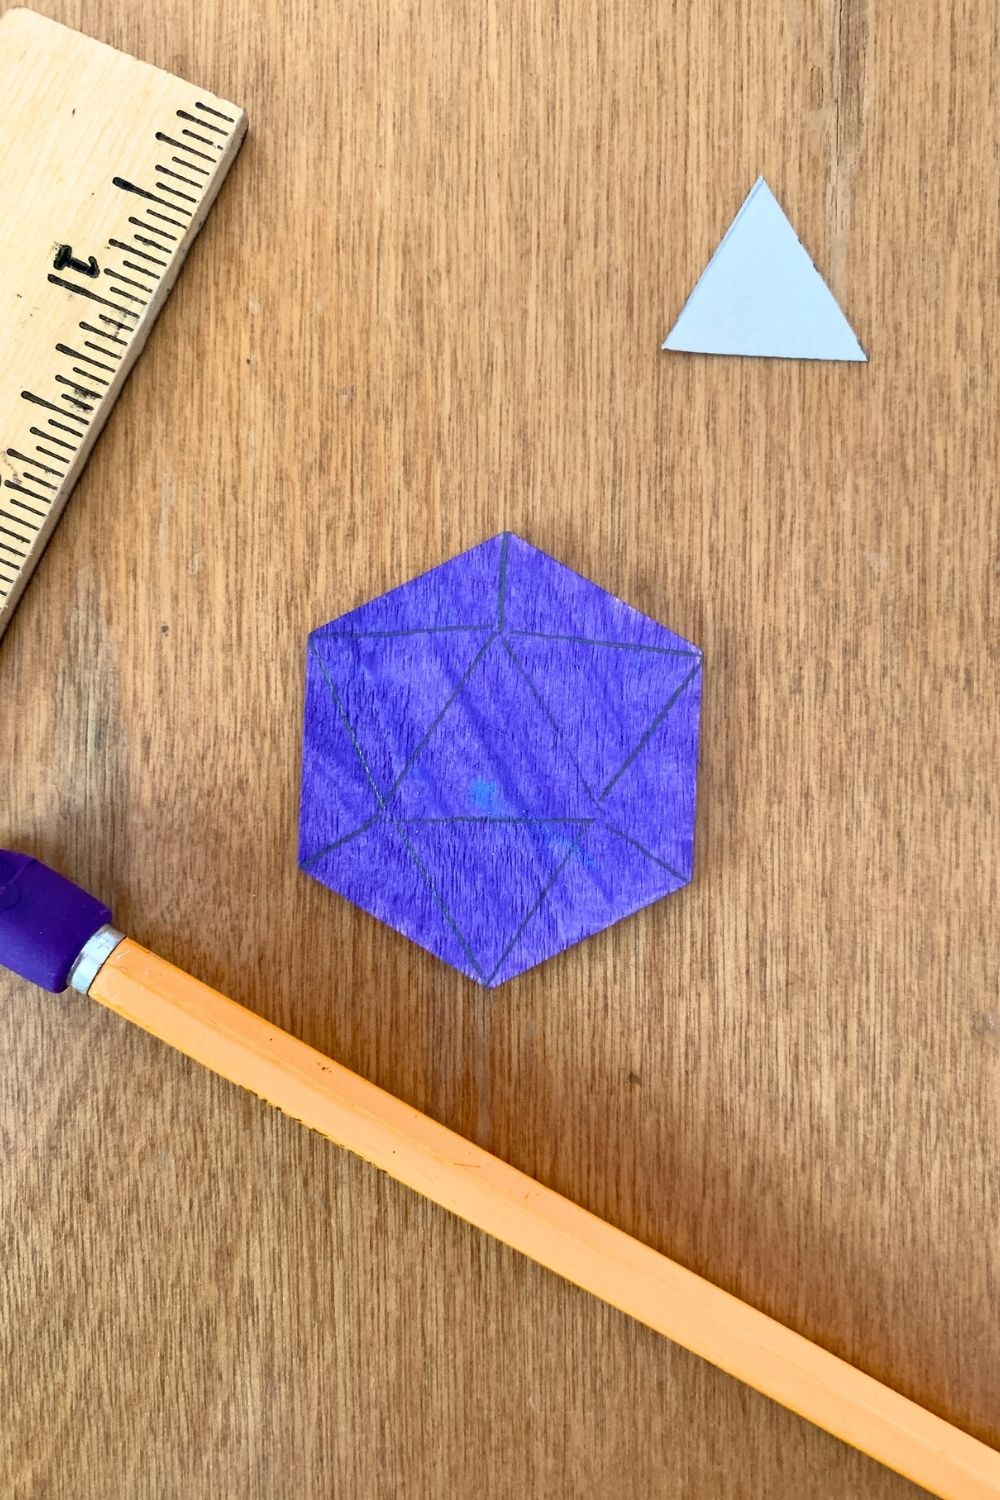
Make a paper stencil for the center triangle using a pencil and ruler. Each side of the triangle is the same size and matches one edge of the hexagon. Mine are an inch.
Place the paper triangle in the center of your painted hexagon, lining up each triangle point with a hexagon point. Trace the triangle onto the wood with a pencil and remove the stencil.
Next, draw a straight line from each triangle point to its aligned hexagon point.
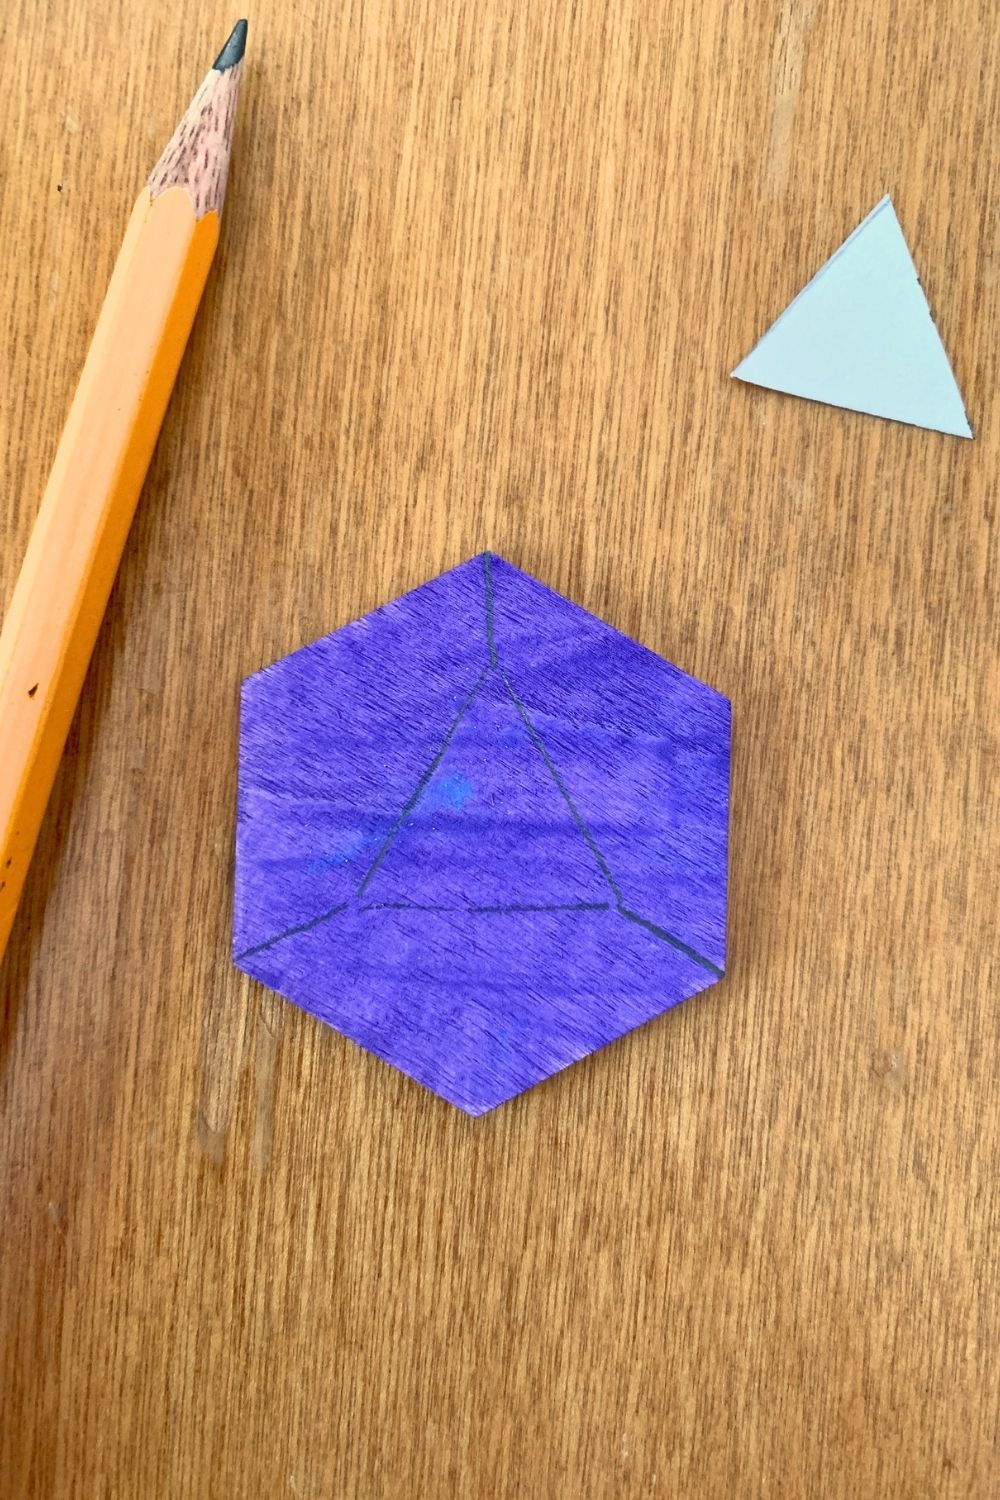
Finally, draw a pair of lines from each triangle point to the other nearest hexagon point.
3. Paint the details.
Use the metallic marker to trace all the lines. I went over my lines with a second coat just so they were really solid.
Add the dice numbers to each of the triangles. The 20 goes in the center (or the 1 if you’re feeling chaotic). I looked at some dice I have to pick the placement of the other numbers, so your might be different. Since the real dice are 3-dimensional, I drew the furthest numbers as partials.
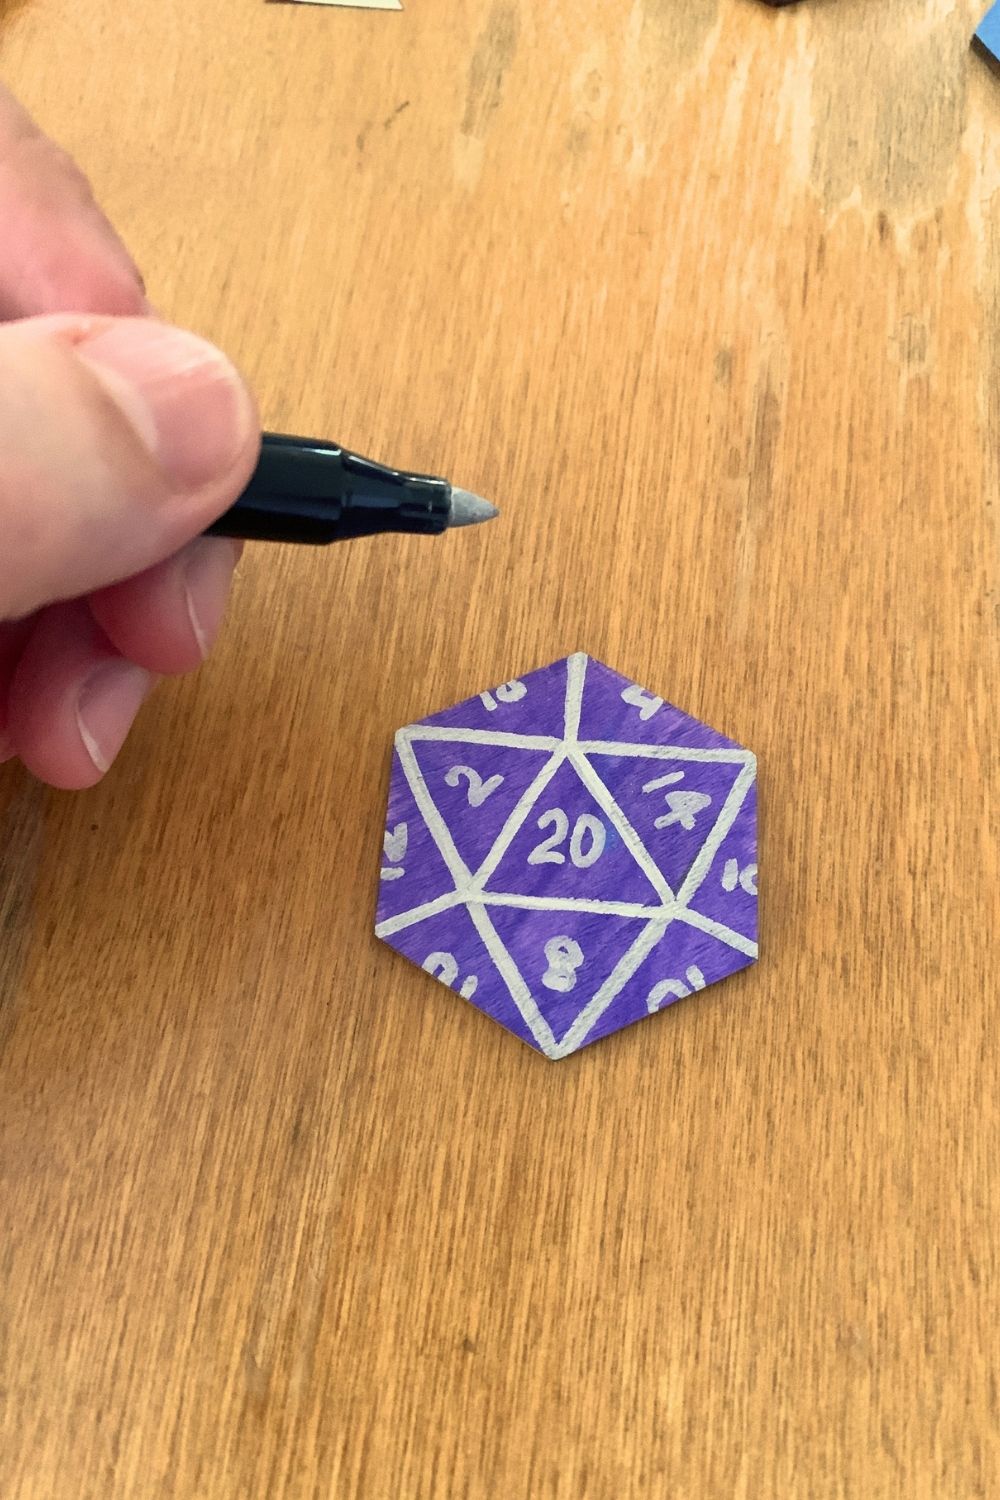
Note that I didn’t add a coat of sealer (shellac or mod podge) but you can if you think it’s needed.
4. Add a ribbon.
The last step is to turn this into an ornament. Cut a piece of ribbon about 7 inches long. Fold the ribbon in half and glue it to the back of the hexagon.
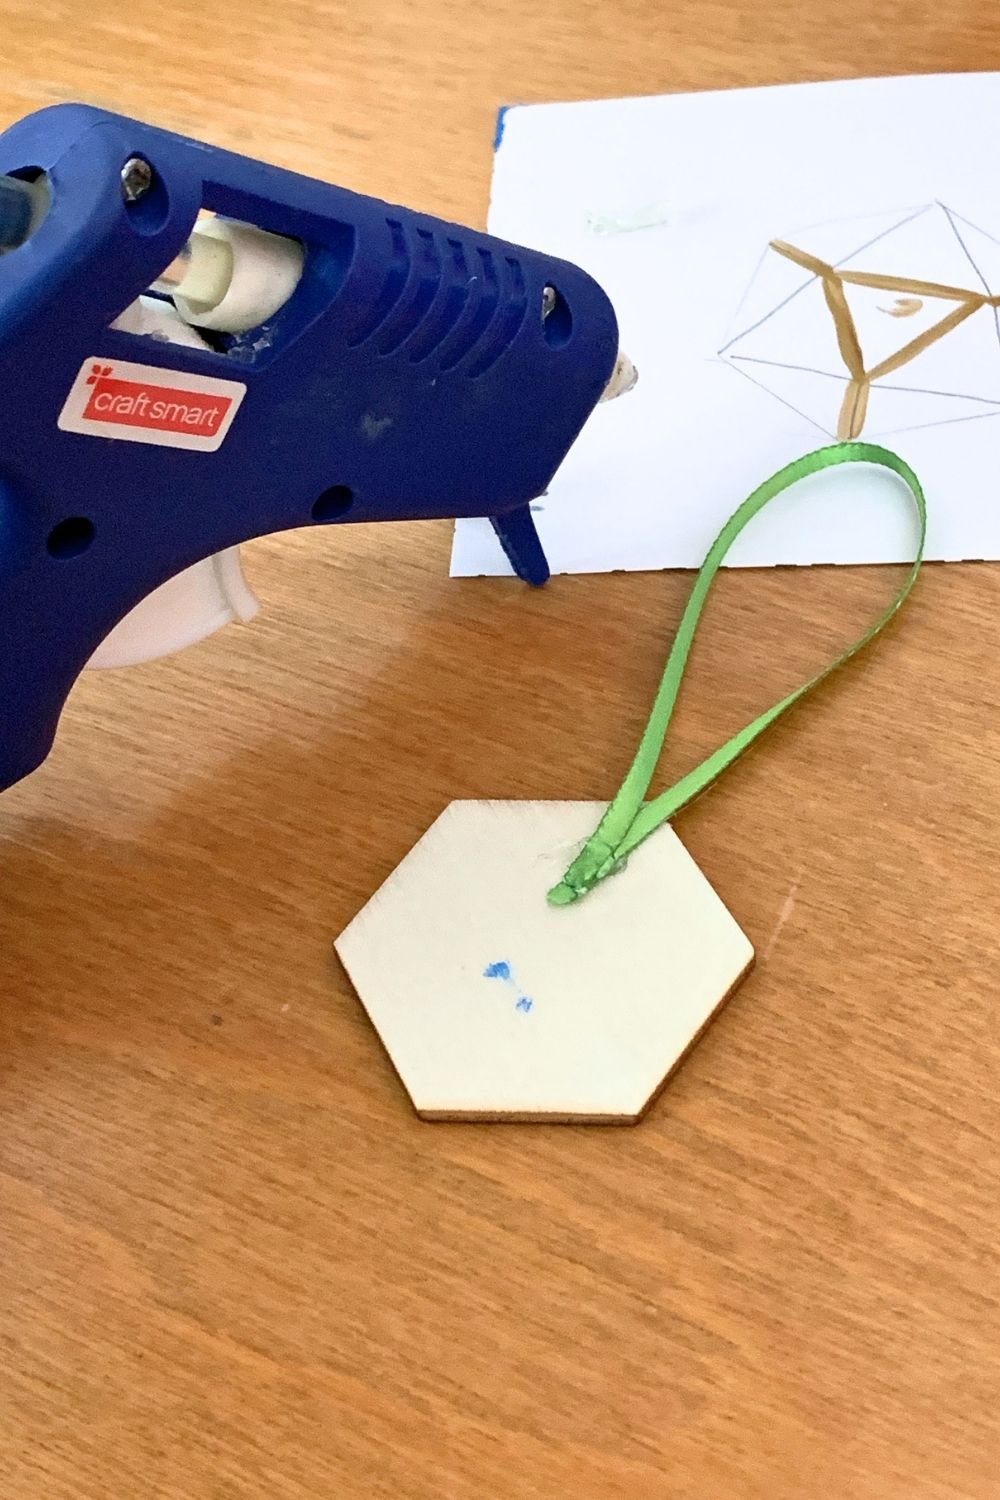
My trick for using hot glue really secure without burning your fingers is to do this: Put a tiny dab of glue and stick the ribbon down with a bit of the tail below the glue so you can press it down right away. Add a second dab of glue, then do the same with the other end of the ribbon.
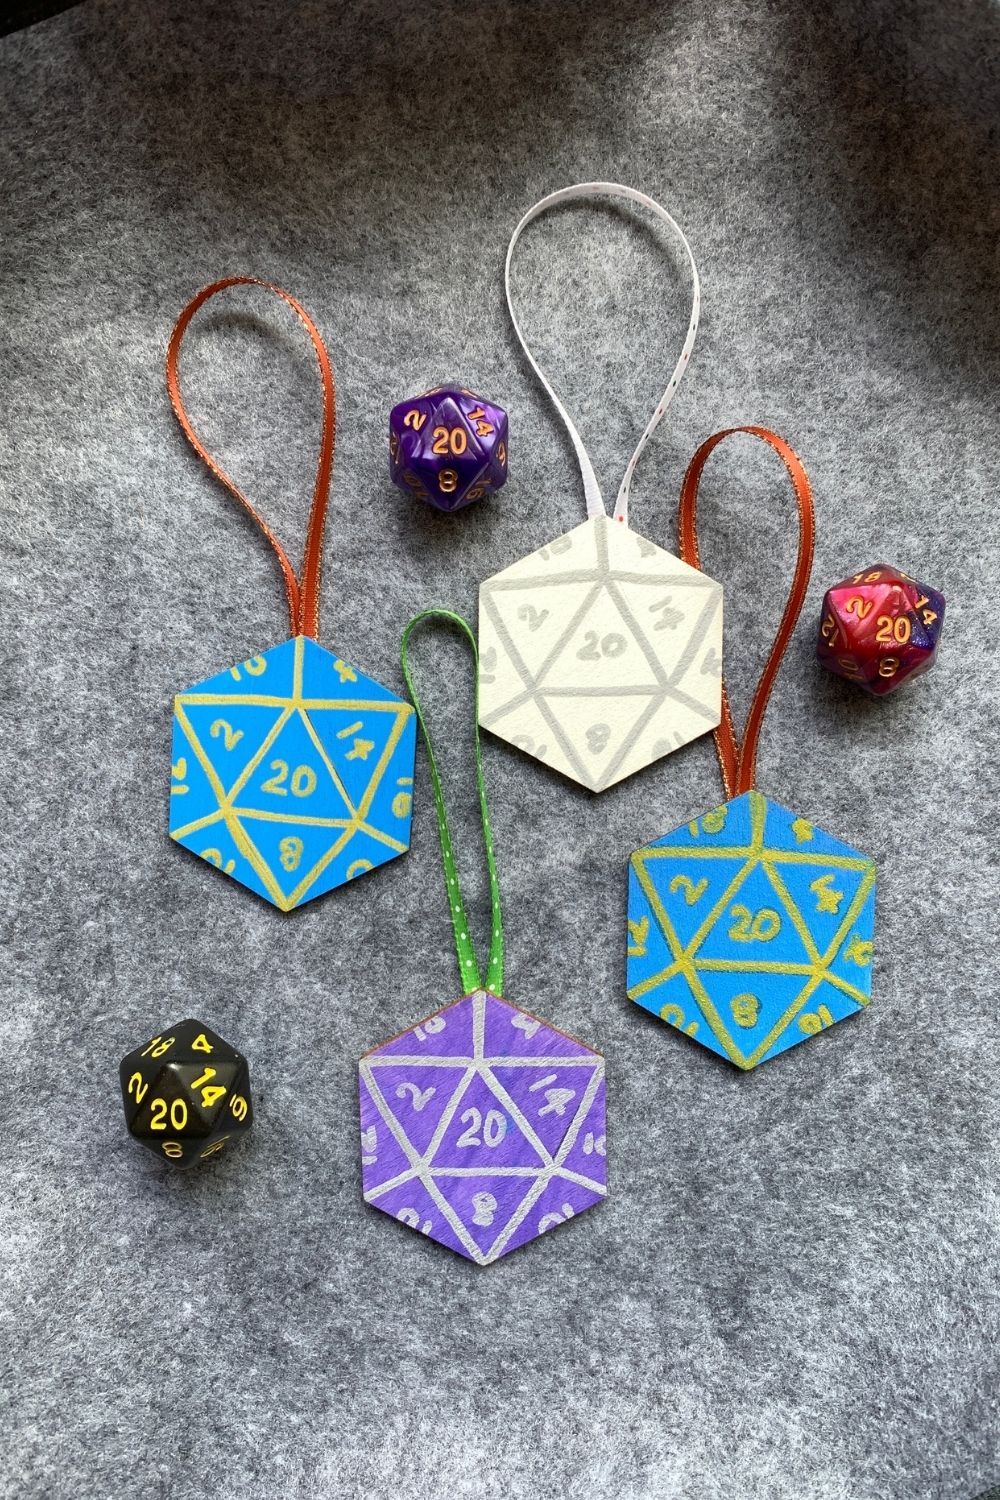
If like me, you’re a mom who gifts or makes ornaments for all your kids every year, you can easily write your kids’ names and the year on the back using the metallic marker.
Attach these to gifts, stockings, or just hang them on the tree!
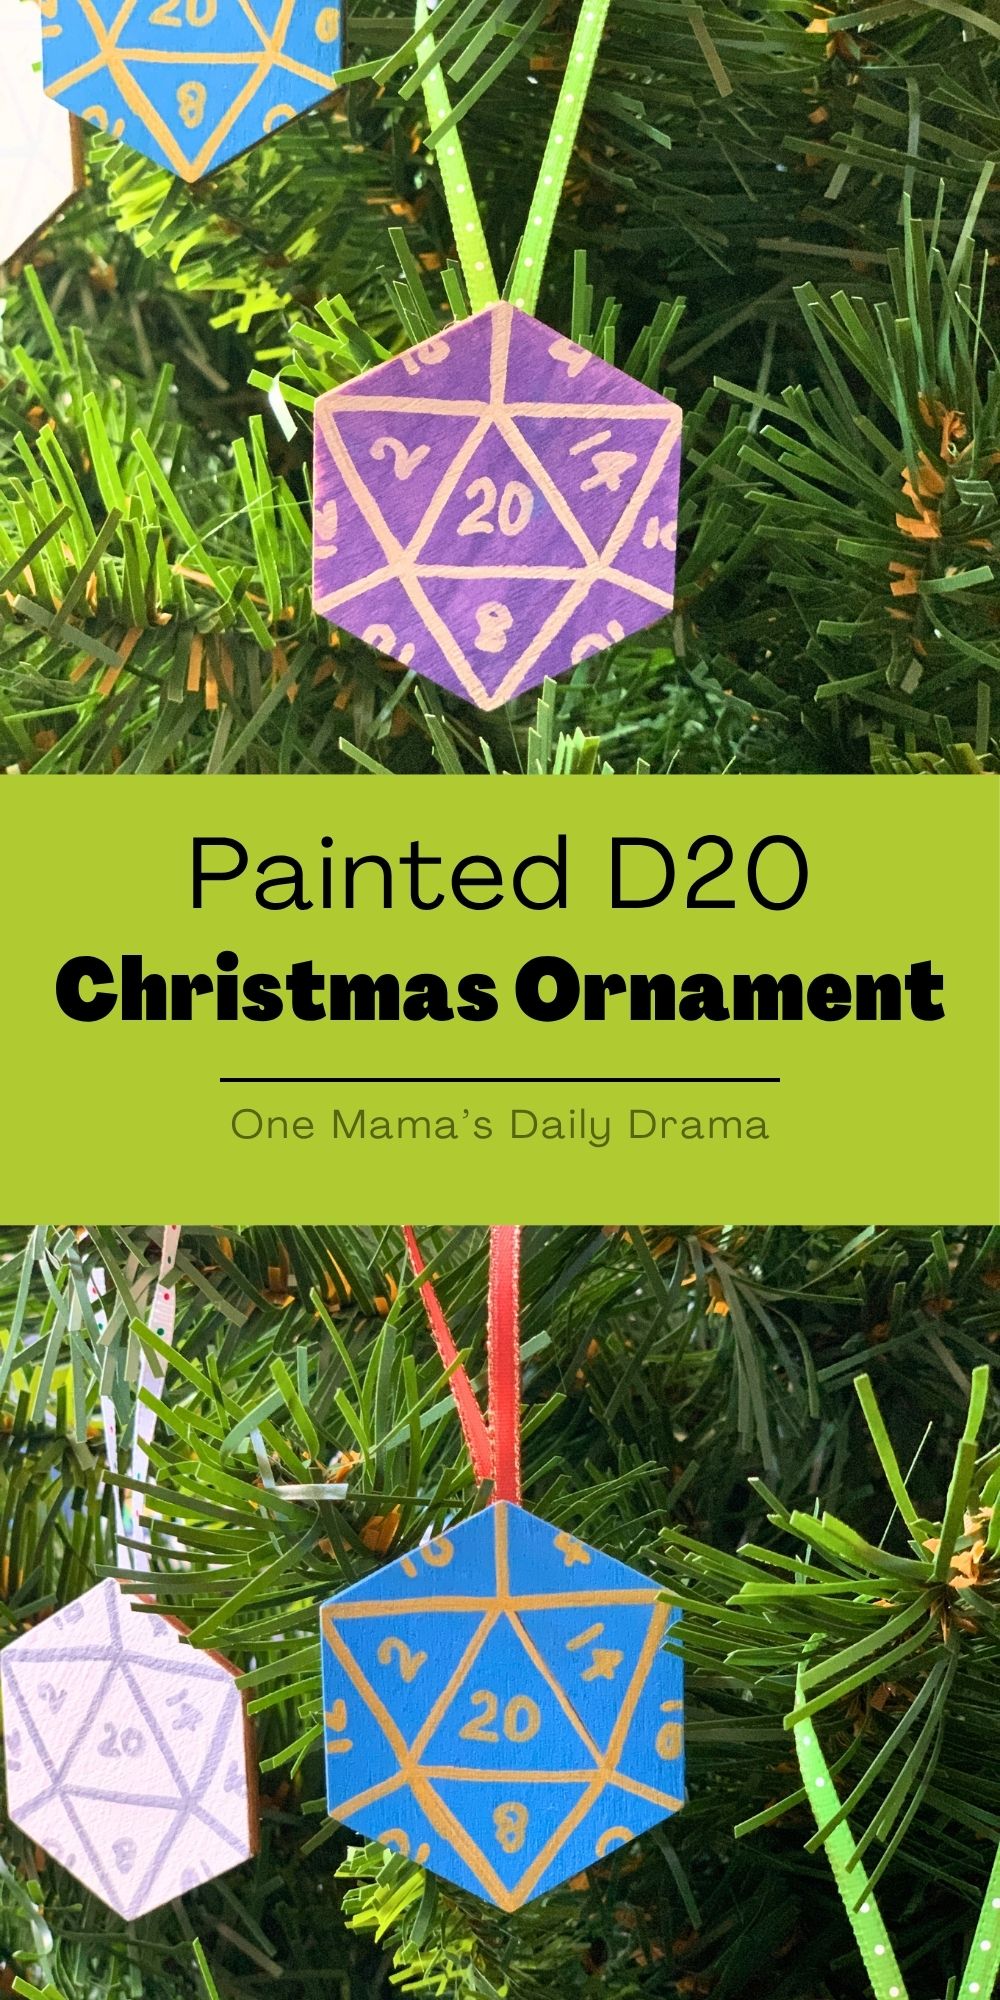
What’s next? Try these other fun and creative ideas on One Mama’s Daily Drama:
Leave a Reply