
Turn an old tee into a new favorite with this easy DIY bleach shirt tutorial. Make a rebel tee for Star Wars Day!

Disclosure: This blog contains affiliate links. As an Amazon Associate and member of other affiliate programs, Keri Houchin earns a commission from qualifying purchases at no additional cost to you.
This DIY bleach shirt is so easy! I made it to celebrate Star Wars Day in 2015 and have worn it tons of times since! You are going to want to make these for every fandom.
You can do this project with any old shirt, though cotton bleaches more easily than other materials. While you can control the intensity of color by using more or less bleach, the color of the bleach spray will depend on the original colors of your shirt.
A quick reminder: Be careful with bleach and follow label instructions. Don’t mix it in a container that previously had something hazardous in it. Remember, bleach will bleach whatever it touches, so make sure you protect your workspace from overspray.
How to make a DIY bleach shirt
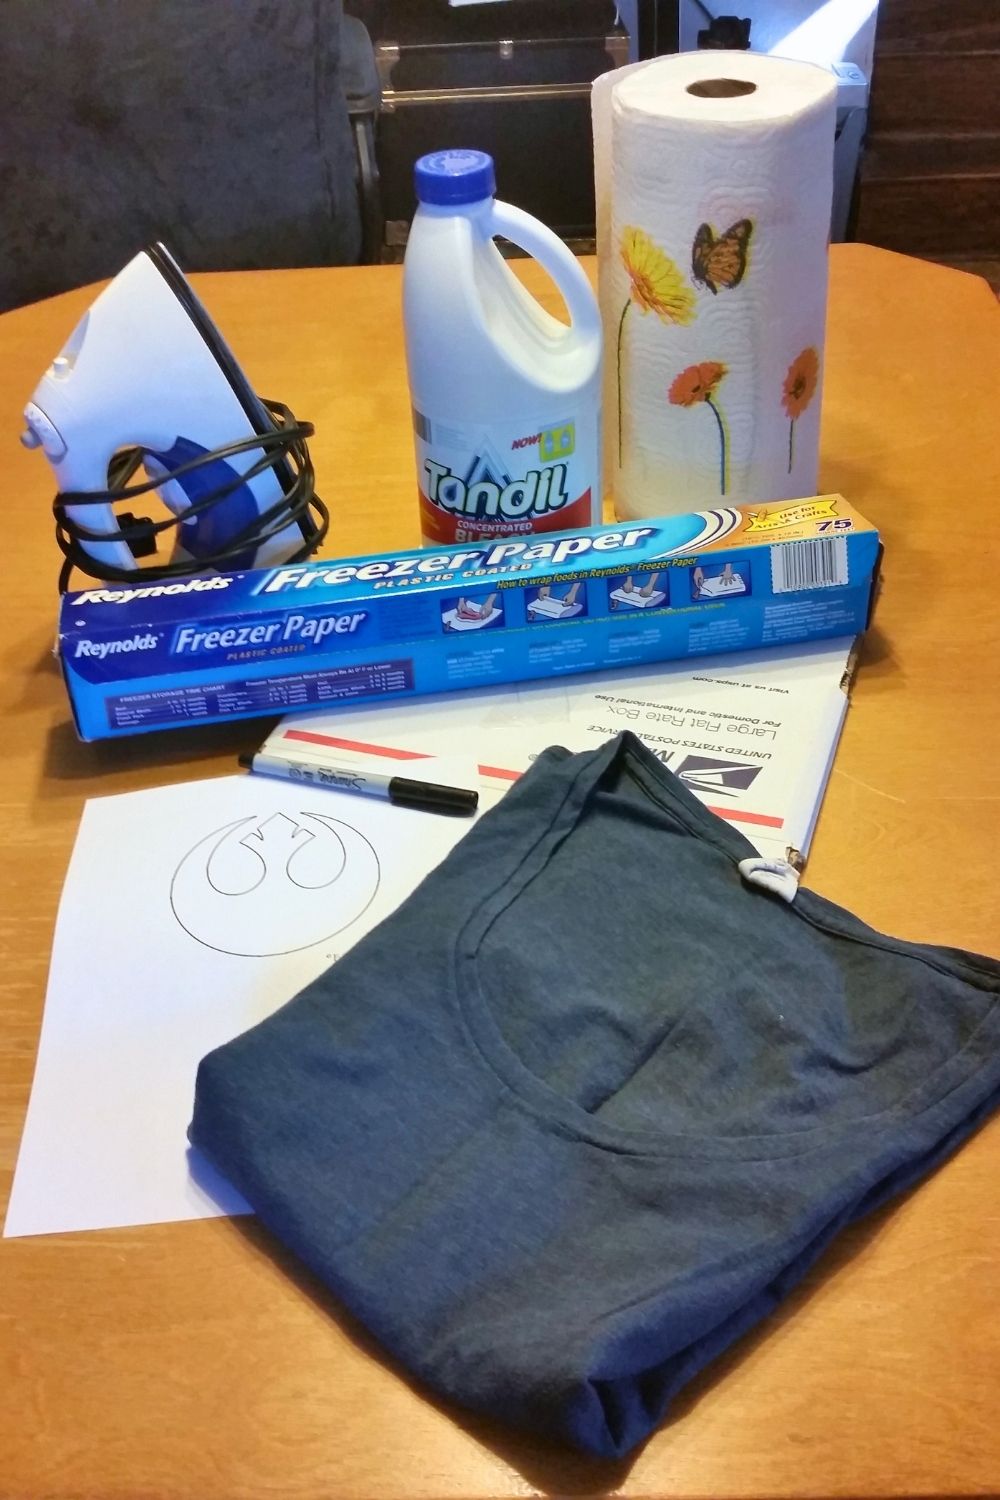
Supplies
- cotton tee-shirt
- stencil of your choice – I used a jack o’lantern carving template from StarWars.com.
- freezer paper
- marker
- iron
- cardboard or newspaper
- a small, empty spray bottle
- regular laundry bleach
- paper towels
Instructions
1. Prep your stencil.
Star by choosing a stencil for your shirt. I linked to the Star Wars templates in the supplies, but you can use any simple image. Print your stencil on computer paper.
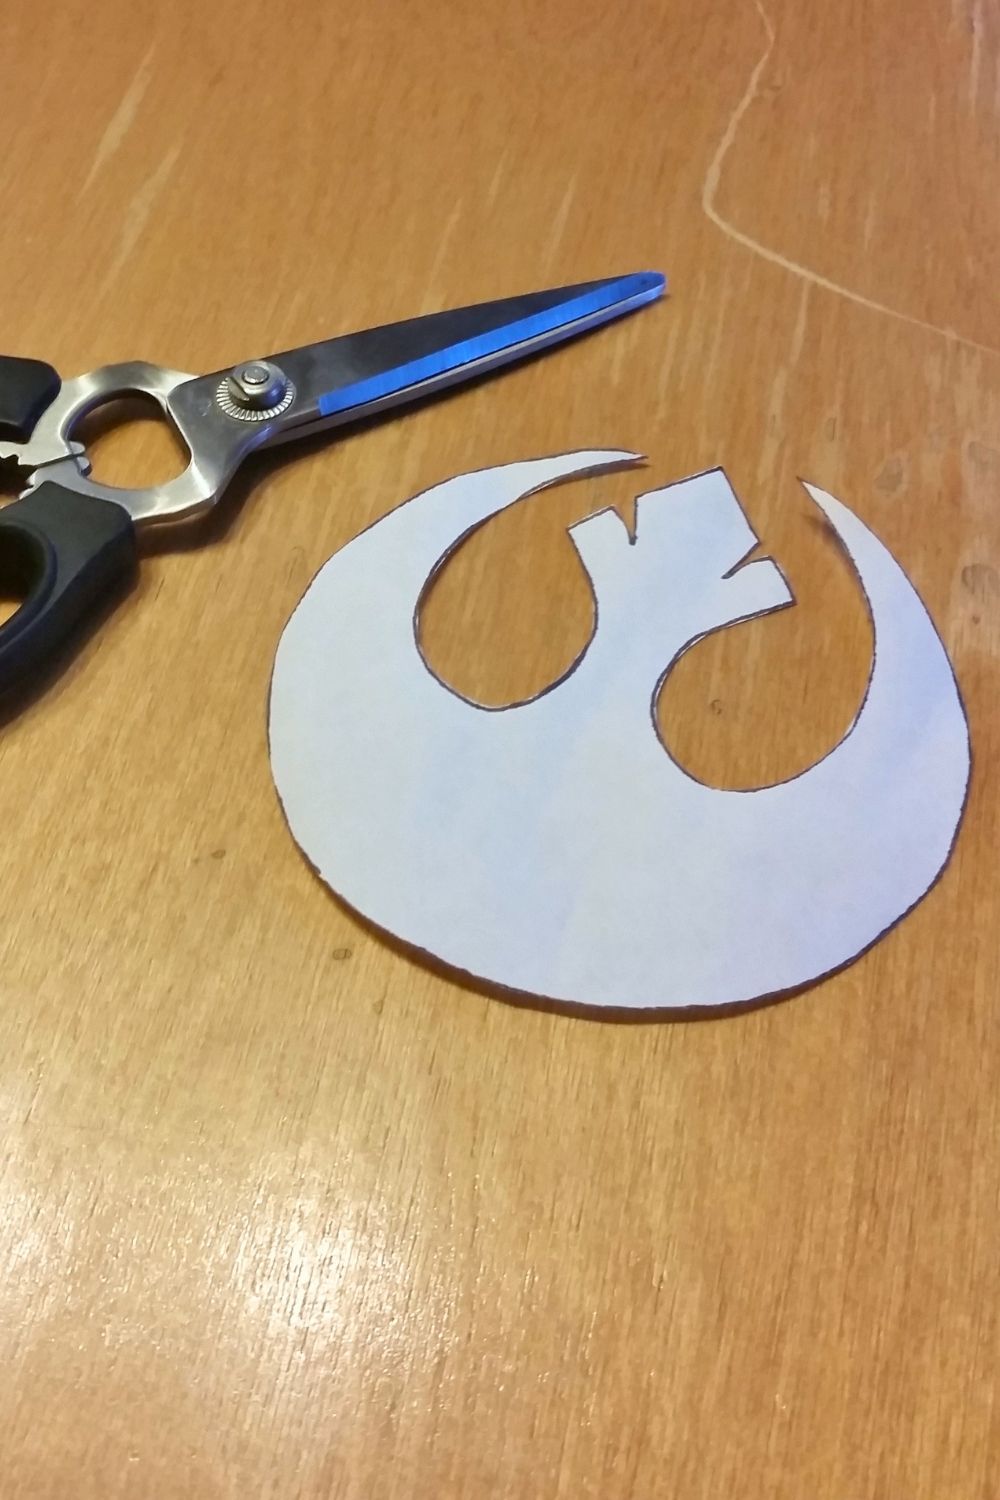
Cut a small piece of freezer paper the size of your stencil. Lay the freezer paper shiny-side down on top of the stencil and trace it onto the paper side using your marker. Cut out the shape.
2. Attach the stencil to the shirt.
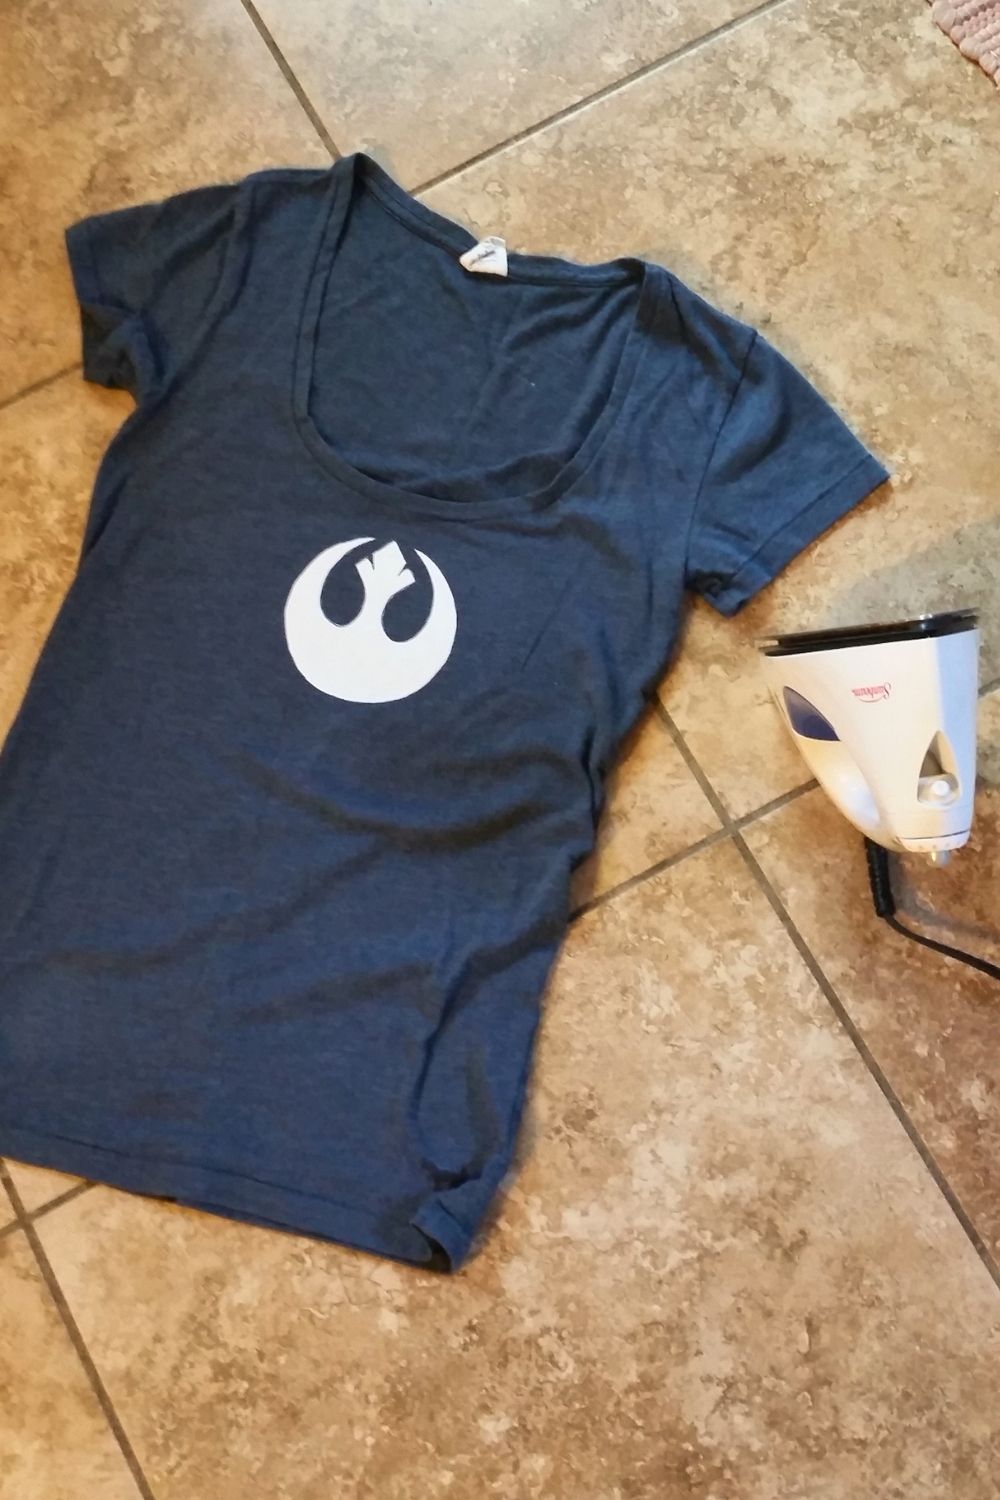
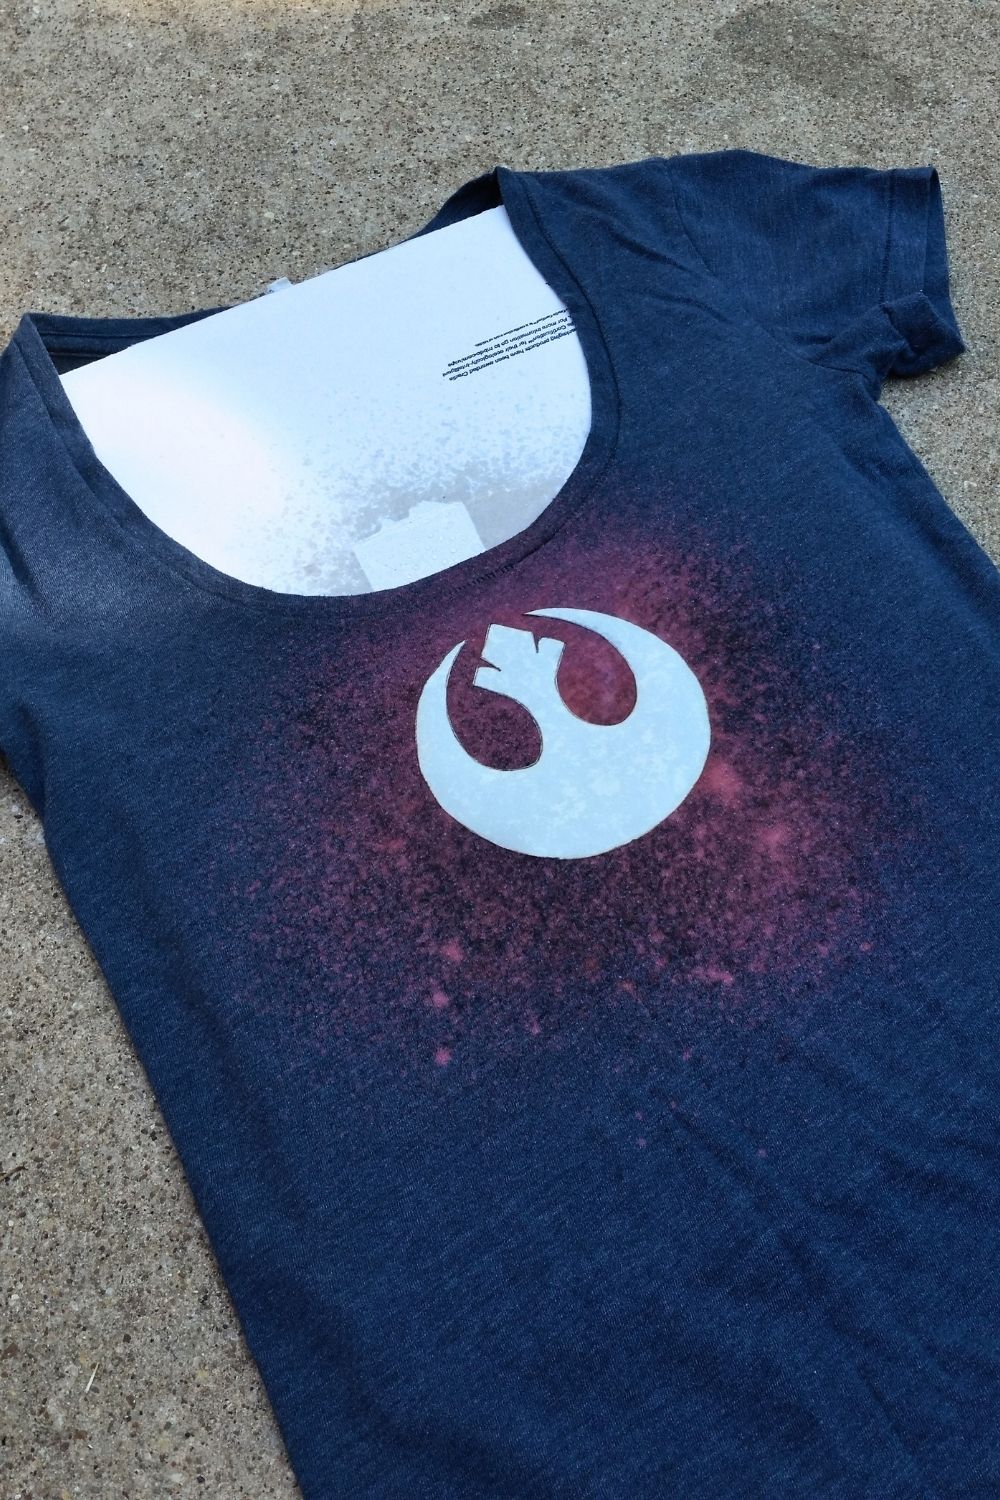
Put your shirt on a flat surface and place the freezer paper stencil where you want it, shiny-side down. Iron the stencil on a low setting for just a few seconds. The stencil will stick to the shirt almost instantly. (Yes, I almost always iron on the floor.)
After the ironing, stick a piece of cardboard inside the shirt. This will protect the back from getting bleached too.
3. Mix the bleach solution.
In the spray bottle, mix a solution of 2 parts bleach to 1 part water. You need only a little for each shirt – enough to mist over the stencil.
4. Spray the bleach.
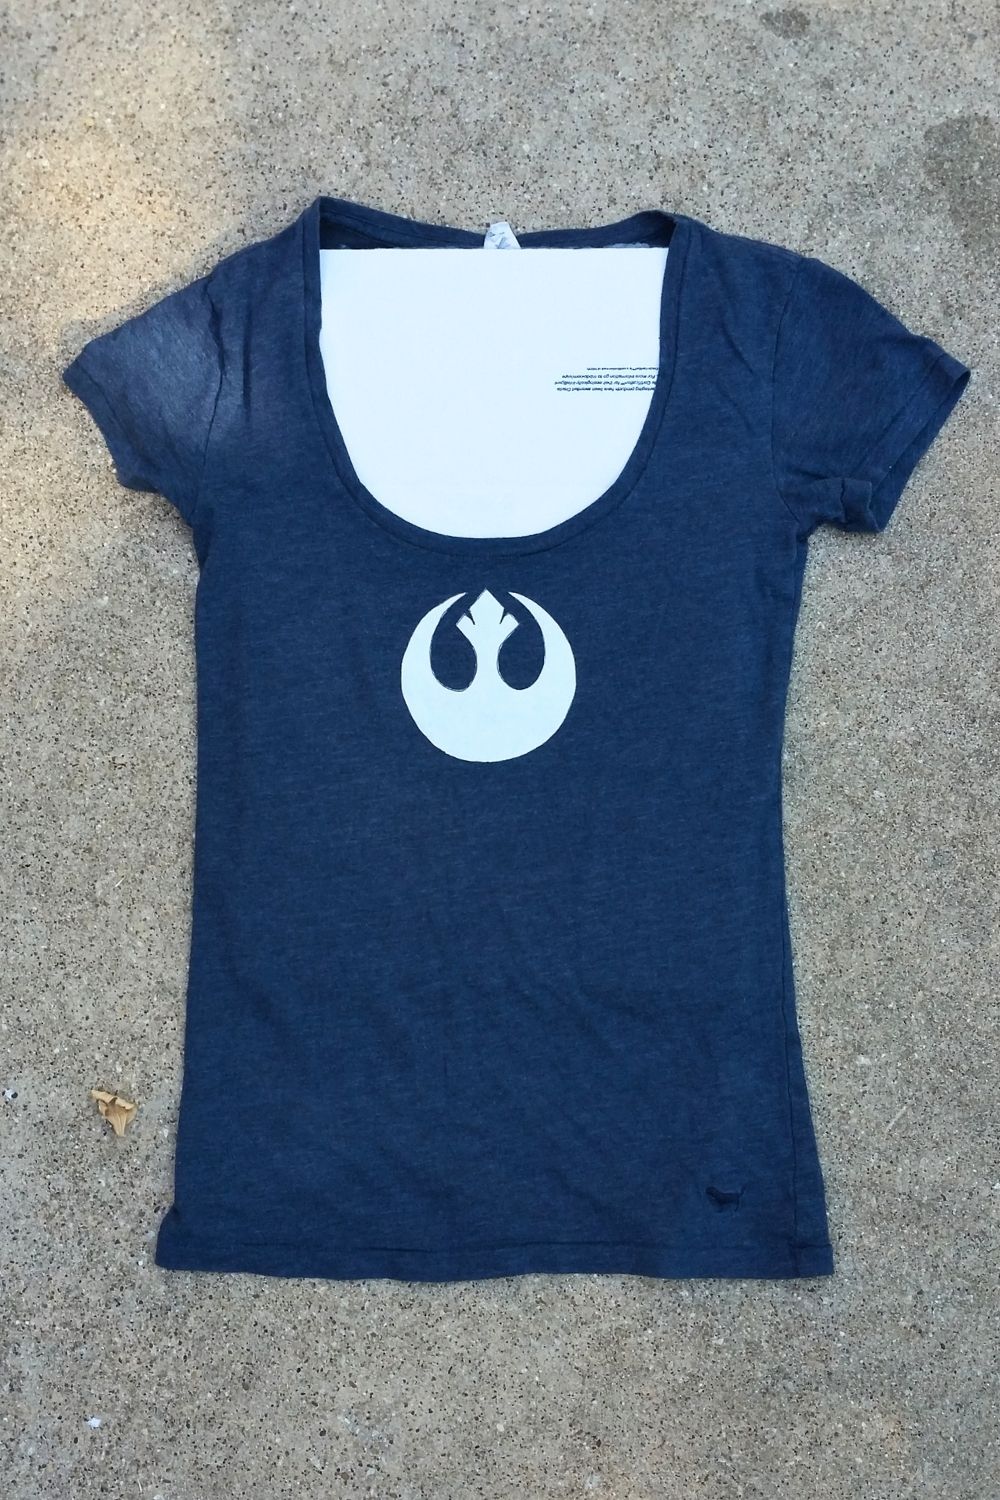
Take your shirt outside or somewhere you won’t worry about bleach splatters and fumes. Lay the shirt down and mist over and around the stencil with the bleach. Start with a light mist and add more if you need to.
You will see almost instant results. Blot any extra bleach with paper towels. When your shirt is the desired color, take it back inside. This step might only take a couple of minutes.
5. Finish the shirt.
Peel off the paper stencil and remove the cardboard. Run your shirt under cold water in the sink to rinse. Wash your shirt by itself once to be sure that it won’t bleach anything else. Dry it like you normally would. For subsequent washes, it can go in the regular laundry.
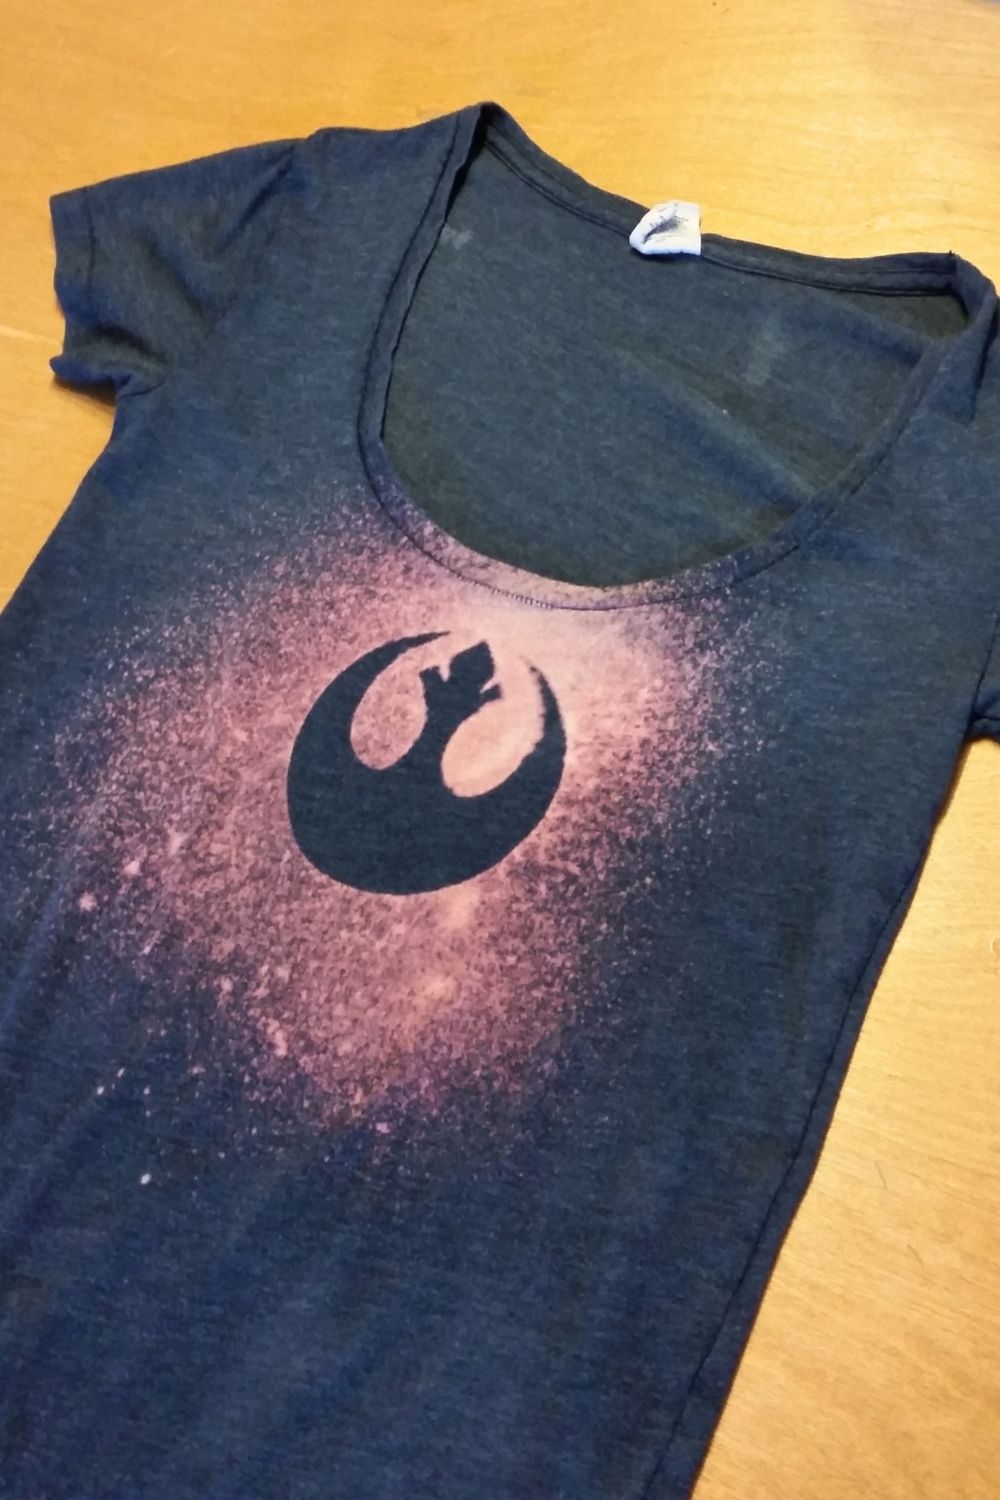
This is a fun family activity, especially if you’re making shirts for Star Wars Day! A little bleach goes a long way, so one spray bottle can be used to make sevearl shirts at once. They can also go in the laundry together.
If you enjoyed this craft idea, save it or share it with a friend!

What’s next? Try these other fun and creative ideas on One Mama’s Daily Drama:
Leave a Reply