
Learn how to build a raised garden bed. Get a wood cut list and step-by-step instructions to build a 3×8 foot cedar bed for an herb garden.

Disclosure: This blog contains affiliate links. As an Amazon Associate and member of other affiliate programs, Keri Houchin earns a commission from qualifying purchases at no additional cost to you.
Gardening is a fun family activity that can be made a little easier with raised beds. Plants are closer to you and further from the weeds. Plus, the soil often drains better. Learn how to build a raised garden bed for a weekend project that will make your backyard look fantastic.
We built this raised bed as part of a bigger weekend project. The bed itself took maybe an hour or so to make and put into place. I’ll be showing off the rest of the project in another post. Update: see my herb garden.
If you’ve shopped for raised bed kits anywhere, you know they’re pretty expensive. I’m a big fan of DIY and my husband and I were sure we could make our own for a fraction of the cost of a premade one.
Here’s exactly what we did.
How to build a raised garden bed
Supplies
- 9 cedar boards, 1″x6″x8′
- 1 cedar board, 2″2″x8′
- saw
- clamps, optional but handy
- wood screws
- drill
- small hand shovel
- rubber mallet
- 24 bags of topsoil + fertilizer and/or potting soil
Instructions
1. Planning.
Before you get started, plan where the bed will go. This one is for herbs, so we decided to put ours in a corner of the yard that was near the kitchen door. It gets filtered sunlight throughout the day and is protected from the wind.
This makes a raised bed that is 8 feet wide, 3 feet deep, and 18 inches tall. That was about as large of a bed as we could easily manage and still be able to reach the whole thing. You could definitely make one smaller if you adjust the cut lengths.
2. Make corner stakes.
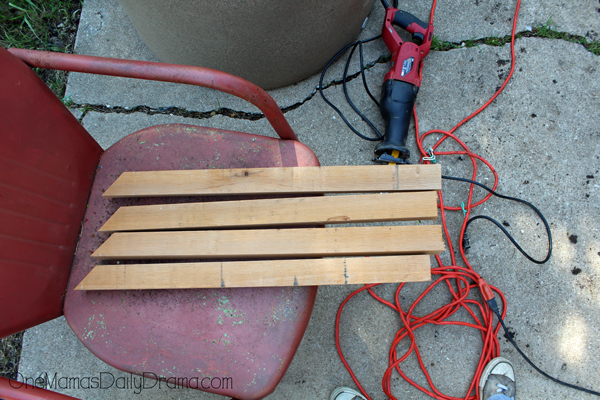
First, make the stakes for the inside corners. Start with the 2×2. Cut two pieces measuring 48″ long. Cut each one of those in half at the middle on a 45 degree angle. Set them aside.
3. Build the short sides.
To make the short sides of the bed, use three of the 1x6s. Cut 6 pieces that measure 3 feet long. You’ll have some scraps.
Lay out three of the 3-foot boards. Line up two of the stakes on either end and screw them in place. You might want to clamp them to keep them steady while you attach the screws.
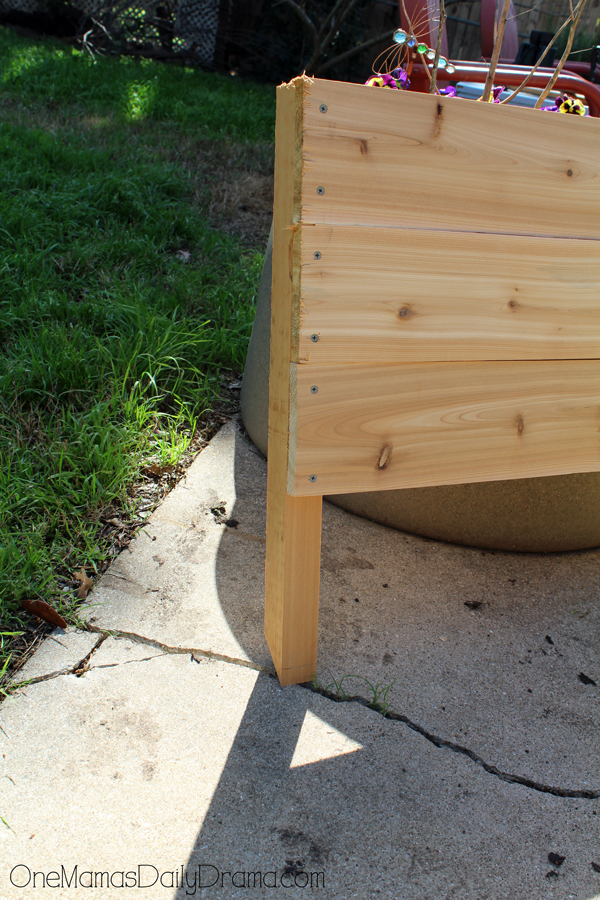
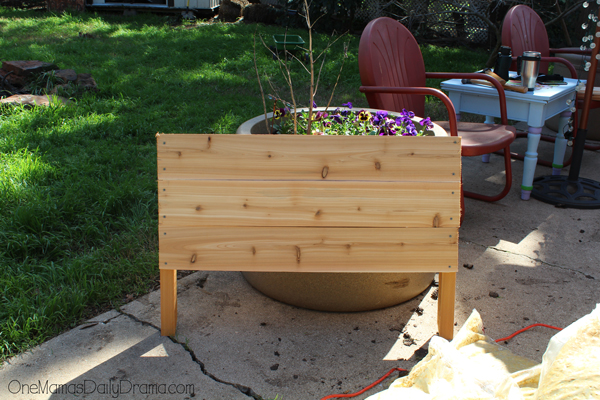
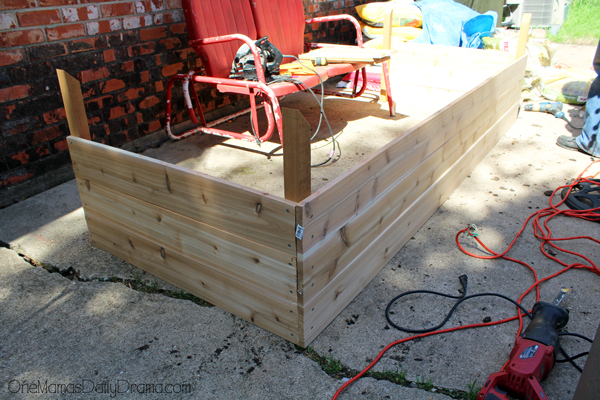
Repeat with the other three 3-foot boards and two stakes. You’ll have 2 sections that look like this end pictured below.
4. Build the long sides.
For the long sides, you’ll need 3 of the 8-foot boards for each side. Turn the end pieces upside down (with the stakes pointed up so it’s level against the ground) and line up the edges with the long boards. Again, clamps are handy. Screw the boards into the stakes on both ends.
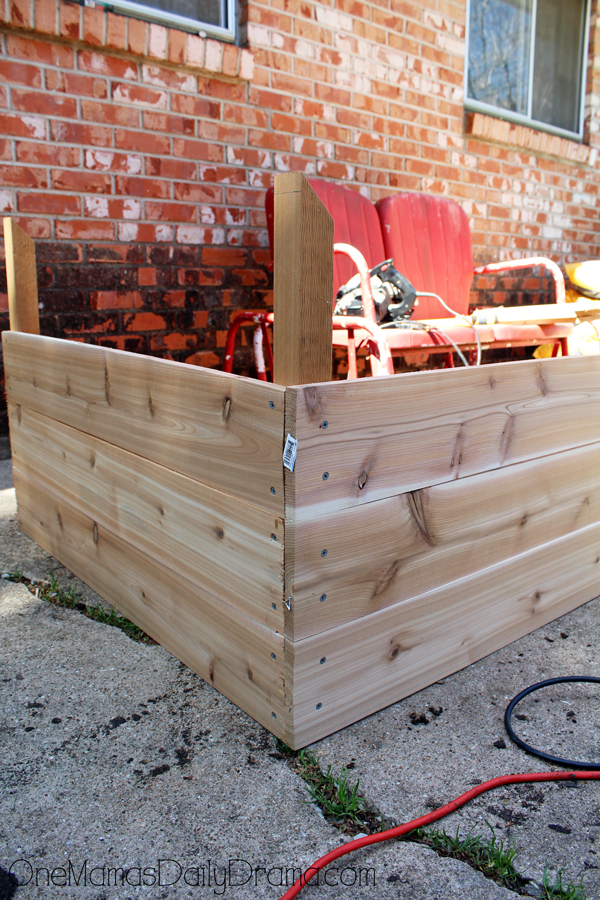
To attach the other side, you can turn the whole thing sideways with the unfinished side up. That way, you can set the last boards on top and screw them downward.
5. Add support stakes.
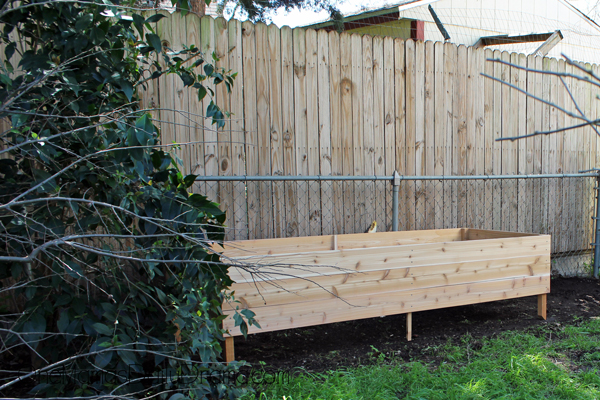
Because our bed was pretty long and natural cedar isn’t entirely straight, we used some scrap wood to make mini-stakes to go in the middle of each long side. We lined the extra stakes up with the top edge like the others and screwed them in. This will make it easier to keep the bed square.
To put the bed where you want it, carry it over and set it in place.
6. Stake into the ground.
Use a small shovel to dig out the corners for the stakes. Push the stakes down into the holes and use a mallet to pound the whole thing into the ground. Our soil was still soft from rain, but it probably took about ten minutes.
Use a level if you want the top of the bed to be 100 percent level. Adjust the stakes and dig around the edges as needed.

7. Fill in with dirt.
Once you’re happy with the location, fill in around the corner stakes as needed with dirt. Fill the bed with potting soil.
We ended up using 16 bags total, so the bottom half was a combination of cheap topsoil and fertilizer and the top half was potting soil.
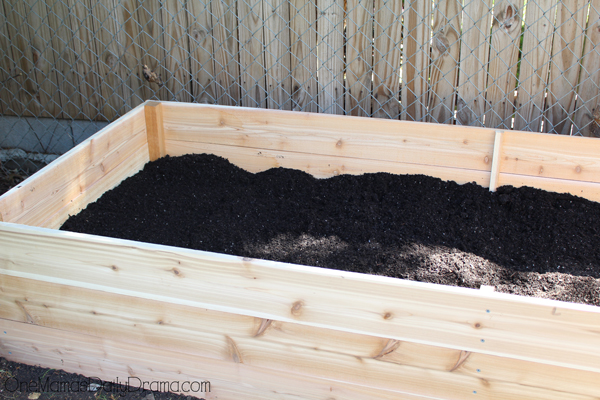
Now the bed is all ready for herbs. Stay tuned to see what we put in it, plus the reveal and walkthrough of the landscaped area around the herb garden.
What’s next? Try these other fun and creative ideas on One Mama’s Daily Drama:
This is great! We are in a duplex but behind our little outdoor space is a small field. I’d love to try this back there especially since the dirt back there is so bad I’d like a way to add some good potting soil without it washing away.
A raised bed is definitely a good way to make up for bad dirt. It’s the benefits of a container garden with a lot more space. Let me know how your garden turns out!