
Take a tour of this simple herb garden and patio project. Landscape the backyard on a budget with rocks and garden edging.

Disclosure: This blog contains affiliate links. As an Amazon Associate and member of other affiliate programs, Keri Houchin earns a commission from qualifying purchases at no additional cost to you.
If you’re thinking about starting a garden or adding to an existing one, herbs are a fantastic choice. They look pretty, are easy to care for, and can be used for cooking.
Take a peek inside our backyard on this herb garden tour and see what we did. This DIY project was pretty easy and is something we will enjoy for a long time.
Herb garden tour
We started this project with lots of planning. There was already a natural path from the back porch to the side gate, so we started with that.
Here’s a “before” photo.

First, we cut back several trees that were growing through the chain-link fence.
There is a natural downhill slope towards the herb bed, so we used four 8-foot metal garden edging pieces to outline the path. ($10 each at Lowes) These are more or less self-explanatory to install.
You just line them up where you want them to go and hammer the spikes into the ground. The edging is pretty flexible.
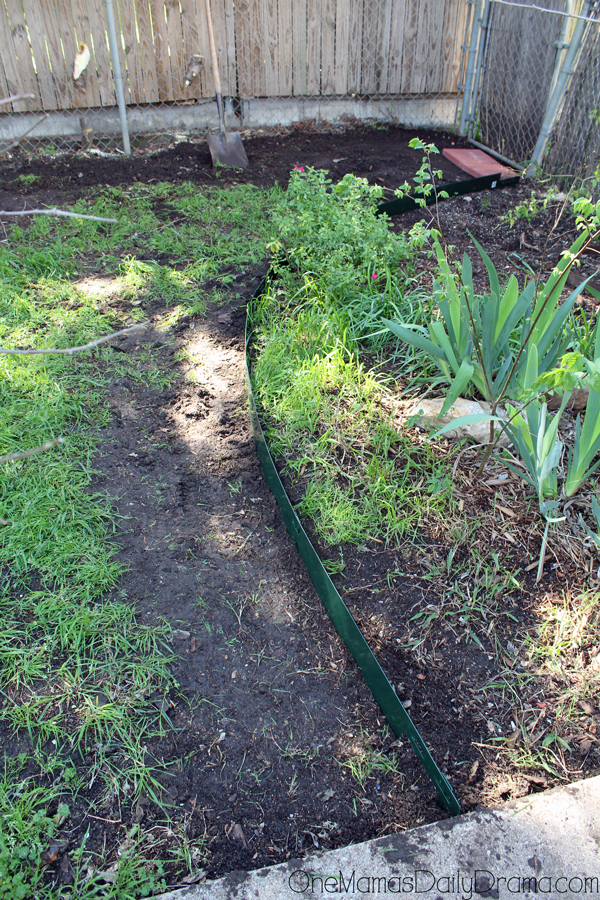
On one side, we sectioned off a little corner beside the back porch. There’s a lot already growing there – sage, lilies, and spring onions. I’m not sure what exactly I want to do, so I left it messy for now. I suppose it’s a cottage garden.

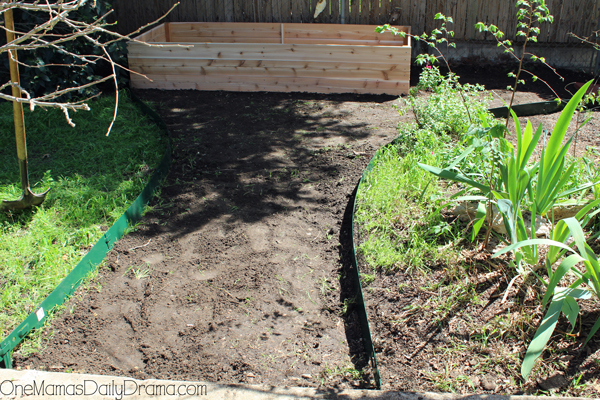
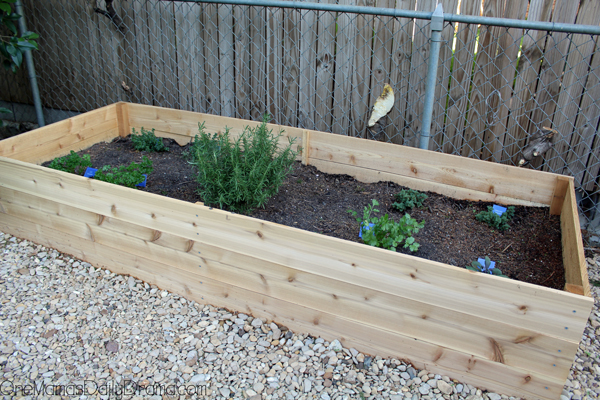
Then we built our raised garden bed for the herbs. See that post for the full tutorial on how to build one.

On the opposite side, we just curved the edging to meet up with the end of the raised bed. Between the edging, we removed the grass for the walkway.
The best way to remove grass and weeds, and flatten an area of your yard is with a few shovels and a lot of patience.
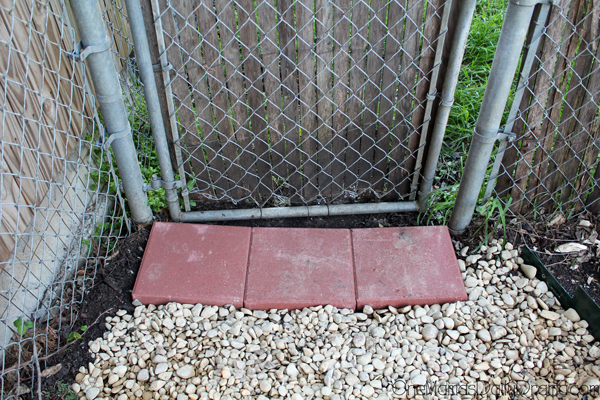
We put three concrete pavers (about $1 each at Walmart) at the edge of the yard by the gate. This serves as a sort of entryway and also keeps the gravel from running away.
For our biggest step, we used 16 bags of river rocks to fill in the walkway area. We got them on sale, but you can find them at any home store or Walmart for $2.50-$4 per bag.


What we planted
Once the building part was done, we planted herbs that we know we like and will use. Some of them are seasonal, but I tried to pick a few that should last for a few years.
- rosemary
- parsley
- thyme
- sage
- oregano
- cilantro

The patio and fire pit
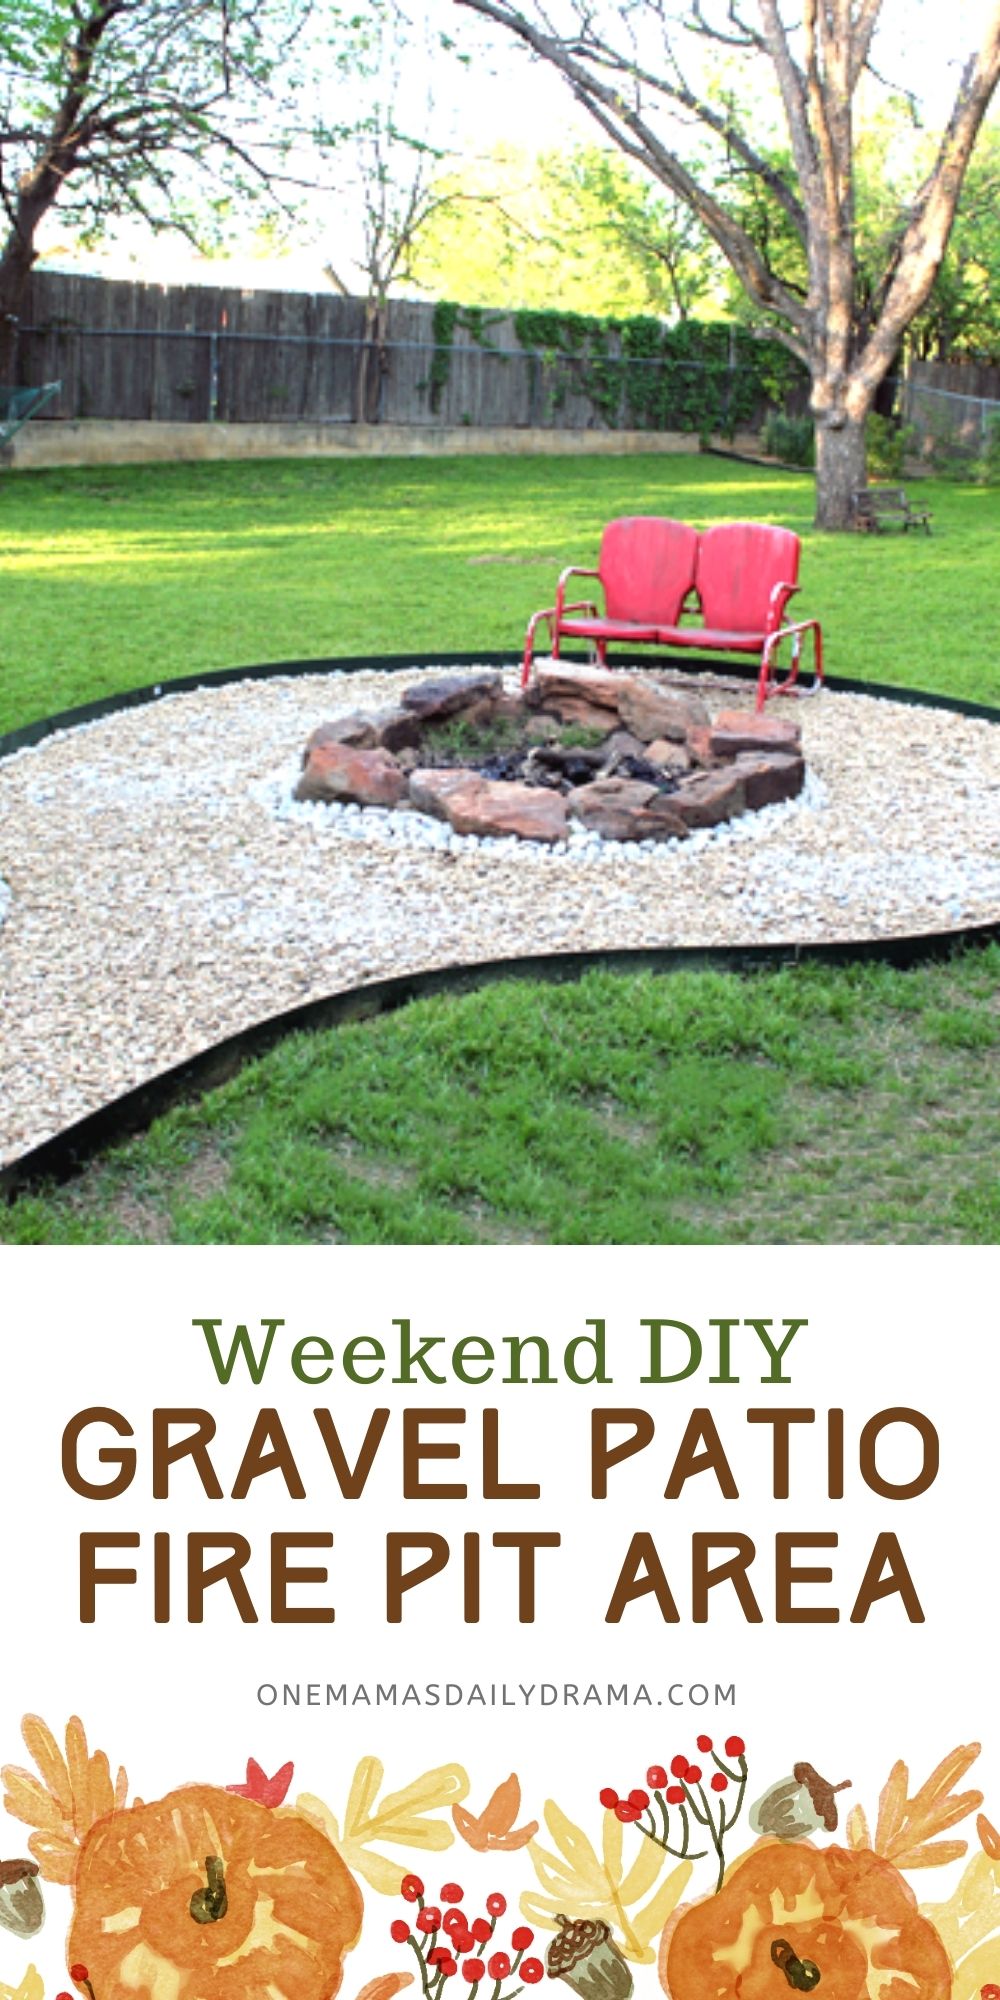
We used the same method as the herb garden for the patio area: metal edging and gravel.
The fire pit was already there, but it’s just a circle of large sandstones. If you’re going to DIY a firepit, make sure the ground is level and your center is 2 to 4 feet across.
When we moved in, the grass grew up to the edge of the fire pit, which is technically against the city ordinance. (Ours requires 4 feet between fire and grass; check your local laws before building one!)
We used 7 more pieces of the same metal edging and 25 bags of rock. We spent a lot of time removing the grass because this was a much larger section.
Getting the round shape was just a lot of trial and error. We laid it out and then adjusted – several times – until it looked pretty round. I did use a tape measure, but if I measured again, I’m not sure it would be perfectly round.

What’s next
I have a few more projects for the backyard. We’re going to do some more landscaping near the herb garden and I really need to repaint all of our patio furniture.
Both of these projects are paths that branch off of the concrete porch. We are going to add one more section for a vegetable garden.
What’s next? Try these other fun and creative ideas on One Mama’s Daily Drama:
Oh I love your garden, it looks like a place where you can just be. The kids must have a ball there. Lovely!!
Thanks! We’ve really enjoyed it so far. I was trying to create a space where we can entertain, have some pretty plants, and leave the kids room to run and play.