
I love a good thrift store find. Or something cheap at an antique shop that isn’t too nice to modify. For Christmas a few years ago, I made my nephew a Star Wars suitcase from a vintage Samsonite suitcase. It turned out pretty incredible. I mean, I kind of wanted to keep it for myself. I think this project was a great way to give an old piece of luggage a new life. Plus, it is a unique one-of-a-kind item. Hit up your thrift stores and check out my upcycled Star Wars suitcase diy project.

Upcycled Star Wars suitcase tutorial
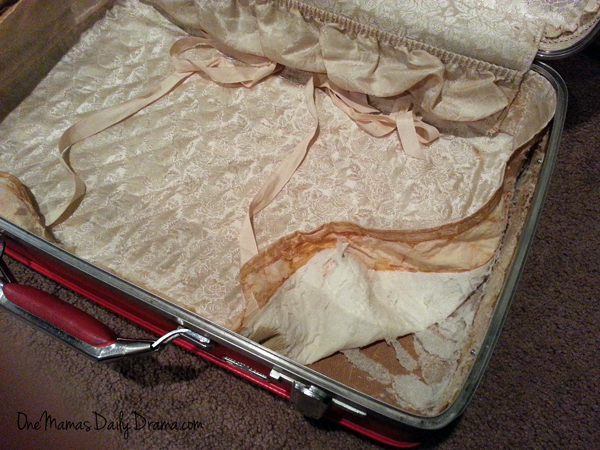
I picked up the suitcase at an antique mall for less than I usually see them for. It was in pretty good condition. The outside was nice and had just a few scratches. The inside was in fair condition too. I mean, as far as 50-year-old luggage goes, it was probably really well kept, but not exactly somewhere I would put my clothes. It also wasn’t even remotely fun for a little boy who loves Star Wars.

You will also need:
- fabric, approximately 2 yards
- sewing basics
- hot glue gun and glue
- spray glue (I used Aleene’s All Purpose Tacky Adhesive Spray)
- printable sticker paper (I used Transfer Magic Restickable Stickers)
- images to print on stickers
Prepping the suitcase
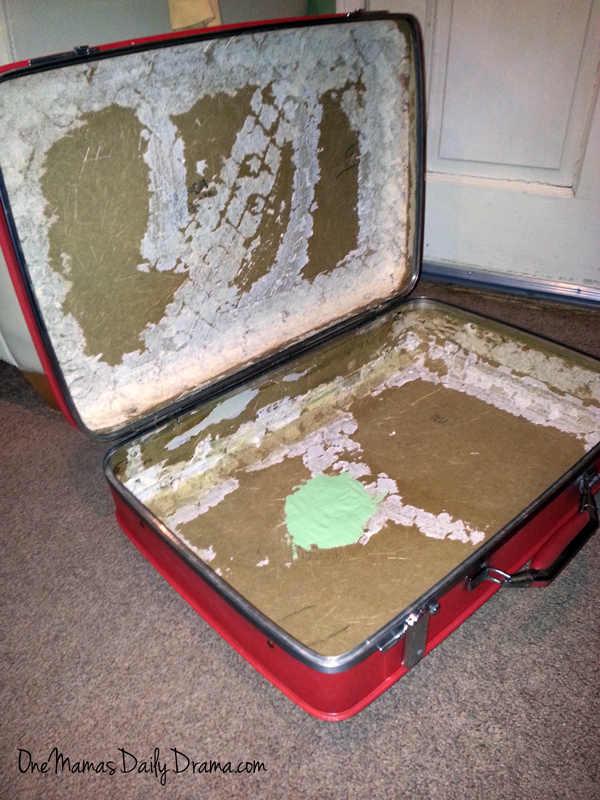
Really, I just grabbed a corner that was loose and pulled. I felt kind of destructive, but once it started coming out, it all came out. Mine was just glued in place. I expected staples or something, but there weren’t any. I also wiped the whole outside surface down with a gentle all-purpose cleaner.
Making a new lining
I measure the inside of the suitcase several times to be precise. I measured the width plus the sides, then the length plus the sides. Then I added a quarter inch all around for hemming. I cut a rectangle of Star Wars fabric that I found at Jo-Ann for maybe $3 per yard. Iron it if needed, because you want this really smooth.
Using my sewing machine, I folded the edge over a quarter inch and hemmed all the way around. Don’t worry about the corners of the suitcase at this point.
Repeat the process to make a lining for the other side too.

Adding the new lining
First, lay out the fabric to see how it will fit in the suitcase. You want to make sure the hemmed seams line up with the edges of the suitcase on all four sides.
At this point, eyeball how the corners will fit. I smoothed the fabric on the bottom and up the sides. Then, I folded the corners into a point and smoothed them against the fabric on the longer side. Think of it like wrapping a gift, but on the inside.
Once you are sure it will fit properly, it’s time to glue. Get your hot glue gun assembled and heating. Remove the fabric from the inside of the suitcase. Spray the spray glue on one side of the suitcase at a time. Carefully place the fabric inside, smoothing the bottom and sides for wrinkles. If you need to adjust, the fabric should come back up easily. Fold the corners in place, but they aren’t secure at this point.

Using the hot glue gun, draw a line just under the seam edges of the fabric. Press the fabric in place carefully. It will be hot. Fold the corners and hot glue them along the top seam too. If you like, you can also put glue in the pocket that the corner creates.
Repeat the process on the other side too.

Finishing the outside
For the outside, I wanted it to look like the suitcase had traveled all over the galaxy. I found several images online by searching for “Star Wars travel.” I saved the pictures, resized them in Microsoft Word, and printed them out on the sticker paper. Then I cut each one out and stuck it on the suitcase. I strategically placed them to look random, but they’re actually covering the biggest scratches on the suitcase too.

Like I said, I’m really pleased with how this turned out. It looks really professional, even though I was kind of making it up as I went along. I’ve thought about making more with other themes. I’ve seen some cute Middle Earth travel pictures. You could also just reline the suitcase and then add your own stickers from places as you travel.
Where would you go with an upcycled Star Wars suitcase?
Sharing at Tips & Tricks and Two Uses Tuesday
This is going to make some little boy very happy!