
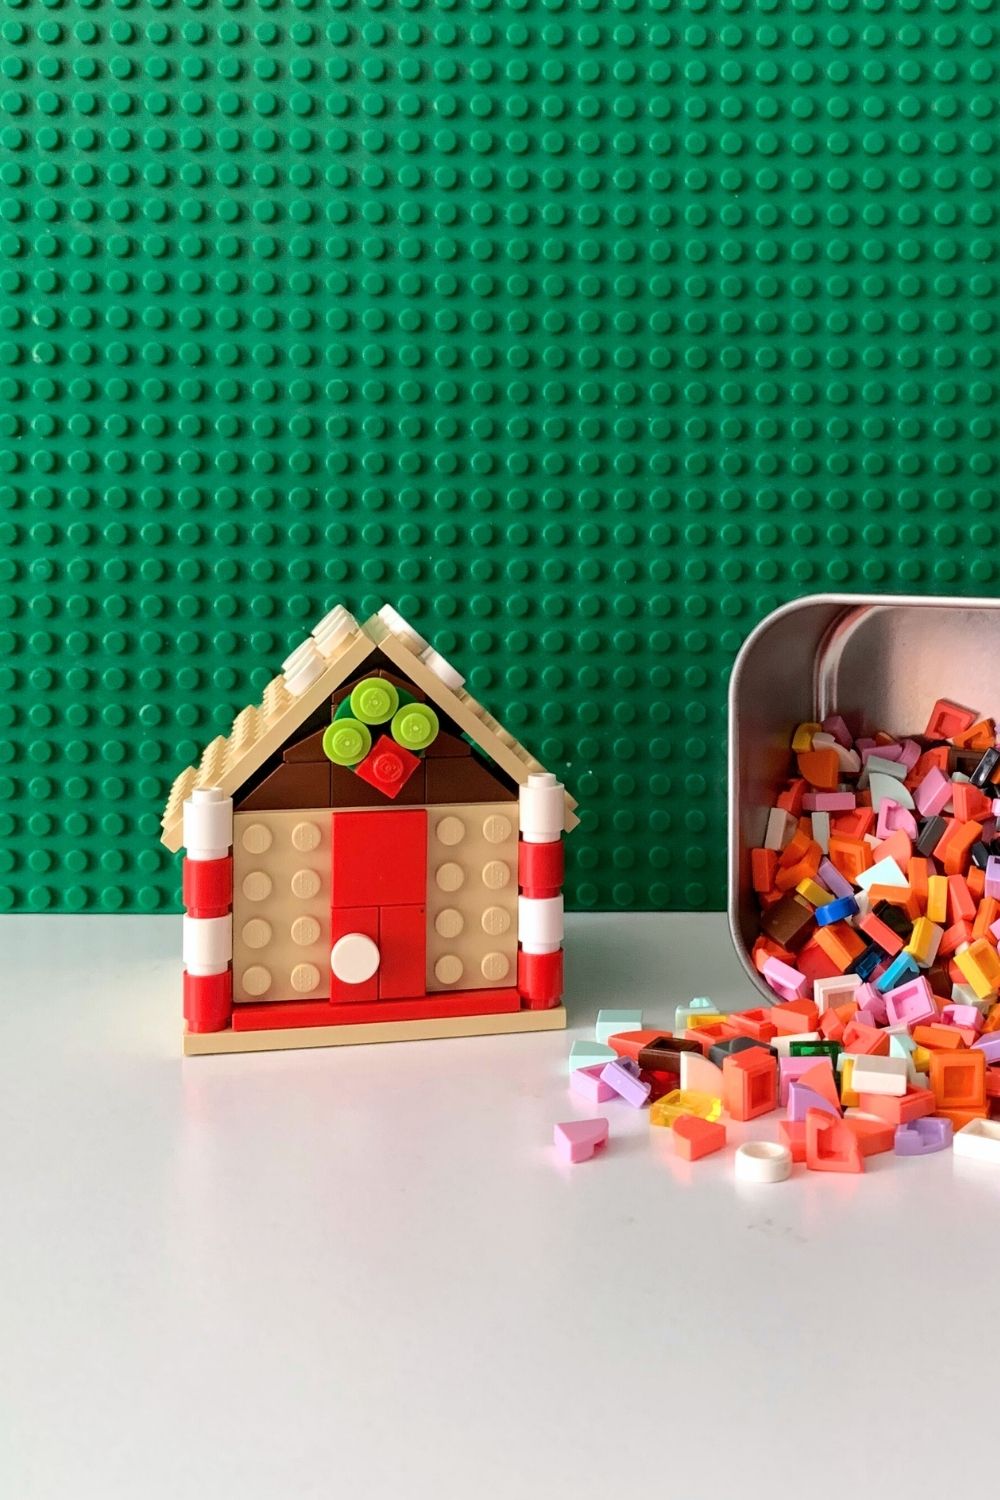
Make a LEGO gingerbread house you can decorate! Build a simple house shape and embellish it with LEGO dots for a cute custom creation.
Disclosure: This blog contains affiliate links. As an Amazon Associate and member of other affiliate programs, Keri Houchin earns a commission from qualifying purchases at no additional cost to you.
Every LEGO kit comes with a few extra pieces, most often the smallest ones. Over the years, our LEGO collection has ended up with tons of those tiny dot pieces.
I call them LEGO sprinkles, and they come in just about every color. They are perfect for decorating a tiny LEGO gingerbread house, so I decided to build a few.
Once you create the house base, it’s easy to decorate it however you like with the pieces you have. Go with classic red, green, and white. Or make it a pastel sugar cookie house.
(If you need dots, the LEGO store has actually retired the standalone sets. I’ve found LEGO DOTS on Amazon, and I recommend checking your local Bricks and Minifigs.)
LEGO Gingerbread House Instructions
There are 3 stages to building my base gingerbread house. I’ll walk you through what pieces I use and how I assembled them. Once you get the concepts down, you can customize them to fit the pieces you have.
The most important pieces are baseplates in a single color (I used 1 8×8, 2 6×6, and 4 4×6) and at least half a dozen bricks in various sizes with side studs.
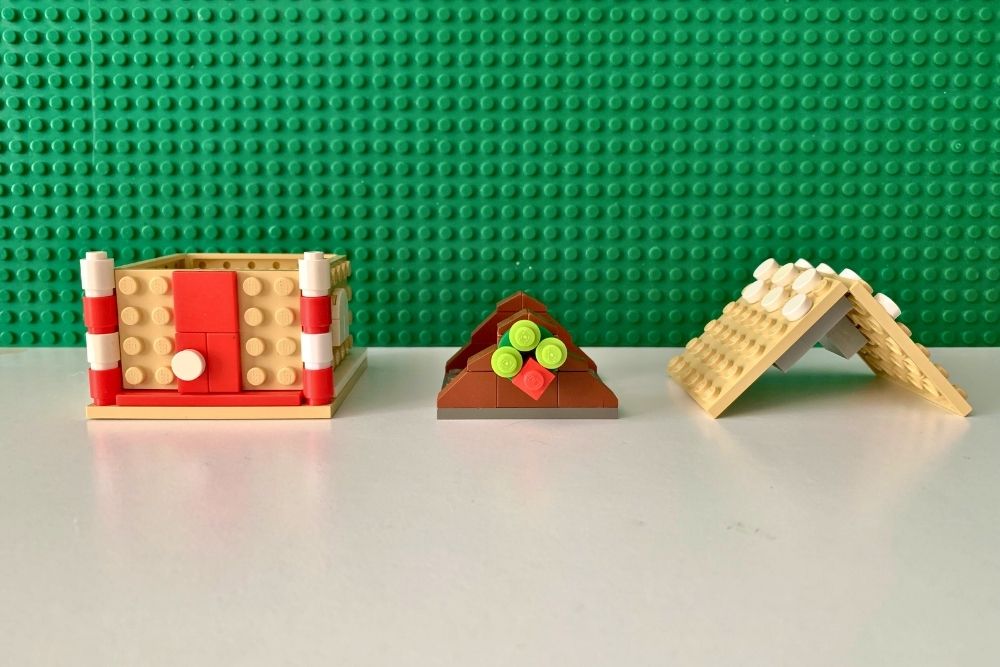
1. Build the house walls.
Start with a baseplate. Mine is 8×8.
You’re going to build 4 walls. They can be the same size or not. The important part is having enough baseplates in the same color.
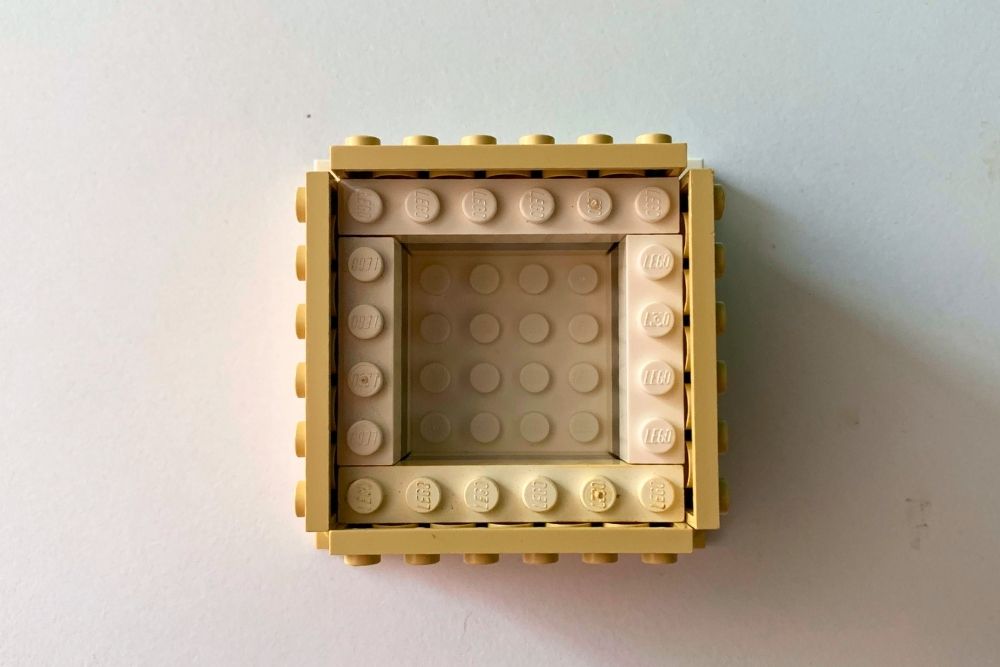
For each of the walls, use basic bricks to build 3 layers tall. One of those layers needs to include bricks with extra studs on the side. If you look at my photos, there are 2 ways to make this work:
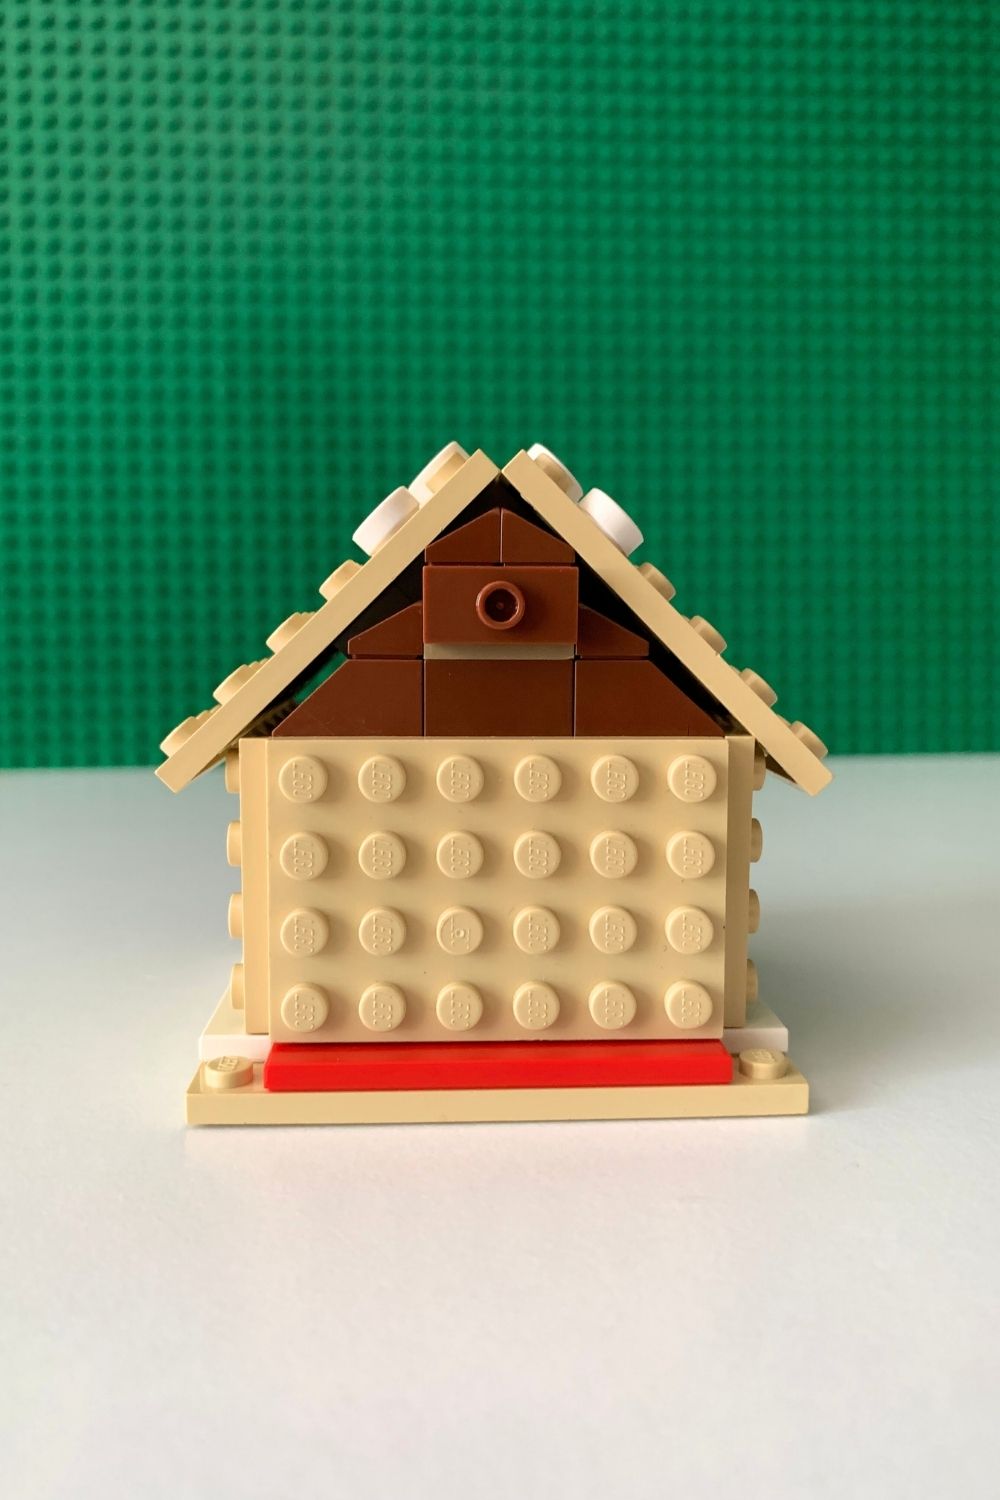
- The house on the left: Put the brick with side studs directly on the baseplate. When you attach the 4×6 baseplate sideways, it will will be slightly offset and you can see a tiny gap at the bottom.
- The house on the right: Use 2 layers of flat pieces to elevate the brick with side studs (this counts as one layer). When you attach the 4×6 baseplate sideways, it will be enough offset that you can add a layer of smooth flat pieces around the outside of the house.
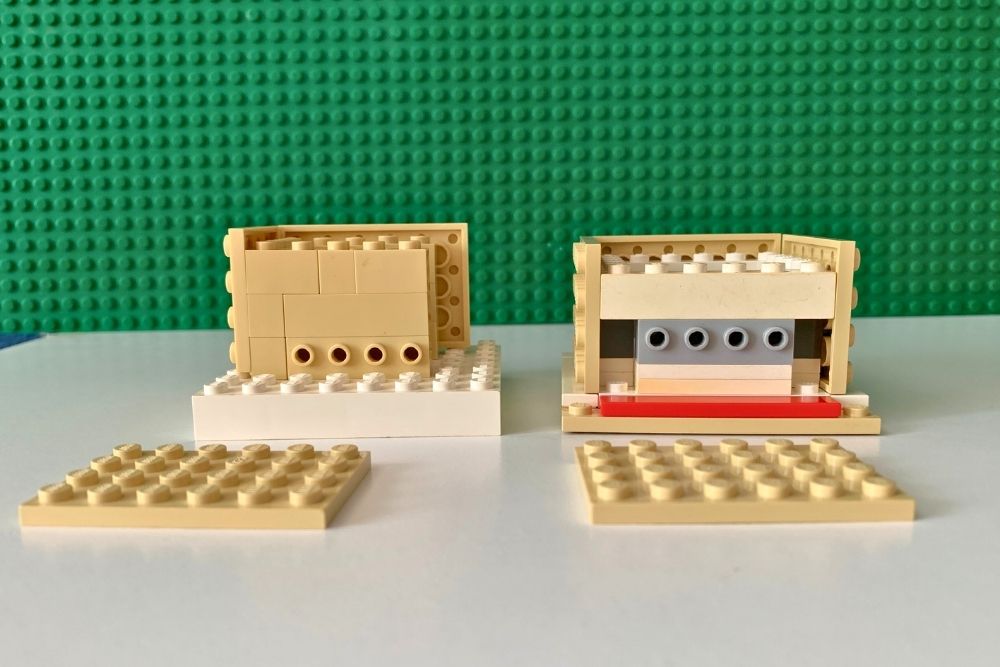
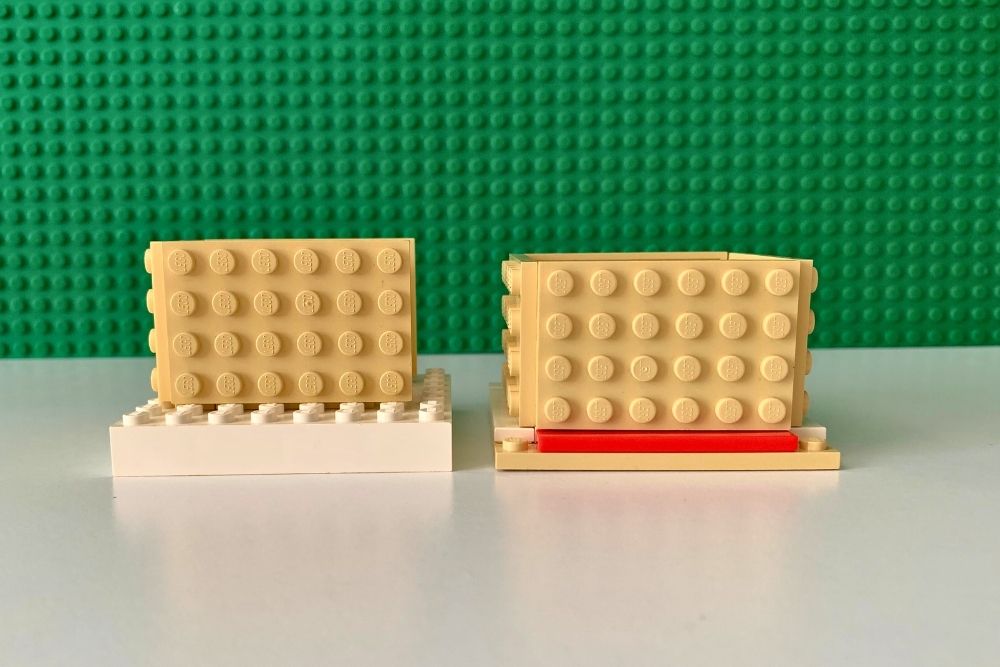
The first method is simpler and uses fewer pieces. The second method is tidier, but a bit more technical. Either way, when you’ve built all 4 walls this way, you have a nice tan box.
The inside regular bricks will not be as tall as the outside wall. This is fine and helps the roof stay in place in the next step.
2. Build the roof support.
Set aside the little square box and make the roof support next.
For this one, you need a new baseplate and it doesn’t have to match. Use brown slopes to make a larger triangle with 3 layers. On one end, I used a 1×2 with side studs, then stuck a brown piece over it to make that area into a single stud. This is how I attached the wreath (more on that below).
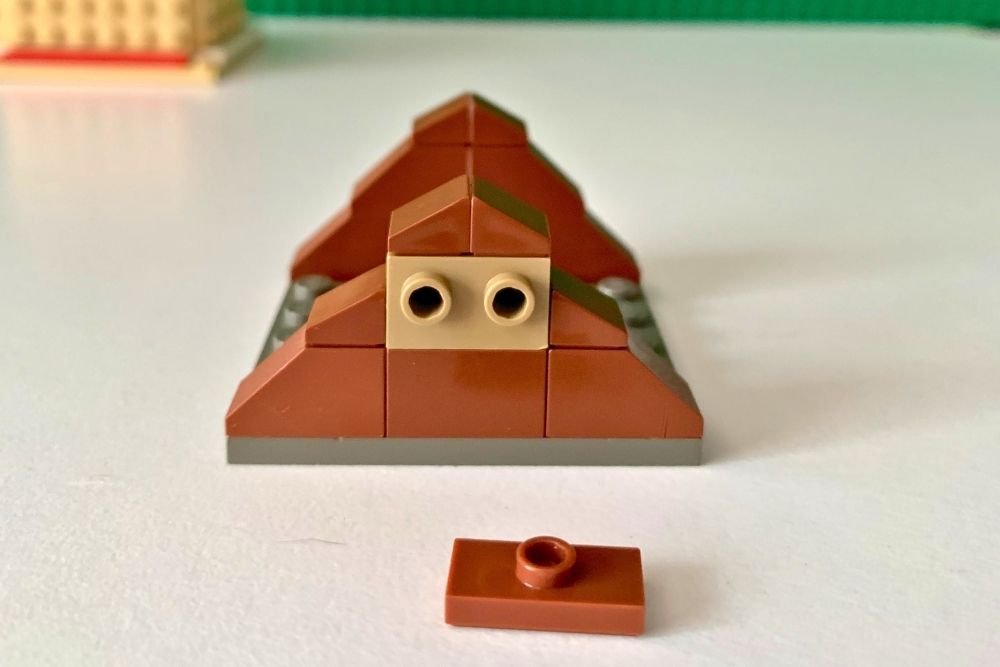
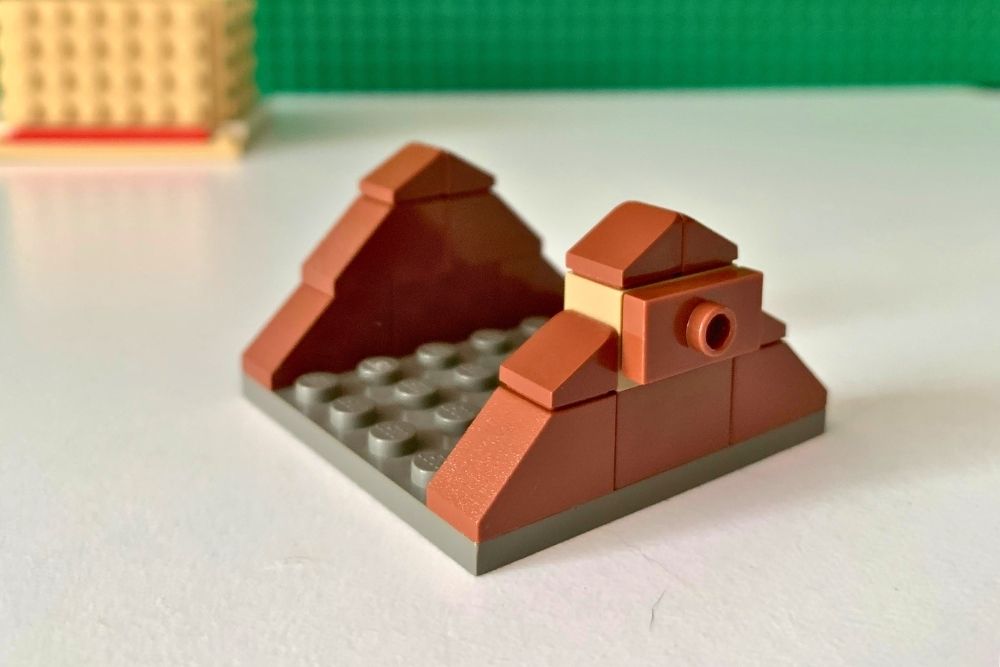
Drop the roof onto the house box. It will fit right inside. Don’t worry about snapping it down. The walls will hold it in place and you’ll want to take it off several times while decorating.
3. Build the roof shingles.
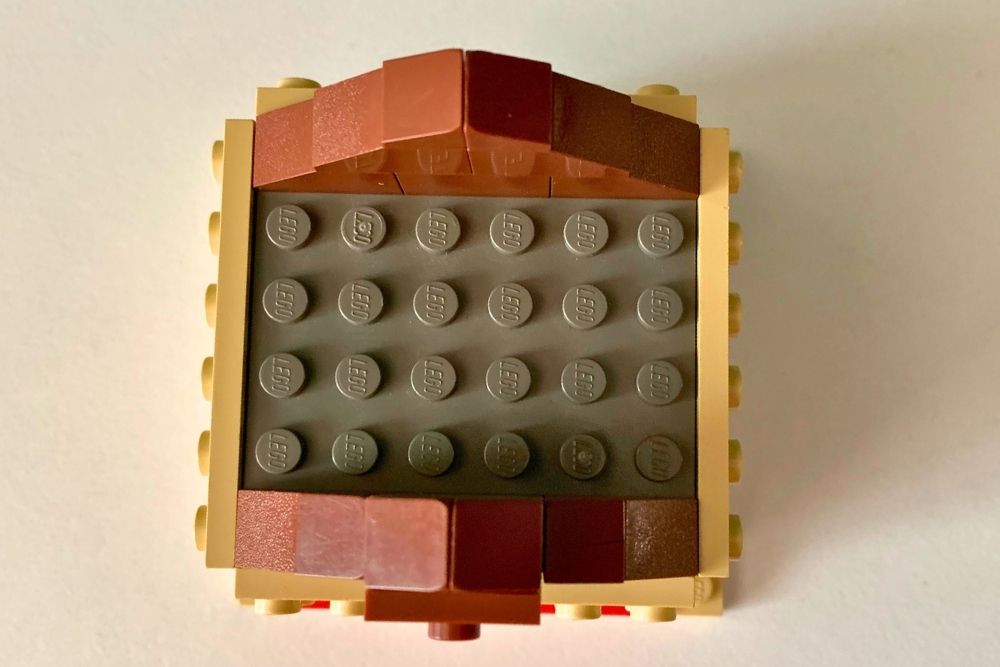
The final step for the base gingerbread house is to add the shingle layer to the roof.
Grab 2 more 6×6 baseplates in the same color as your walls. To connect the baseplates into the roof shingles, use more bricks with side studs. Attach the baseplates at a right angle.

The roof shingles sit on top of the roof support. They won’t click into place, but the shape should stay in place with minimal movement.
Because the 3 layers are just stacked, they won’t hold up to wild movement. But they will stay together while sitting on a table. You can also easily separate the sections while decorating.
How to decorate a LEGO gingerbread house
Once you’ve built the base gingerbread house, you can decorate it however you like. I think it would be fun to have a family LEGO session or a kids’ party and build the houses together. Then set out trays of dots and let everyone decorate their own house. (Less messy than a traditional gingerbread house decorating party!)
Gingerbread house doors
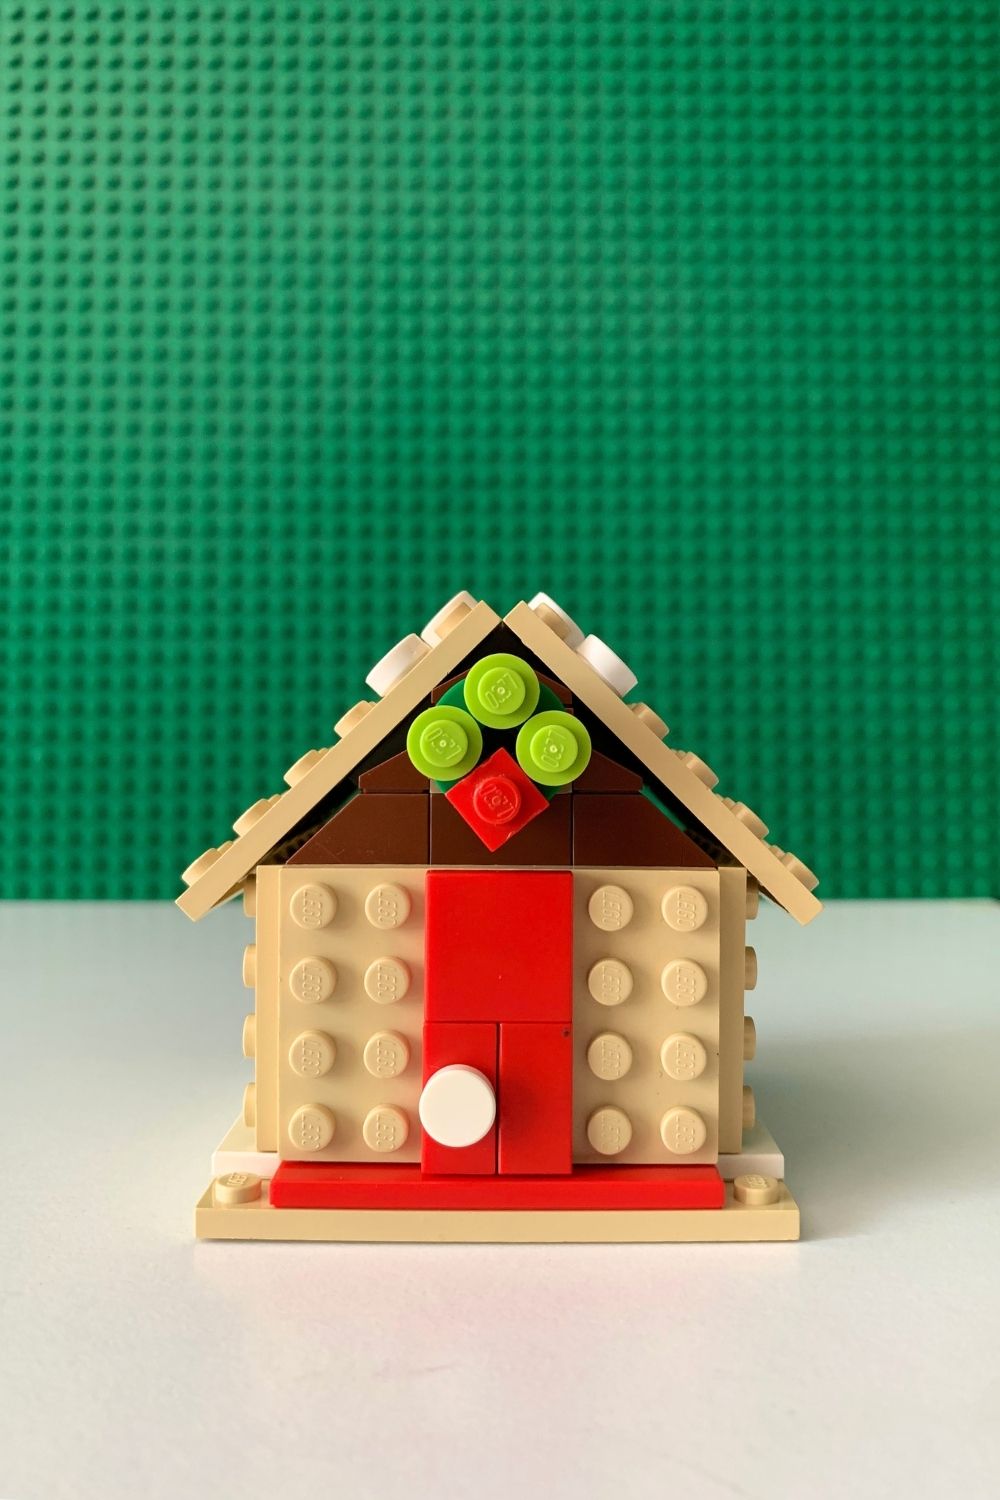
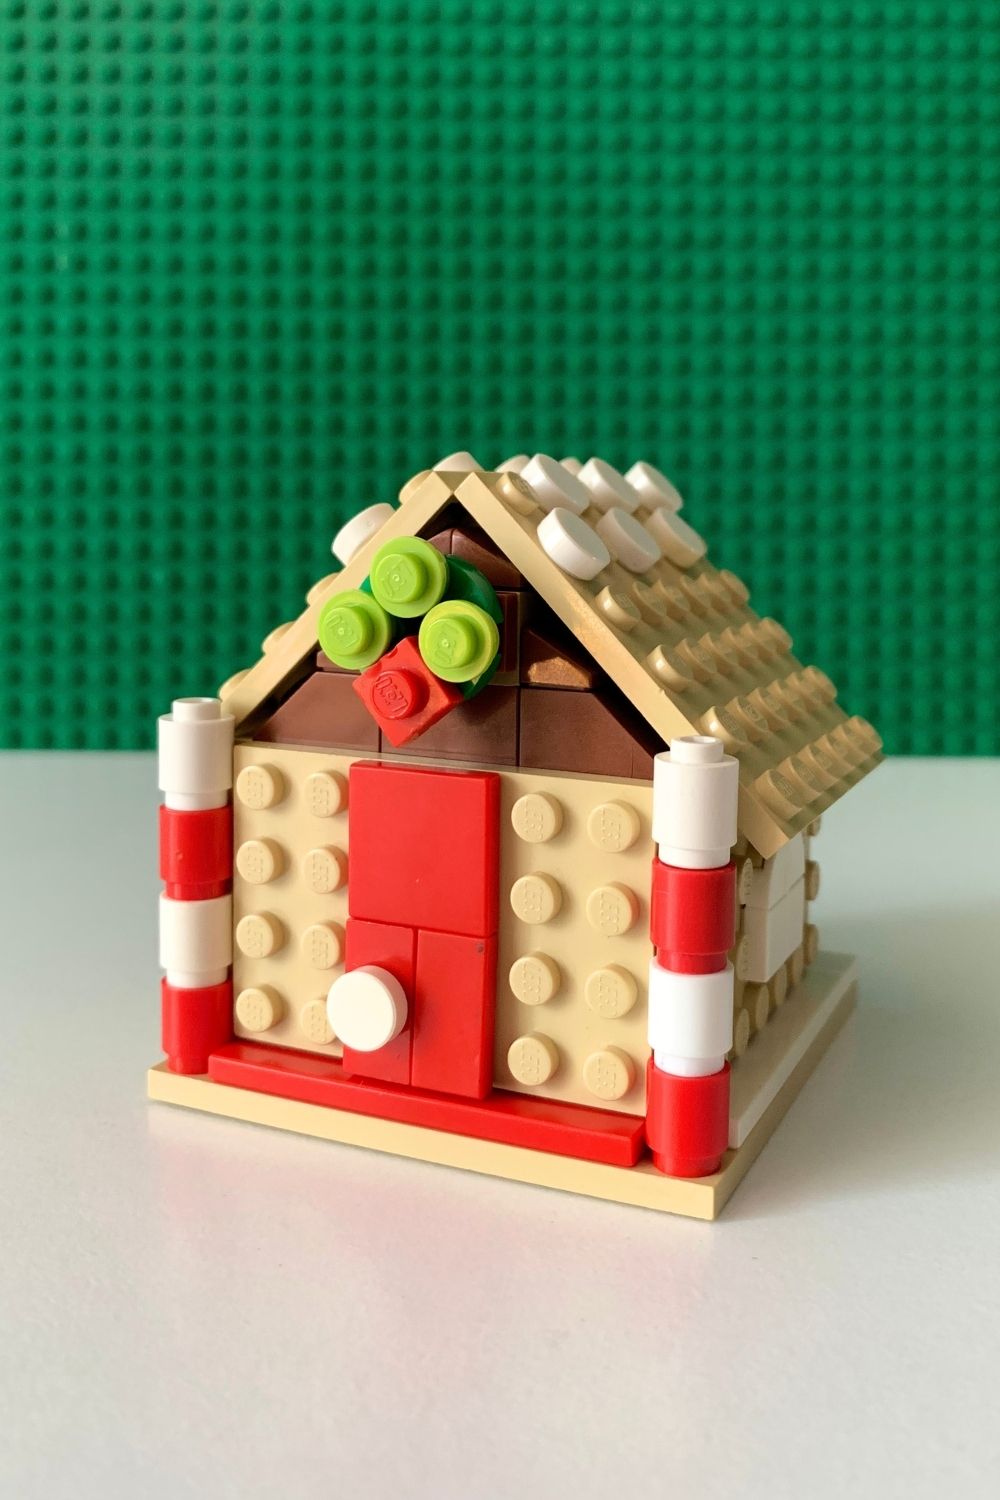
A smooth, flat rectangle in any color makes a good door. You can also use several smaller pieces to achieve the same shape. For this red door, I used a 1×2 that has a single stud in the center to add a white dot for a doorknob.
Gingerbread house windows
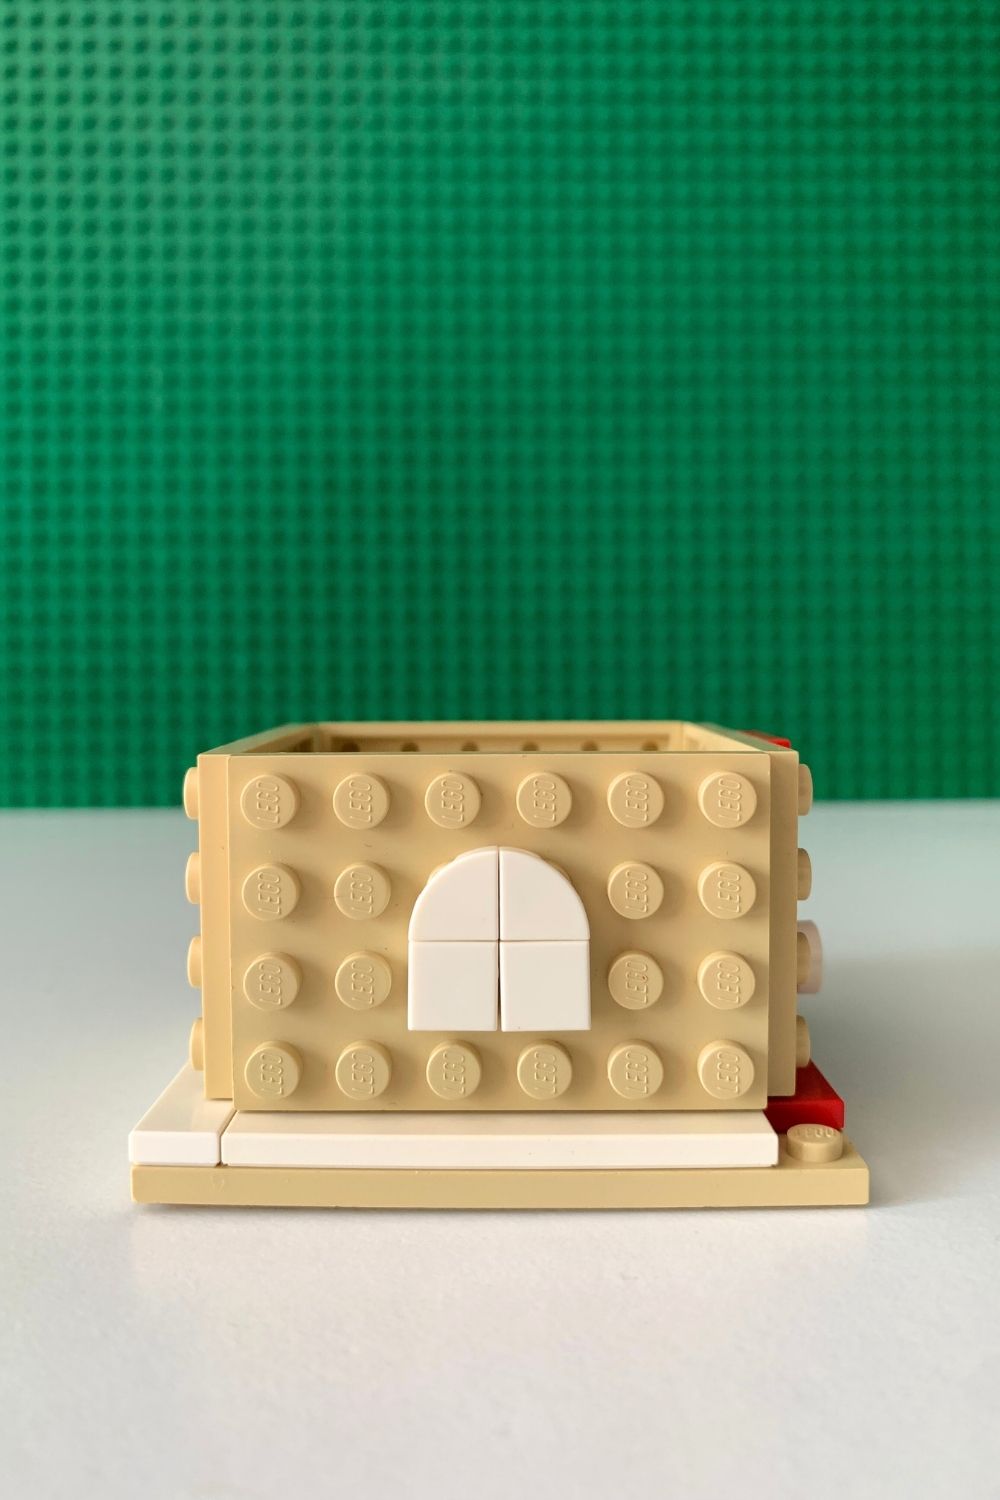
Use a 2×2 square to make a basic window. Or use 4 dots together for a fancy window. Below, I used 2 square dots and 2 curved ones. I like how it looks like the window has muntins. (I had to look it up, but those are what the bars on your real windows are called.)
Add more squares or rectangles beside the window to look like shutters. You can see them on my finished house further down.
Wreaths and greenery
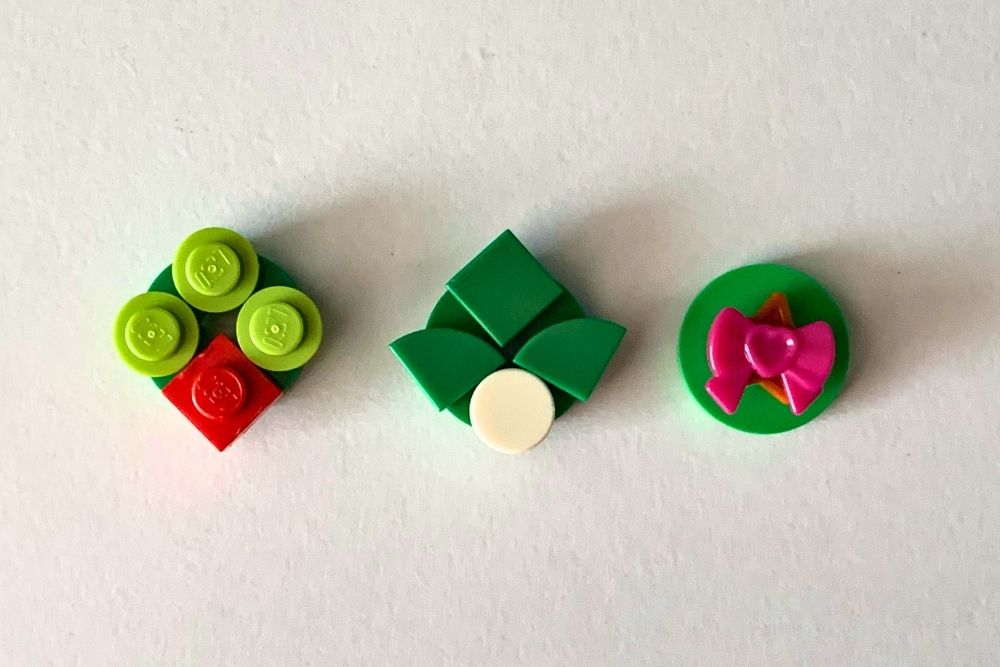
A green circle makes a handy base for whatever dots you use to make greenery. Make a classic red and green wreath, some mistletoe, or just add a bow.
If you have dots with different designs, you can get really creative with what you add here. I put the wreath on the roof support above the front door.
Candy cane poles
Stack red and white round 1×1 pieces to make candy cane striped poles.
Gumdrops and snow
Use colorful dots anywhere like you would with a real gingerbread house. Rainbow colors along the roof edge look like candy button, gumdrops, or Christmas lights. Add white anywhere to look like frosting or snow.
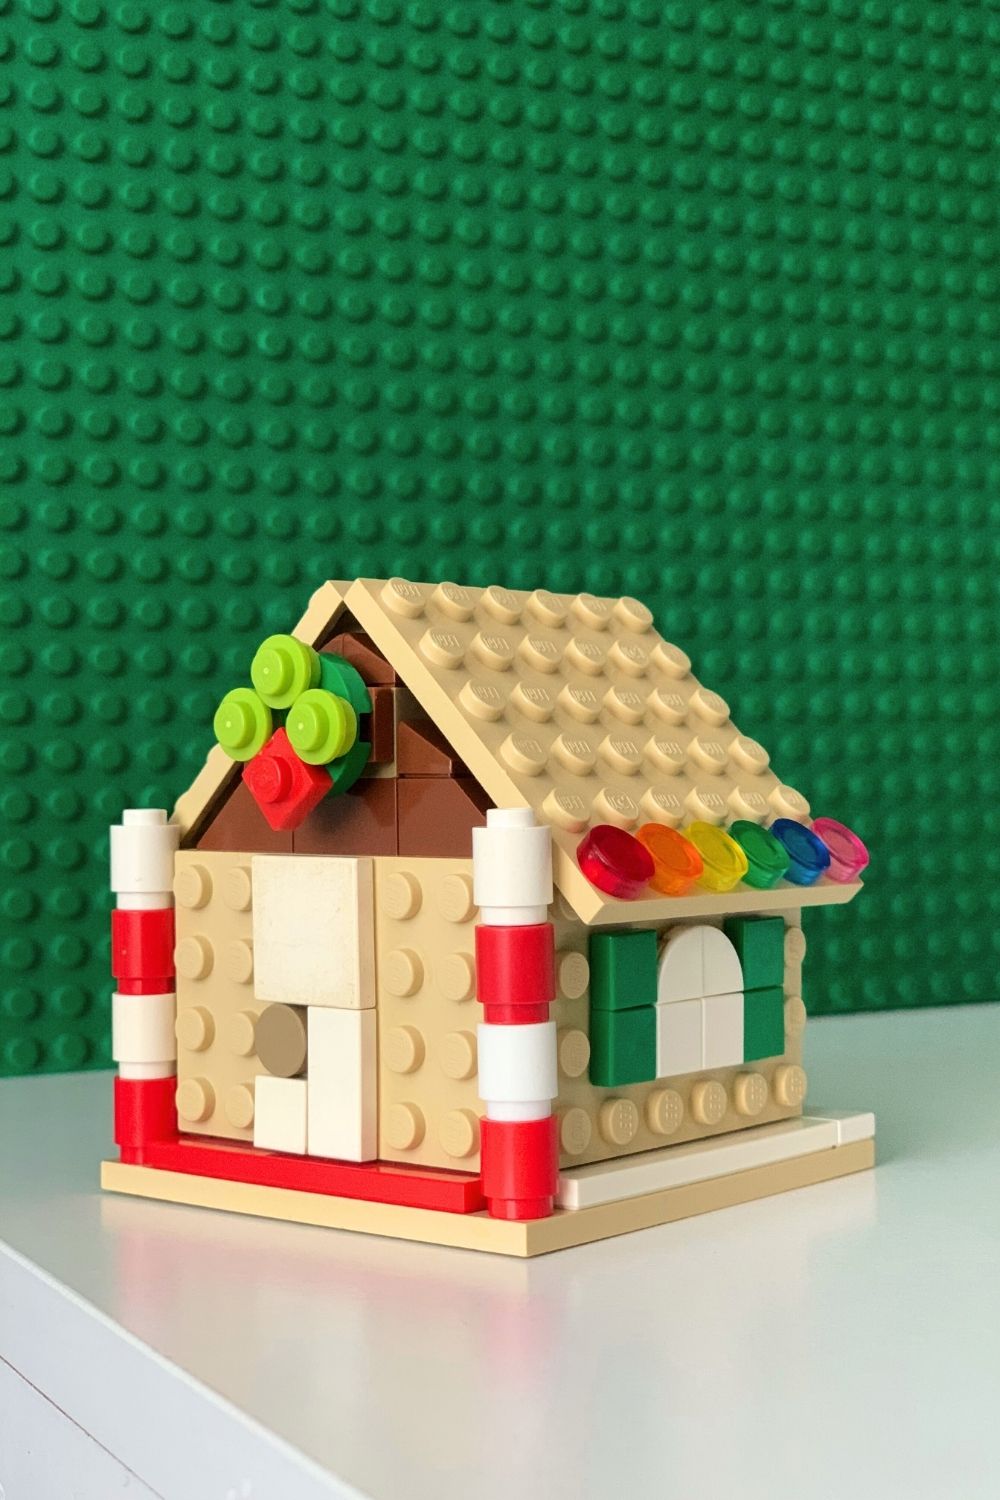
There are tons of ways to decorate, especially if you have unique pieces. Get creative and see what everyone in your family can come up with!
What’s next? Try these other fun and creative ideas on One Mama’s Daily Drama:
Leave a Reply