
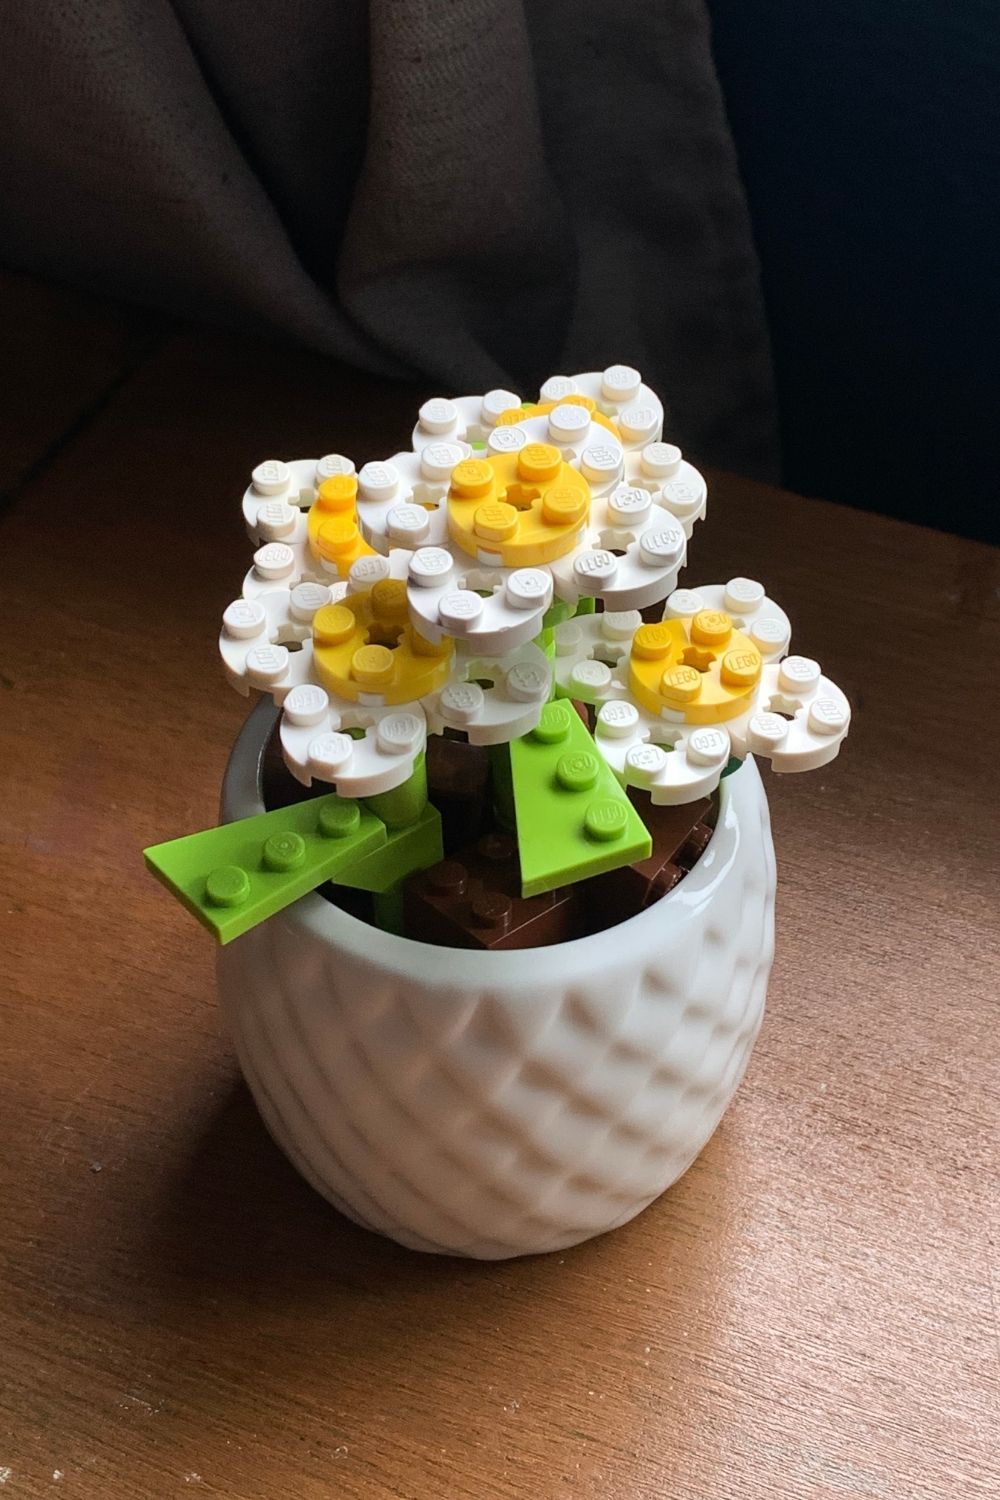
Use basic brick pieces to make this LEGO daisy flower pot. It’s a cute and easy build that makes a great gift too.
Disclosure: This blog contains affiliate links. As an Amazon Associate and member of other affiliate programs, Keri Houchin earns a commission from qualifying purchases at no additional cost to you.
Note: Although this content features LEGO, it is unofficial. LEGO® is a trademark of the LEGO Group of companies which does not sponsor, authorize or endorse this site.
I have quite a few of the LEGO Botanical sets. They’re fun to make and look great displayed around the house. But they’re also pretty detailed. Great for adults, but not little kids.
If you want a simple LEGO flower tutorial that kids of all ages can build, try this tutorial! It uses mostly basic bricks that come in the big boxes. And if you don’t have the exact colors I used, you can easily swap them out for something else.

How to make LEGO daisies
Supplies
- small flower pot, cup, etc.
- LEGO bricks
- for each flower (make as many as you need to fill the pot; I made 5)
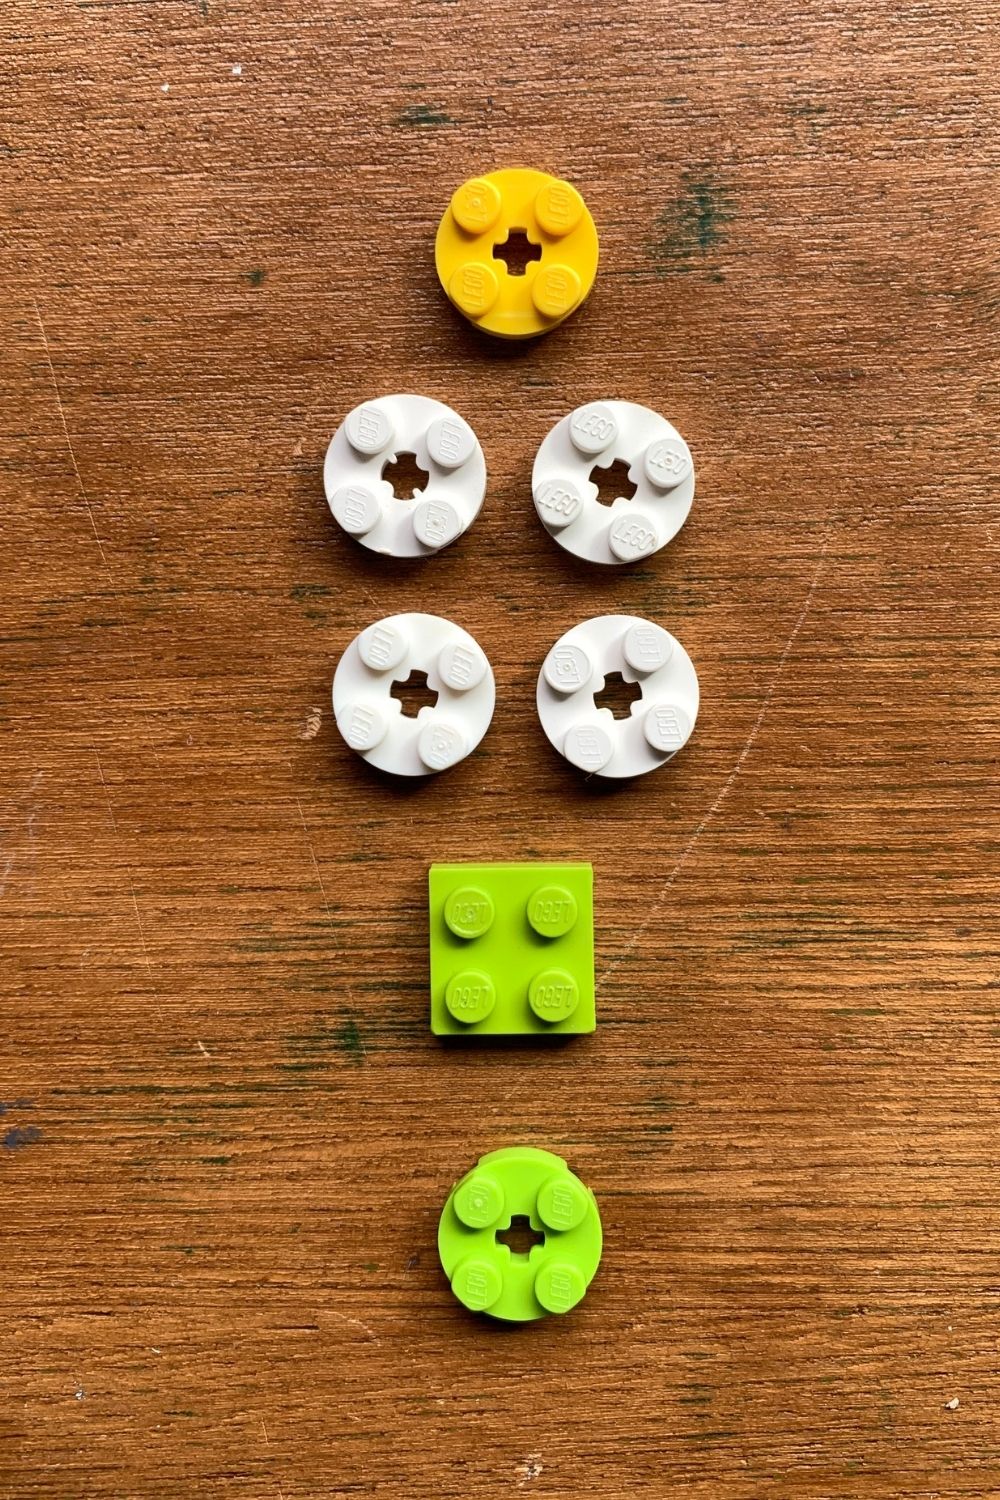
- 1 flat yellow 2×2 circle
- 4 flat white 2×2 circles
- 1 flat green 2×2 square
- 1 flat green 2×2 circle
- 5-7 green 1×1 rounds
- 1 green 1×2 up slope
- 1 green 2×3 plate (the triangle with 3 studs) or anything leaf-shaped
- 1 6×6 circle, any color, or a piece that fits the bottom of your pot (mine is black)
- misc bricks to reinforce the base (I used 2 2×4 bricks and 4 1×2 bricks in black)
- a handful of brown bricks, optional
- for each flower (make as many as you need to fill the pot; I made 5)
Instructions
1. Build the flower petals.
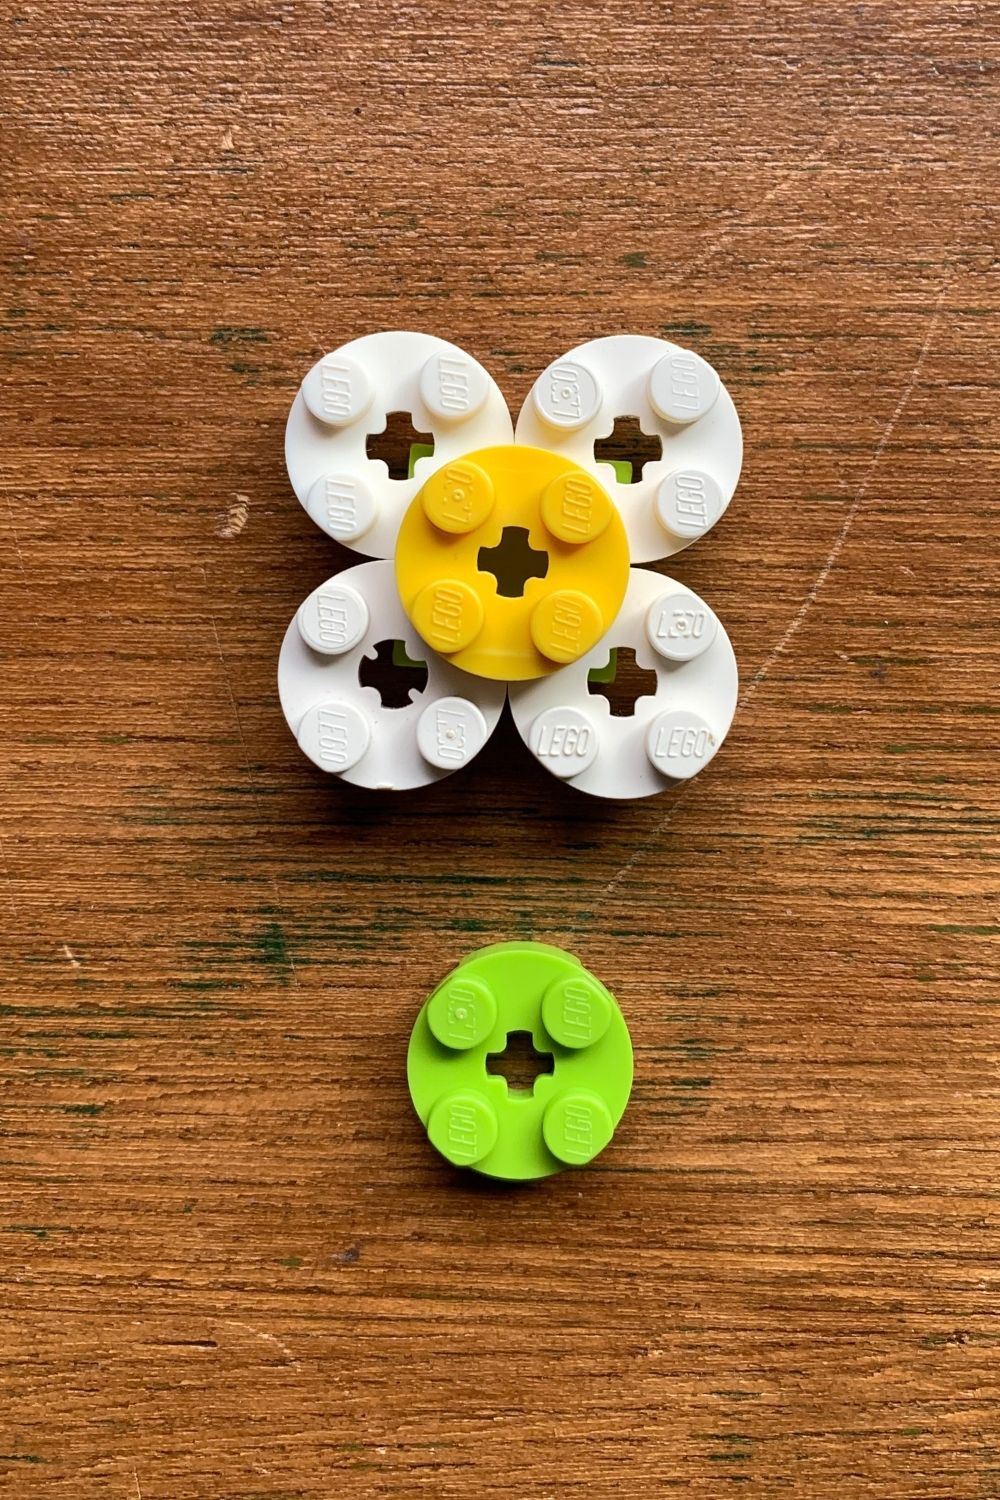
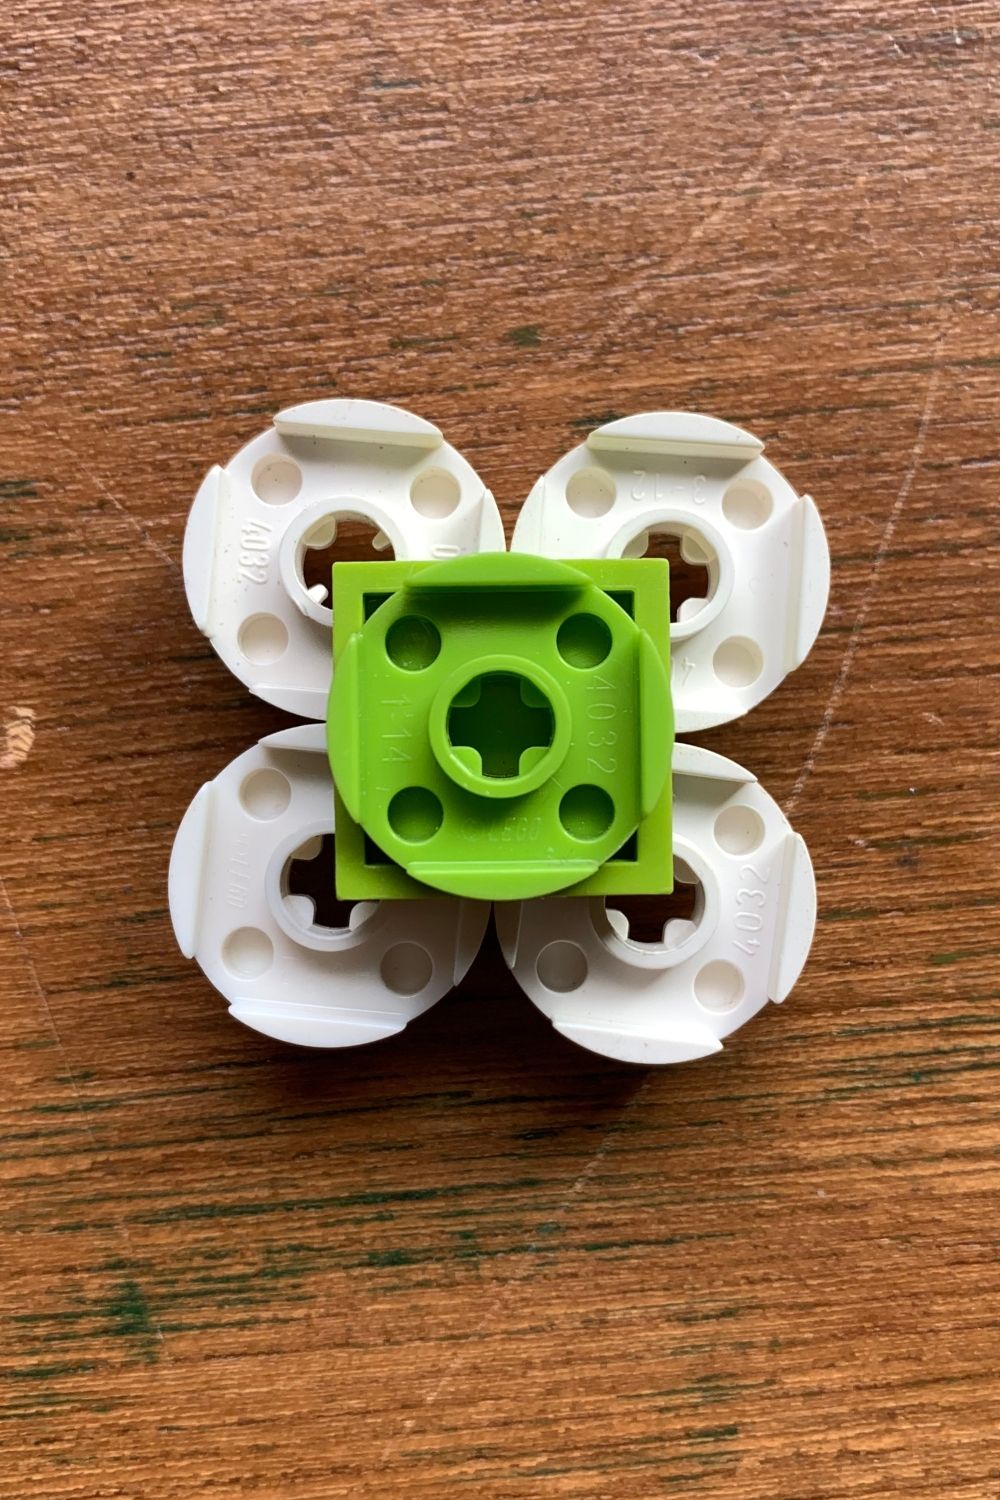
Start by stacking the 4 white circles on top of the green square with one circle attached to each of the square’s studs.
Put a yellow circle in the center, clicking it down onto the white circles. Flip the build over and attach the green circle to the bottom of the square. This makes the LEGO daisy petals.
2. Build the flower stem.
To make the stem, stack 4 green rounds. Add a green up slope on top, then another 2 green rounds. Attach the green plate to the top of the slope to resemble a leaf. (You’ll adjust these later when they go into the pot. Make them all the same for now.)
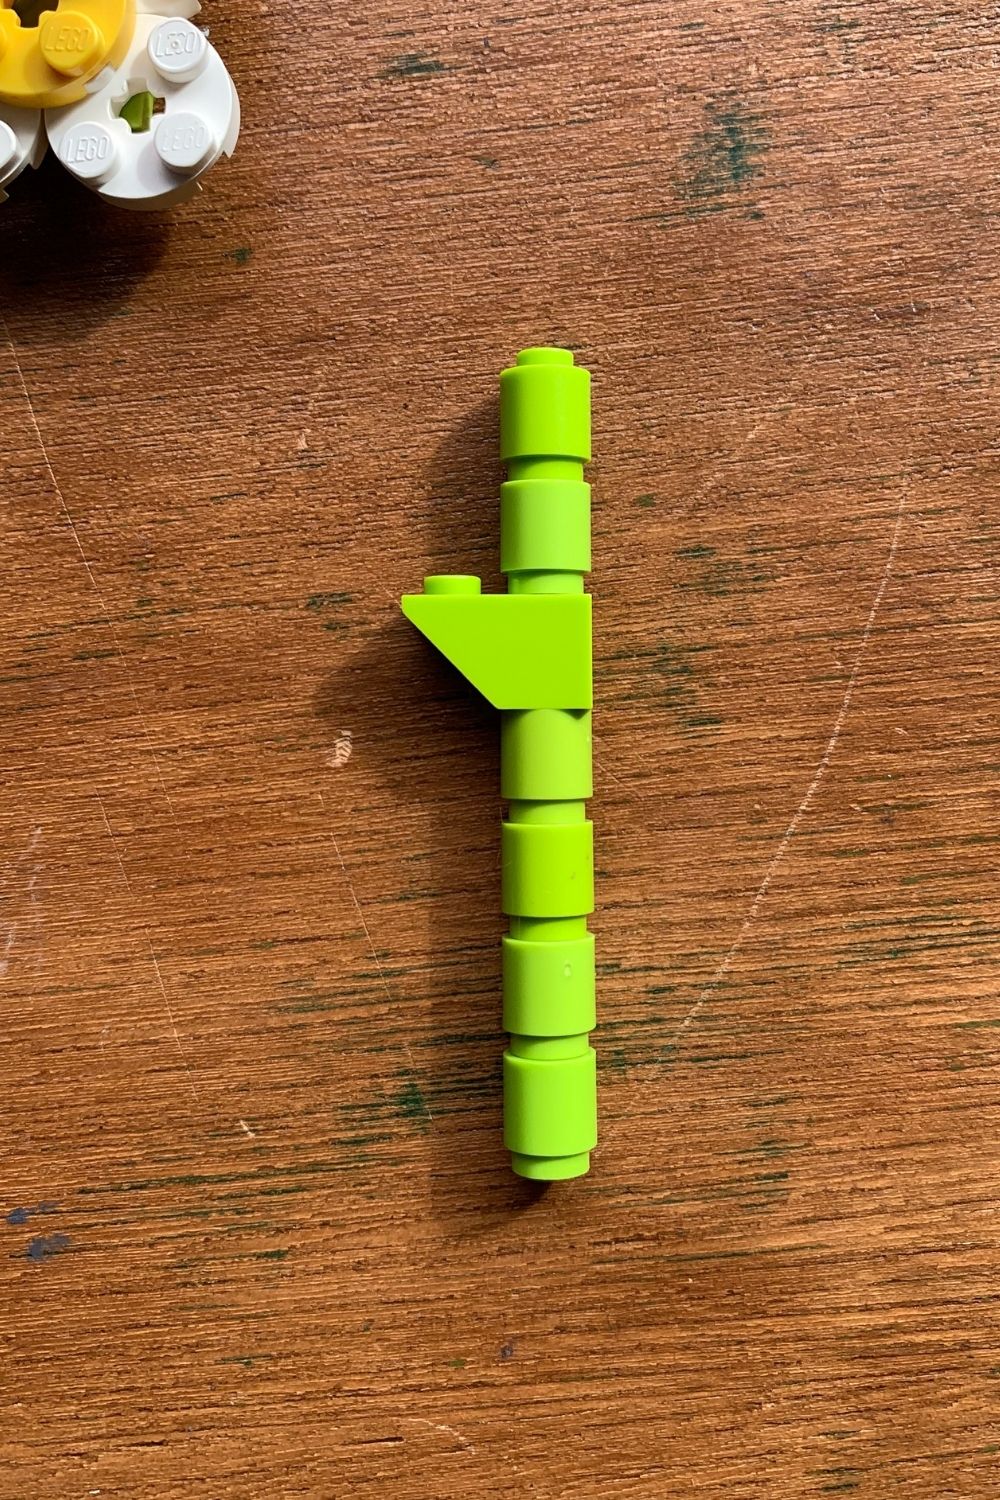
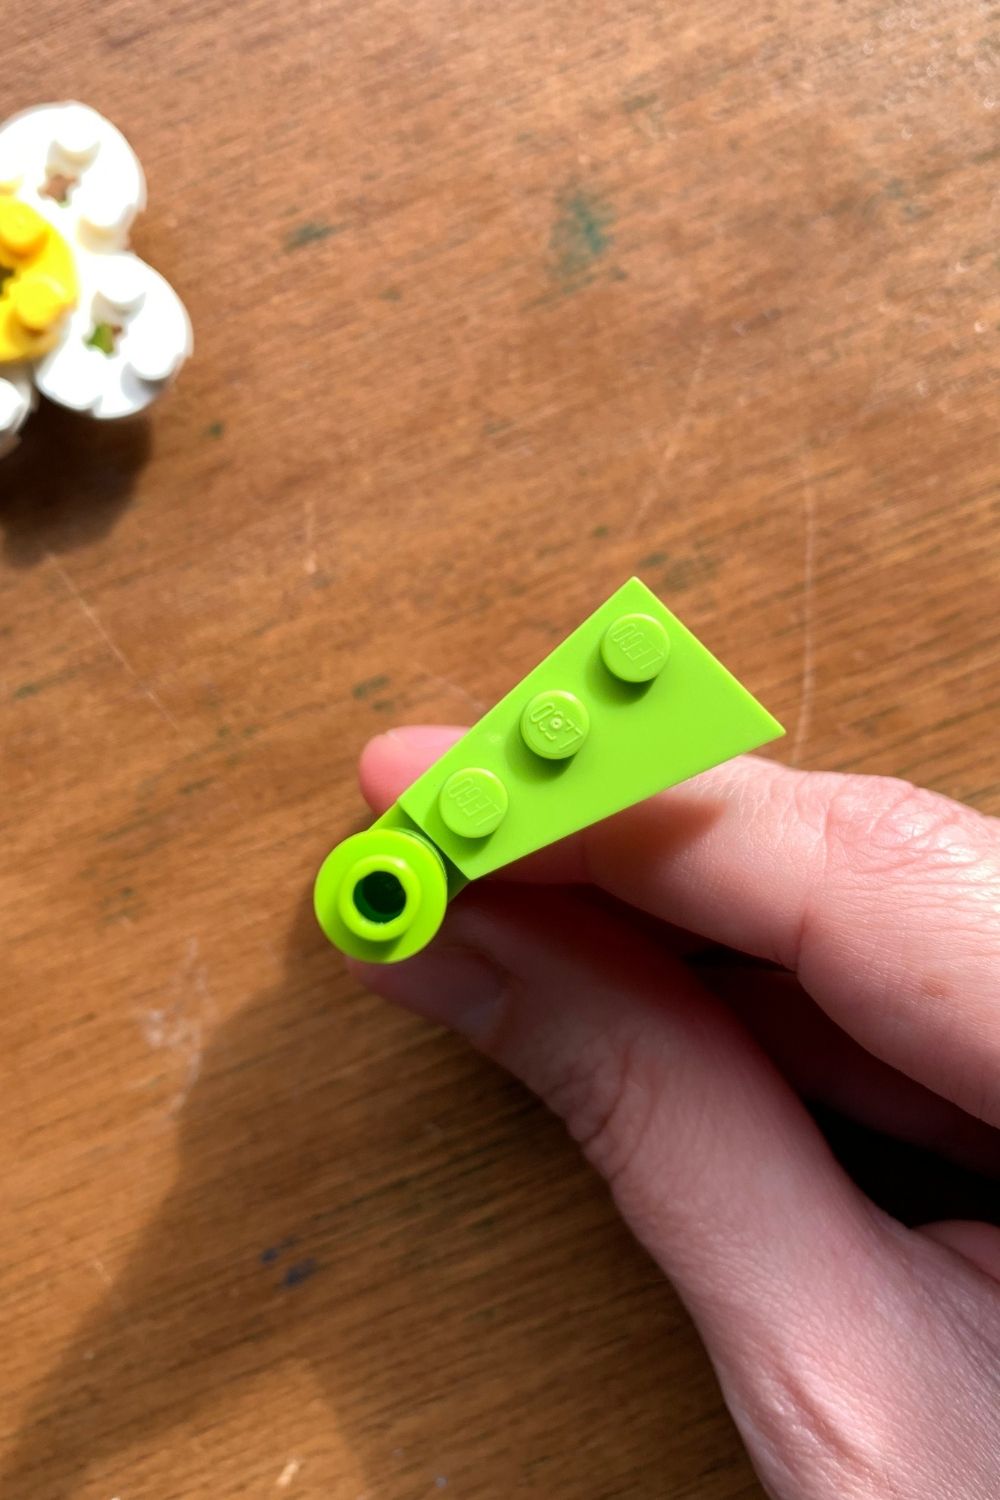
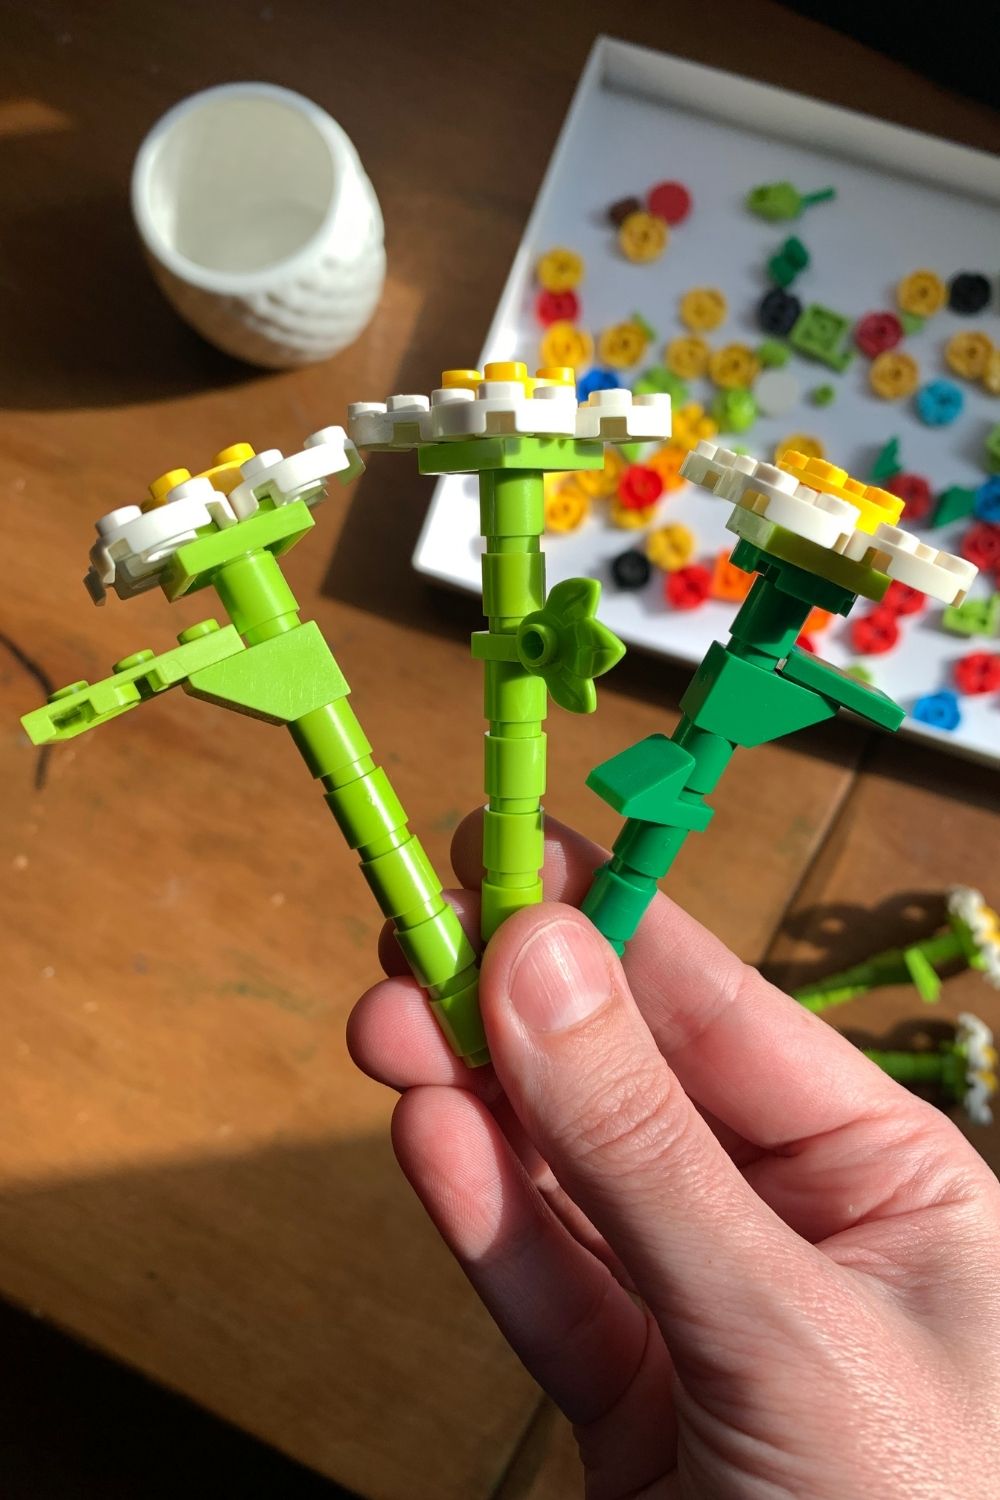
If you don’t have this shape or would rather use something different, there are lots of ways to add leaves to the flower stems.
3. Attach the petals to the stem.
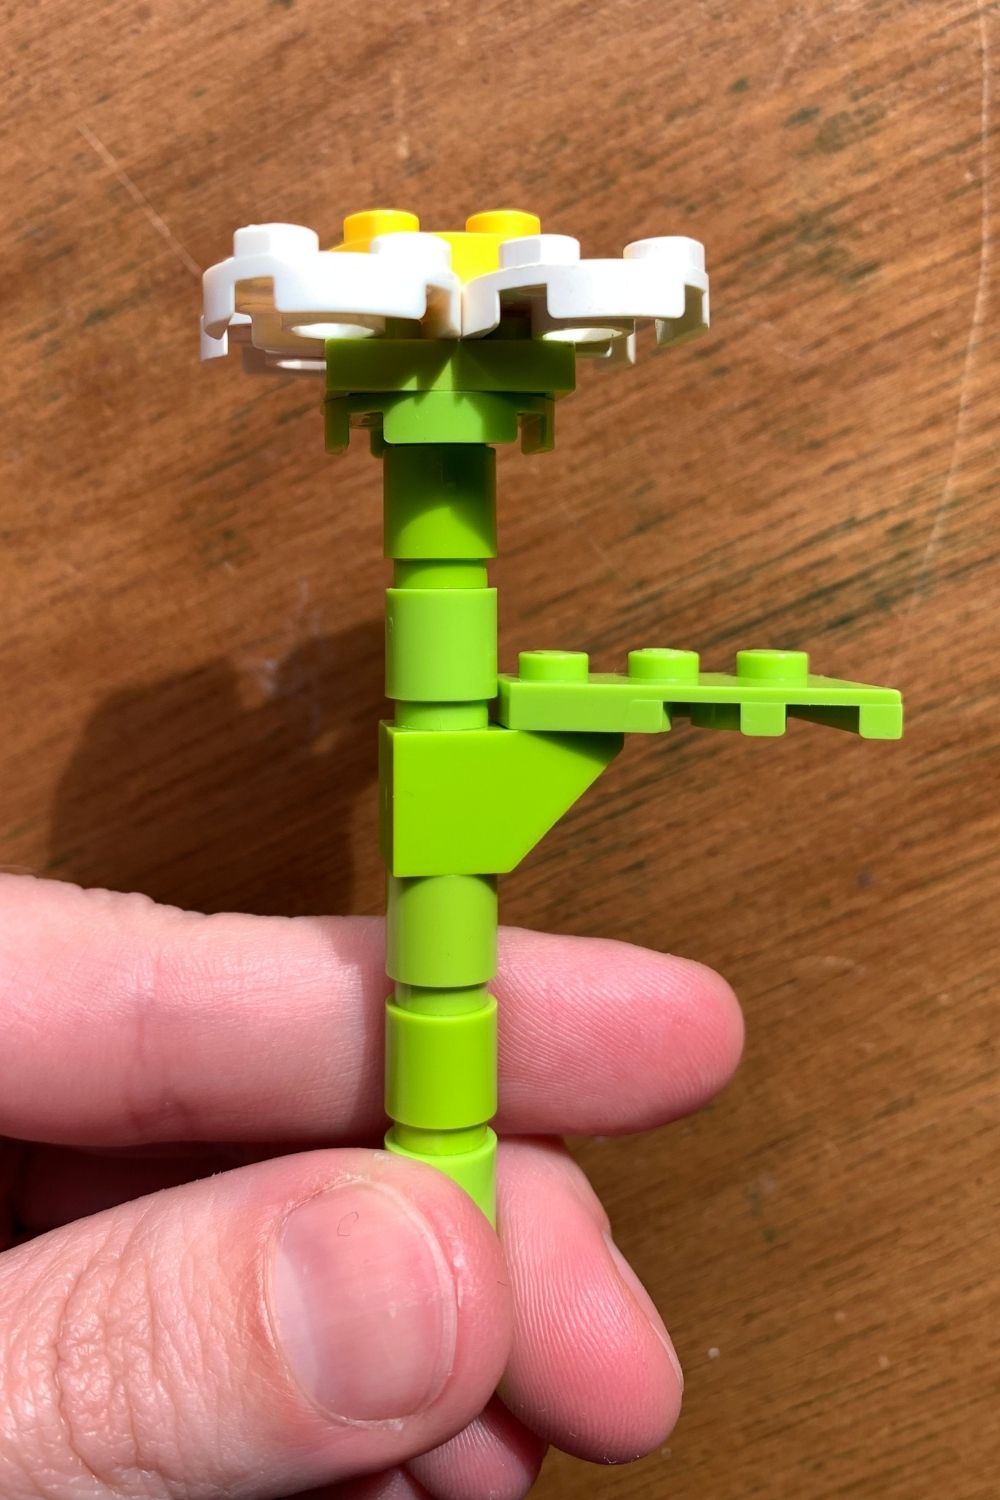
Click the flower petals from step 1 onto the stem from step 2. Repeat the first 3 steps to make more flowers.
4. Add the flowers to the pot.
To make the base, you’ll need to make a flat support that fits in the bottom of the flower pot. Take the flat piece (or pieces) and use the other bricks to reinforce it so it’s sturdy.
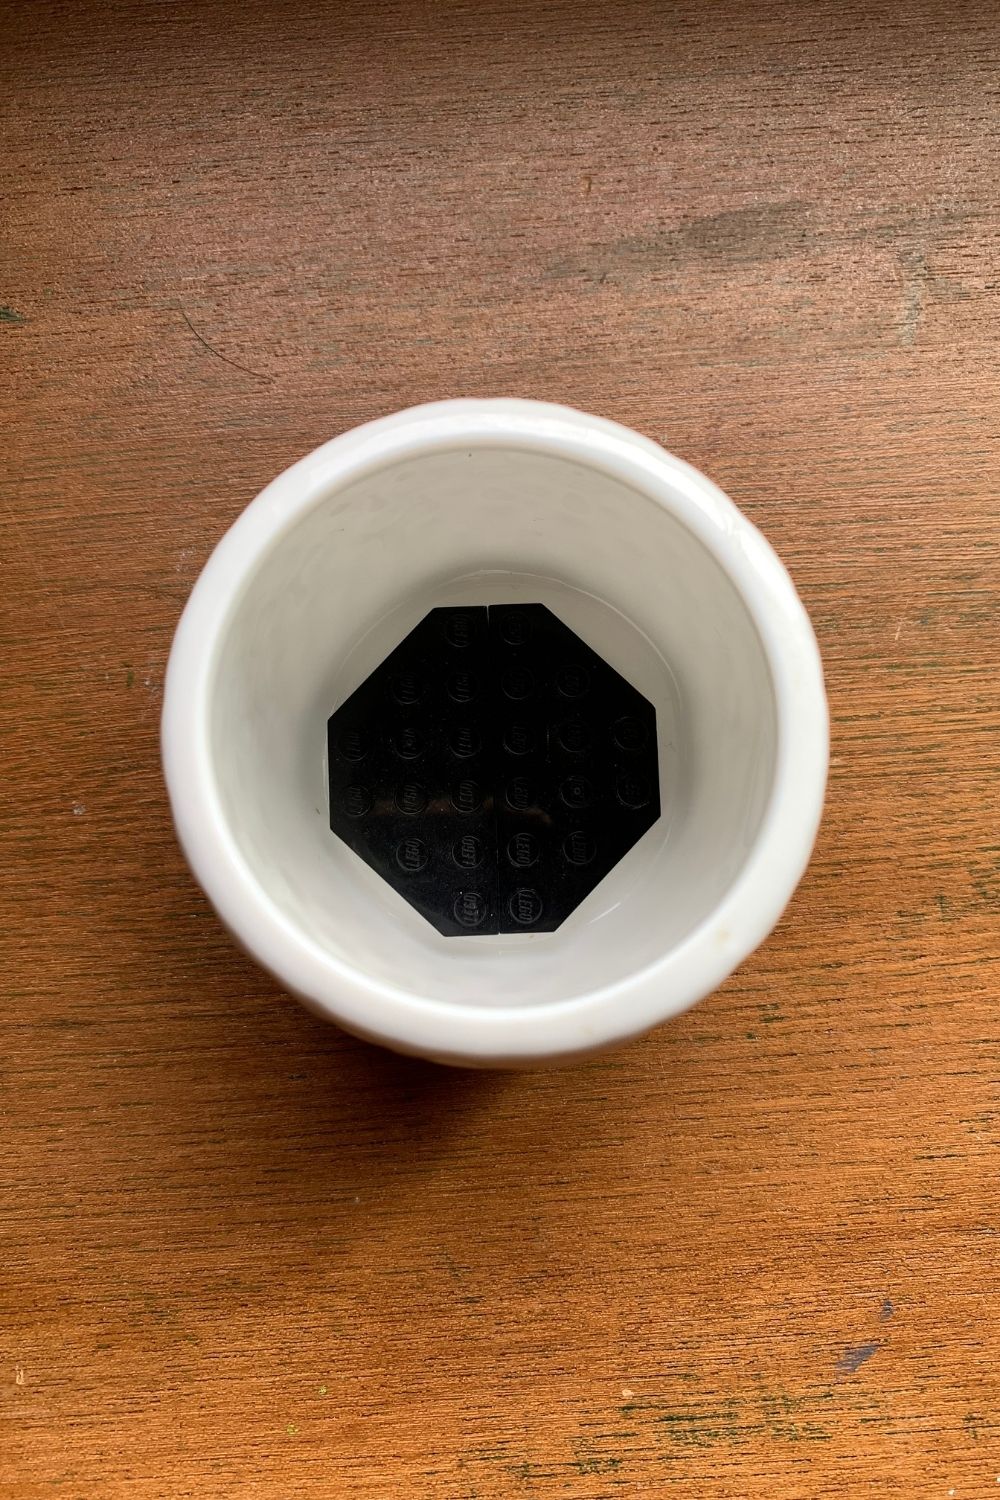
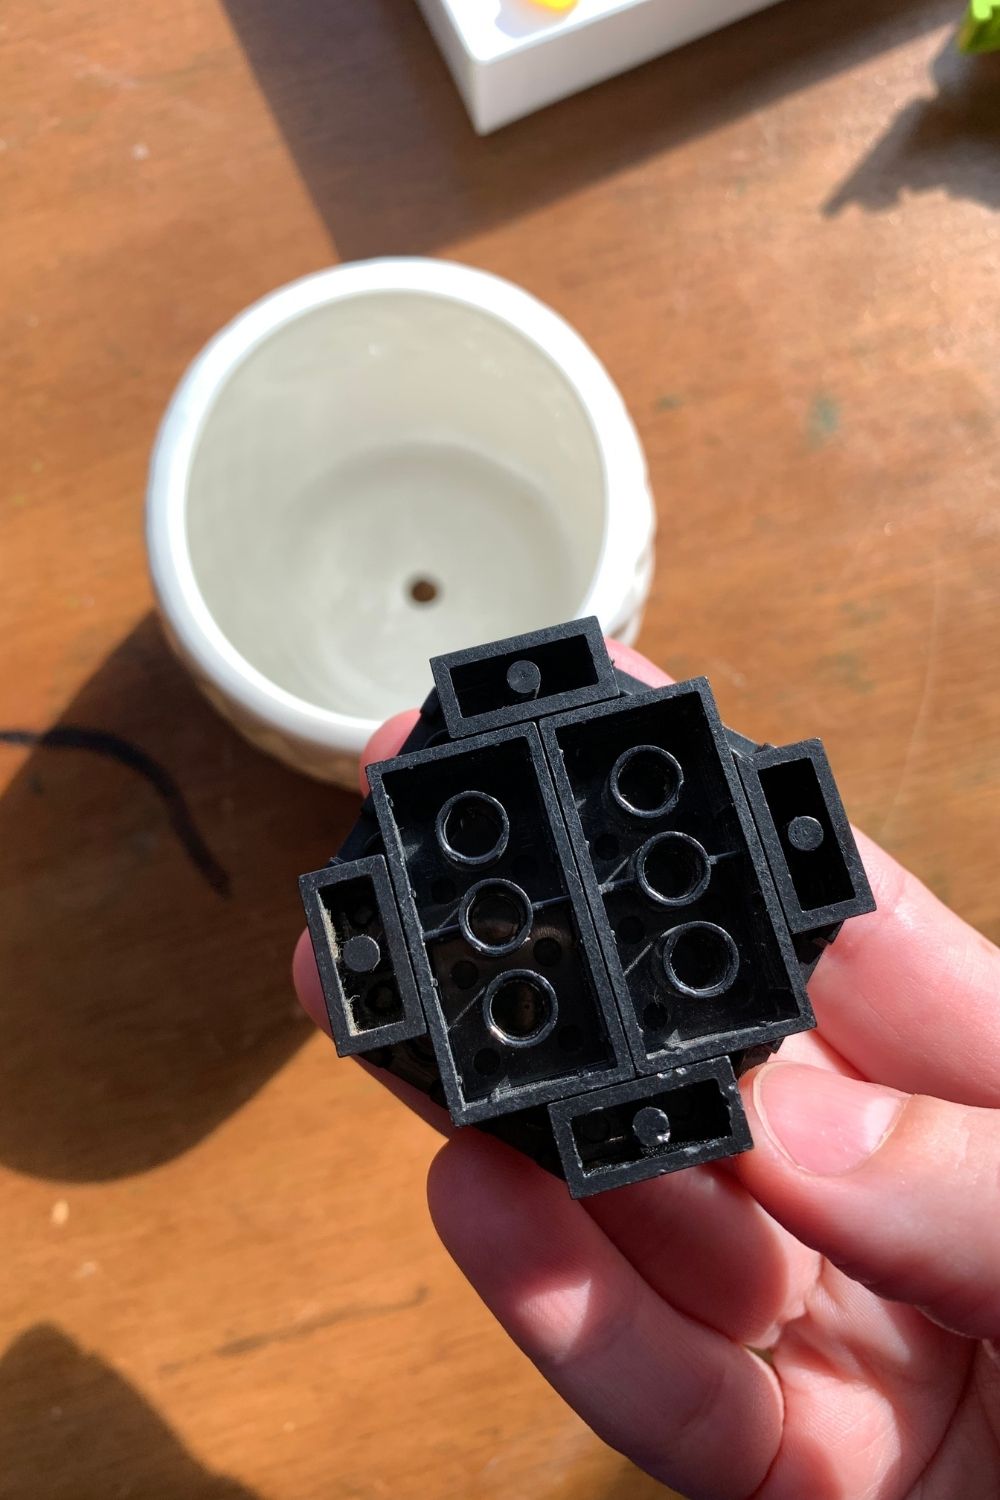
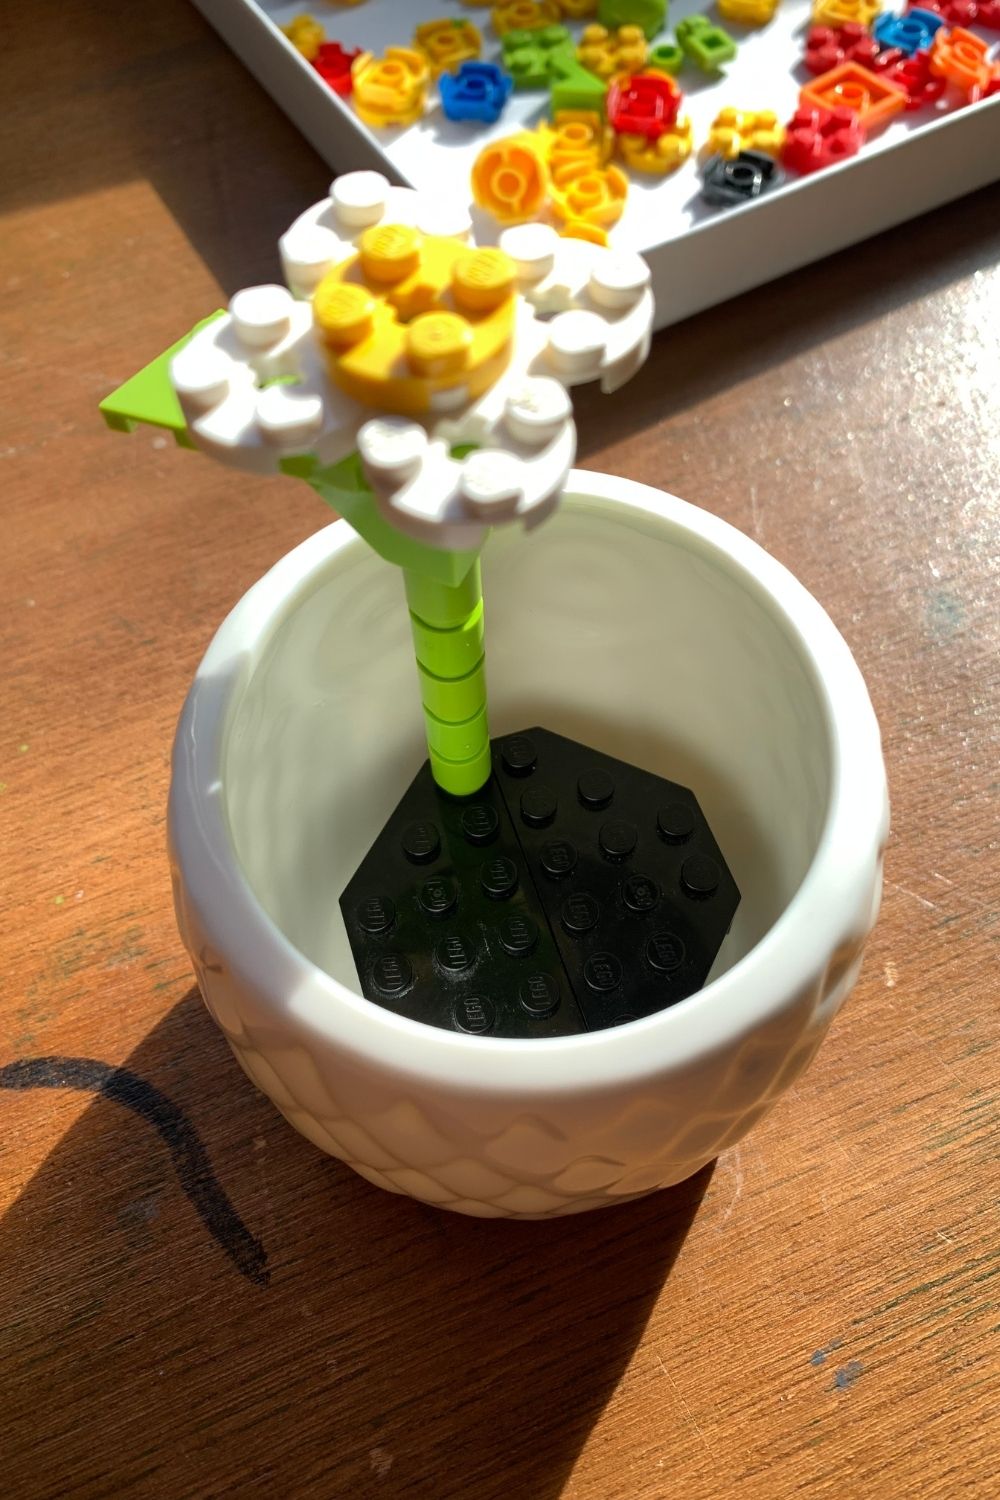
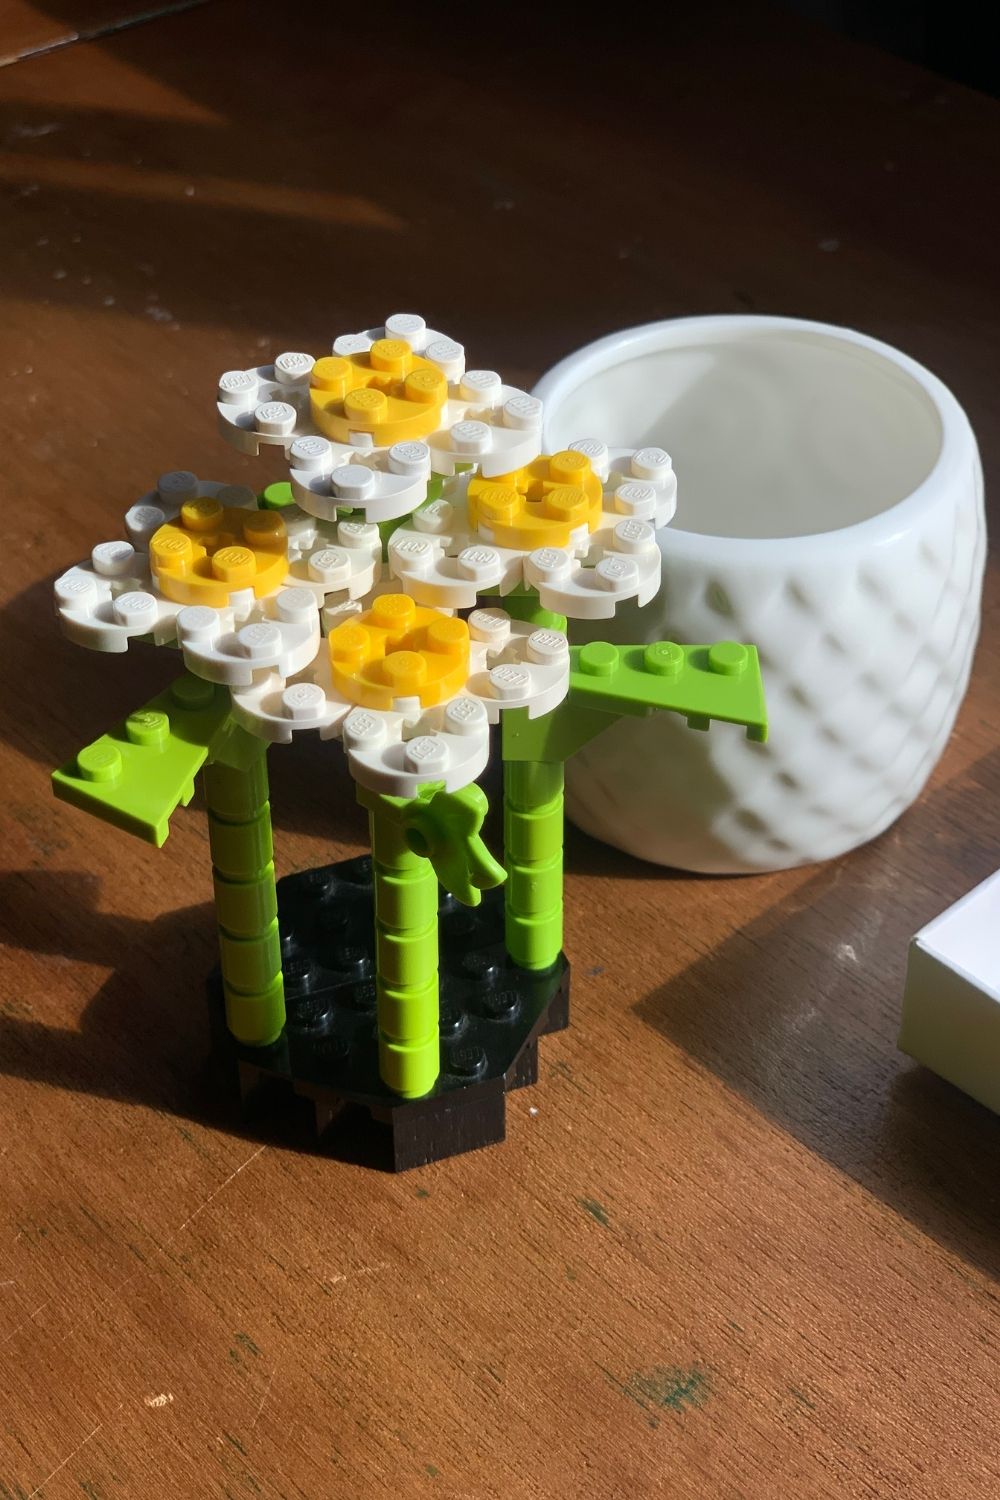
Stick each of the flower stems onto the base. Add or remove green rounds and adjust the height of the leaves so that they don’t knock into each other. I moved my build in and out of the pot while I adjusted to make sure everything fit.
5. Fill the pot with dirt.
This last step is totally optional, but I think it’s a nice finishing touch. Toss a handful of brown bricks into the flower pot to fill in the gaps like dirt.
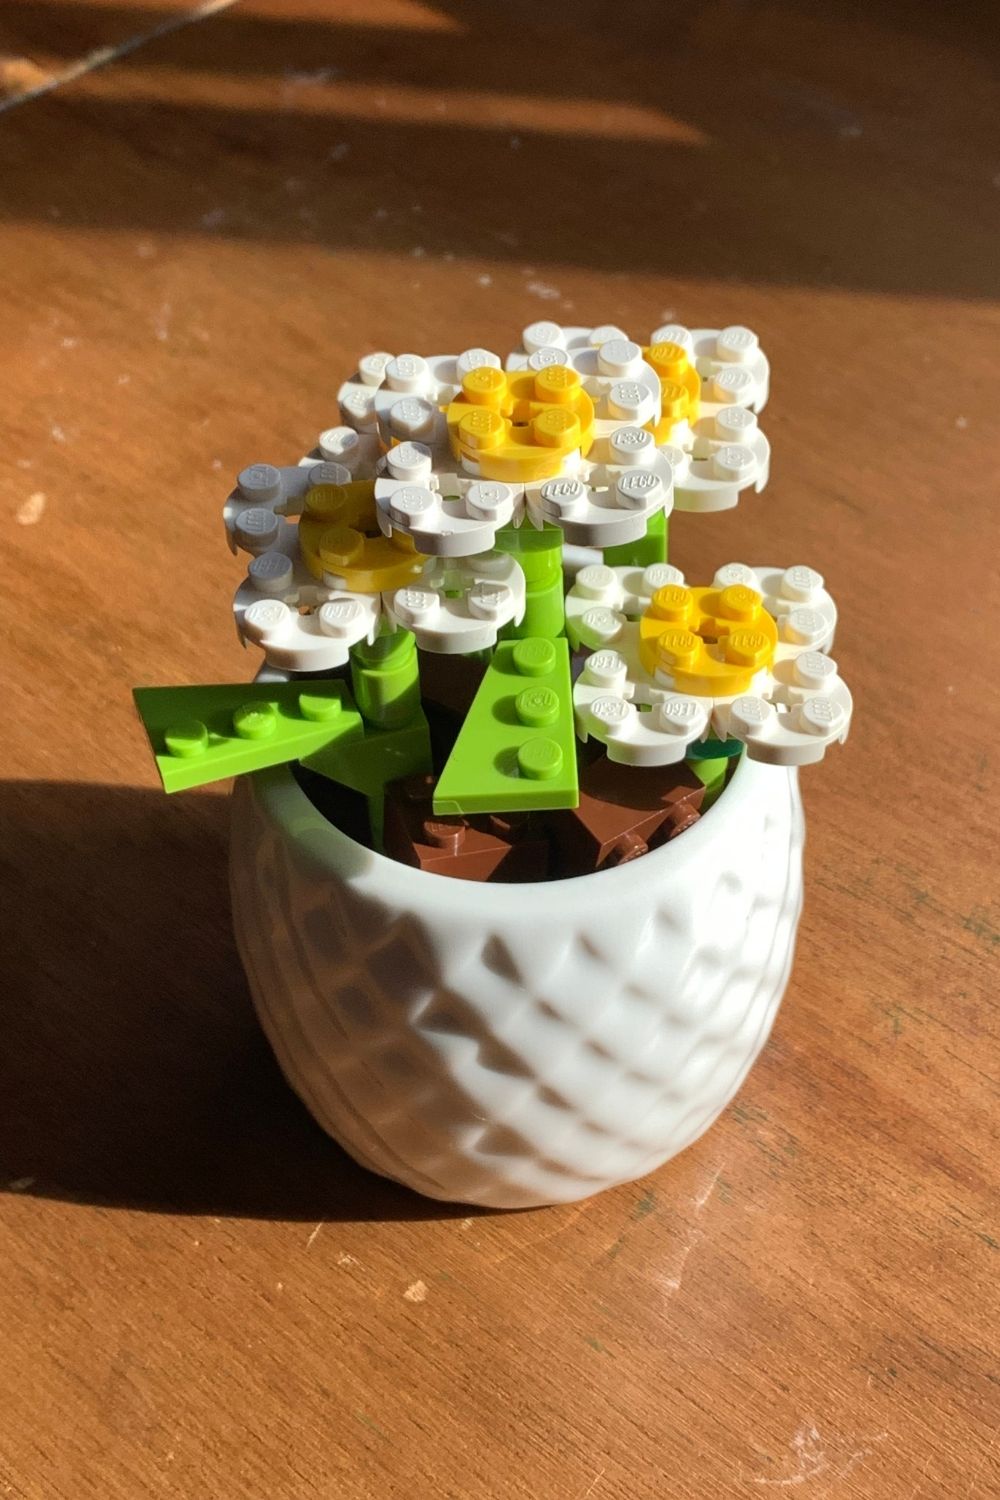
I love how these turned out. They were quick to make and can sit on an end table or bookshelf. And unlike the flowers that were originally in my little flower pot, these don’t need much maintenance, just a little dusting every now and then.
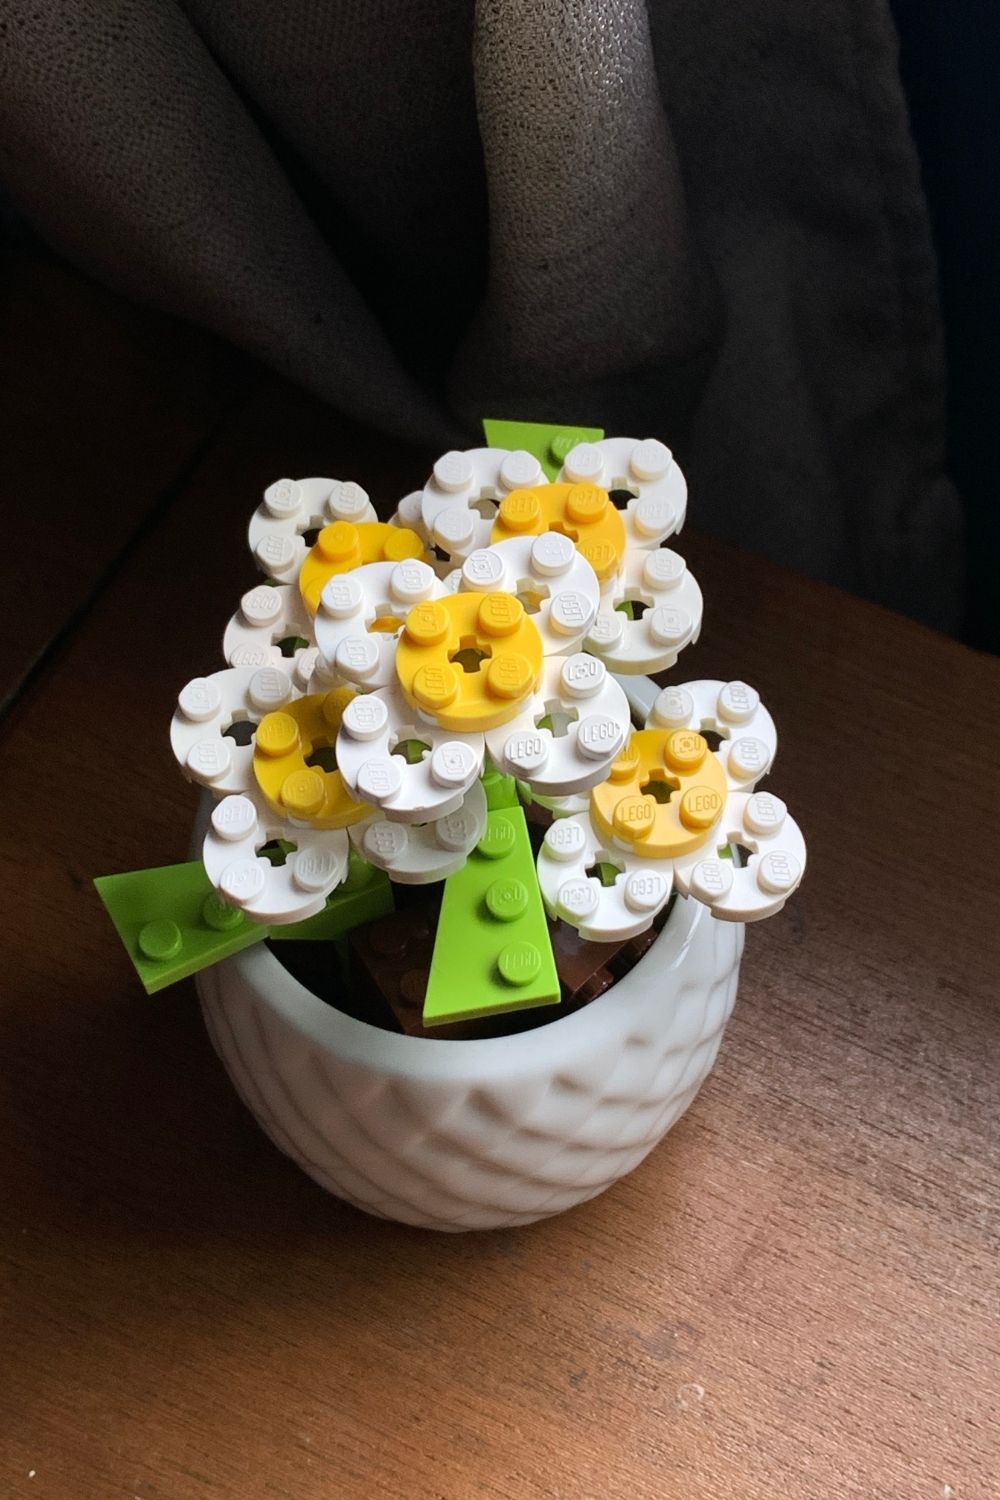
If you enjoyed making these LEGO daisy flowers, save and share this post. And check out all the other LEGO content here on One Mama’s Daily Drama for more building ideas.
What’s next? Try these other fun and creative ideas on One Mama’s Daily Drama:
Leave a Reply