
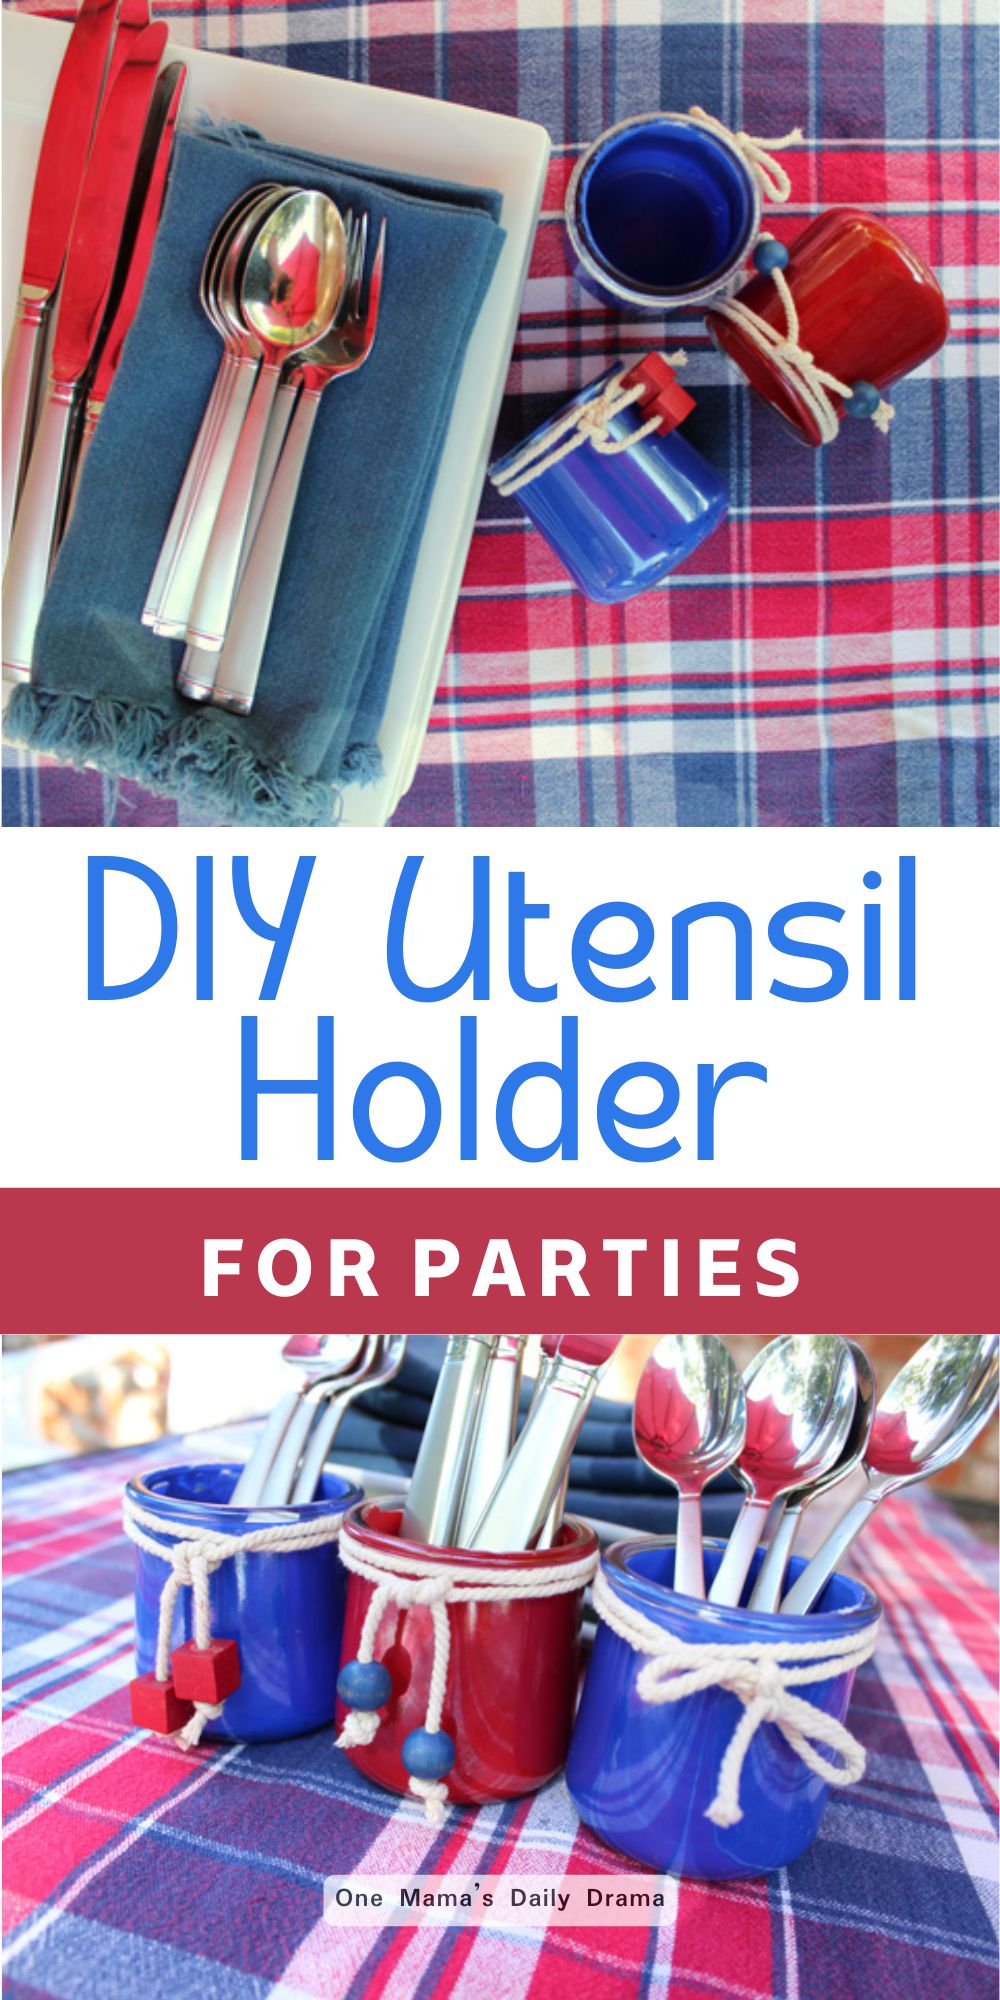
Upcycle glass jars to make a festive DIY utensil holder to hold silverware or plastic forks, knives, and spoons at your next summer cookout.

Disclosure: This blog contains affiliate links. As an Amazon Associate and member of other affiliate programs, Keri Houchin earns a commission from qualifying purchases at no additional cost to you.
Make a DIY utensil holder for a party that you can use to display flatware or silverware in style!
I have pretty plates, cloth napkins, and even matching bowls — yet for some reason, the forks and spoons we use at cookouts gets stuck in a completely plain glass canning jar or a basket. Or worse, I just toss the zip bag on the table.
I decided that before we hosted another get-together I needed to make a pretty silverware holder. This project is pretty simple. It’s great if you don’t think you’re crafty or you do, but you want something quick and easy.
Honestly, planning a cookout is a lot of work. Save your energy for the barbecue or the cocktails or whatever you’re going to wear. Make this DIY utensil holder and check it off your party planning to-do list.
How to make a DIY utensil holder
This is an easy project to do in a few hours. It’s also pretty passive, so you can work on other things while the paint dries.
Supplies
- 3 empty glass jars
- acrylic craft paint in red and blue
- newspaper (to protect your work surface)
- cotton cord
- scissors
- matching beads
Instructions
1. Prepare the empty containers.
Start by cleaning your glass jars. Mine are empty Oui by Yoplait containers. The labels peeled right off, but to remove the glue, I ended up having to soak them for 24 hours using a dish soap and baking soda combo recommended by The Chemistry Cachet.
Rinse and dry the jars completely.
2. Paint the inside.
Use newspaper to protect your workspace from paint drips. Set the jars on the newspaper and squirt a small amount of paint inside. I would estimate each one took 2-3 tablespoons of paint.
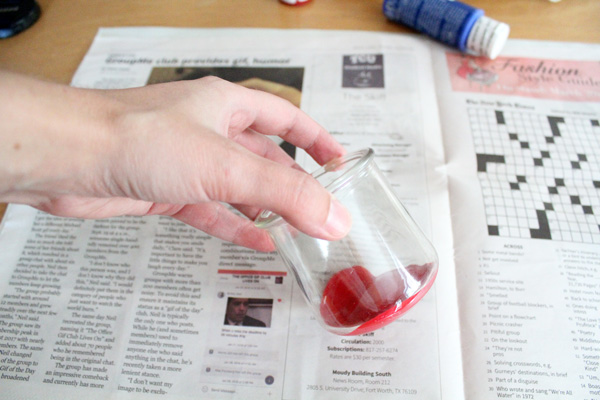
Move the jars and swirl the paint so it coats the bottom, then up the sides. Carefully turn them and watch the paint run around the inside to cover it completely. If you added a lot of paint, you can pour the excess back out.
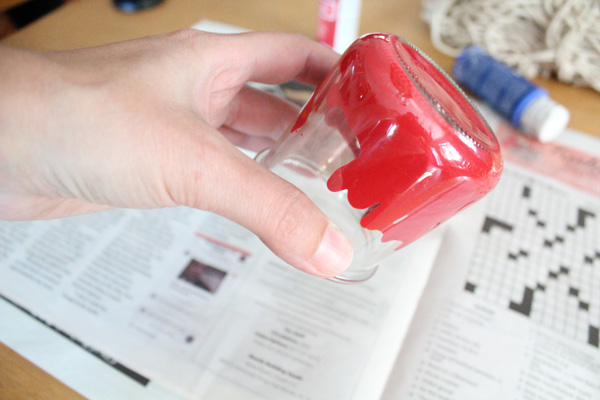
3. Turn the jars to dry.
Set the jars upside down on the newspaper to allow any excess paint to run out. Leave the jars to dry for a few hours. Check them occasionally; if there is paint pooling on the newspaper you need to move the jars to a clean spot or they will stick to the paper when dry.
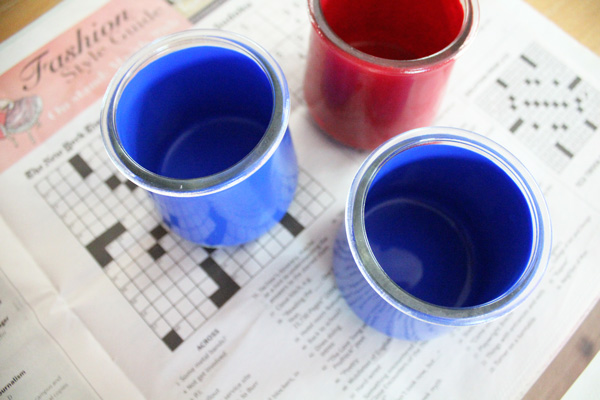
4. Decorate the outside.
When the paint is no longer running, flip the jars back over and decorate the outside.
For each jar, cut the cotton cord to about 24 inches long. Wrap it a few times around the top of the jar. Tie it off and add some beads if you like. I just threaded these wooden beads onto the end of the cord and then tied another knot at the end, then trimmed the ends.
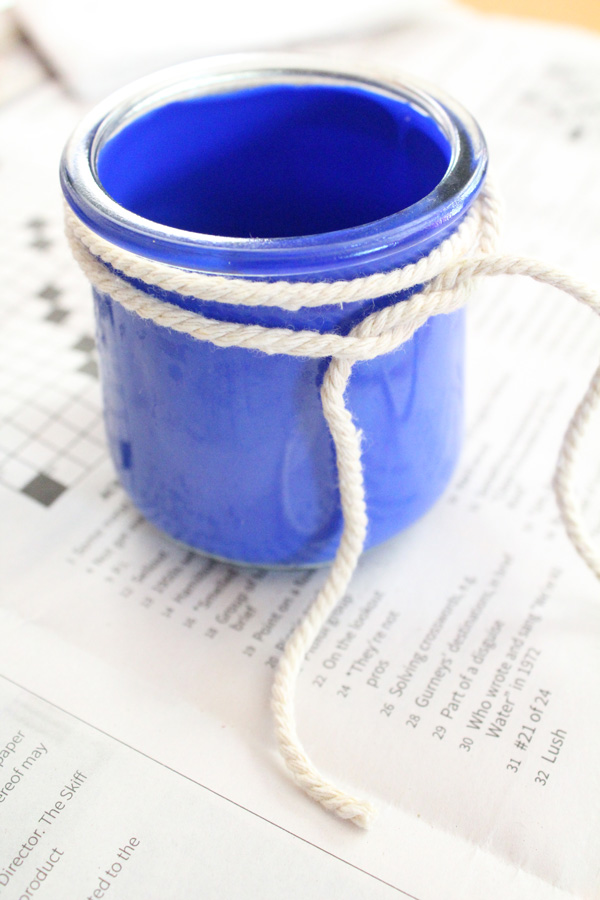
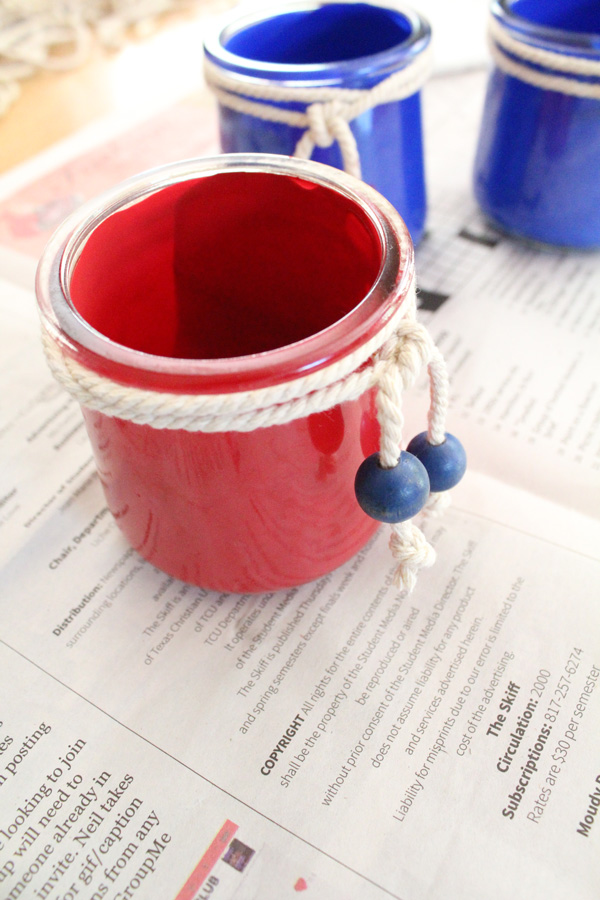
Repeat to tie cord around the rim of each jar. You can make them all the same or each one different.
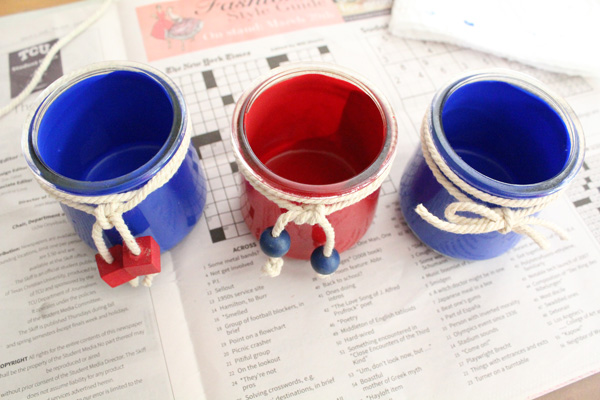
5. Set overnight.
I recommend leaving them to set overnight or longer so the paint has time to cure. Make sure the paint is completely dry before you use them to hold your silverware.
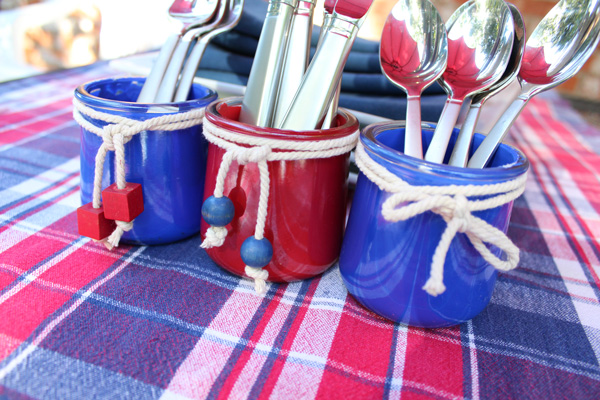
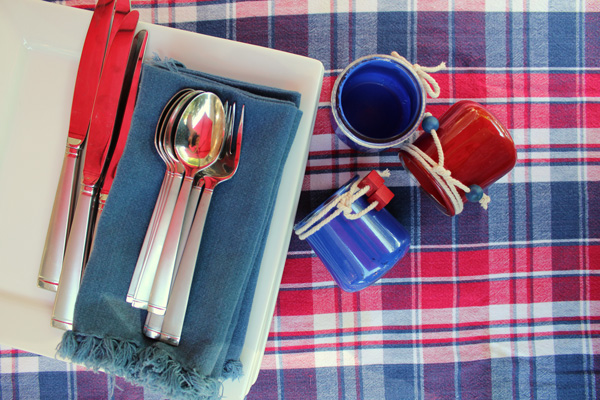
I love how simple this DIY utensil holder project is. You could easily make them match your tableware for any party theme or color scheme. Since they only use a small amount of paint and a few containers from the recycling bin, you could even make more than one set for pennies.
Other paint drip project ideas
- I also used this painting technique to make my rainbow tea light holders.
- Paint the inside of a vase to hold faux flowers.
- Use a painted container as a gift box.
- Paint containers to store other small items.
What’s next? Try these other fun and creative ideas on One Mama’s Daily Drama:
Leave a Reply