
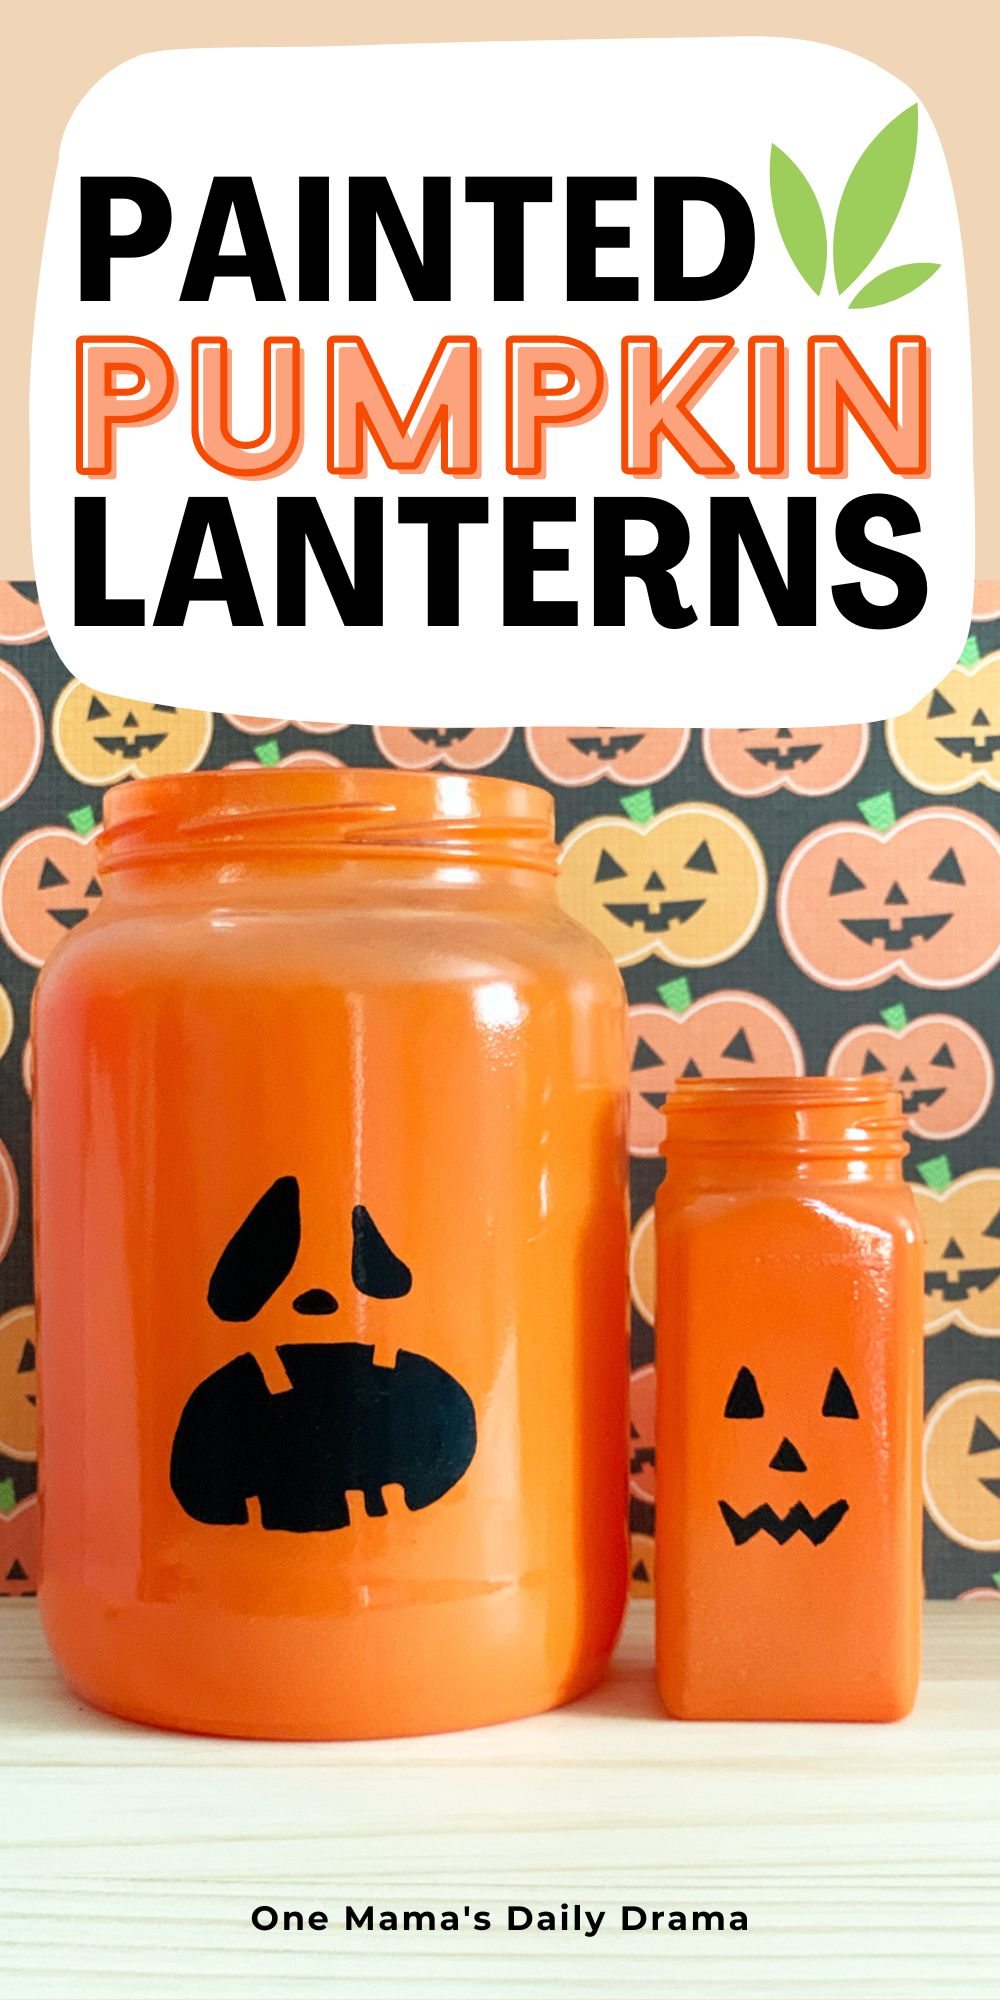
Use recycled containers to make cute and inexpensive fall decor! These pumpkin jars and bottles make perfect painted jack o’lanterns.

Disclosure: This blog contains affiliate links. As an Amazon Associate and member of other affiliate programs, Keri Houchin earns a commission from qualifying purchases at no additional cost to you.
Have you ever left a carved jack-o-lantern on the front porch for too long? Ew. I won’t go there. One year we had a surprise freeze just a few weeks after Halloween and ours didn’t decay. I won’t say how long it lived in the front yard, but safe to say that many more holidays had passed.
Now I prefer to decorate with pumpkins that will last for years, but that I can happily pack away when winter arrives. I made a set of pumpkin bottles for a Halloween-themed birthday party when my oldest child turned 7.
That was over 10 years ago, and blogging has changed so much since then! I decided it was past time to update this blog post with a fresh tutorial. New photos, more details, and lots of practical tips!

Glass pumpkin craft tips
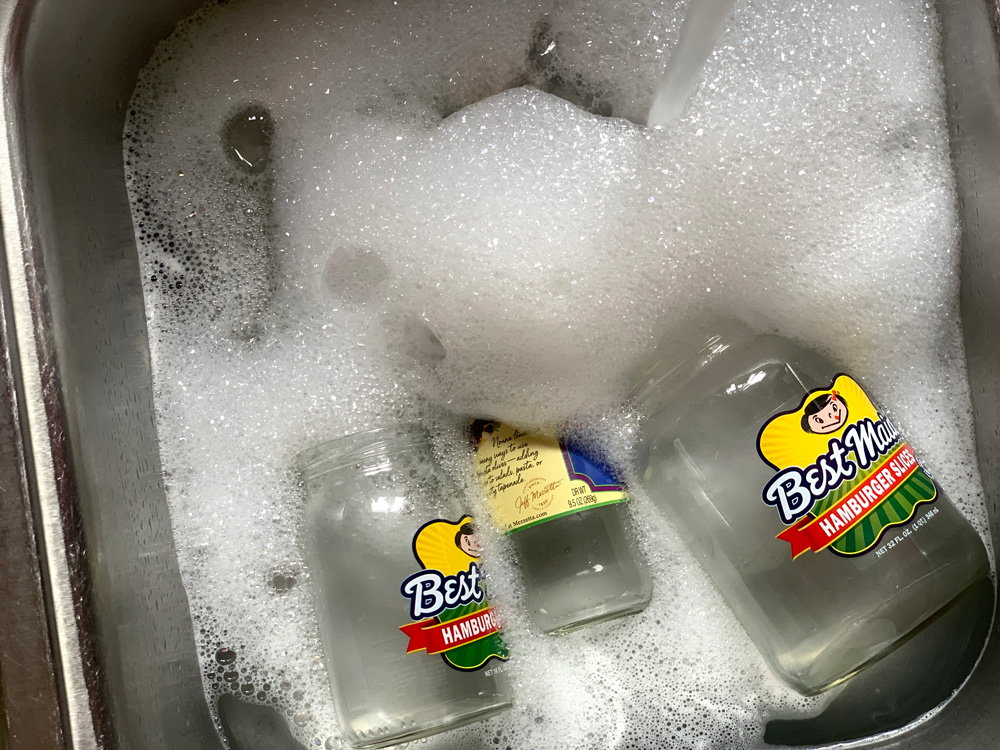
- If you’re using glass bottles and jars from your recycling bin, they need to be clean so they won’t attract bugs or smell like pickles or whatever was previously in them. Wash with hot soapy water.
- For really stuck-on labels, I like to use Goo Gone spray gel. Follow label instructions and be sure to wash the containers again after using the Goo Gone.
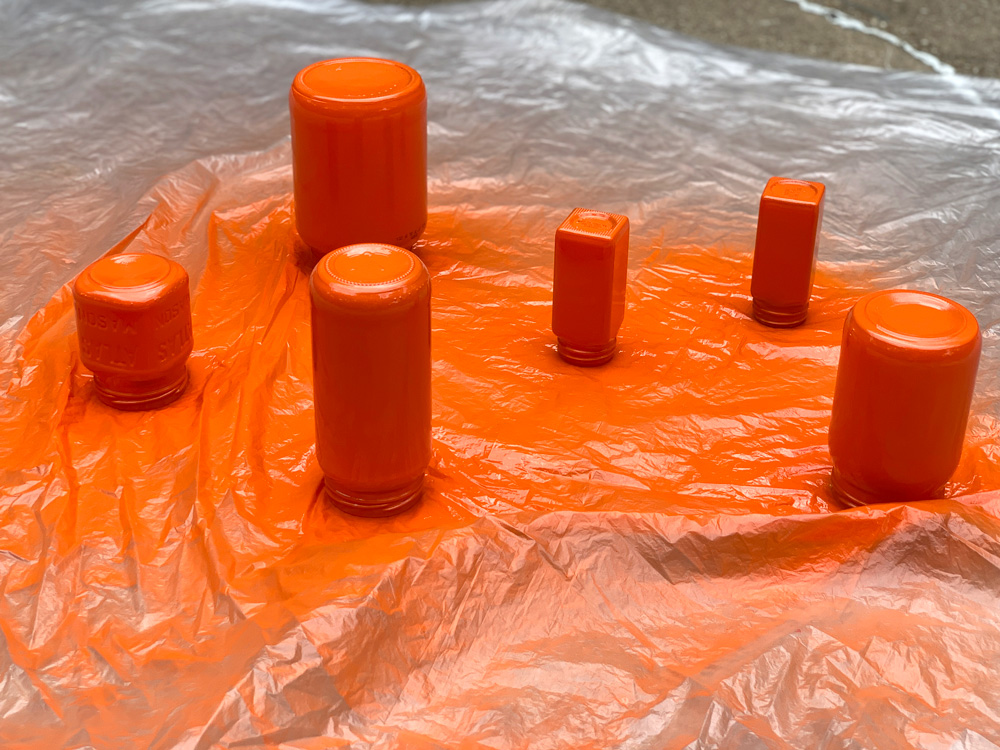
- Painting is messy, especially spray paint! I recommend setting up a dropcloth outdoors if you have the space.
- Dry time on any paint products is an estimate. If it’s really hot or cold, or the humidity is high, it may take more or less time.
- I drew all the jack o’lantern faces freehand, but I searched Pinterest for ideas. You could also try a stencil if you prefer.
How to make pumpkin jars
Supplies
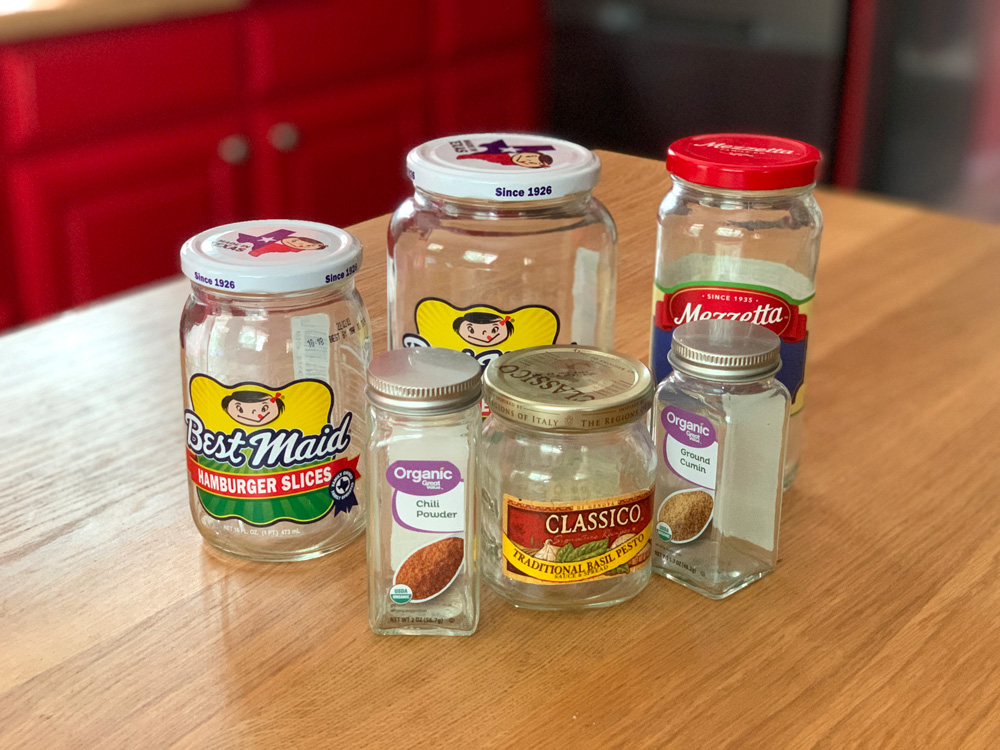
- empty glass bottles and jars – You can purchase wide-mouth canning jars, pick up an eclectic mix from the thrift store, or just save empty containers from your recycling bin.
- Rustoleum gloss enamel orange spray paint
- dropcloth
- Artistro black paint pen
- electric tea lights or glowsticks, optional

Instructions
1. Clean and prep the containers.
Start by soaking the bottles and jars in water to remove the labels if needed. Then wash and dry them really well.
2. Spray paint the containers orange.
Set out the containers, upside-down, on a protected workspace. Spraypaint each one orange using short, light strokes.
Allow them to dry for about 3-5 minutes, then add a second coat if necessary. Repeat and add more coats until you’re happy with the coverage. You can also leave them a bit thinner if you prefer (notice my edges aren’t as well-coated).
Let the bottle sit and dry until they are dry to the touch, then move them somewhere that they can dry for several hours. This will probably be 1-2 hours but check your paint container. I left mine overnight, just to be sure the paint pen wouldn’t scratch the orange base.

3. Add jack o’lantern faces.
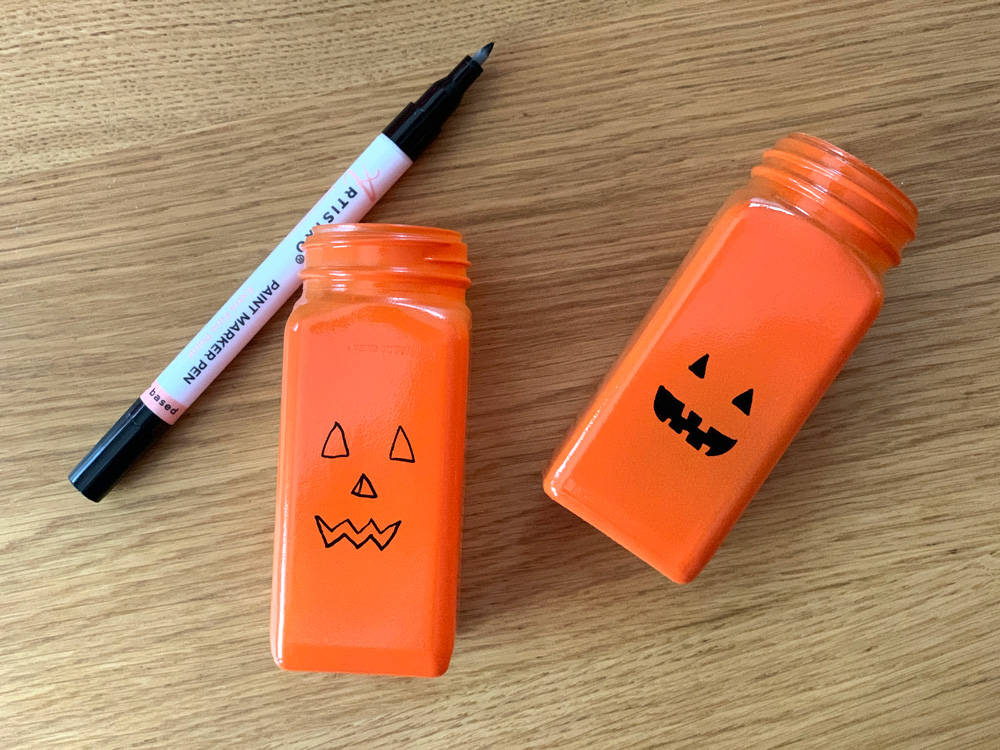
Use a black paint pen to draw a scary or cute jack o’lantern face on each one. You can freehand draw them like I did – or use a stencil or reference image.
Draw the outline of each shape, then color it in. Mine didn’t need a second coat. Let the paint pen dry for several minutes before handling.

4. Add lights and display.
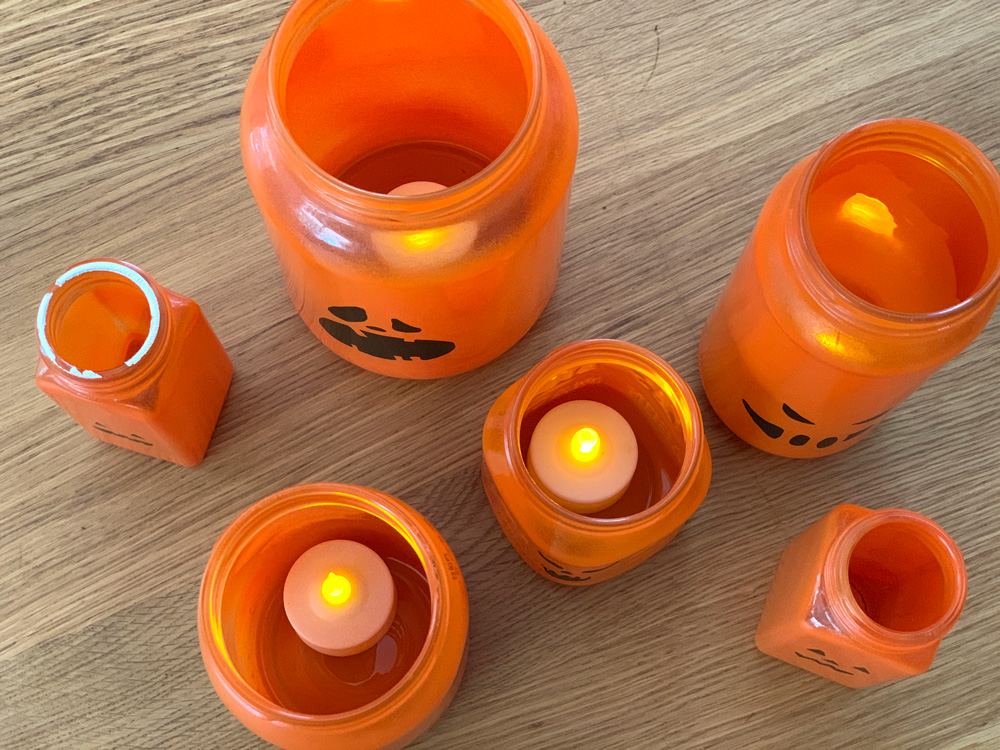
These little pumpkin jars look cute sitting on a shelf or table on their own. If you want to light up your jack o’lanterns, you can place electric tea lights in containers with a large opening. Try glowsticks for smaller ones.
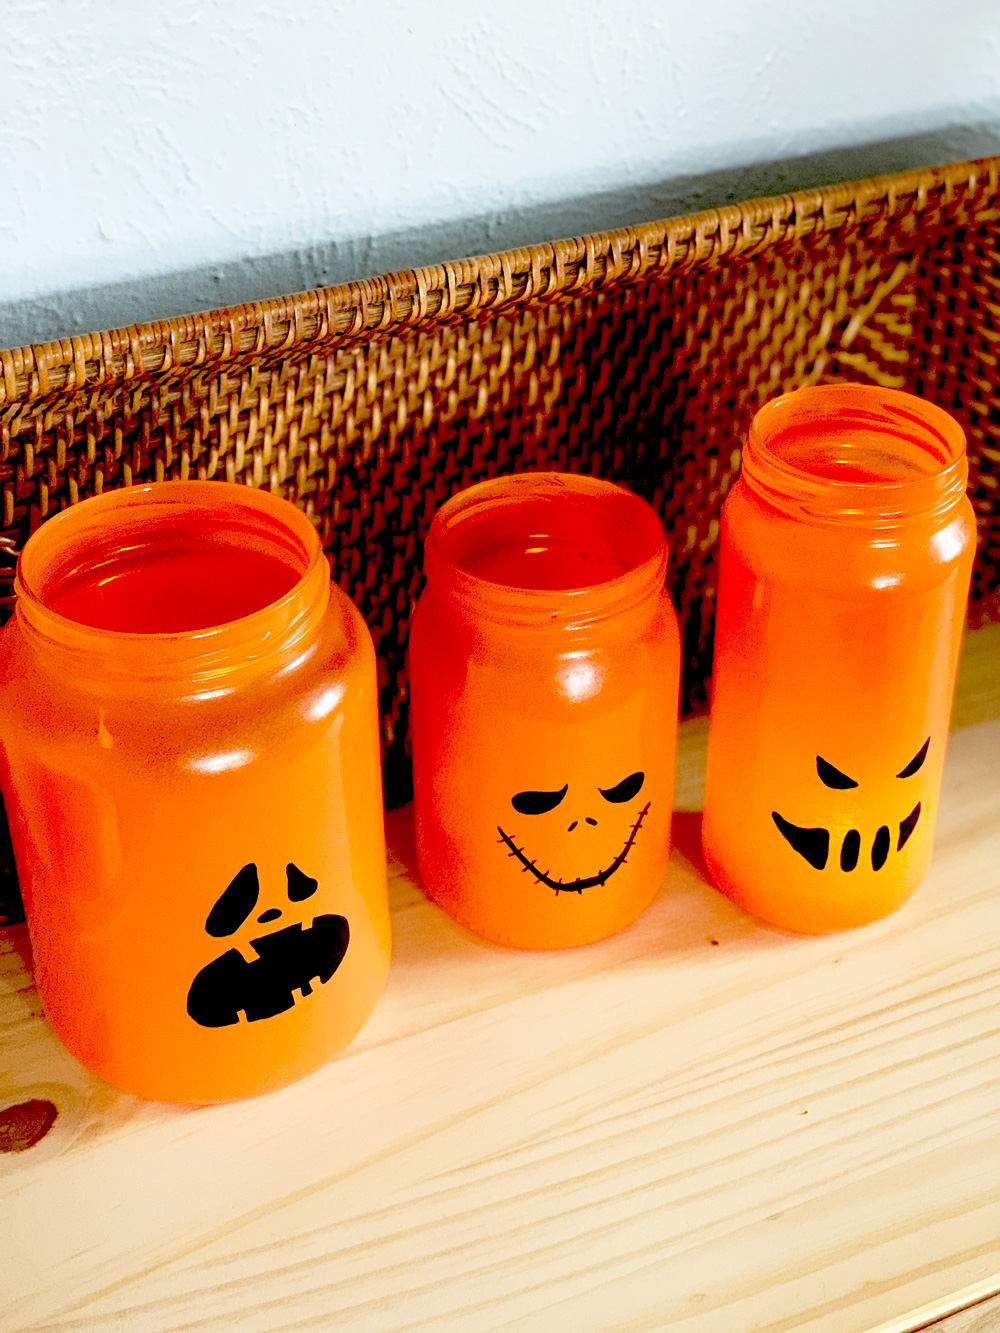
These simple pumpkin jars make a cute fall or Halloween decoration. Not only are they inexpensive to make, but you can reuse them for several years.
You can’t go wrong with classic Halloween orange, but use any spray paint to customize these to match your Halloween decor. And of course, you can decorate these with whatever jack o’lantern faces you like! Try creepy or cute – or a few of both.

What’s next? Try these other fun and creative ideas on One Mama’s Daily Drama:
Leave a Reply