
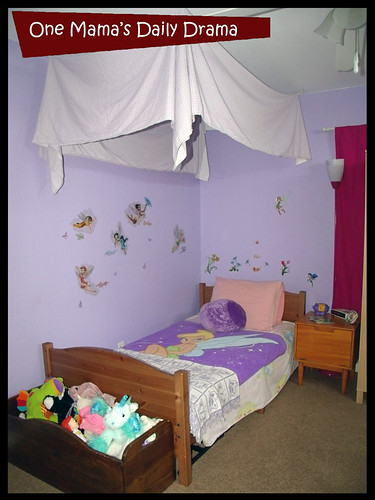
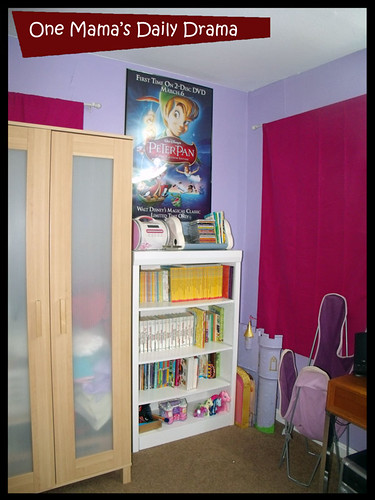
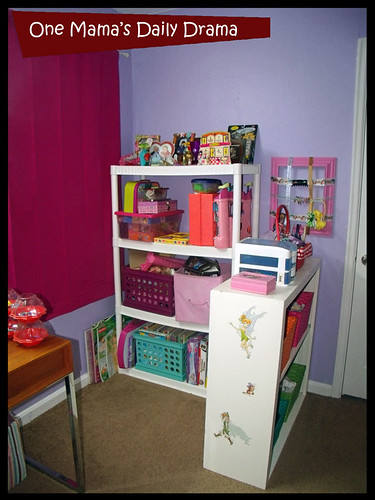
As a gift for her ninth birthday, we redecorated Sniffles’ bedroom again. We painted it purple when we moved into this house, nearly five years ago. We made a few easy, budget-friendly updates last summer, but much like her mother, this girl’s tastes change! She spent quite a bit of time with me searching the internet and browsing Pinterest for ideas. We had two goals: to make the room more organized and to upgrade from 4-year-old to 9-year-old style.
First, I’ll show you the before and after photos. Then, I’ll show you how I created a few of the details.
Tween girl room before
Tween girls room after
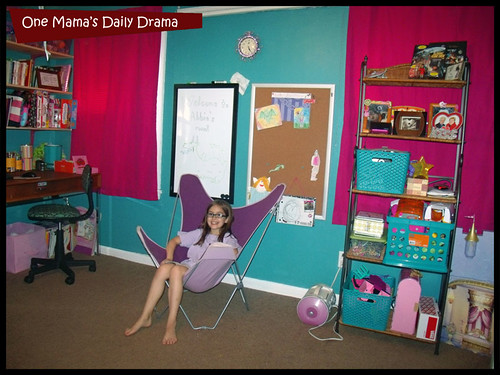
How to decorate a tween girl’s room
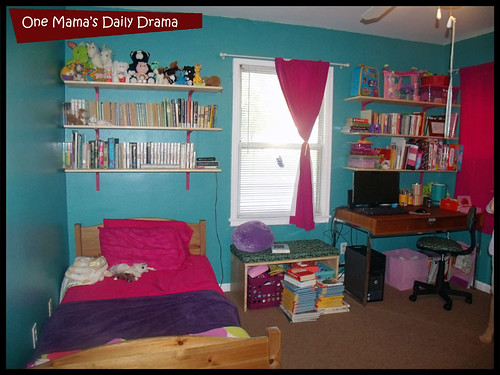
So first, you can probably tell by the photos that we repainted the room. Sniffles spent quite a bit of time looking through shades of turquoise to find just the right one. I was a little hesitant to repaint the whole room this color because I thought that it would be too bright, but it really turned out nice.
We also reduced clutter by getting rid of several pieces of furniture. The biggest to go was an Ikea wardrobe that held dress-up clothing. After sorting out the things that were broken or too small, we ended up with a single storage tub that slides under the bed.
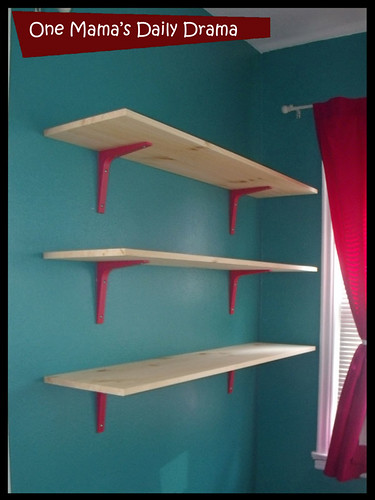
We also got rid of two freestanding shelves and replaced them with built-in shelving on the walls. After having done this in two other rooms, Hubby has gotten very good at making sure they are level and even. The trick is just to take your time. These are sanded pine boards and plastic brackets from Ikea. They’re attached to the walls with wall anchors and molly bolts, so they should be able to hold about 70 pounds each.
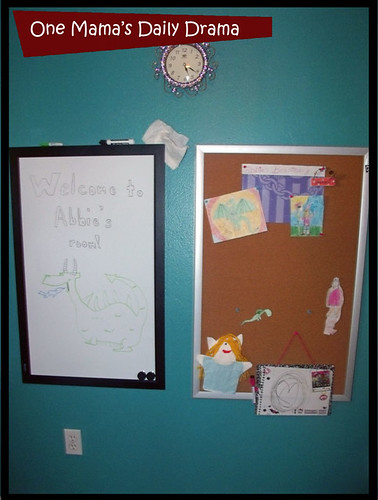
We picked up this dry-erase board at Michael’s with a 40% off coupon. We already had the cork board and turning them sideways made sure both fit and were able to hang low. (Sniffles is exactly four feet tall.)
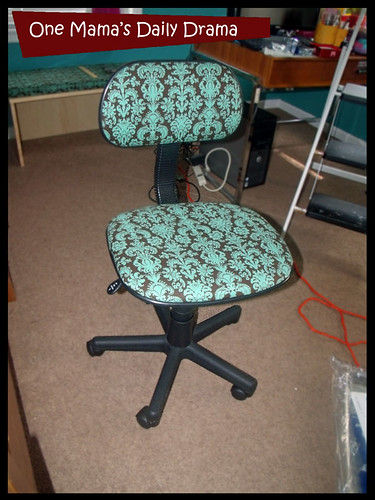
This chair was already at her desk. We picked it up at Target about a year ago for $10. The upholstery matched, but had a few tears. It was really easy to recover. First, I disassembled the chair. After removing screws, the cushions were easy to pop out of their plastic frames. Then I just smoothed new fabric over and stapled it on the back. (Okay, Hubby did the stapling. Using a staple gun is a bit intimidating and requires some muscle.)

I used the same fabric to make a cushion for a window seat. The bench is actually a discontinued file cabinet piece that we got for $20 at Ikea. It matches her shelves perfectly and holds something like 100 pounds. The cushion, I made from two foam squares. I just traced them and cut the fabric with a quarter-inch border to allow for seams. I did most of it with a machine, then sewed one short edge by hand after stuffing the foam inside. There is enough fabric left over in this pattern for several smaller details that I will be making later, like a magazine storage box.
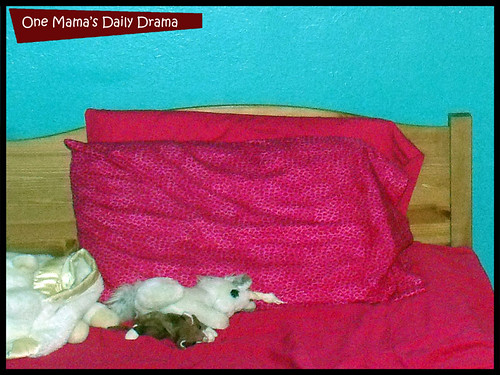
We kept the same sheets and curtains since they matched the turquoise pretty well. If these color combinations seem familiar, Sniffles is currently obsessed with Monster High. These are the colors in the logo and I think we did a great job of creating a theme room that will grow with her. She wanted several animal print items, but we compromised with a yard or fuchsia leopard fabric. I just traced her pillowcase onto the fabric and sewed it together with the machine for an extra case.
The whole project took us a three day weekend and cost just under our $200 budget. One thing the photos do not show well is how much extra space there is in this room. Before, there was room for Sniffles and her brother to lay on the floor. Now, I think we could fit two or three extra kids in there too.
Thanks for looking through all my photos. If you have questions about how I did something, leave a comment and I will try to elaborate.
Leave a Reply