
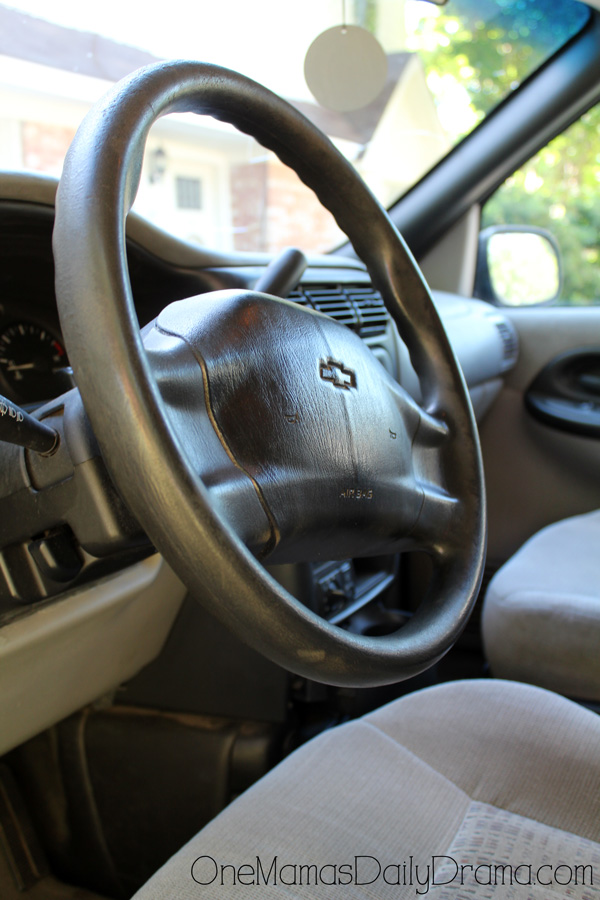
Unless your car is new or you’ve been taking really good care of it, the steering wheel is probably looking a bit worn. Instead of buying a rubber replacement, DiY this pretty steering wheel cover yourself.

I made this quick and cute steering wheel cover using a simple crochet that you can learn in minutes. Even if you’ve never crocheted before, you can DiY this project. Of course, you’ll need to purchase the supplies if you don’t already have them, though.
I originally wanted to make this steering wheel cover with paracord. I’ve got a ton of it, but apparently not enough {at least, in the same color}. I used about 160 or so yards of yarn.
I did discover that the paracord makes it super easy to teach crochet because you can see exactly what the cord is doing.
How to crochet a steering wheel cover
This project was quick and took me less than an hour – 30 minutes for the top and 10 minutes for the bottom. My steering wheel measures about 15 inches in diameter. If your steering wheel is bigger or has a lot of smaller sections, it might take you longer.
Supplies
If you have a stash, just use whatever yarn and hook you already have. If you’re shopping:
- approximately 160 yards of cotton yarn
- crochet hook, size H
- scissors

Instructions
Start by tying the yarn to one end of the steering wheel. I’m left-handed, so I went left to right. If you’re a righty, just start on the other side.

For each stitch, the yarn goes:
- Over the hook
- In front of the steering wheel and then under it to go over the hook again
- Back under the steering wheel to come up in the front and over the hook again

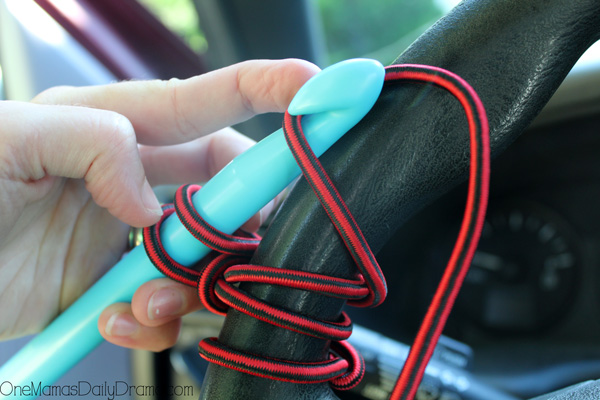
You should have three loops on the hook. Pull loops 2 and 3 through the first one. Repeat the looping process again.
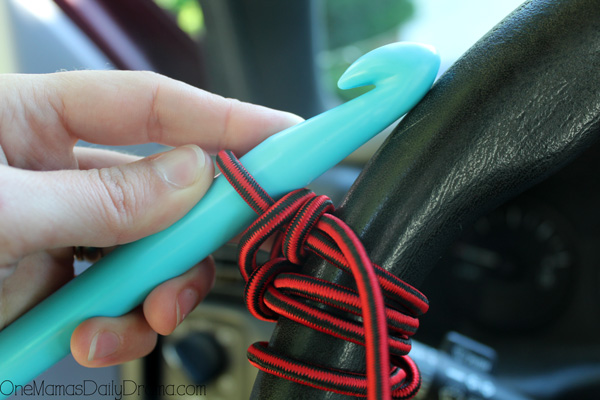
Smooth out the yarn as you go. Make sure the loops aren’t overlapping and lay flat against the wheel.

When you get to the end, pull the yarn through the loop so that it comes off the hook. Leave a 1-inch tail and cut the yarn loose.
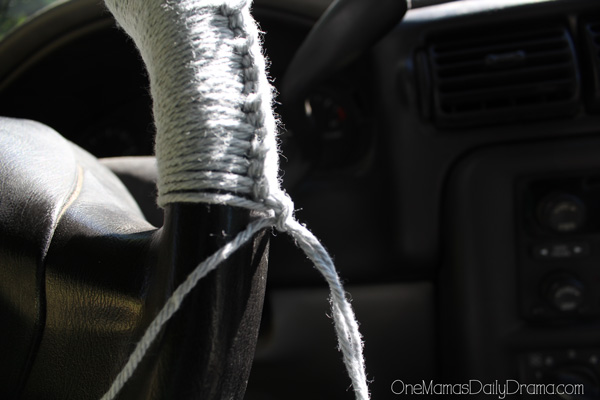
Weave that tail back through a few loops so that it blends in and trim off any excess. Be sure to weave in the tail from the beginning.
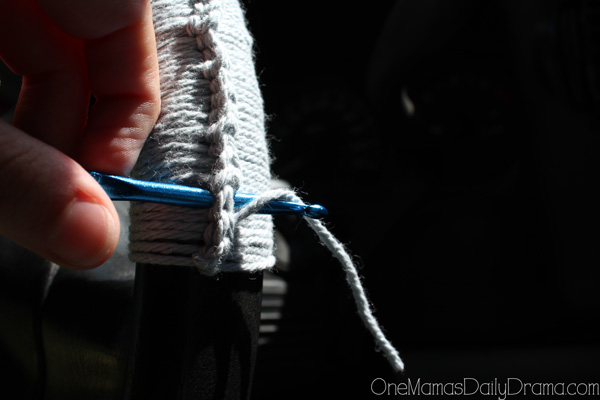
Scoot the seam toward the back of the steering wheel so that it is out of the way and looks pretty.
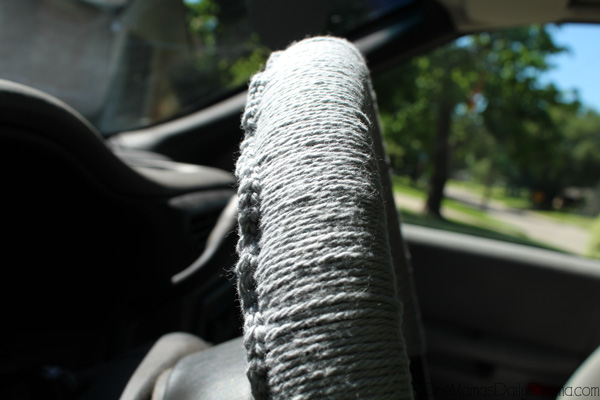
Repeat the process for every section of the steering wheel.


Tips
- Whatever material you choose to use, be sure that it will fit the steering wheel snugly. You don’t want to make the wheel difficult to hold onto while driving!
- I used cotton yarn because that’s what I had, but also because it should keep from getting fuzzy for a long time.
- Use yarn that matches your car or go bold with something completely different.

If you have any questions, leave a comment and I’ll do my best to help you out.
I have found several good tips for DIY, but all of them are for my kids. I found this one and will do it for myself. haha… thanks Keri.
You’re right – there are tons of kids craft ideas out there. I try to share at least a few that I did myself every now and then. Adults can have fun crafting too! LOL