
This spring, display a bouquet of flowers that will never wilt or need to be watered. This printable flower bouquet tutorial includes several flower templates plus instructions for how to make paper flowers.
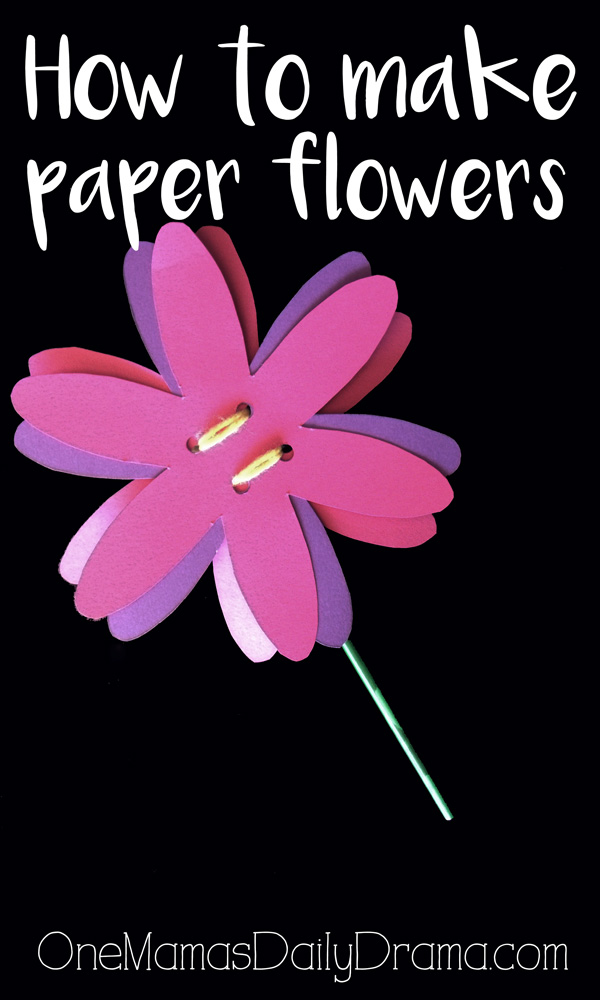
I absolutely love this printable flower bouquet project. It is really easy and could be changed up so many ways. This would make a fun spring craft for kids.
How to make paper flowers
Supplies
- flower templates {below}
- colorful card stock or scrapbook paper
- scissors
- pencils
- hole punch
- yarn
Instructions
Start by printing these flower templates. You can print one or all of the designs.

Click HERE to print the 6-petal flower template.

Click HERE to print the 12-petal flower template.

Click HERE to print the tulip flower template.
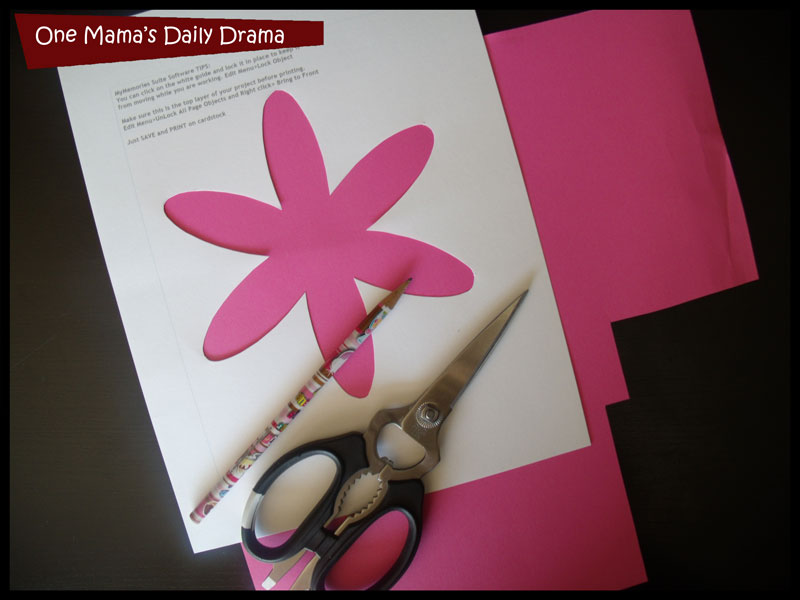
Cut out the flower while preserving the outline. You can use this with card stock, scrapbook paper, or any other colorful paper you have at home. I pulled out some appropriately named “flower power” colored scrapbook paper.
Alternatively, simply color the flowers and cut them out if you don’t want to use colored paper.

After you cut out your flower template, trace it onto several different colors of paper. Cut out your flowers.
Stack the flowers together to figure out your layout. Punch holes in each one, making sure the petals don’t quite line up. Lace the yarn through the holes and tie it to secure.
I slipped a green pencil through the yarn loops to make a stem for my flowers.

Once you’ve got the basics for how to make paper flowers, there are tons of variations. This printable flower bouquet makes a good just-for-fun spring activity, but it can also make a cute Mother’s Day or Teacher Appreciation Week gift. For a group project, print a small photo of each child and let them glue it in the center of the flower.
NICE N SIMPLE