
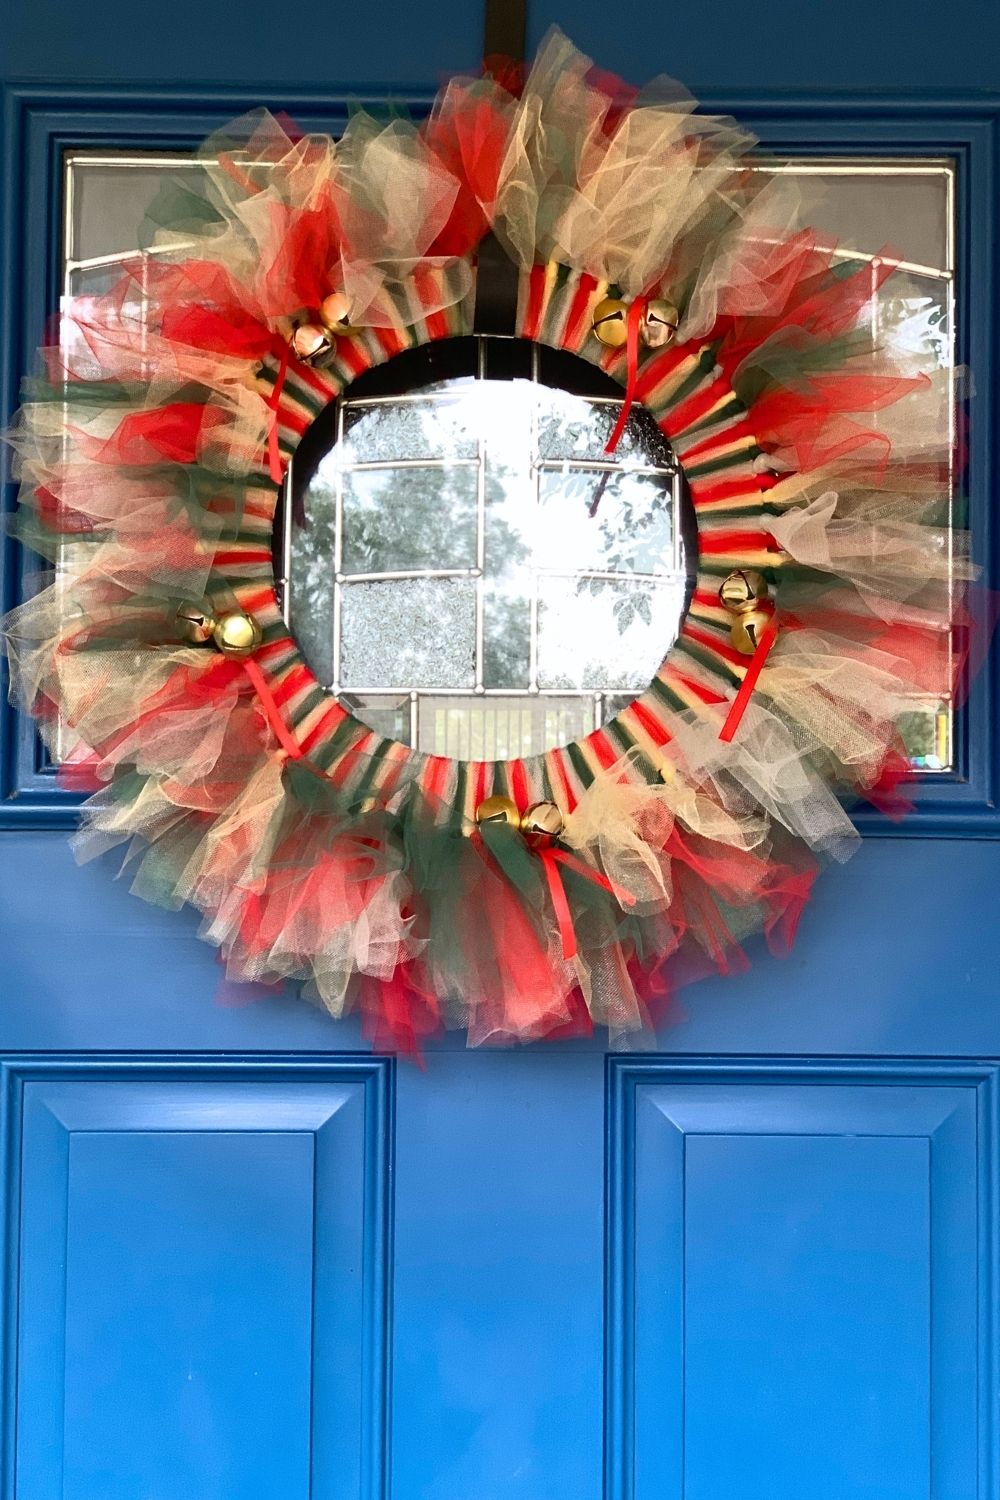
Make a simple and gorgeous DIY tulle Christmas wreath to decorate your porch. Choose traditional red and green or match your holiday decor!
Disclosure: This blog contains affiliate links. As an Amazon Associate and member of other affiliate programs, Keri Houchin earns a commission from qualifying purchases at no additional cost to you.
This post was originally published in December 2012. It was updated in 2025 with improved text formatting and additional photos.
Christmastime is here and that means it is time to deck the halls. You don’t have to spend a lot to decorate your home festively though. A simple Christmas tulle wreath can dress up the front door and greet visitors with holiday cheer.
I made a fall tulle wreath that I really love, so as soon as we went from fall to winter, I knew it was time to make another using the same simple technique.
A quick note while I’m editing this post. I still have this wreath 13 years later! It has held up well, perhaps because it is only on my door for a few weeks per year, but looks as good as it did when I made it. Process photos are from 2012; blue door photos are from 2025.
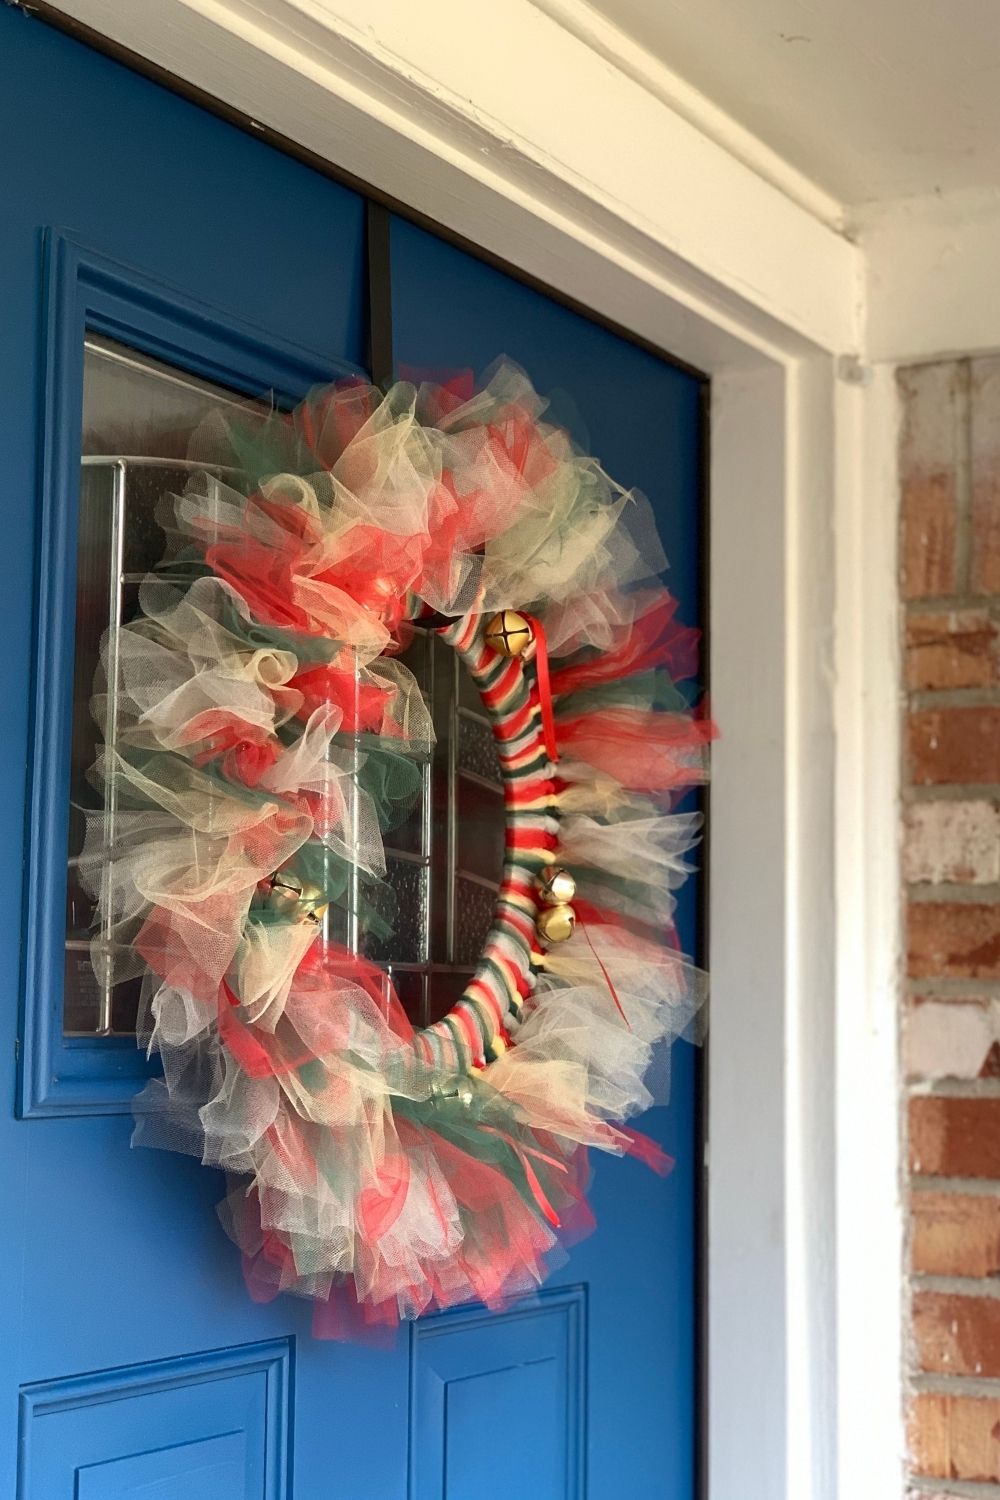
How to make a tulle wreath
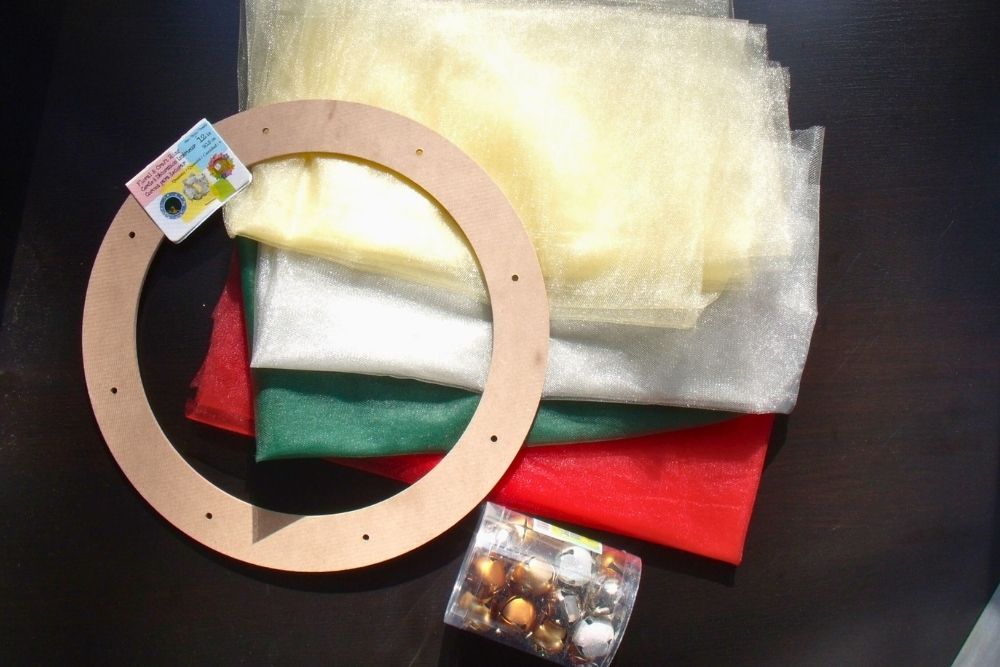
Supplies
- Tulle, 1 yard each of 4 colors (red, green, silver and gold)
- I purchased tulle by the yard at my local fabric store for approximately a dollar per yard. You may also find tulle on a spool that measures 6 inches wide and 20 to 25 yards long. Although this will be easier to cut, it is more expensive.
- Flat 12 inch paperboard wreath frame (also called a floral craft ring)
- This project would also work with a rounded foam wreath if you prefer.
- 10 small assorted jingle bells
- There are lots of other goodies you could use too: ornaments, pine cones, poinsettias, etc.
- Matching ribbon, cut into 5 pieces measuring about 11 inches long
Instructions
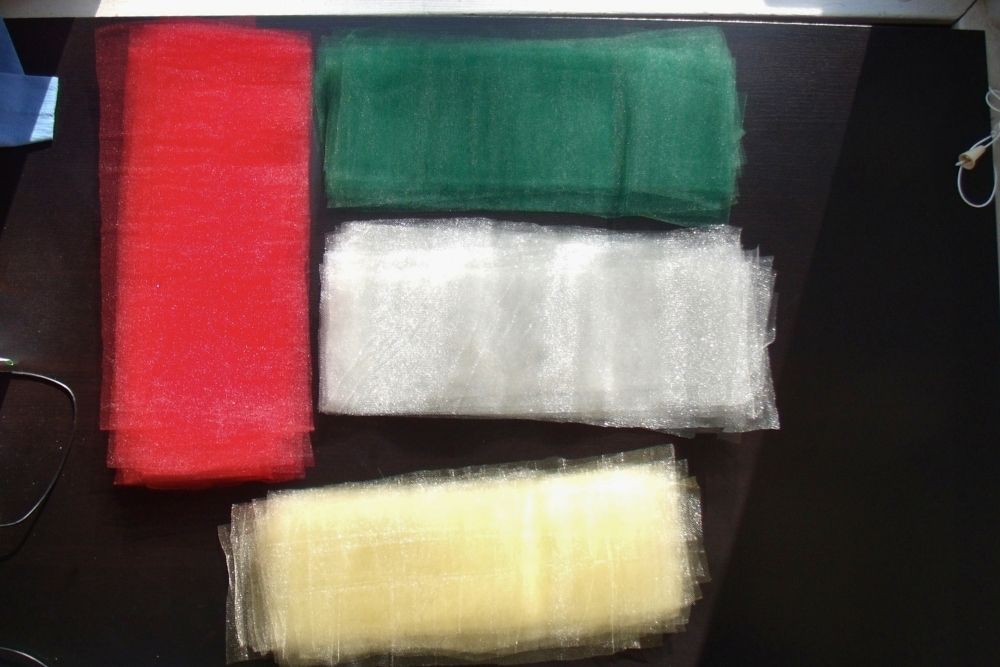
1. Cut the tulle into strips.
Start by cutting the tulle. If you’re using tulle by the yard, the pieces don’t need to be precise. Fold the large piece in half and cut along the seam. Repeat until you have 32 pieces of each color (128 total pieces). Each piece should measure roughly 14×5 inches. If you’re using tulle by the spool, cut lengths measuring 14 inches long.
2. Tie the tulle onto the wreath frame.
Choose any point and start tying pieces of tulle around the wreath frame. For each piece, loop it through the frame and tie an overhand knot close to the frame edge.
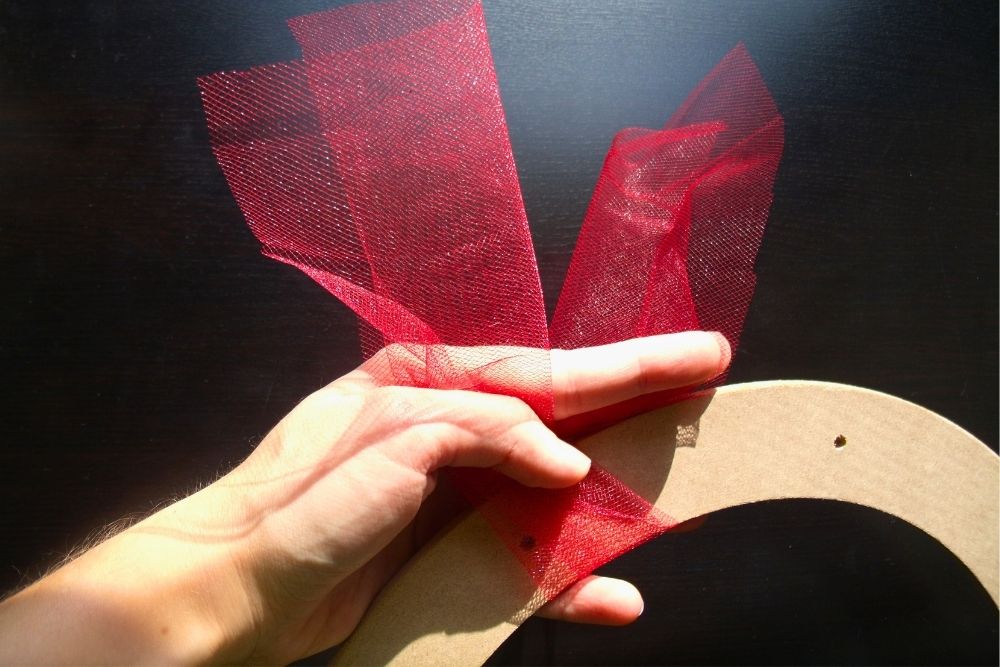
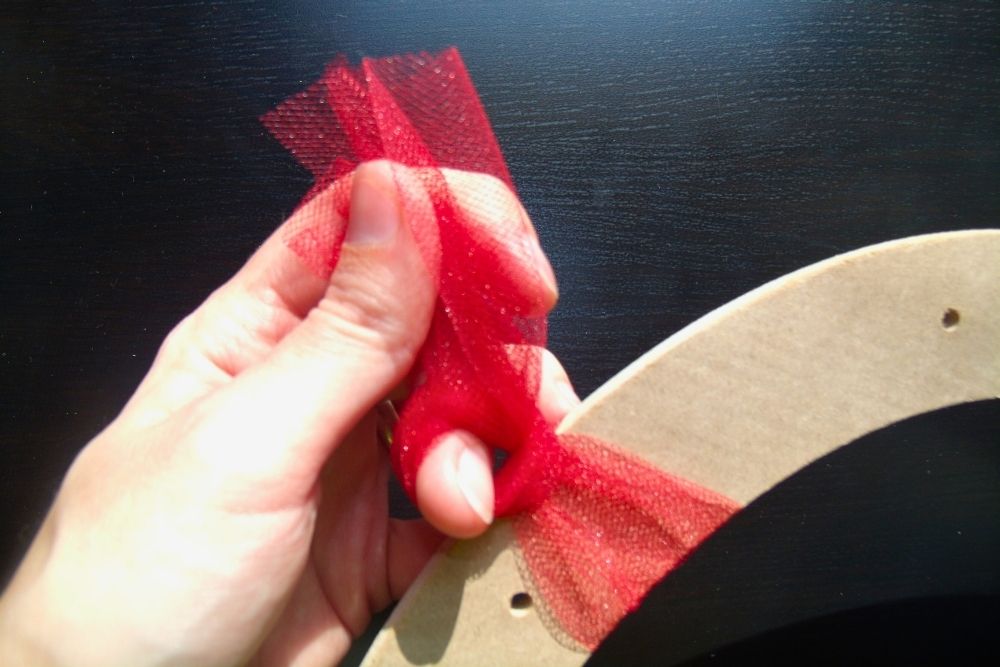
Alternate colors – red, gold, green, silver. Space them out to make tying the knot easier, the slide them closer together as necessary to even things out.
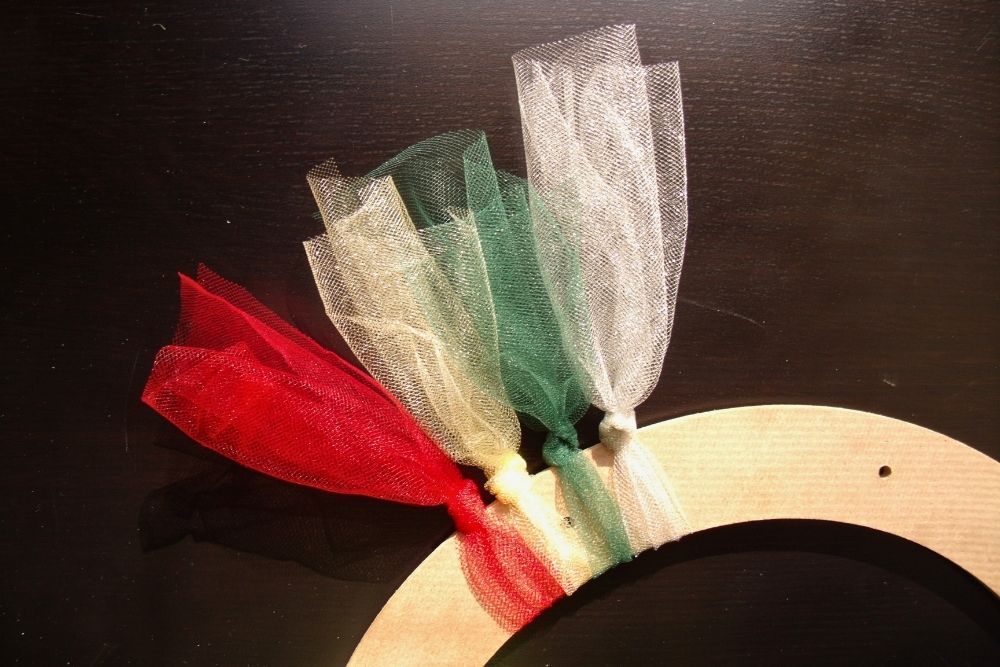
3. Continue filling the wreath frame.
Repeat the pattern tying tulle to the wreath frame. As a guideline, there should be about 32 pieces in a quarter of the frame. Continue around until the wreath is full and you’ve used all of the tulle pieces.
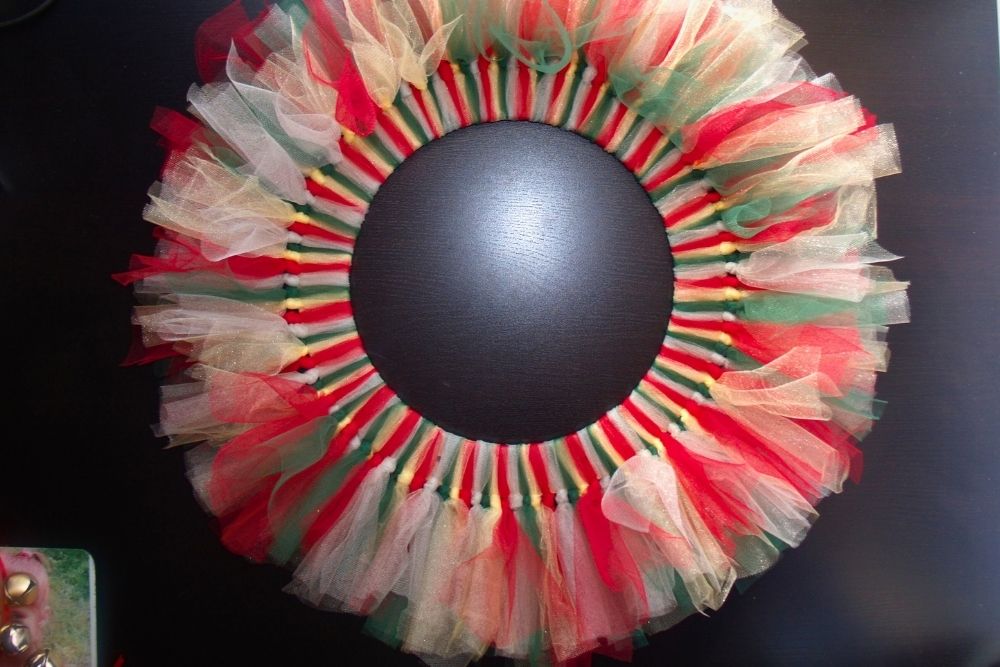
4. Add the jingle bell embellishments.
Finally, add some jingle bells for an easy, festive embellishment. Slide two bells onto each 11-inch piece of ribbon and tie in the middle. Loop one end of the ribbon under a piece of tulle on the wreath and tie again, pulling the knot of bells toward the outside.

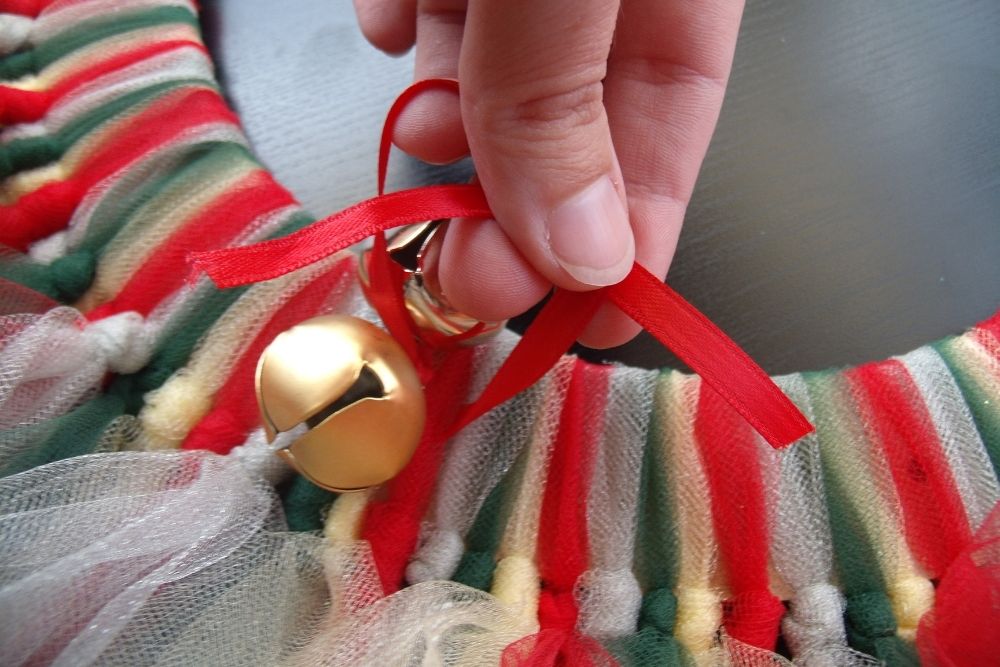
Repeat with the remaining ribbon and bells, spacing them evenly around the wreath. I used 5 pair and just estimated the spacing.
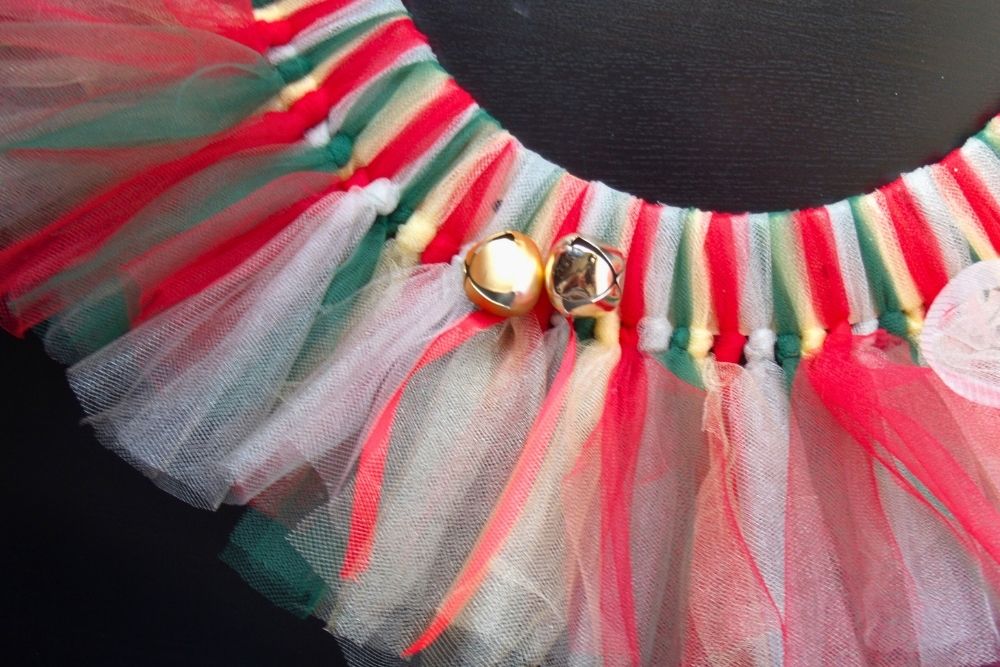
Fluff the tulle and adjust the ribbons as needed, then your wreath is ready to hang. You can use this to decorate indoors or out. Tulle is pretty sturdy, but I’ve always put mine on a covered porch.
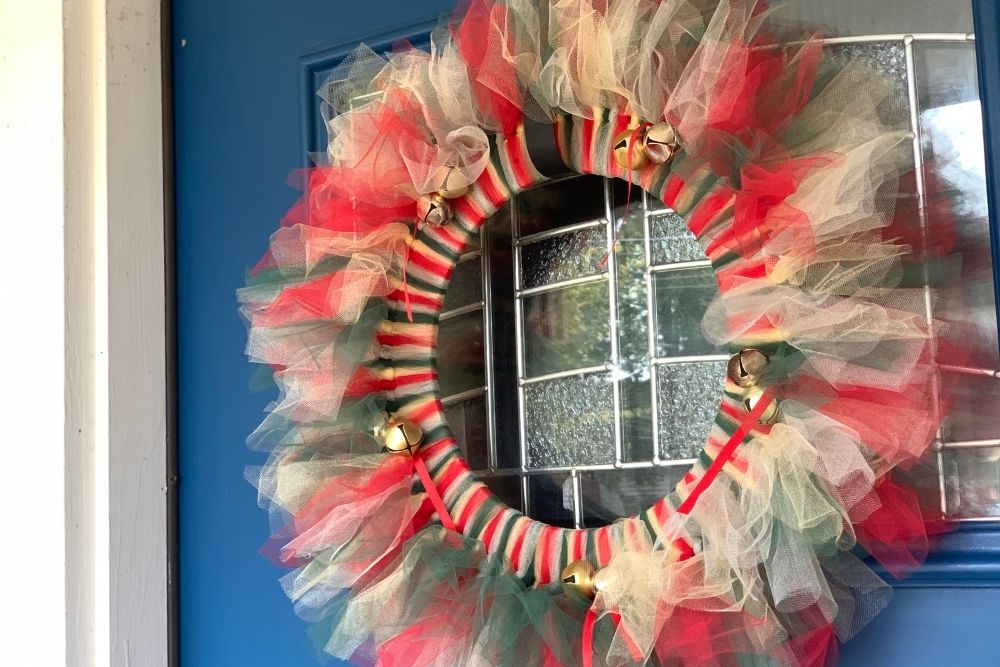
You can easily customize this to match your Christmas decor. Or make it larger or smaller just by changing up the size of your wreath form.
I’ve made several other tulle wreaths and they’re always so simple yet fun!
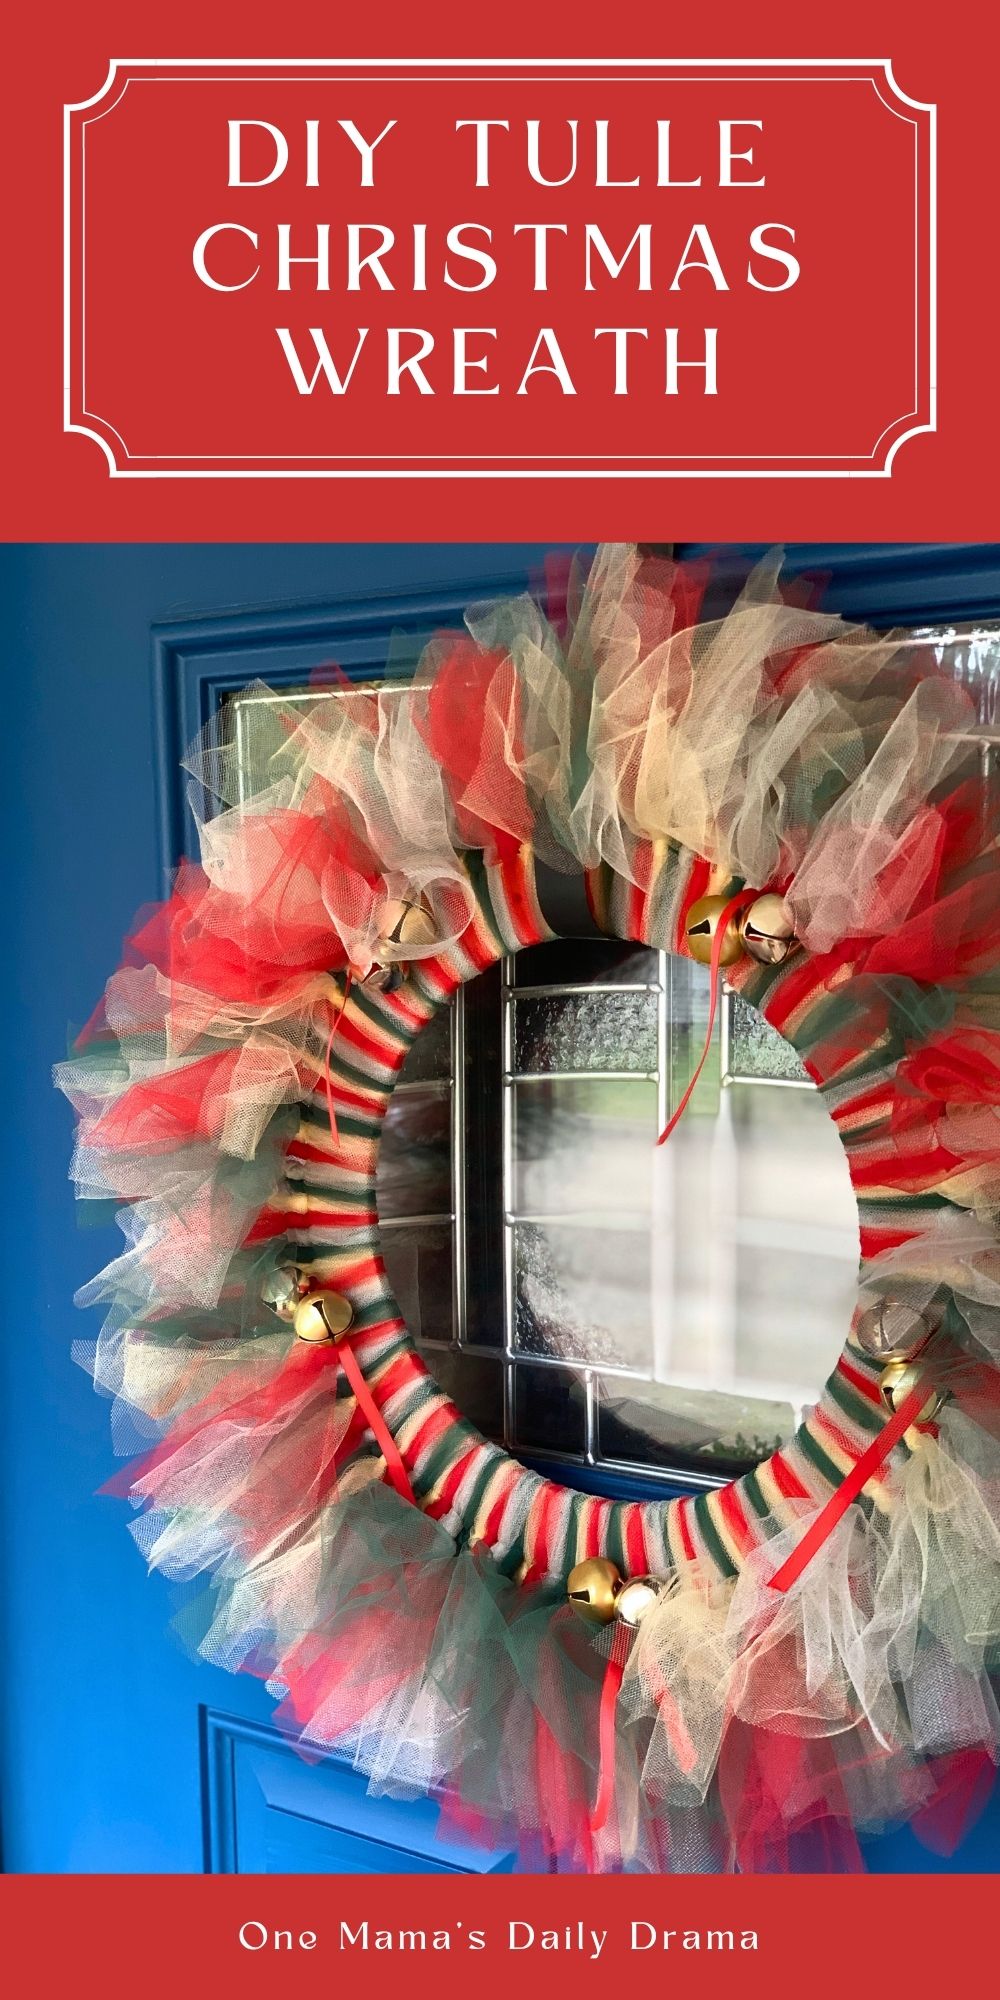
What’s next? Try these other fun and creative ideas on One Mama’s Daily Drama:
Hello, This wreath is beautiful and I want to see the tutorial pictures. I subscribe/joined like I was supposed to, set up my password, but when I put it in to try and access the pictures, all it does is go back to the screen where you enter your password. Can you help?
Hi Cece! I’m sorry. This is an old post from 2012 and it hasn’t been updated recently. The site originally hosting my photos is gone and I just haven’t moved them to the new hosting site. I will add that to my to-do list for this week.
I’m not sure what you mean about joining and setting up a password. The only password-protected content is The Printables Library.
I found the photos and updated the post! I hope you find it helpful.