

How to build your own DIY cereal box storage for kids’ magazines:
Supplies
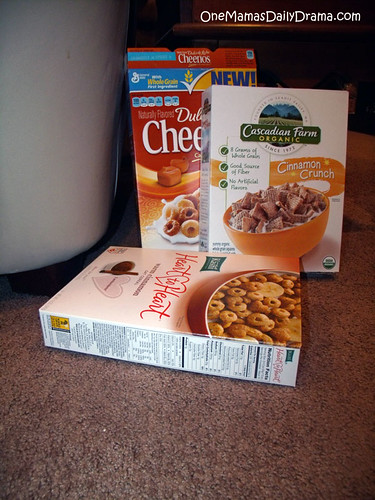
- 3 empty, clean cardboard cereal boxes (approximately the same size)
- scissors
- duct tape
- washi tape
Instructions
Step 1: Choose your cereal boxes. It is important for them to be the same width, but the other dimensions aren’t as important. Cut the top flaps from your cereal boxes.
Step 2: Line up the bottom of the boxes and tape them together vertically with three strips of duct tape.
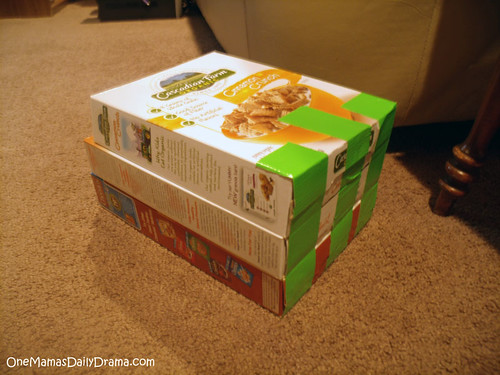
Step 3: Flip the boxes over and tape the tops together. Cut a strip of duct tape the width of the boxes and tape each box to the one next to it. Then cut smaller pieces and tape the sides of each box. I didn’t worry about the corners, but you could cut the tape longer and fold it around to cover them too.
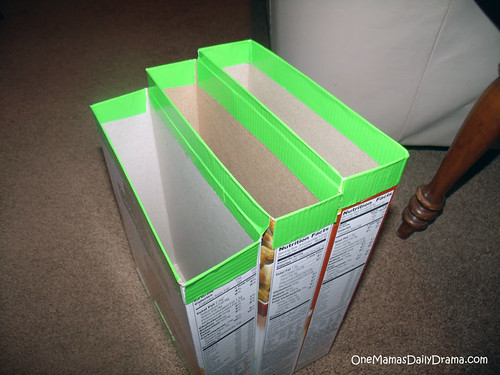
Step 4: Flip the box back over and cover the bottom of the boxes with duct tape. Cut a strip to cover each short side edge. Then cut longer pieces to overlap the vertical tape already holding the bottom together.
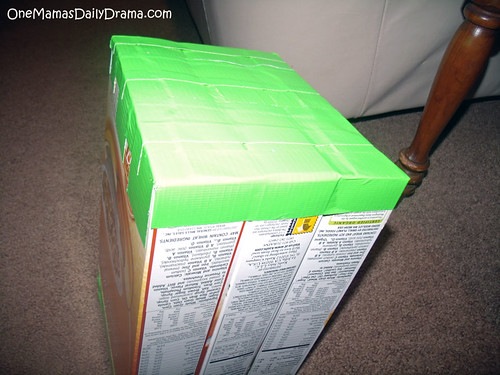
Step 5: Cut and wrap pieces of duct tape horizontally around the box from bottom to top. Be sure to overlap each piece a little bit. If your boxes are not the same height, you will probably have cut a shorter piece for the last one that doesn’t go all the way around.
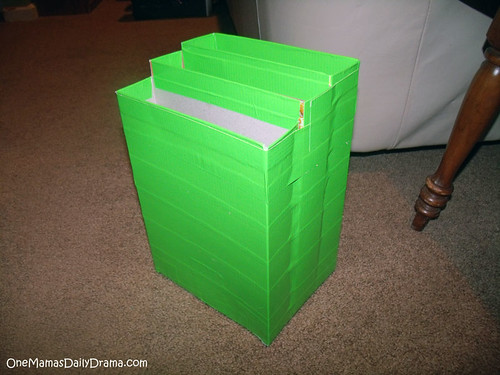
Step 6: Decorate the box with smaller strips of washi tape. If you’ve never used it before, washi tape is a japanese paper tape. I used Kid Made Modern, which I found at Target (9 rolls, $6).

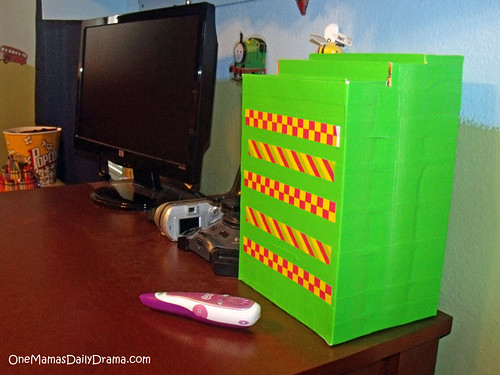
I was really happy with the way my first magazine box turned out and so was my son. It looks really cute in his room and I’m planning on making another one for my daughter. There are a lot of different colors and patters of duct tape available, so you could make one to match almost any decor. In fact, using different sized boxes — or even other containers — could work for a full office storage set.
Leave a Reply