
Make a dala horse ornament to decorate your tree or fill it with candy for a Christmas craft that kids and adults will enjoy.

Disclosure: This blog contains affiliate links. As an Amazon Associate and member of other affiliate programs, Keri Houchin earns a commission from qualifying purchases at no additional cost to you.
If you’re looking for a fun and easy kids’ activity for winter break, make these Christmas crafts with toilet paper rolls, paint, and glue.
I’ve slowly added several Dala horses to my Christmas decorations, like the cute cookie jar I bought from World Market a few years ago that’s pictured in this blog post.

This dala horse ornament is based on the traditional red and white Swedish horse. Original horses were carved from wood and they have become an iconic symbol of Sweden.
They aren’t specifically for Christmas, but I think the red and white colors make them an easy addition. And they are called “dala horses” because they were originally created in the Dalarna province.
If you’re looking for a dala horse ornament to buy instead of DIY, check out these cute Christmas ornaments on Amazon!
How to make a dala horse ornament
Supplies
- newspaper (to protect your workspace)
- scissors
- pencil
- ruler
- single hole-punch
- empty toilet paper tubes
- craft sticks
- kraft paper
- red craft paint – I used Apple Barrel “red apple”
- white craft paint – I used Apple Barrel “white”
- sponge brush
- small paintbrush
- glue stick
- hot glue gun and glue
- ribbon – This ribbon is similar.
- white tissue paper
- small chocolates (or any Christmas candy)
Instructions
1. Cut and paint the legs.
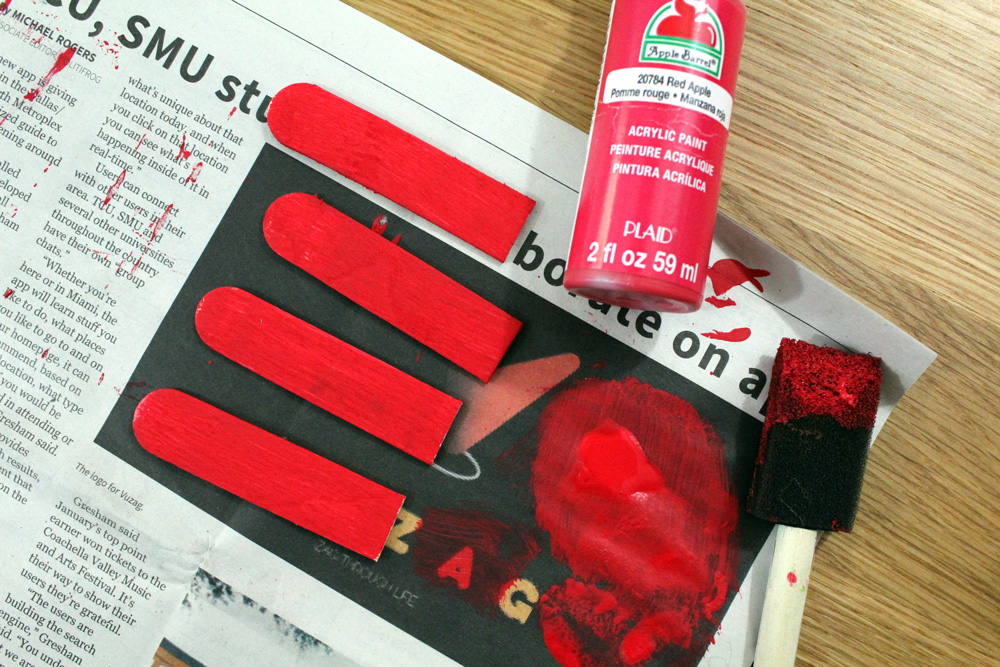
To make the dala horse legs, take 2 craft sticks and cut them in half. Mine were 6 inches long, so I used the ruler and pencil to mark 3 inches. I was able to cut mine with scissors.
Lay the cut pieces on the newspaper (or whatever you’re using to protect your workspace) and paint them red using the sponge brush. Paint one side, then let it dry to the touch and flip it over to paint the other side.
2. Paint the body.
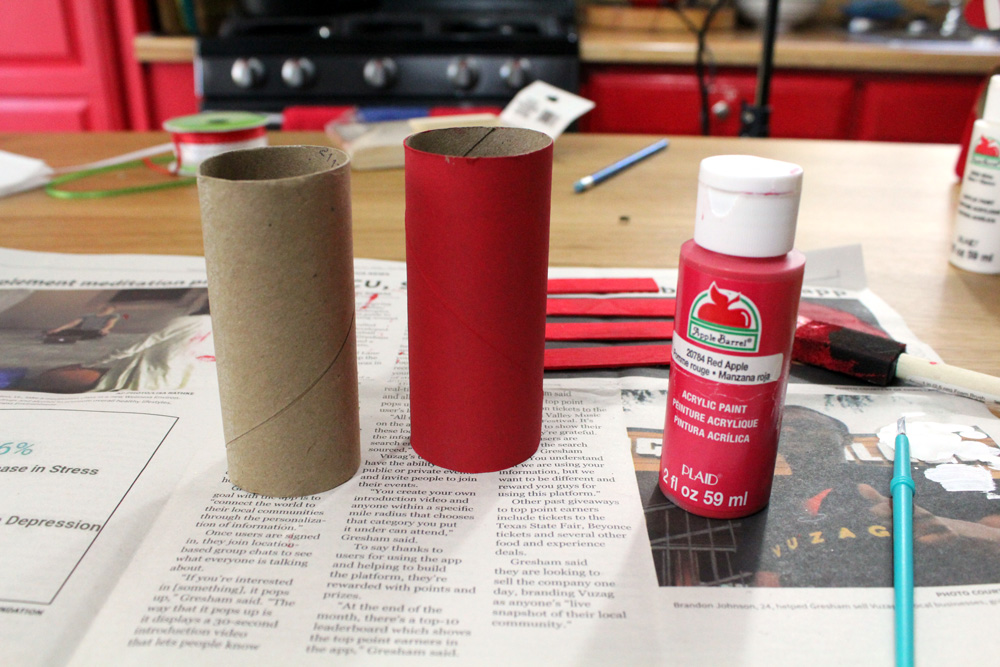
Make sure your toilet paper tube is clean and free from any paper fuzz. Use the sponge brush to paint it red. I only painted the outside of mine, but you could paint the inside edge if you like. Set it aside to dry.
3. Cut and paint the head.
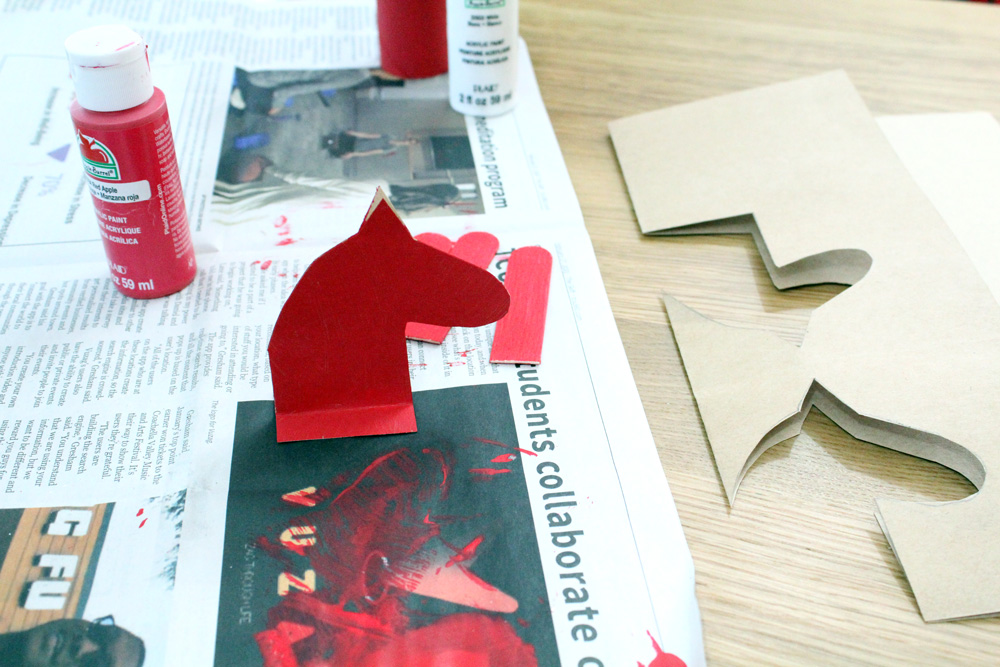
To make the head of the dala horse, I just drew mine freehand. Start by folding a piece of the kraft paper in half. Draw the horse head along the fold with the back of his mane at the seam. Make the next extra long – that’s how you’ll attach it to the body.
Cut out the horse head. Leave most of the seam together, but cut about half an inch up the bottom and fold the flaps out. Use the glue stick to glue the head closed, leaving the bottom flaps free and the ears.
Paint the whole head red using the sponge brush. Set it aside to dry.
4. Assemble the dala horse.
After all of your pieces have dried (15-30 minutes, depending on your paint and weather), it’s time to assemble the dala horse craft.
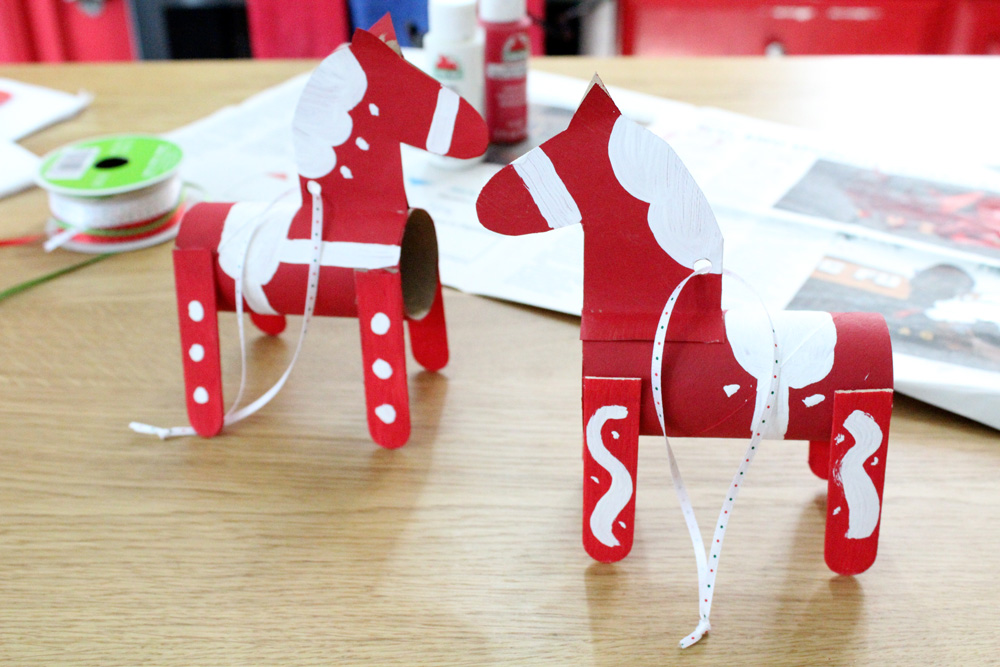
Use the hot glue gun to attach the flaps of the horse head to the paper tube body. Then line up the legs one at a time and hot glue them in place. I recommend starting with the front 2, then doing the back 2.

5. Paint the details.
Hot glue dries almost instantly, but make sure your hose is set and remove any loose glue strings before painting.
Use the small paintbrush to decorate the dala horse with white paint. There’s no right or wrong design, but they usually have a saddle and halter. The dala horse doesn’t really have a tail and its mane is usually short and flat against the neck. Common decorations include flowers, leaves, swirls, and simple lines and dots.
When you’re happy with the white paint decorations, set the horse aside to dry to the touch (or longer).
6. Add the hanging ribbon.
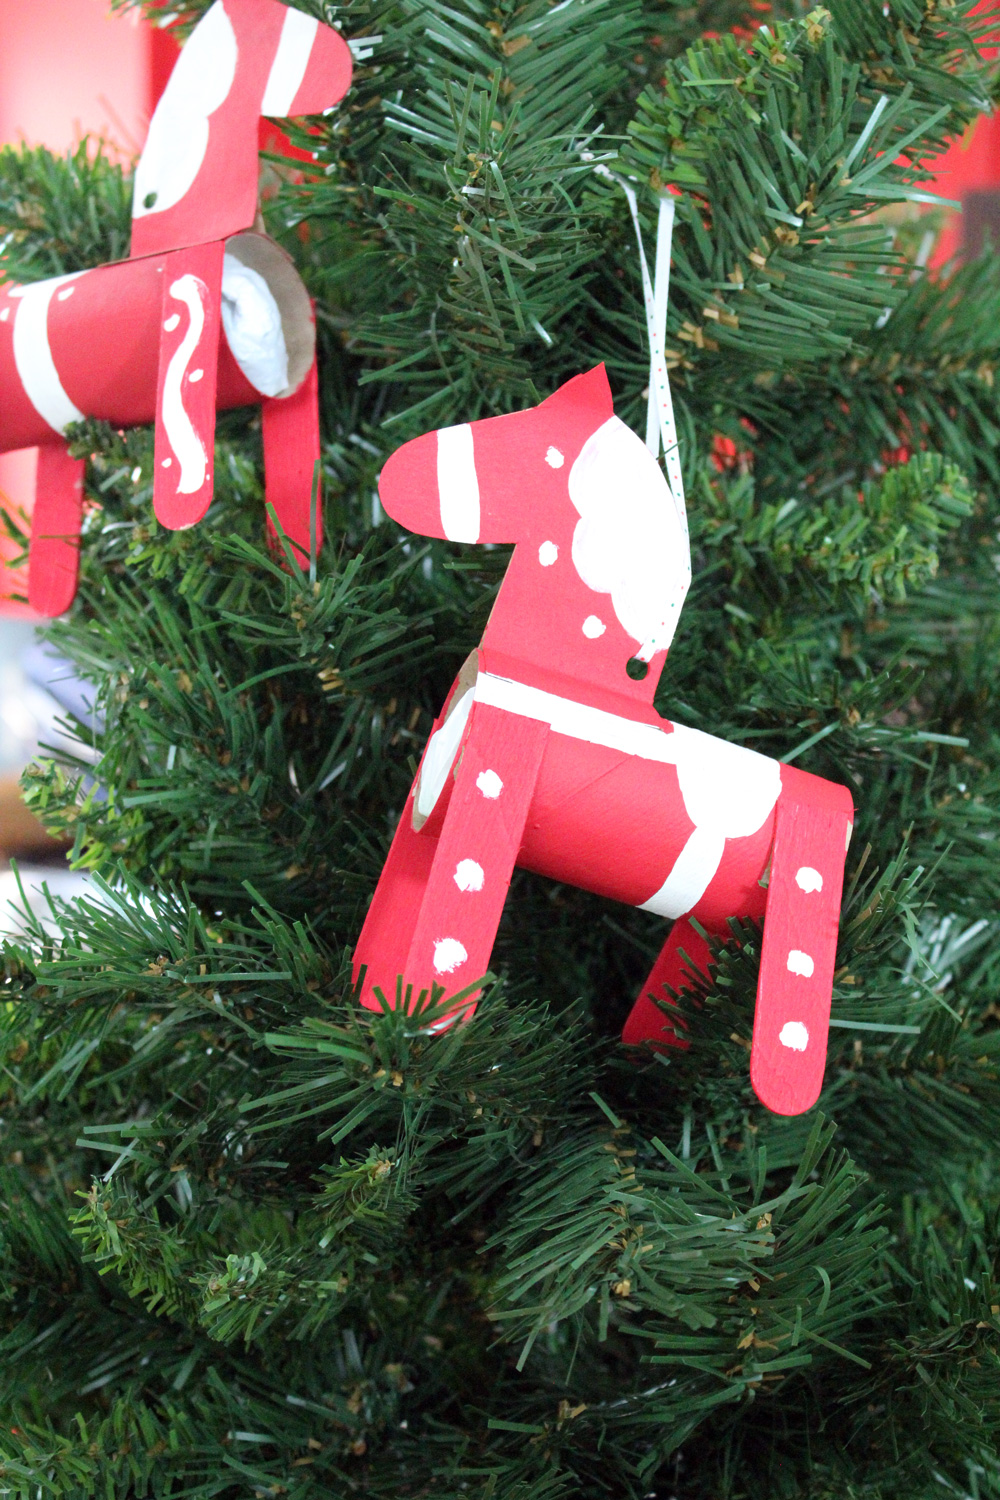
Use the single hole-punch to make a hole near the base of the mane. Cut a piece of ribbon about 12 inches long. Thread it through the hole and tie a simple knot. The dala horse is ready to hang on the Christmas tree!

7. Fill with candy.
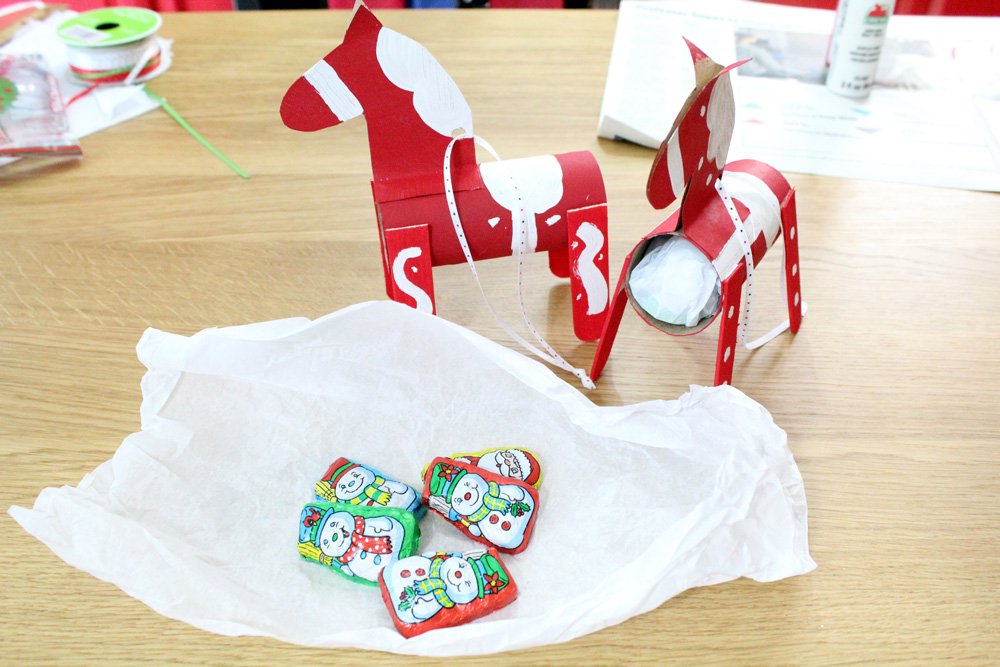
This step is optional because the dala horse looks cute hanging on the tree as it is. If you want to fill your dala horse with candy, cut a small piece of tissue paper just big enough to hold a few pieces of chocolate or candy.
Roll up the candy inside the tissue paper, then fit it into the paper tube.


What’s next? Try these other fun and creative ideas on One Mama’s Daily Drama:
Leave a Reply