
These rainbow mason jar candle holders are easy to make with a small amount of paint in your favorite colors. Upcycle old jars for colorful decor.

Disclosure: This blog contains affiliate links. As an Amazon Associate and member of other affiliate programs, Keri Houchin earns a commission from qualifying purchases at no additional cost to you.
Summertime means time in the backyard. Around dusk, it is finally cool enough here in Texas to be comfortable, but that also means that it’s getting dark. These rainbow mason jar candle holders add a little light and they’re super easy to make in just a few hours.
How to make rainbow mason jar candle holders
I don’t do as much canning as I used to, but I still have tons of mason jars. I use them for all kinds of storage and I’ve even used some to make homemade candles before. For this project, I wanted something that was just plain easy.
You could also repurpose any empty glass containers.

Supplies
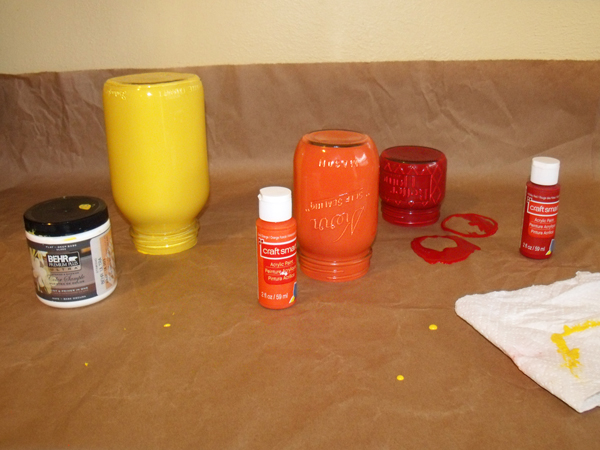
To make these rainbow mason jar candles, you need only a few supplies. The paint I used was all leftover from other projects, so it’s a combination of types. The red and orange were acrylic craft paint that I got for a buck at a craft store. The yellow was flat interior/exterior paint that I got at a hardware store. The other colors are regular craft paint.
- empty glass containers, such as mason jars
- paint in several colors
- newspaper, to protect your workspace
- parchment, for drying
- tea lights or candles
Instructions
Step 1: Prepare the jars.
Start by washing the glass jars and make sure they are really clean and dry.
Protect your work surface with newspaper or scrap paper. Use several layers so the paint doesn’t soak through.
Step 2: Add the paint.
For each candle holder, pour a few tablespoons of paint into the jar. I didn’t measure and it depends on the size of your jar. Swirl the paint around the bottom. Then, turn the jar in your hands to make the paint run up the sides.
When the inside is coated, hold the jar upside-down over the paint container to pour most of the extra paint back. Let it drip for a while if you can.
Step 3: Remove excess paint and dry.
Next, add a layer of parchment paper on top of the newspaper. Turn the jar upside-down and set it on the newspaper to dry. You’ll want to move it around a few times during the first 30 minutes of drying so that it doesn’t stick. A lot of paint is going to run back out, but this will give you a nice, even, thin coat.
After the first half-hour or so, you can leave the jars to dry. Depending on the humidity where you live, this can take up to 24 hours. It can take a while for the corners to be 100 percent dry.

I let mine sit upside-down overnight and then turned them right side up when it looked like no more paint was going to run out.
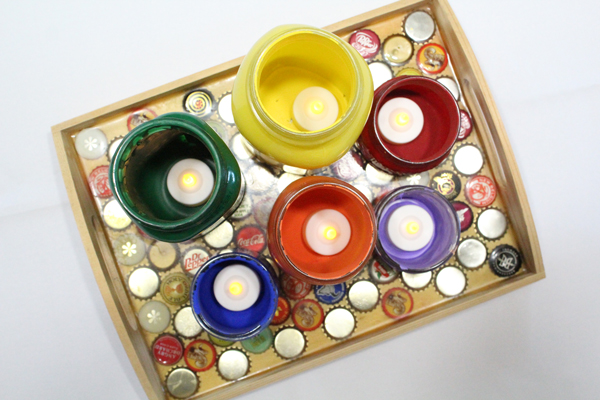
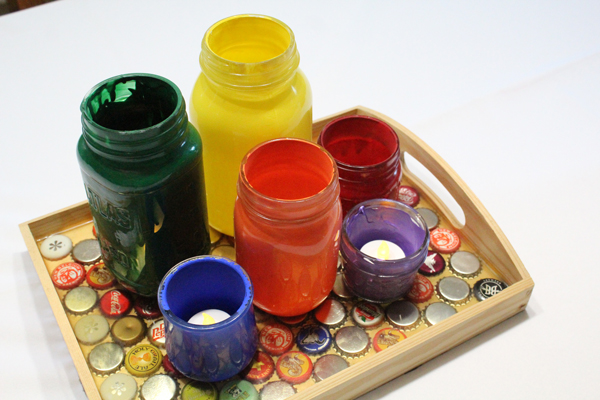
When the jars are dry, put a tea light inside each one. I used electronic tea lights, which I love. You could use regular tea lights or small candles.
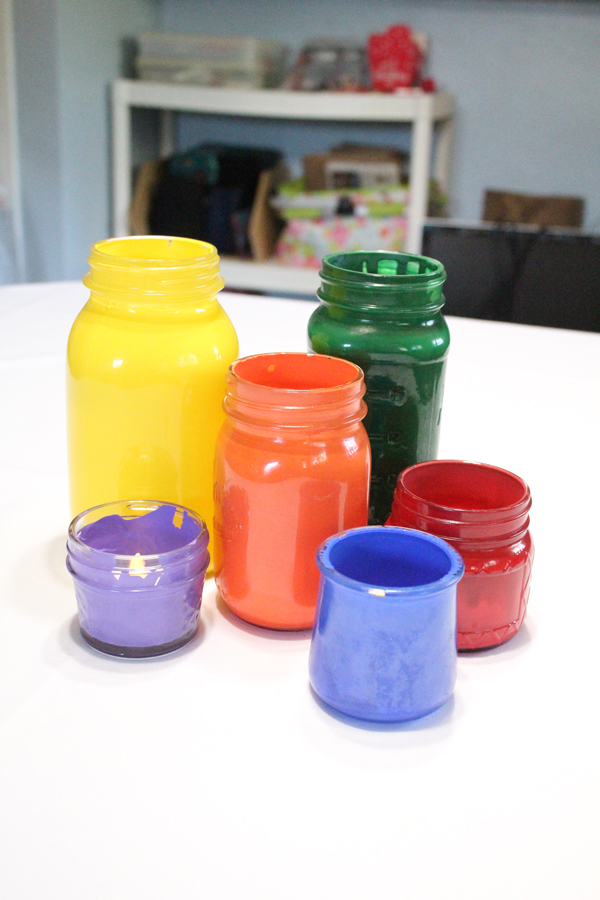

What’s next? Try these other fun and creative ideas on One Mama’s Daily Drama:
Super cute! Pinned to Mason Jar Crafts Blog board! ( thanks for stopping by Your Crafty Family)
Thanks! I know they’re starting to be cliche, but I still love mason jars. 🙂
I love the bright colours, they must look beautiful when lit up! Thanks for joining the Link-It To Me Link Party, I hope you will party with us again next week!
They are! I kind of want to make a few dozen of them.
And thanks for hosting the link party. So much fun!
Great idea. I love all the bright colors. Pretty. Thanks for linking up to Tips and Tricks. Hope to see you again this week.
Très joli ! J’aime beaucoup les bricolages avec les pots Mason. Je vais sûrement essayer ça.
Merci! Thank you!