
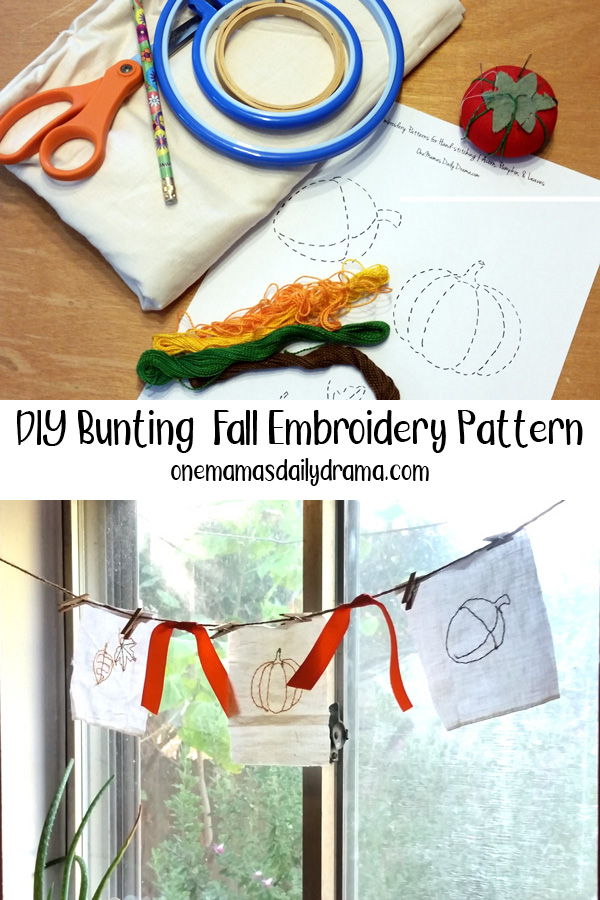
Use this fall embroidery pattern to create a DIY bunting with pumpkins, acorns, and autumn leaves to decorate for the season.
Disclosure: This blog contains affiliate links. As an Amazon Associate and member of other affiliate programs, Keri Houchin earns a commission from qualifying purchases at no additional cost to you.
Decorating for fall is a fun way to transition your home from summer to cooler weather before you break out the holiday decor.
Now is the time to simplify and declutter before the winter holiday season hits. A lot of fall decorating ideas naturally revolve around Halloween. I like to decorate for fall in September and leave everything up until after Thanksgiving. Then I can add some Halloween decor for October.
That’s what inspired me to make this fall embroidery project for hand stitching. It’s simple and quick to do, even if you’ve never embroidered before. Plus, the fall colors and natural elements make it perfect for the whole season long.
Fall embroidery
Making the embroidered hoop art is the most time-consuming step in this project. It’s pretty quick, though – I did each hoop in about 15 minutes. If you’ve never embroidered by hand before, I’ll take you through the steps. If that’s your favorite hobby, feel free to skip to the end.
Supplies
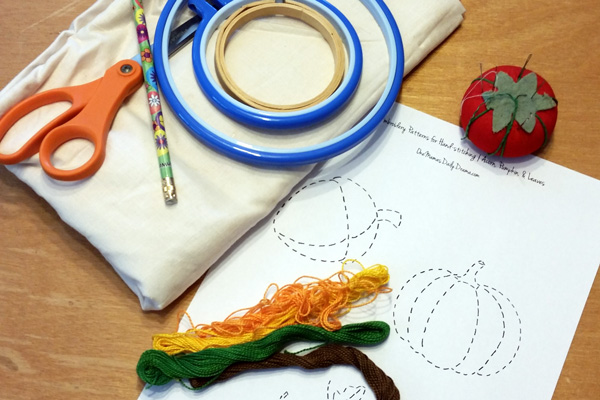
- fall embroidery patterns (download at the end of this post)
- wood or plastic embroidery hoop
- light-colored fabric, such as cotton muslin
- embroidery thread
- embroidery needle
- scissors
- pencil
Instructions
1. Prepare your fabric.
Cut a piece of fabric that is slightly larger than your embroidery hoop. I used a 4-inch hoop, but you can scale the pattern larger or smaller to fit other hoop sizes.
2. Trace the pattern.
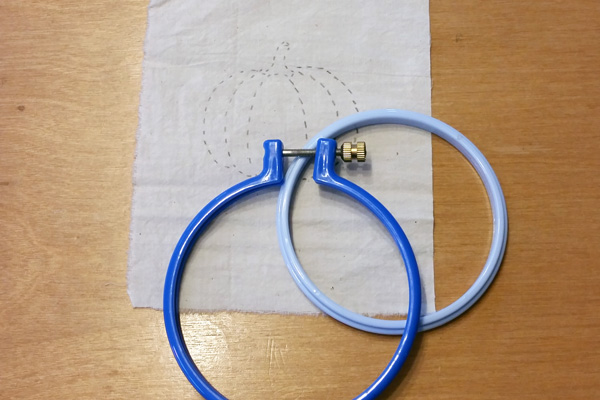
Take the fabric and the paper pattern to a window. Put the pattern behind the fabric and trace it with a pencil onto the fabric. Once you have the pattern on the fabric, you’re ready to stitch.
3. Put the fabric in the embroidery hoop.
Take apart the hoop by unscrewing the nut. Put the fabric on top of the inside hoop and fit the outside hoop over it, making sure the fabric is taut and sticks out on all sides. Tighten the nut.

4. Stitch the pattern.
Cut a length of thread. I usually aim for about 12 inches or so. You want enough that you aren’t constantly cutting new pieces, but not so long that it gets tangled.
Tie a knot in one end and thread the other end onto the needle.
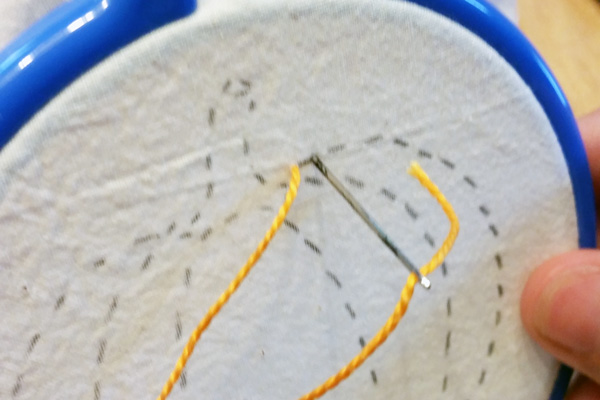
For each stitch, come up from the bottom and go back into the fabric. Just follow the dotted lines around; there’s not a wrong way to go. If you run out of thread, need to change colors, or have to skip a big space, tie a knot on the back and trim the thread close. Just re-thread the needle with more thread and start again.

5. Finish the embroidery.
If you are using a wooden hoop, you can just leave the finished design in it to display like a frame. You could also take the design out and frame it, sew it onto something, or use it to make this super-cute DIY fall bunting.

Fall embroidery bunting
To turn my fall embroidery into bunting, I stitched all three embroidery patterns onto separate pieces of fabric. You’ll also need:
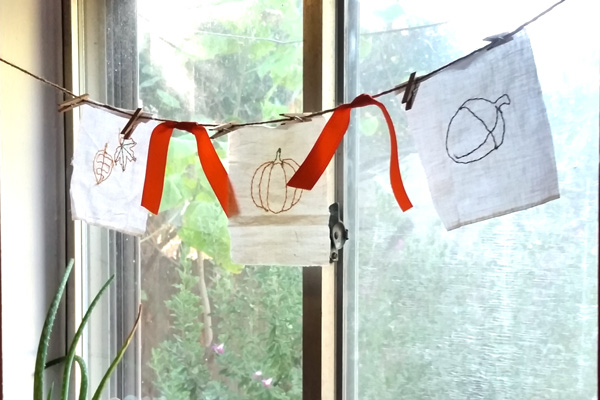
Cut the jute cord wider than your window, or wherever you’re going to hang the bunting. Start in the middle and clothespin one of the embroidery designs to the jute. Take the cut ribbon and tie pieces on either side of that. Then just clothespin the other embroidery designs on either side, making it nice and symmetrical.

Download the printable fall embroidery pattern as a PDF. All three images are on a single 8.5×11-inch page. Each individual image is approximately 3 inches square when printed at 100%.
Get the printable
Printables are free for subscribers. Sign up below to have this printable sent to your inbox. (If you’re a new subscriber, you’ll need to confirm your email address first. Check your spam ~ the emails are nearly instant.)
Don’t want another newsletter? No problem. Join The Printables Library for a one-time fee and get all the printables in one place. If you’re already a member, you can find this file there now.
Terms of use: All printables are for personal use only (home, classroom, library) and are not to be redistributed or sold. Please share by sending your friends to this blog post!
What’s next? Try these other fun and creative ideas on One Mama’s Daily Drama:
Awww this is so CUTE! And what a clever way of transferring the pattern! Pinning this for sure. 🙂
Found you via Link-It-To-Me party!
Thanks! I’ve heard of people printing directly on fabric, but I suspect my printer would jam permanently.
Coming back to find these again and wanted to invite you to come link up at my Friday Frivolity blog party if you feel like it… it just went live a bit ago! 😀
Ooh, thanks! Going to check it out now.